- Joined
- Nov 3, 2021
- Threads
- 18
- Messages
- 196
- Reaction score
- 263
- Location
- Wisconsin, USA
- Vehicle(s)
- 2024 Ranger XLT Sport 2.3L
- Engine
- Undecided
- Thread starter
- #1
I am starting my stock stereo upgrade journey and figured I would start a thread to track my project. I have the gear I will be installing at this point and hope to start installation in the next week or two. Will be updating my post as I progress.
Head Unit: Stock
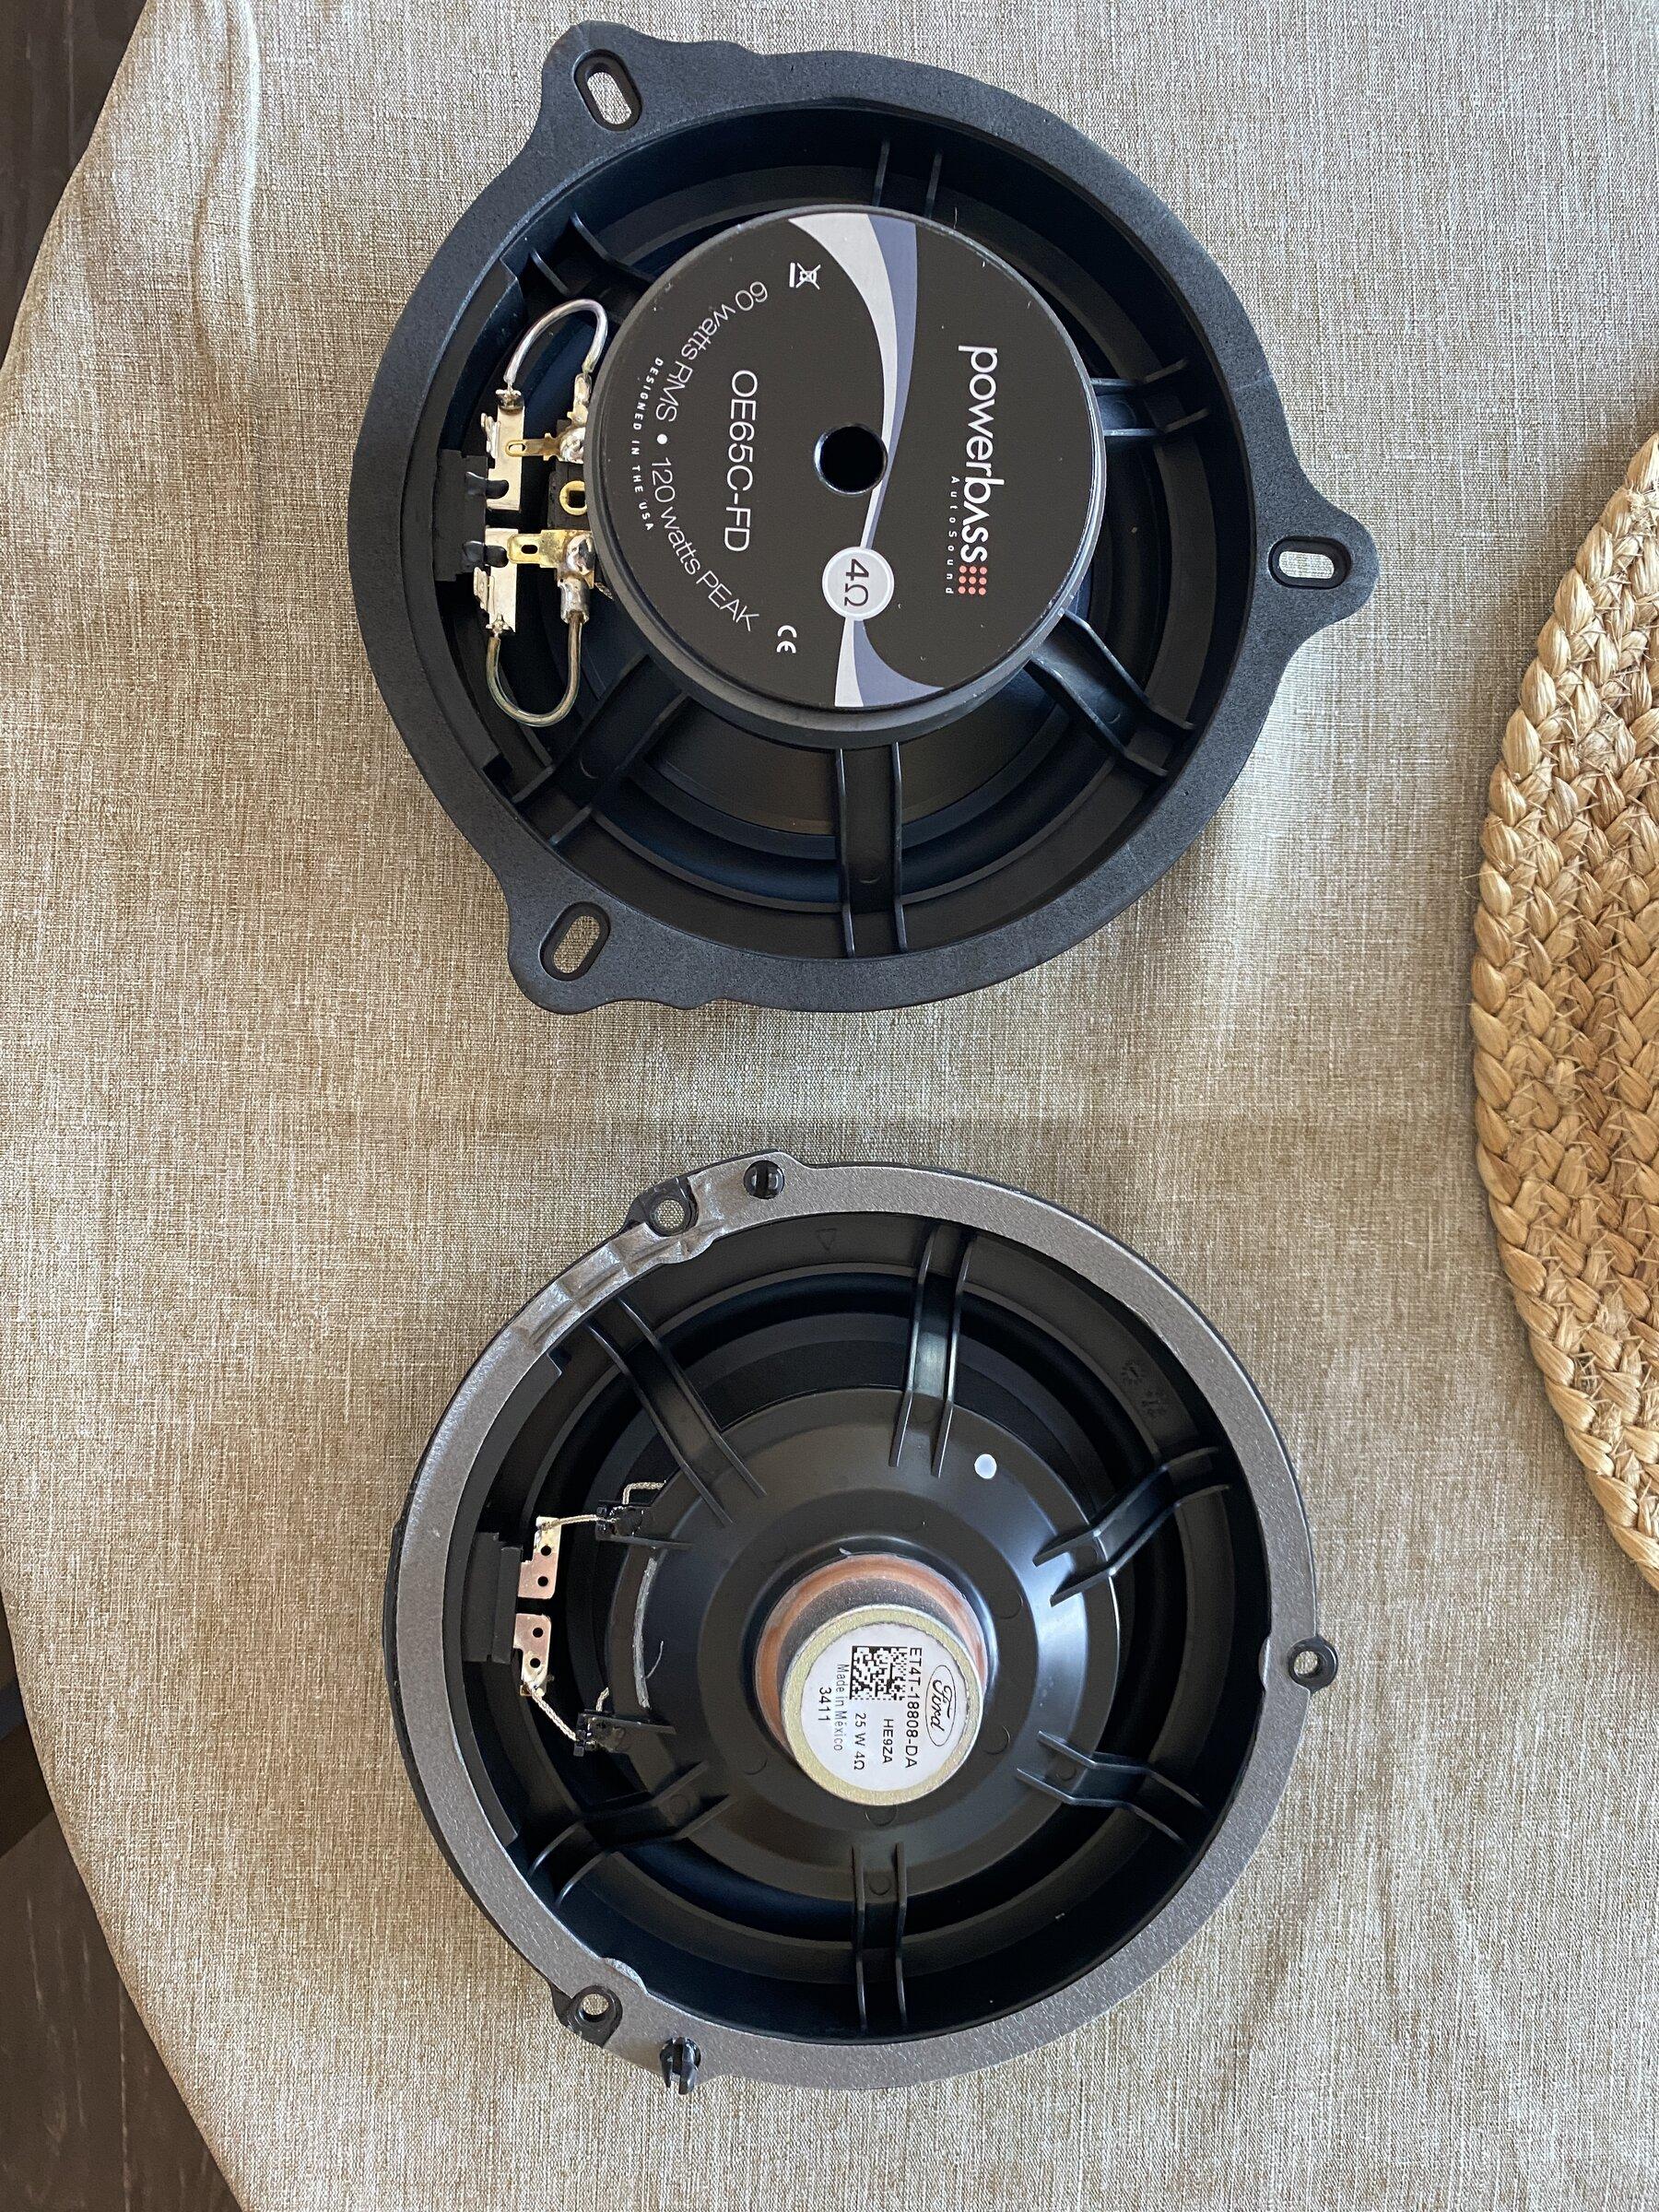
Front Speakers: PowerBass OE65C-FD $130
Rear Speakers: Pioneer TS-G400 $60
Subwoofer: Kicker Hideaway 8" $270
Line Converter: AudioControl LC2i $100
Misc.: Kicker KISL Adapter $17
Plug 'N' Play Kits LC2i Harness $90
Scosche Extape
Bojo Trim Panel Tools
S'mart Mat 90 Mil Sound Deadener $25
Sound Deadener Roller
Front Door Speaker Upgrade
So this weekend I was able to get the front speakers installed. In this section I am going to try and highlight what I experienced.
Driver/Passenger Door Panel Removal
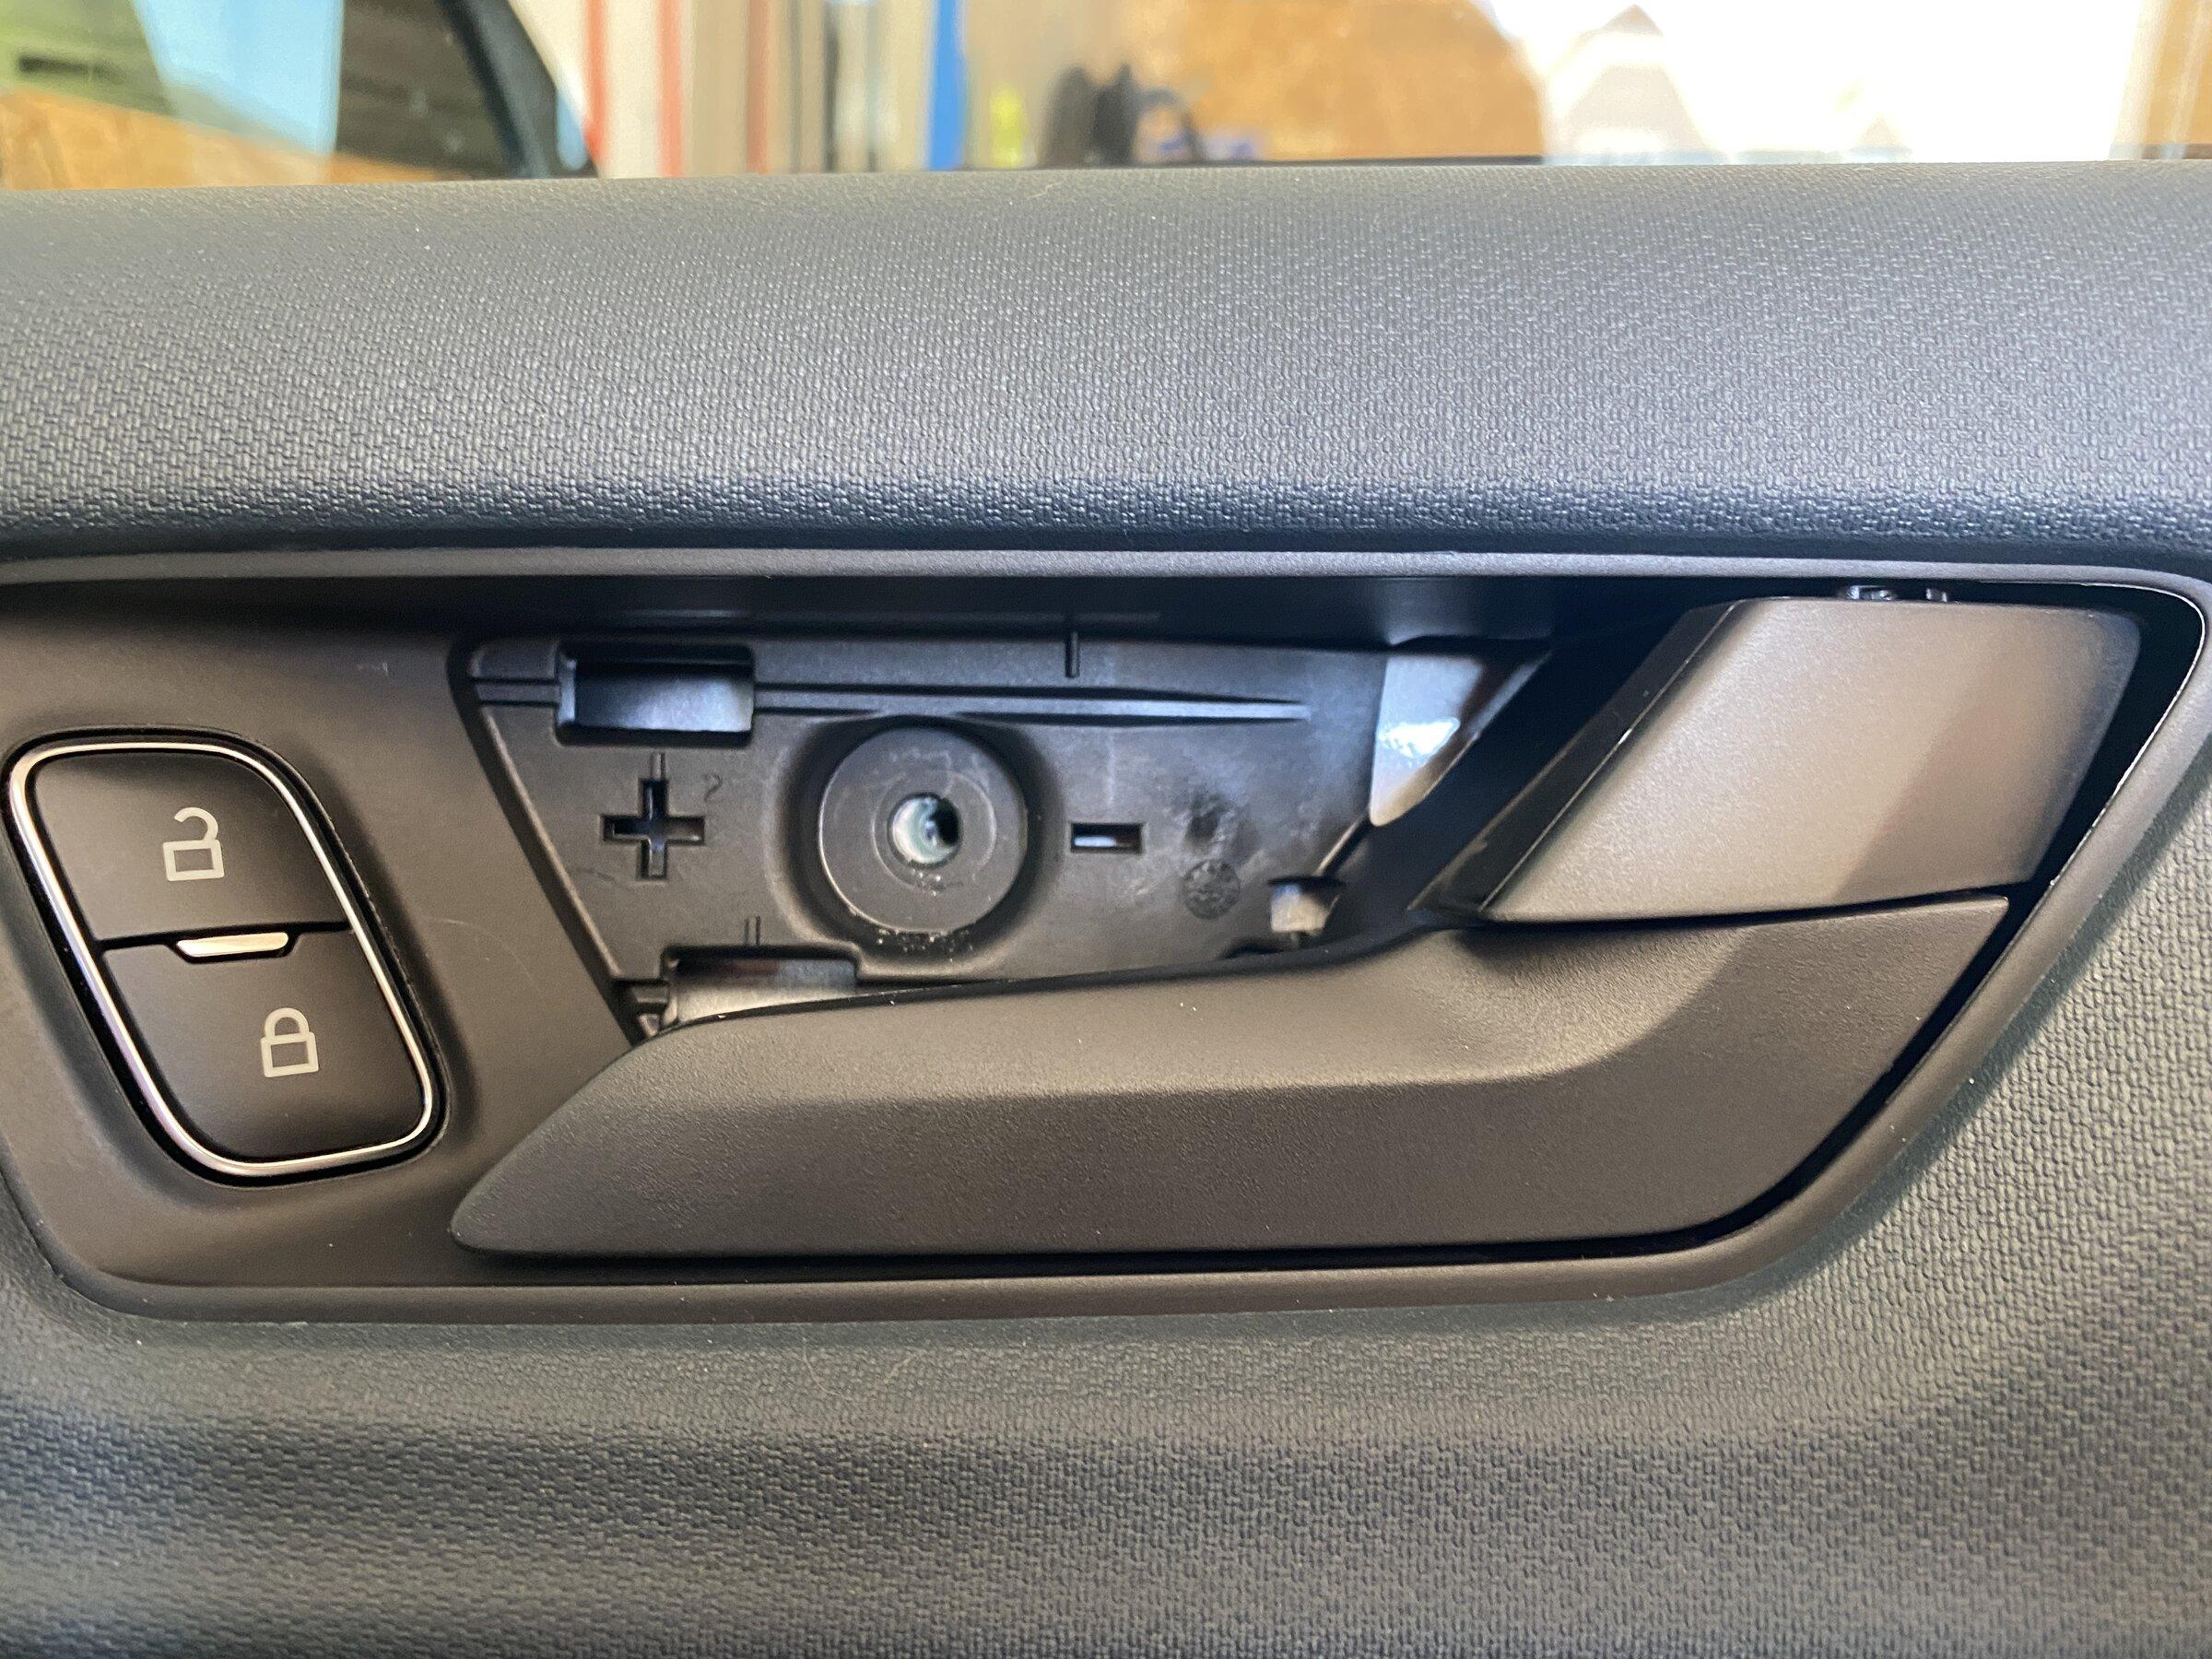
First off, WORK SLOW AND TAKE YOUR TIME as this will reduce any potential damage to plastic pieces and the various clips. Start at the top and corner of the door and pop off the black cover. 1 metal and 2 plastic clips need to be released. Next, at the top of the door panel, remove the cover behind the door handle pull. DO NOT use a screwdriver, but make sure to have a set up panel removal tools. The bolt behind the panel is an 8mm.
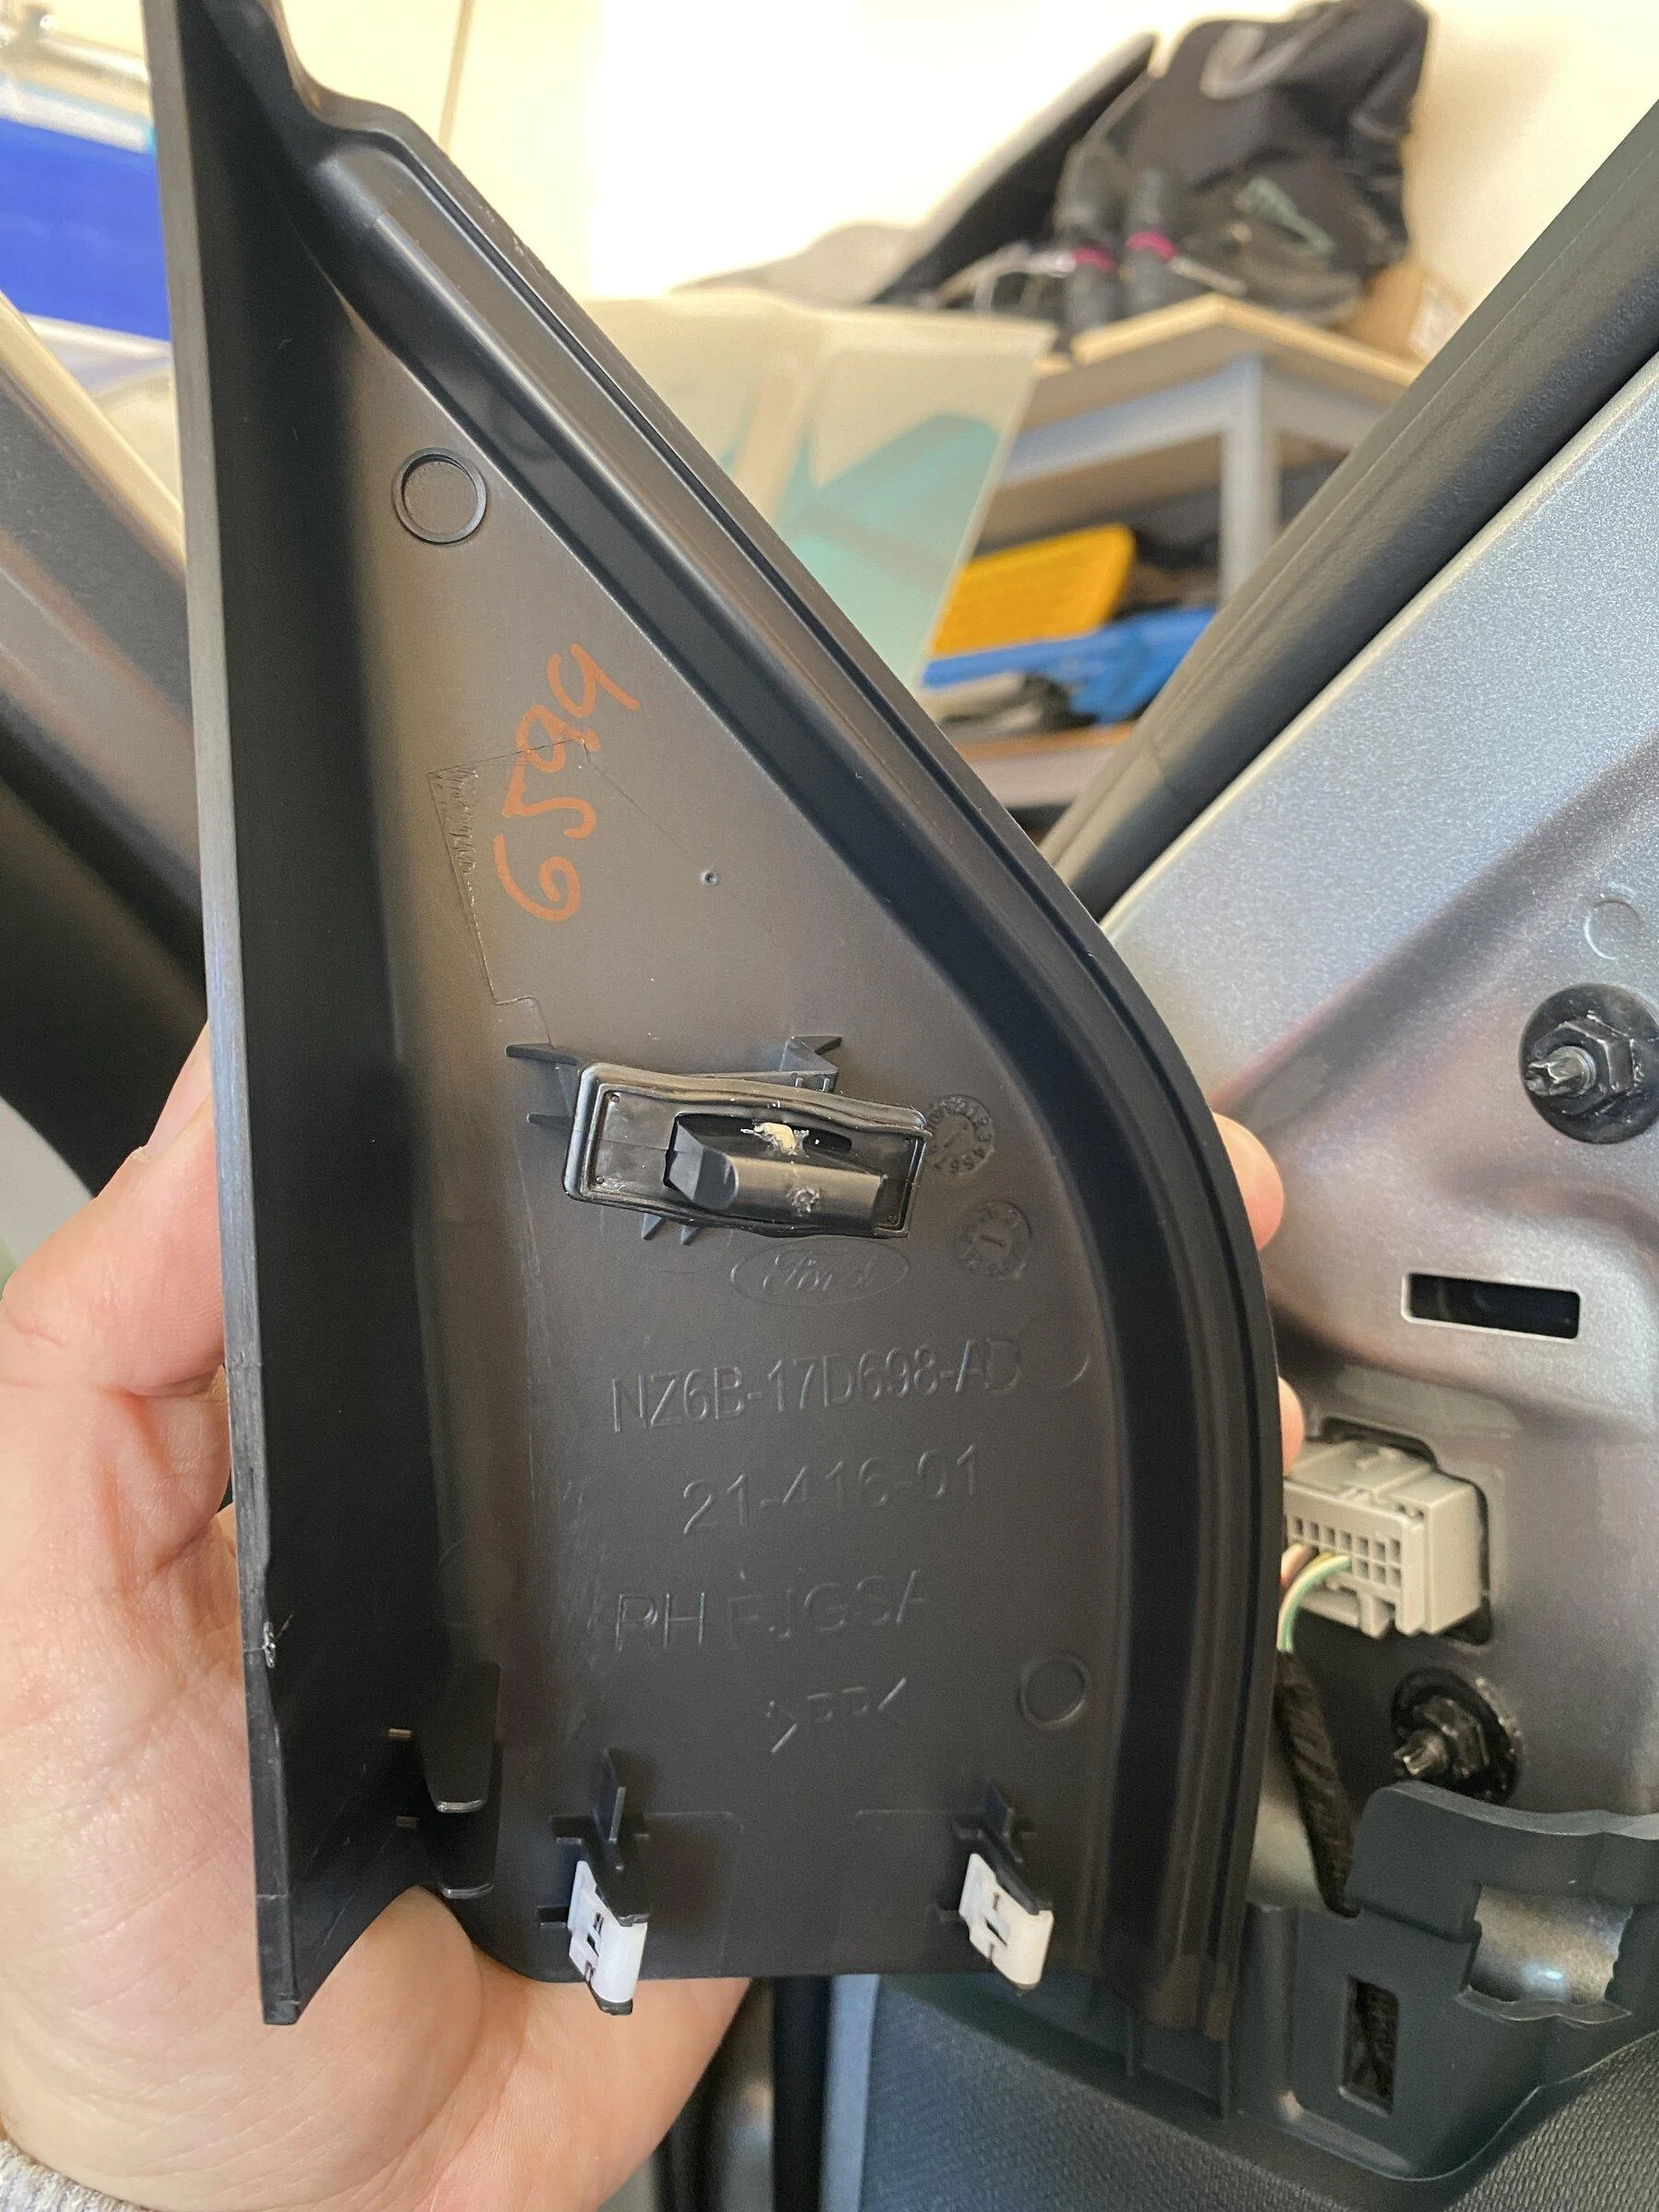
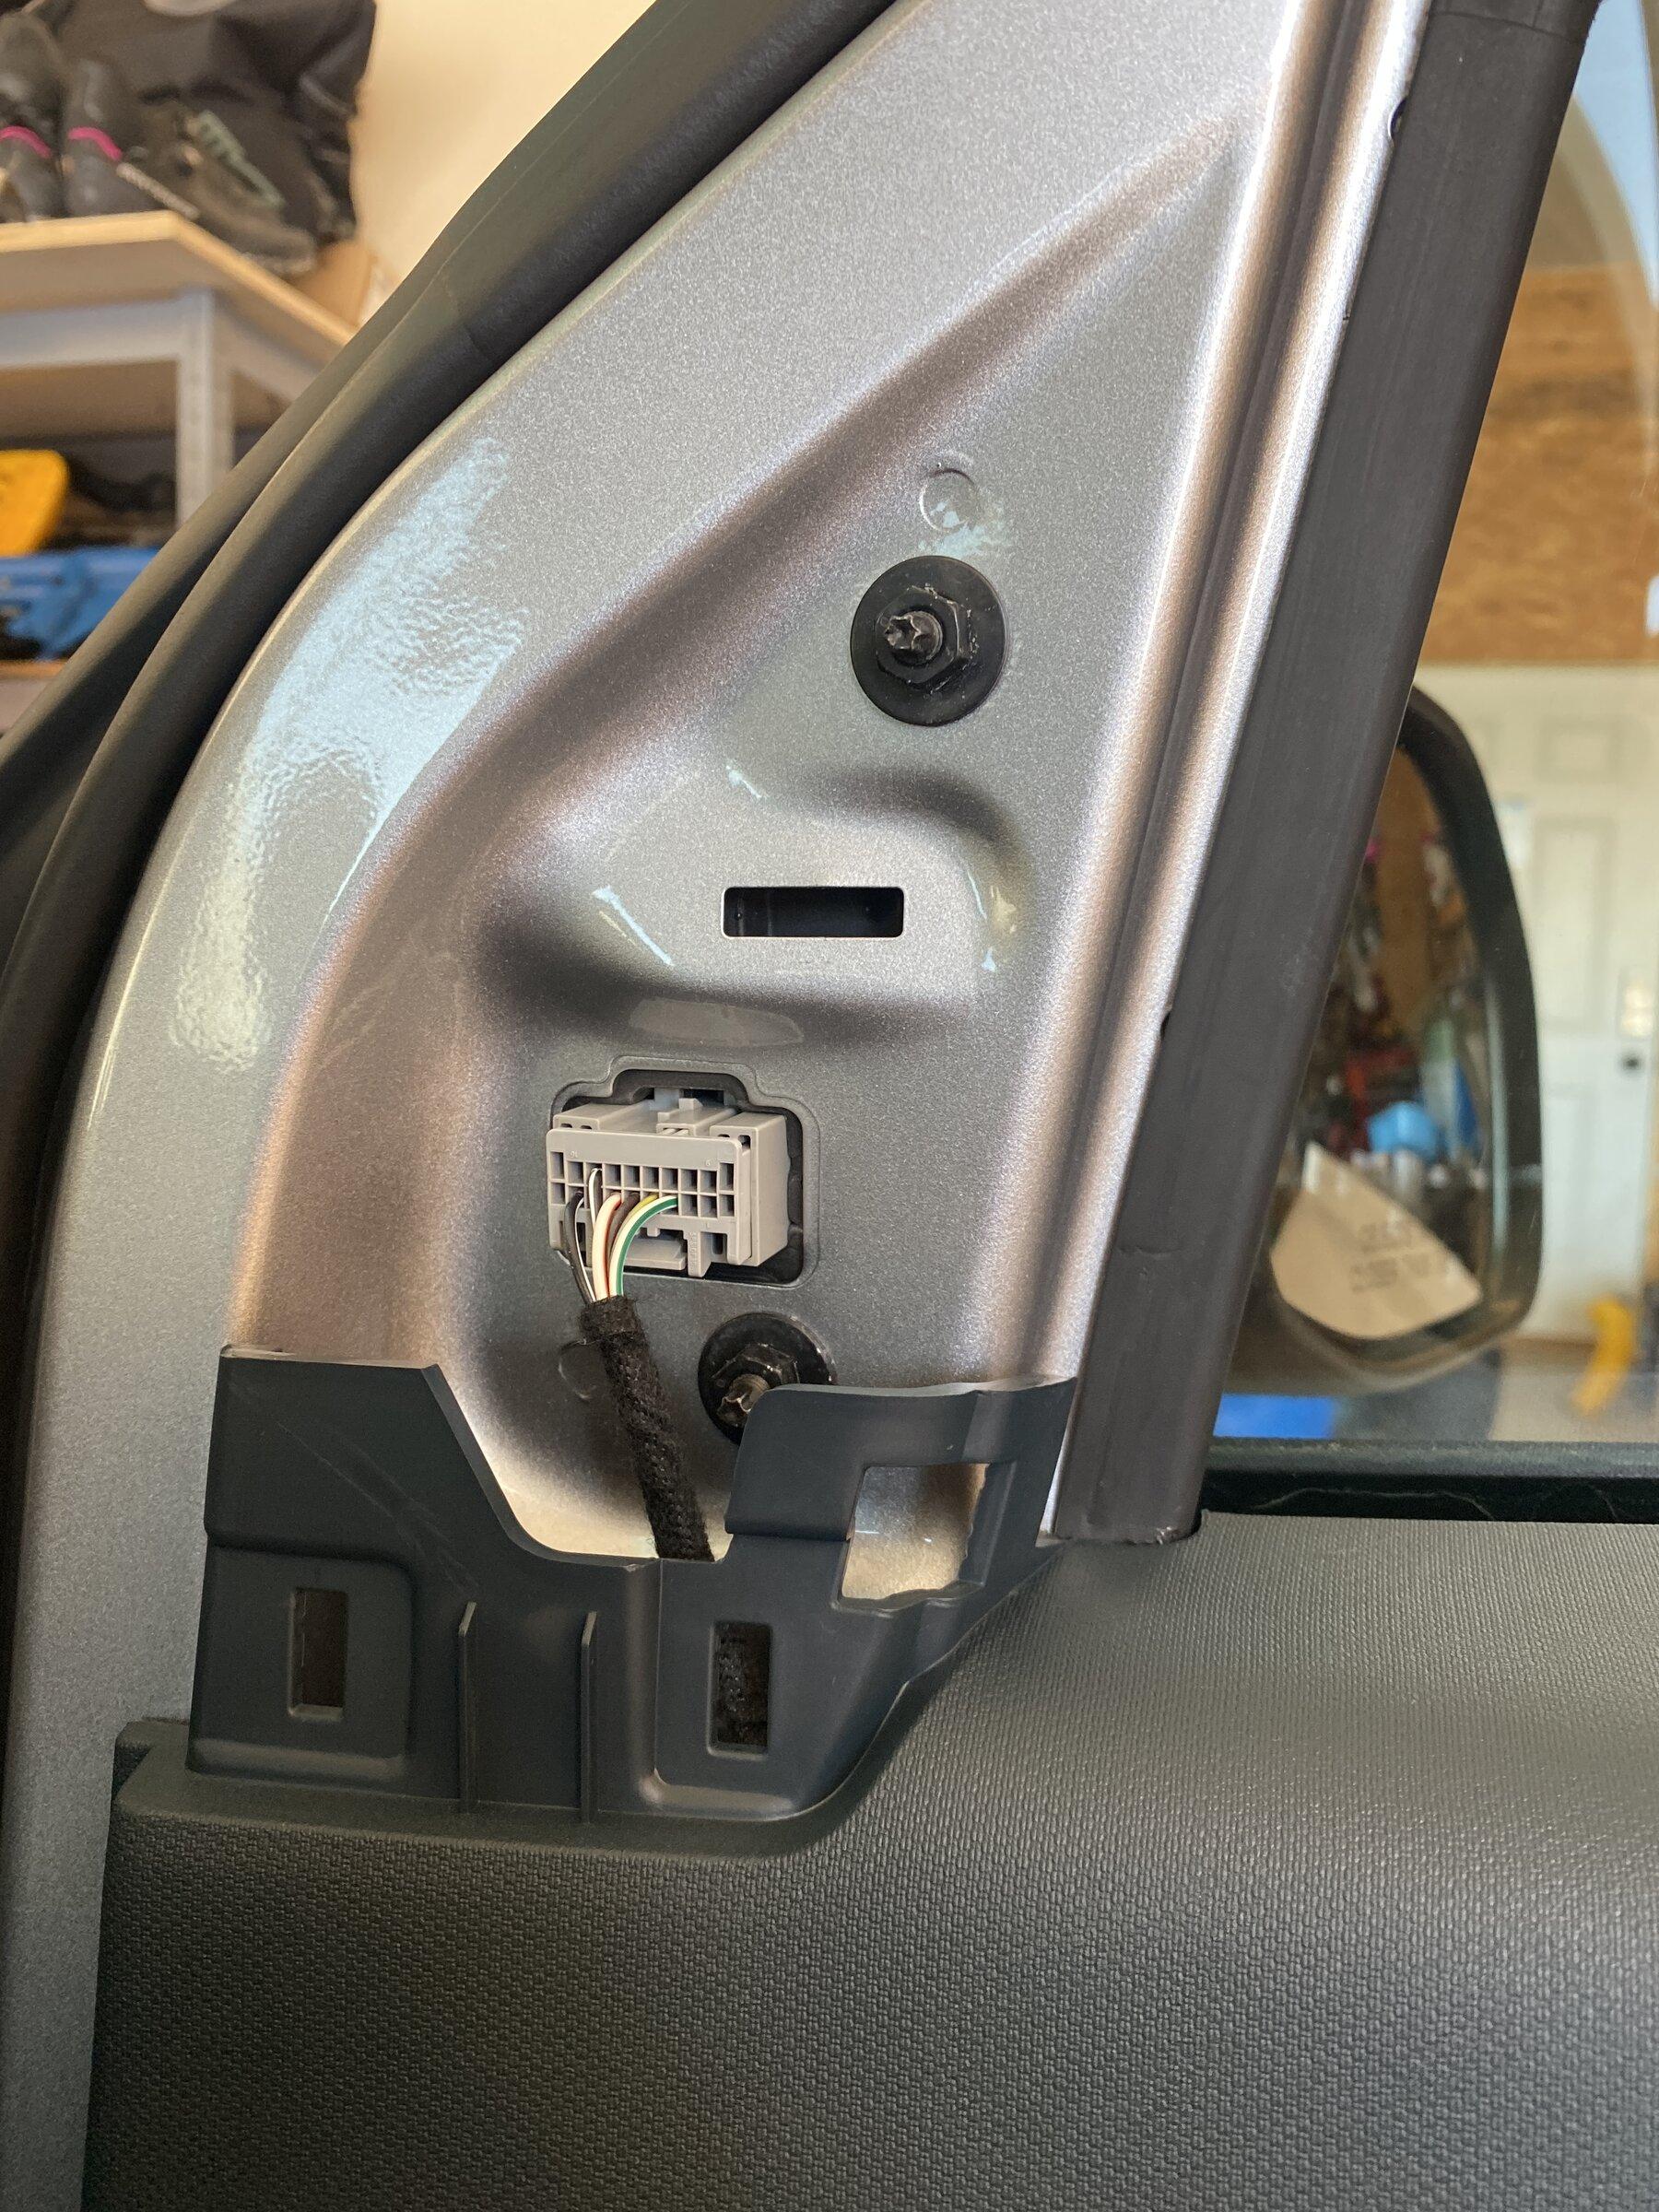
Next, you will need to remove the window switch panel. Start on the left side of the panel and work your way around to the front. The panel has about 3 clips that need to be released to get the panel out. Once out you can easily unplug the panel to get it out of the way. Once this is done you will see the two bolts that need to be removed. I believe they are 7mm.

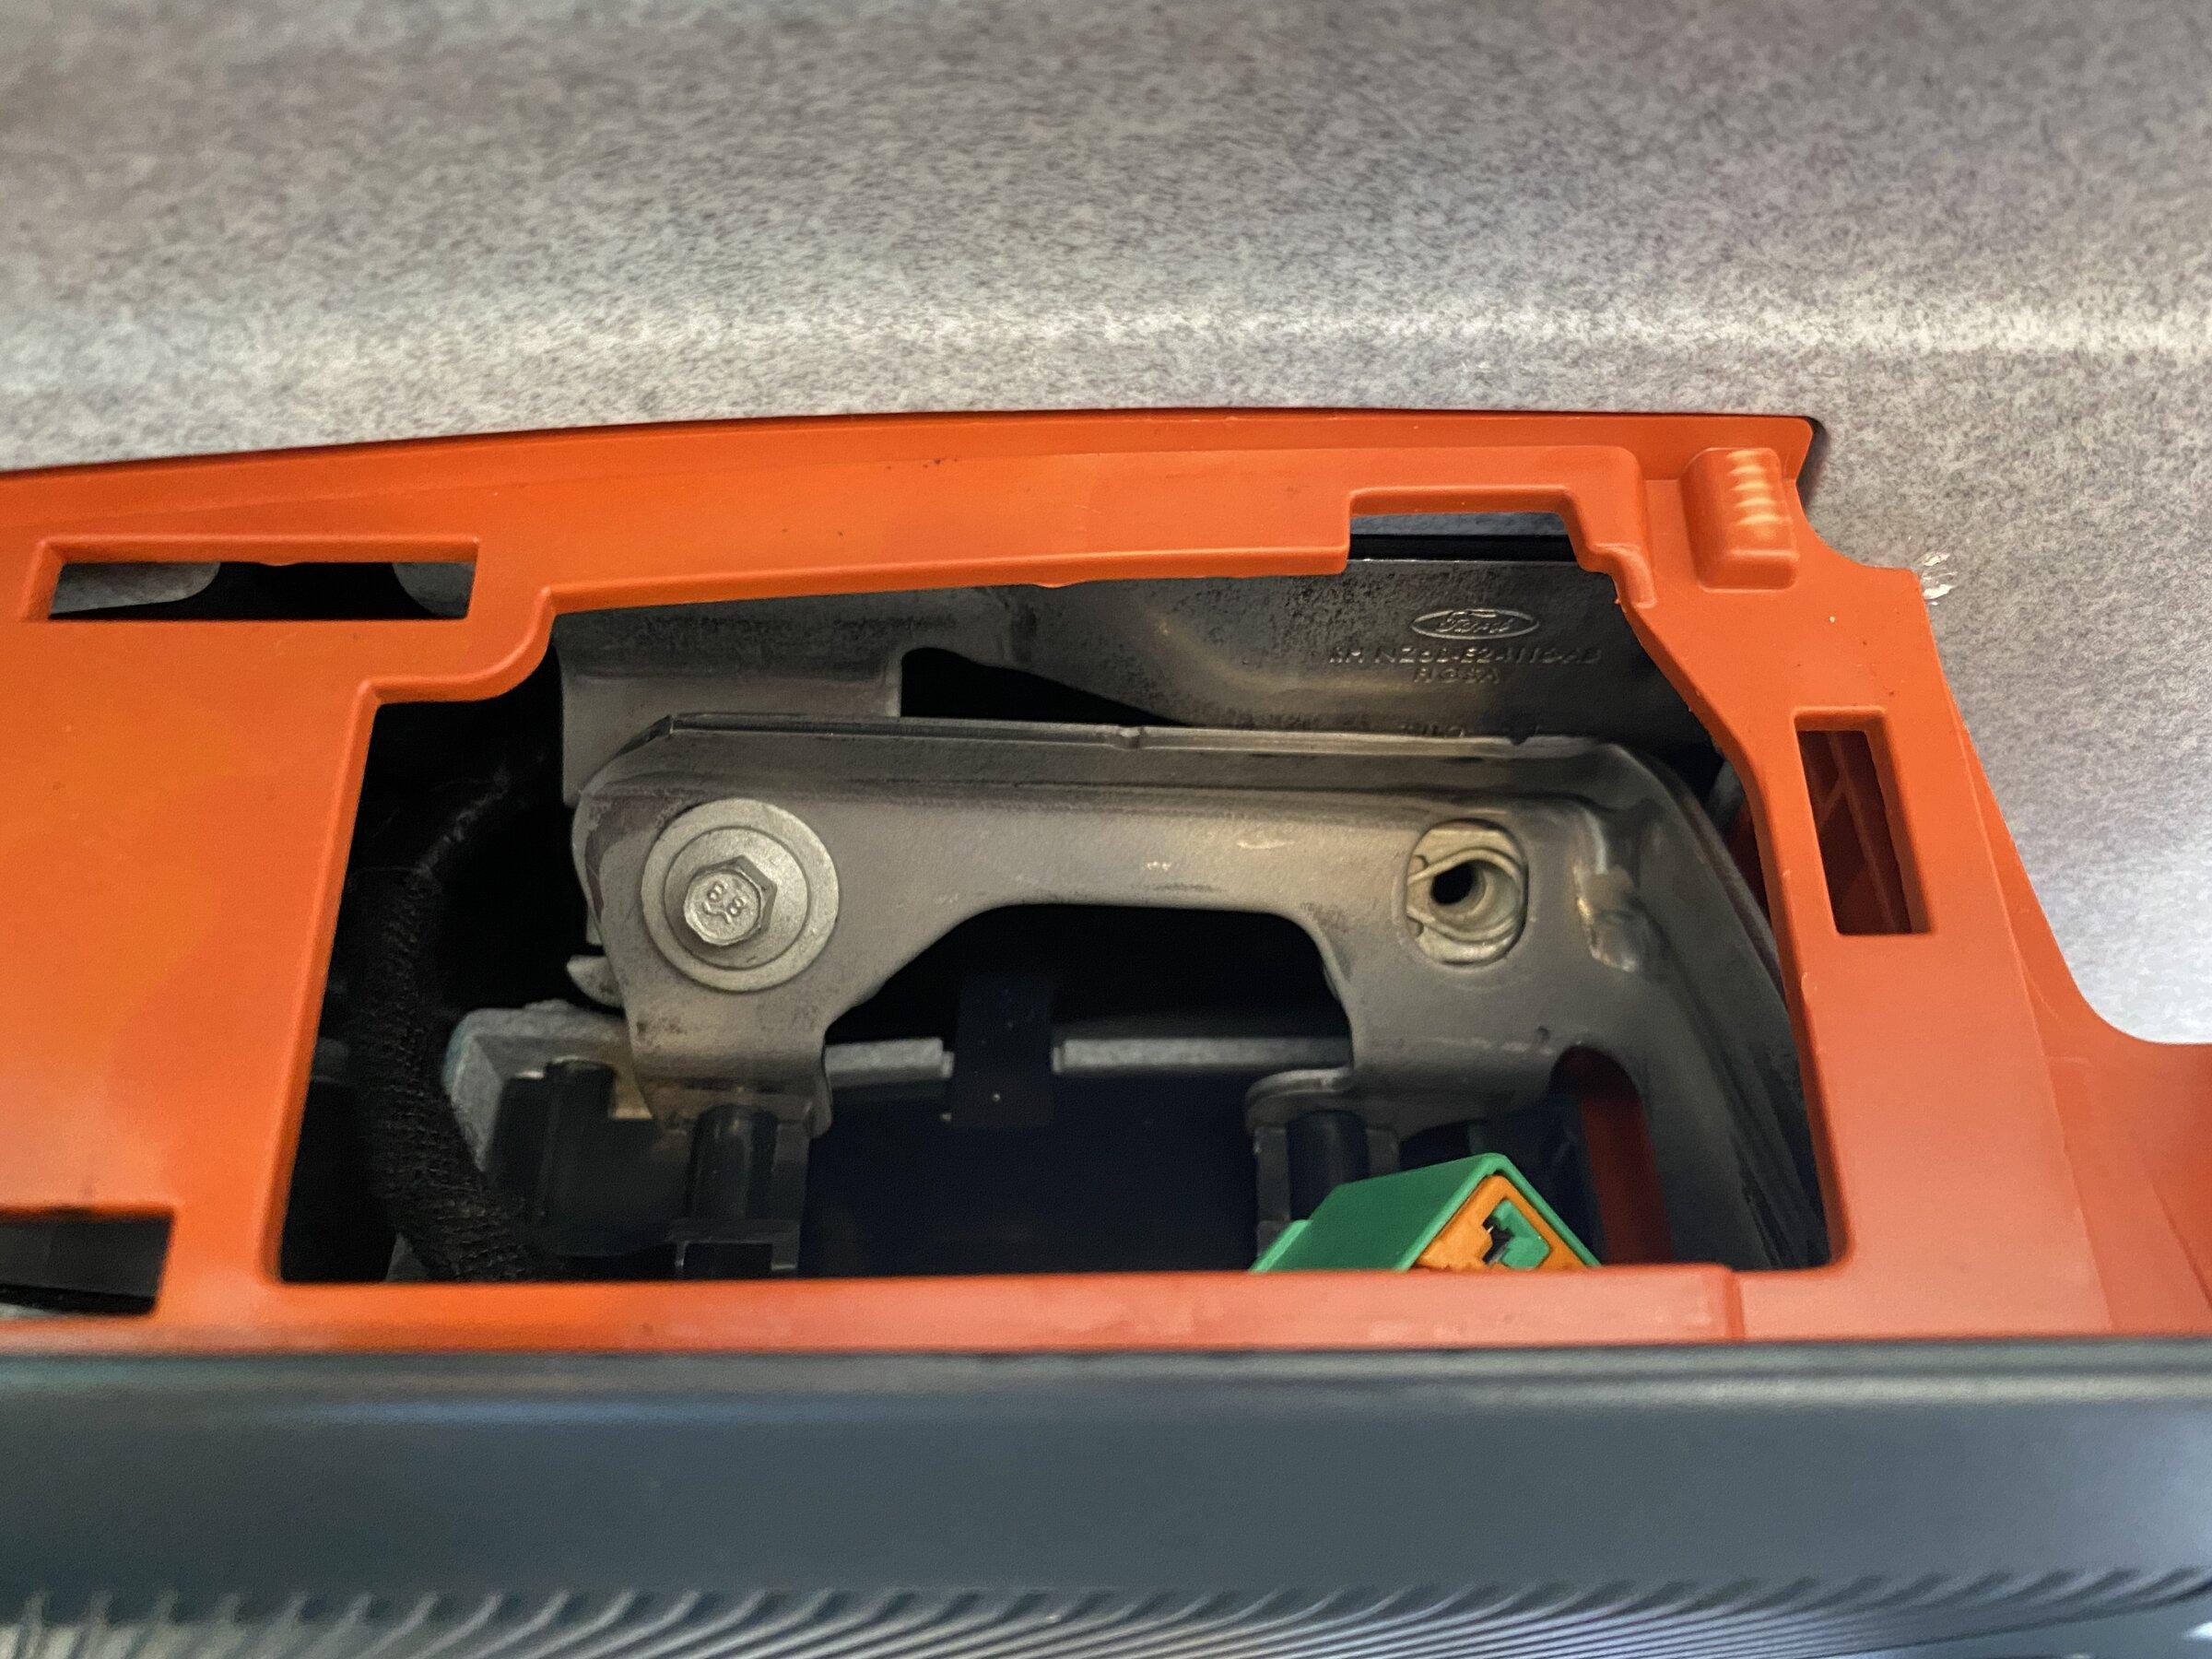
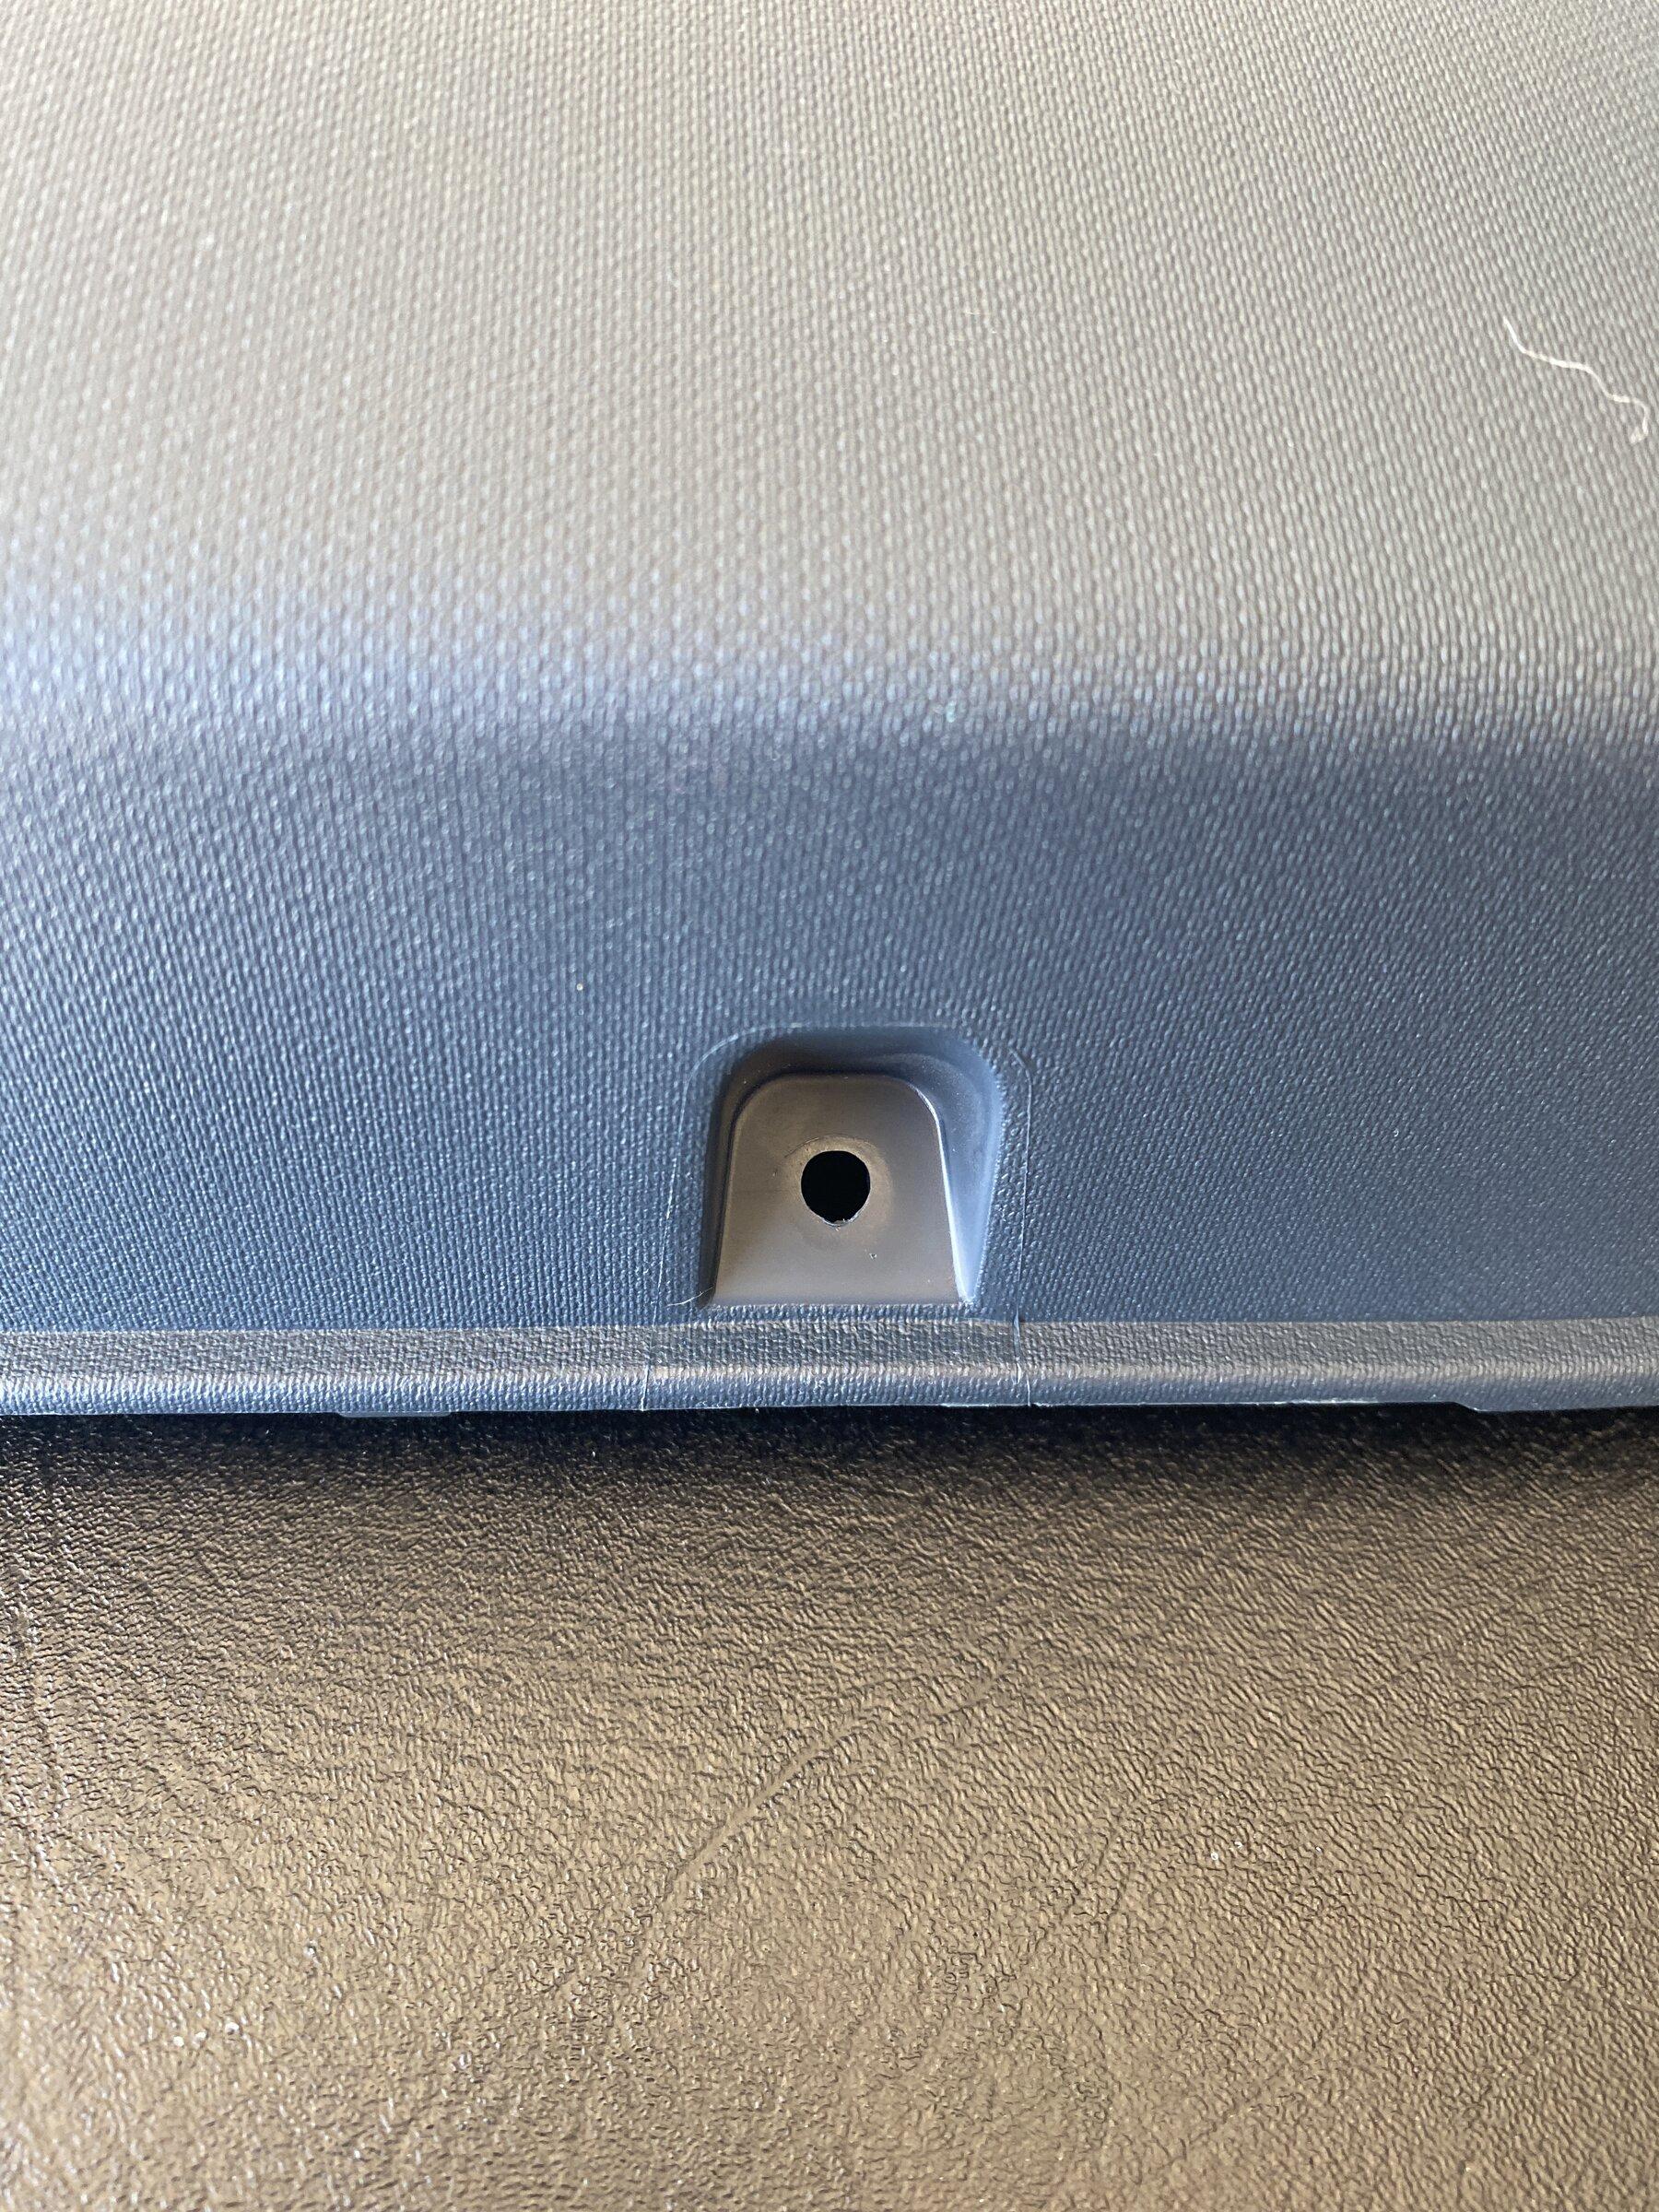
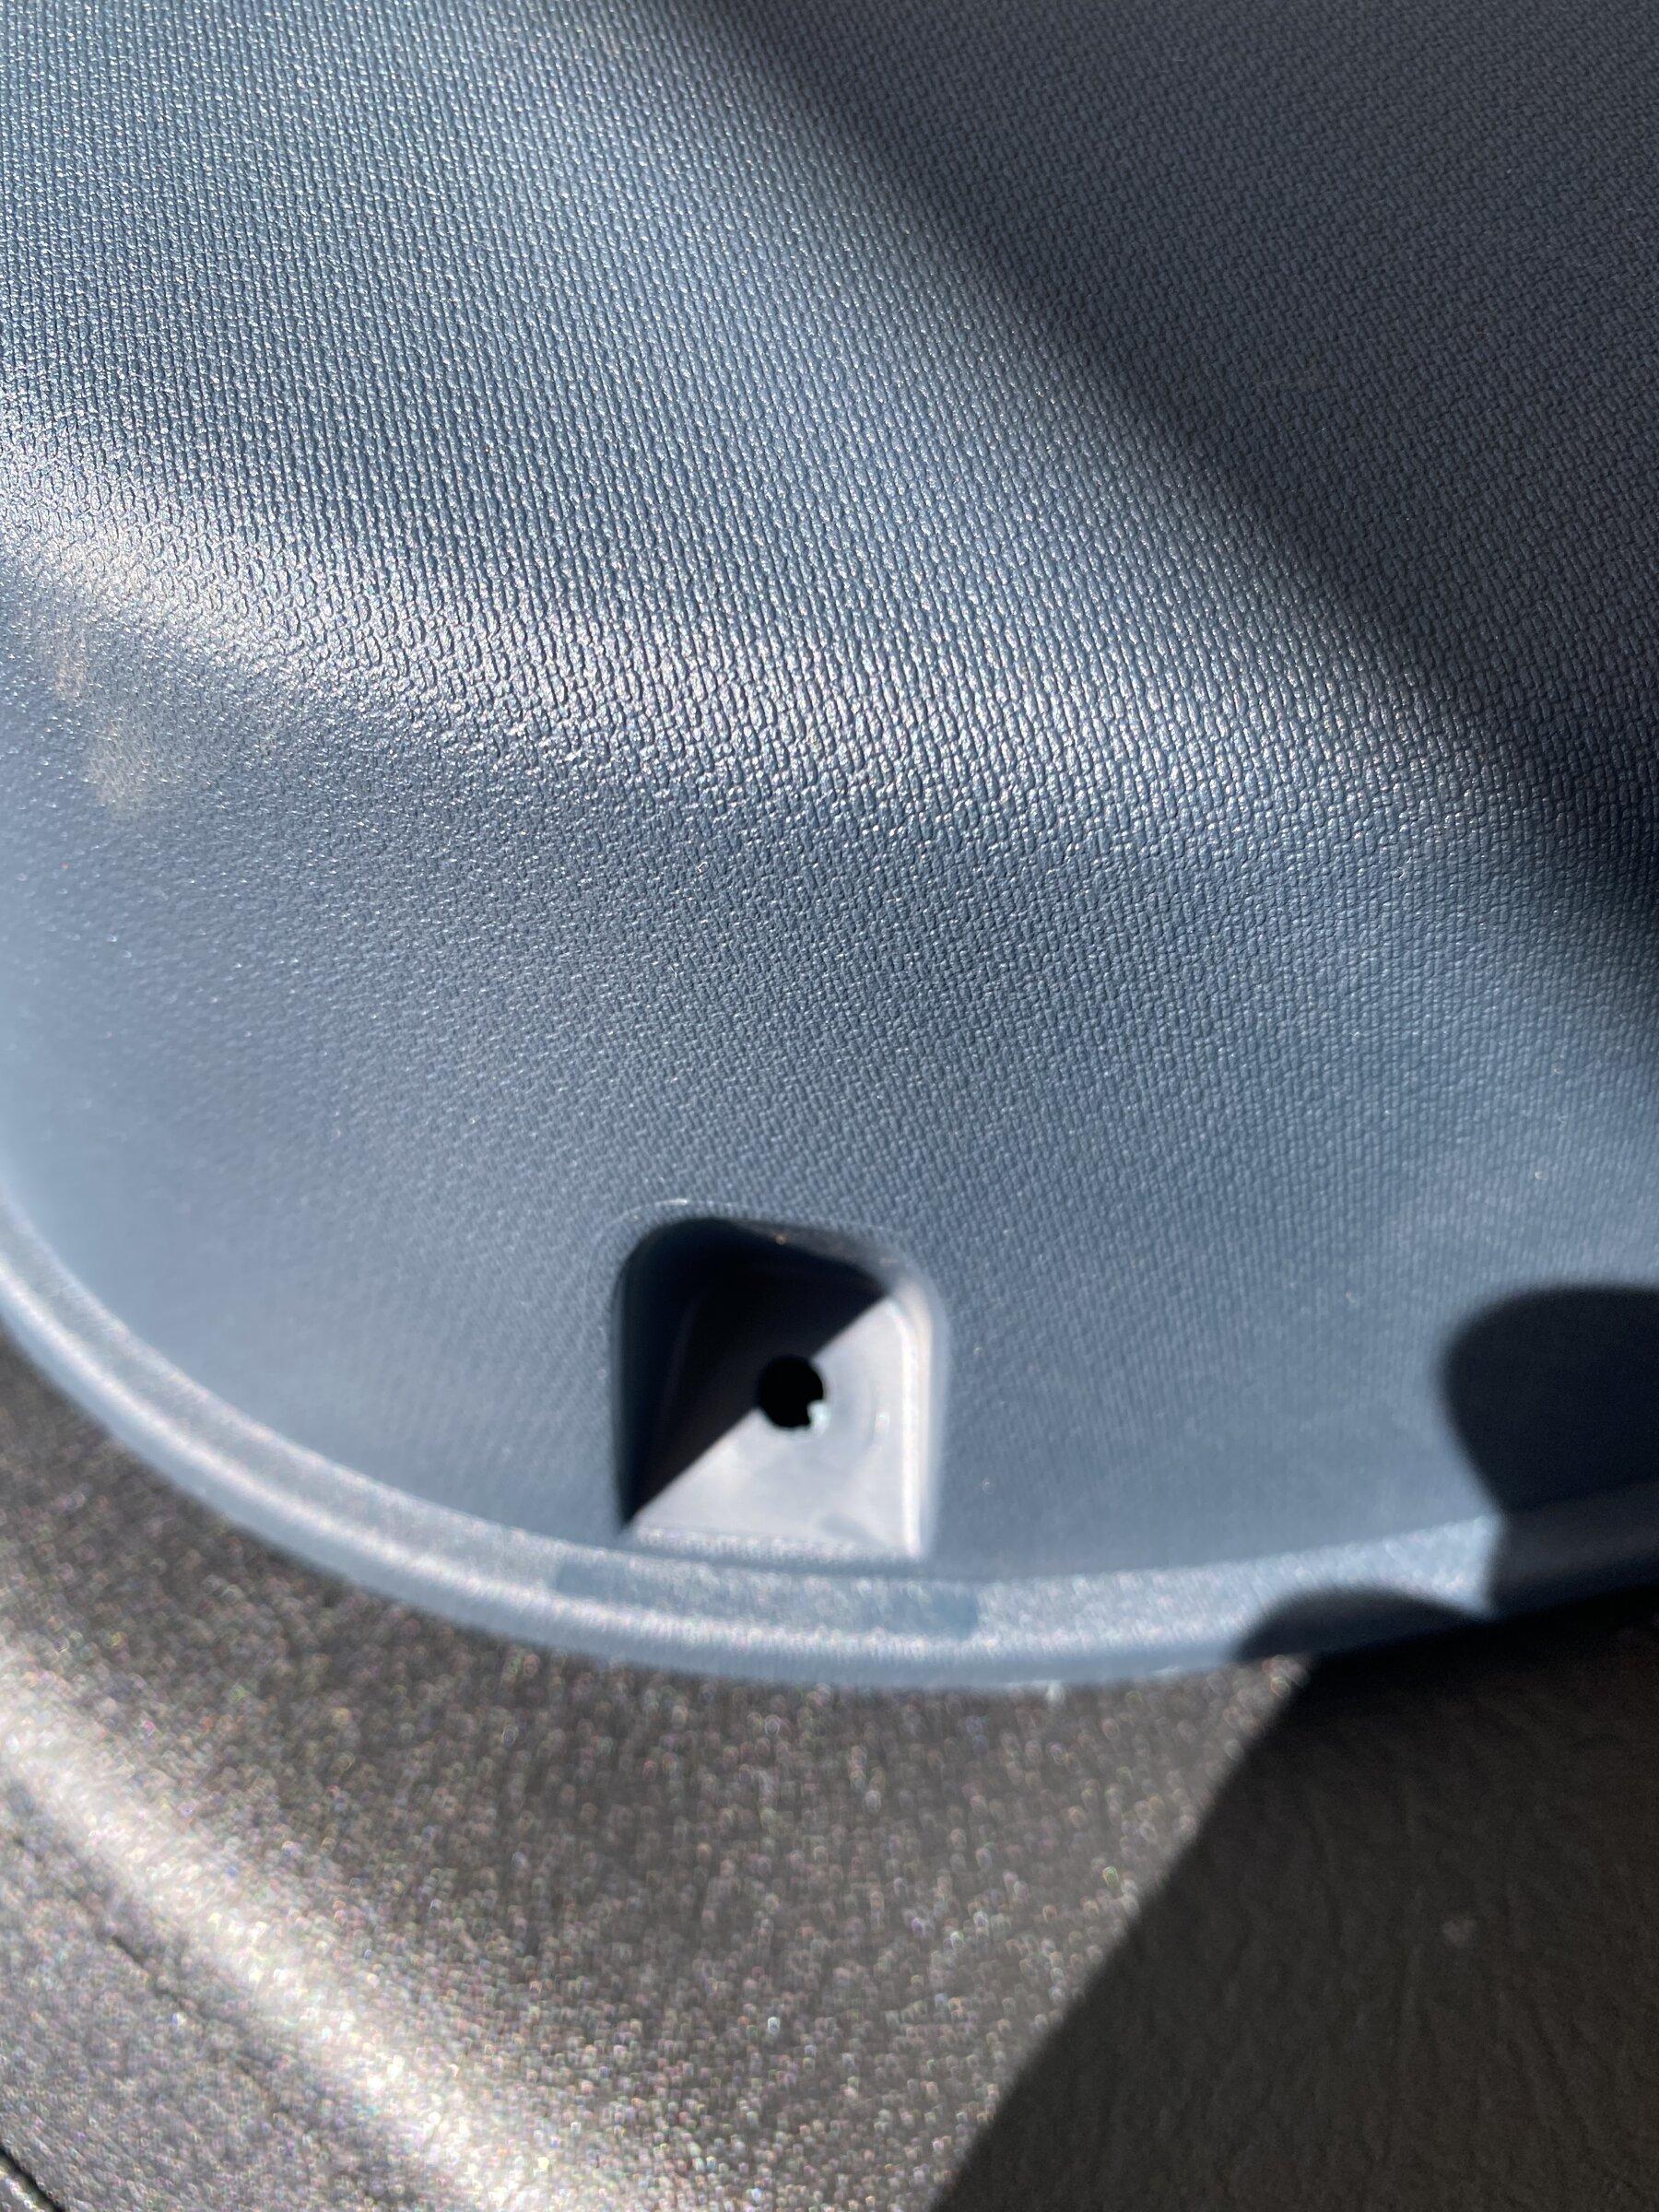
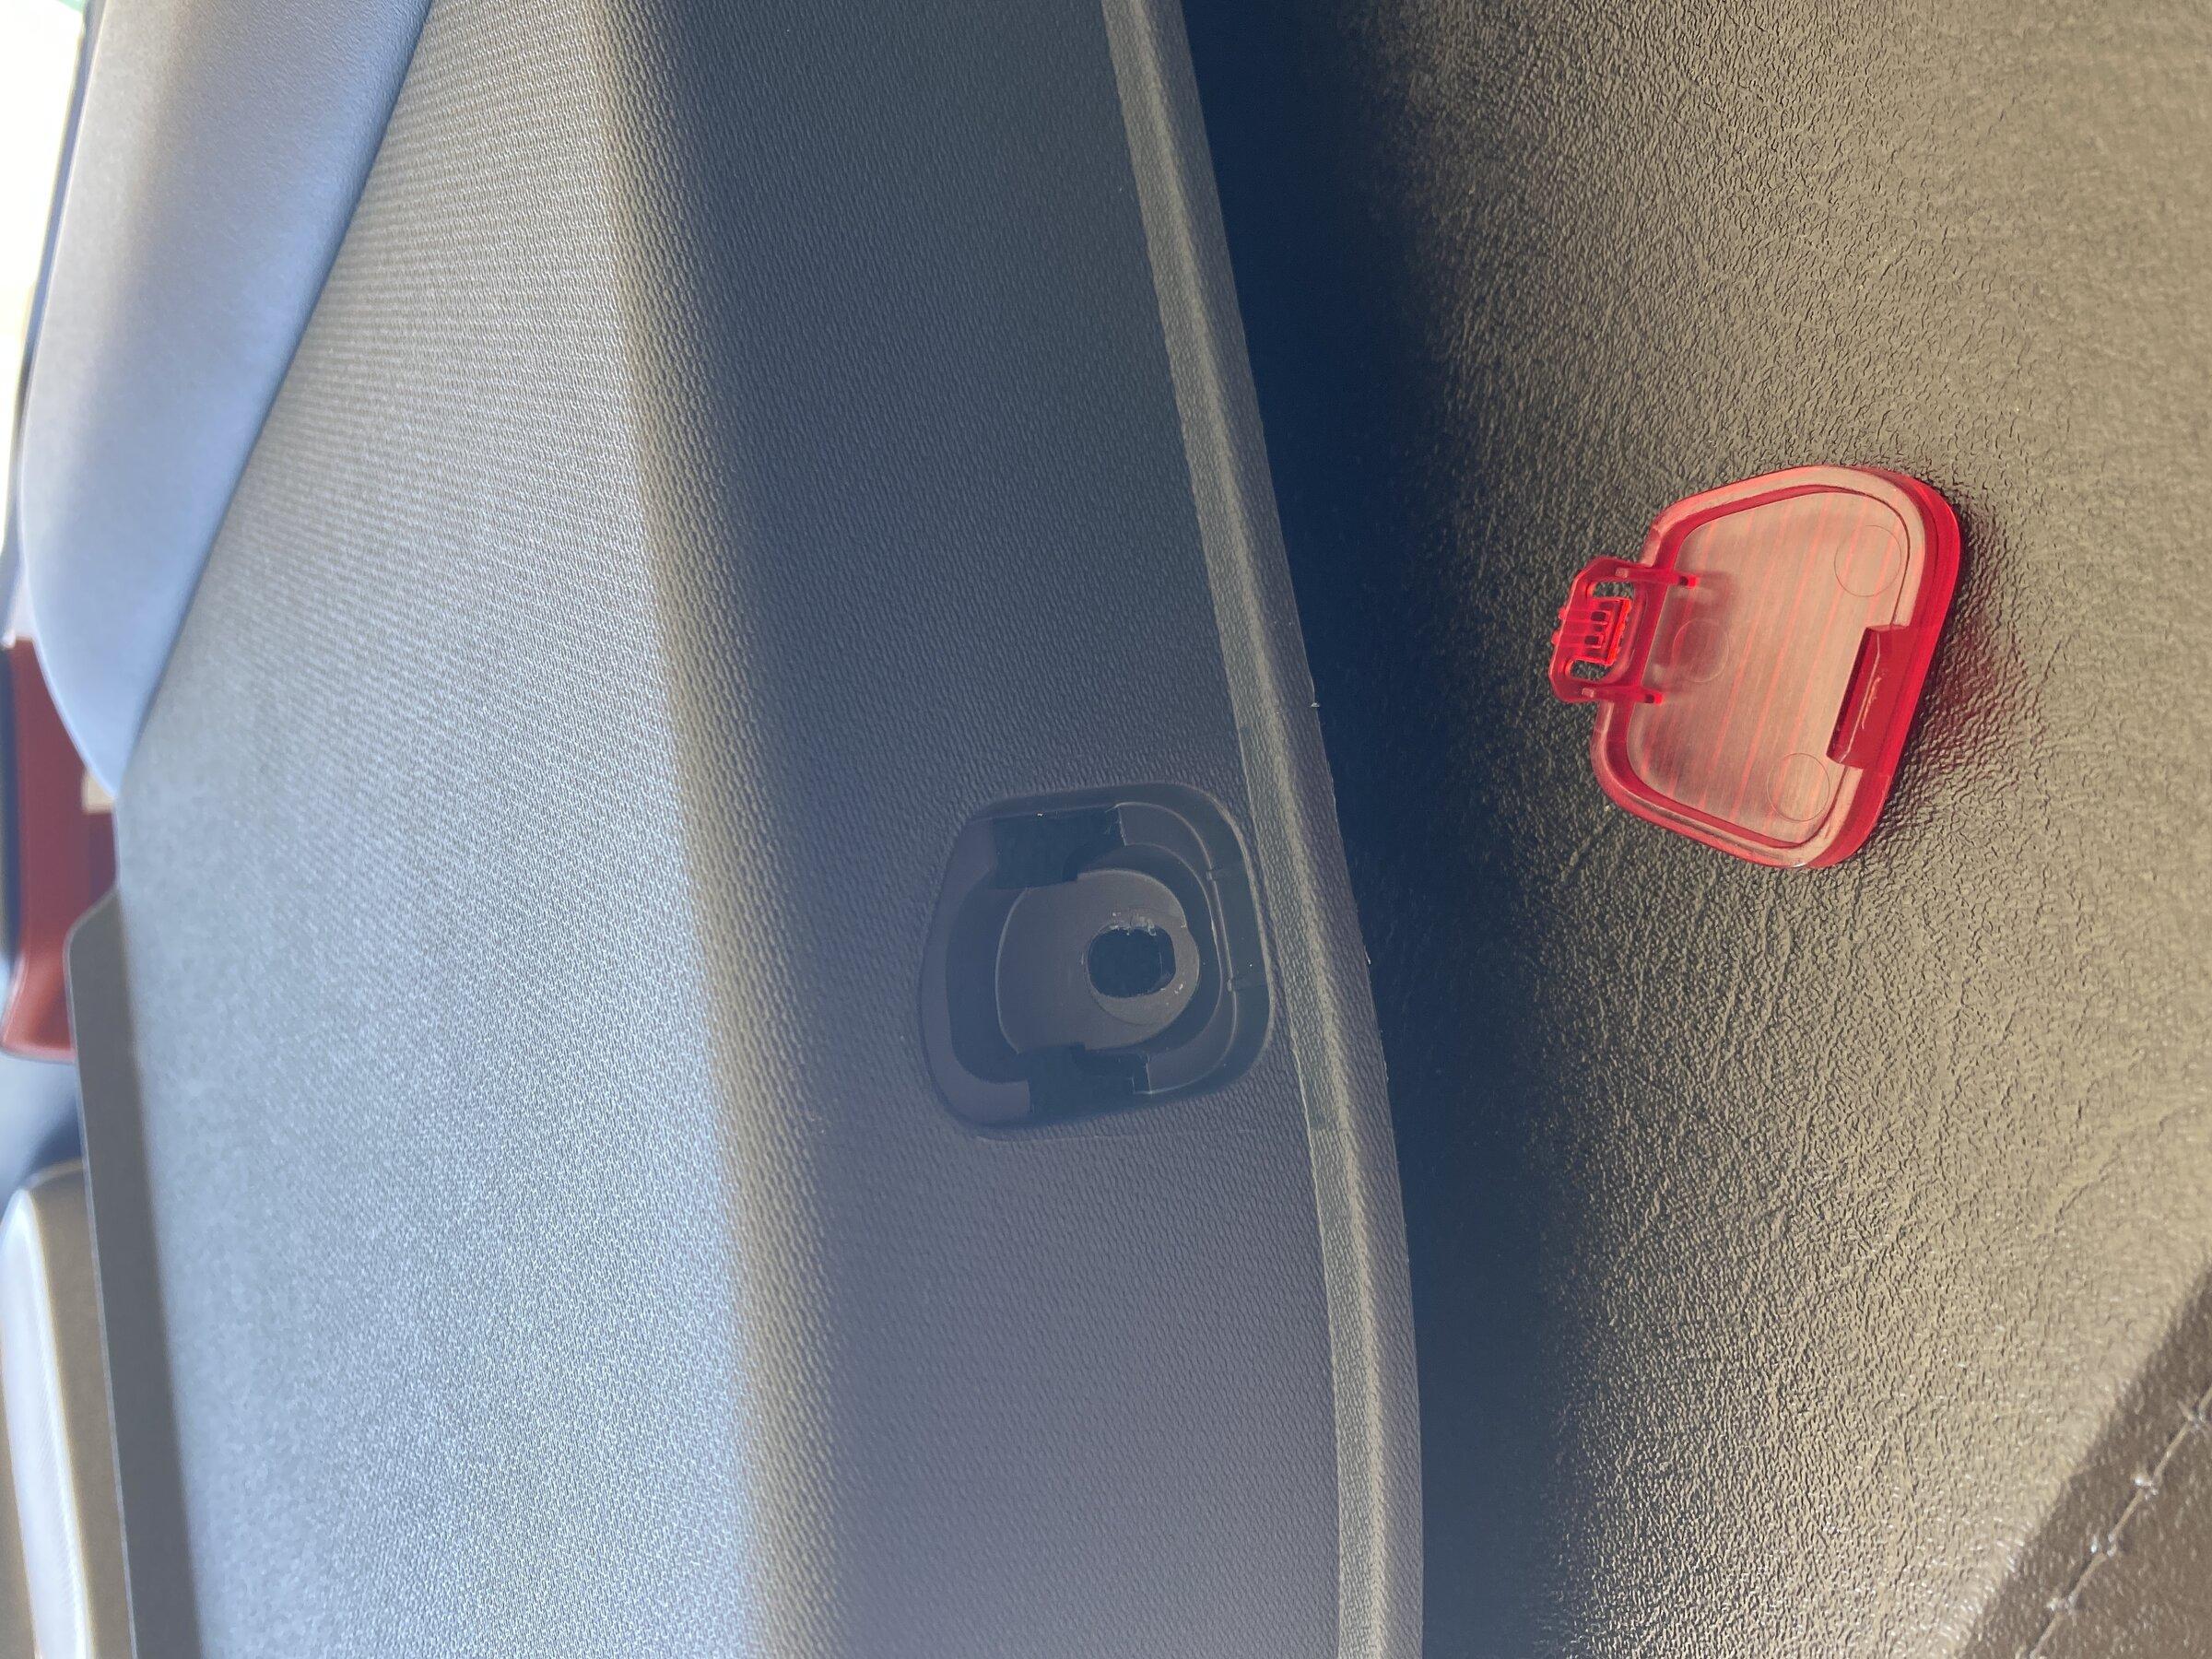
Moving on to the bottom edge of the door panel you will have 3 7mm bolts/screws that need to be removed. 2 of the bolts are along the bottom edge the third one is behind the red "reflector"
This next step is the most likely to cause broken clips. You need to now work to release the door panel from the door skin. Starting at the BOTTOM and right side of the panel and using your panel removal tools work to create a gap between the door panel and the door skin that will allow you to get a finger hold on the door panel. Using a pretty good amount of force work to start releasing the plastic door clips that continue to hold the door panel to door skin. It will take a good amount of force and it is likely that a clip or two will break (I only broke one between the passenger and driver side). I believe there are 4 clips that need to be popped free. Once all the clips are all popped you should be able to lift the door panel up and off the inner door skin. Keep in mind the door handle/lock mechanism will still be connected. It's a bit tricky to remove the fragile plastic piece that holds the cables, but can be done with care and allows the panel to be fully removed from the door to allow you to work freely on the door panel (I did this to install my sound deadener).
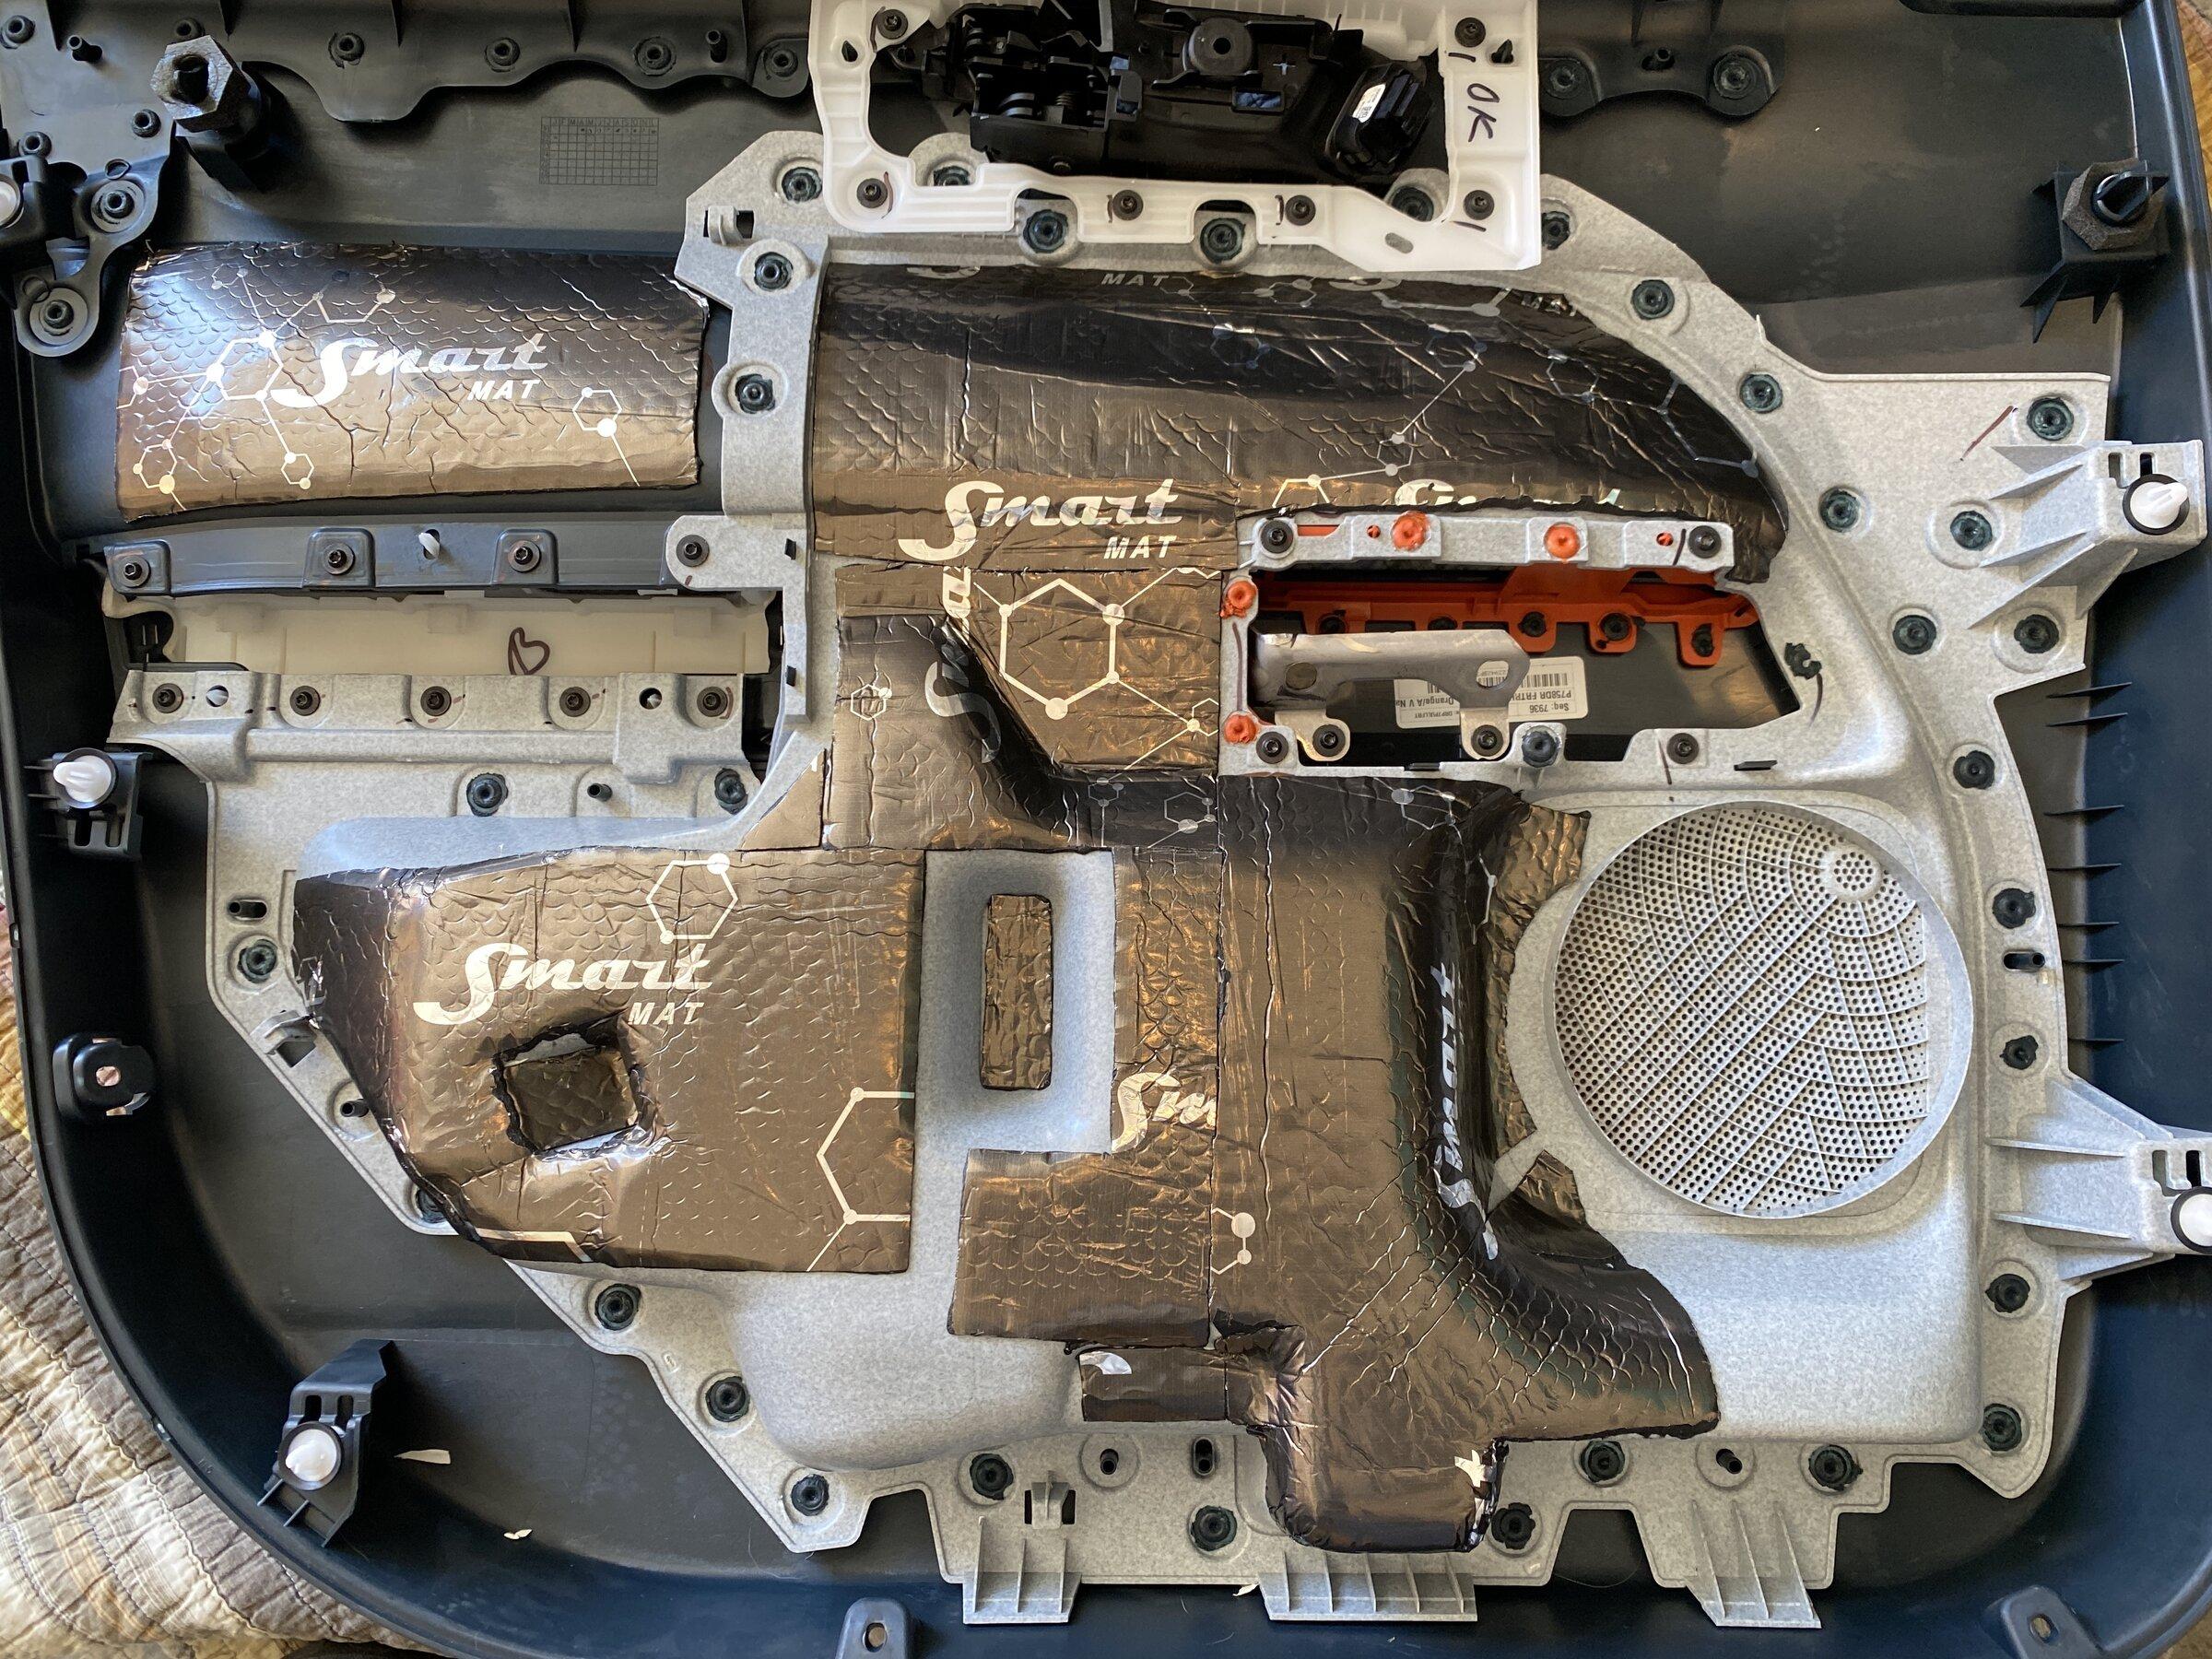
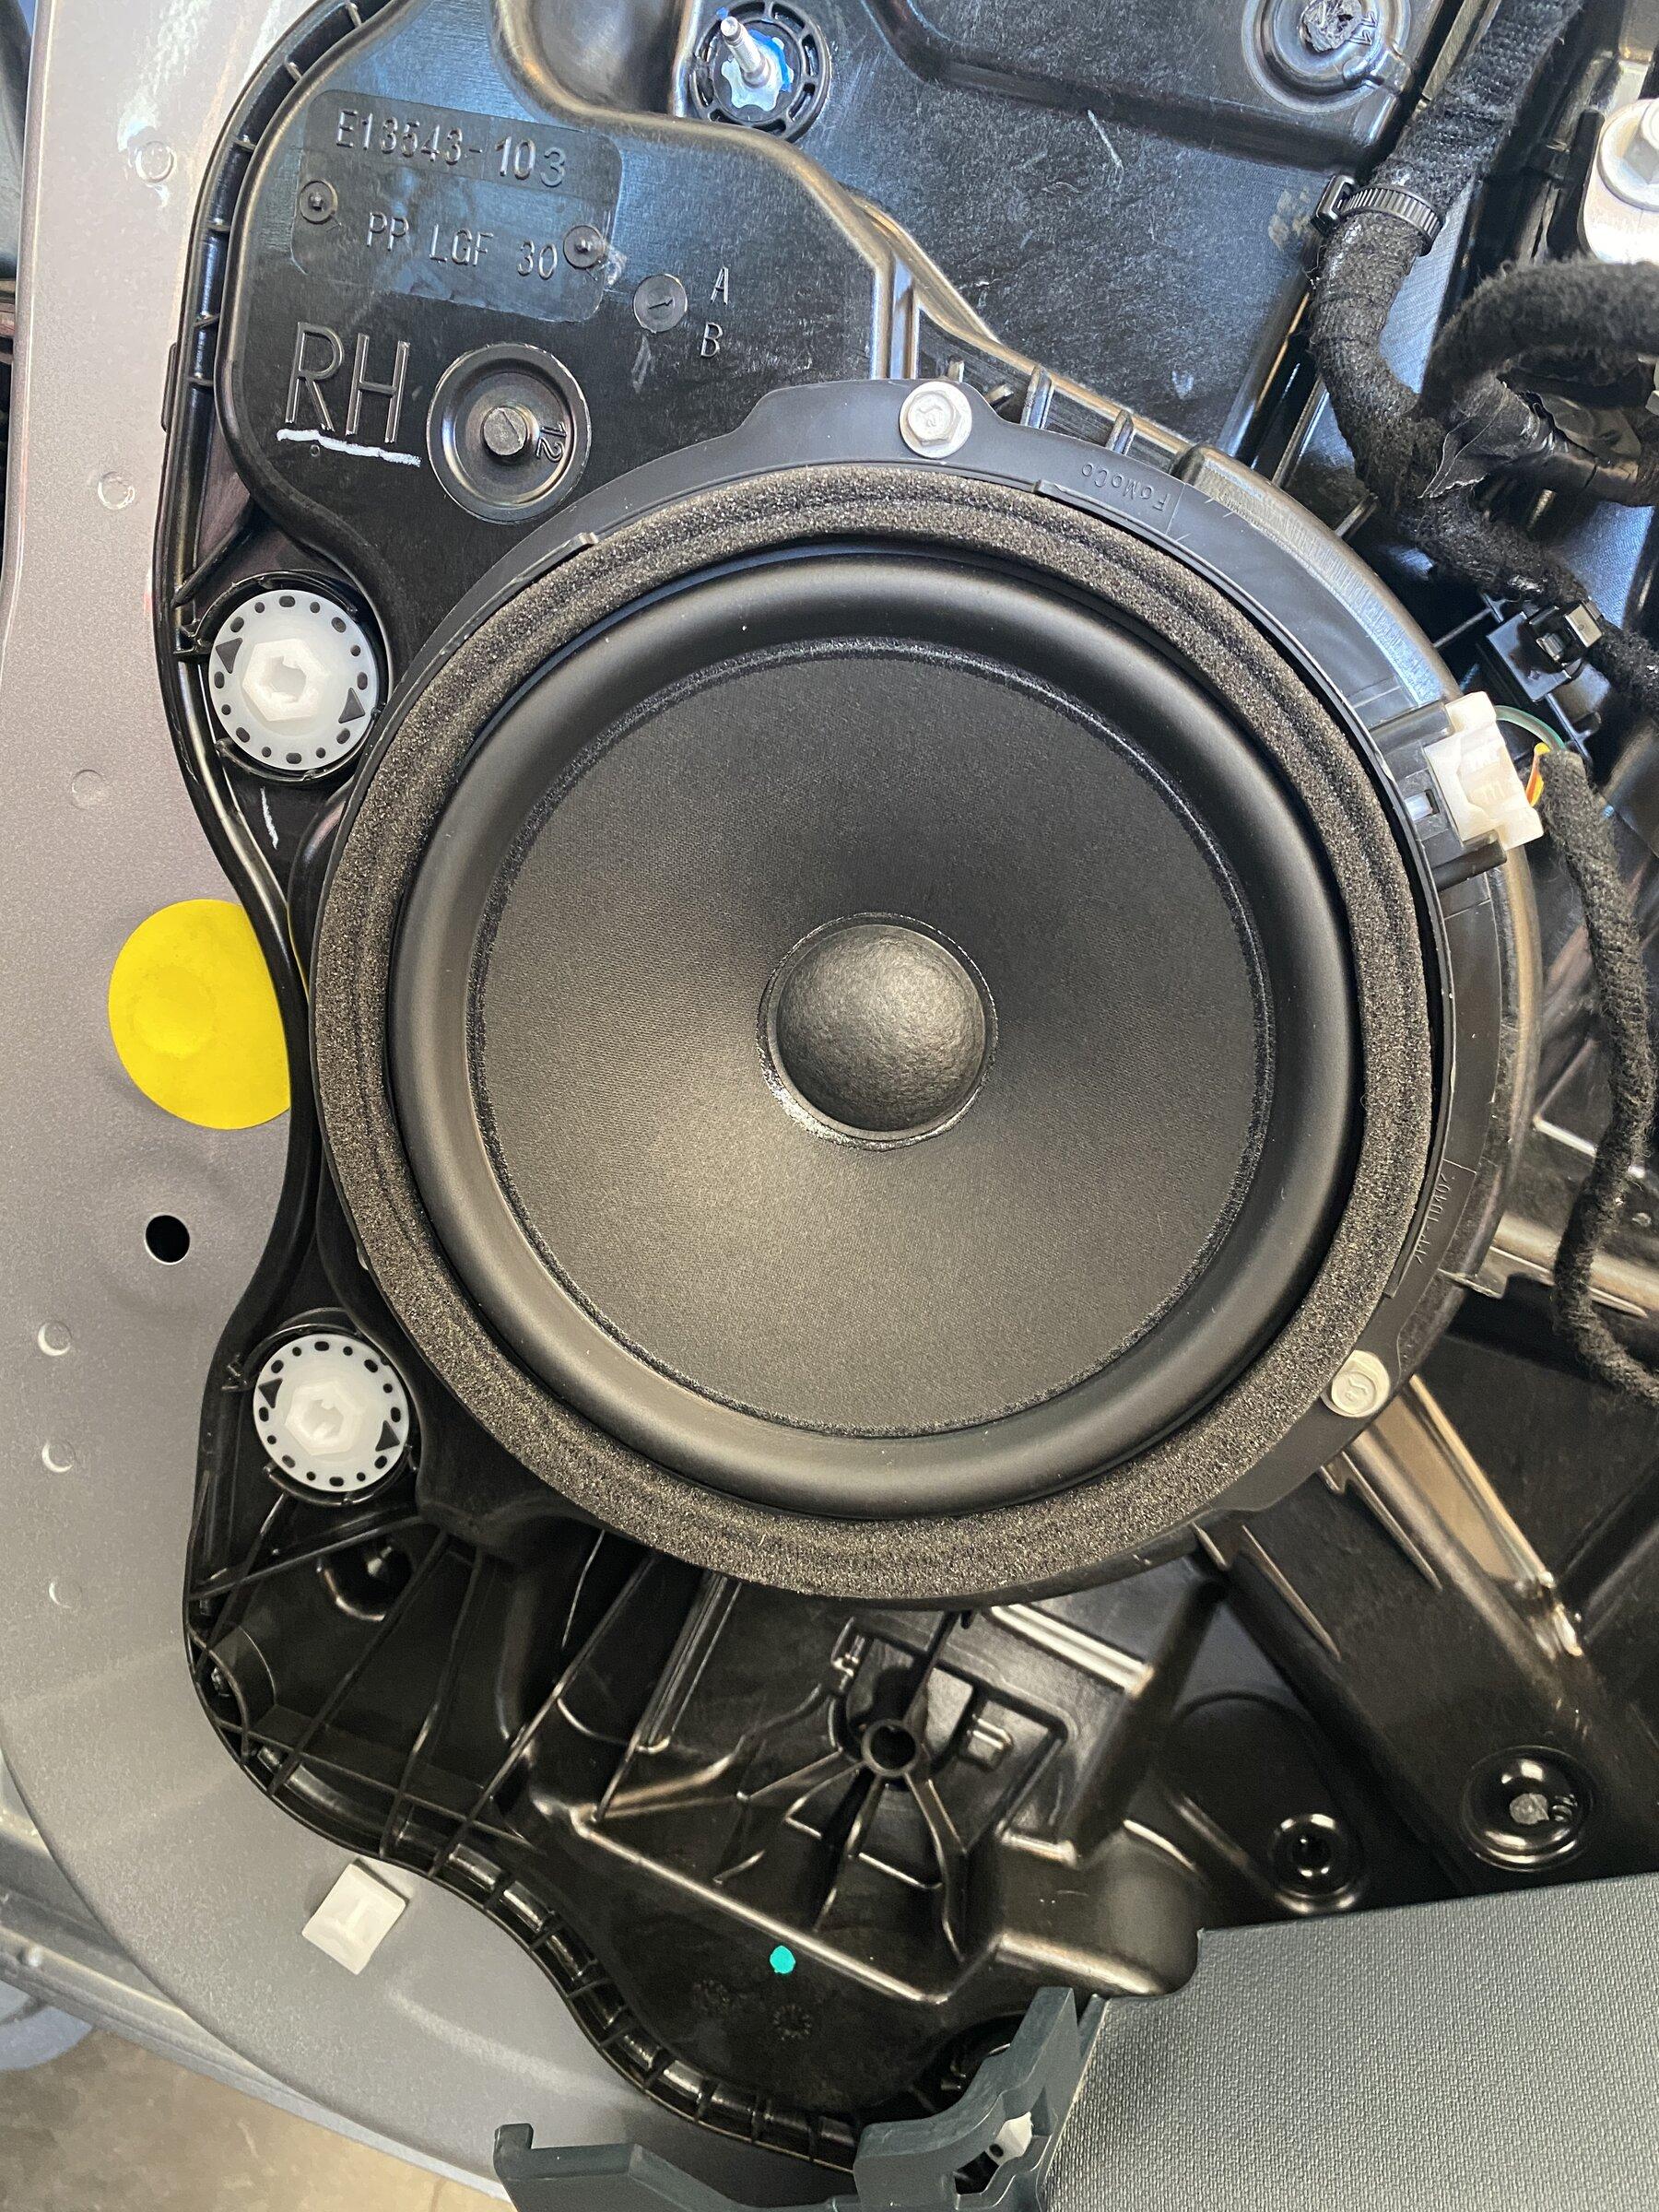
Once the door panel is fully removed it is as easy as removing 3 7mm bolts to remove the stock 6.5" door speaker and replace. Since I am using the PowerBass speakers it was plug and play. Reverse install to re-assemble.
Head Unit: Stock
Front Speakers: PowerBass OE65C-FD $130
Rear Speakers: Pioneer TS-G400 $60
Subwoofer: Kicker Hideaway 8" $270
Line Converter: AudioControl LC2i $100
Misc.: Kicker KISL Adapter $17
Plug 'N' Play Kits LC2i Harness $90
Scosche Extape
Bojo Trim Panel Tools
S'mart Mat 90 Mil Sound Deadener $25
Sound Deadener Roller
Front Door Speaker Upgrade
So this weekend I was able to get the front speakers installed. In this section I am going to try and highlight what I experienced.
Driver/Passenger Door Panel Removal
First off, WORK SLOW AND TAKE YOUR TIME as this will reduce any potential damage to plastic pieces and the various clips. Start at the top and corner of the door and pop off the black cover. 1 metal and 2 plastic clips need to be released. Next, at the top of the door panel, remove the cover behind the door handle pull. DO NOT use a screwdriver, but make sure to have a set up panel removal tools. The bolt behind the panel is an 8mm.
Next, you will need to remove the window switch panel. Start on the left side of the panel and work your way around to the front. The panel has about 3 clips that need to be released to get the panel out. Once out you can easily unplug the panel to get it out of the way. Once this is done you will see the two bolts that need to be removed. I believe they are 7mm.
Moving on to the bottom edge of the door panel you will have 3 7mm bolts/screws that need to be removed. 2 of the bolts are along the bottom edge the third one is behind the red "reflector"
This next step is the most likely to cause broken clips. You need to now work to release the door panel from the door skin. Starting at the BOTTOM and right side of the panel and using your panel removal tools work to create a gap between the door panel and the door skin that will allow you to get a finger hold on the door panel. Using a pretty good amount of force work to start releasing the plastic door clips that continue to hold the door panel to door skin. It will take a good amount of force and it is likely that a clip or two will break (I only broke one between the passenger and driver side). I believe there are 4 clips that need to be popped free. Once all the clips are all popped you should be able to lift the door panel up and off the inner door skin. Keep in mind the door handle/lock mechanism will still be connected. It's a bit tricky to remove the fragile plastic piece that holds the cables, but can be done with care and allows the panel to be fully removed from the door to allow you to work freely on the door panel (I did this to install my sound deadener).
Once the door panel is fully removed it is as easy as removing 3 7mm bolts to remove the stock 6.5" door speaker and replace. Since I am using the PowerBass speakers it was plug and play. Reverse install to re-assemble.
Sponsored
Last edited:

