- First Name
- Steve
- Joined
- Jul 1, 2023
- Threads
- 2
- Messages
- 18
- Reaction score
- 45
- Location
- Marysville Wa
- Vehicle(s)
- 23 Maverick Lariat Tremor, 19 Edge ST
- Engine
- 2.0L EcoBoost
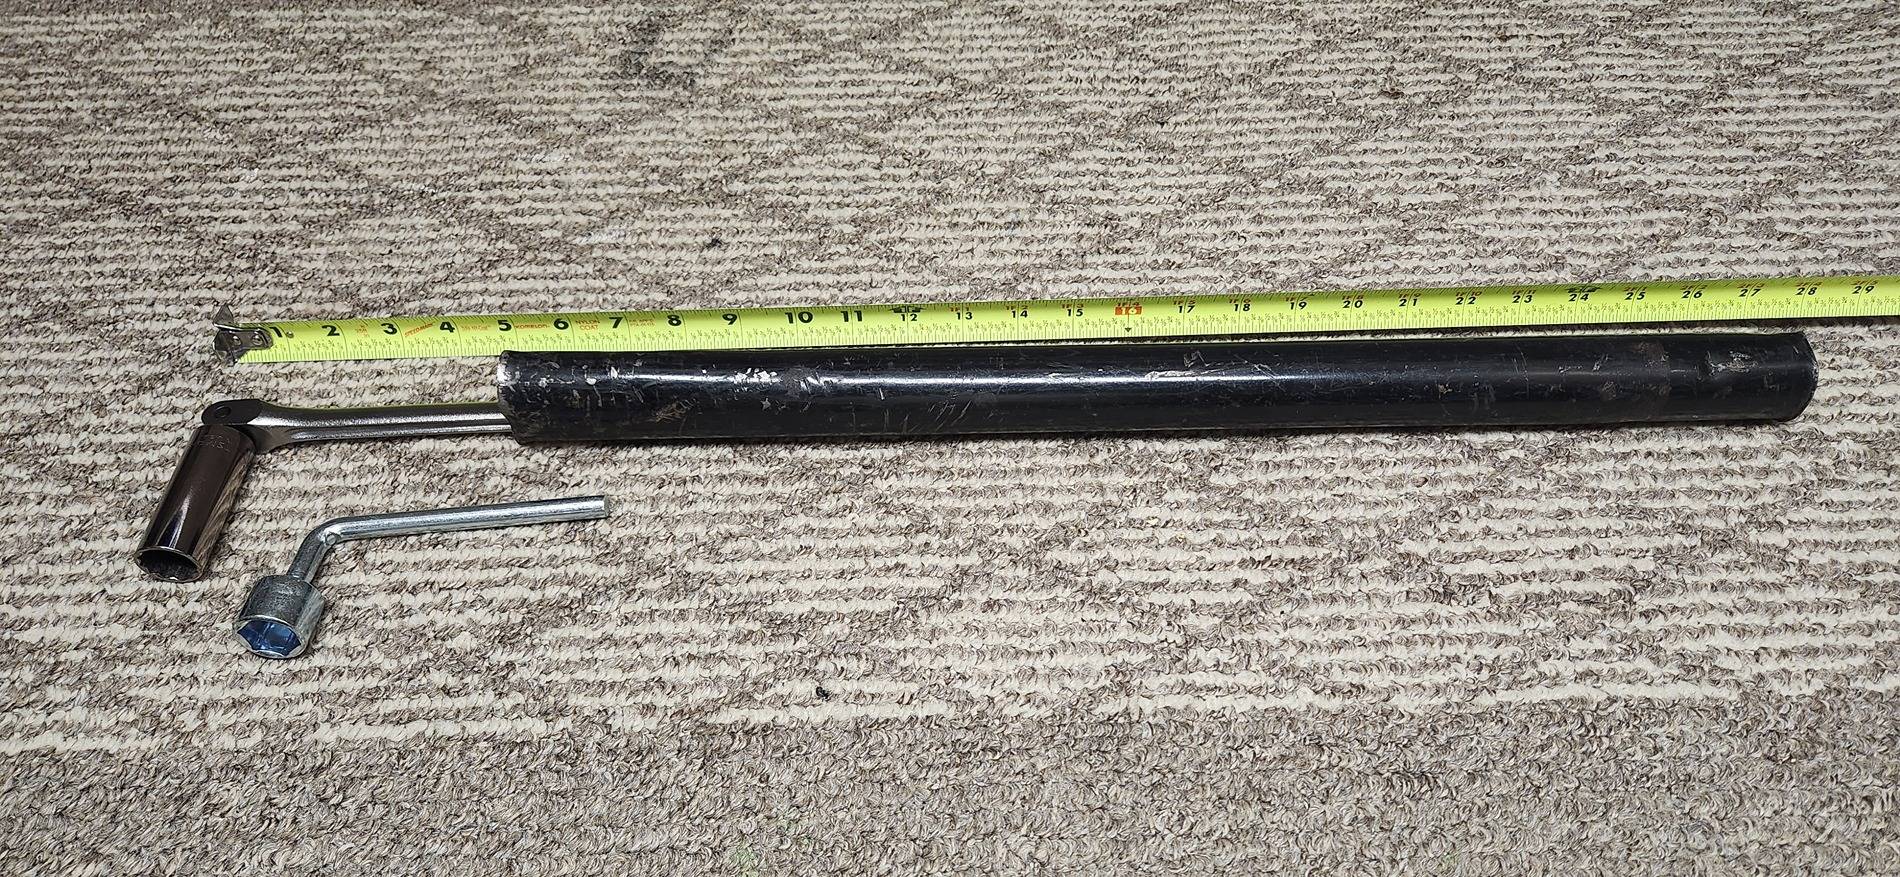
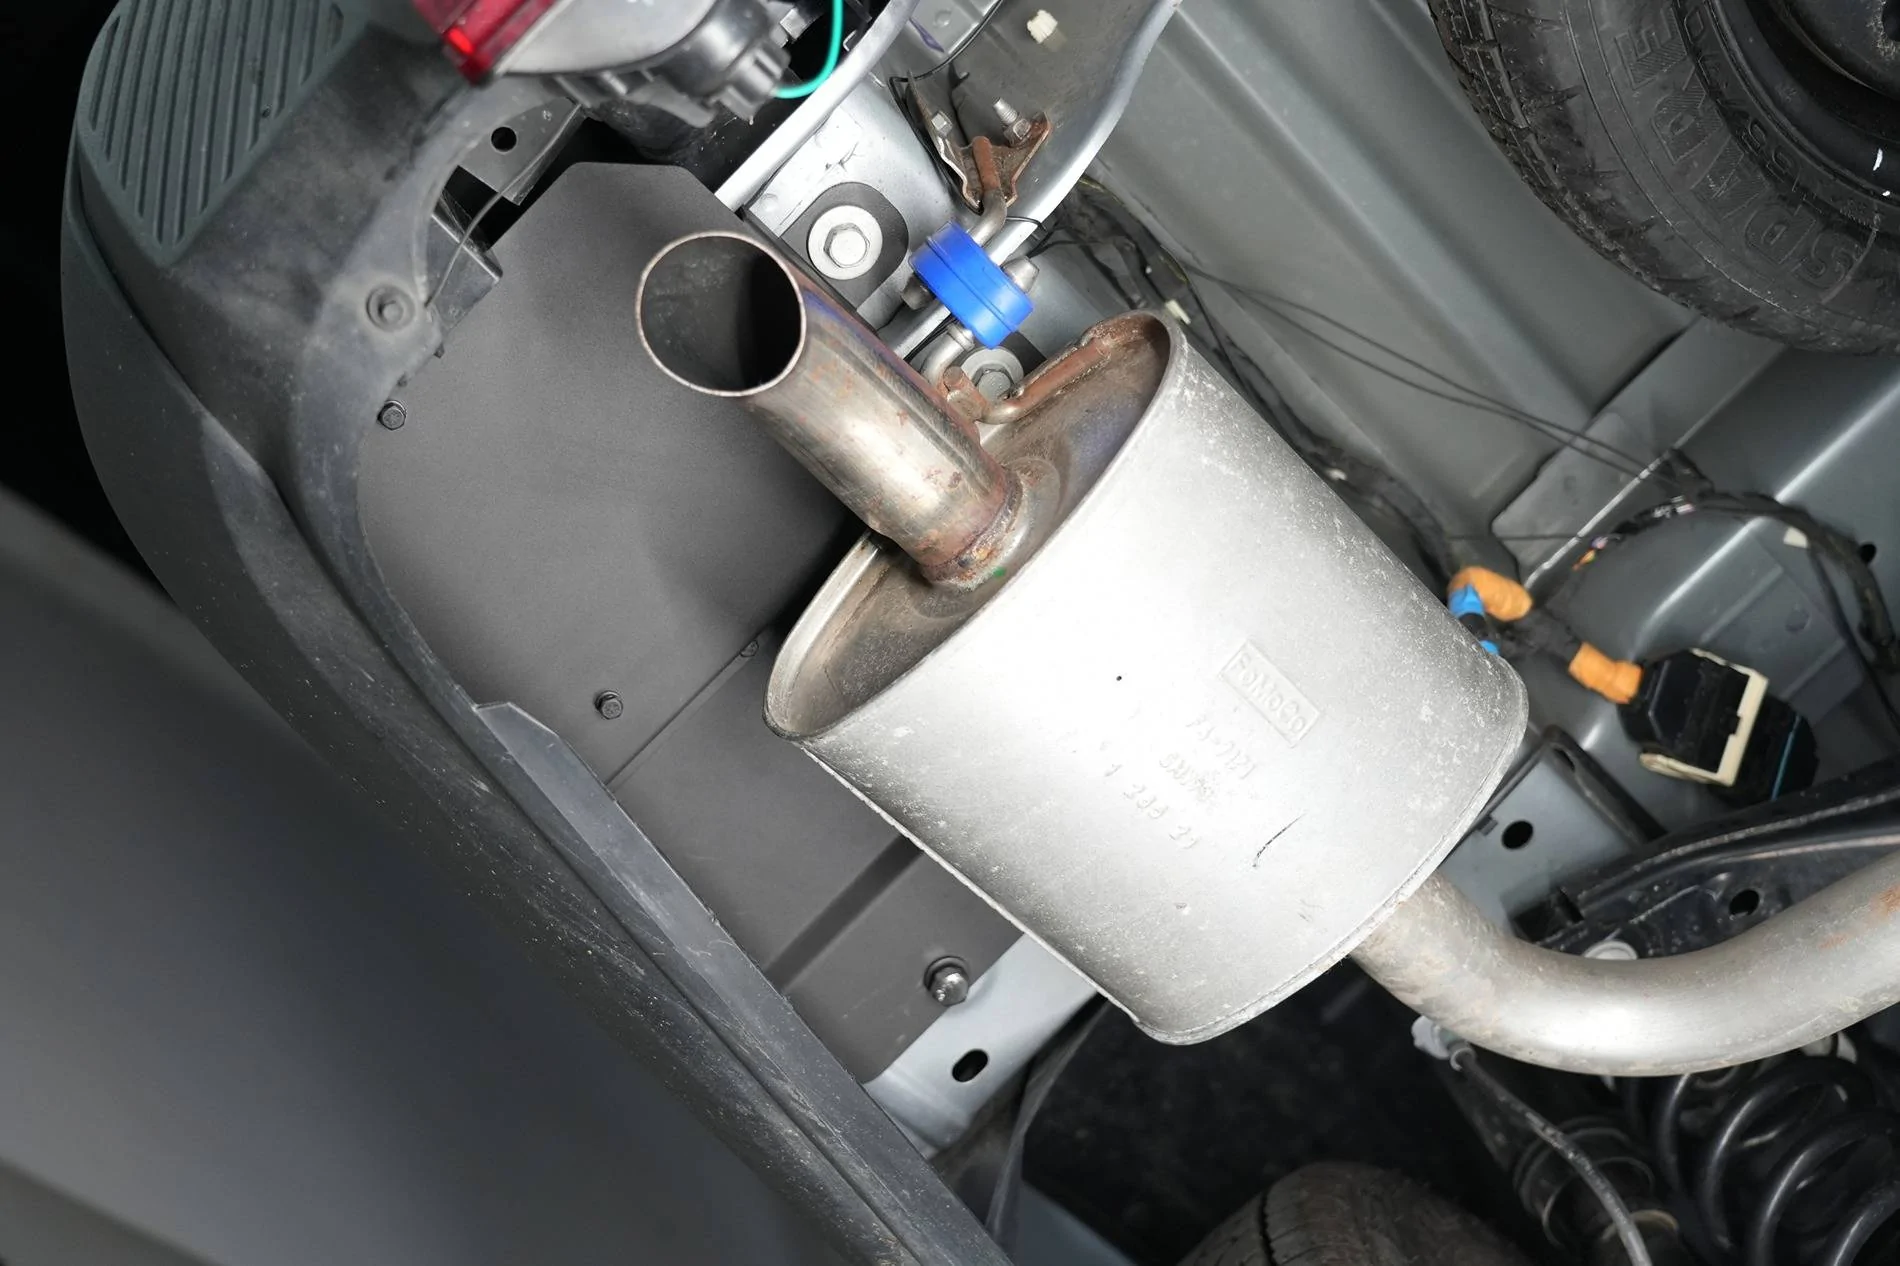
Here’s my 3/8” drive breaker bar with a 18mm socket. I also opted to use a cheater pipe over the handle that gives you more leverage. Others are using an impact driver if you have one.Like to see pics of the "breaker bar" you mentioned...

Sponsored

 Join
Join