Sponsored

sgtcurry

Well-known member
Joined
Mar 30, 2022
Threads
10
Messages
143
Reaction score
95
Location
Houston,Tx
Vehicle(s)
Palisade, Model X, Ioniq 5
Engine
Undecided
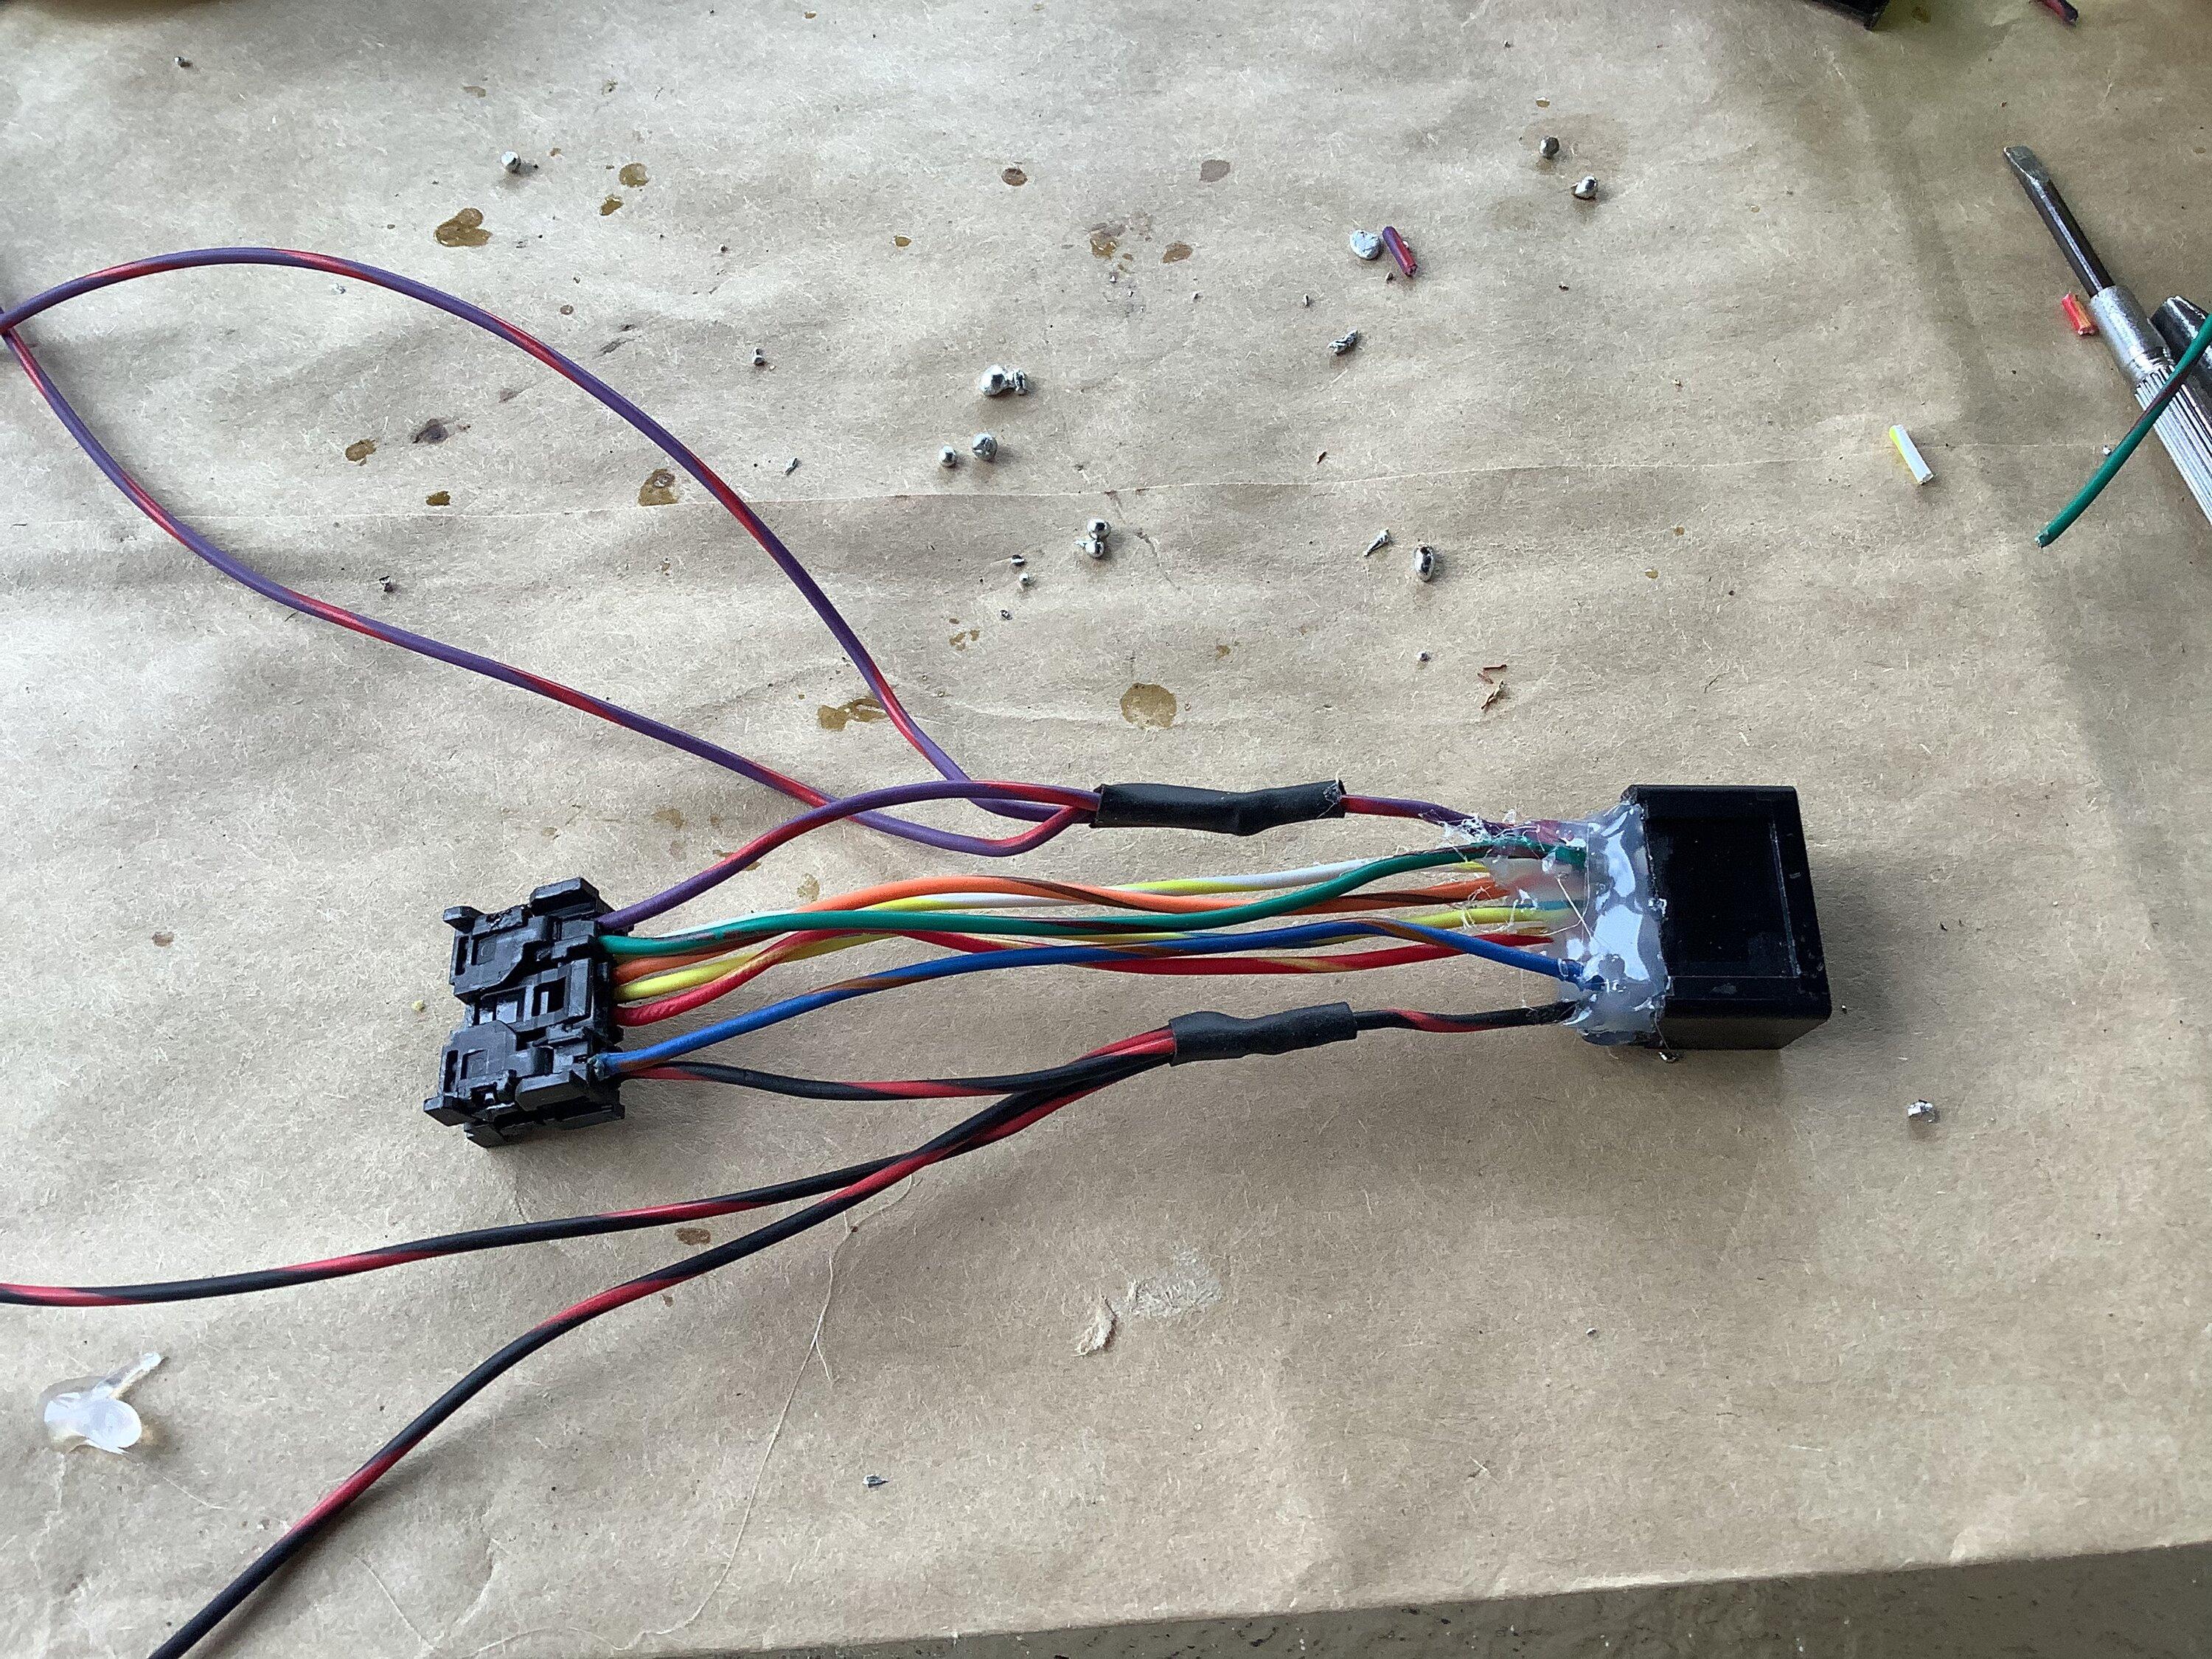
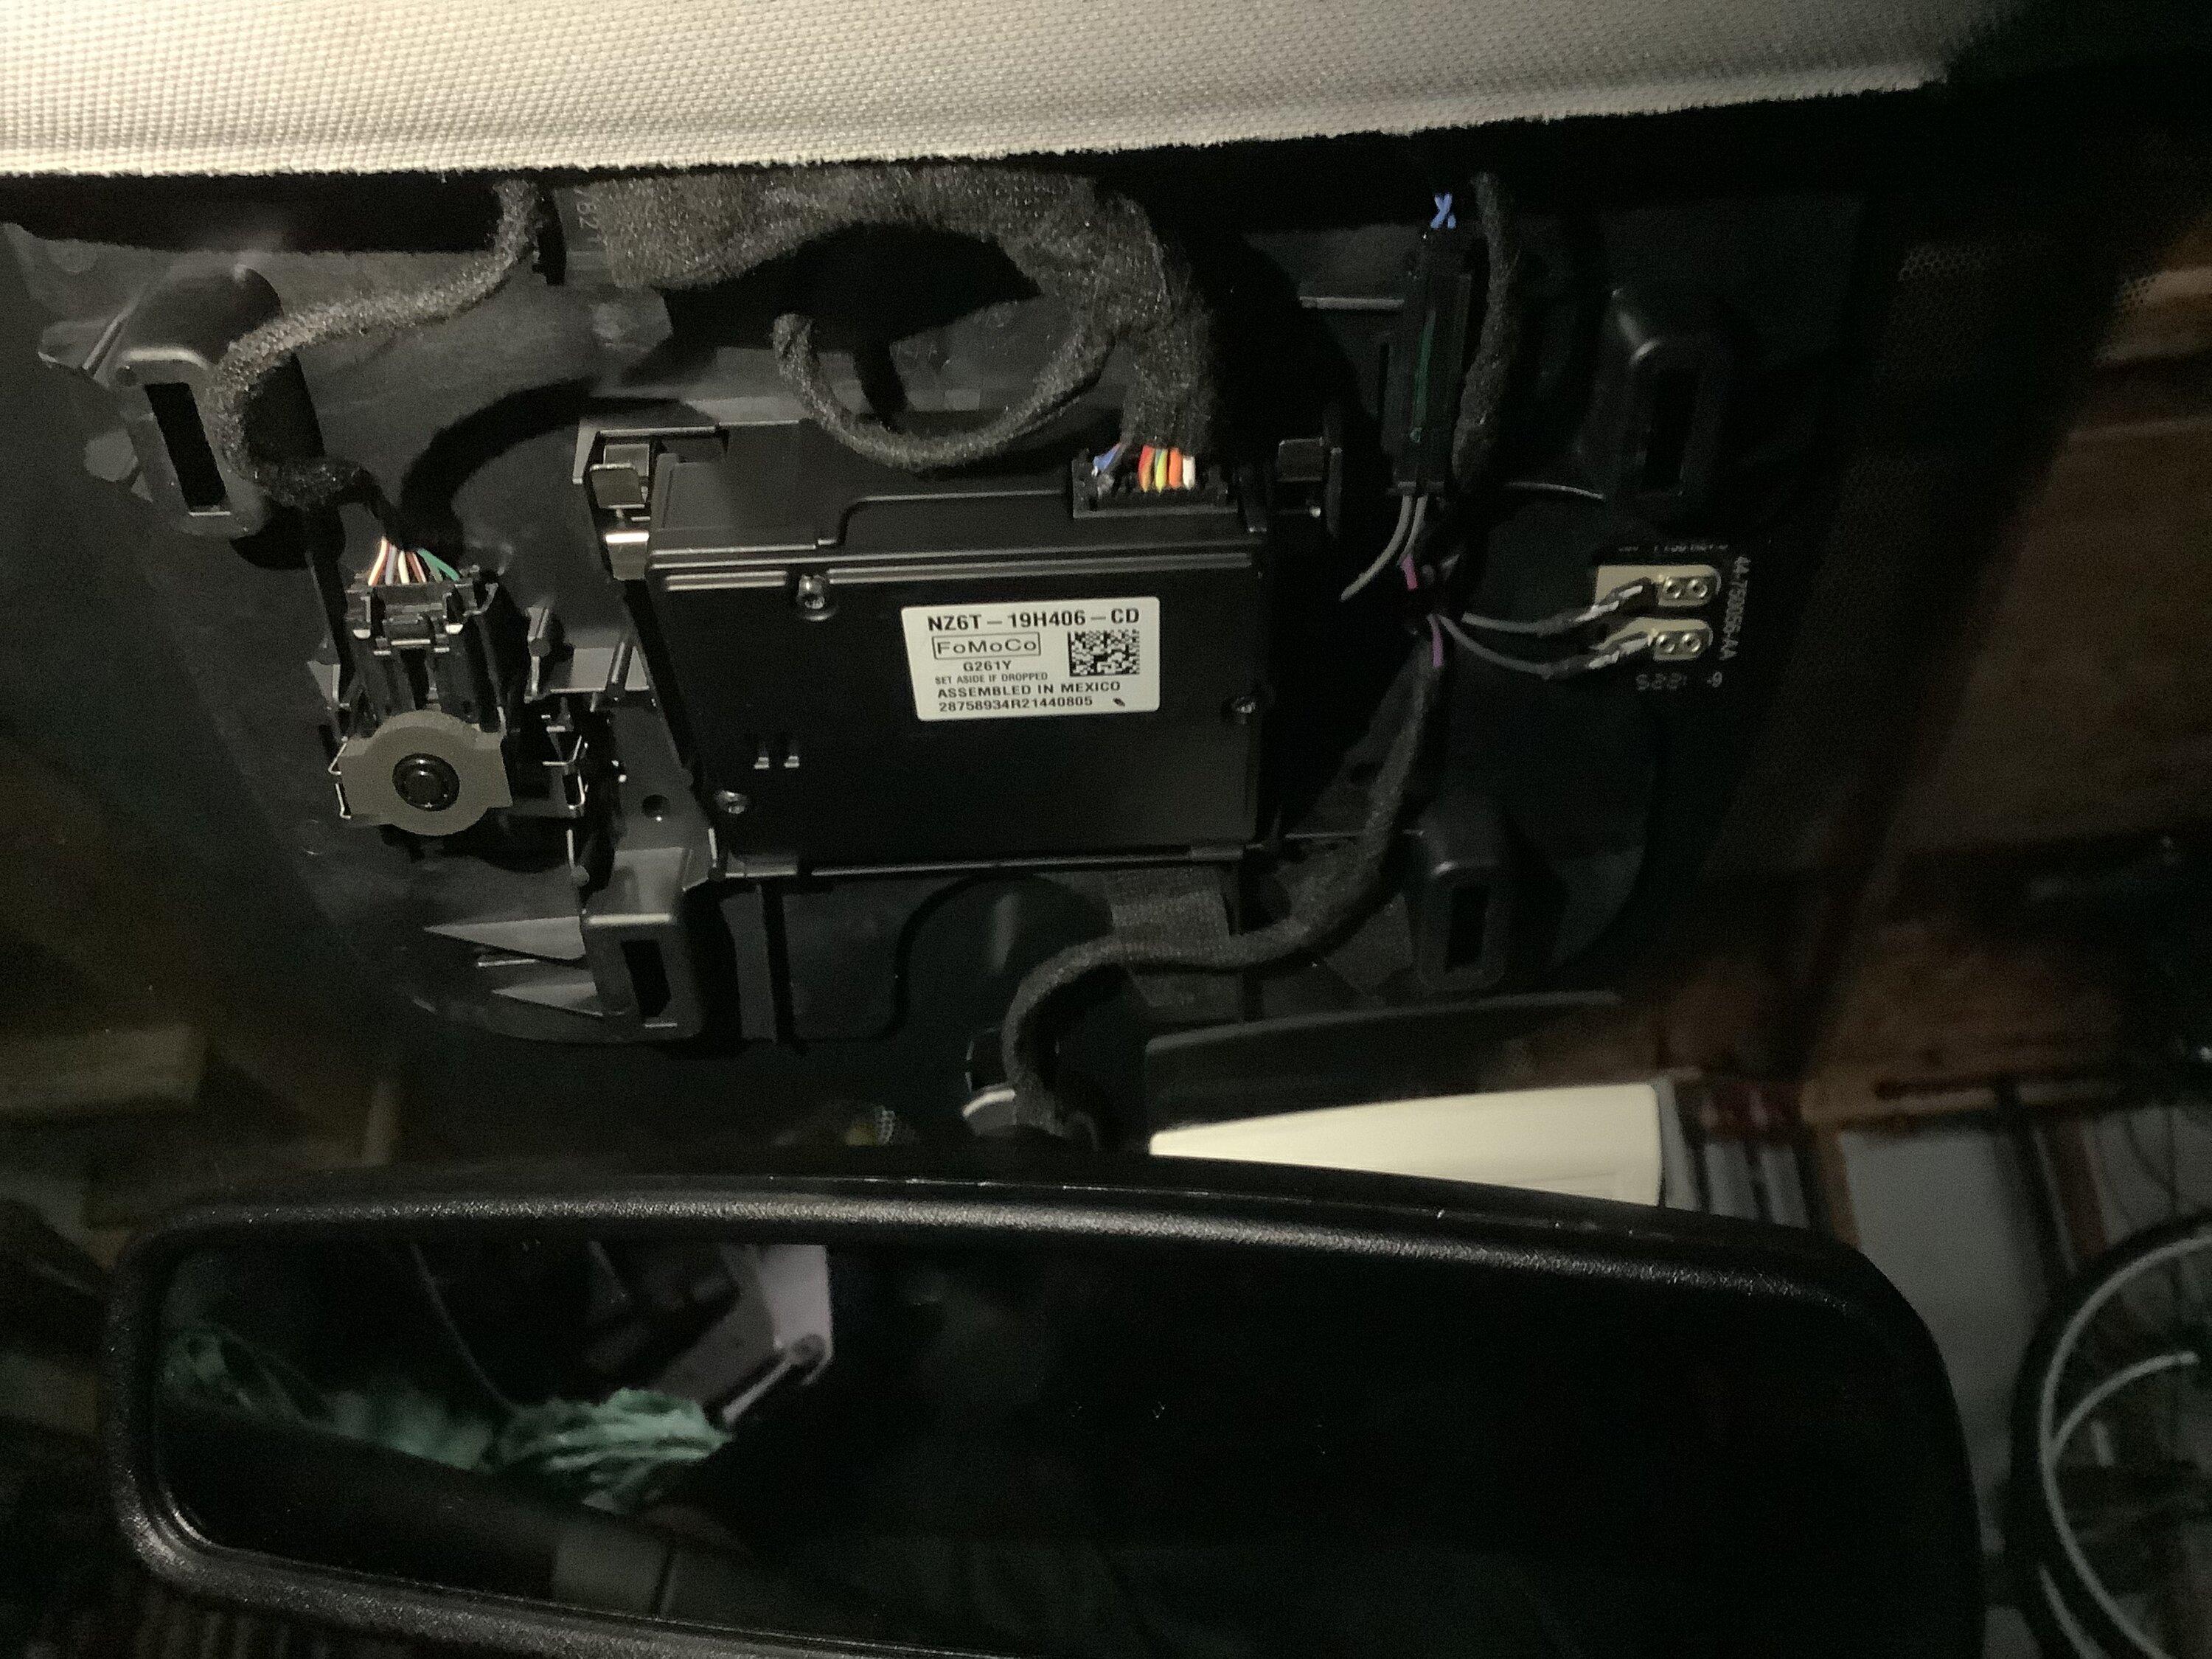
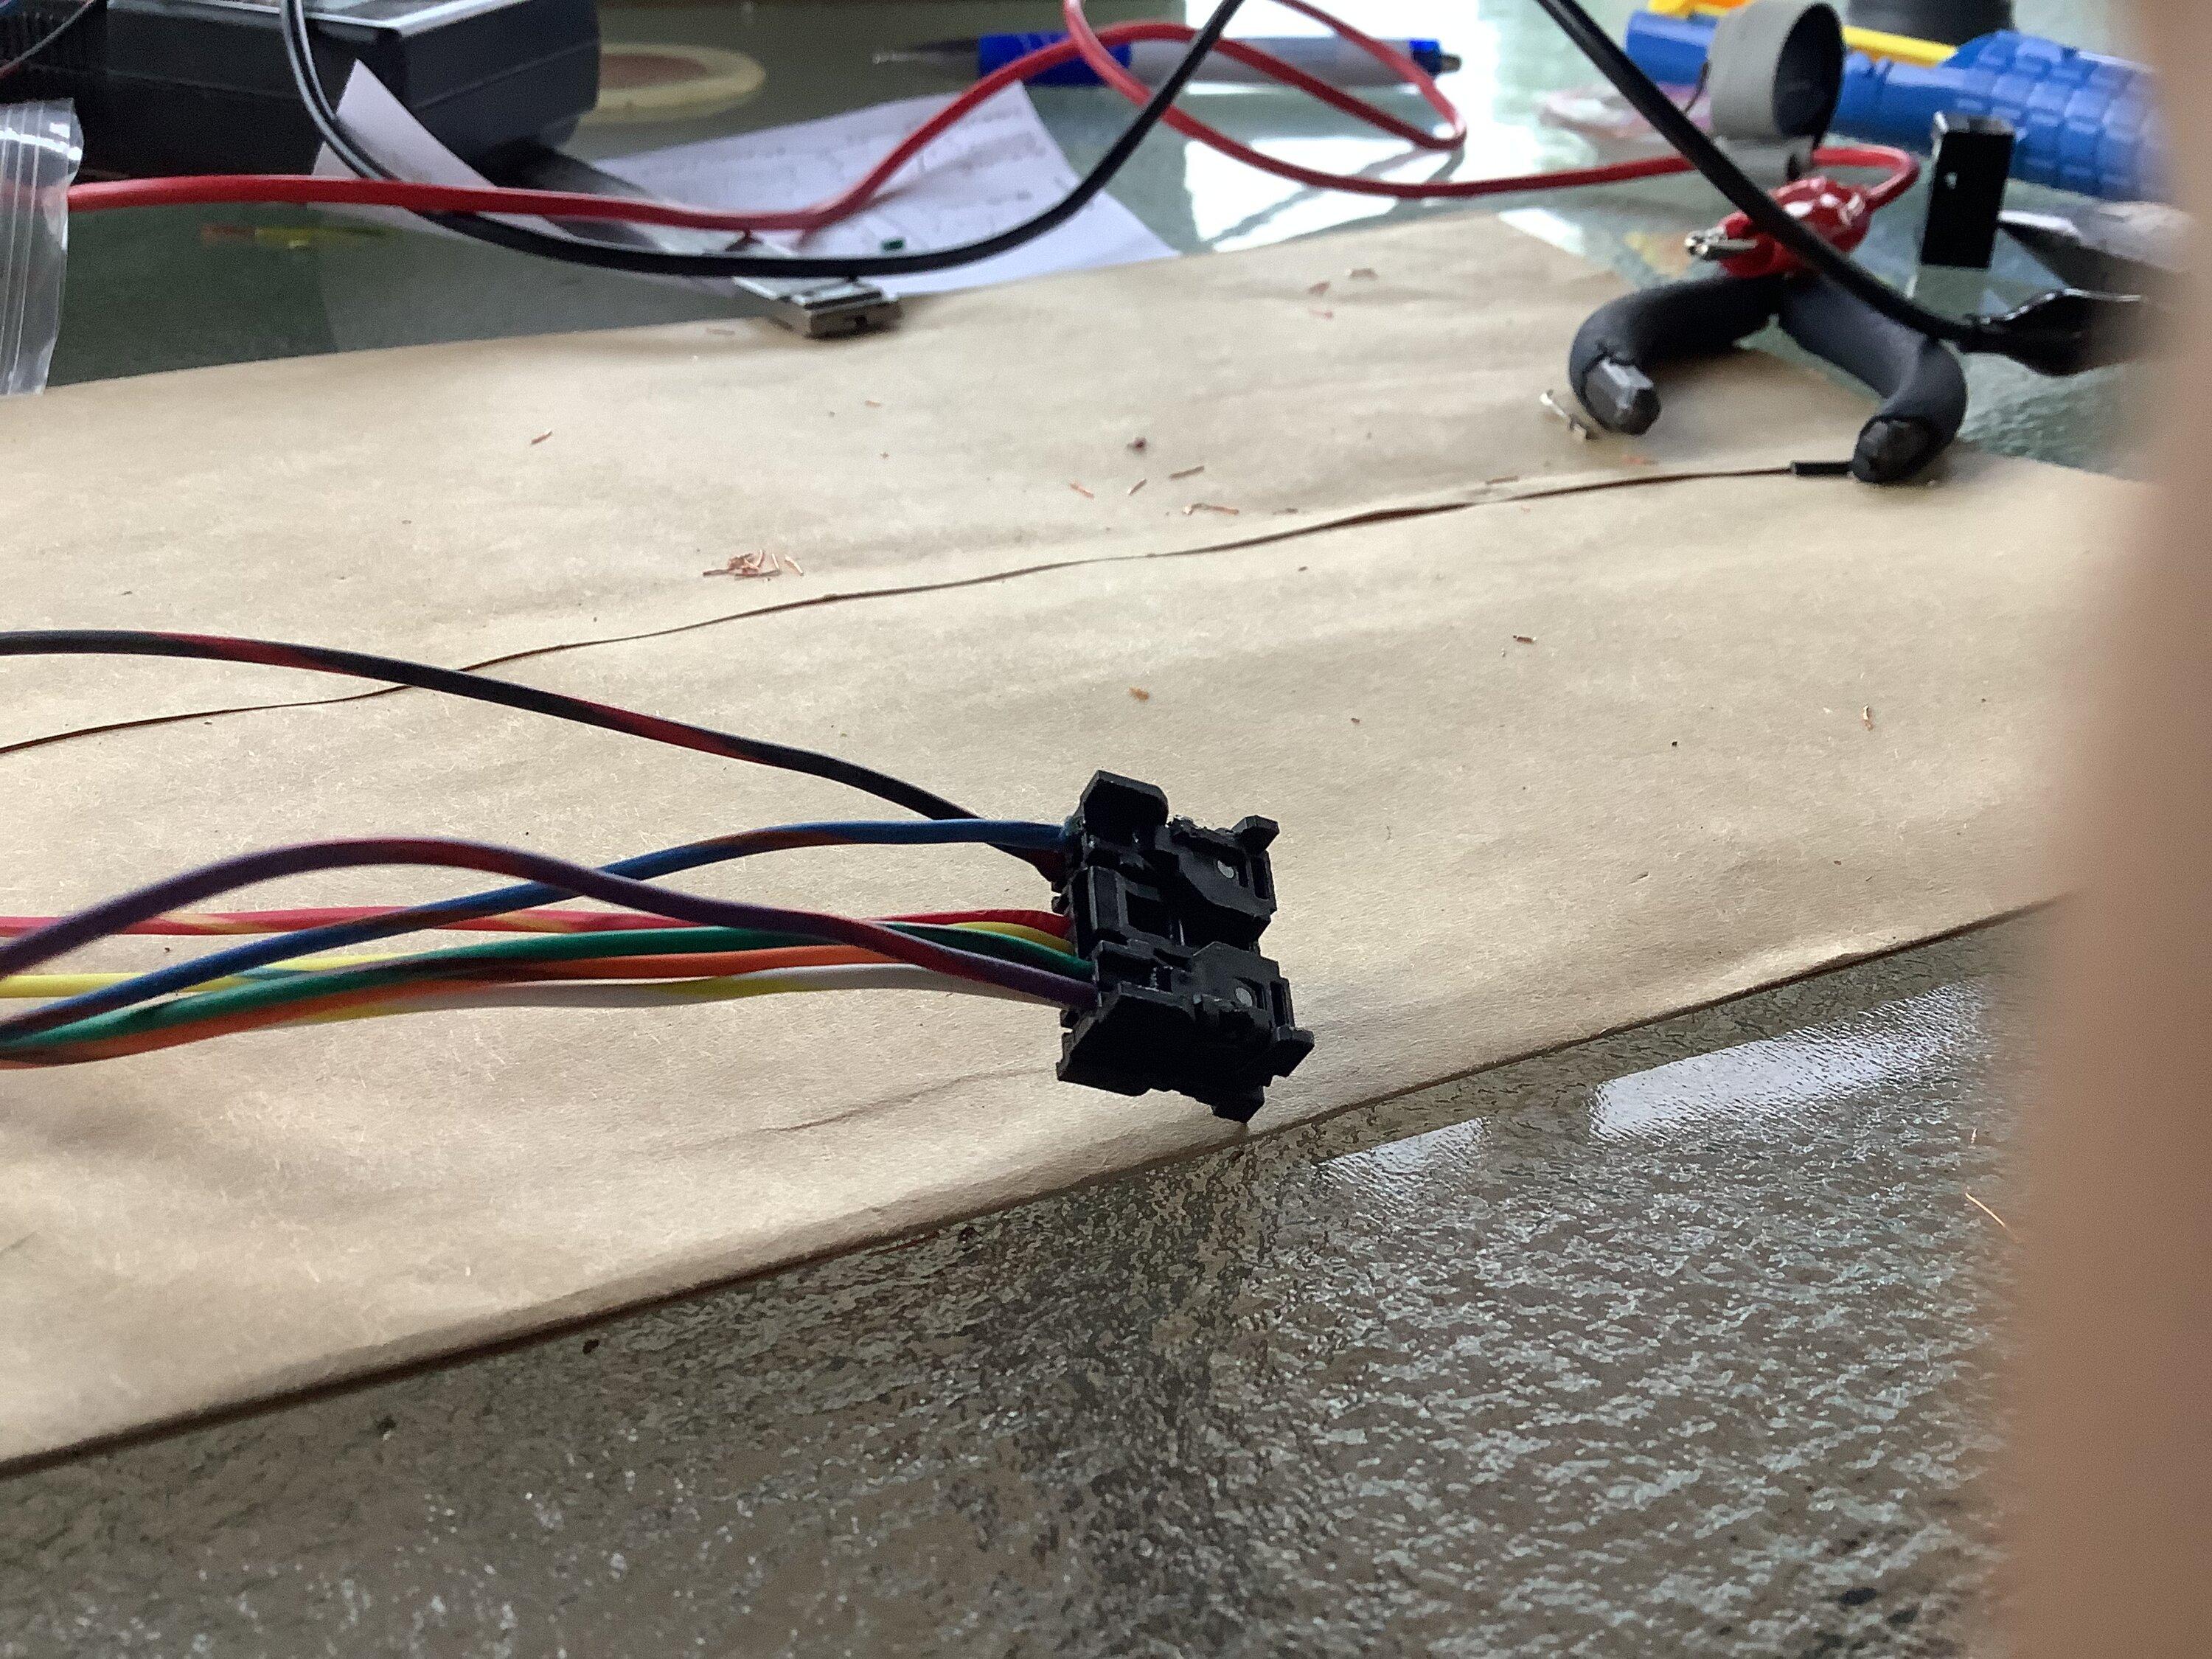
I installed it this morning and tapped the dome lights. Took a bit because the taps from harbor freight werent so good. I had to redo them a few times to get it right. Drove it to costco to grab some things and Homelink, auto dim and compass all work. Thanks to those who put instructions up so I didn't have to go through the trouble of looking up the wiring.
Sponsored


Eagle11

2.5L Hybrid
Well-known member
Joined
Aug 6, 2021
Threads
17
Messages
1,948
Reaction score
1,646
Location
Valley of the Sun
Vehicle(s)
'07 Boxster S, 2018 BMW M5, Ducati's, Suzuki's
Engine
2.5L Hybrid
Clubs
 
Hi,

Yeah, I read the thread, thanks.
I've seen different part numbers for different mirrors. Or maybe they are the same part number for the same mirror, I don't know. However, I replied to that user in particular, b/c they have a hybrid, so I wanted to order the specific one they got.
If you read my Sig, I have a hybrid too. Doesn't matter if you have a Hybrid or EB, they all wire up the same way.
 

Bry@n

2.5L Hybrid
Well-known member
First Name
Bryan
Joined
Dec 27, 2021
Threads
10
Messages
276
Reaction score
234
Location
Central NJ
Vehicle(s)
23 Maverick XL, F150, Bronco
Engine
2.5L Hybrid
Clubs
 
Got mine installed today. As my luck has it, nothing ever goes as planned. I decided to run the wires through the headliner and side pillar to the fuse box under the passenger footwell. That was the easy part, just use a trim removal tool and pull back on the headliner and stuff the wires.

Of course the wires on my mirror were about 8 inches too short to reach the fuse box, so I had to go buy some wire. Then I realized that I had the wrong fuse taps. We need "Micro 2" fuse taps.

Got everything wired up and tapped into fuse 3, which is what everyone recommends. I turn on the truck and get an error message regarding the front camera fault and collision assist is disabled.

I took out the fuse tap and stuck the regular fuse back in, and the error went away. I then tapped into fuse 6, which is also recommended on here, and it works, the only issue is the fuse tap is too bulky so It kind of has to be jammed in there. Oh well, it works.

Drove it around to calibrate the compass and then I programmed the garage door with no issues.

All in all, not too bad, just more troubleshooting than I planned, took about 3 hours to do everything
How did you jam it in there? I wasnā€™t so lucky. Also, do you have a fuse in both positions on the tap?
 

Skeeter163

2.5L Hybrid
Well-known member
First Name
Don
Joined
Feb 7, 2022
Threads
3
Messages
219
Reaction score
150
Location
Hertford NC
Vehicle(s)
2017 Escape
Engine
2.5L Hybrid

Sponsored

fishinmagician

2.5L Hybrid
Well-known member
Joined
Jun 12, 2021
Threads
4
Messages
342
Reaction score
443
Location
USA
Vehicle(s)
2022 maverick hybrid XL
Engine
2.5L Hybrid
Clubs
 
How did you jam it in there? I wasnā€™t so lucky. Also, do you have a fuse in both positions on the tap?
I just pressed it in there. I haven't had any issues so far. Are you using the correct fuse tap, the "micro 2"? What do you mean by a fuse in both positions?
 

Eagle11

2.5L Hybrid
Well-known member
Joined
Aug 6, 2021
Threads
17
Messages
1,948
Reaction score
1,646
Location
Valley of the Sun
Vehicle(s)
'07 Boxster S, 2018 BMW M5, Ducati's, Suzuki's
Engine
2.5L Hybrid
Clubs
 
Sorry Iā€™ve not updated each thread Iā€™ve created every 13 months.
No sweat; all people need to do it READ the threat mostly and will find new information that will help them.
 

Bry@n

2.5L Hybrid
Well-known member
First Name
Bryan
Joined
Dec 27, 2021
Threads
10
Messages
276
Reaction score
234
Location
Central NJ
Vehicle(s)
23 Maverick XL, F150, Bronco
Engine
2.5L Hybrid
Clubs
 
I just pressed it in there. I haven't had any issues so far. Are you using the correct fuse tap, the "micro 2"? What do you mean by a fuse in both positions?
on the micro 2 fuse tap, there are 2 fuse spots. Closest to the bottom is where the original fuse goes from the panel, the top fuse is for the tap. That will get rid of your collision issue I think. If you only put one fuse in the top part of the fuse tap, that's definitely the issue.
 
Sponsored

No5s

2.0L EcoBoost
Well-known member
First Name
Doug
Joined
Jun 6, 2022
Threads
8
Messages
64
Reaction score
127
Location
Scottsdale
Vehicle(s)
Colorado Z71
Engine
2.0L EcoBoost
First drive on cold morning. Heated seat and steering wheel leds make a yellow and red streak on the rear view mirror. Minor inconvenience To keep warm.
 

Mabcim

2.0L EcoBoost
Well-known member
First Name
Mark
Joined
Oct 4, 2021
Threads
2
Messages
791
Reaction score
609
Location
Rochester, NY
Vehicle(s)
22 Maverick Lariat 2.0 AWD; 20 Escape SEL 2.0 AWD
Engine
2.0L EcoBoost
Clubs
 
First drive on cold morning. Heated seat and steering wheel leds make a yellow and red streak on the rear view mirror. Minor inconvenience To keep warm.
I tried playing with the angle of mirror (I usually bend the mount all the way up) and I can get the reflection to go away, but then part of rear window is not in the mirror.
I didnā€™t notice this before I switch mirrors (BTW I have a Ford Fusion auto dimming mirror), but not sure I paid that close attention. Plus not cold out then either.
 

Wawesson

2.0L EcoBoost
Active member
First Name
Wayne
Joined
Jan 25, 2022
Threads
1
Messages
39
Reaction score
17
Location
North Carolina
Vehicle(s)
Maverick Lariat FX Alto Blue
Engine
2.0L EcoBoost
I tried playing with the angle of mirror (I usually bend the mount all the way up) and I can get the reflection to go away, but then part of rear window is not in the mirror.
I didnā€™t notice this before I switch mirrors (BTW I have a Ford Fusion auto dimming mirror), but not sure I paid that close attention. Plus not cold out then either.
I don't have that problem with the Kia Mirror I installed.
 

fishinmagician

2.5L Hybrid
Well-known member
Joined
Jun 12, 2021
Threads
4
Messages
342
Reaction score
443
Location
USA
Vehicle(s)
2022 maverick hybrid XL
Engine
2.5L Hybrid
Clubs
 
on the micro 2 fuse tap, there are 2 fuse spots. Closest to the bottom is where the original fuse goes from the panel, the top fuse is for the tap. That will get rid of your collision issue I think. If you only put one fuse in the top part of the fuse tap, that's definitely the issue.
Thanks, I will check it out
 

InsaiyanAzn

2.5L Hybrid
Well-known member
First Name
Tenzing
Joined
Feb 6, 2023
Threads
1
Messages
55
Reaction score
27
Location
Pennsylvania
Vehicle(s)
2023 Ford Maverick Hybrid
Engine
2.5L Hybrid
I have the parts figured out. Iā€™ll describe how I came to the numbers, in case anyone wants to understand better or do it for other connectors. Then Iā€™ll lost the parts.

The brand is on the side: Molex.
The connector series number is on the side.
The series come in different number of pins, bridged and non-bridged, as well as 3 polarization options. This is where the data sheets come into play (Iā€™ll include links to them below).
Looking at drawings, these are non-bridged.
These also are polarization option A; can tell that by the way it looks and because it is black.
Number of pins is easy to count.

The part info, and data sheet, indicate the pins needed and mating part (i.e. what the plug goes into).

For the mating part, we want the Vertical Header. This has the posts coming straight out the back, better for making a jumper wire. You do the Right Angle one if you want, but definitely do not want Surface Mount ones. We can ignore Tray vs Tube packaging, that just how they get delivered in bulk.

For pins, they have different ones based on the wire gauge (i.e. AWG). Measuring the factory wires, those are 22 awg. We can ignore ā€˜Windā€™ and ā€˜Payoffā€™, as these have to do with the roll they come on; we will just get individual pins. The ā€˜Gripā€™ is for the wire gauge. Obviously, you will need to order a pin for each wire you plan to hook up. I will get enough to populate all the pins, plus extras for an mistakes (they are pretty cheap).

Dome light/overhead console:
Plug: 34791-0080
Pins: 560023-0448
Mating: 34792-0080
Part: https://www.molex.com/molex/products/part-detail/crimp_housings/0347910080
Data sheet: https://www.molex.com/pdm_docs/sd/348240124_sd.pdf

Camera:
Plug: 34824-0124
Pins: 560023-0448
Mating: 34825-0124
Part: https://www.molex.com/molex/products/part-detail/crimp_housings/0348240124
Data sheet: https://www.molex.com/pdm_docs/sd/348240124_sd.pdf

Wire:
You can get this from many places: Amazon, Home Depot, Lowes, etc.

Wrap:
I recommend getting cloth wire wrapping tape. Electrical tape will not stand up to the heat inside a car; it gets all gooey.


I had mentioned I was figuring out the plug for the Auto Start Stop connector. There is a number on it, but I couldnā€™t find it. There is one that is 1 digit different. Looking at all the dimensions, that part should work.
Plug: 34729-0120 (actual plug has 34728-0120)
Pins: 34803-3211
Mating: 34690-0120
Part: https://www.molex.com/molex/products/part-detail/crimp_housings/0347290120
Data sheet: https://www.molex.com/pdm_docs/sd/347290120_sd.pdf


Now, where to order from:
mouser.com
digikey.com

You can search using the numbers above. DigiKey will strip off the dash when you search.
Be sure to look to see if it is actually in stock.

Once I figure out my order, Iā€™ll update this post.

EDIT (9/6/22):
Was able to order everything from Mouser.
I decided to get TXL high temp automotive wire, found that on eBay: https://www.ebay.com/itm/294048245340
Will update once I have the parts and build the wires.

EDIT (9/19/22):
Since I only want ignition/accessory, everything I need is at the camera. Yup, ground is there too. So I only created a cable/extension for the camera and ran wires from it.
Iā€˜ll still do a full write up once I have my opener installed (using a different mirror), but here are some highlights:
- the wires seem a little big, the insulation gets in the way a little. So you have to take care when inserting the pins into the connector.
- I soldered my wire to the pins, which helps when forcing the insulation in. Have the pin pointing up so you donā€™t get solder in the area the pins goes (you can guess how I figured that out)
- the key with crimping the pins is to be sure the width & height of the crimp is no bigger than the end of the pin, otherwise it wonā€™t insert all the way. I found the width was tricker to do.
- for the male end, I soldered directly to the pins on the back. Just take your time as they are close together. Then I hot glued to fill the gaps to help keep the pins from bending into each other.

Here a few images:
BBD9C42A-D46E-434C-AD3F-5889966984C7.jpeg
4EE9D8AE-936F-47BA-BD57-6BFE10D570FB.jpeg
09268540-A0C0-4B65-9FBC-BCA020ACD4E7.jpeg


599D1EBB-8DC9-4491-8E0A-C9B2B9A2EB87.jpeg
So I like your method for sure. How about a jumper mod like this? No splicing needed then and can add a pin to empty spot on oem harness to power it? Been used before on Motorcycles to bypass manufacturers US horsepower restrictions to unlock more horsepower. Personally used this on my own motorcycle to unlock more horsepower.

Ford Maverick Cheap auto-dimming, homelink mirror Screenshot_20230215_103710_Chrome


Ford Maverick Cheap auto-dimming, homelink mirror Screenshot_20230215_103717_Chrome
Sponsored


Top