- First Name
- Pete
- Joined
- Feb 25, 2024
- Threads
- 7
- Messages
- 74
- Reaction score
- 53
- Location
- Connecticut USA
- Vehicle(s)
- Maverick
- Engine
- 2.0L EcoBoost
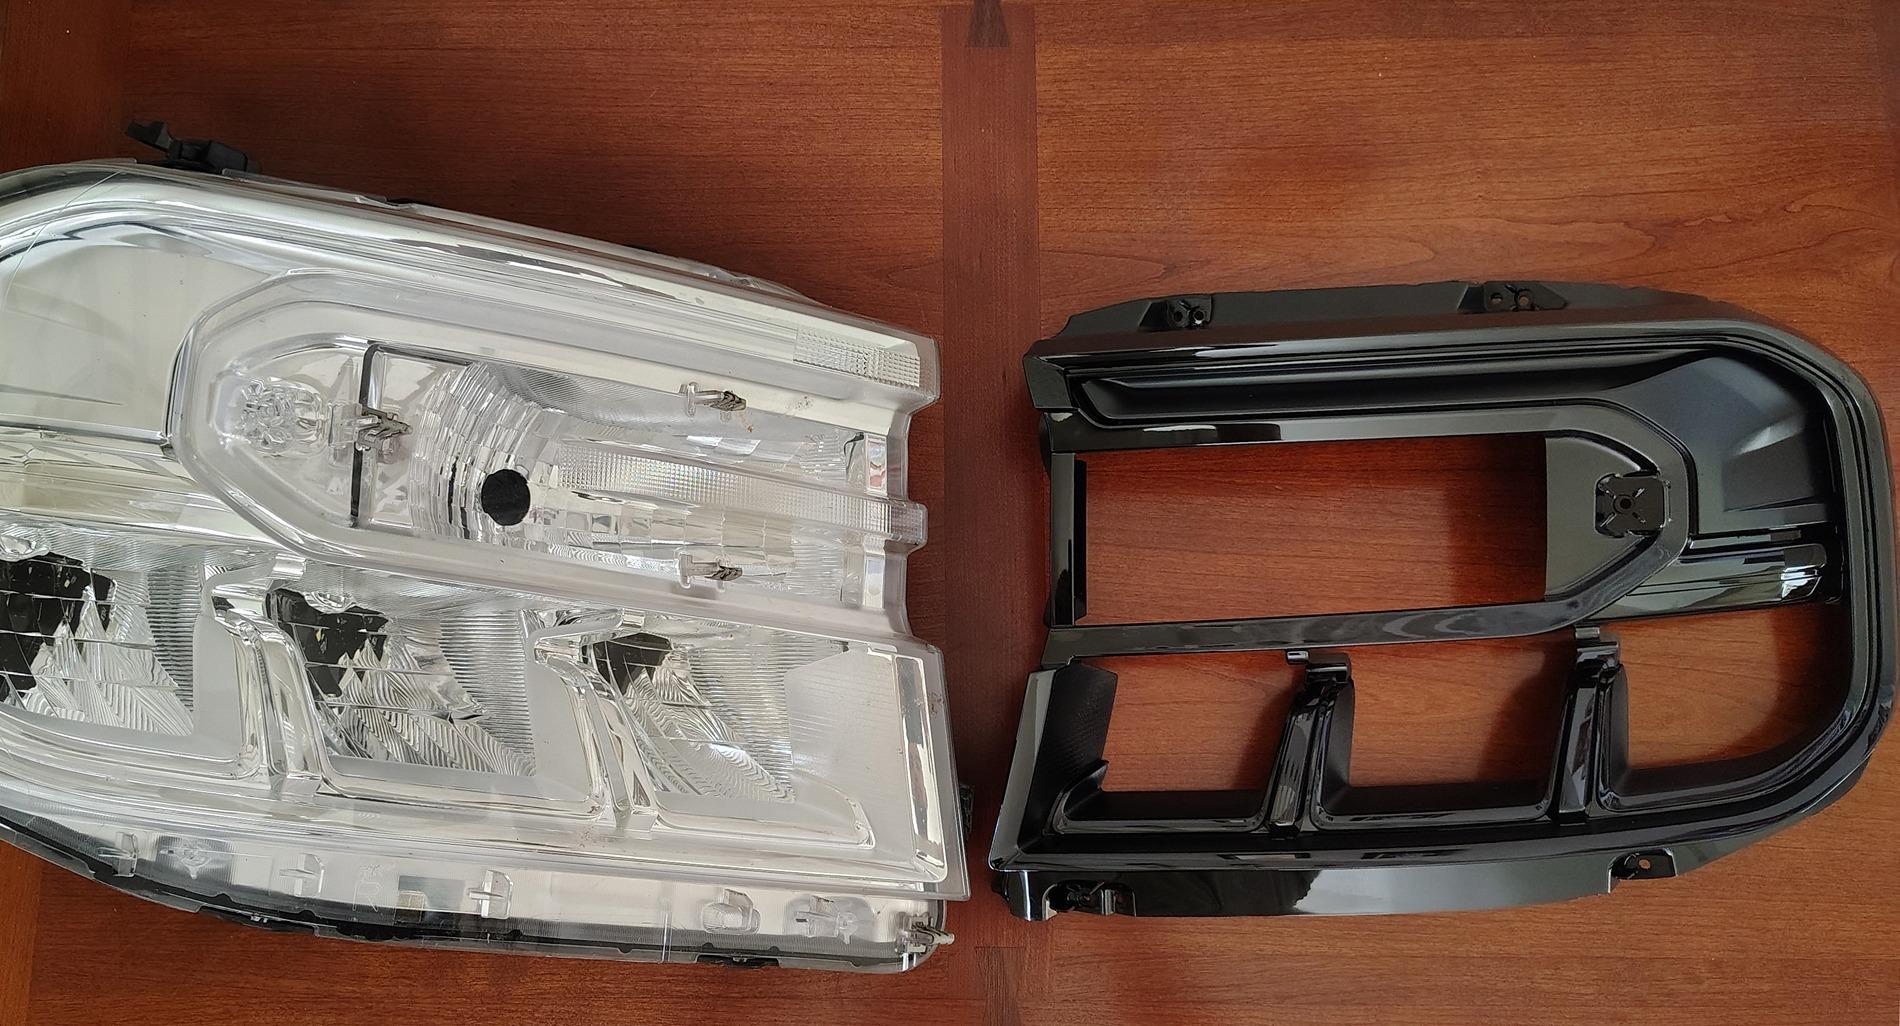
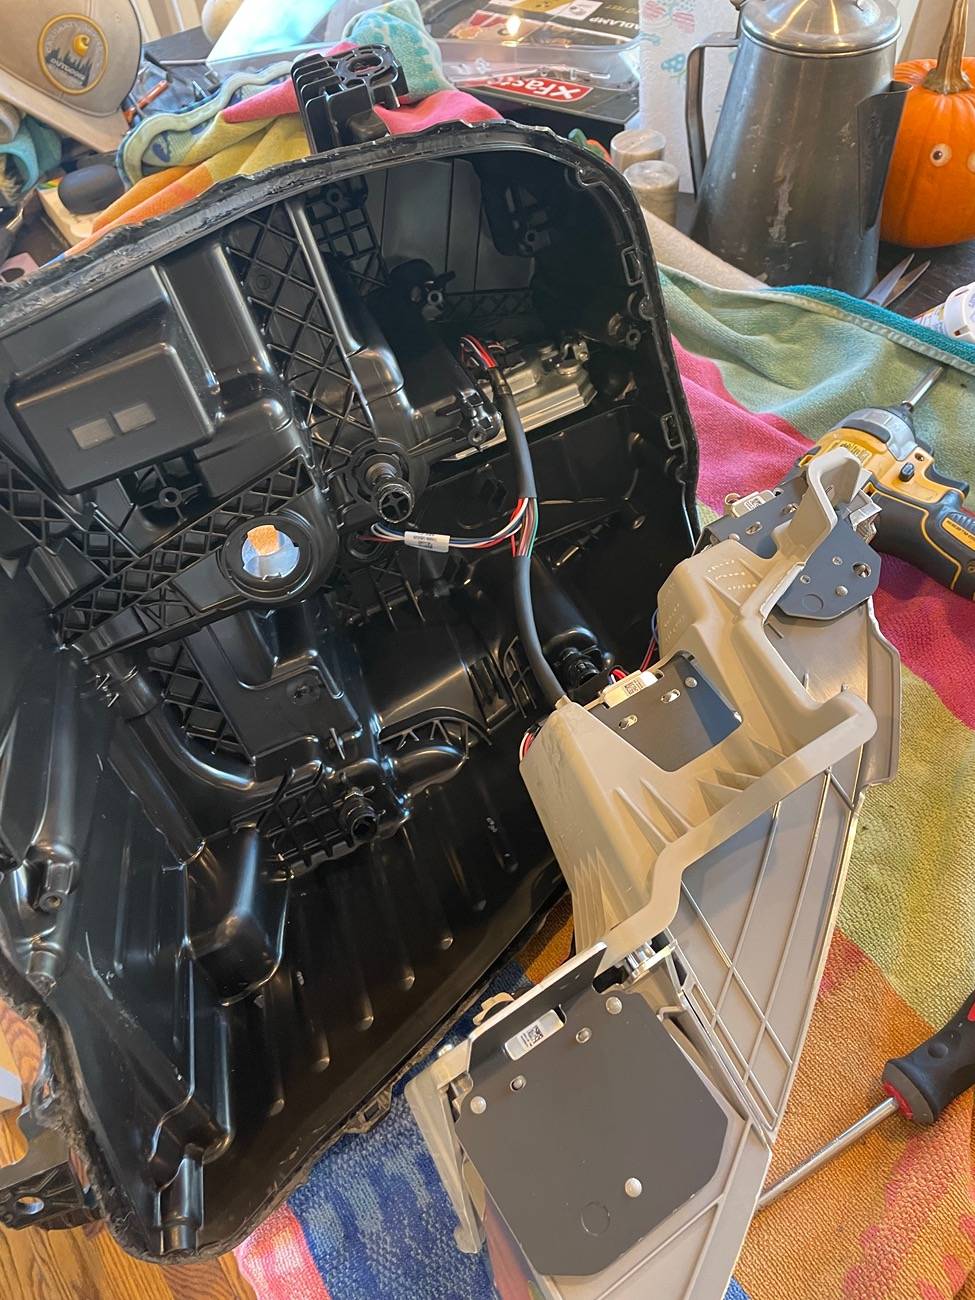
not many people have taken apart the headlights. Do you have any more pics of the headlight disassembled? I’m trying to get a look at or figure out some of the electronics in the headlight. Did you notice a circuit board or any electronics in the headlight, or wires that go to the actual high and low beam? ThanksNone. Nothing leaking into the headlight as well.
Sponsored