- First Name
- Donald
- Joined
- Dec 6, 2021
- Threads
- 23
- Messages
- 1,157
- Reaction score
- 1,127
- Location
- Sapulpa, Oklahoma
- Vehicle(s)
- 2022 Maverick XL
- Engine
- 2.0L EcoBoost
some instructions of what you did? What kind of bulb was that?A little more subtle, but works for me. Very easy to do.
Sponsored
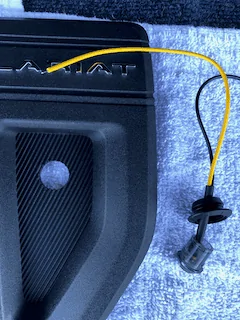
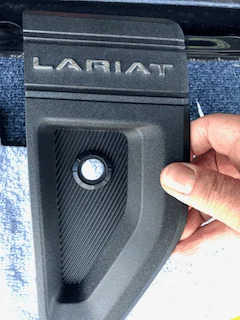
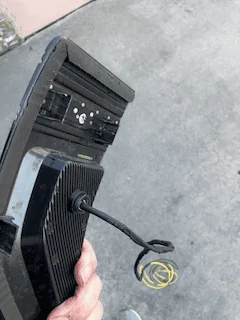
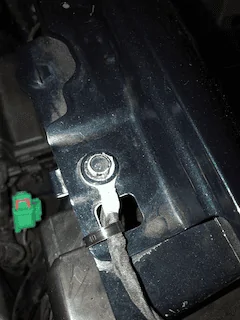
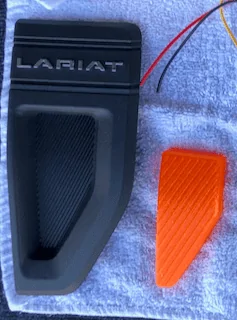
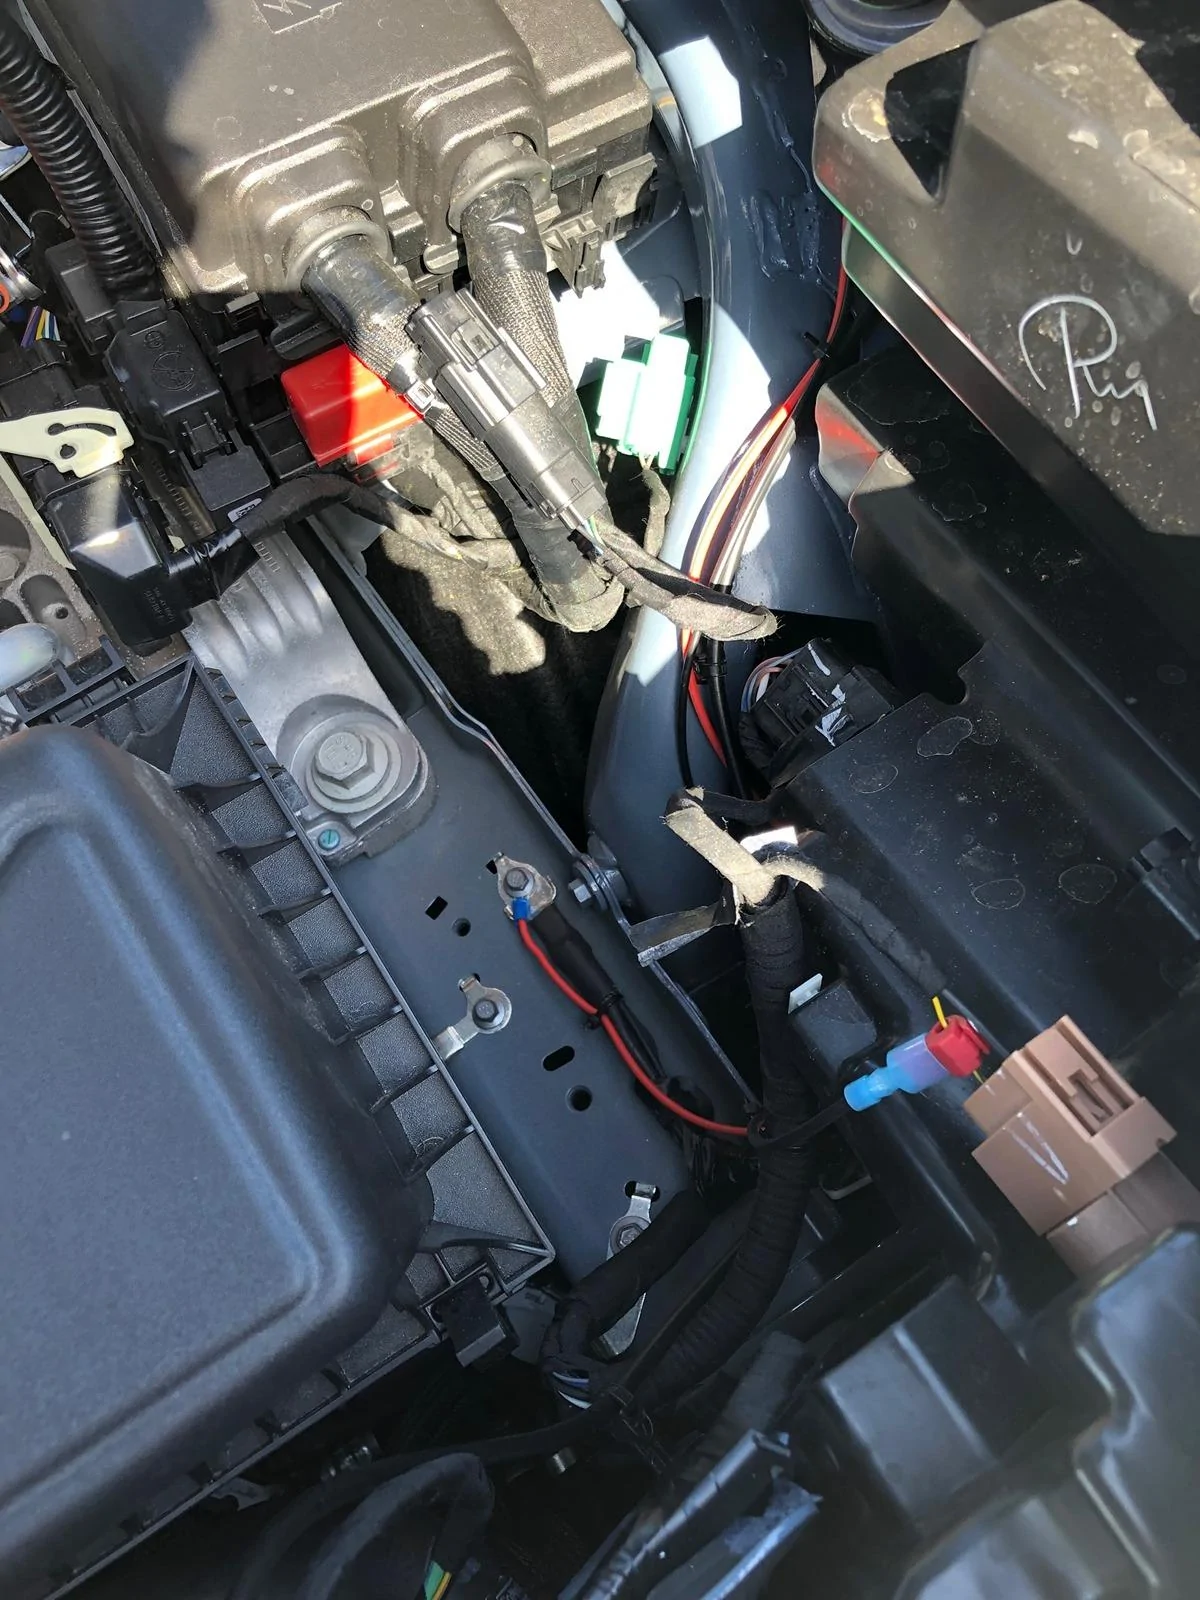
 ), removed rubber grommet from light. Place grommet in hole. Soildered & heat shrink 4-5 ft wire to leads of light, crimped a circle clip on extended white wire(GND), crimped wire terminal spade clip on black wire(hot). Insert wire & bulb in trim piece & reinstall.
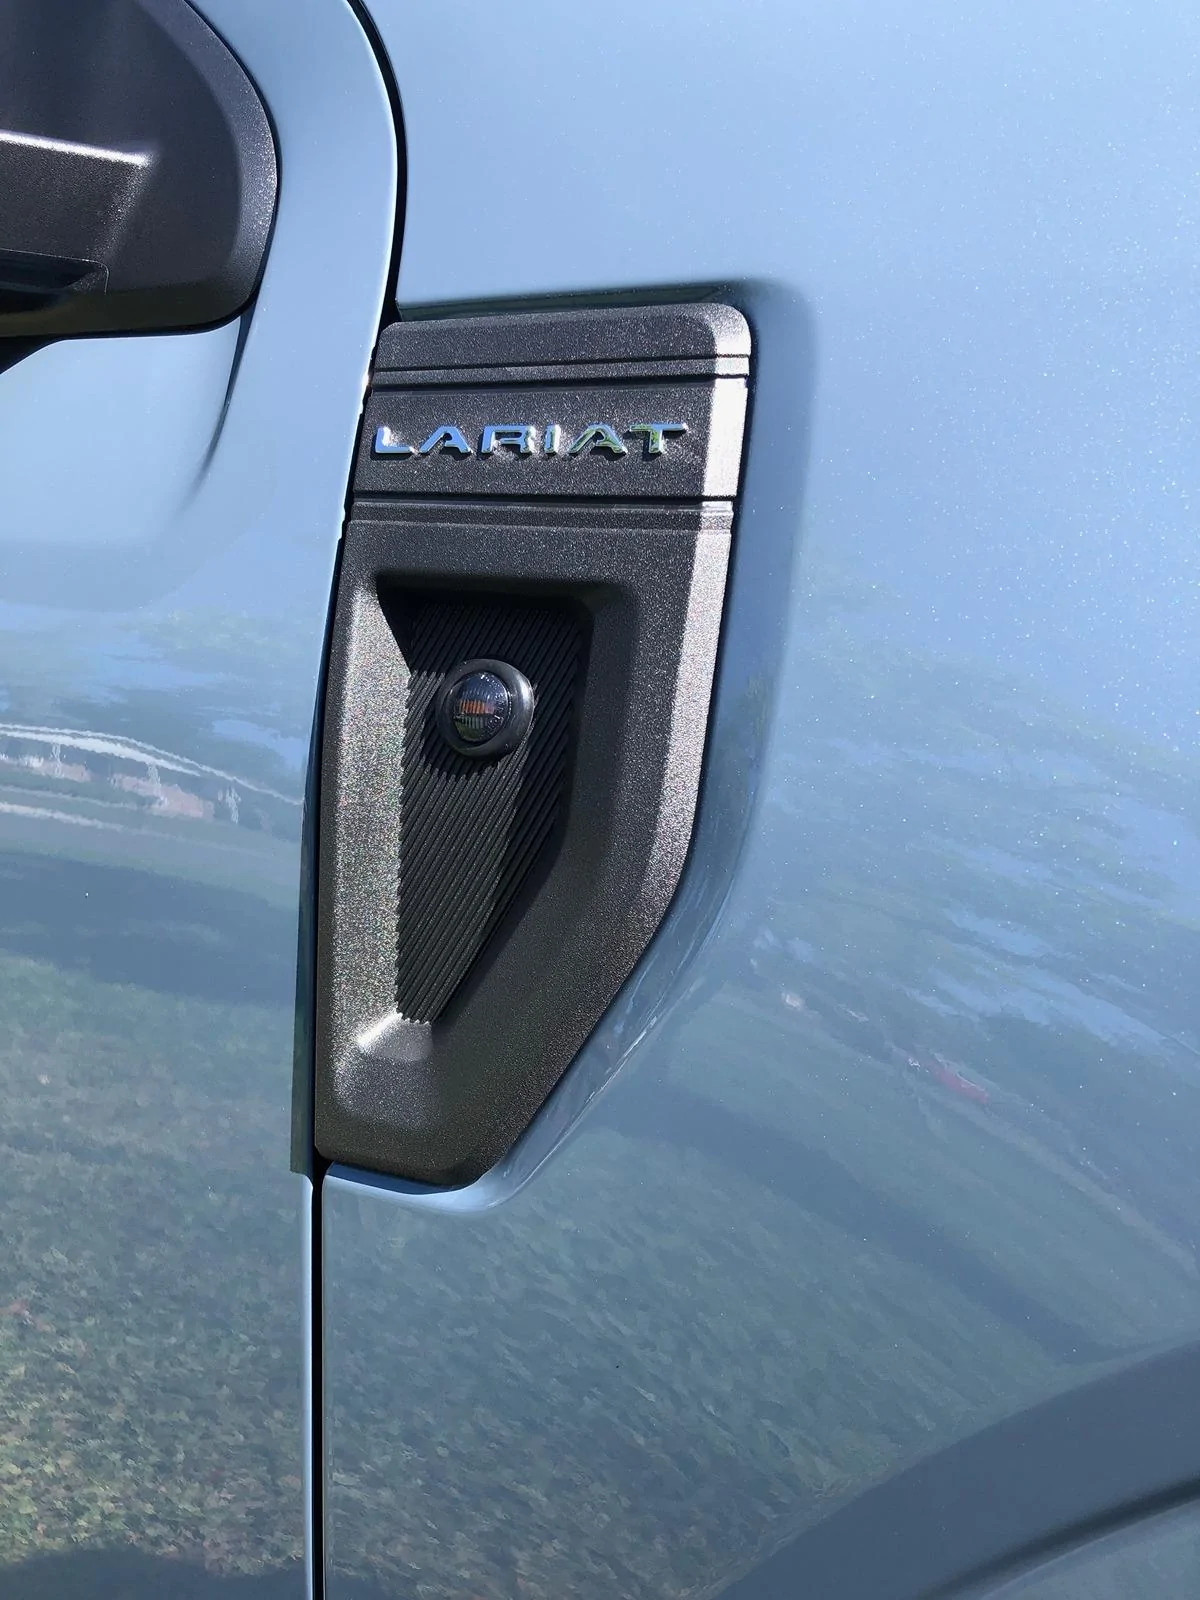
![Ford Maverick 💡 Converting the Maverick side badge to a signal lamp light -- DIY how-to and result video [night video added] side turns](https://cdn.mavericktruckclub.com/attachments/157/157726-b0811f386974328d07b5583440245ce0.webp)

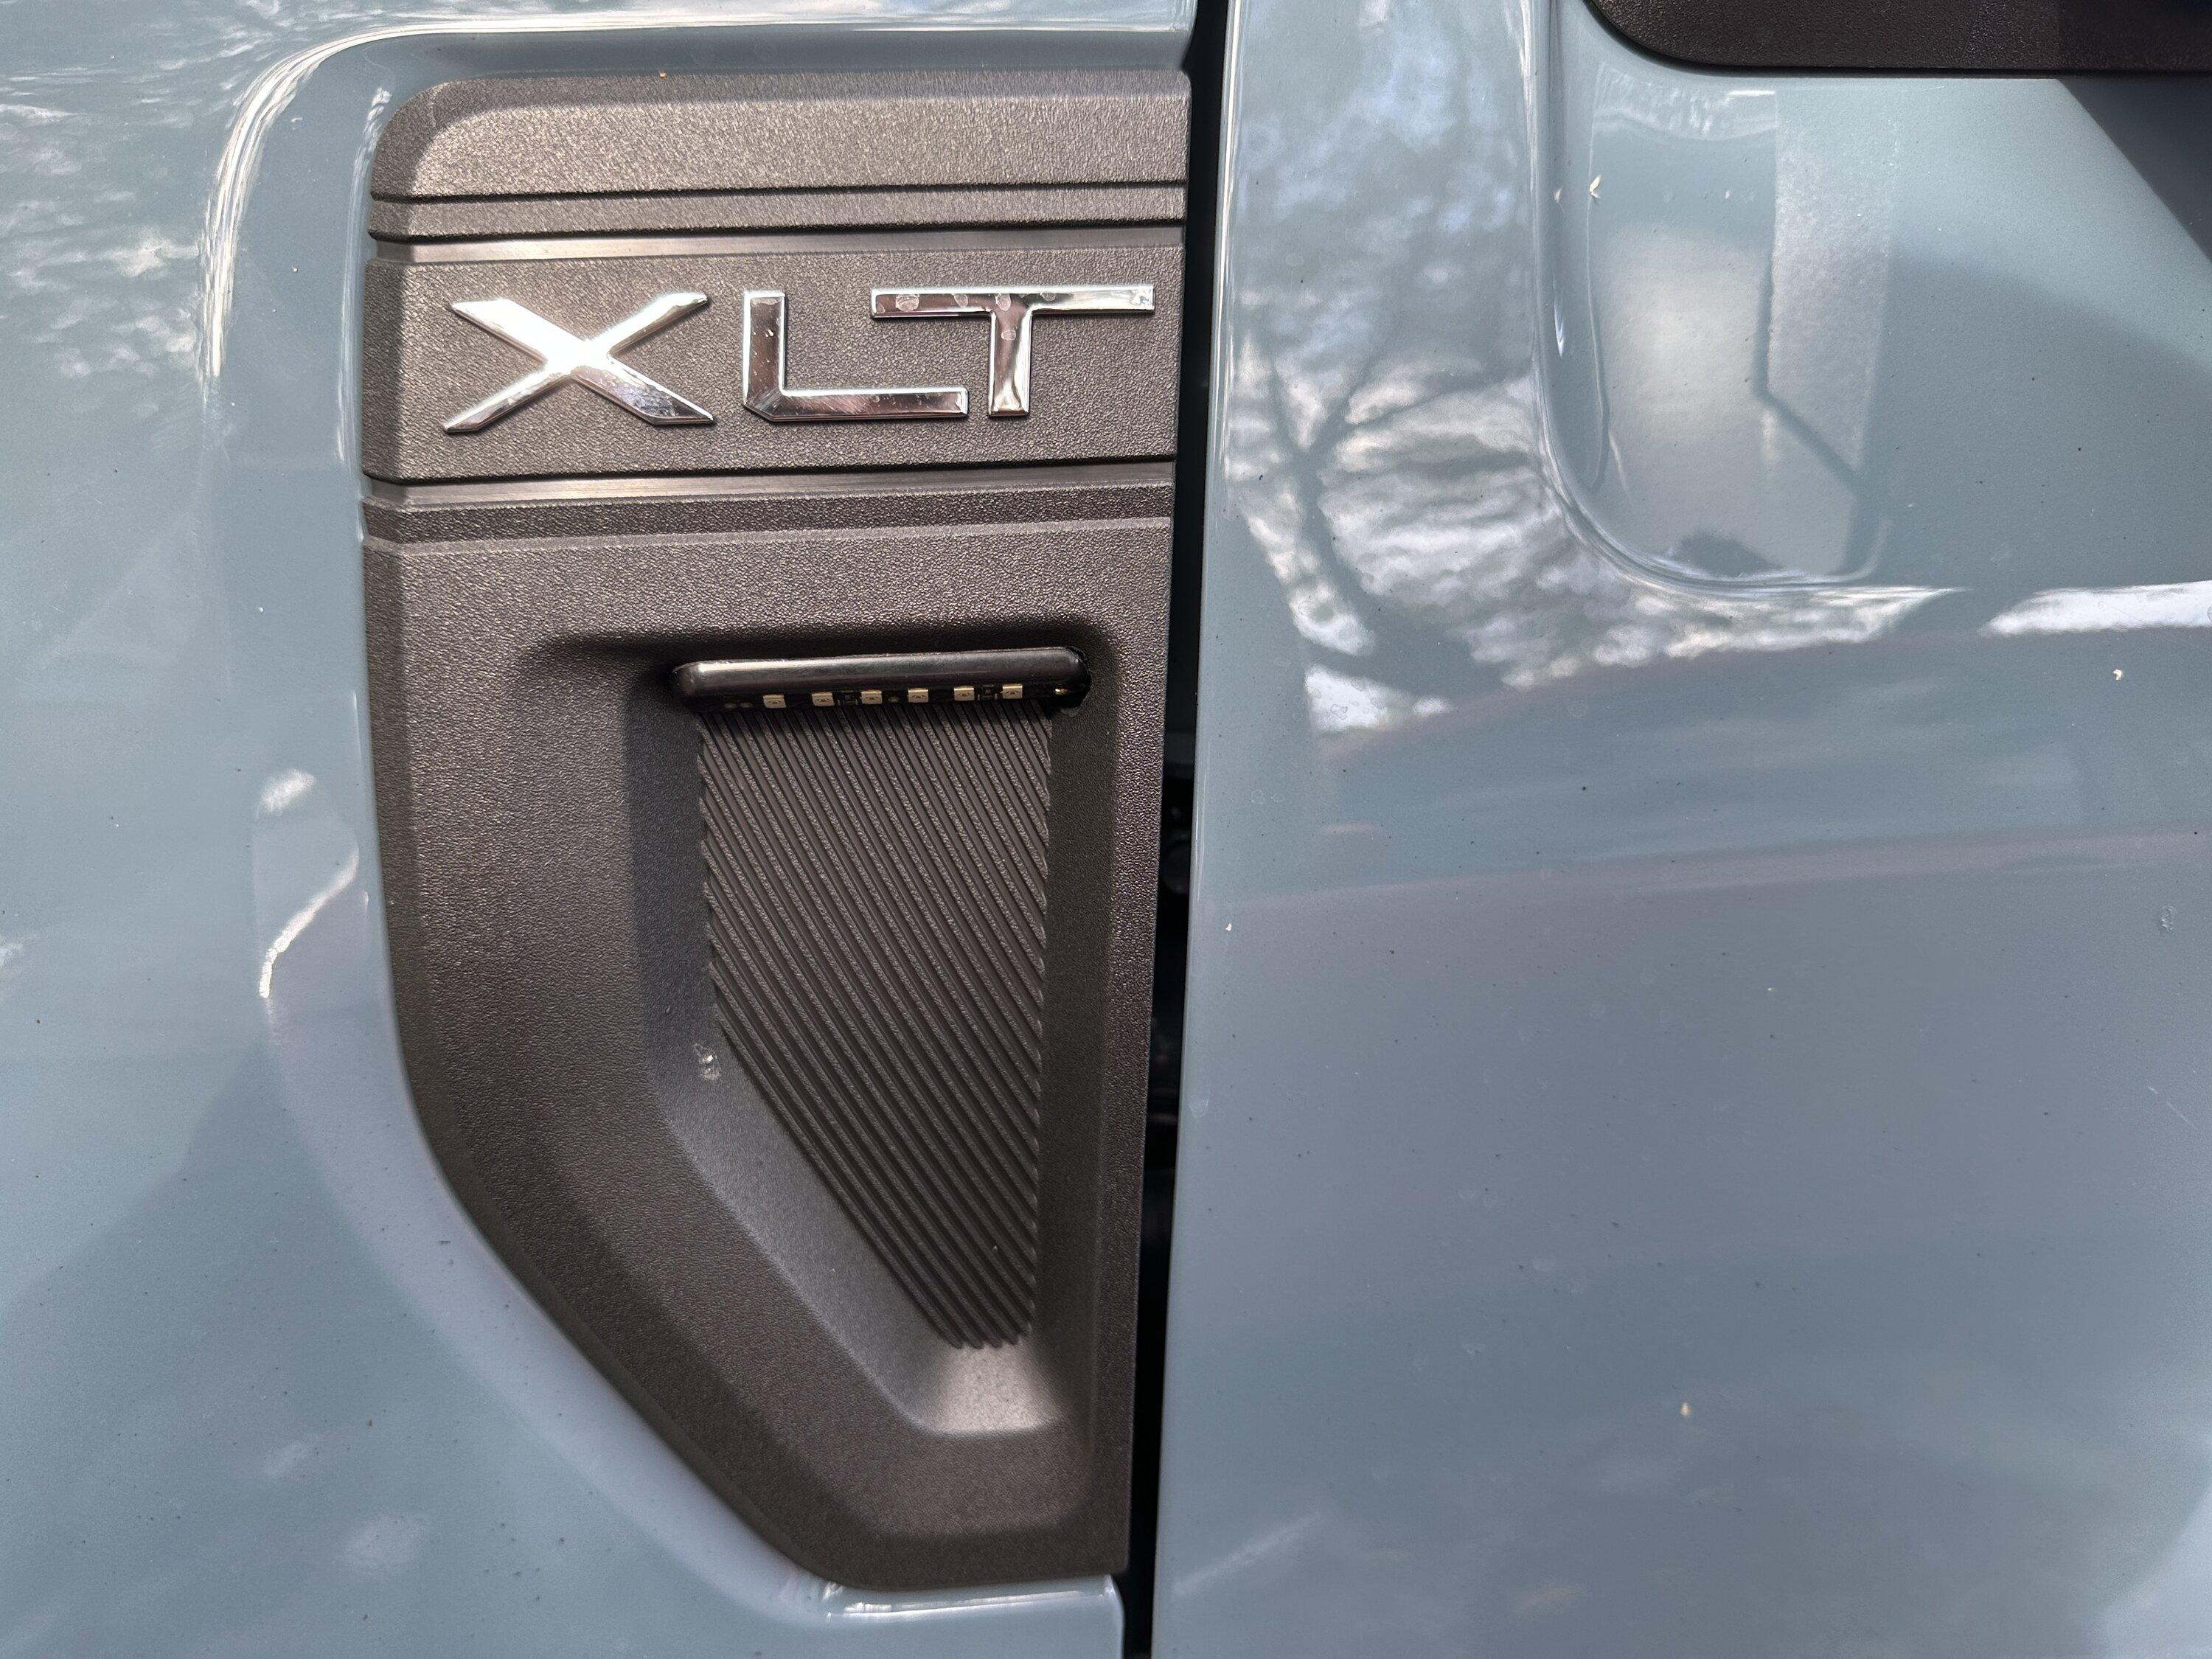
![Ford Maverick 💡 Converting the Maverick side badge to a signal lamp light -- DIY how-to and result video [night video added] IMG_9171](https://cdn.mavericktruckclub.com/attachments/157/157824-dc105fe142b6a2f7949986707002b9a2.webp)
![Ford Maverick 💡 Converting the Maverick side badge to a signal lamp light -- DIY how-to and result video [night video added] Side Badges cut 700](https://cdn.mavericktruckclub.com/attachments/157/157844-928cfef6585f4096271f356a97480709.jpg)
![Ford Maverick 💡 Converting the Maverick side badge to a signal lamp light -- DIY how-to and result video [night video added] side markers 02](https://cdn.mavericktruckclub.com/attachments/163/163145-9165e5a934924b4657372fb313d5a2b6.webp)