OP
OP

- First Name
- Dan
- Joined
- Feb 9, 2023
- Threads
- 8
- Messages
- 119
- Reaction score
- 186
- Location
- SouthEast Wisconsin
- Vehicle(s)
- 2024 Mav Lariat Hybrid, 2015 Hyundai Santa Fe
- Engine
- 2.5L Hybrid
- Thread starter
- #16
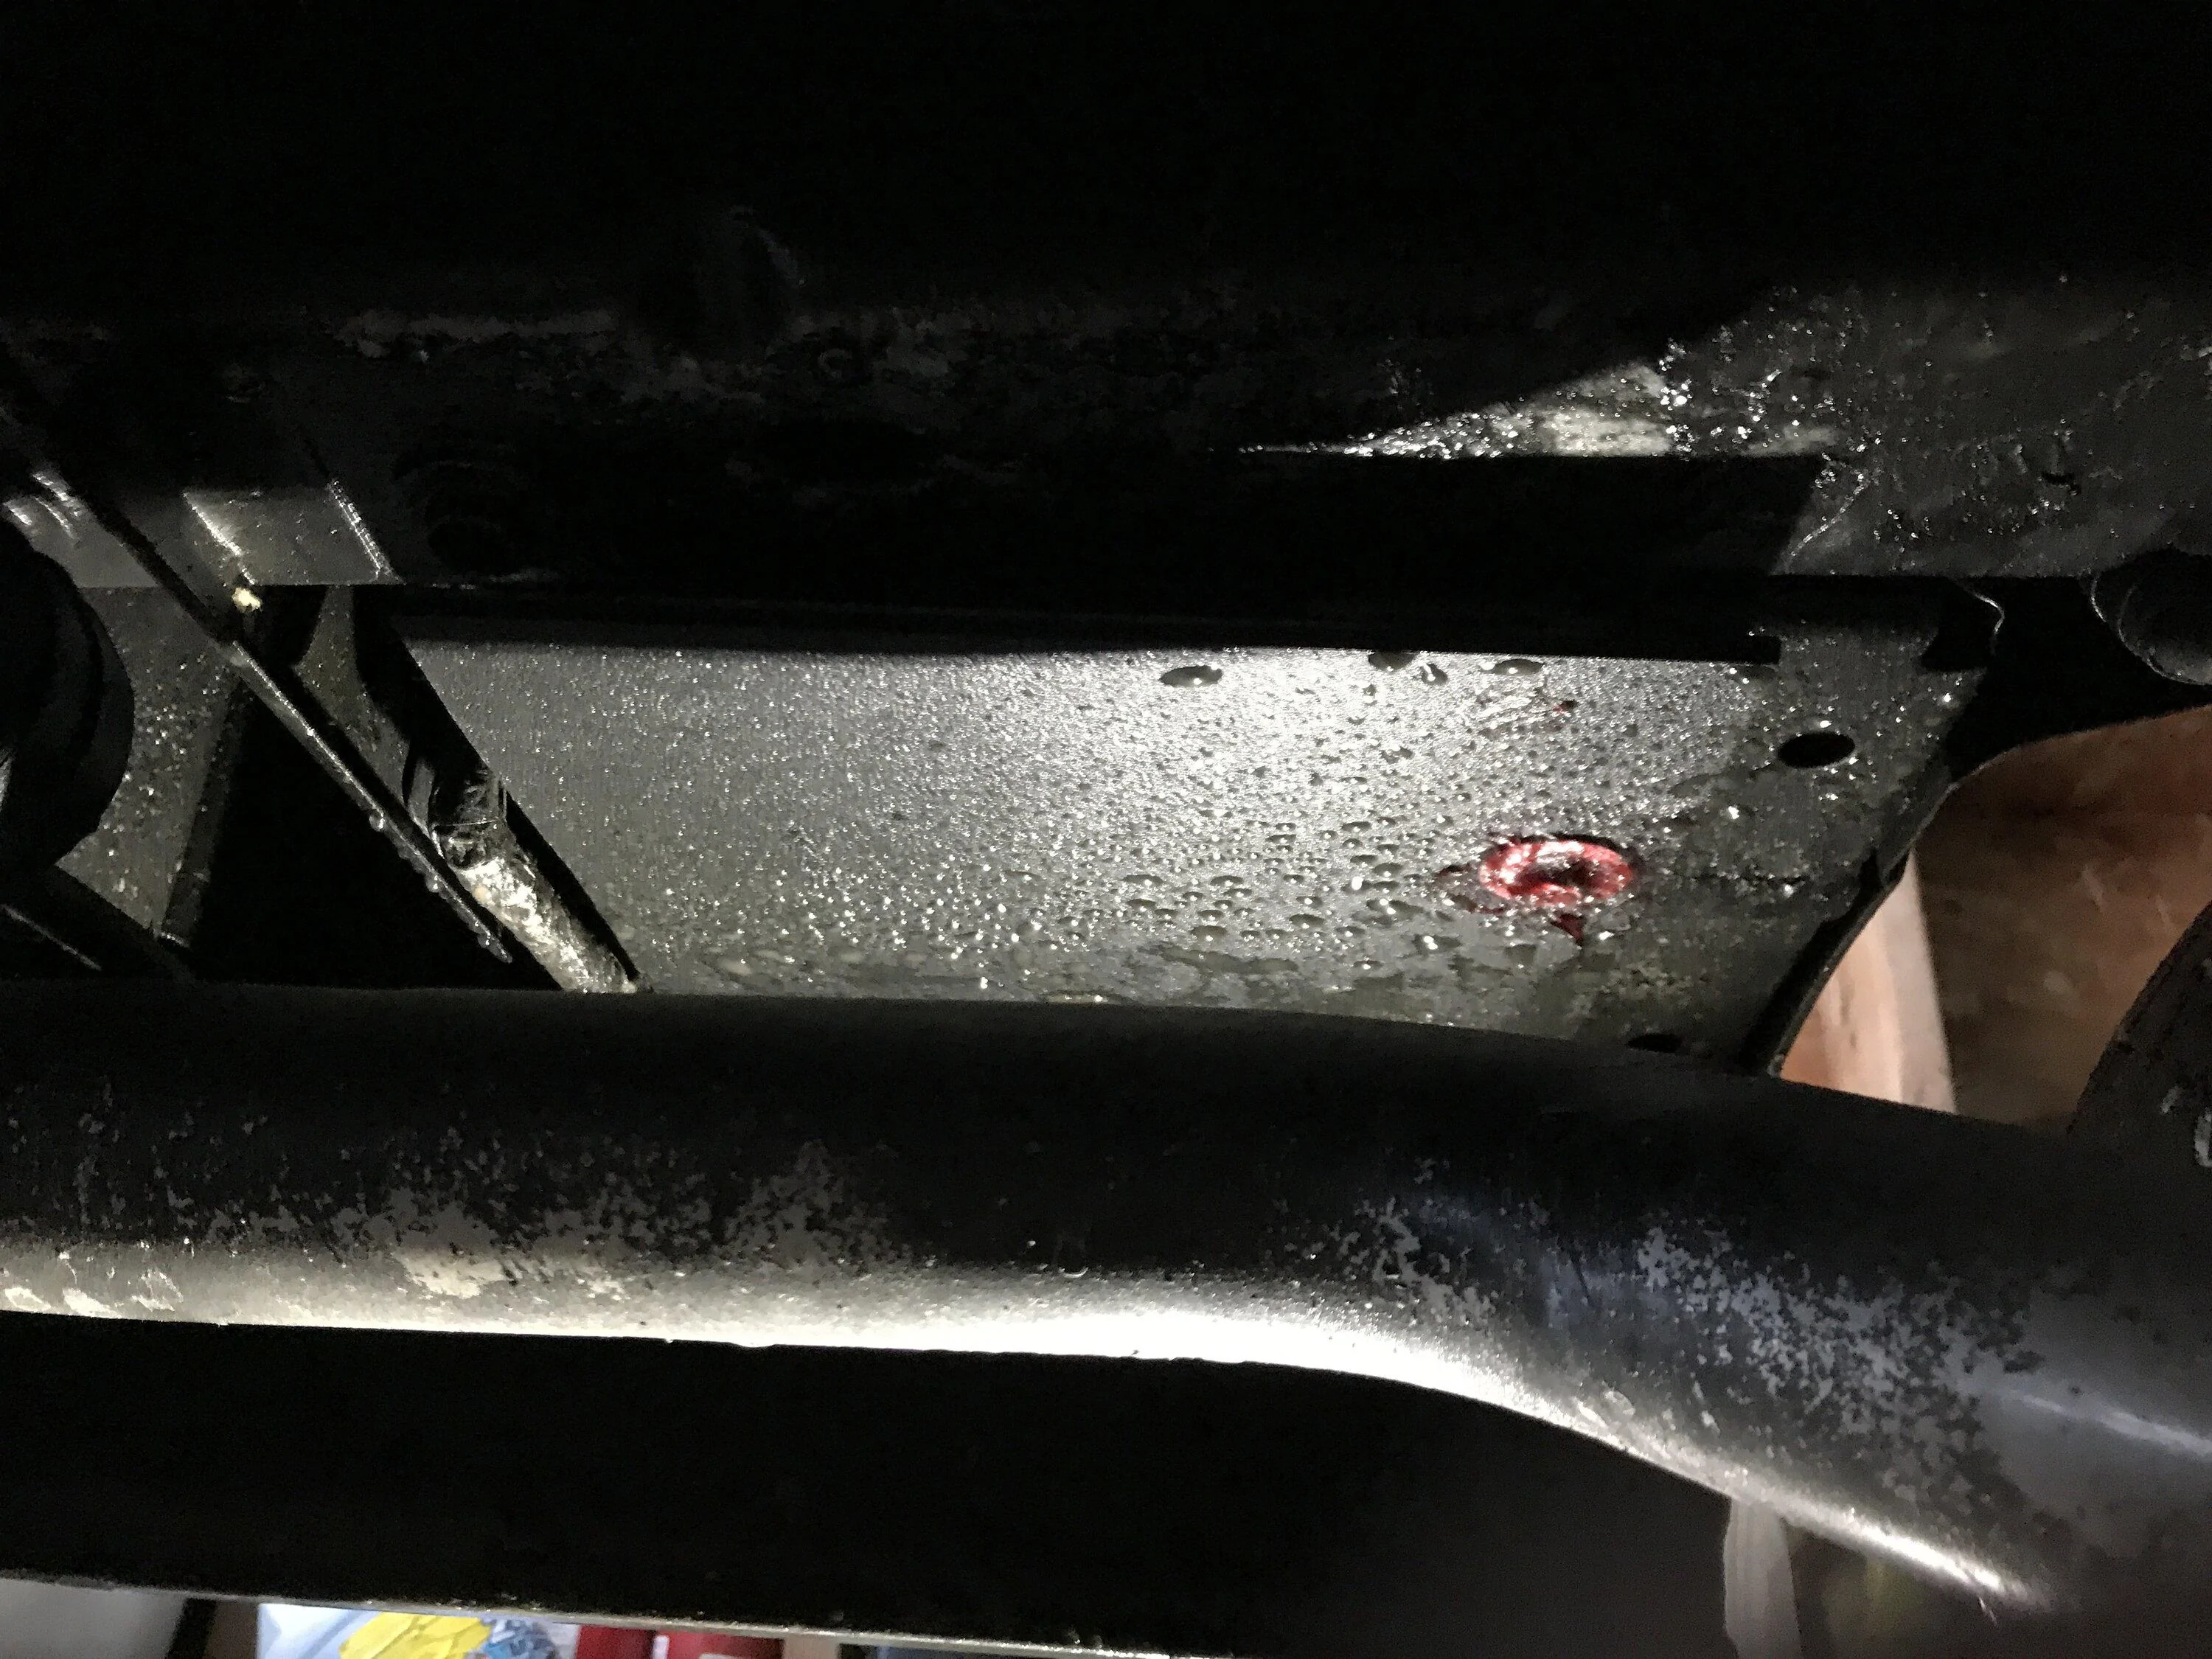
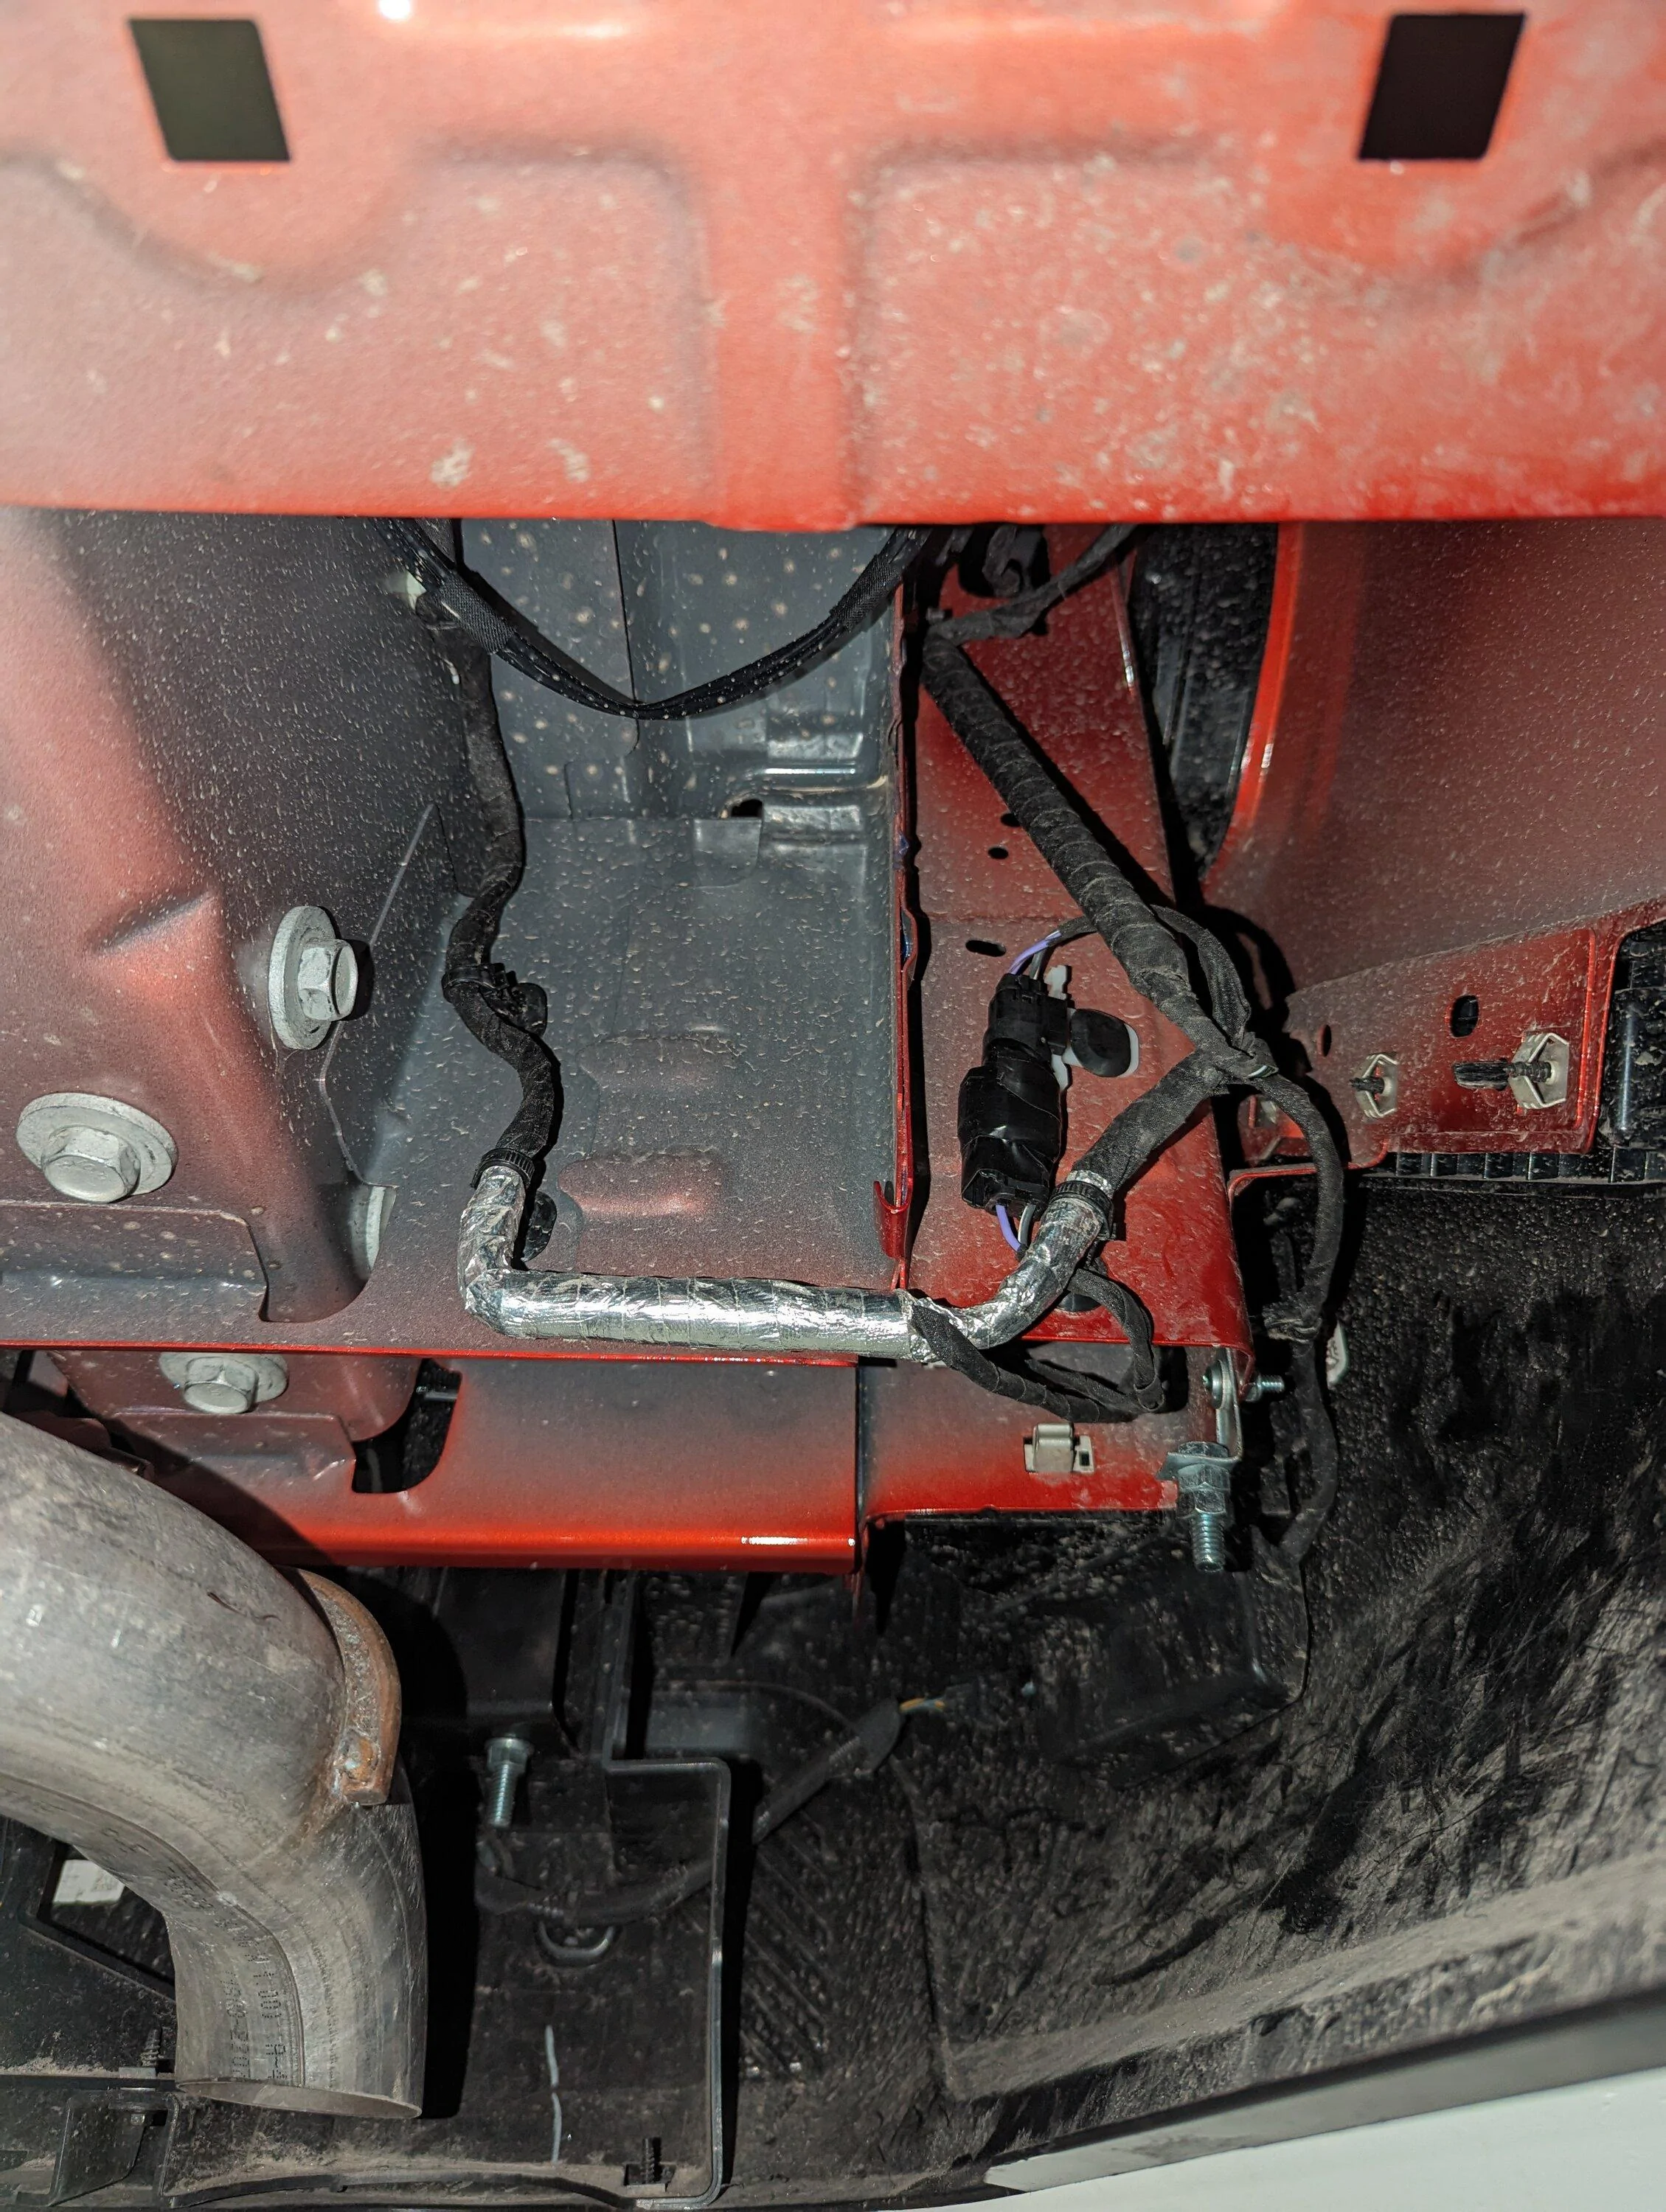
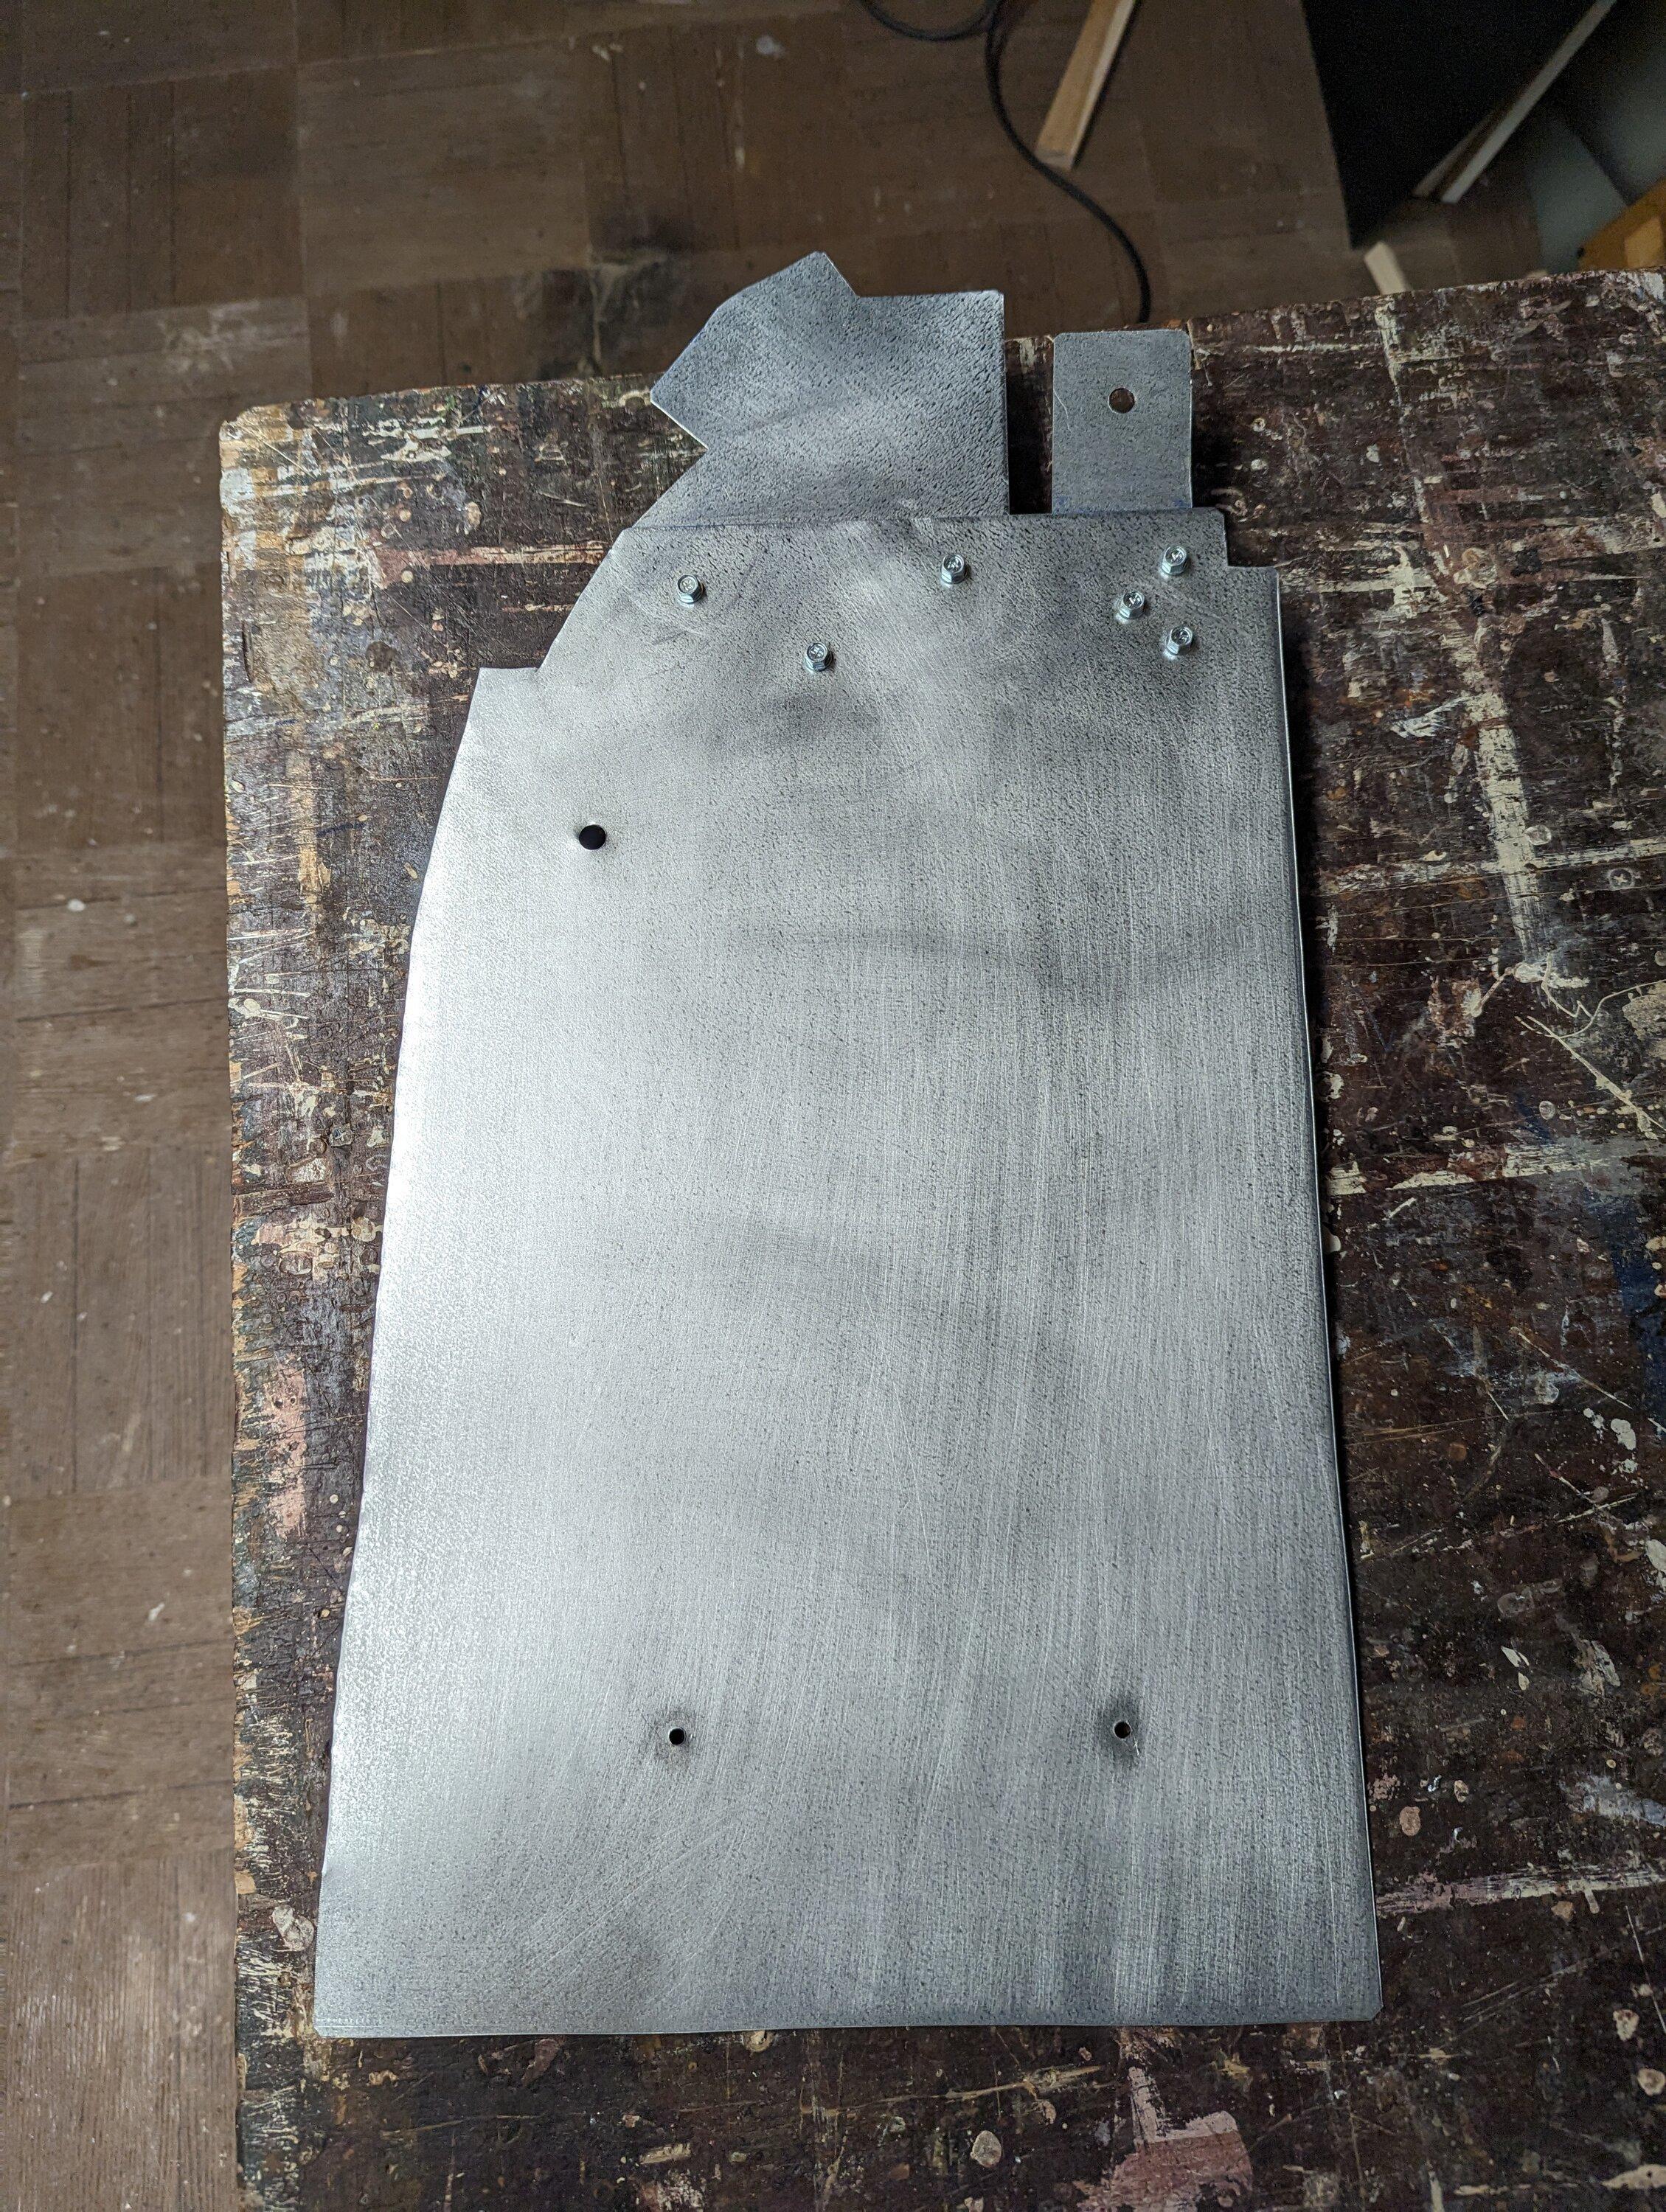
I went the full 23" to cover the entire cavity. If you look on the passenger side, it is completely covered, at least on my Lariat. Plus, it gave me an anchor point for my shield.
Sponsored