- First Name
- Ben Anderson
- Joined
- Jan 4, 2023
- Threads
- 2
- Messages
- 9
- Reaction score
- 34
- Location
- Charleston, SC
- Vehicle(s)
- 2013 Toyota Prius
- Engine
- 2.5L Hybrid
- Thread starter
- #1
i know there are a few of these out there but without reading through all of them I thought I'd let folks know what I thought about my install that I just completed.
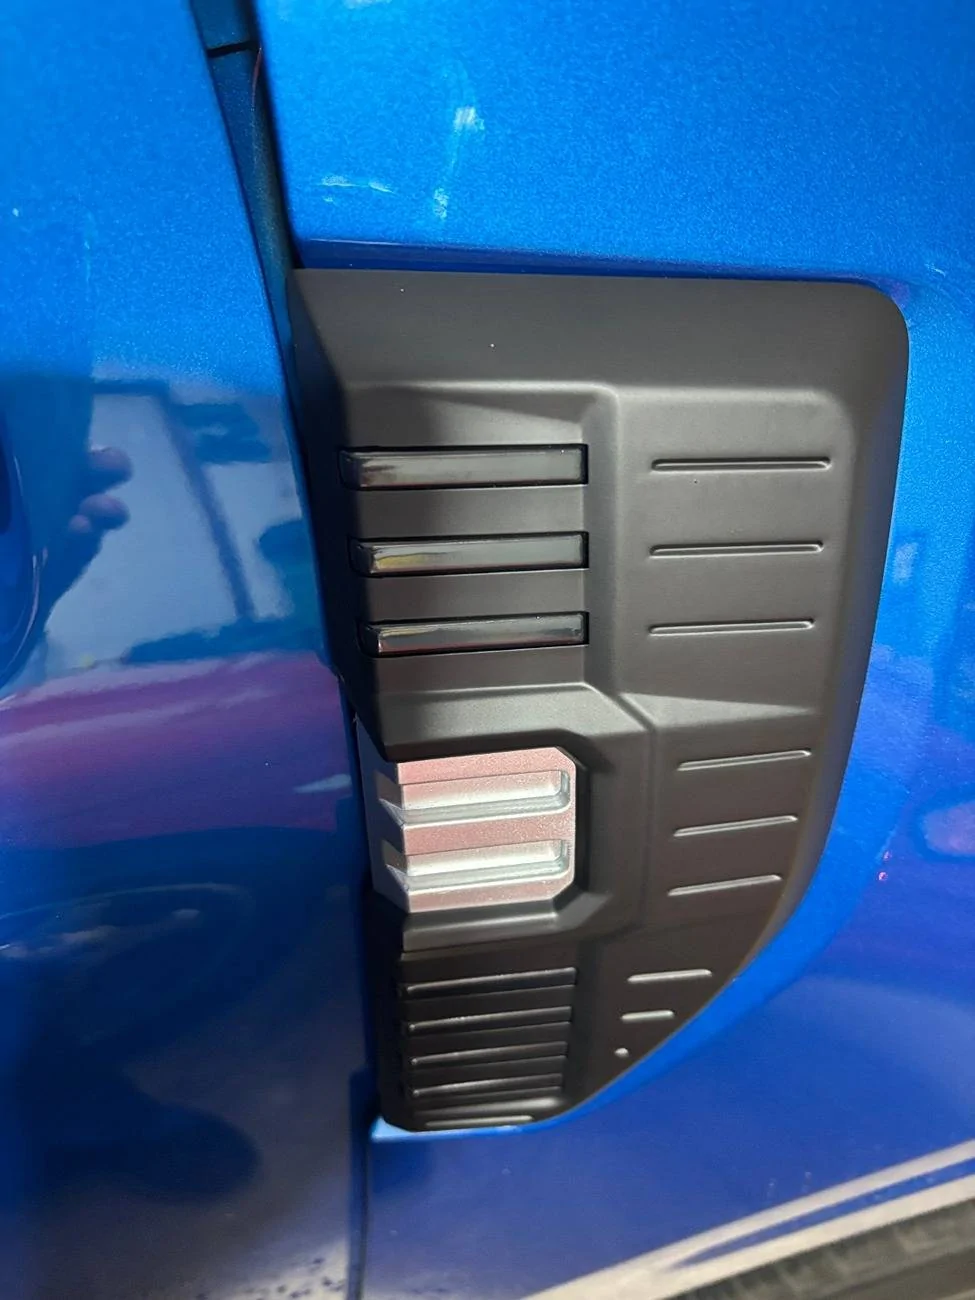
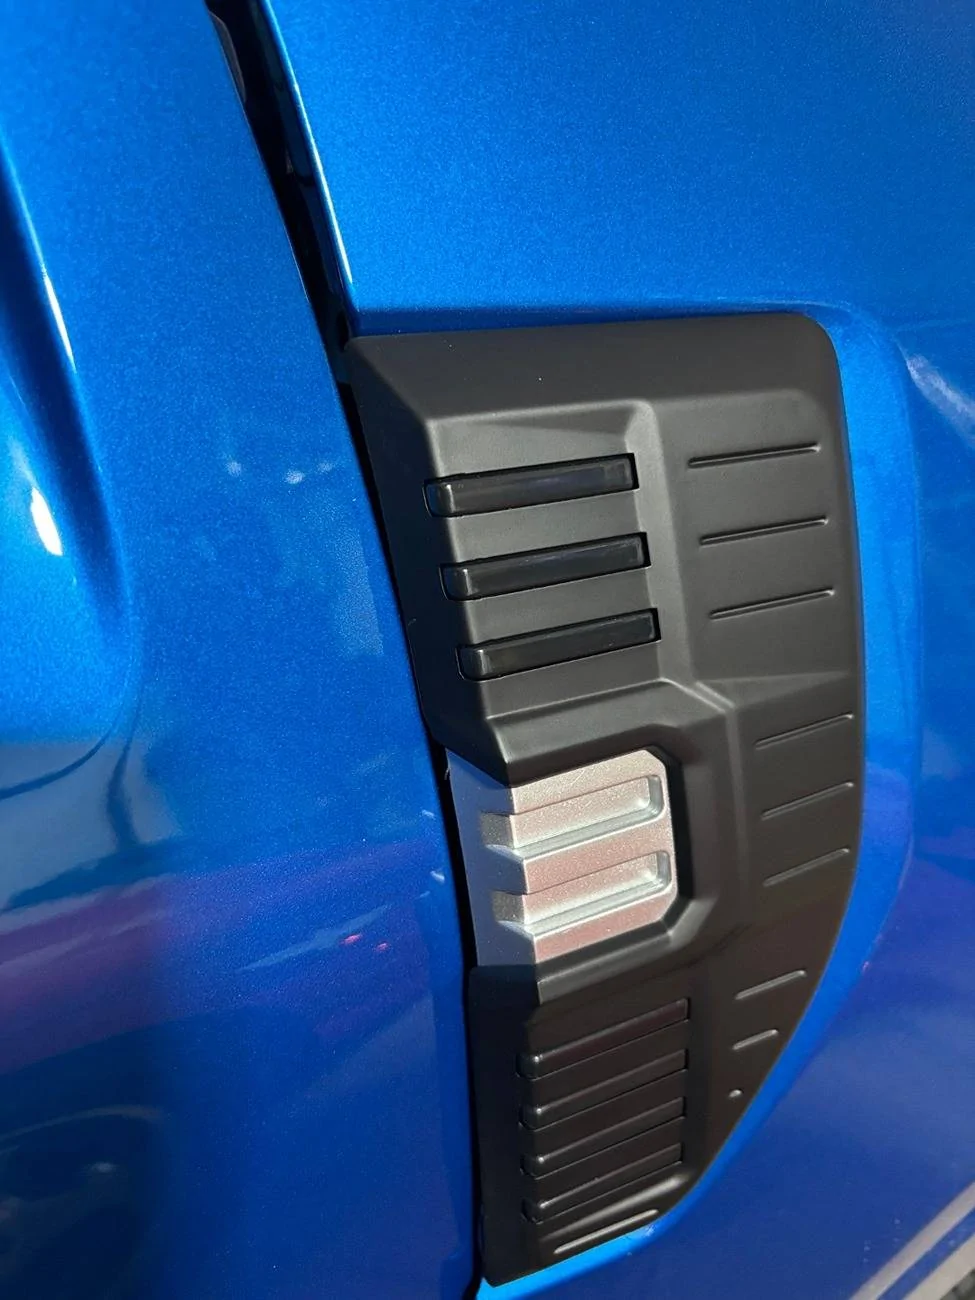
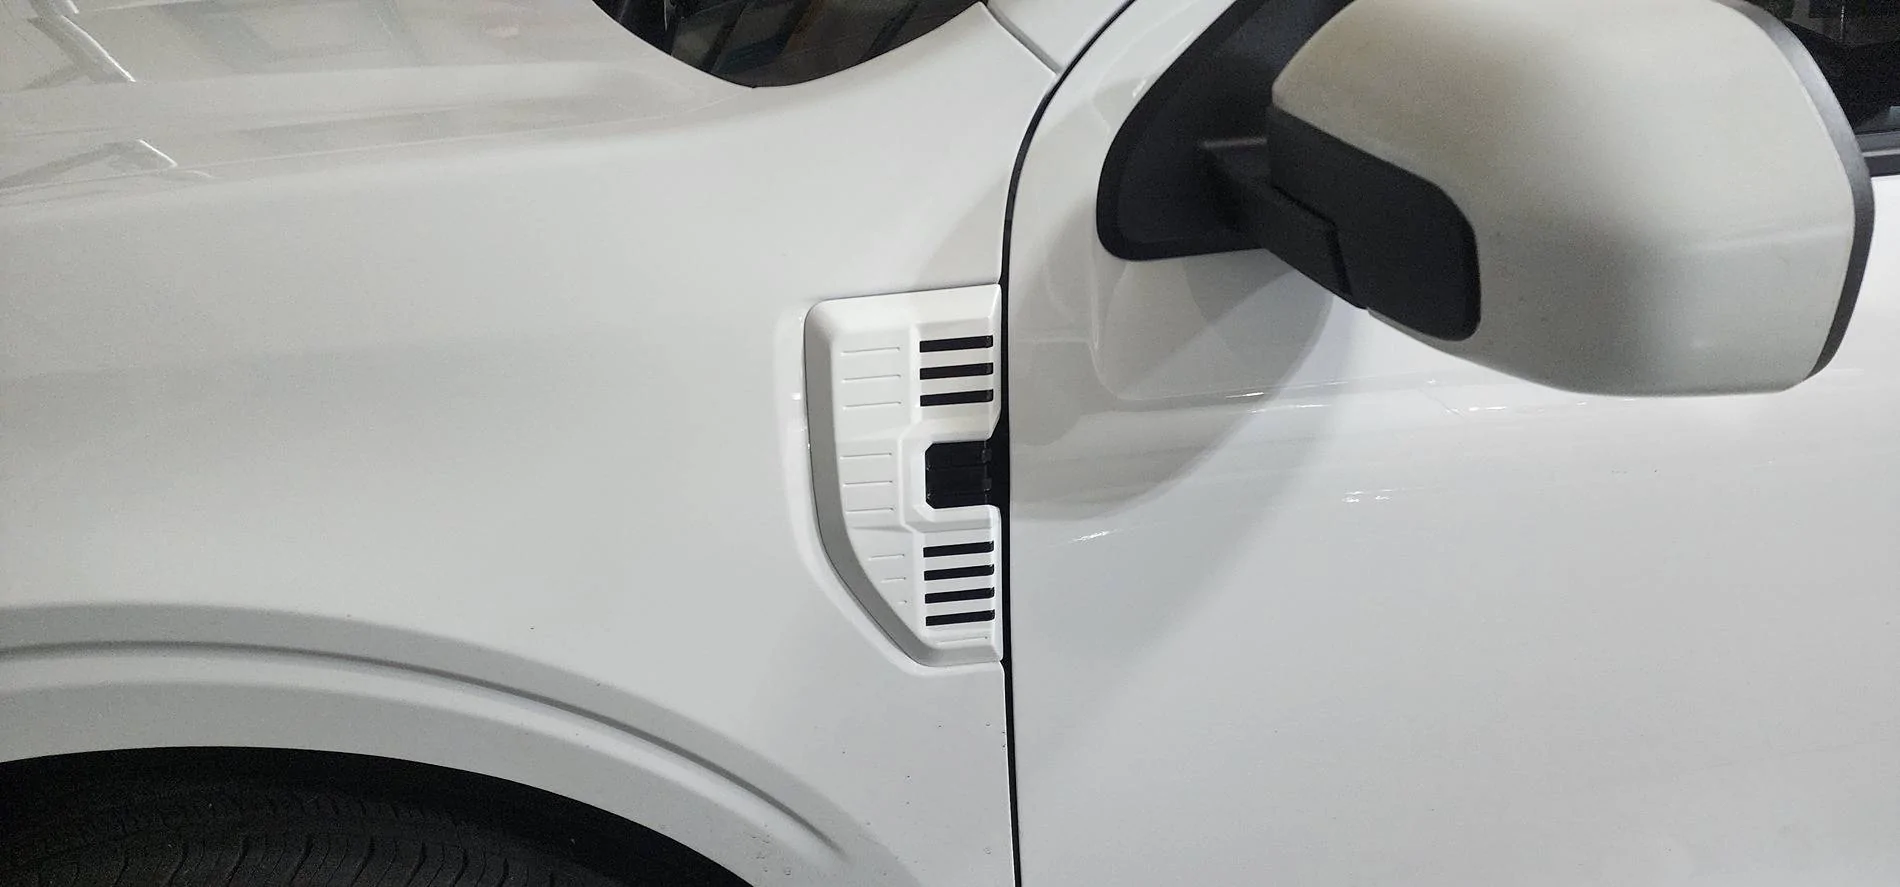
I had the original version of these lights and of course one flooded so I took advantage of the refund and discount offer and got these new ones. At first glance they are built a lot better and appear to be well sealed so hopefully the water penetration issue is done. The set up was just as easy as before. Once I figured out the directions (more on that later) the plugs were a lot easier than the in-line splice method from before. After what could have been a 15 minute install the lights were up and running. I like the sequential illumination. makes the product look more quality. I think since I have the black appearance package on my 2024 Maverick these look a little better.
That being said the only things I would change are:
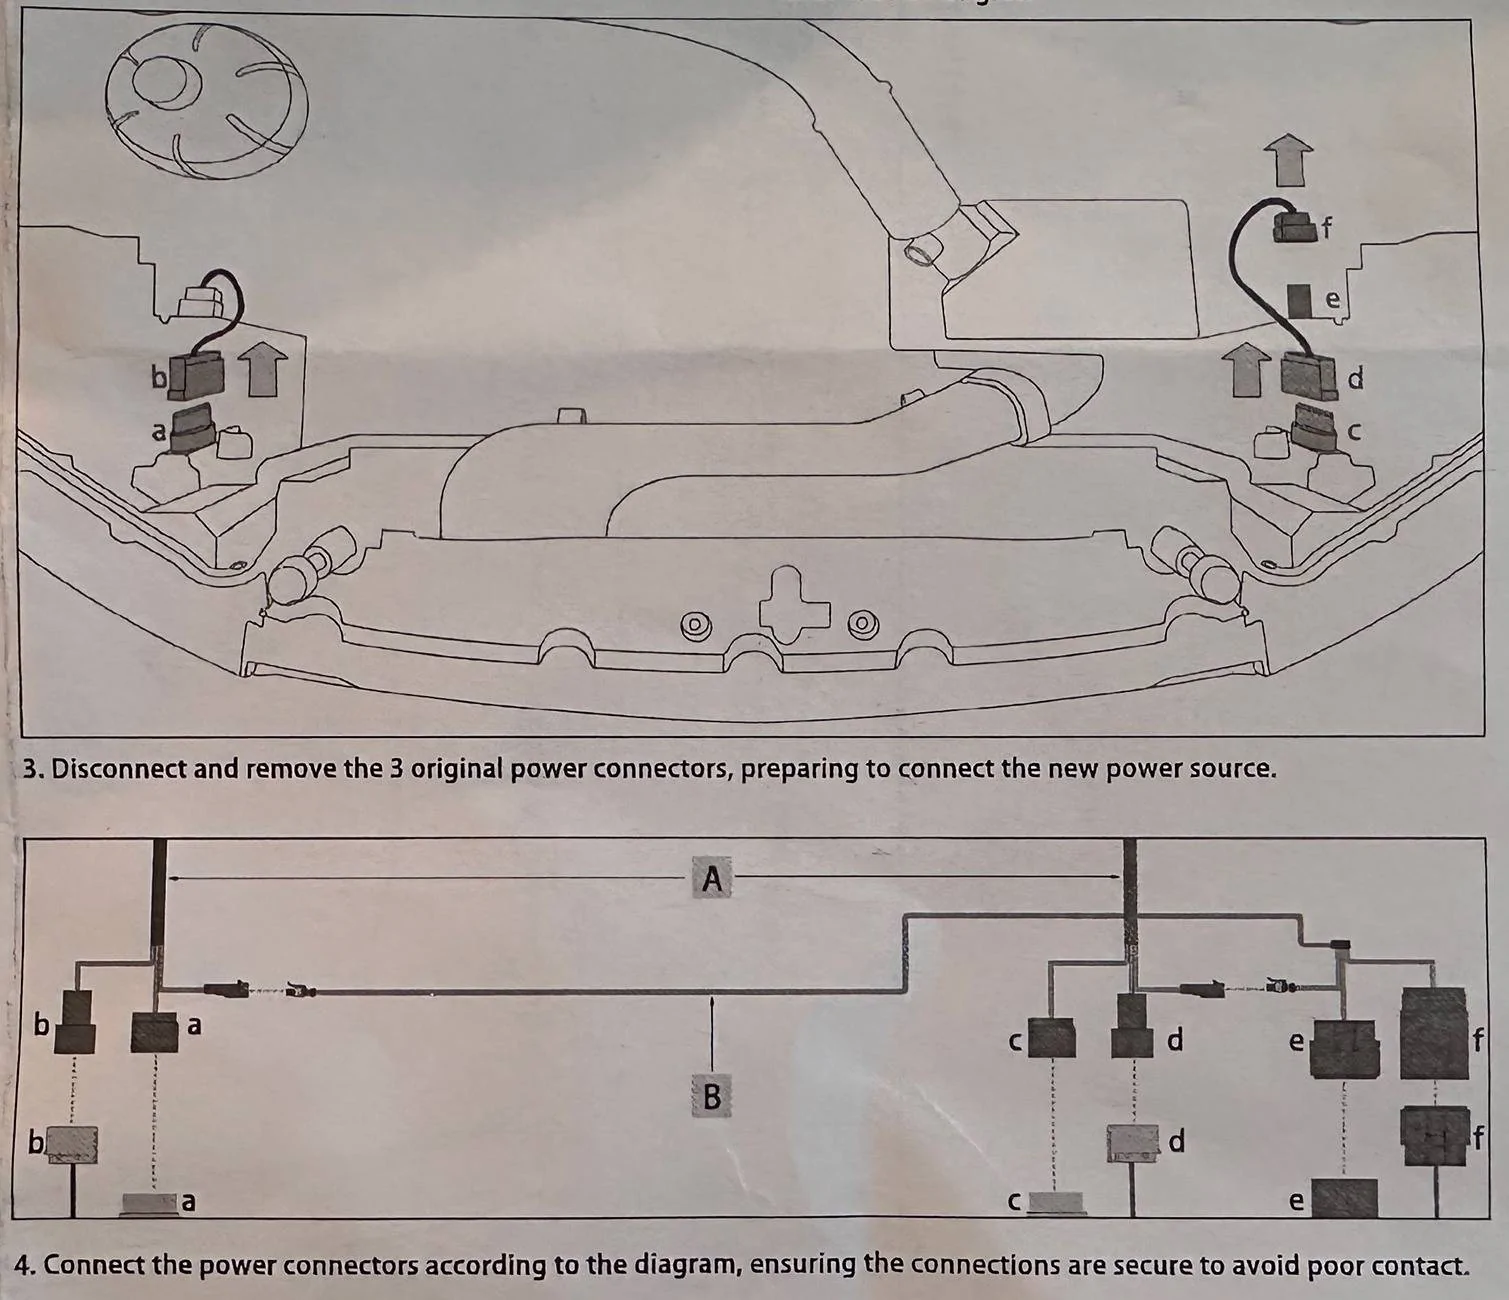
1) Better installation instructions - The graphic image of the engine bay and the wiring diagram are backwards. I couldn't figure out how to route the wires the way they were showing until I realized the image was wrong. There are letters showing different parts but no designation of what those parts actually are. Again, with a little thinking I got it worked out but if they want to sell these as truly plug and play then folks who can't work out the diagram will be lost.
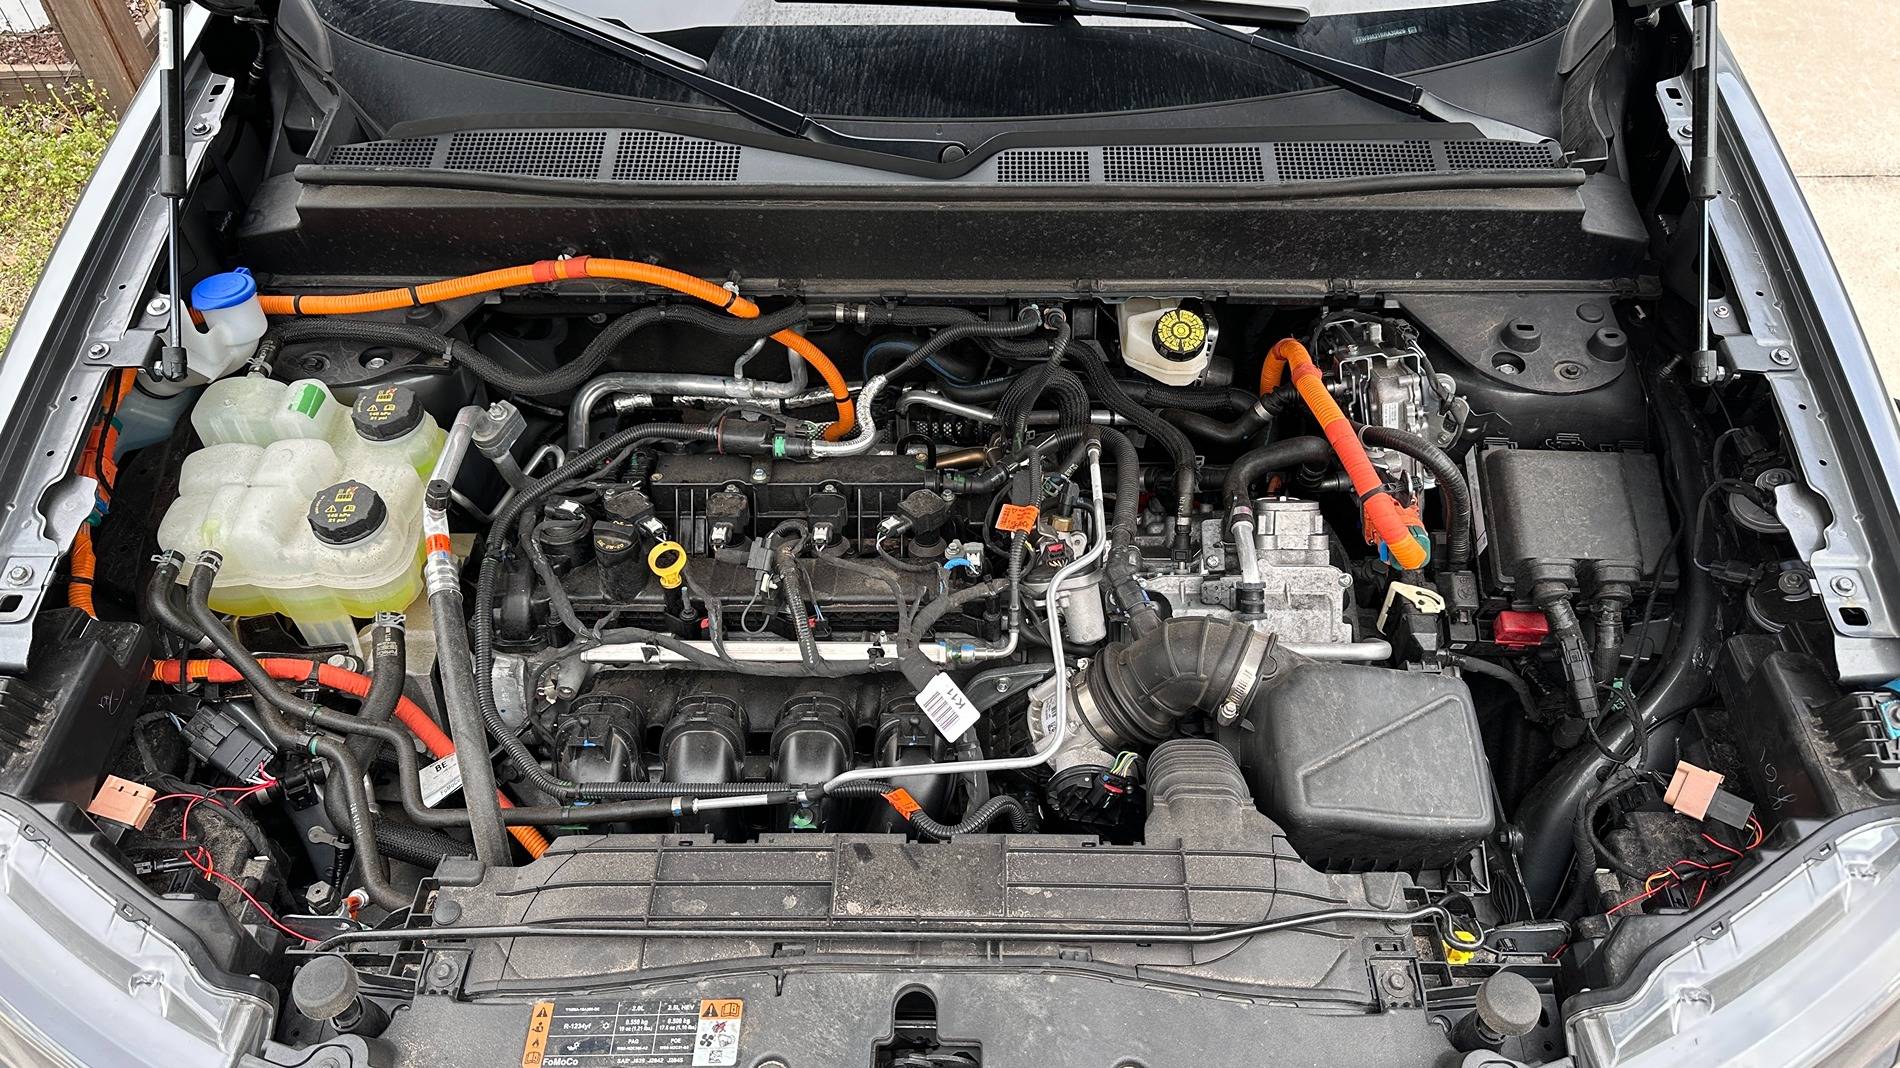
2) Include zip ties to clean up the wire mess under the hood - There is a lot of extra wire left over that needs to be cleaned up including what you can see in the photos below.
- PHOTO 1 - Engine bay after final install to show that it can be organized. This is really important if you ever have a pro working on the engine. There is enough going on in there to worry about wires getting in the way.
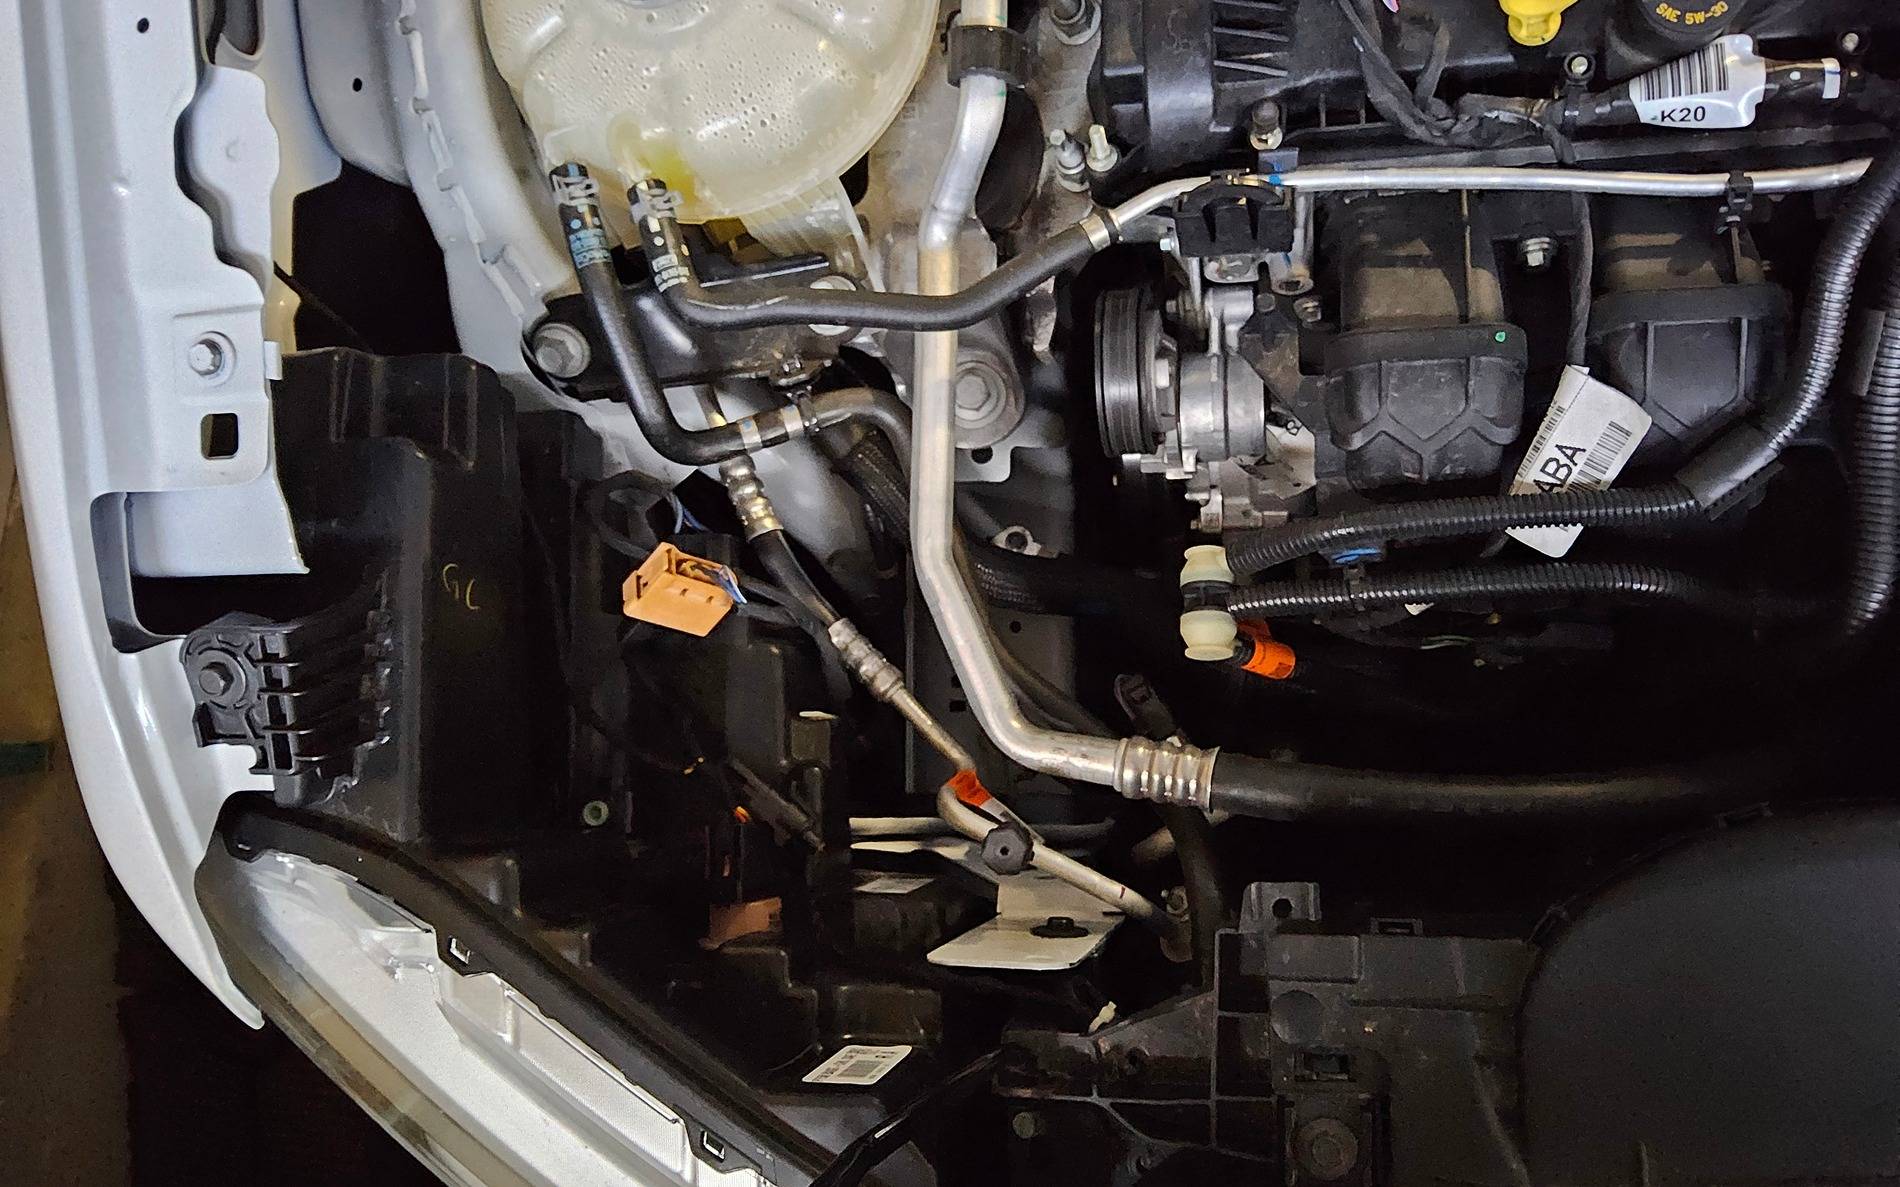
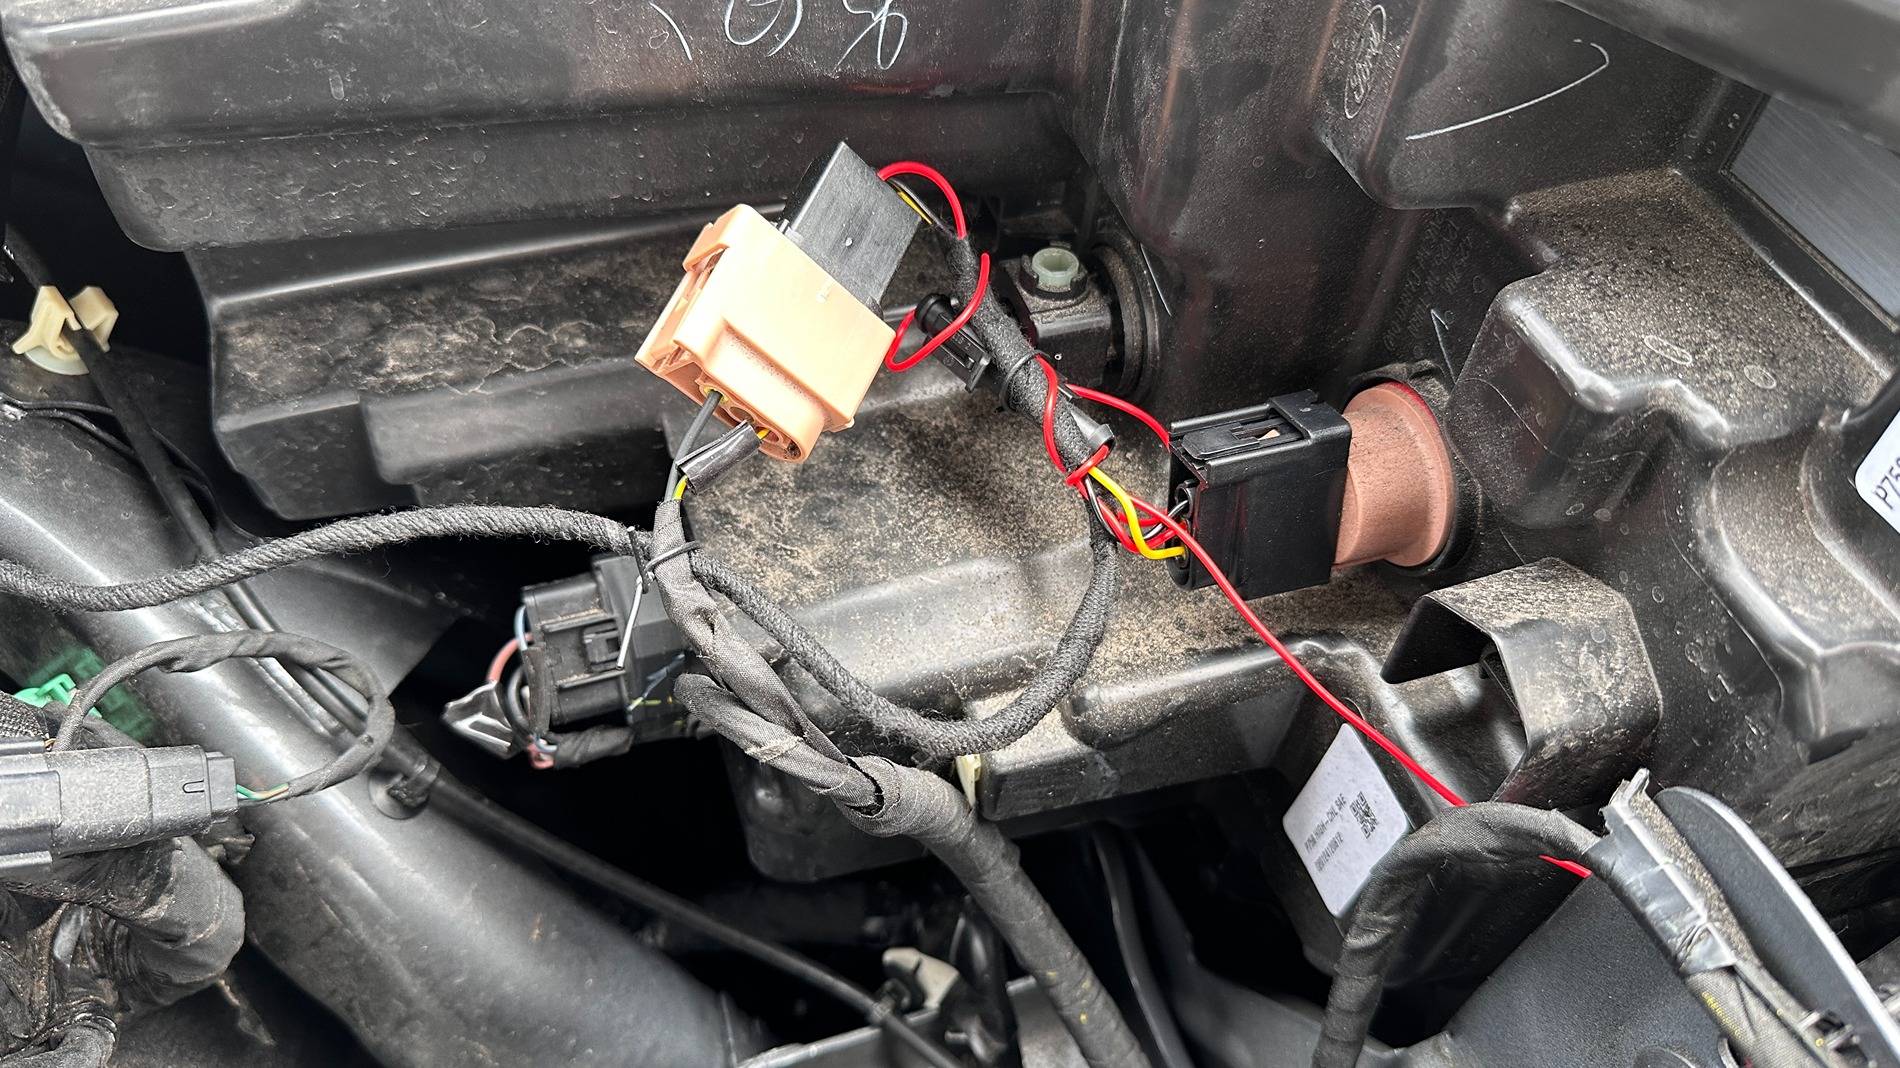
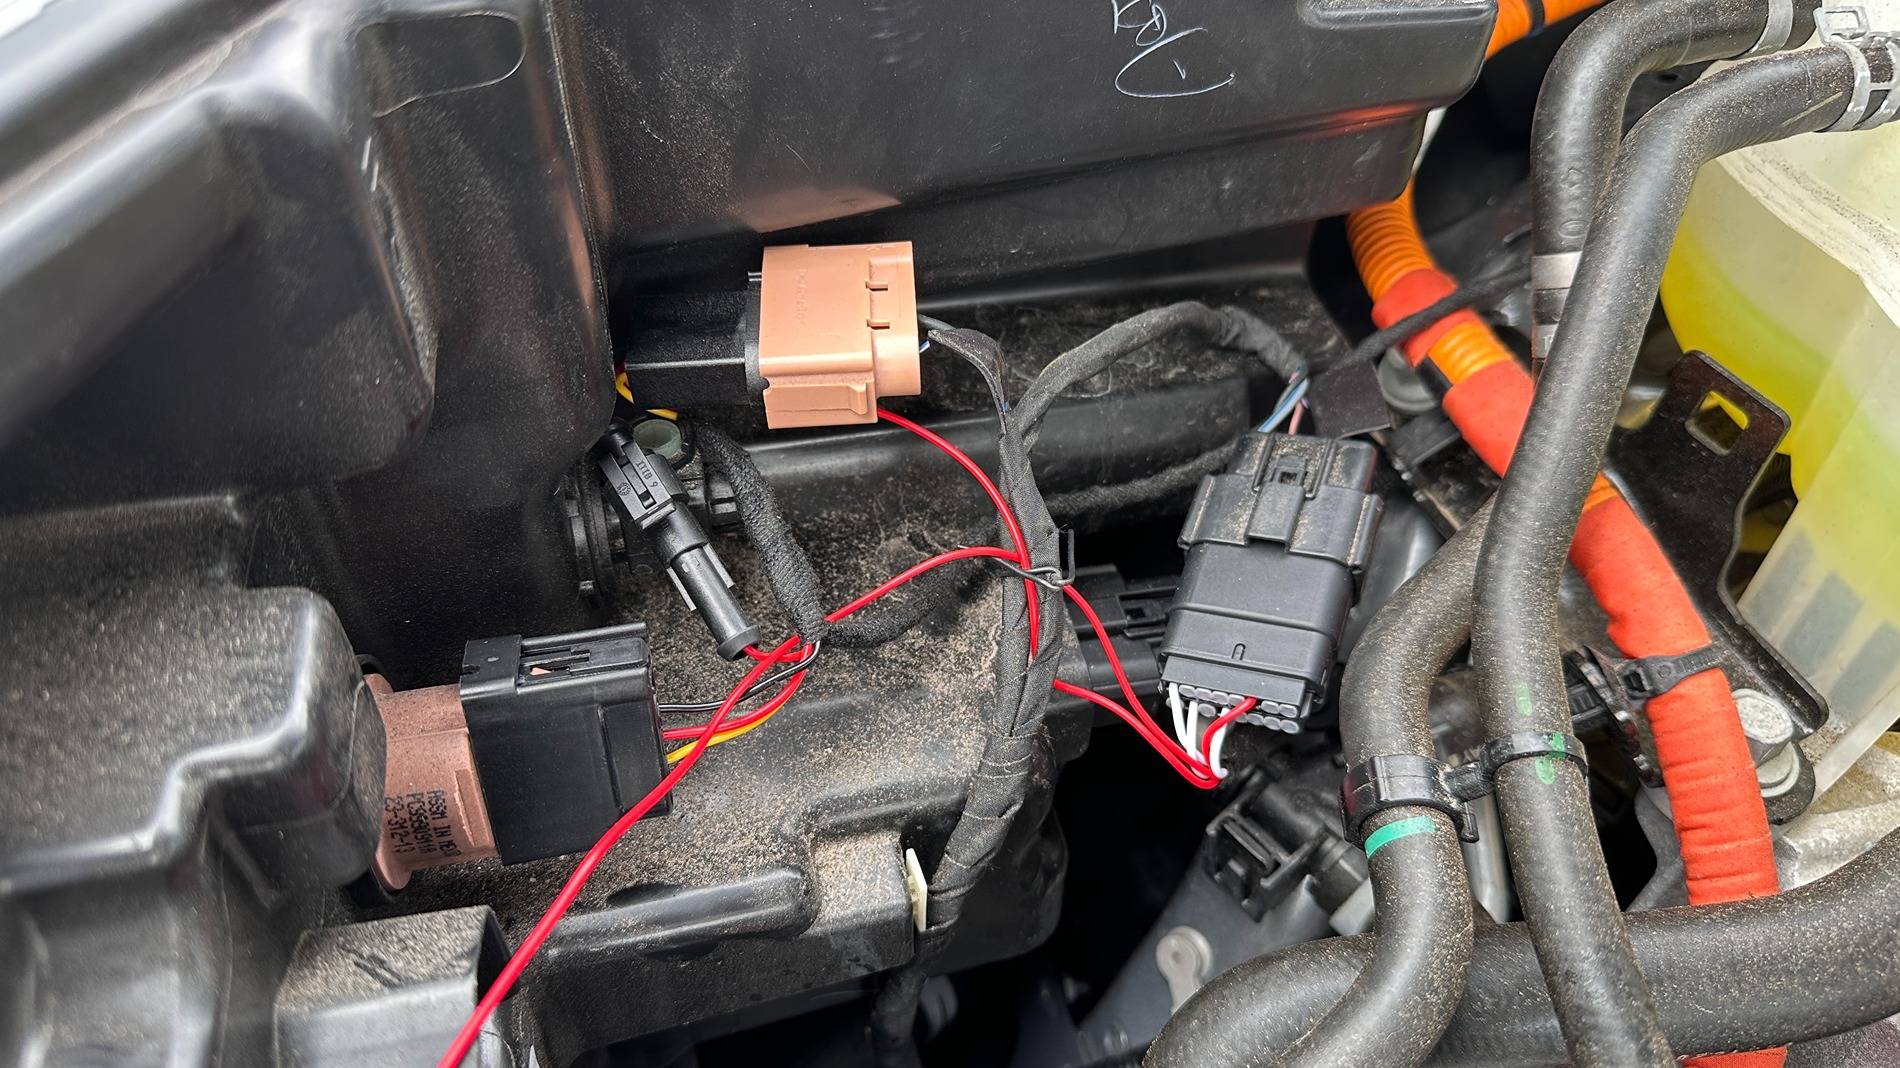
- PHOTO 2 - Hook ups behind the driver side headlight.
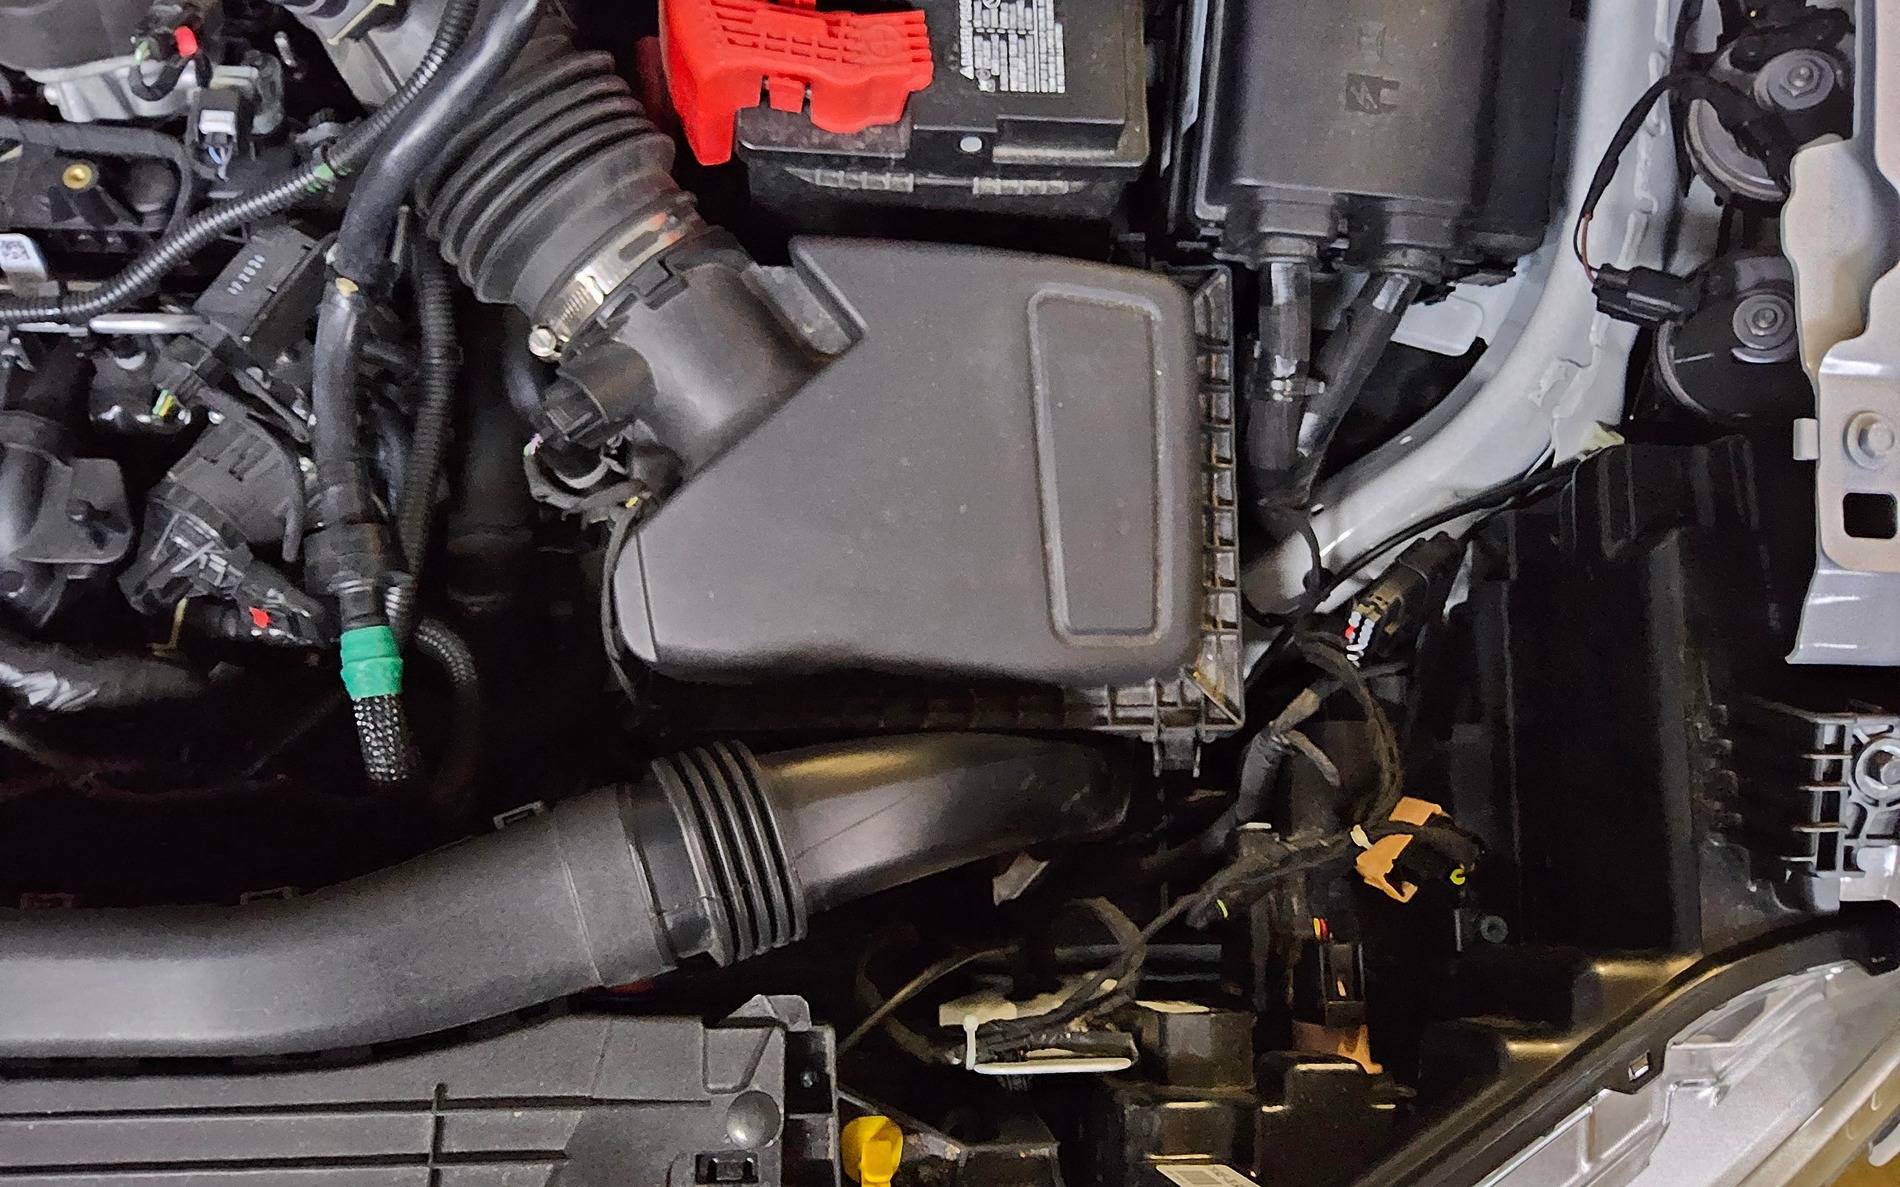
- PHOTO 3 - Hook ups behind the passenger side headlight.
- PHOTO 4 - Instructions reversed. At least with my lights, the driver side setup is shown on the left of the image.
- PHOTO /VIDEO 5 - Shows sequential illumination, pretty cool.
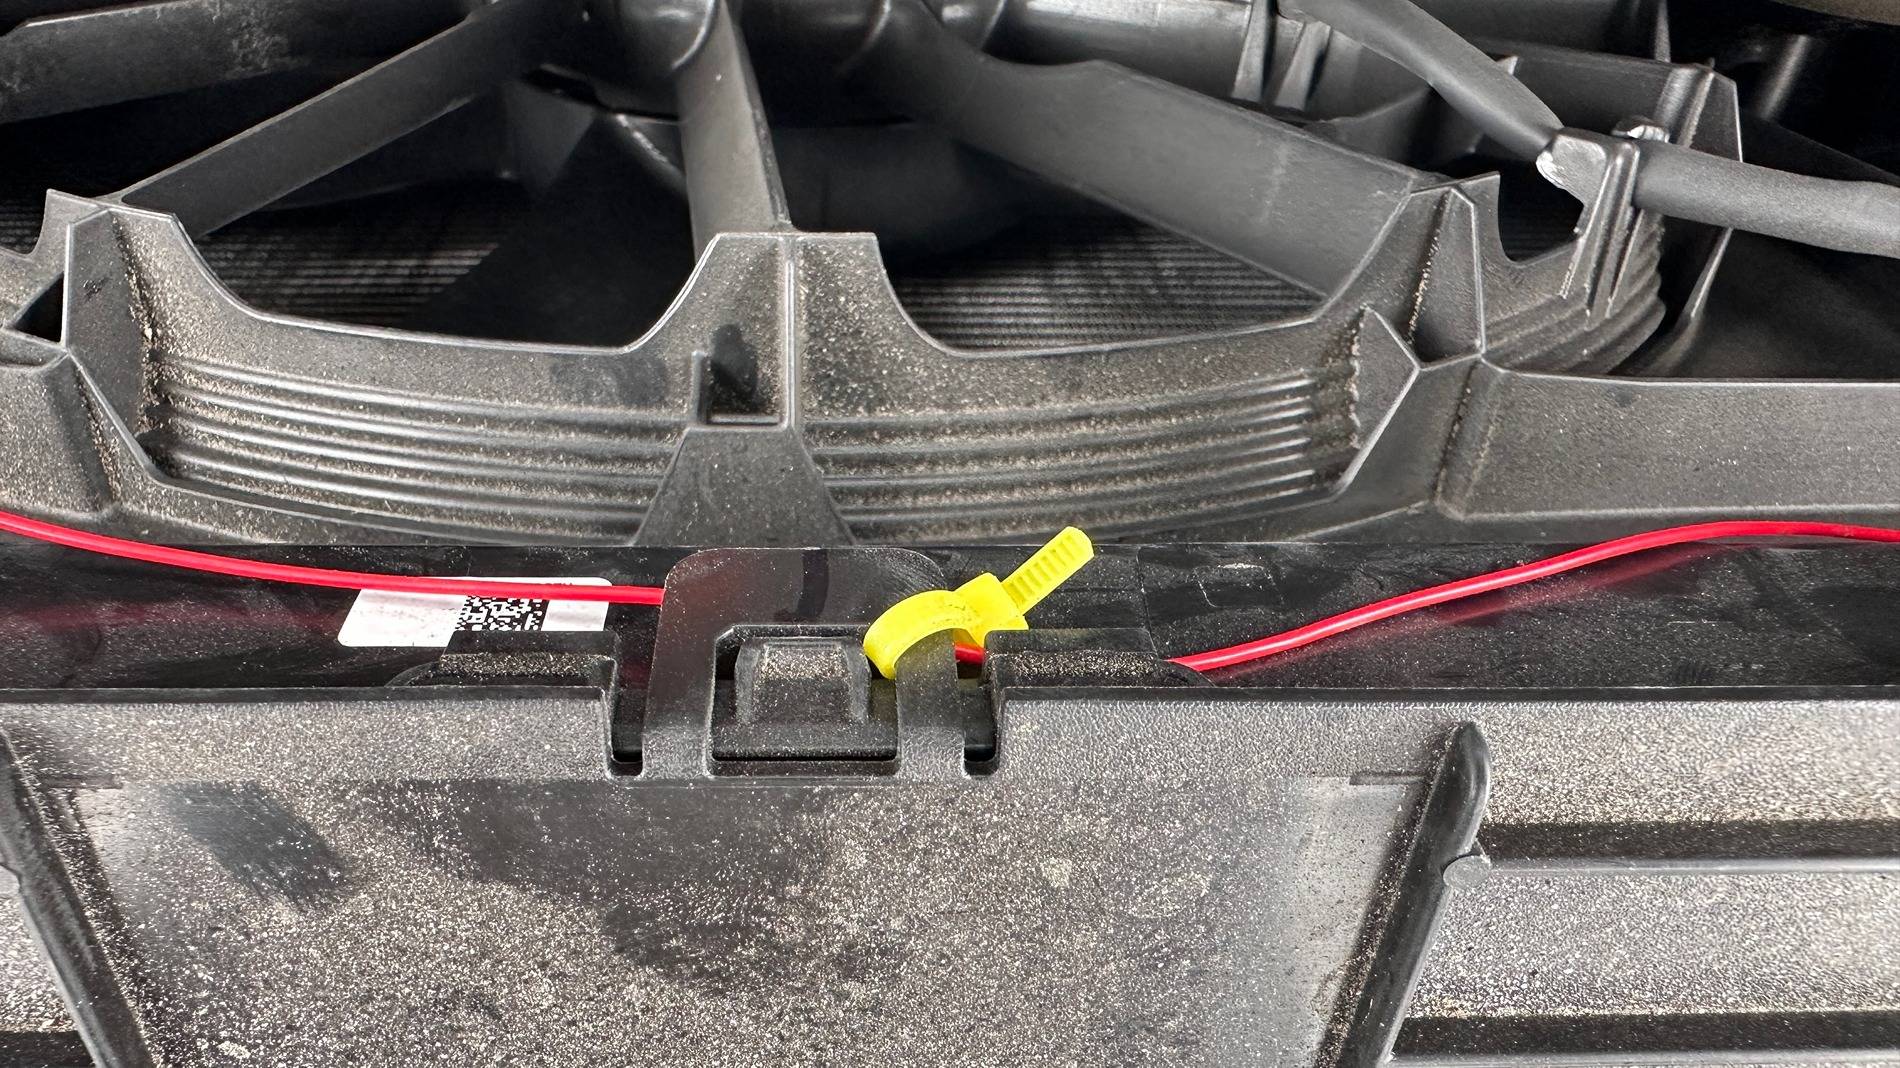
- PHOTO /VIDEO 6 - This very light gauge wire has to stretch from the drivers side tot he passenger side. Without zip ties this can get messy. Specifically in the middle, because the wire is such a small gauge that it could get pulled into the radiator fan.
- photo 7 - My solution. Be sure to cut that zip tie clean so you don't scratch yourself later!
Last helpful hint. If you had the the first version of these lights then you now are left with cuts in the wiring from the previous install. I suggest picking up a roll of self-fusing, waterproof tape. Ordinarily I'd use heat shrink but since you can't slip that over one end of the wire, this tape is the next best thing to keep that wire together and sealed from water causing a short.
I had the original version of these lights and of course one flooded so I took advantage of the refund and discount offer and got these new ones. At first glance they are built a lot better and appear to be well sealed so hopefully the water penetration issue is done. The set up was just as easy as before. Once I figured out the directions (more on that later) the plugs were a lot easier than the in-line splice method from before. After what could have been a 15 minute install the lights were up and running. I like the sequential illumination. makes the product look more quality. I think since I have the black appearance package on my 2024 Maverick these look a little better.
That being said the only things I would change are:
1) Better installation instructions - The graphic image of the engine bay and the wiring diagram are backwards. I couldn't figure out how to route the wires the way they were showing until I realized the image was wrong. There are letters showing different parts but no designation of what those parts actually are. Again, with a little thinking I got it worked out but if they want to sell these as truly plug and play then folks who can't work out the diagram will be lost.
2) Include zip ties to clean up the wire mess under the hood - There is a lot of extra wire left over that needs to be cleaned up including what you can see in the photos below.
- PHOTO 1 - Engine bay after final install to show that it can be organized. This is really important if you ever have a pro working on the engine. There is enough going on in there to worry about wires getting in the way.
- PHOTO 2 - Hook ups behind the driver side headlight.
- PHOTO 3 - Hook ups behind the passenger side headlight.
- PHOTO 4 - Instructions reversed. At least with my lights, the driver side setup is shown on the left of the image.
- PHOTO /VIDEO 5 - Shows sequential illumination, pretty cool.
- PHOTO /VIDEO 6 - This very light gauge wire has to stretch from the drivers side tot he passenger side. Without zip ties this can get messy. Specifically in the middle, because the wire is such a small gauge that it could get pulled into the radiator fan.
- photo 7 - My solution. Be sure to cut that zip tie clean so you don't scratch yourself later!
Last helpful hint. If you had the the first version of these lights then you now are left with cuts in the wiring from the previous install. I suggest picking up a roll of self-fusing, waterproof tape. Ordinarily I'd use heat shrink but since you can't slip that over one end of the wire, this tape is the next best thing to keep that wire together and sealed from water causing a short.
Sponsored