
Does anyone why this video won't play on an ipad?Here's the exact reason I use a dashcam.. This is what totaled our Equinox and tore up my shoulder..
Sponsored
Does anyone why this video won't play on an ipad?Here's the exact reason I use a dashcam.. This is what totaled our Equinox and tore up my shoulder..
Great job and thanks for all the photos. Getting ready to install my Commander Touch SiriusXM radio and the photos for routing cables is extremely helpful. So thanks again.I'm not one for doing videos, but I try to document installs whenever possible. I bought the Rexing V1P-4K dashcam while my Maverick was still on order, so I'd have it when the pickup got here. I wasn't planning on it taking two weeks to get it installed. Before this install, I had the V1P from the Equinox I totaled installed using the 12v power socket as a temporary fix.
The install took about an hour, since I was trying to be careful not to break anything. I would also highly recommend getting a set of plastic trim tools.. You will need them and they're cheap.
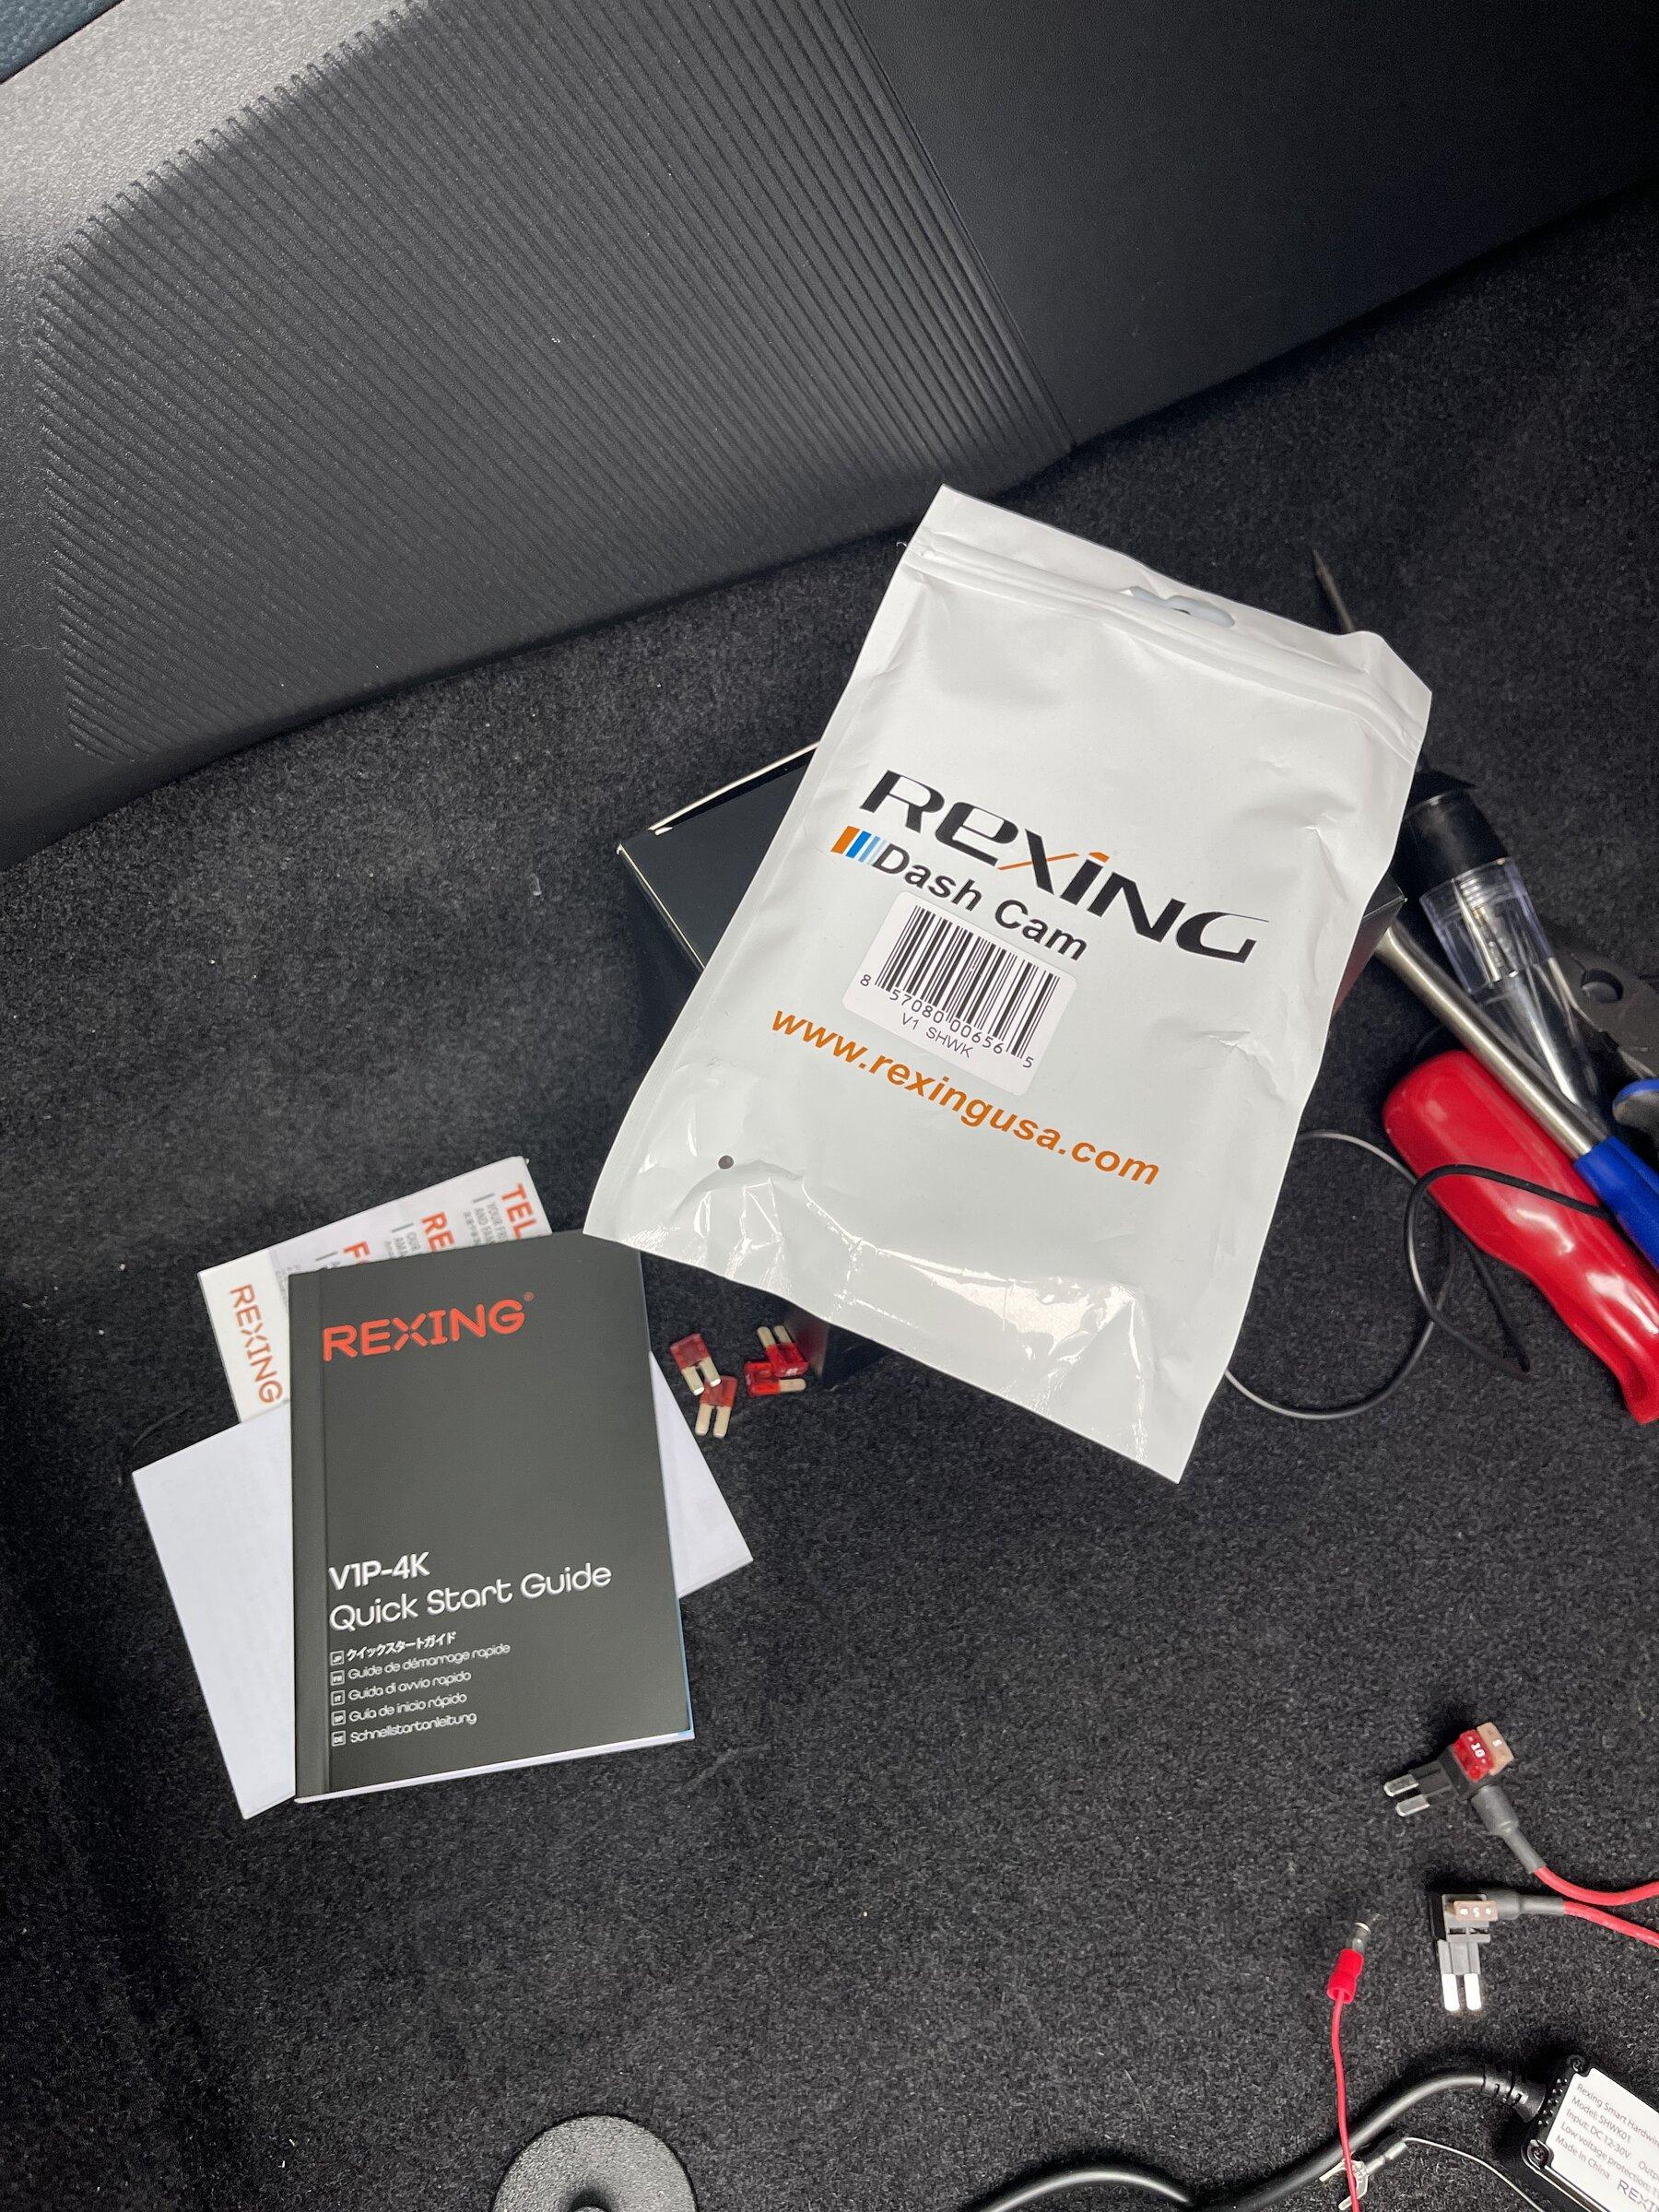
First pic is of packaging. As stated, I got the Rexing V1p-4K dashcam, with both front and rear facing cameras. I also purchased the Rexing smart hardwire kit. The only thing I had to purchase separately, were two Littelfuse Micro2 add-a-circuit fuse holders. I got one in the hardwire kit, but the fuse orientation was different than the Littlefuse ones and I wanted them to be the same. I also bought a pack of blue female bullet connectors, to connect the kit wiring to the new add-a circuits. Here's the add-a-circuits I got:
")
Go for it!Assuming you can do a similar installation for an auto dimming homelink mirror?
@EMD_Driver Did you have to disconnect the battery before install? Where did you mount the little box? Thank you!I'm not one for doing videos, but I try to document installs whenever possible. I bought the Rexing V1P-4K dashcam while my Maverick was still on order, so I'd have it when the pickup got here. I wasn't planning on it taking two weeks to get it installed. Before this install, I had the V1P from the Equinox I totaled installed using the 12v power socket as a temporary fix.
The install took about an hour, since I was trying to be careful not to break anything. I would also highly recommend getting a set of plastic trim tools.. You will need them and they're cheap.
First pic is of packaging. As stated, I got the Rexing V1p-4K dashcam, with both front and rear facing cameras. I also purchased the Rexing smart hardwire kit. The only thing I had to purchase separately, were two Littelfuse Micro2 add-a-circuit fuse holders. I got one in the hardwire kit, but the fuse orientation was different than the Littlefuse ones and I wanted them to be the same. I also bought a pack of blue female bullet connectors, to connect the kit wiring to the new add-a circuits. Here's the add-a-circuits I got:

Here's the packaging for the camera and the hardwire kit:
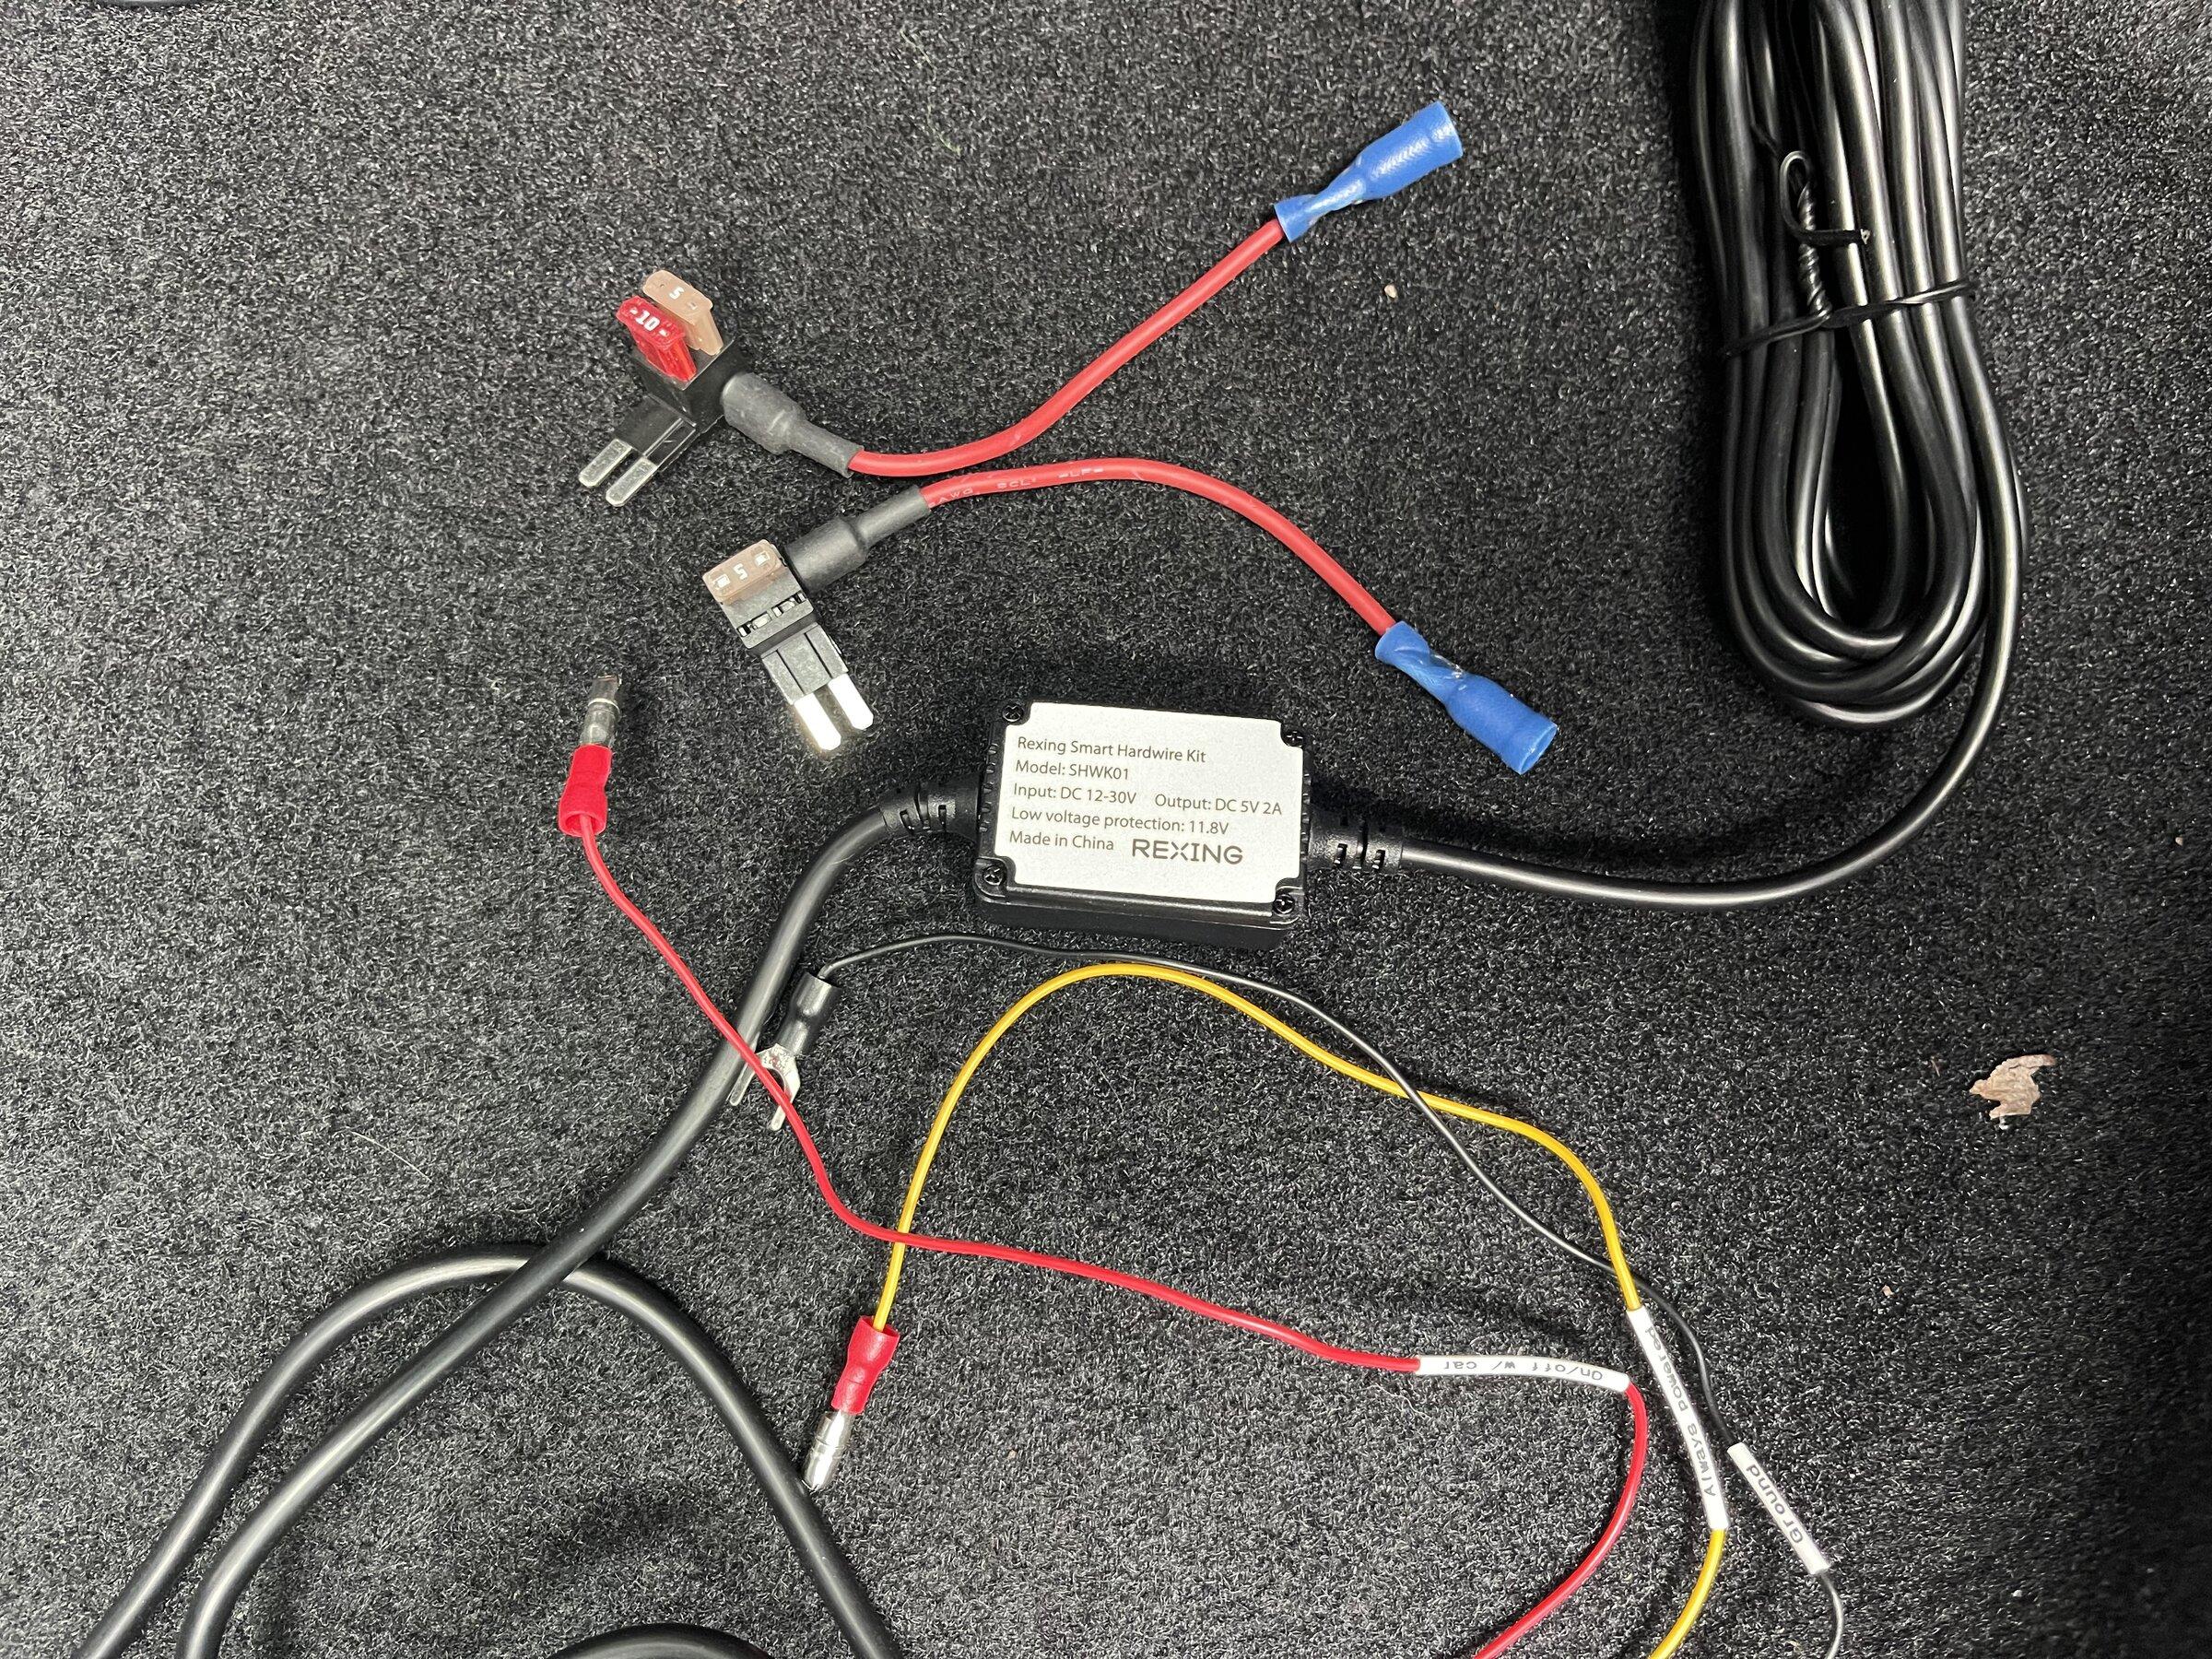
Here's the new fuse taps with the female bullet connectors installed.
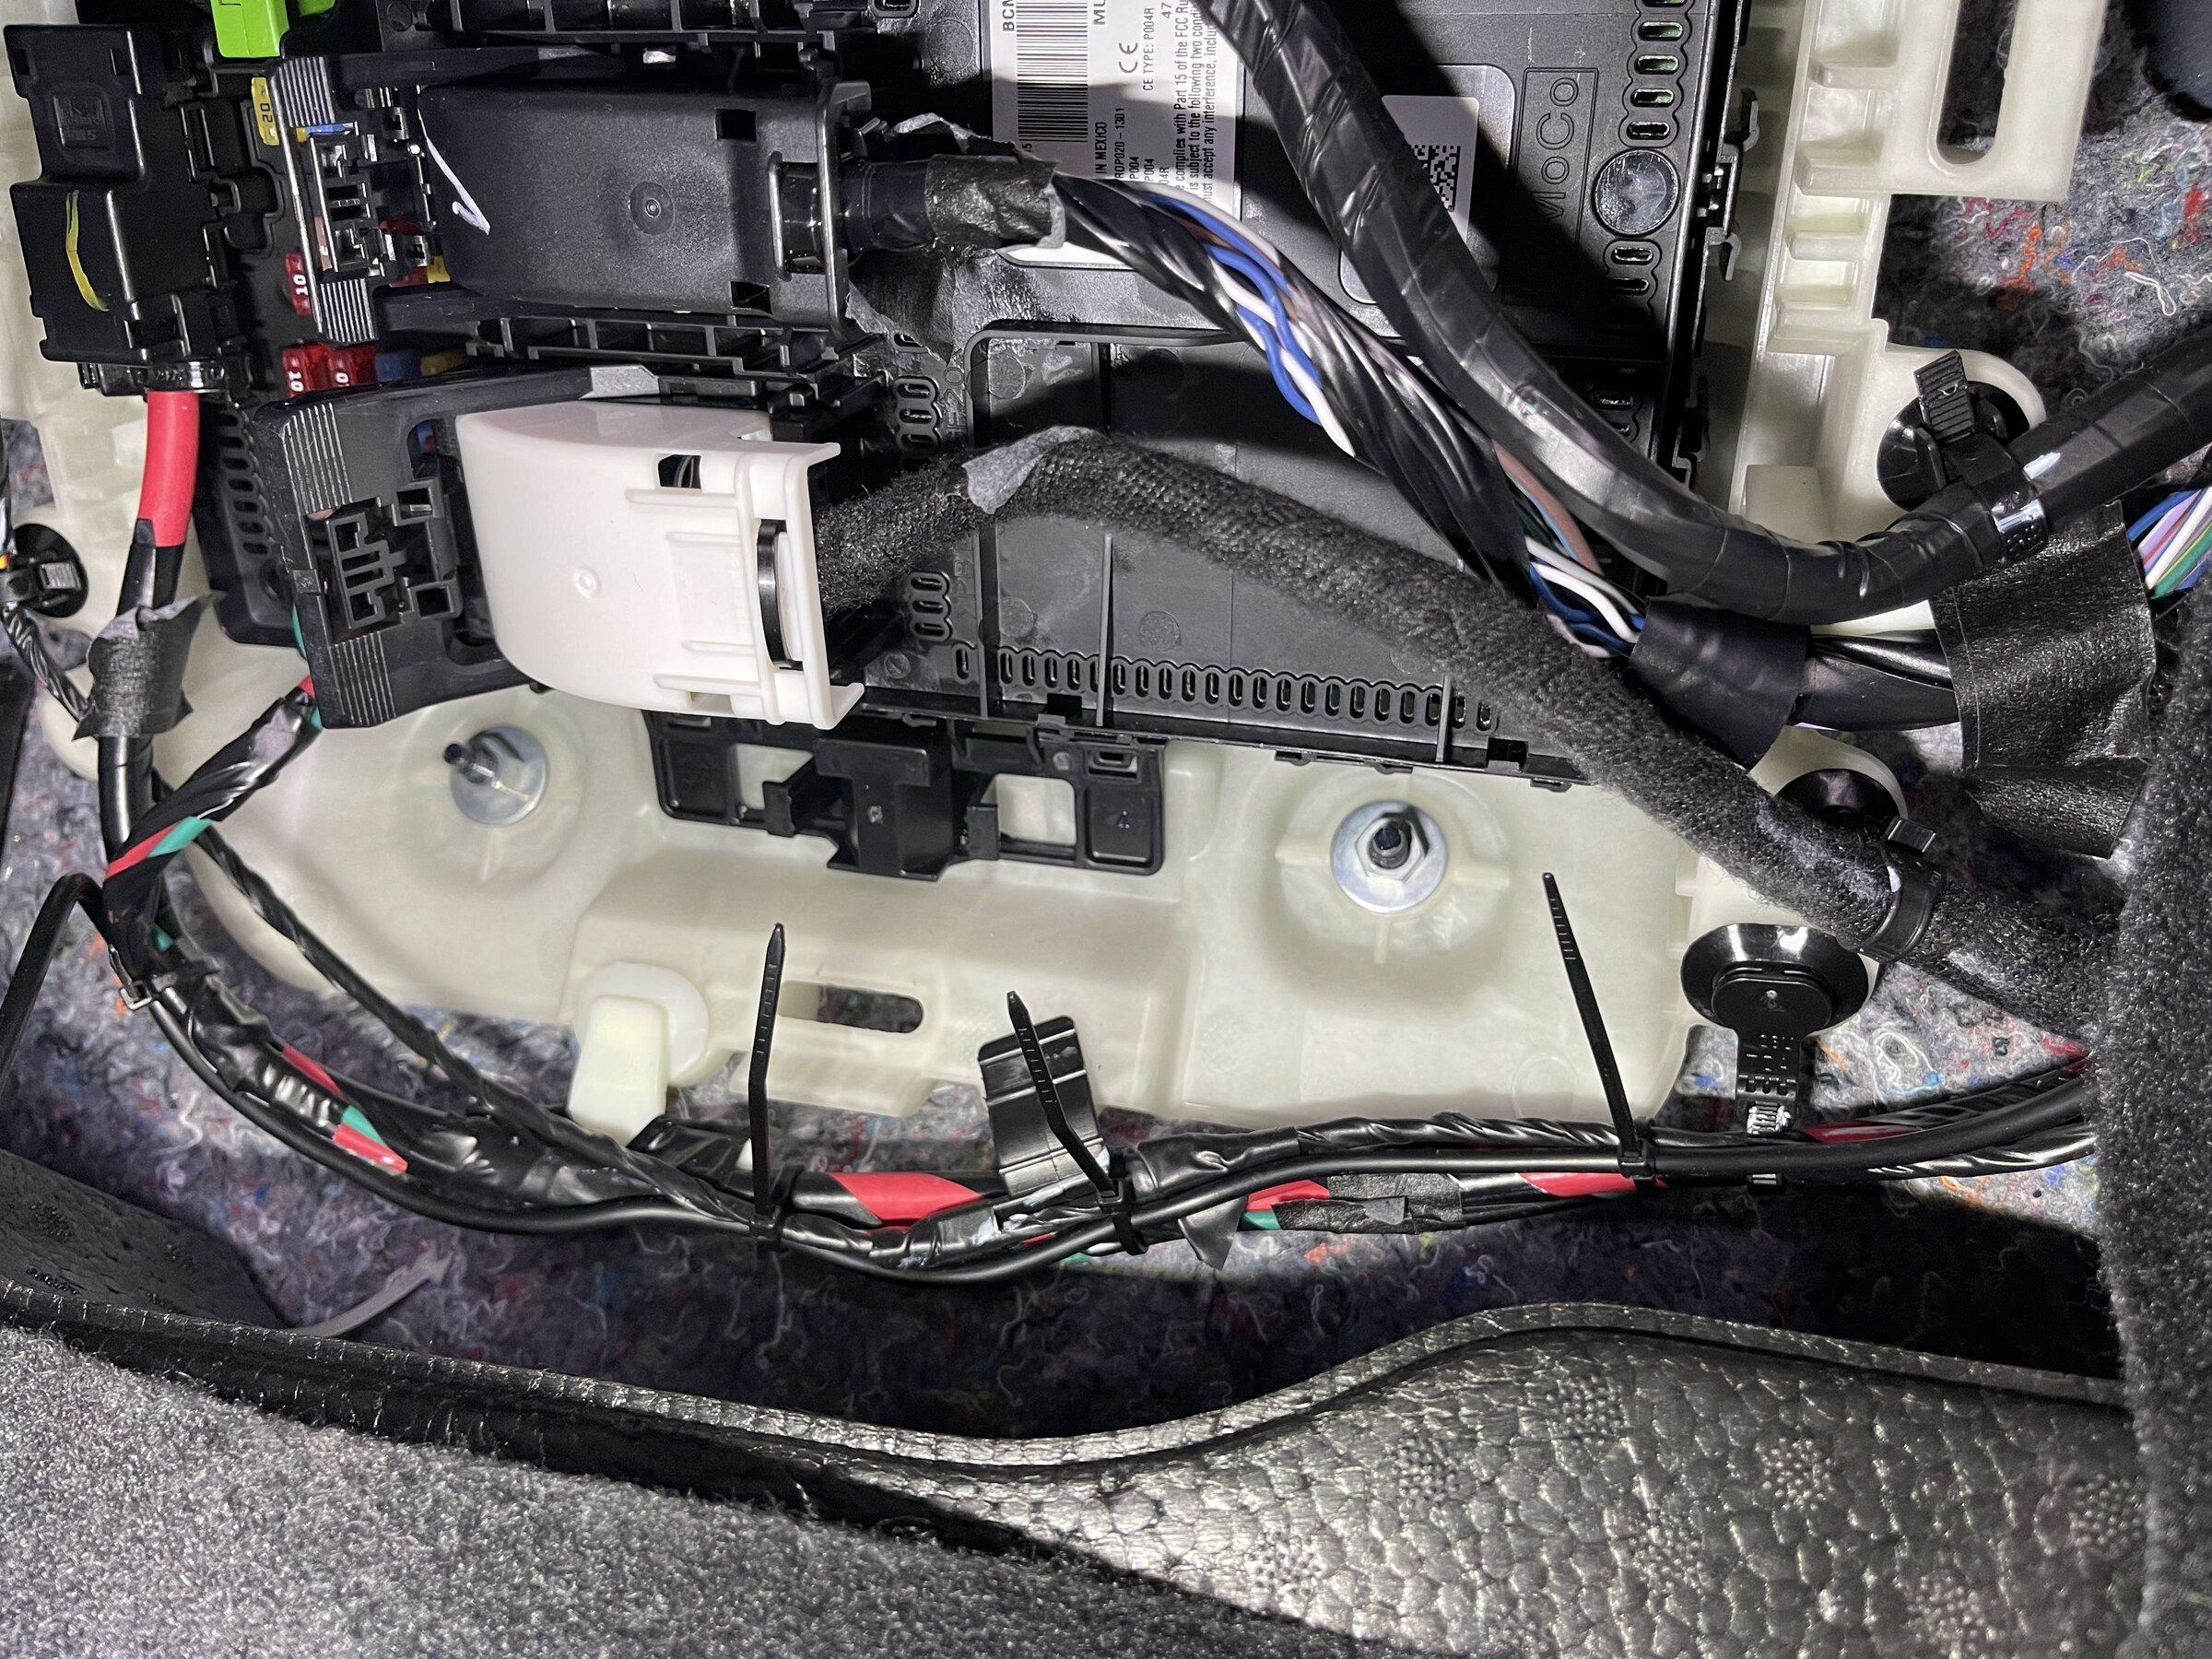
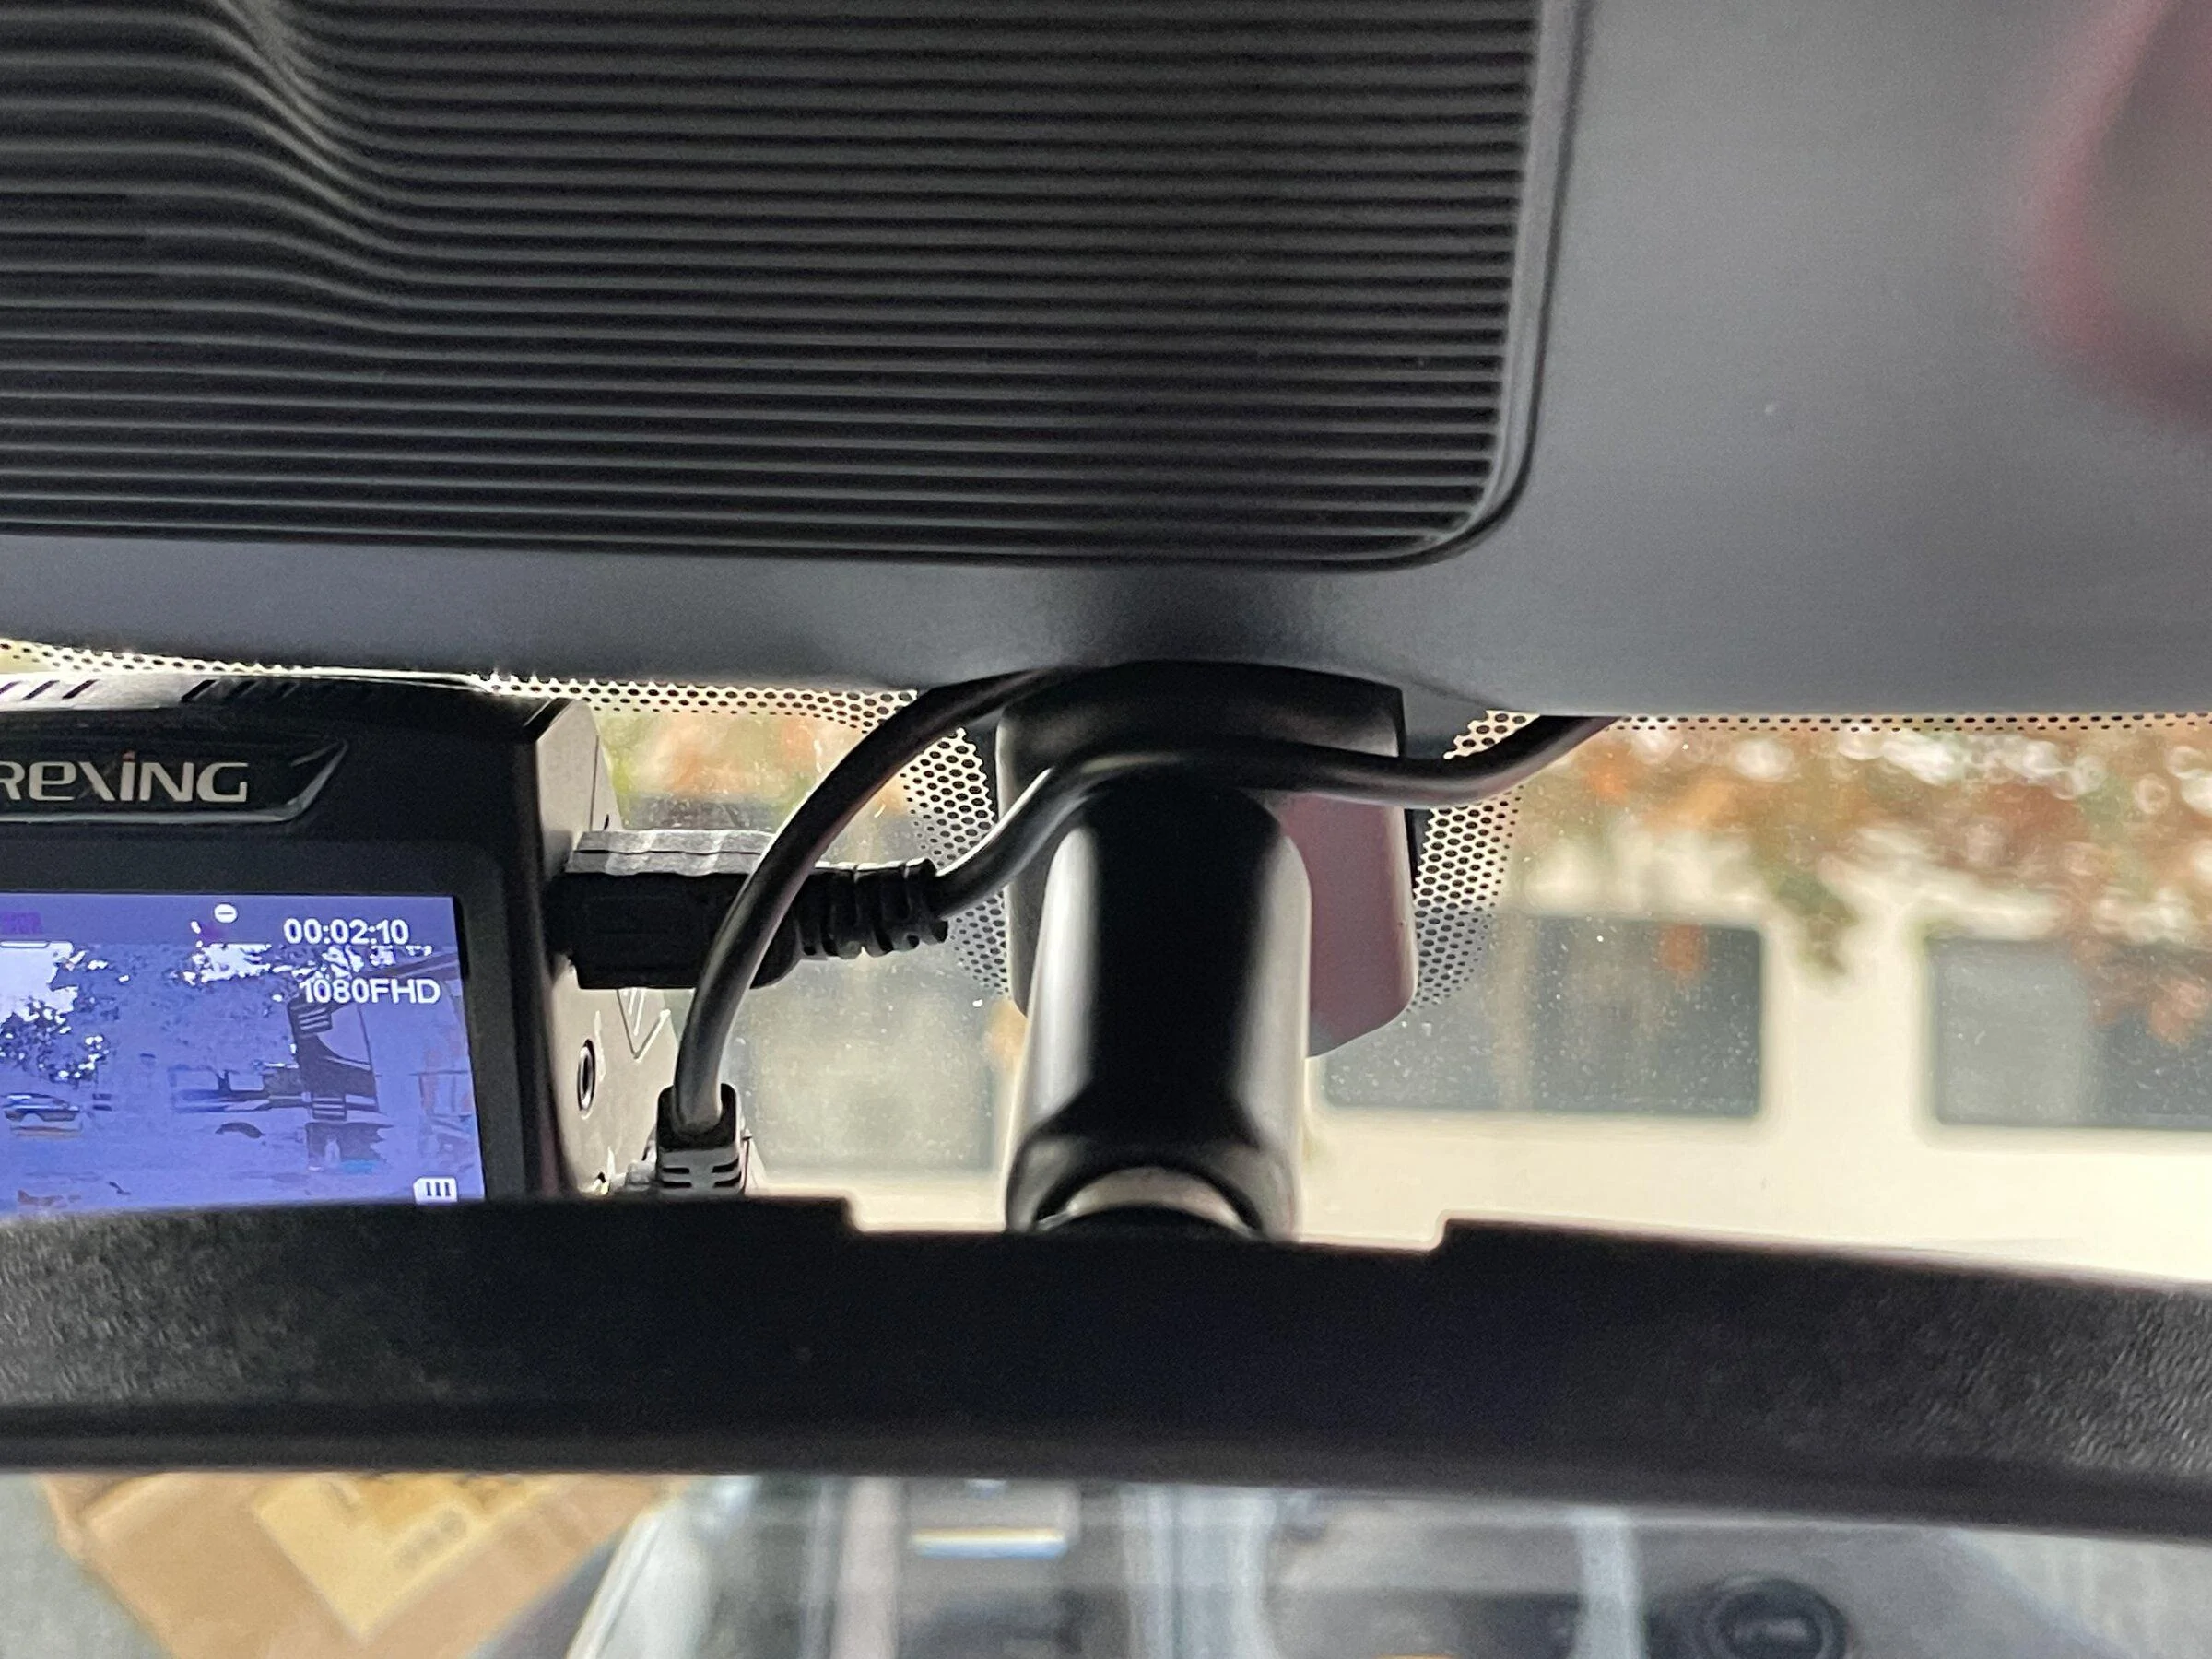
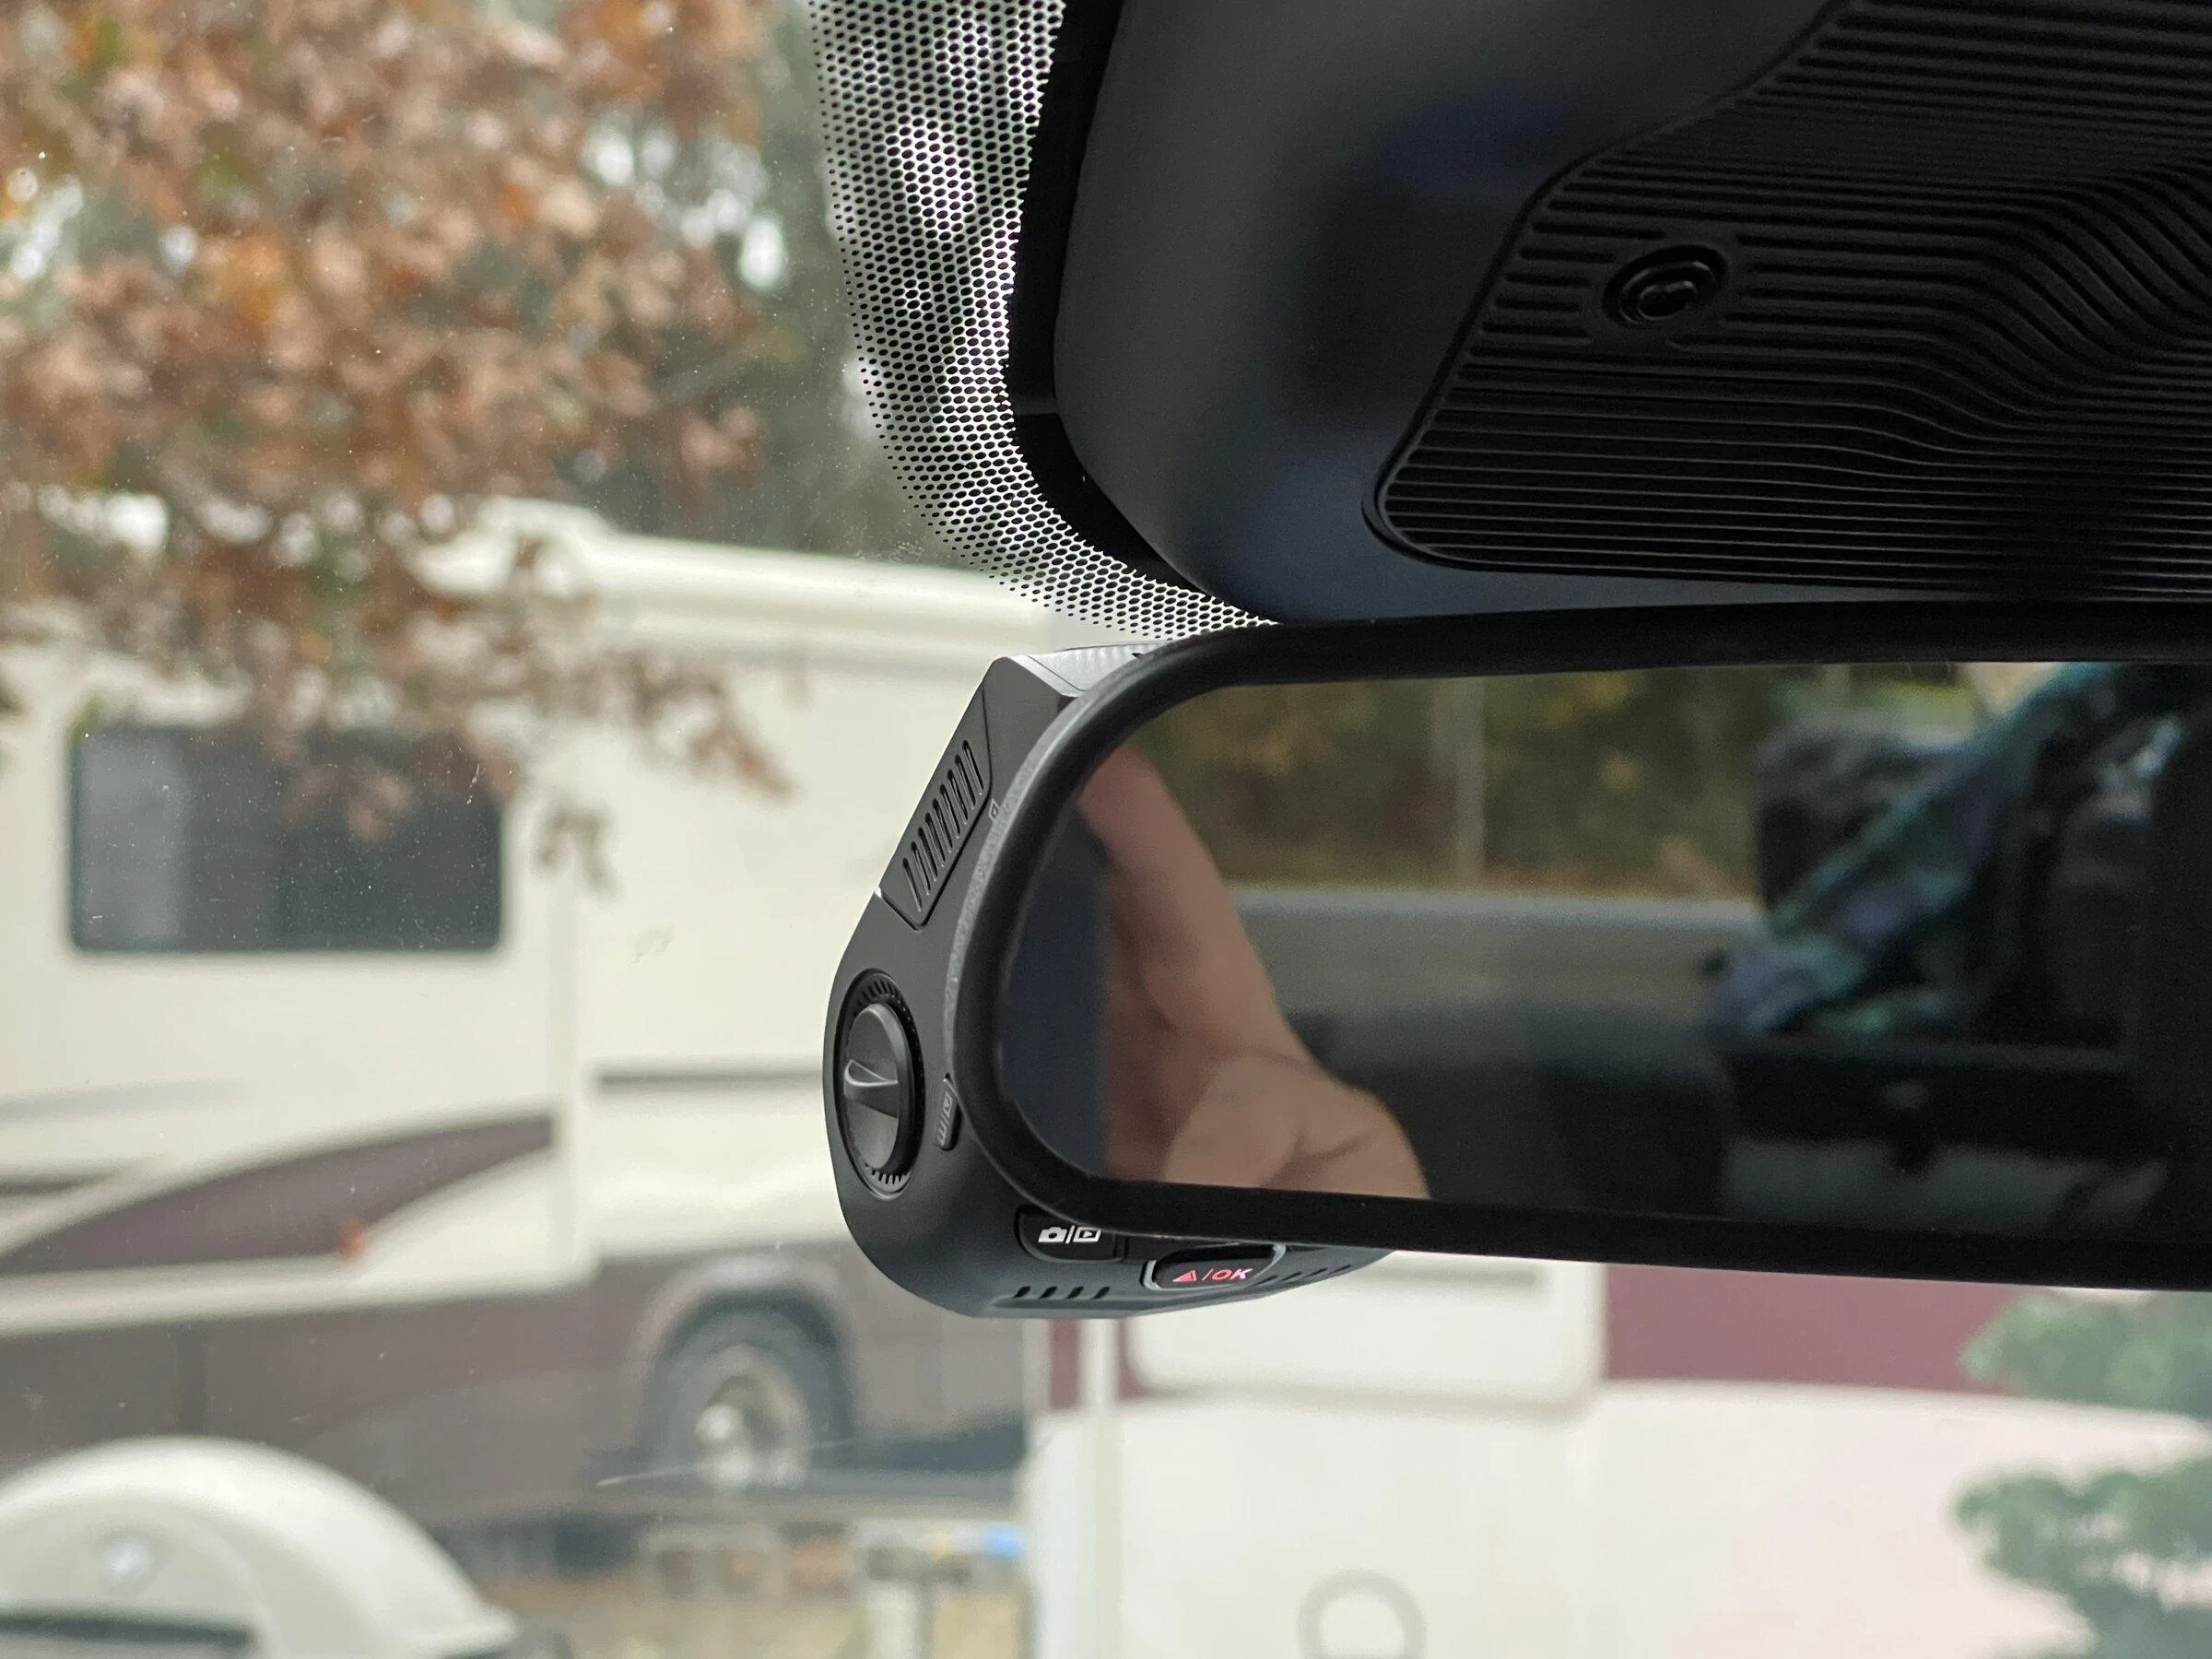
I started by mounting the camera behind the rear-view camera and within reach while driving. I then pulled the cover from the factory driver assist camera, to help facilitate wire routing. It has four of the standard Ford friction clips holding it up. If you ever wondered what's behind the cover, here ya go!
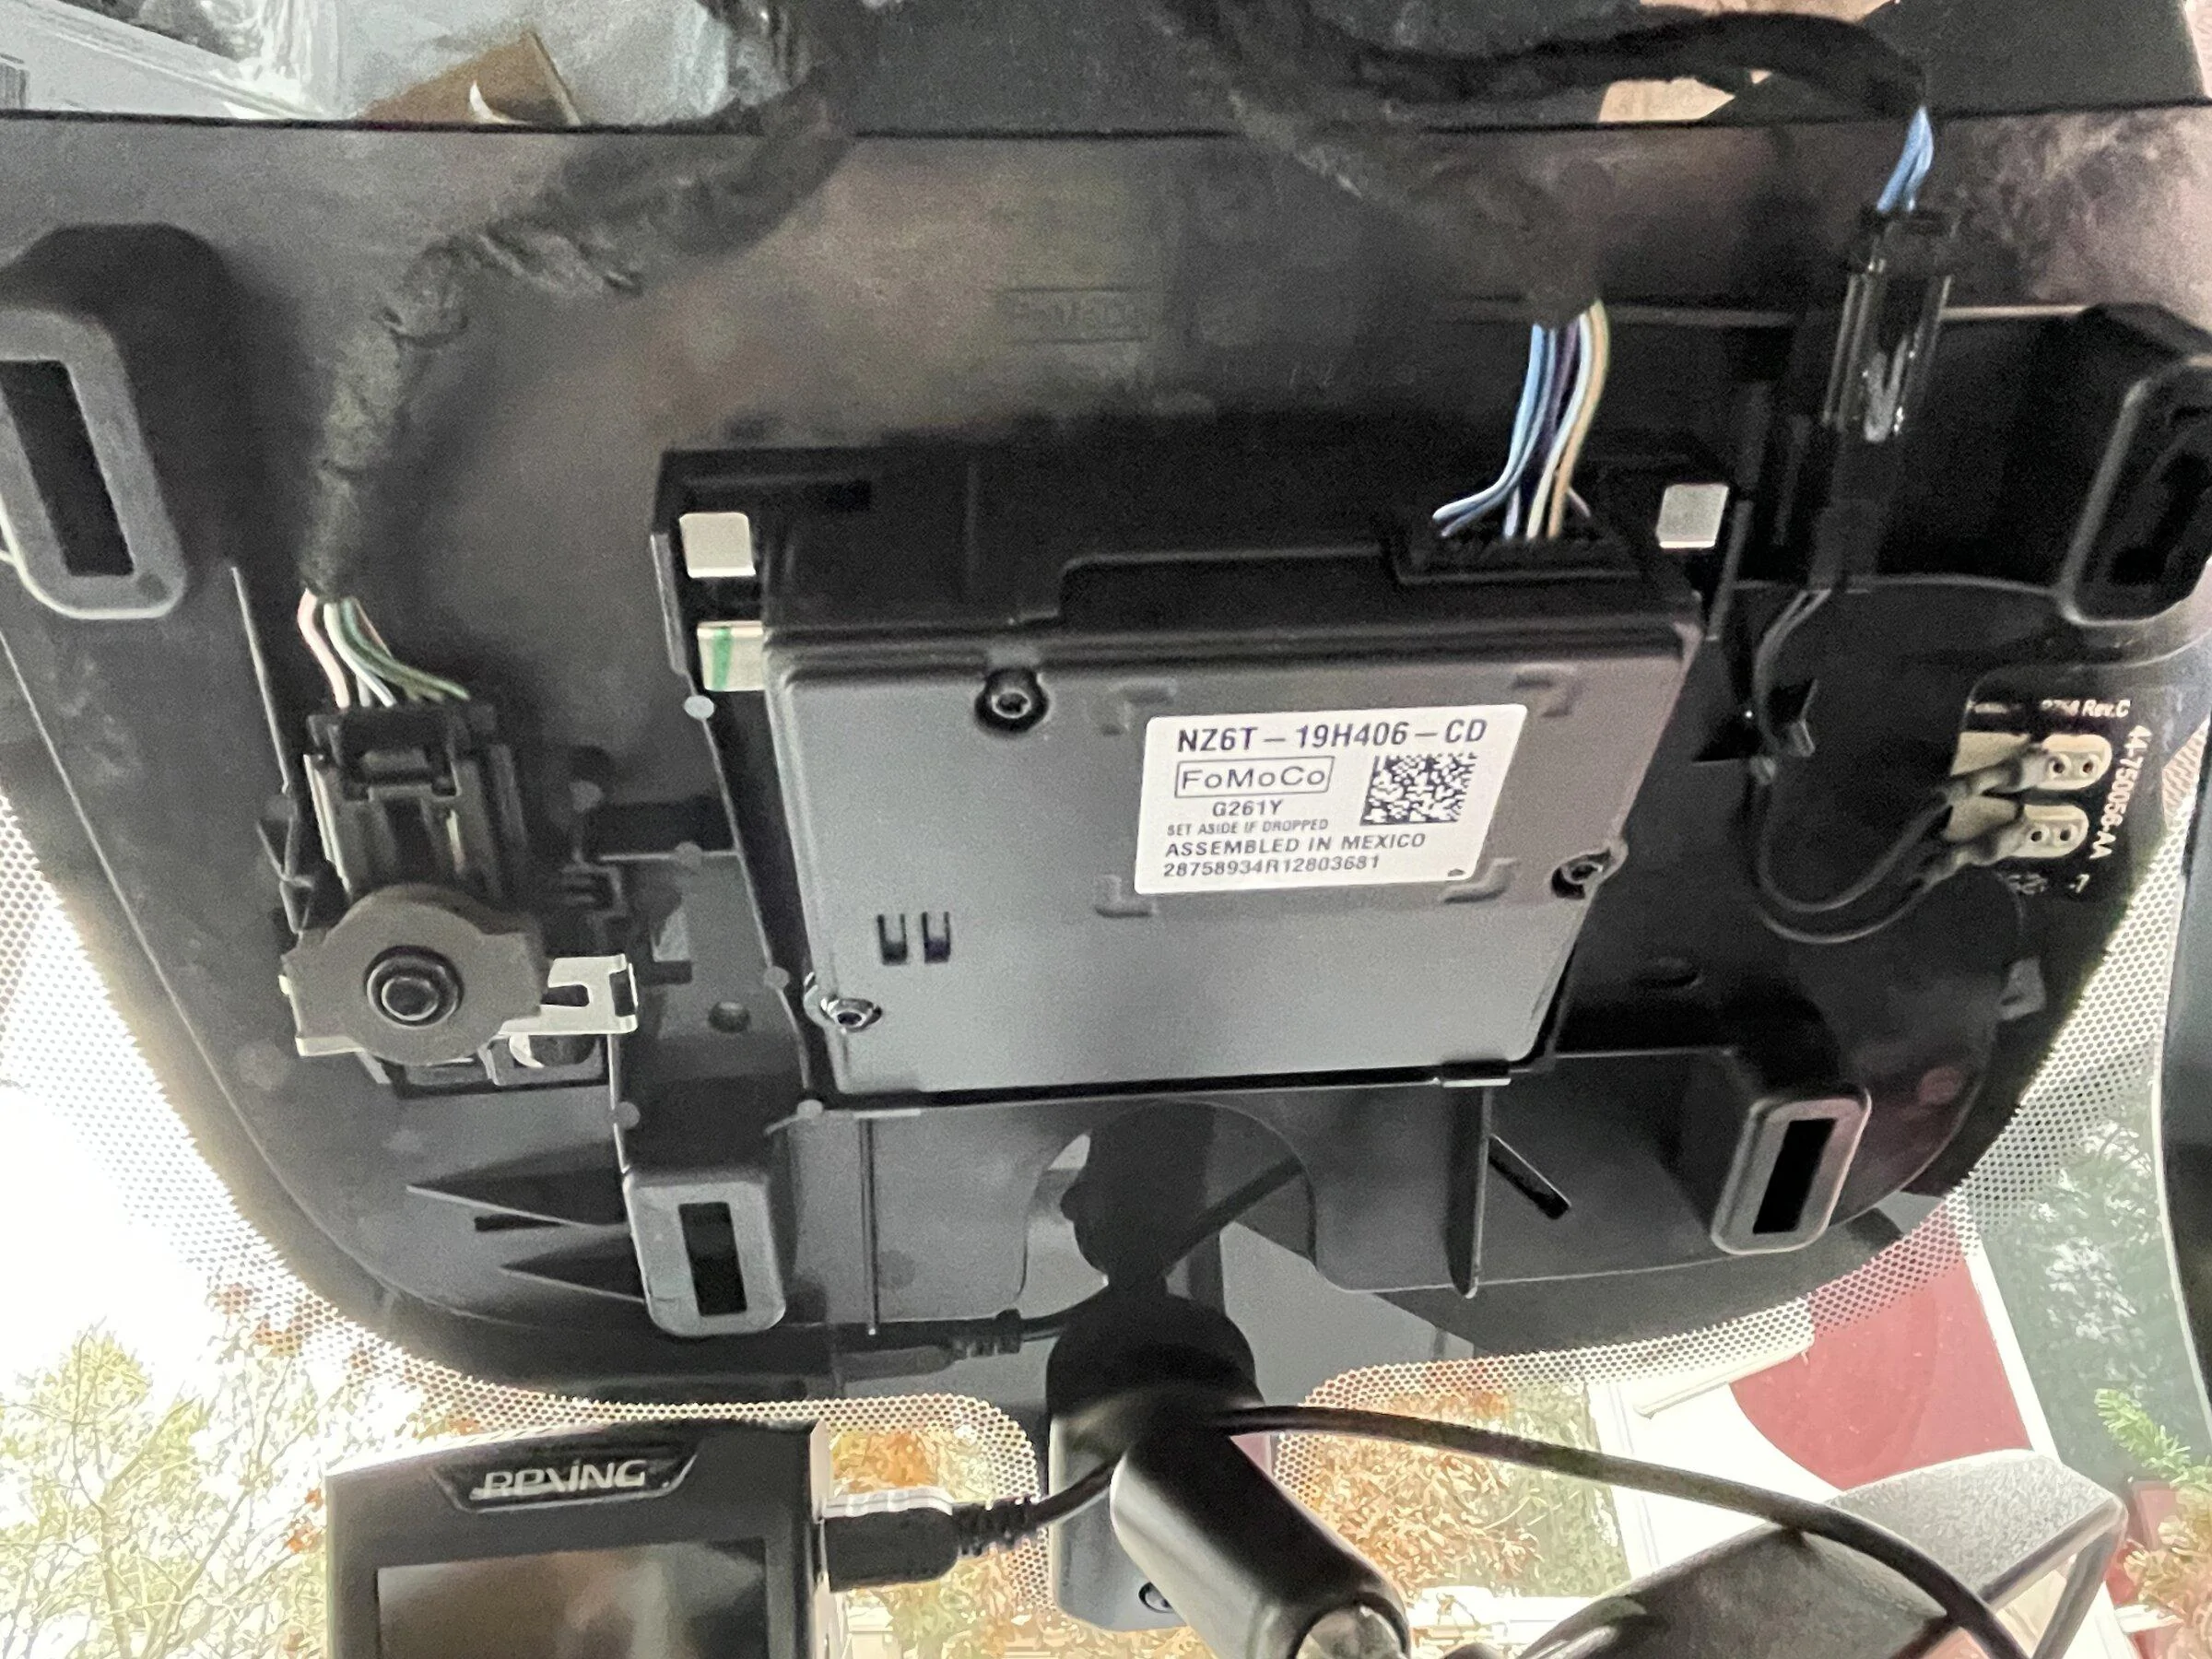
One of the clips has a lanyard, to keep it from coming completely off. It ended up getting in my way, so I disconnected it. Here's what it looks like:
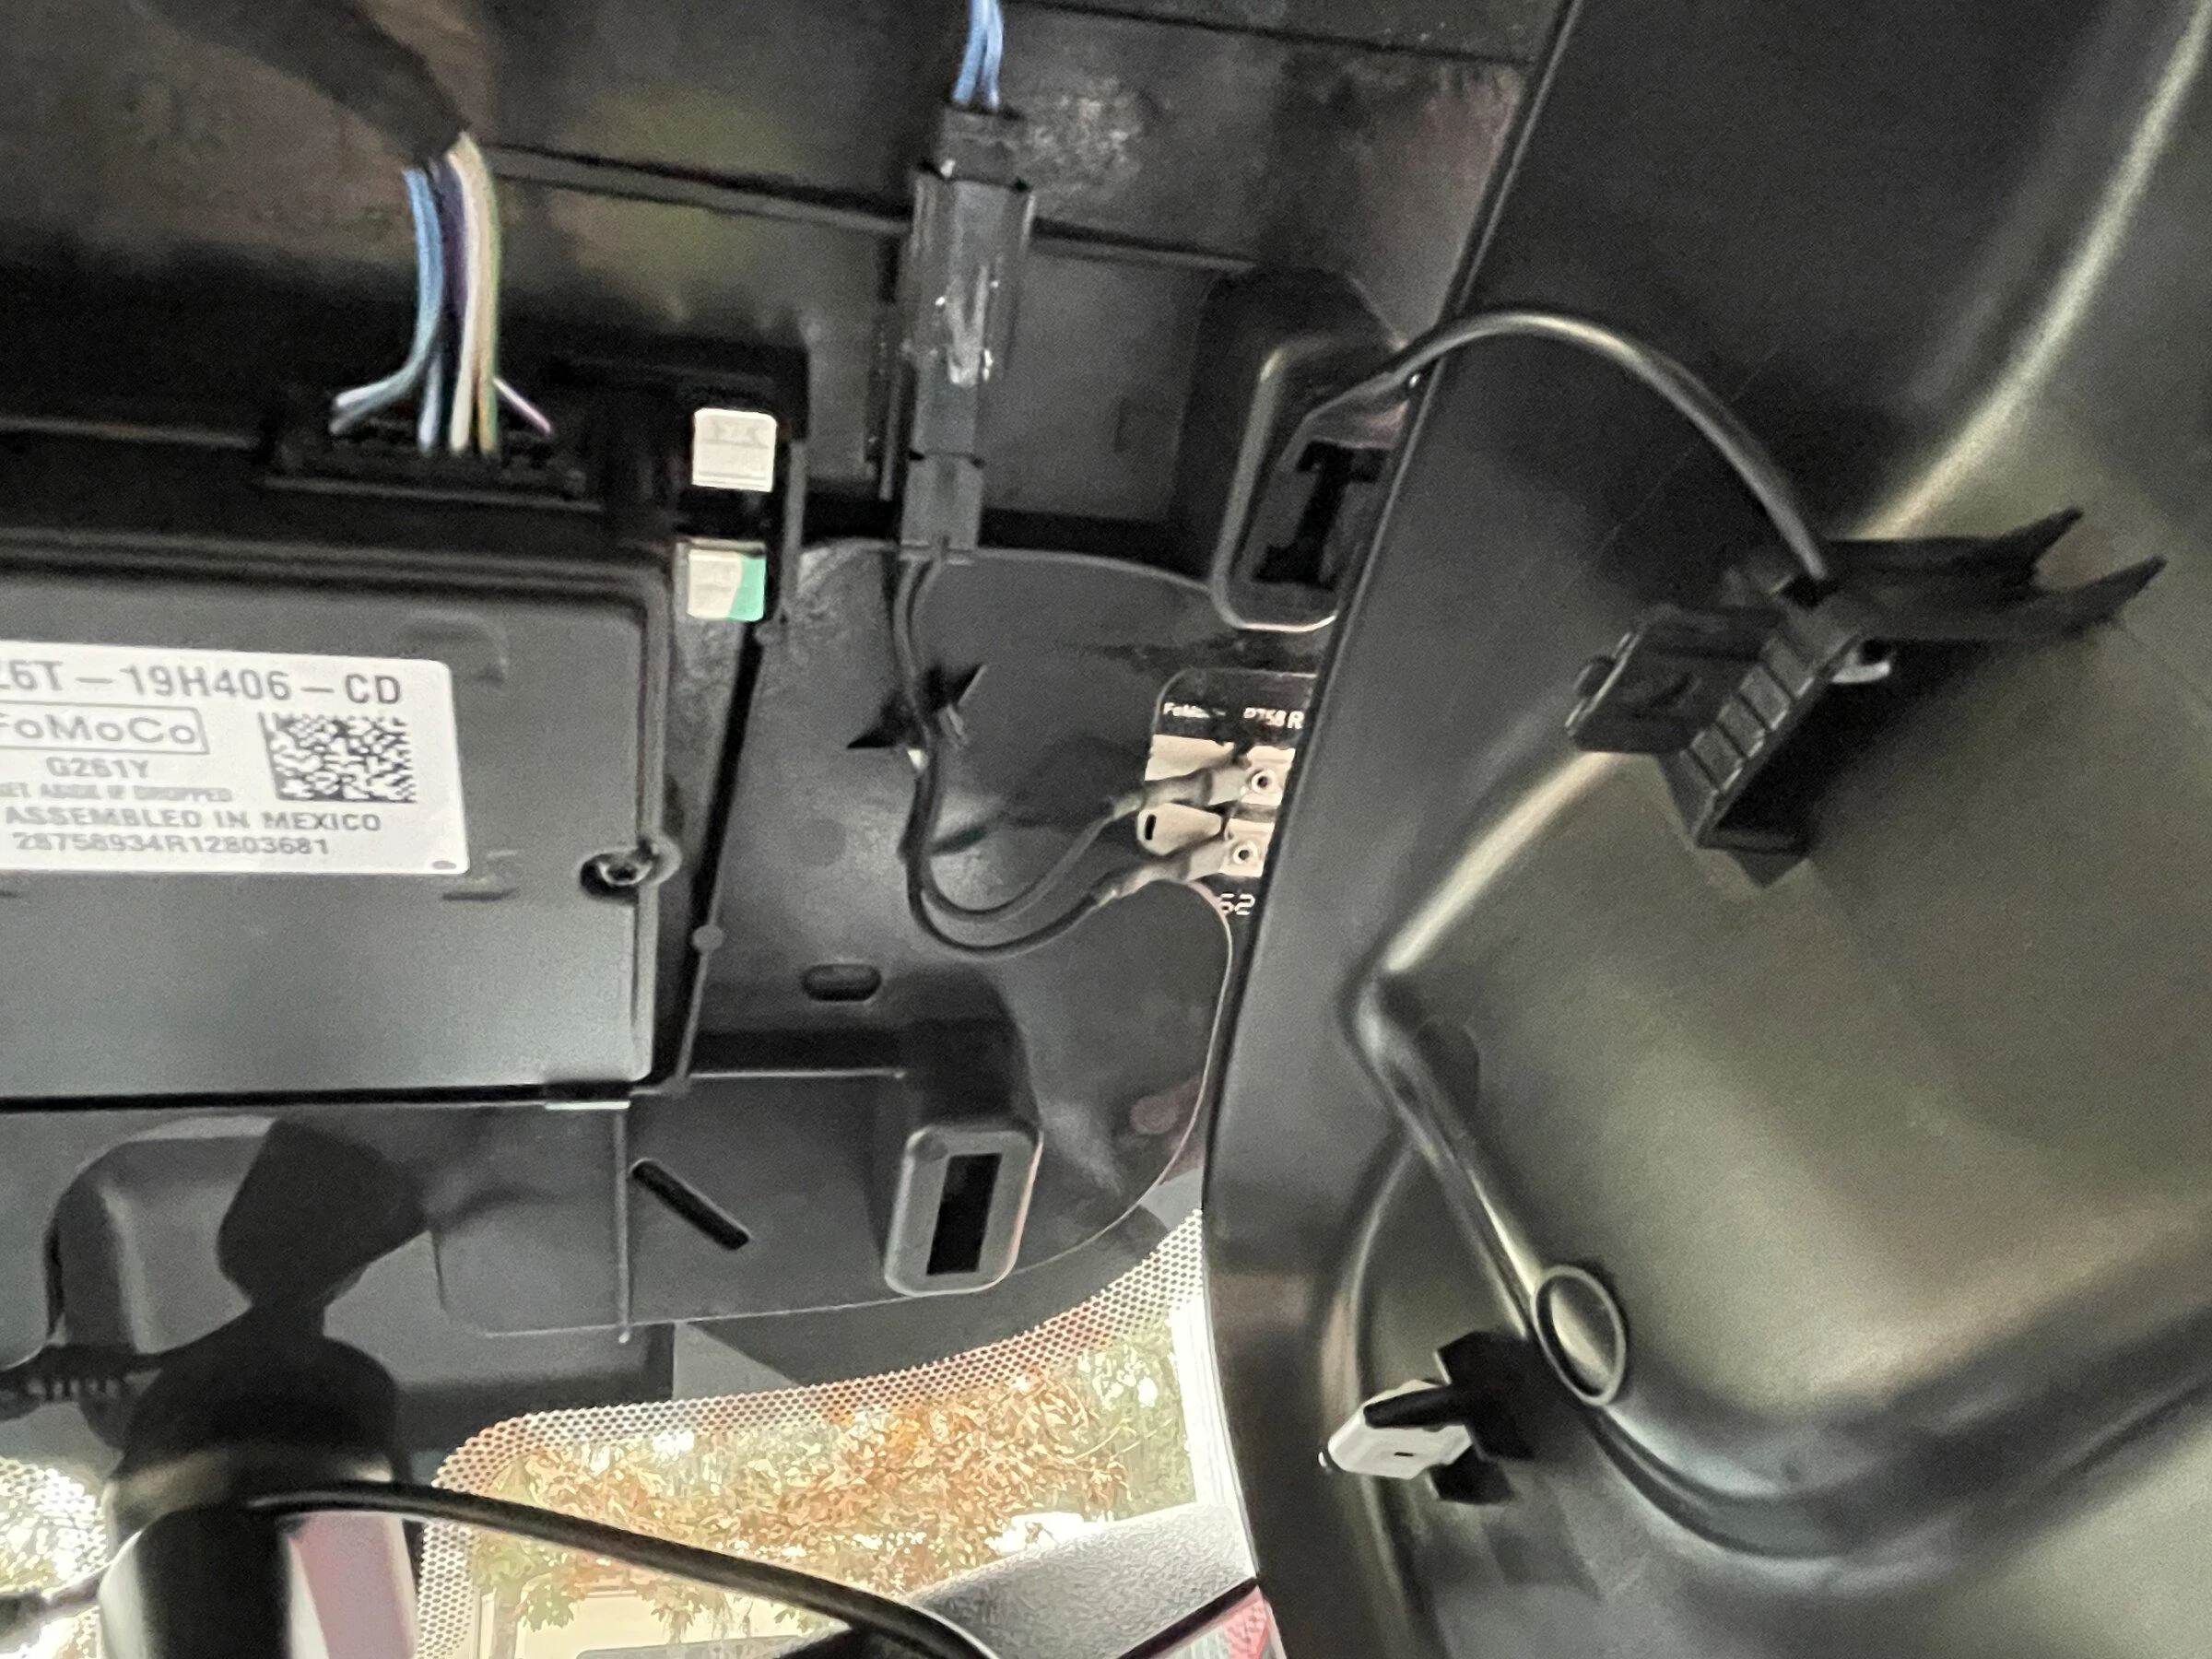
I always start at the camera, when I run wires. It just works better for me. I used a trim tool and pulled the headliner down just enough to get the wire on top of it.
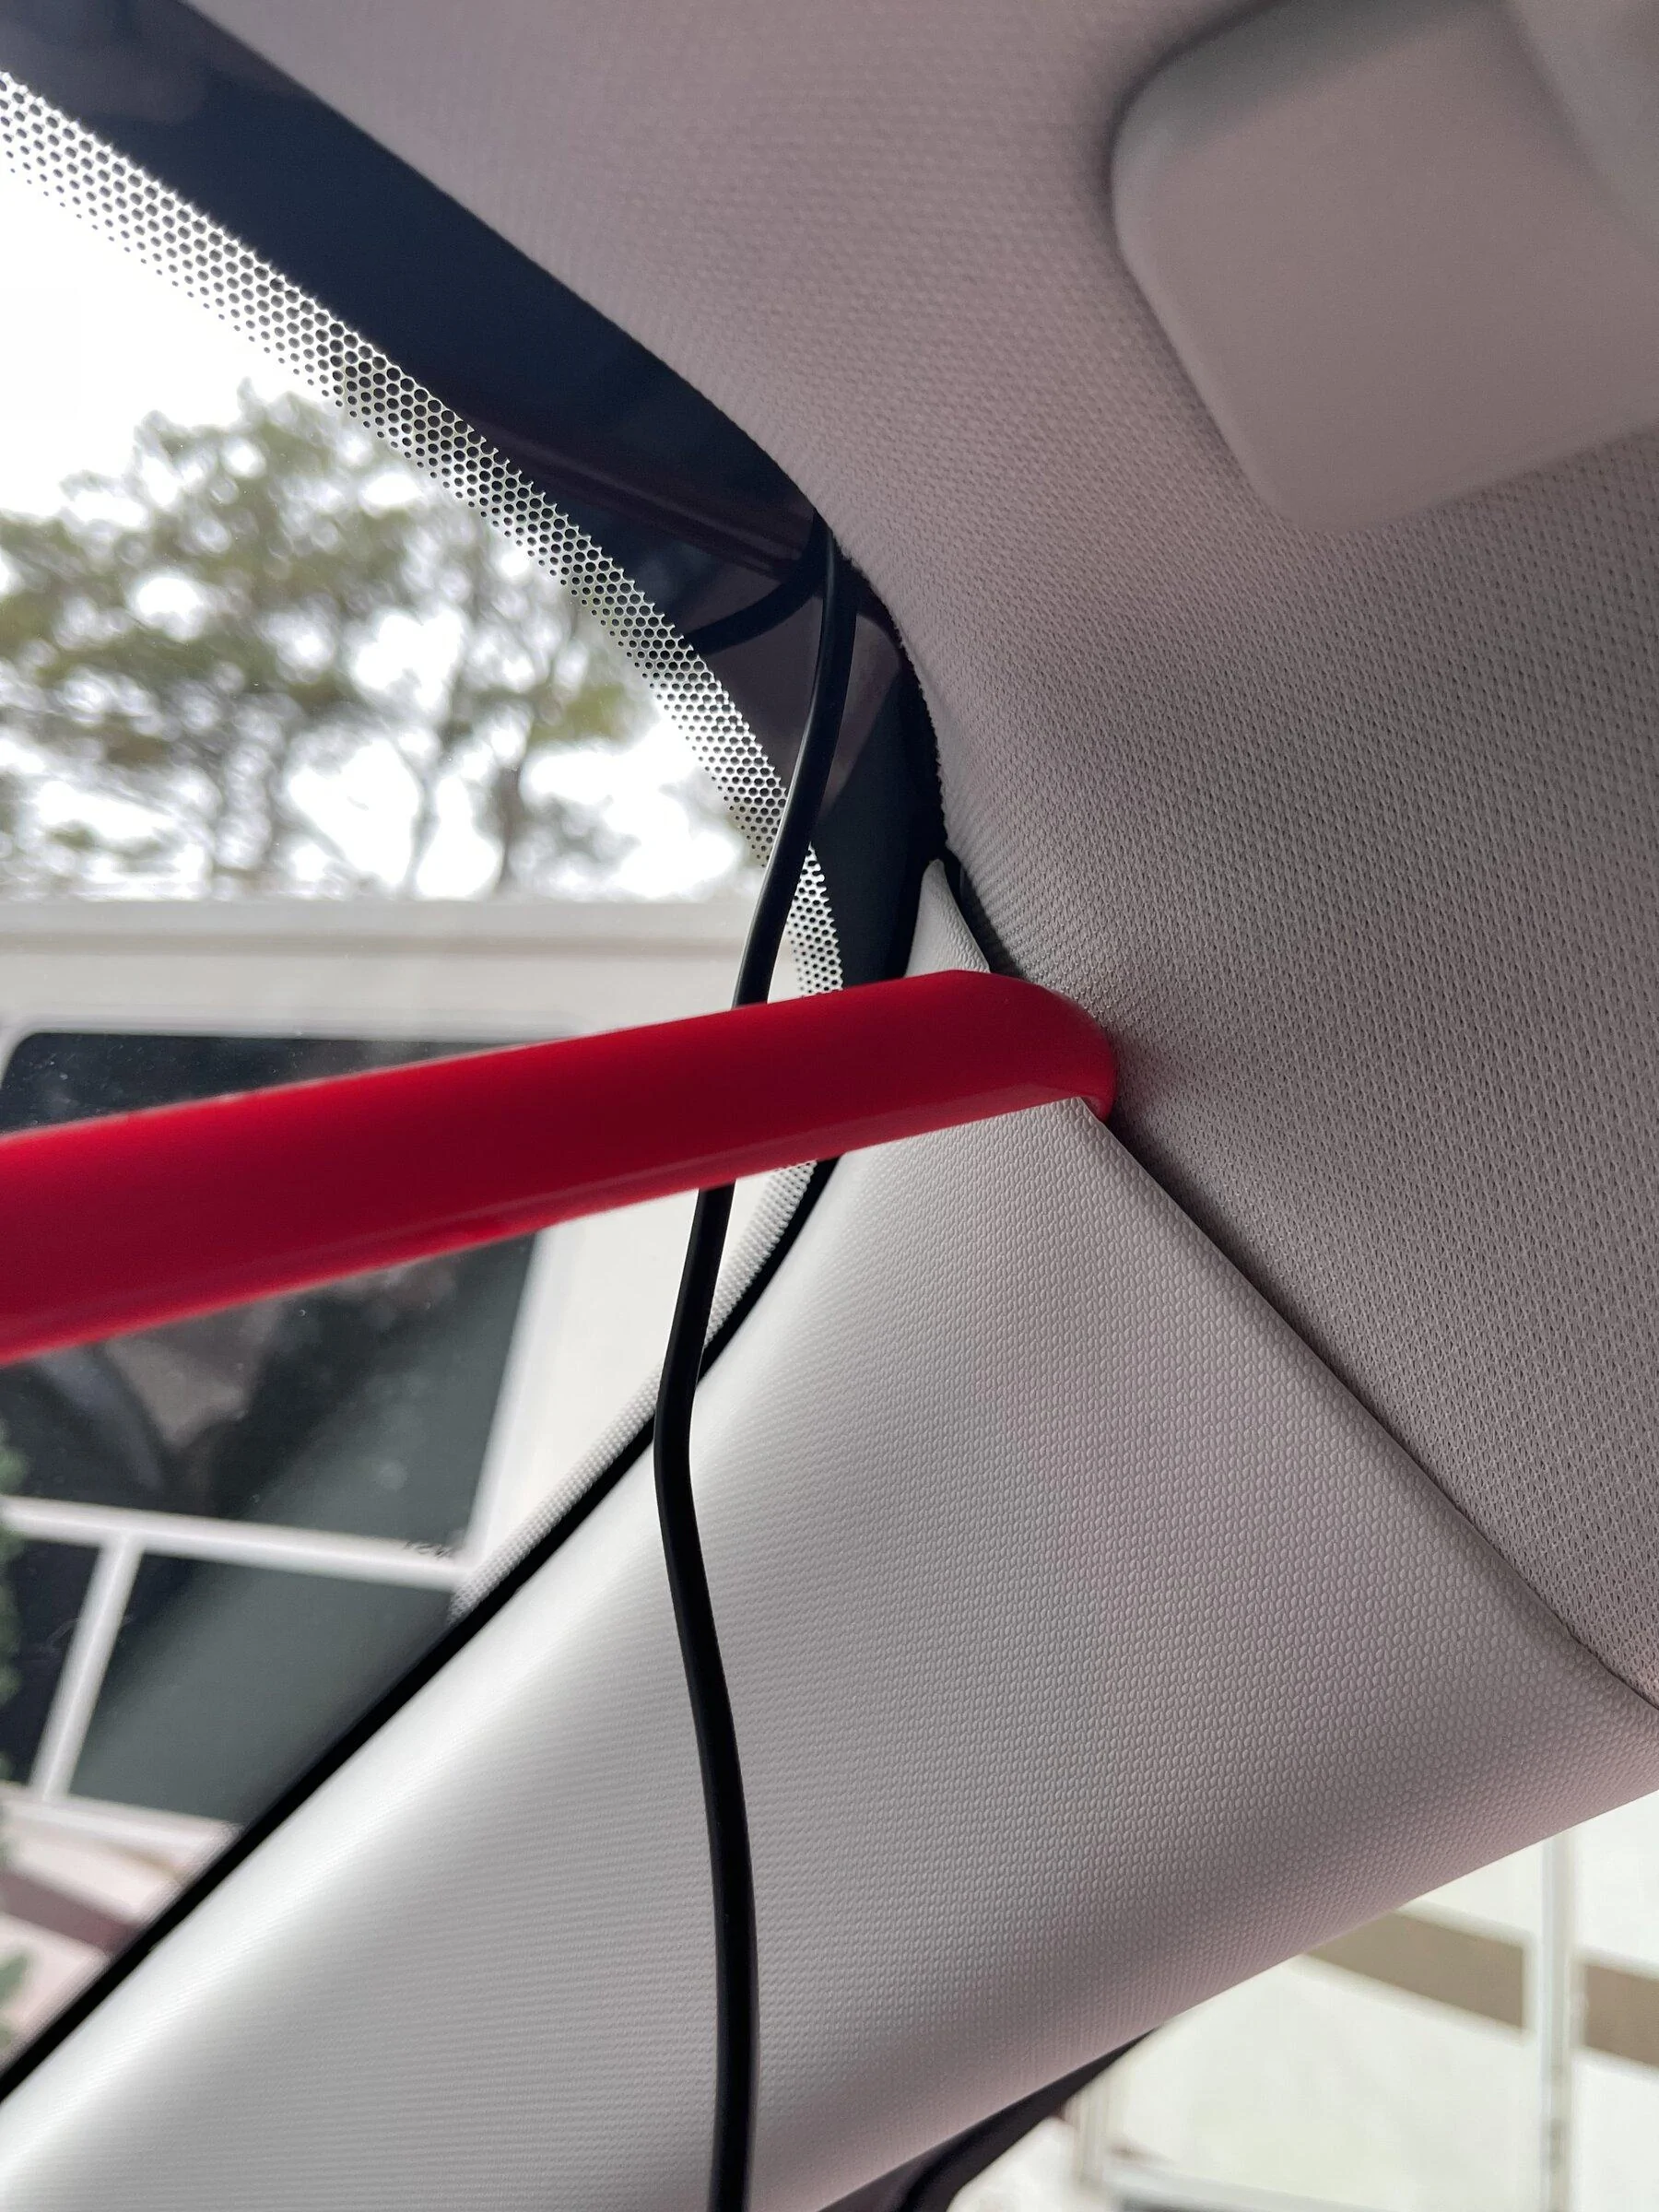
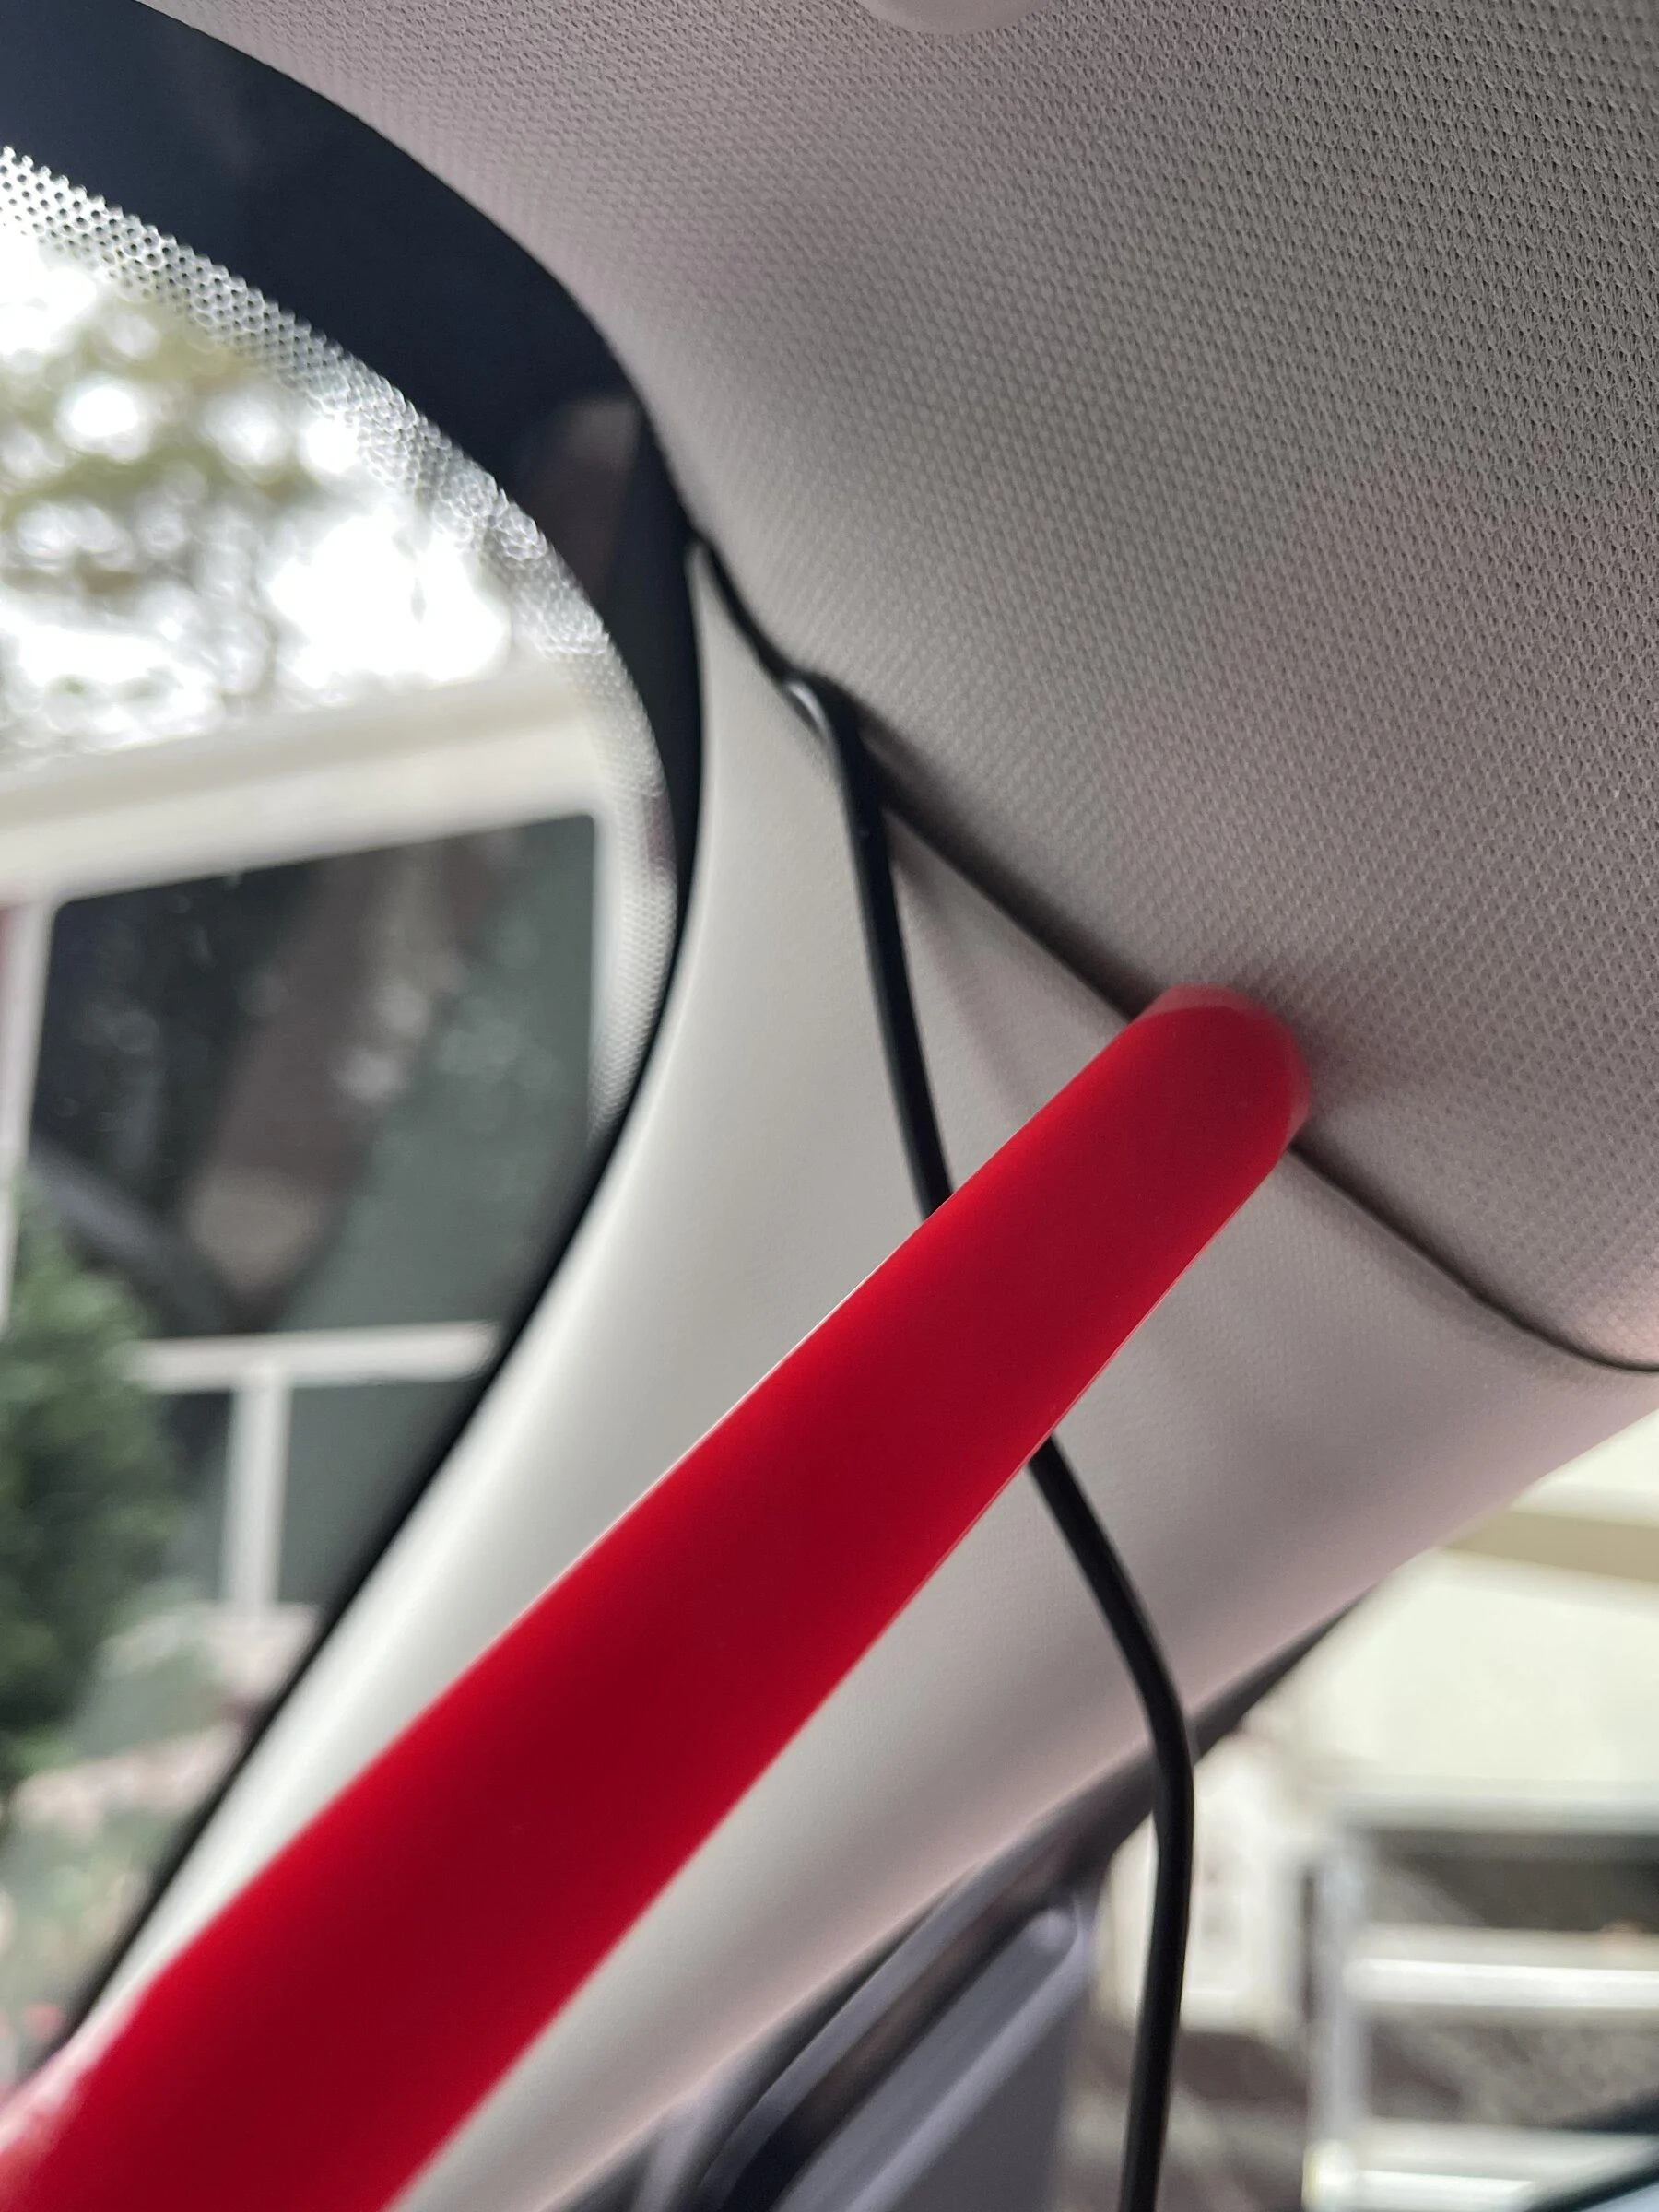
When I got to the corner, I used the trim tool to get the A-pillar cover to open up just a bit.
Transitioning from the headliner to the A-pillar cover was a little tricky, but nothing any of you guys/gals couldn't handle!
Then around and under the weatherstrip..
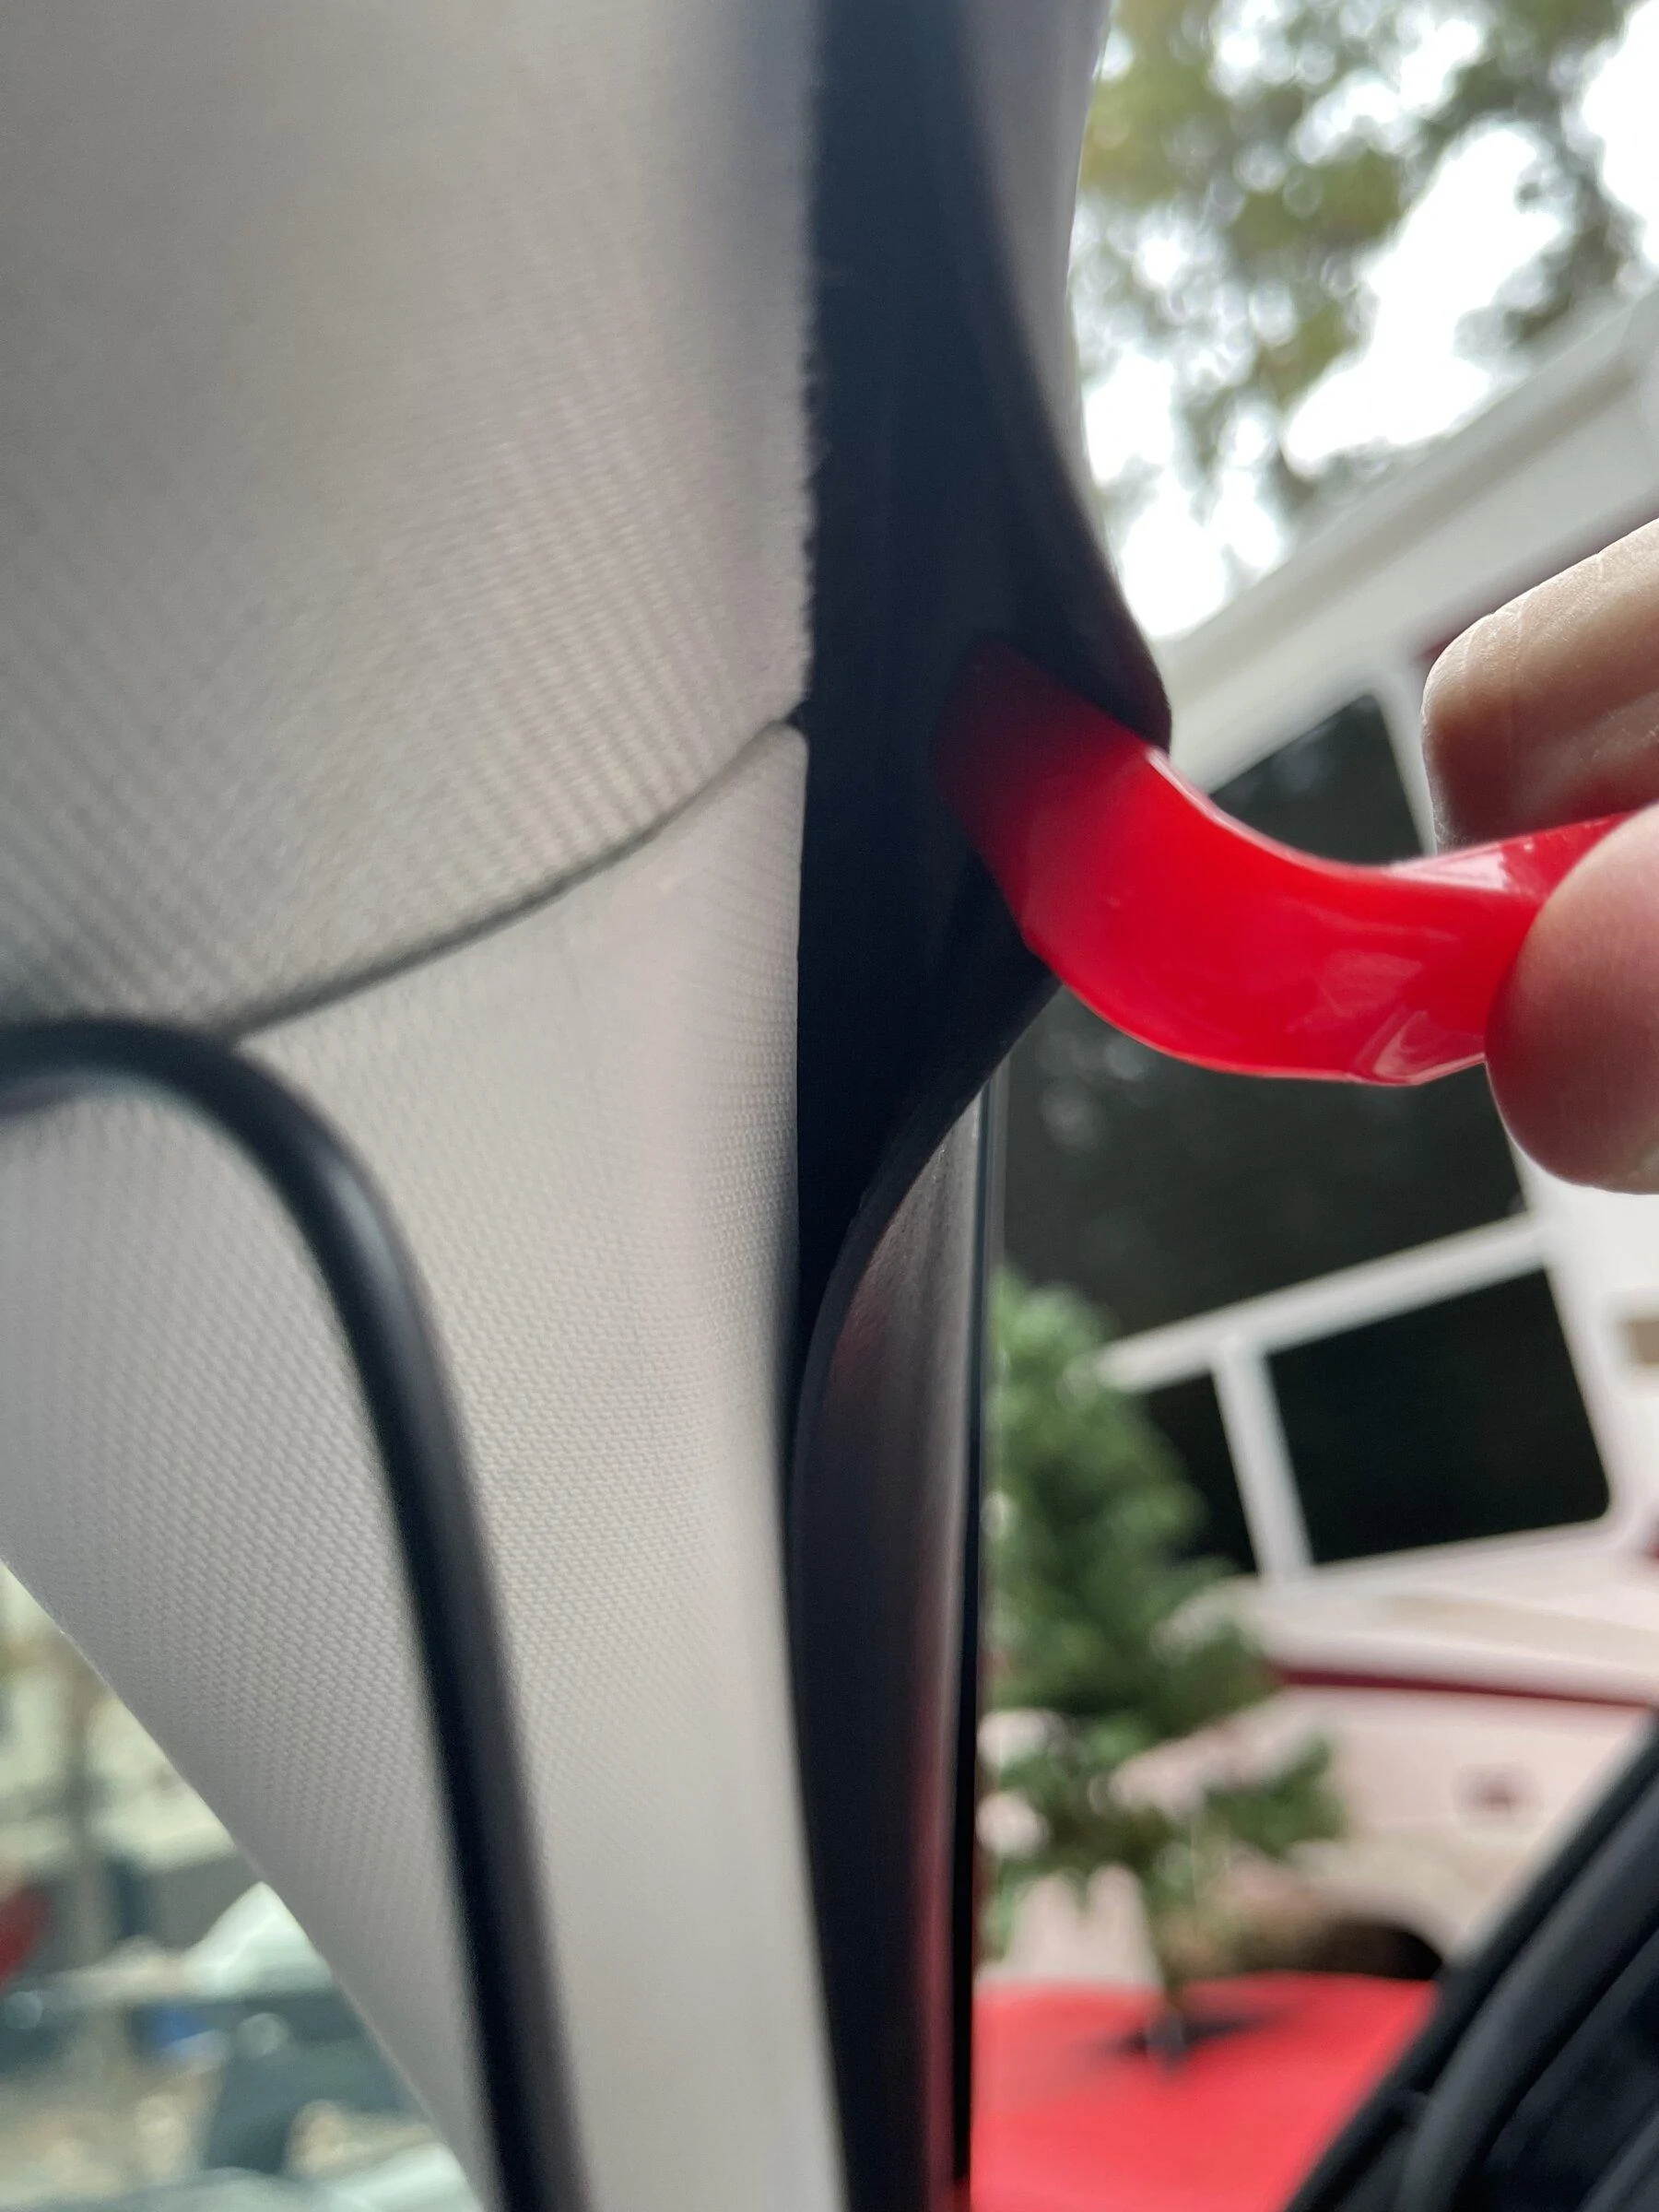
I tried to keep it behind the A-pillar cover, so it would come out where I needed it to and it did!
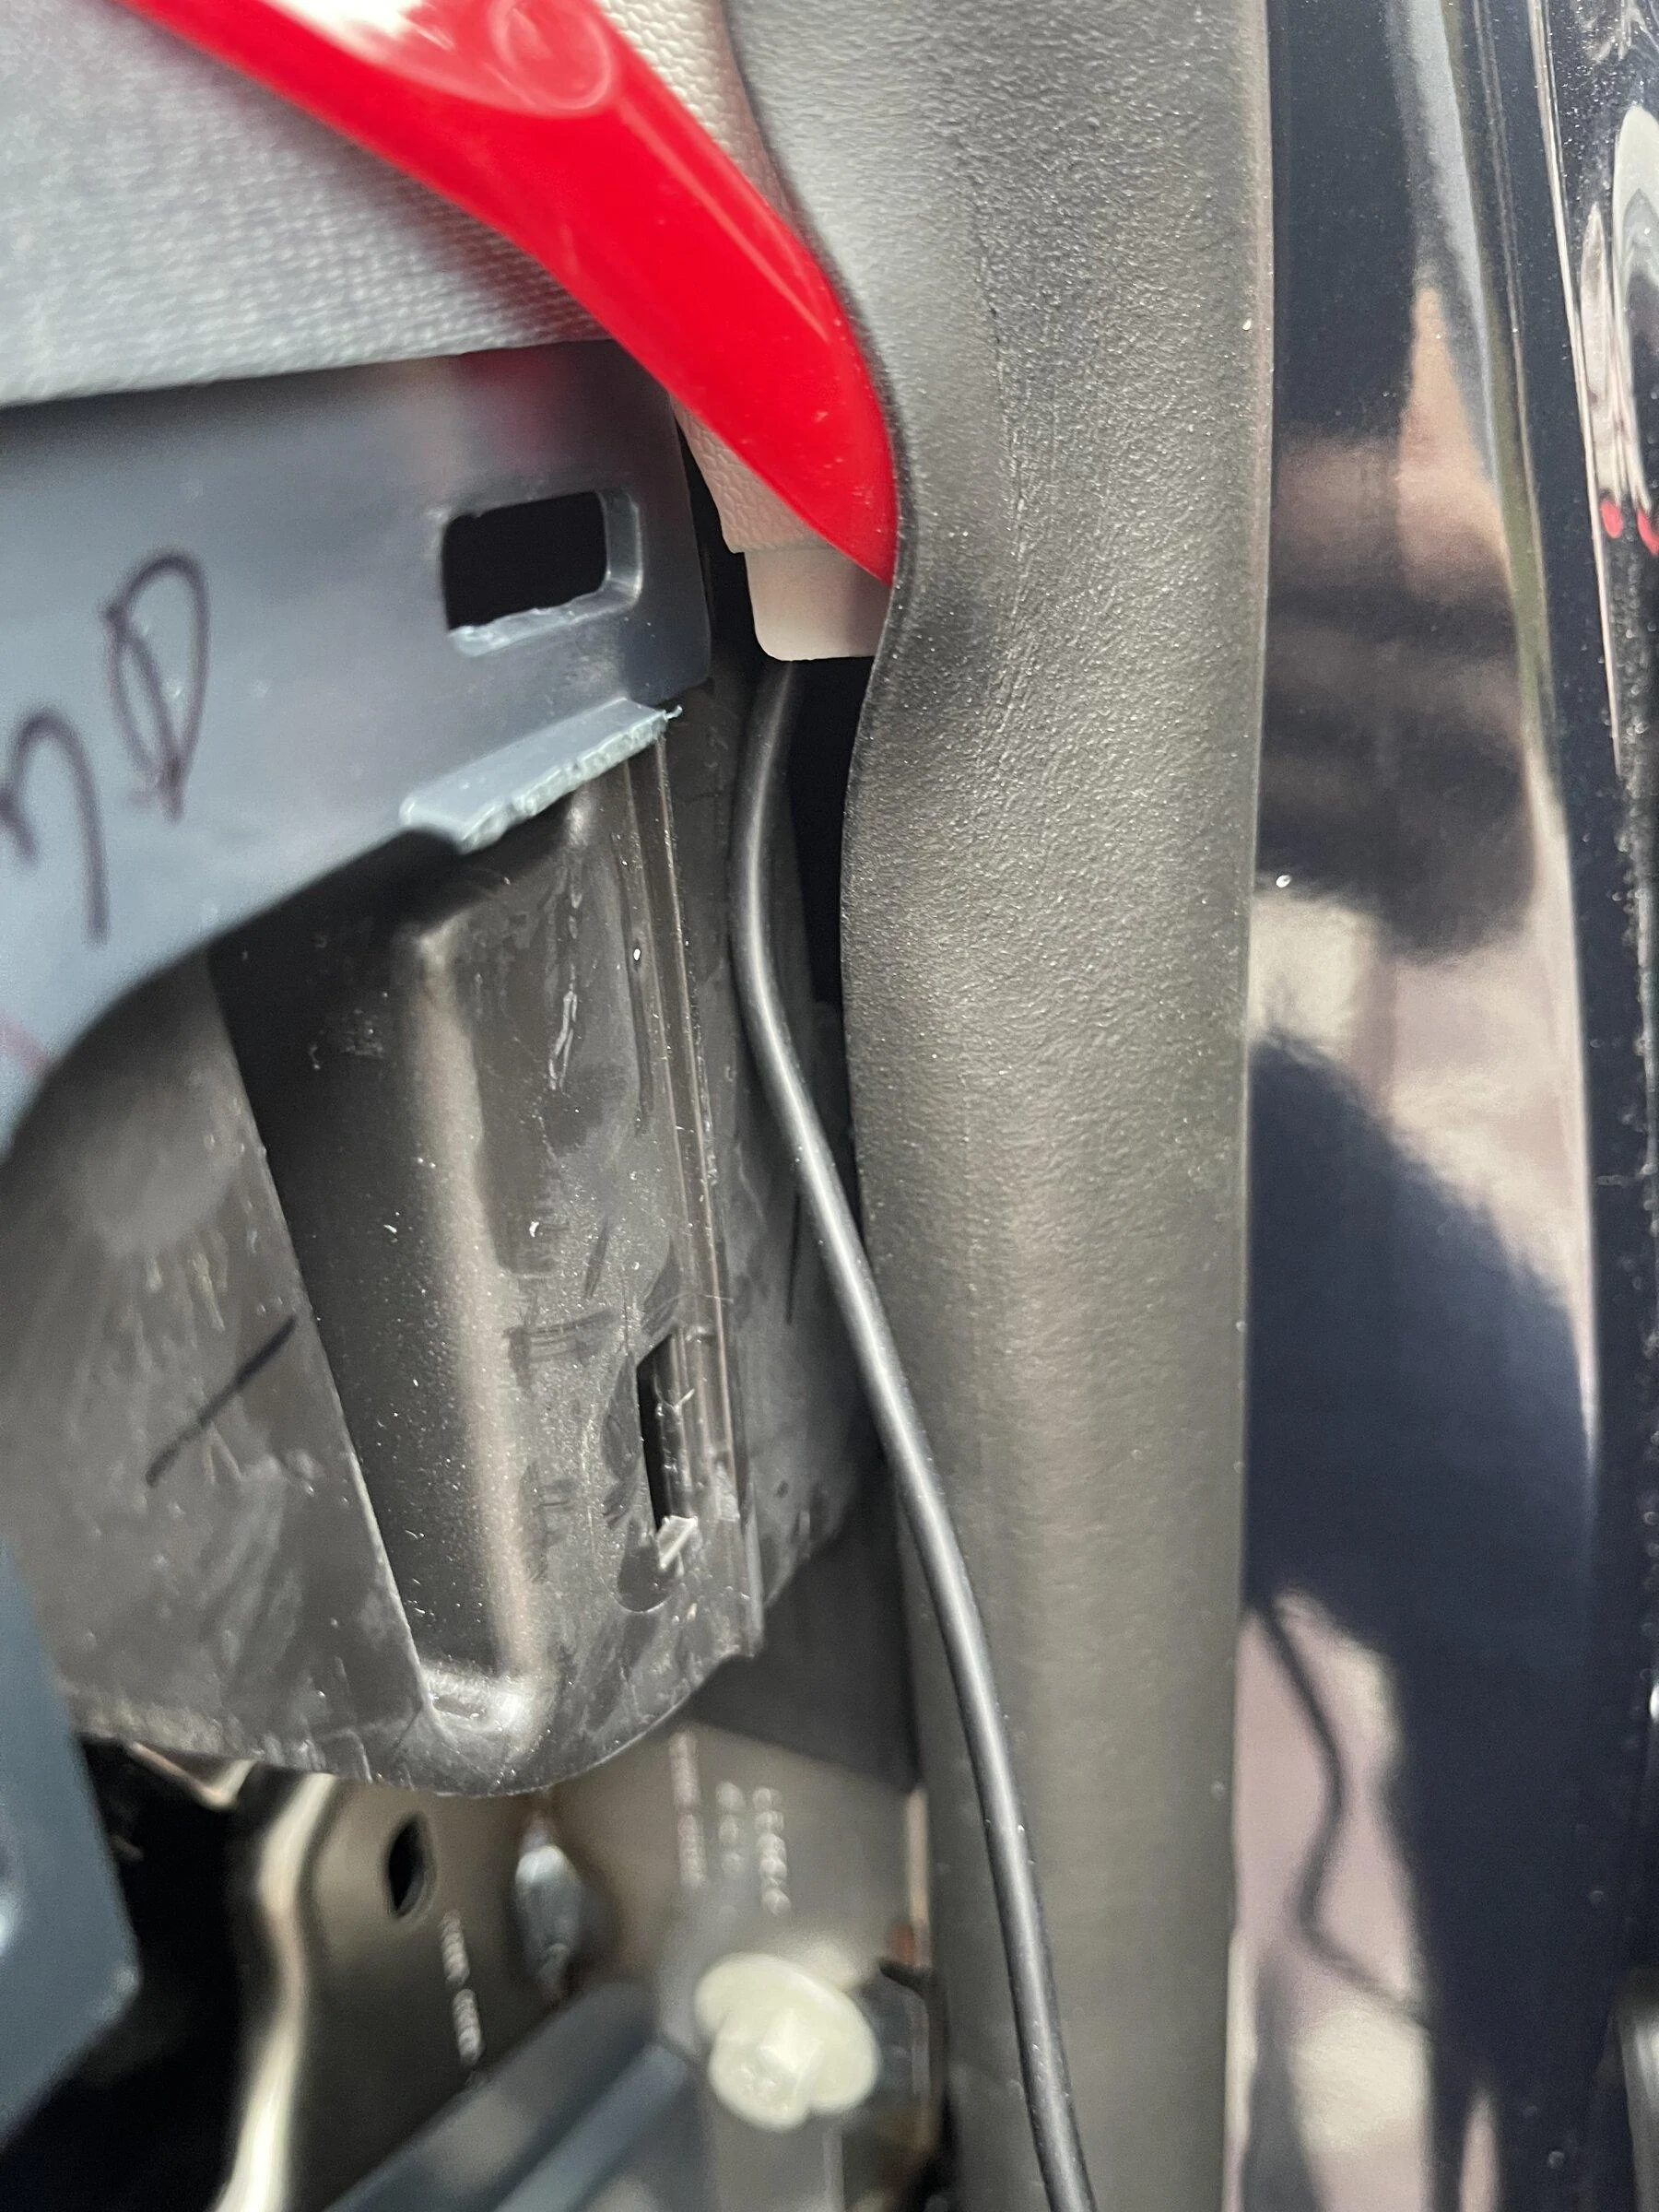
I forgot to mention that I removed the side cover, fuse block cover and the glovebox. The glovebox isn't totally necessary, but it helped me see exactly what I was doing.
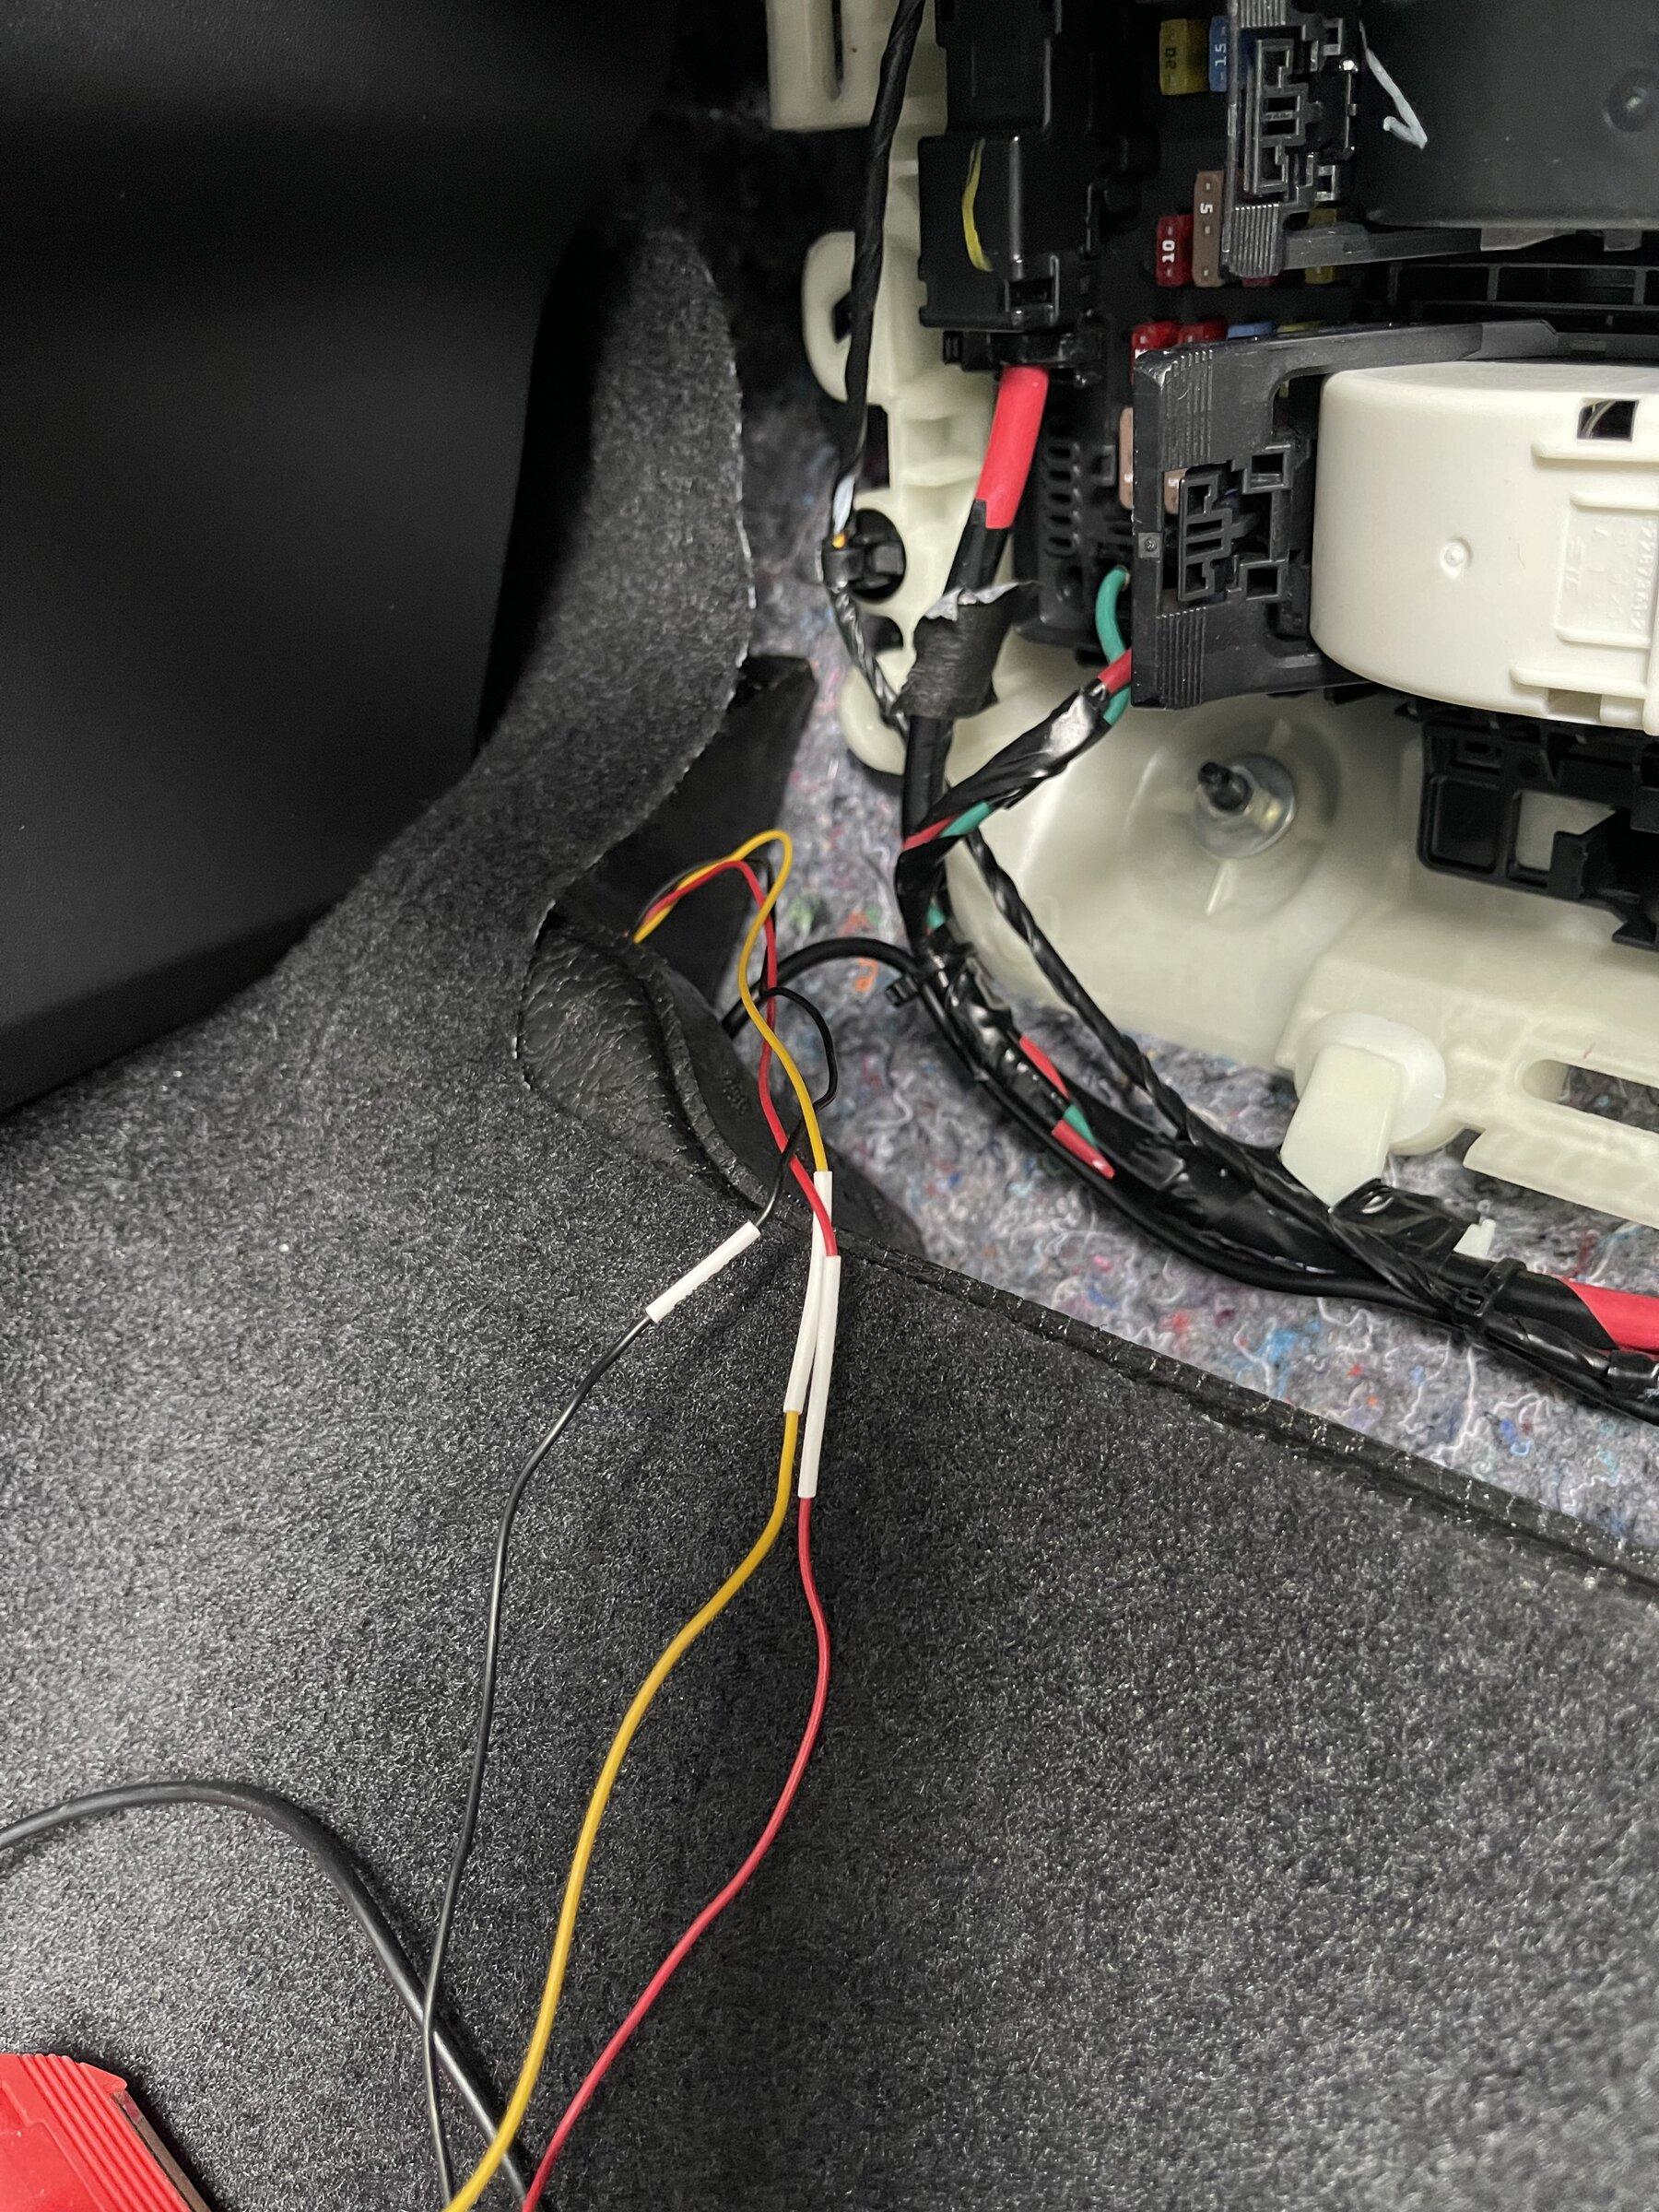
I routed the wire down and shoved it through, just in front of the orange wire bundle.
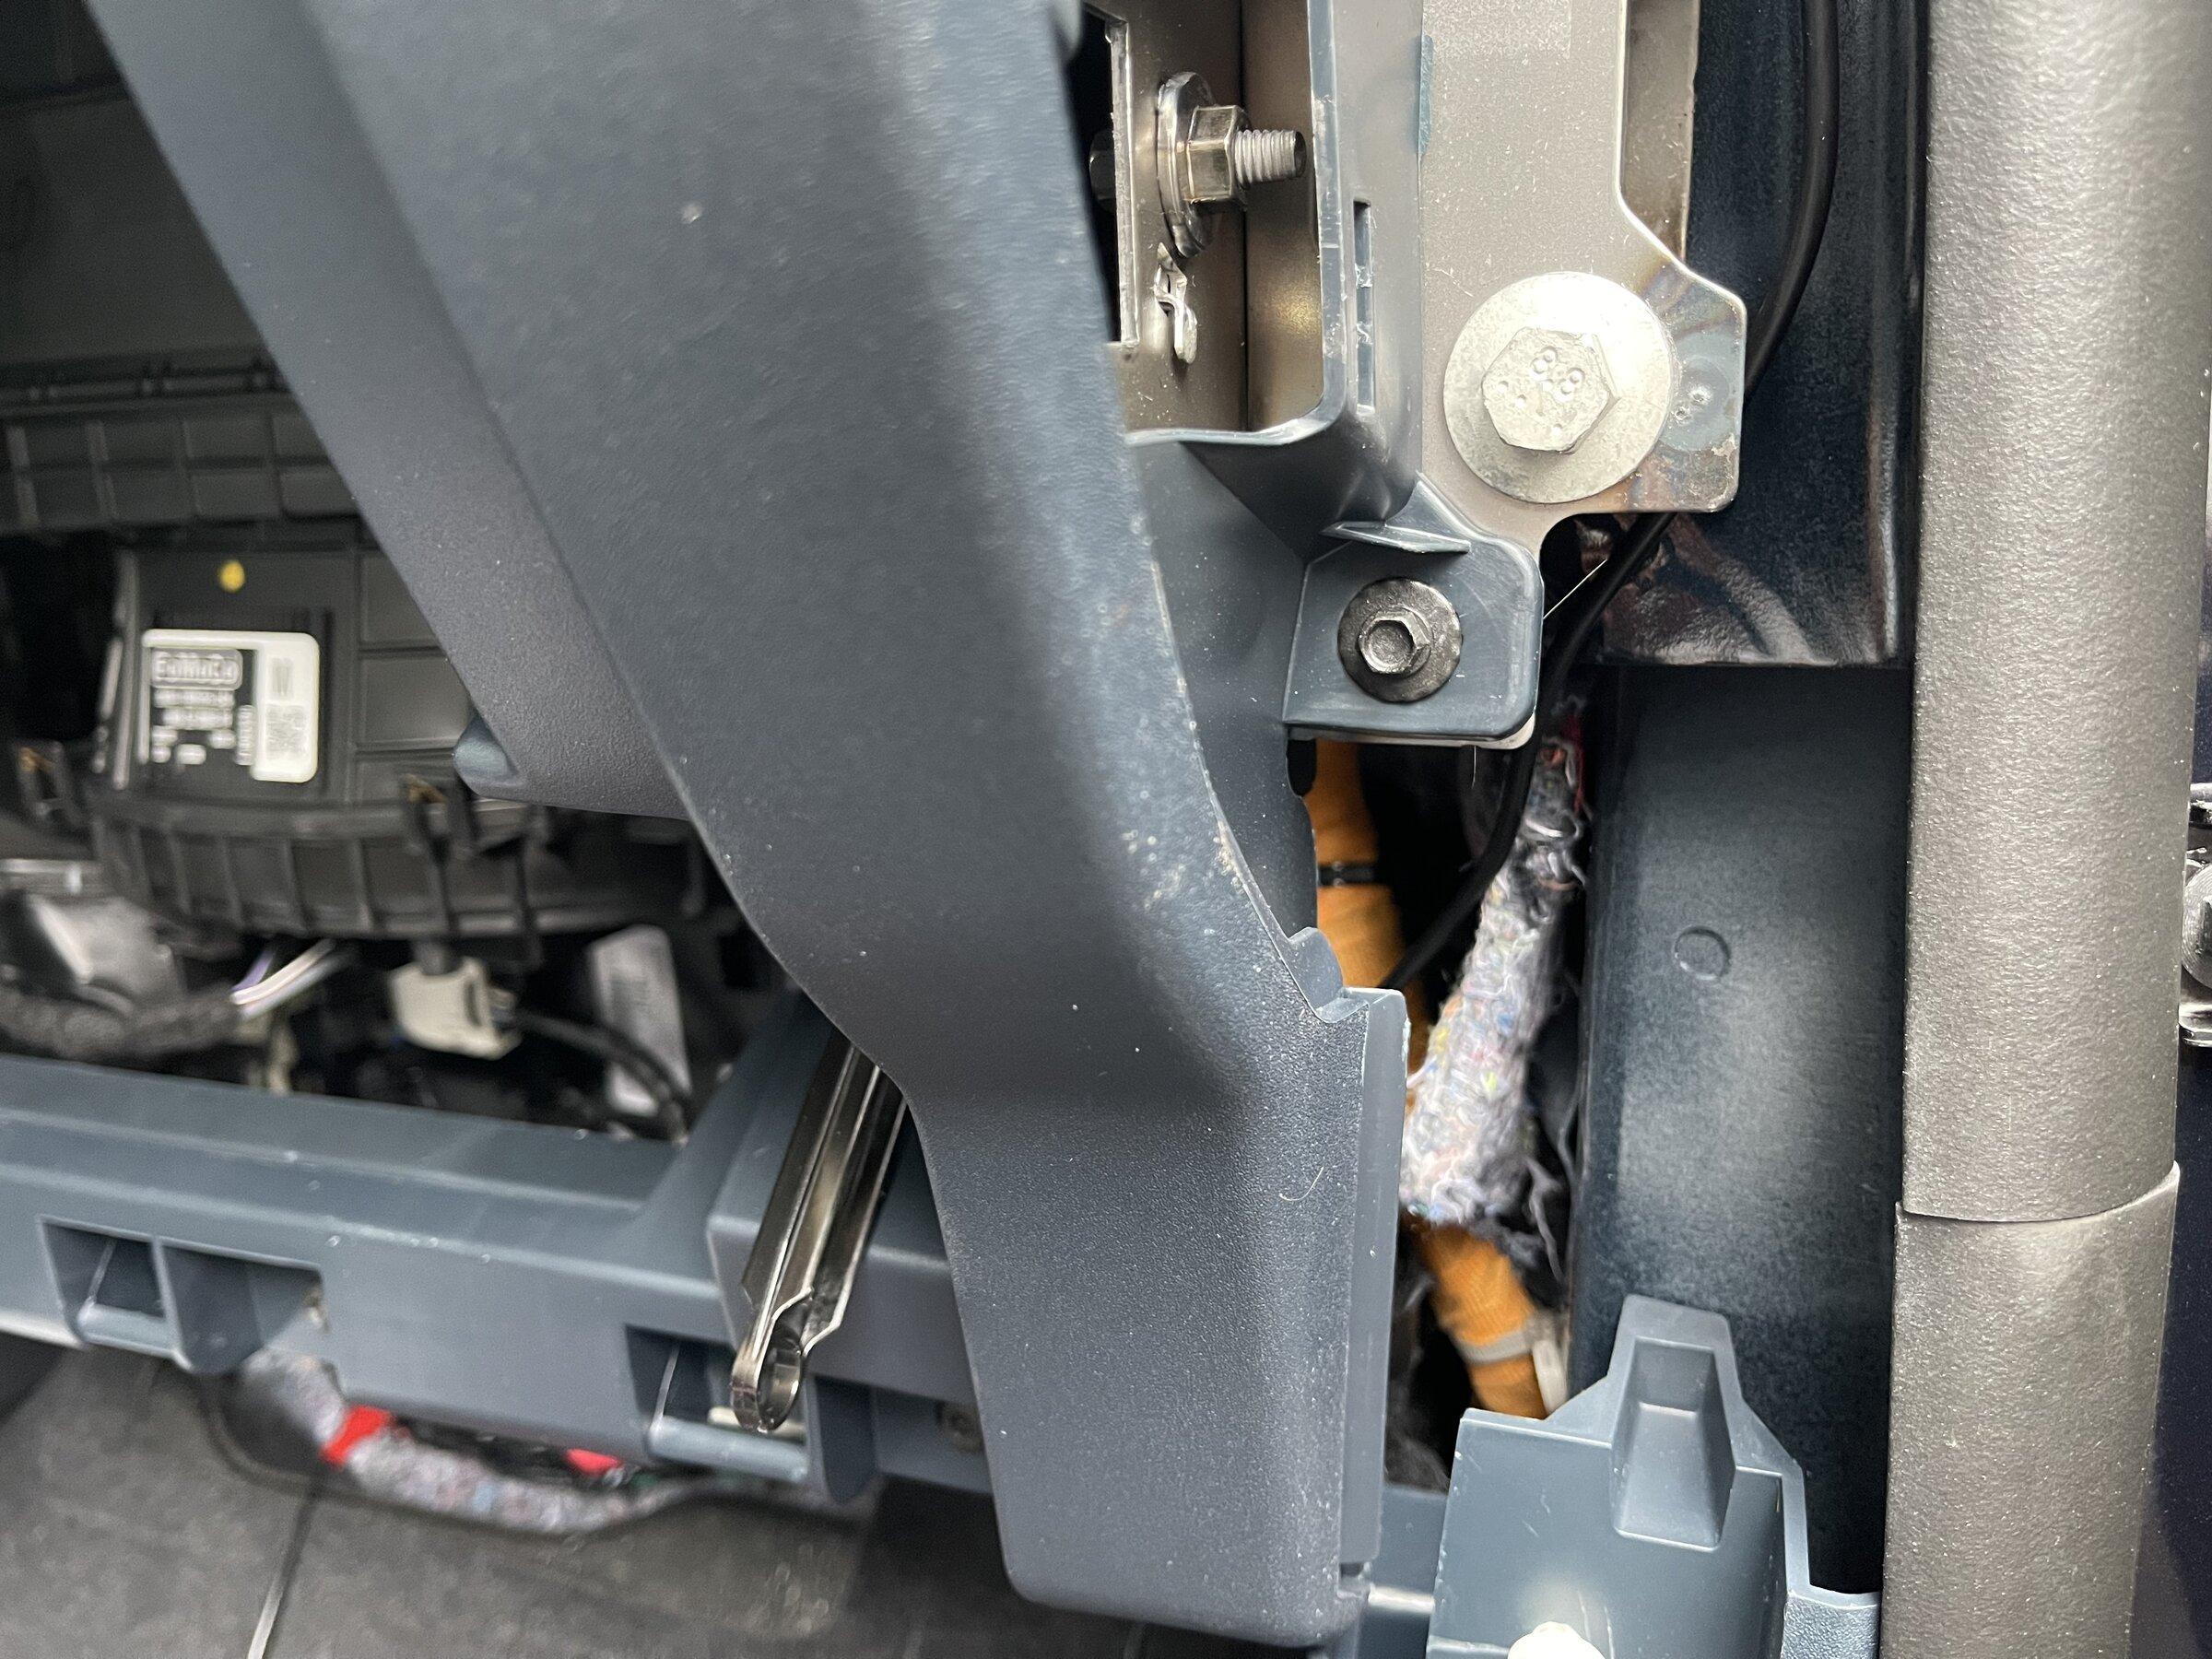
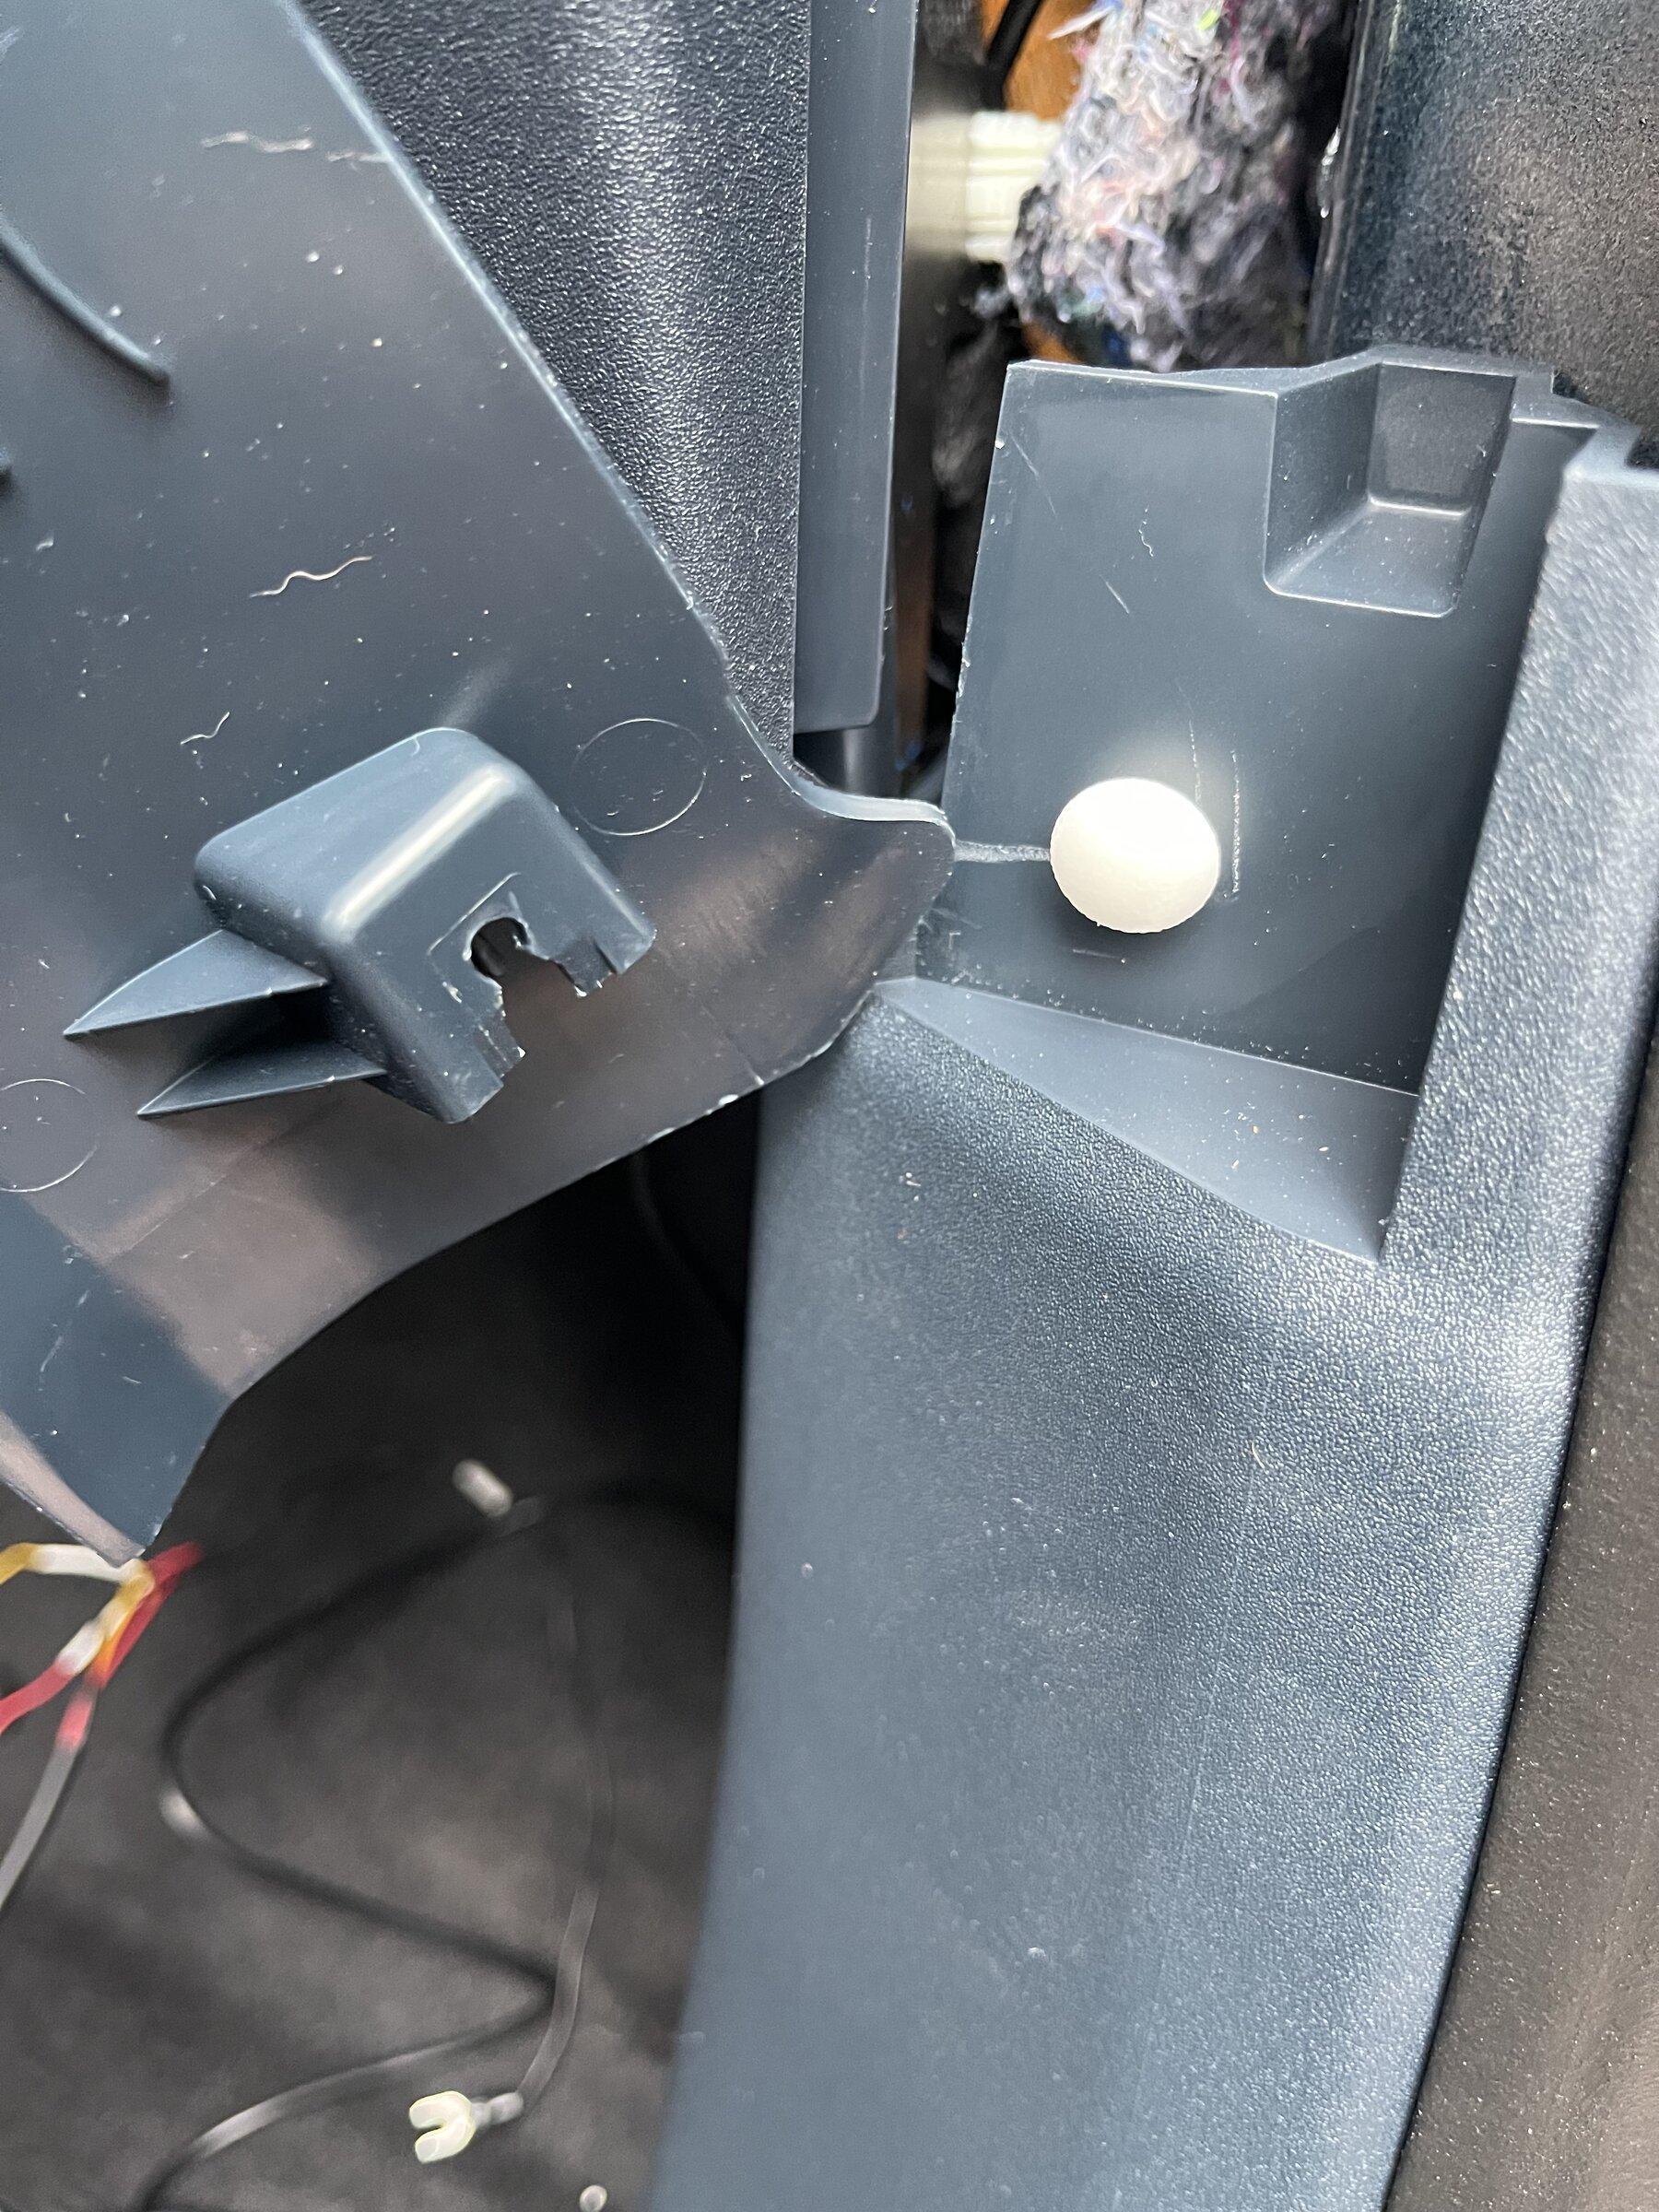
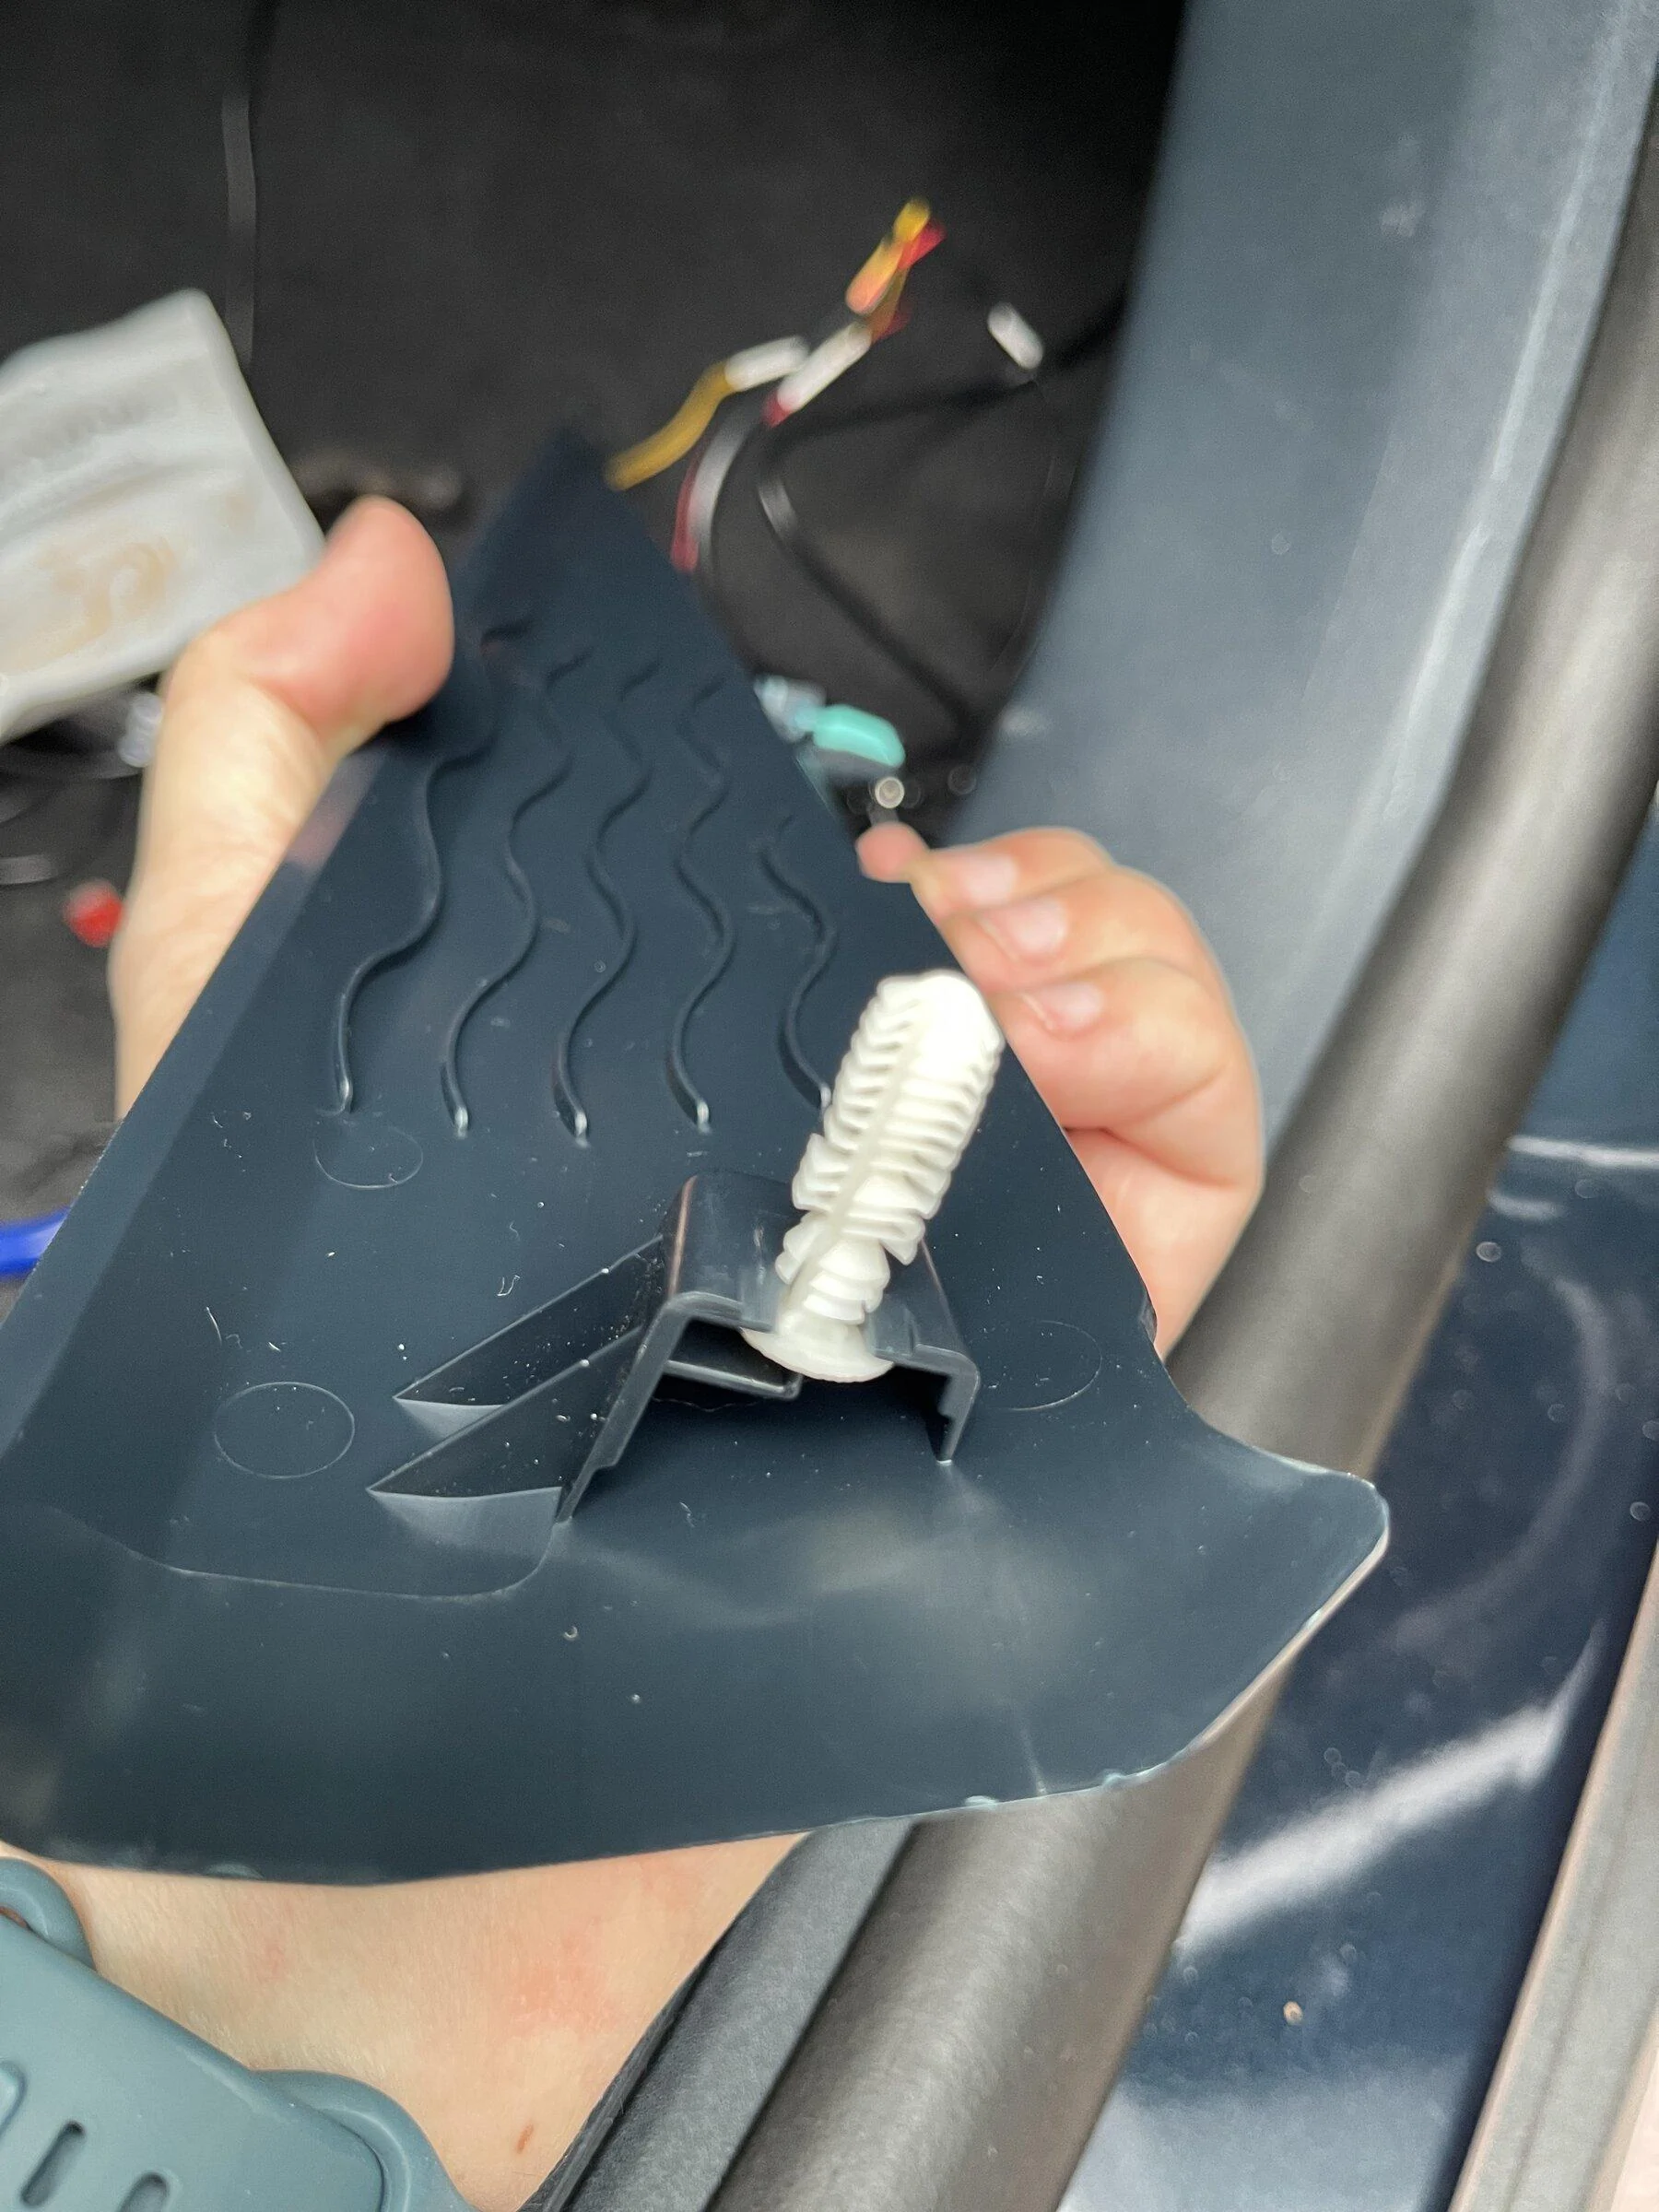
BTW: When I removed the side panel, I had to lift it off this white trim connector. If anyone has a good way to reassemble using this connector, I'm all ears!
Ford was nice enough to leave this white wire holder for me, so I used it!
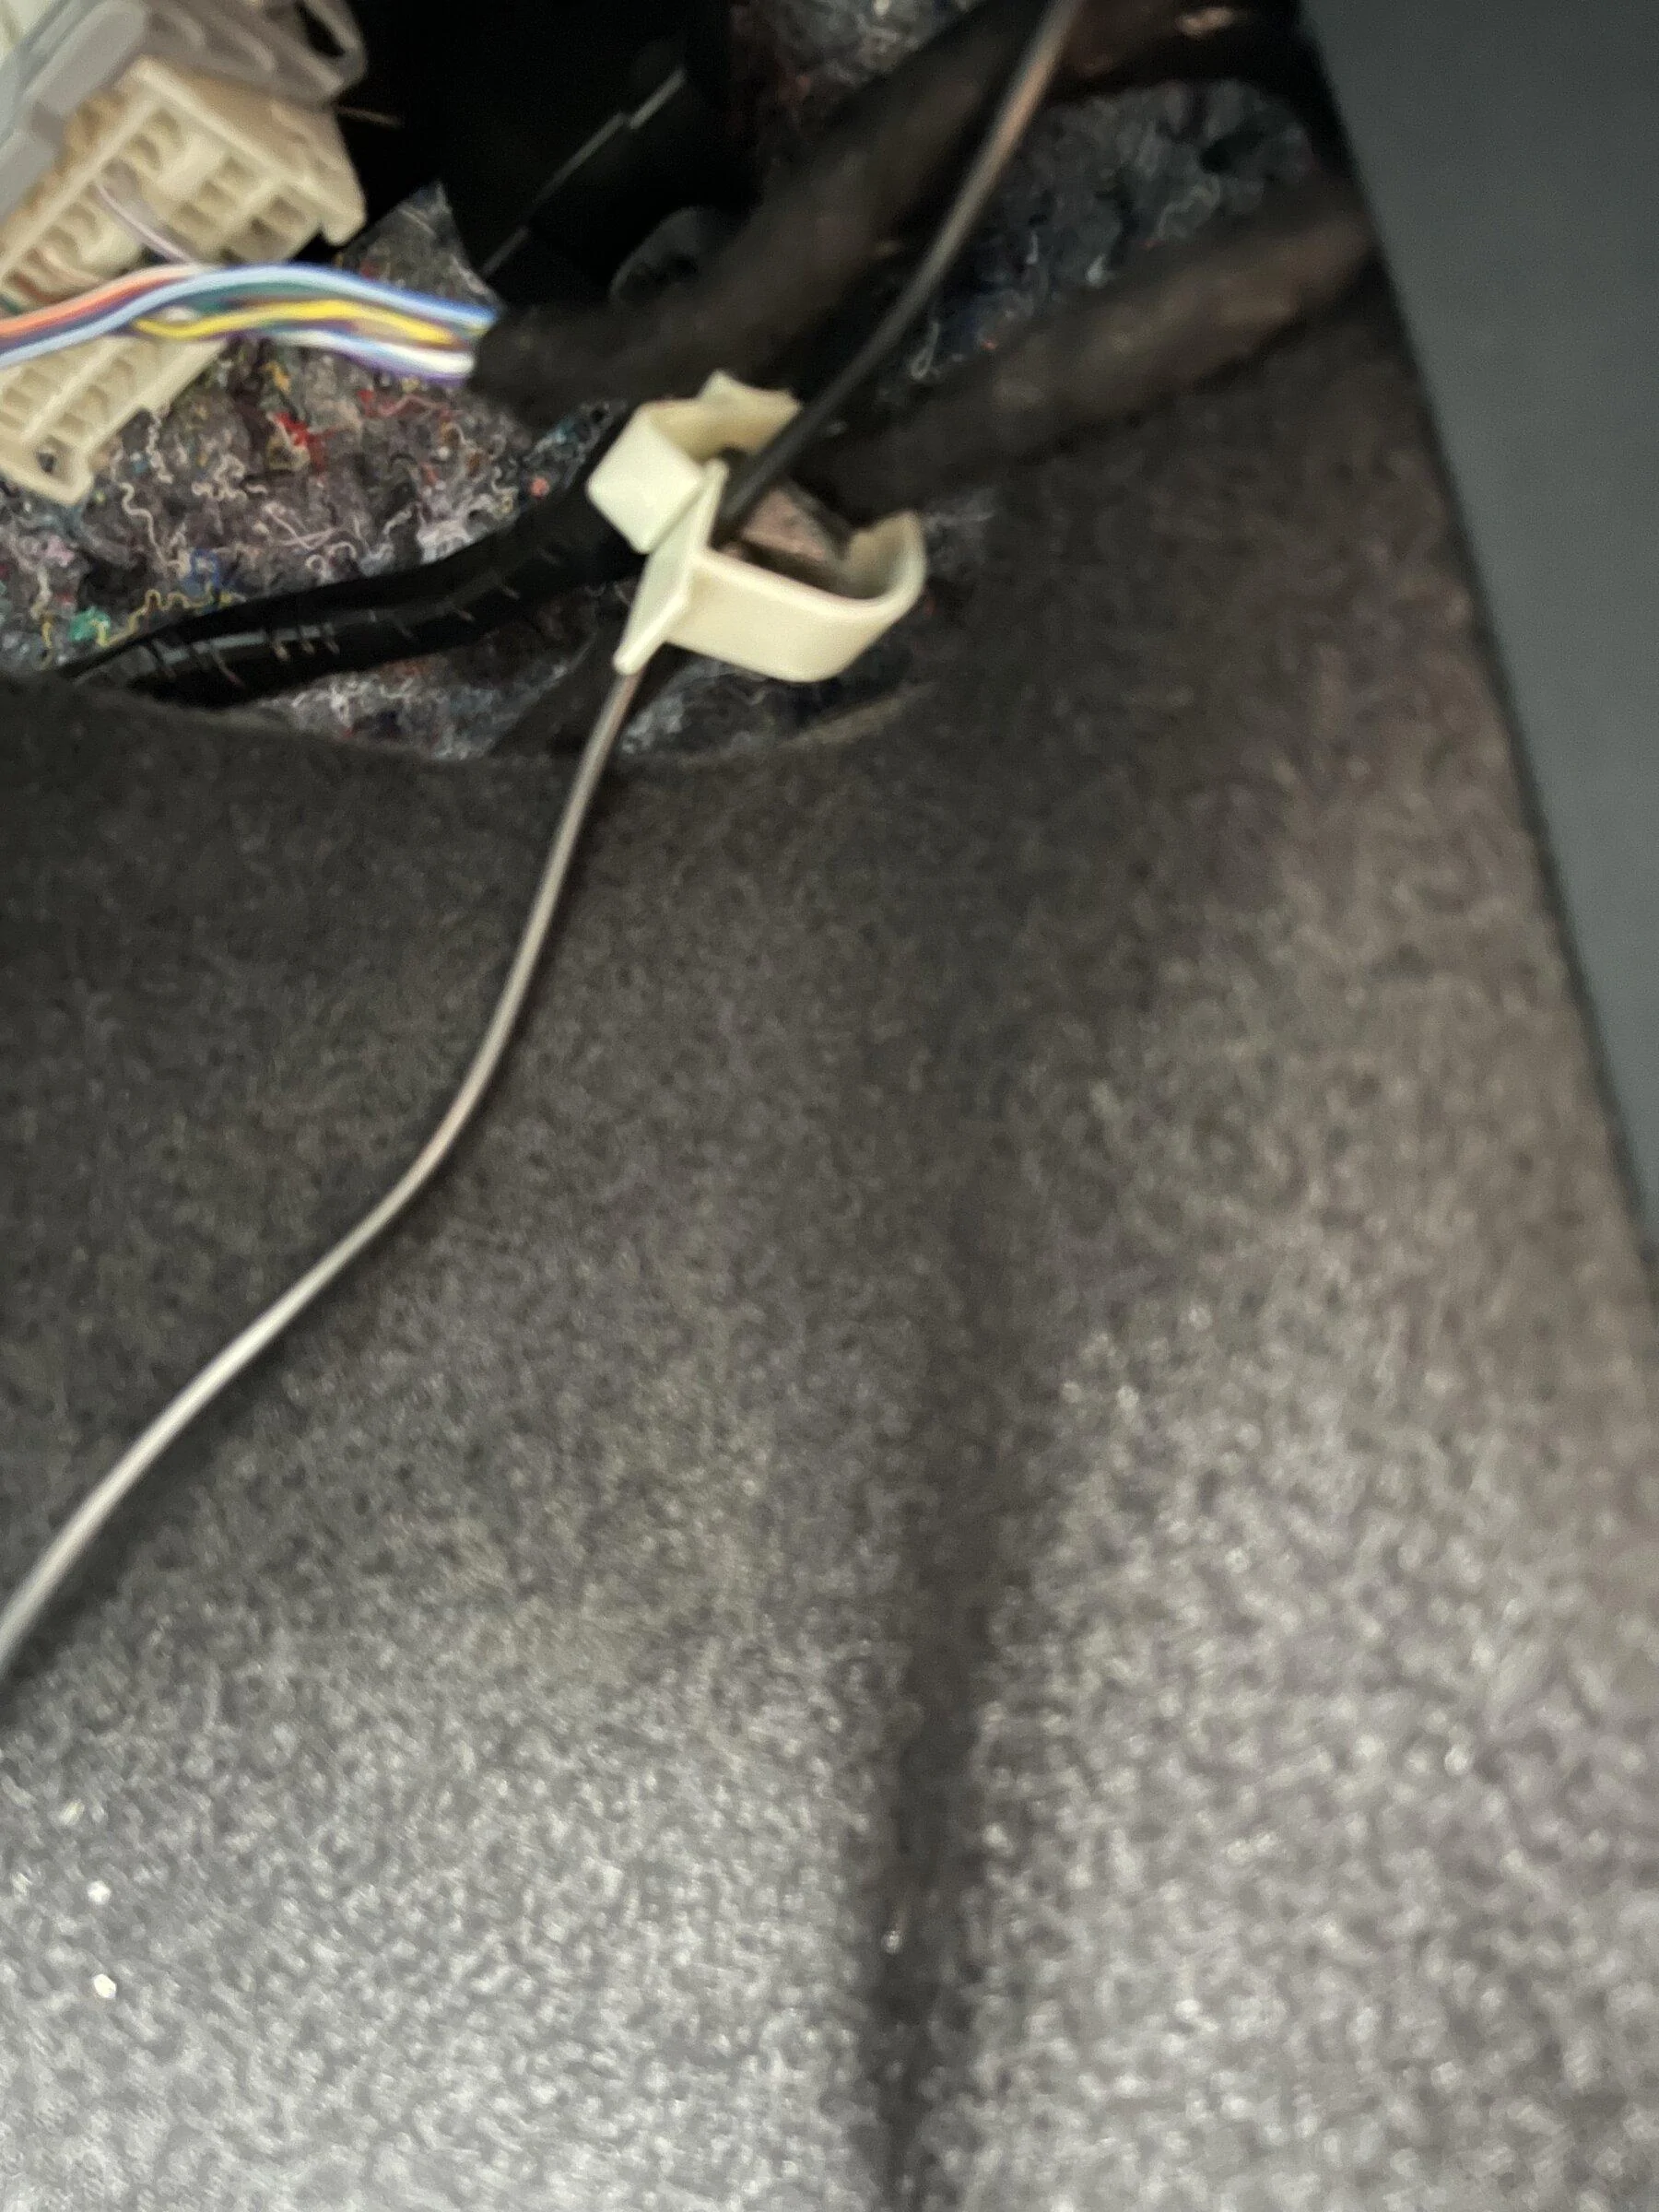
I routed the power wire along with one of the factory bundles and zip tied it to them. I promise, I cut the tails off the zip ties. That's one of my peeves...
The extra 4' of wiring left over, fit nicely in the void space to the left:
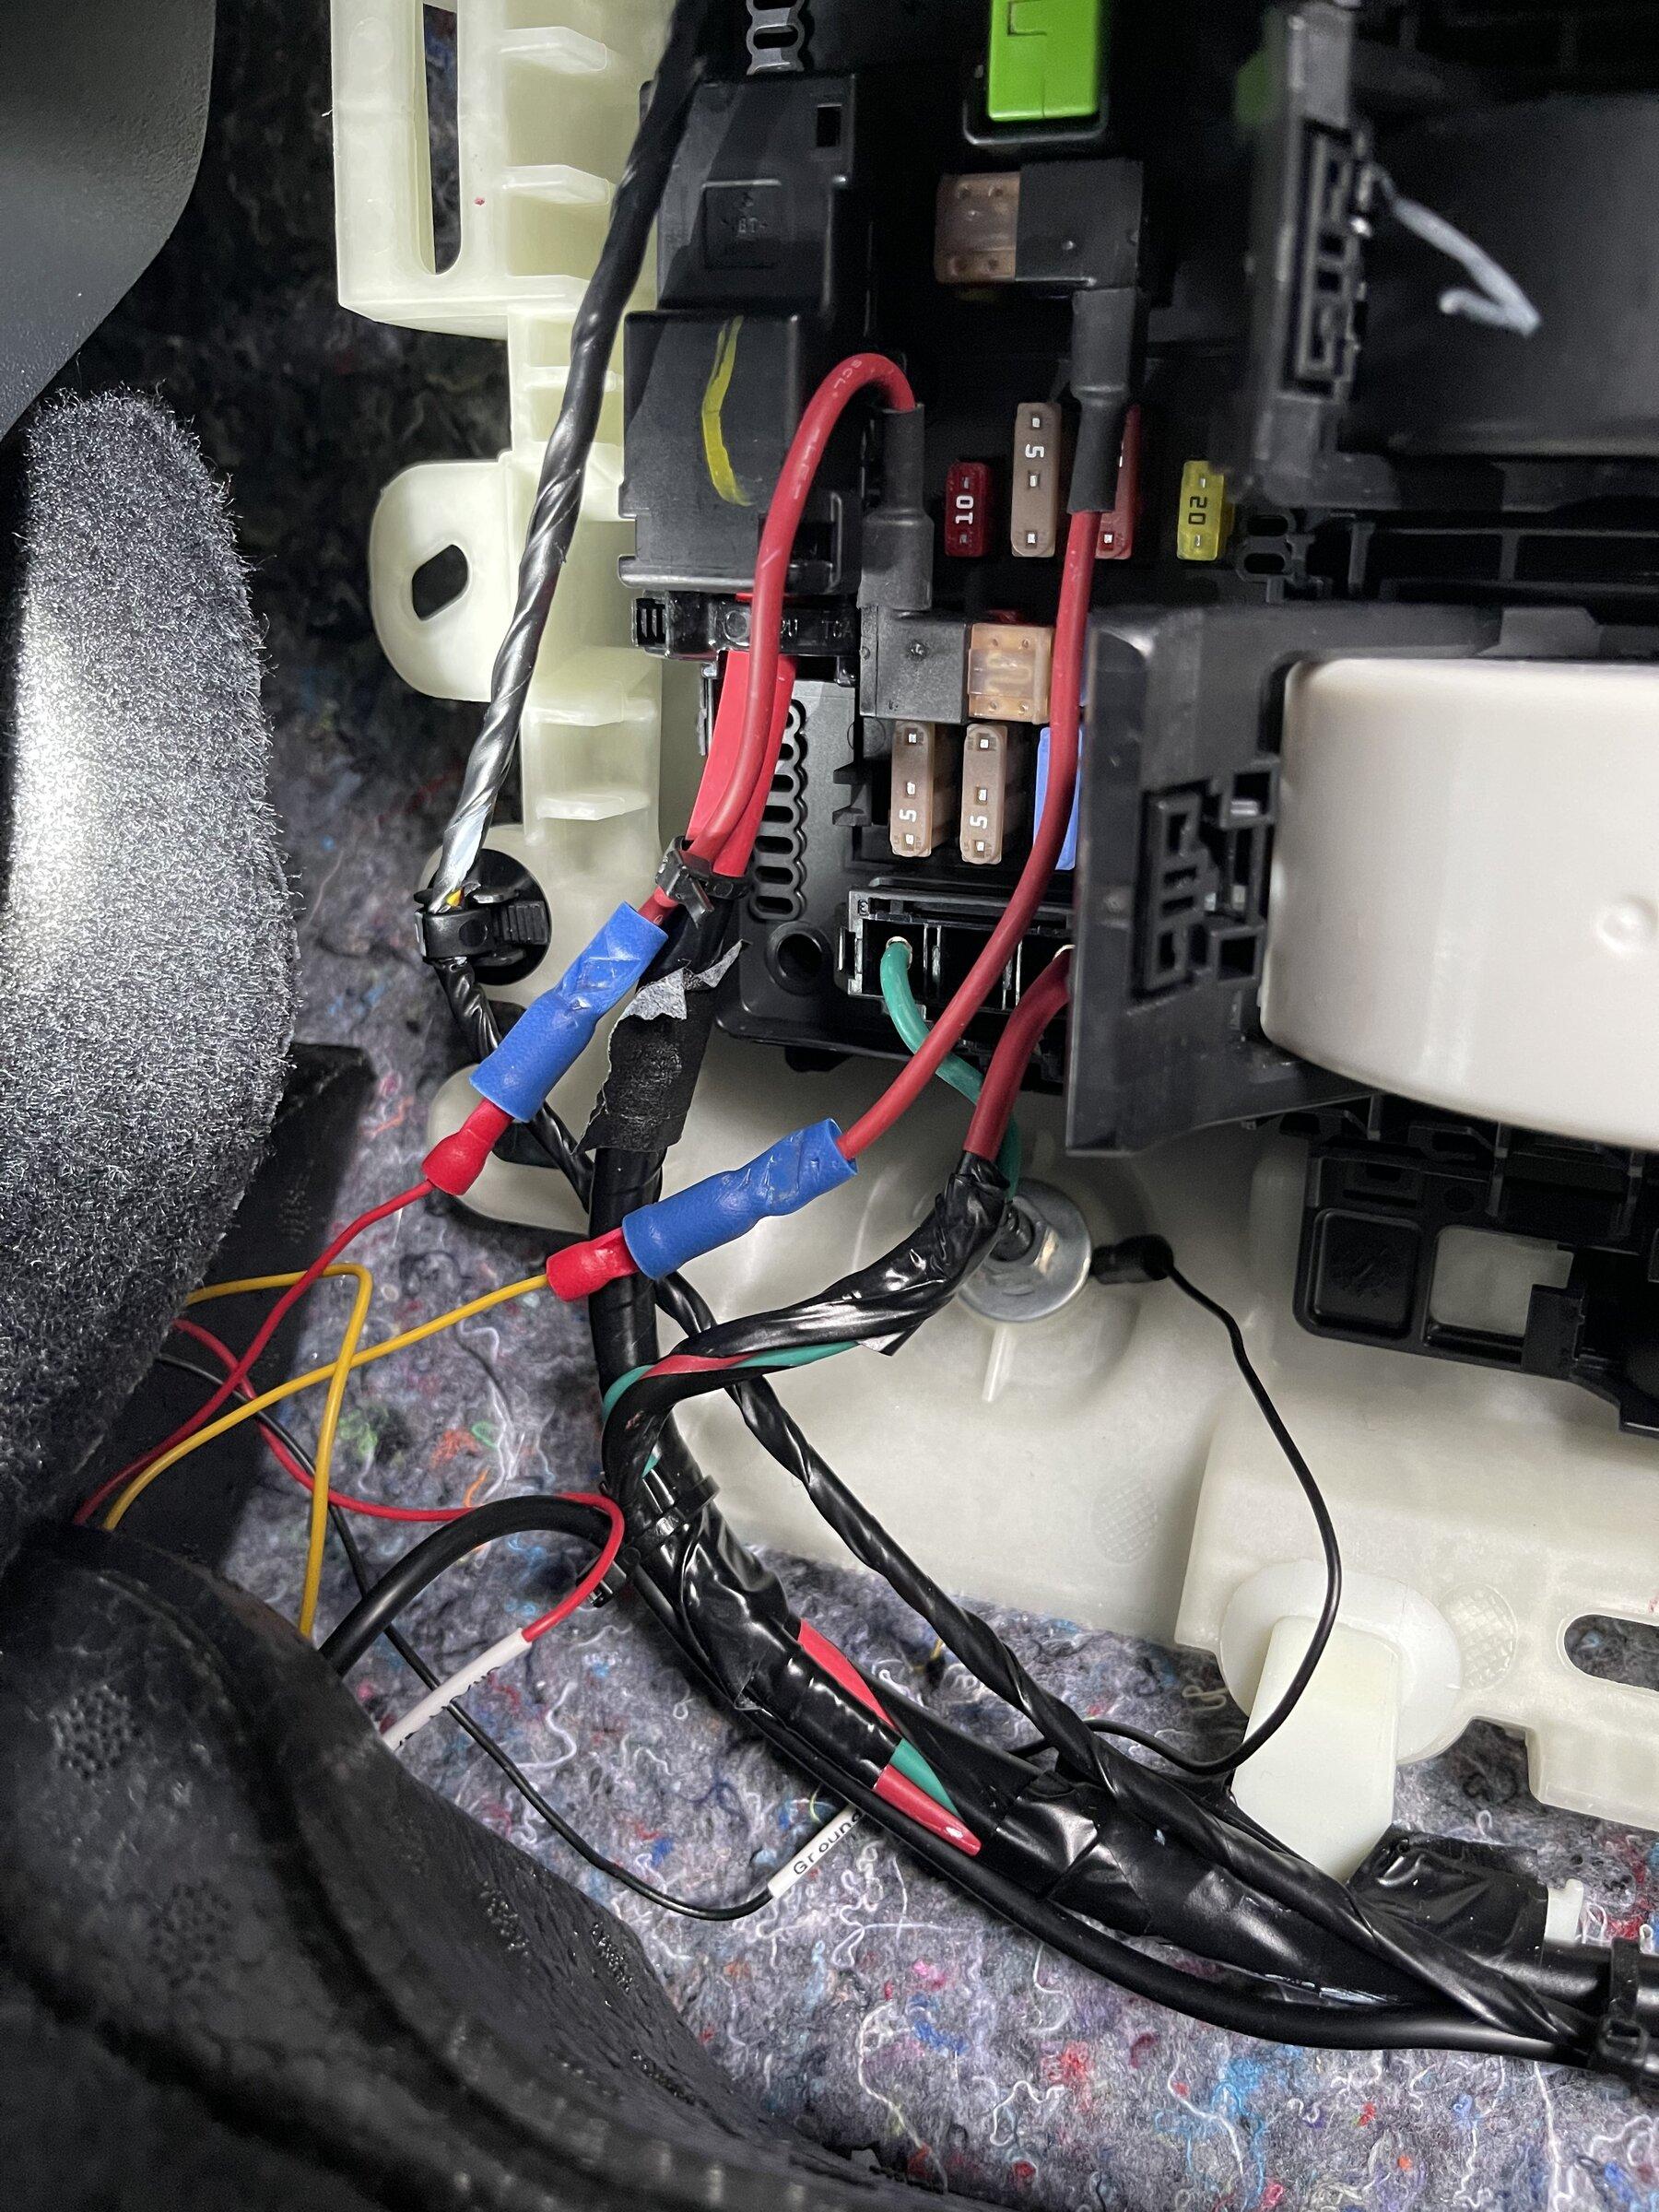
I chose fuses 3 and 20 for my add-a-circuits. They fit and didn't interfere with each other.
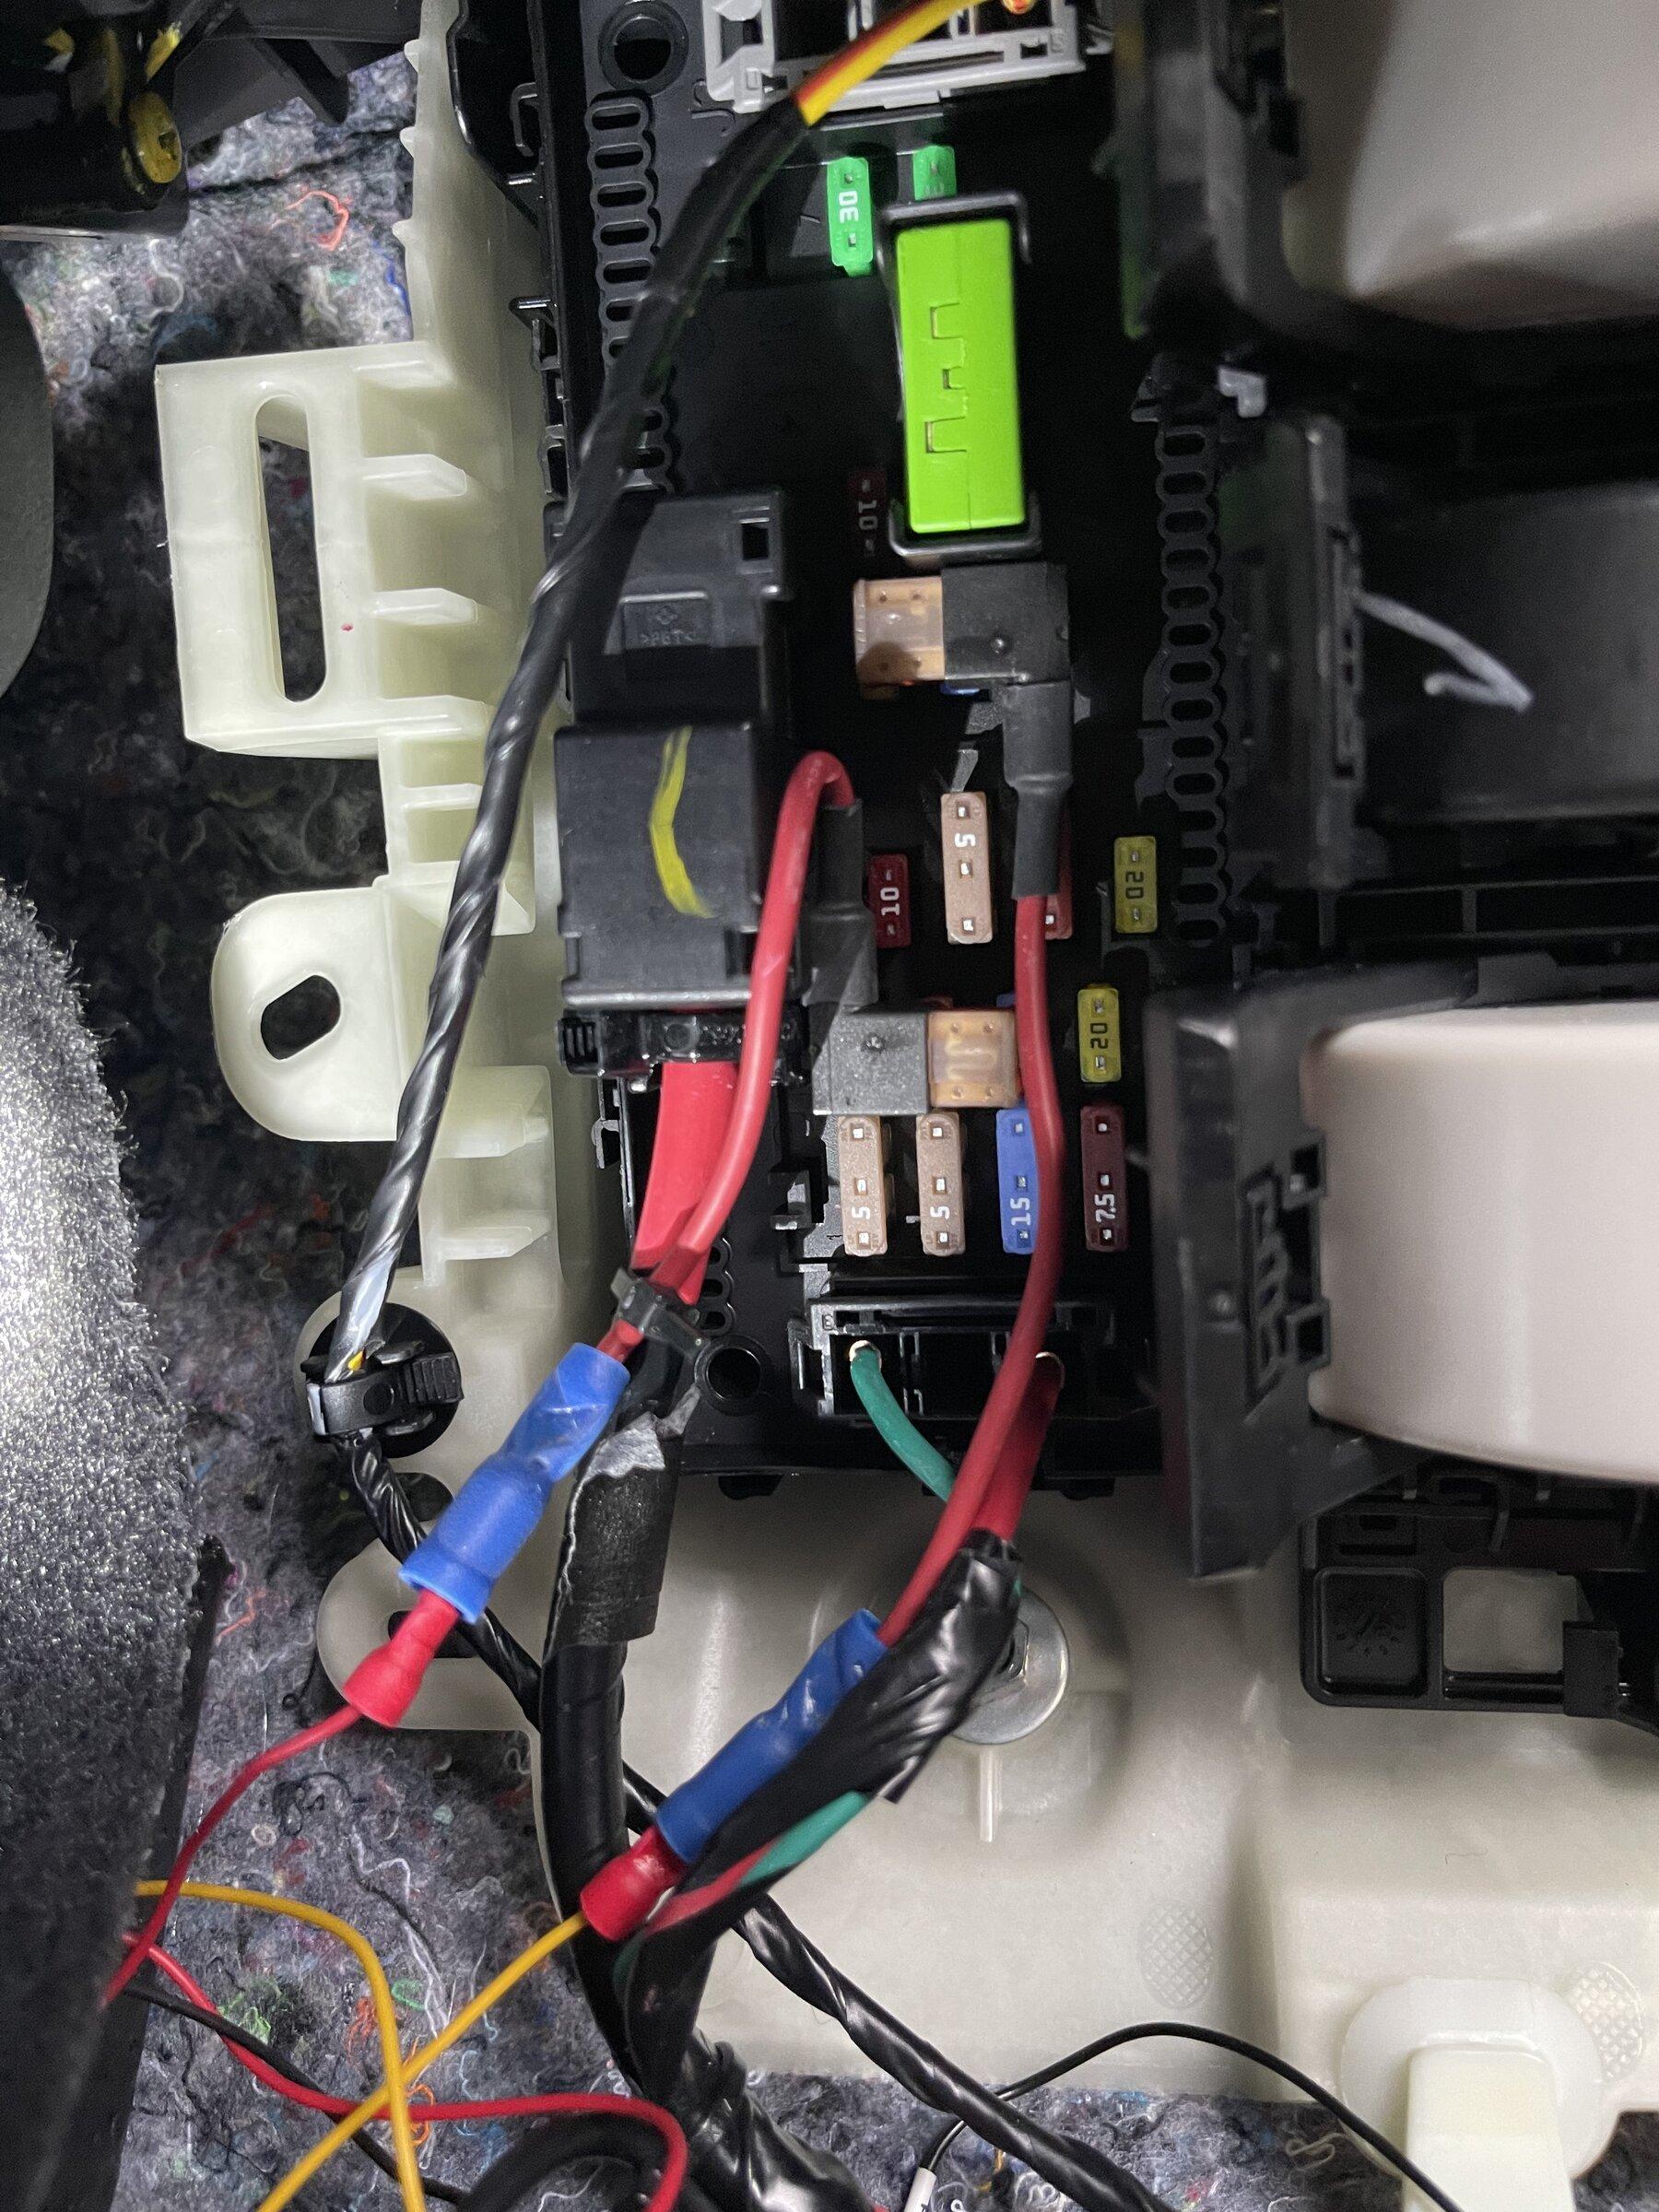
The ground wire fits wonderfully on the bolt at the bottom of the fuse block.
I then plugged the rear camera into the front one and routed it to the back glass. It's much the same as previously noted. Once routed and extra wiring stuffed above the headliner, just button everything back up and enjoy your new dashcam! Here are a couple of finished install pics:

I did not disconnect the battery, as I didn't feel it was necessary.@EMD_Driver Did you have to disconnect the battery before install? Where did you mount the little box? Thank you!
Thanks! Fuse 3 was the accessory power and 20 the constant power?I did not disconnect the battery, as I didn't feel it was necessary.
The little box fit nicely in the void space below the fuse panel.
Fuse 3 is for the (Non-existant) auto-dimming mirror, and is switched on with the ignition. Fuse 20 is an unused spare and not switched.Thanks! Fuse 3 was the accessory power and 20 the constant power?
Thanks again! Looks like on the Lariat 3 is used for the Image Processing Manual and Automatic High Beam Control. Going to to give it a go tonight.Fuse 3 is for the (Non-existant) auto-dimming mirror, and is switched on with the ignition. Fuse 20 is an unused spare and not switched.
You may have to find alternate points for power, but the fuse things aren't totally necessary.I just ordered this hard wire kit today. Will it be compatible without buying the "little fuse holders" ?
