
- First Name
- Terry
- Joined
- Jan 21, 2024
- Threads
- 1
- Messages
- 9
- Reaction score
- 2
- Location
- De Leon Springs, Florida
- Vehicle(s)
- 2024 Maverick
- Engine
- 2.5L Hybrid
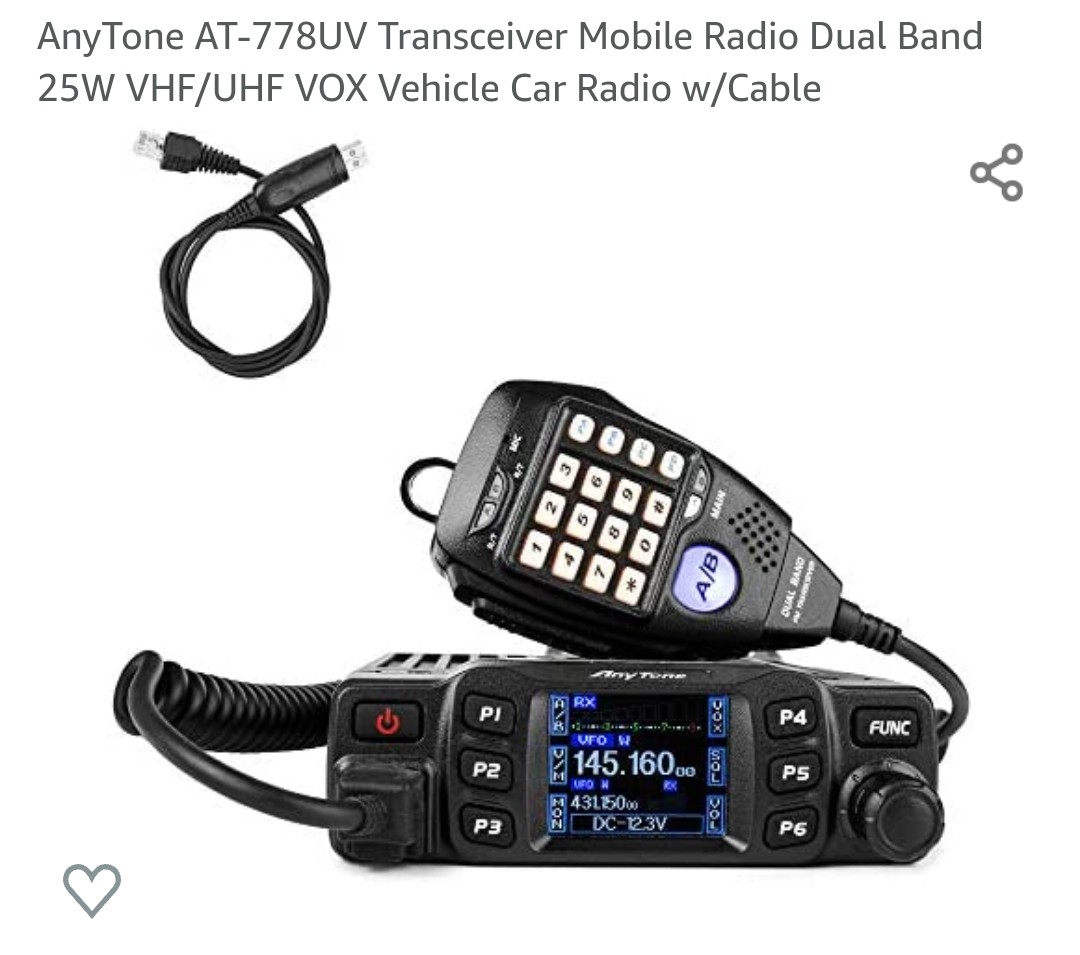
Here's one for you radio nerds. I received a new Anytone AT-778UV HAM and bingfu stubby antenna for Christmas. The install was surprisingly easy and only required two holes for the bracket and some small cuts.


All the tools needed were
- Allen keys which were supplied with the antenna kit
-an adjustable wrench or socket set
-A knife
I started by mounting the the Antenna to the hood. Pretty straight forward. Tighten the clamp screws on the mount once you have it placed where you like. (I went with the back edge on the hood near the passenger a pillar.) Feed antenna wire threads through the mount, tighten the jamb nut against the mount, and screw the antenna on.
I then fed the antenna wire through this flap on the cowl trim, and tucked the wire along the trim edge until I got to the driver side.


Ford intuitively placed a grommet to the right side of the brake booster on the firewall which is unused. It's the perfect spot to feed wires through. Especially if you plan on running things like subs or aftermarket fused switch panels.
All you have to do is pop the grommet out from under the dash, and cut a small X in the grommet where you want the wires to feed through, feed them and replace the grommet. I attached the radio power and ground to the battery terminals directly for now, but I plan to get an aux beam 8 gang switch panel later that I can run the radio to along with some offroad lights.

These next steps depend on how and where you want to mount your radio. For me, I like the idea of having the radio controls in the same location as the rest of my dash controls so I decided to mount it under the USB ports in the phone cubby since I have a phone mount that charges and holds my phone up higher next to the screen.(no oem wireless pad.) And mounting on the underside of this trim puts the holes In a spot not easily noticed if I decide to take it out later. Be warned that the placement I chose may not be right for everyone, it's worth mentioning; the radio does interfere with the ambient light that shines under the dash into this cubby. But to run this placement, I fed the wires behind the pedals and steering column. (I still need to secure them but I need to get more zip ties first. )

From there, I routed the wires behind the side of the center console trim. There's a small screw that holds this trim piece in (next to the accelerator pedal.) and then it just pops in and out with clips. After that I removed the phone cubby mat, where you'll find a small panel that pops out to gain access to the emergency gear selector. I fed the wires through that port, then took a knife and slightly enlarged the pry tab hole on the panel so the wires could fit without interference, although I may end up cutting a small notch on the back of the tab and in the mat as well to keep it sitting flush, but I haven't done that yet. Right now, I have the wires tucked under the mat coming out from behind.

At this point, all the wires have been run to where they need to be and all that's left is mounting the brack followed by the radio, after plugging your antenna and power cable in. I put the bracket as far to the left as I could and just in front of the diffuser for the cubby light. You'll note In the above picture that the left screw sits close to the side, but there is just enough room that I can still remove the radio after backing the left screw out and removing the right screw. After I found the placement I wanted, I just marked the trim panel where the bracket mount holes were and used the supplied screws to attach the bracket, then mounted the radio to it. The whole process took me a total of about 1.5 hours and I'm pleased with the results. I can still use that cubby and the radio looks right at home imo.
It appears the battery has moved.
Sponsored