- First Name
- Pantera
- Joined
- Feb 25, 2024
- Threads
- 0
- Messages
- 86
- Reaction score
- 35
- Location
- Porto Alegre
- Vehicle(s)
- lariat 2.0
- Engine
- 2.0L EcoBoost
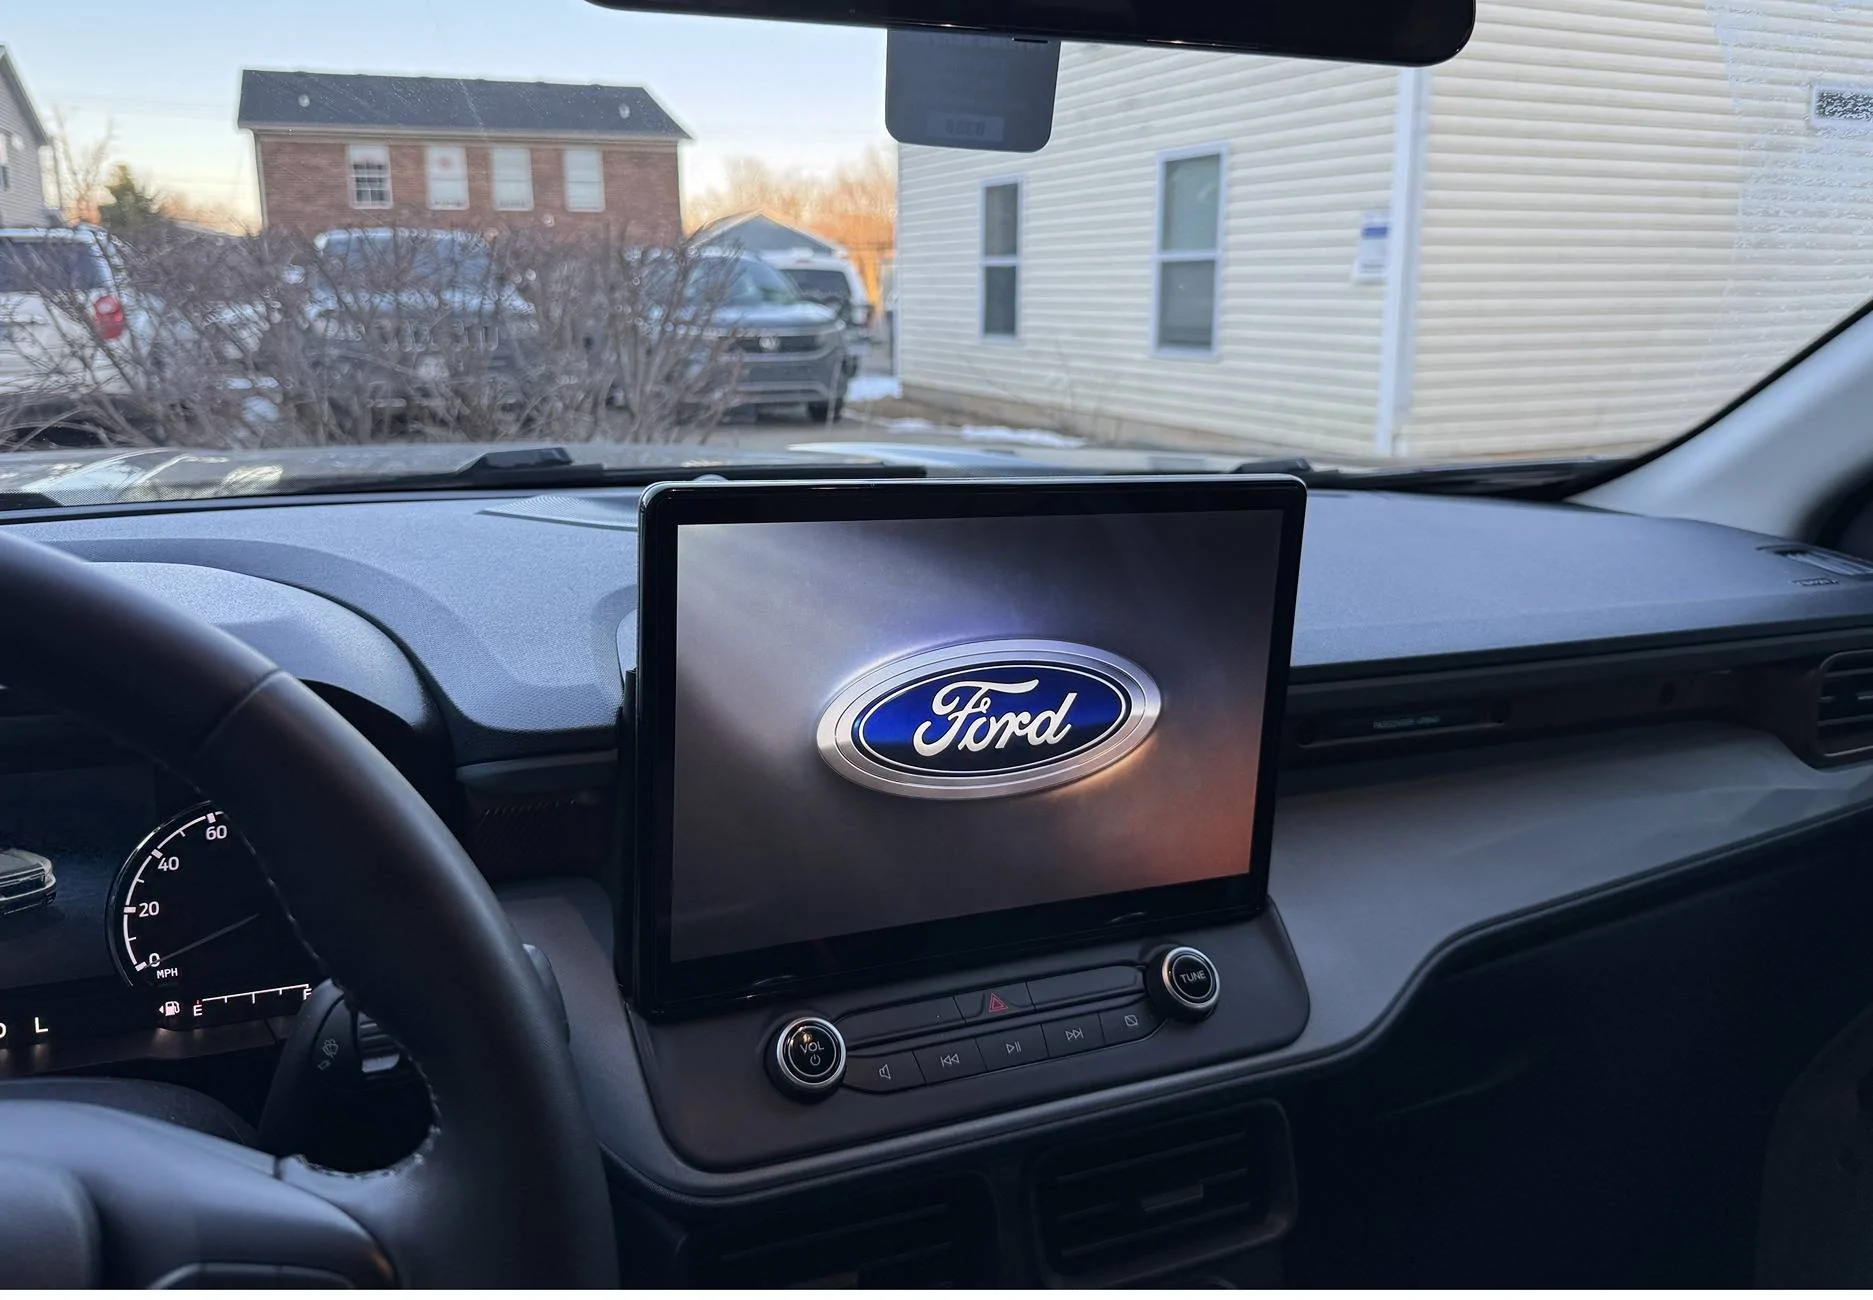
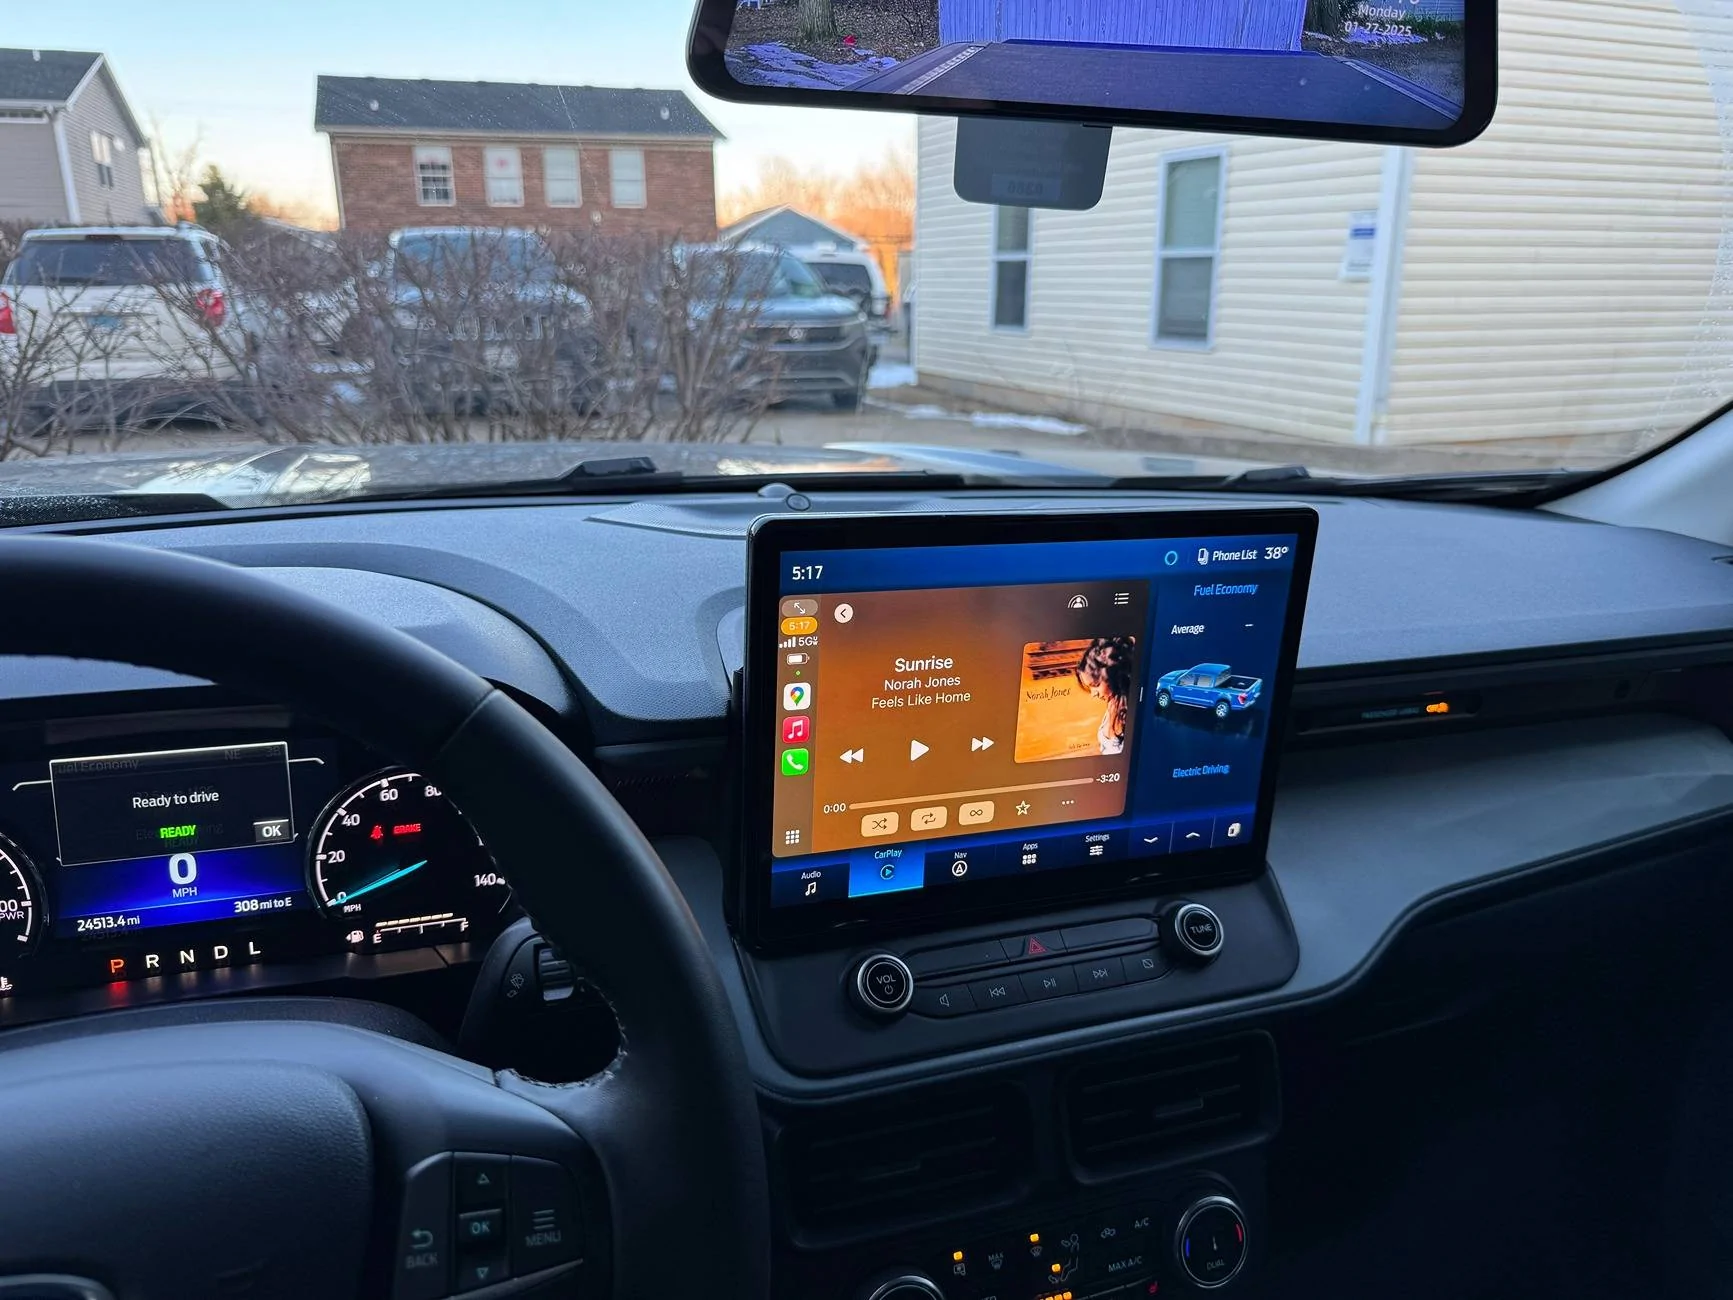
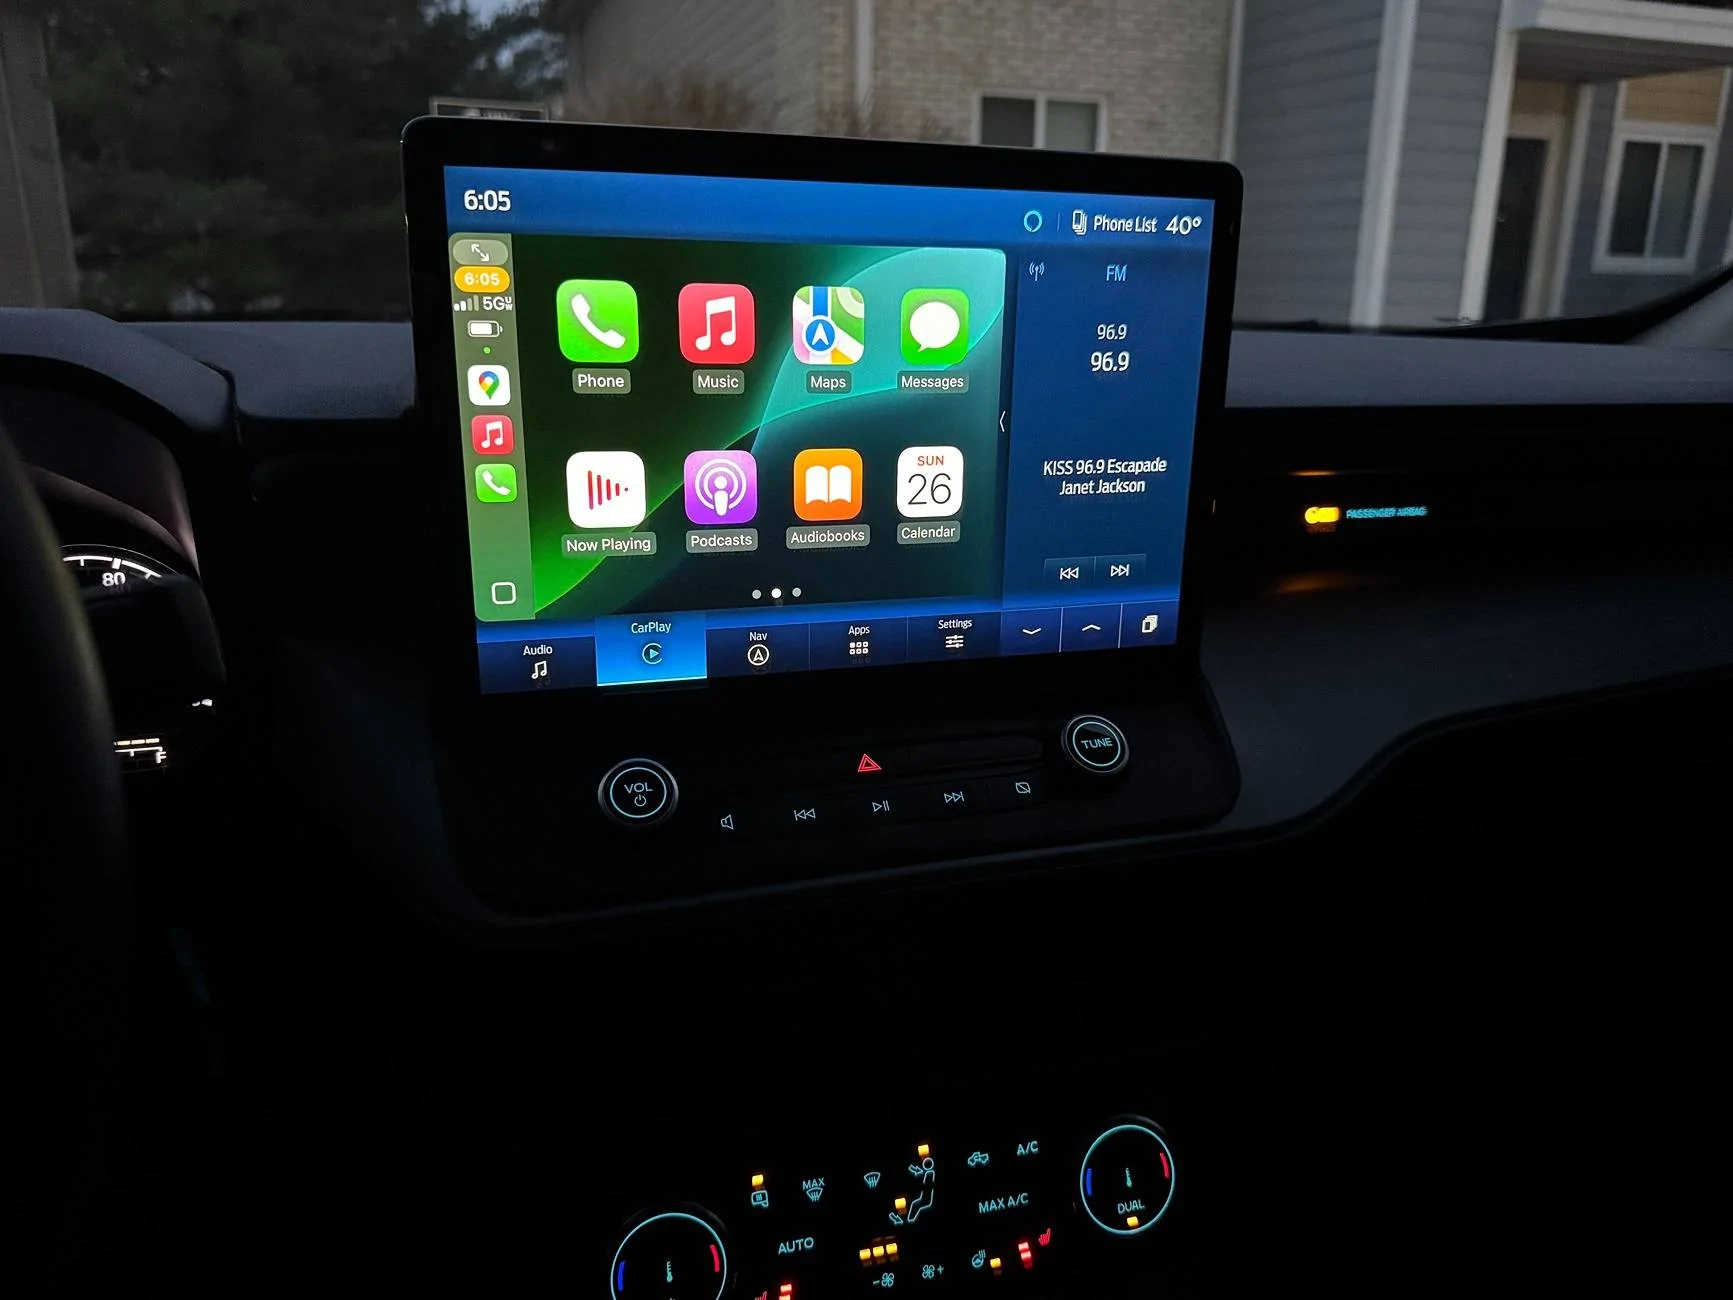
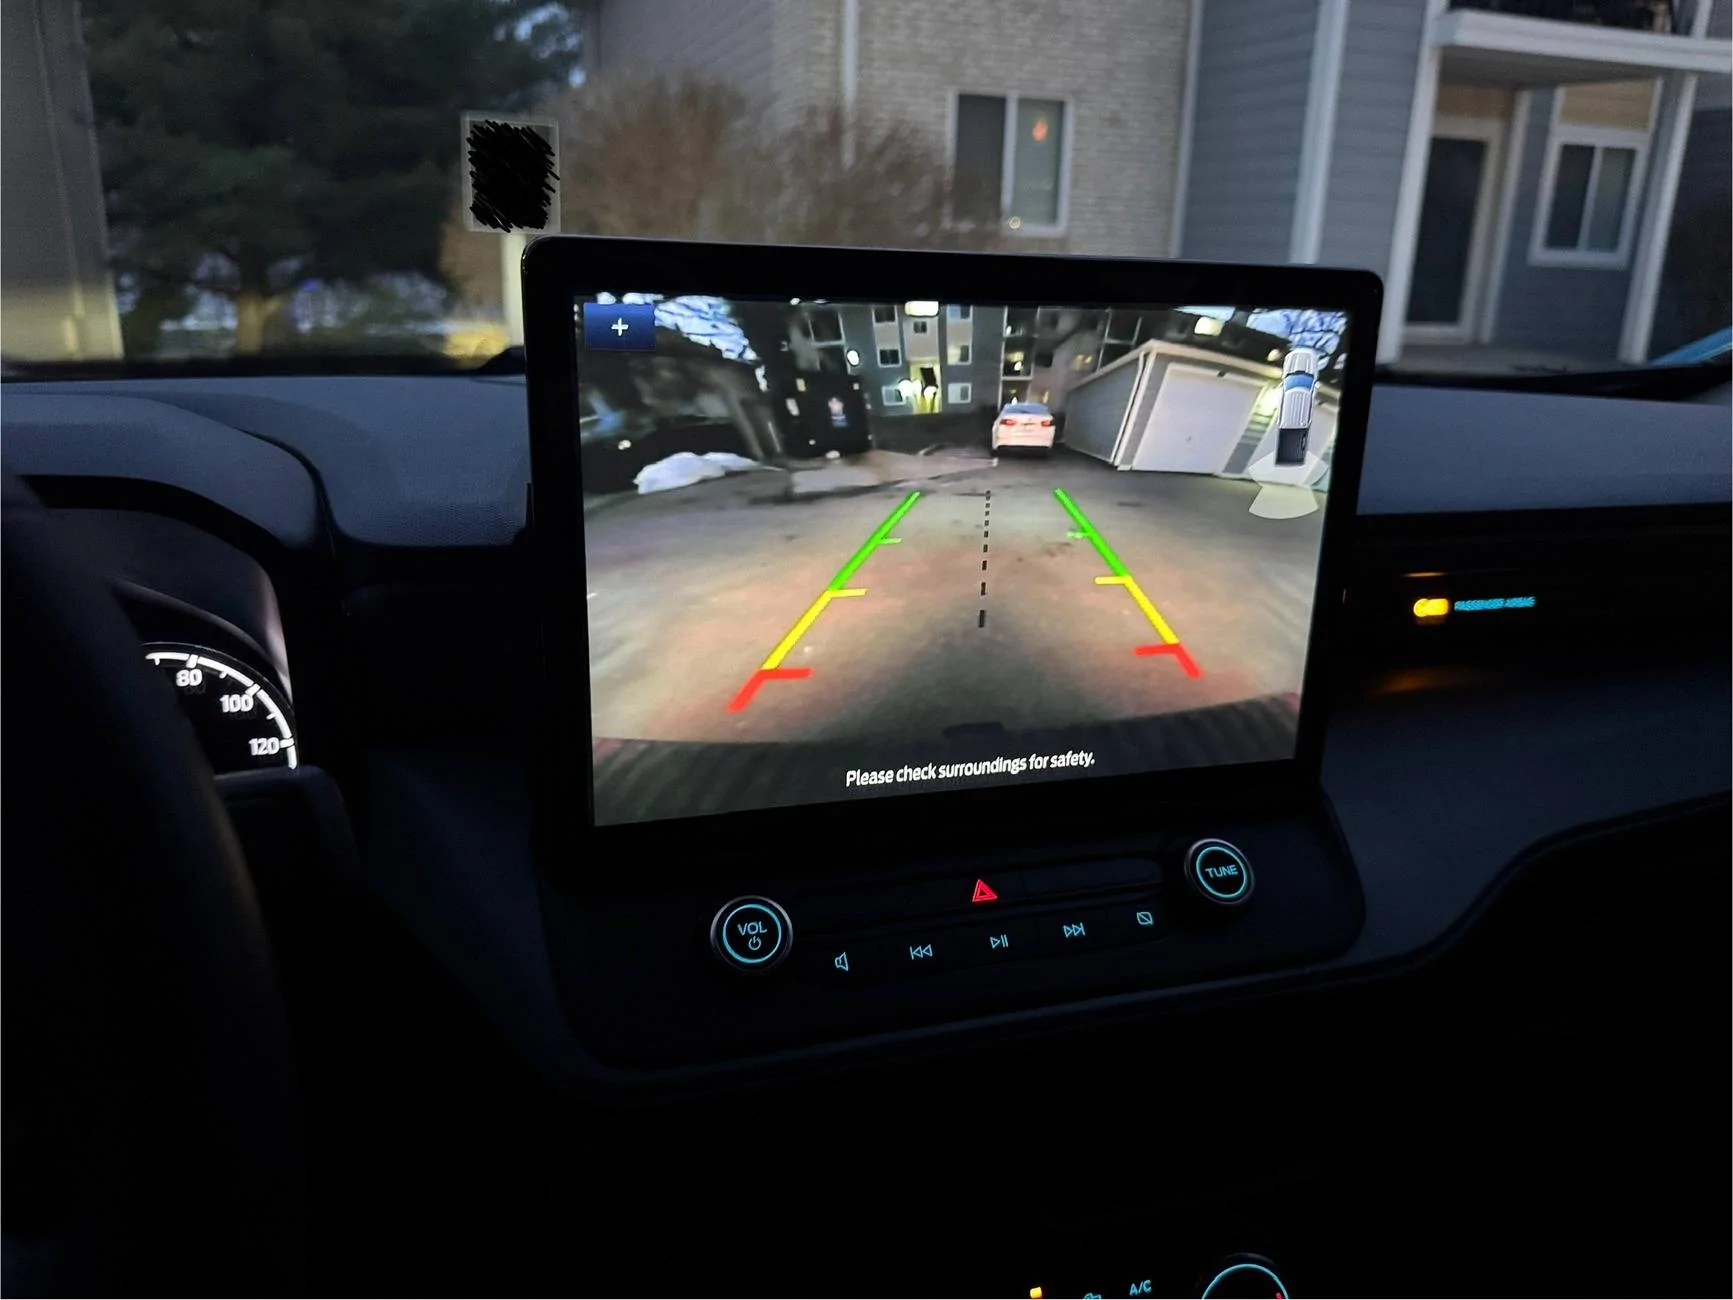
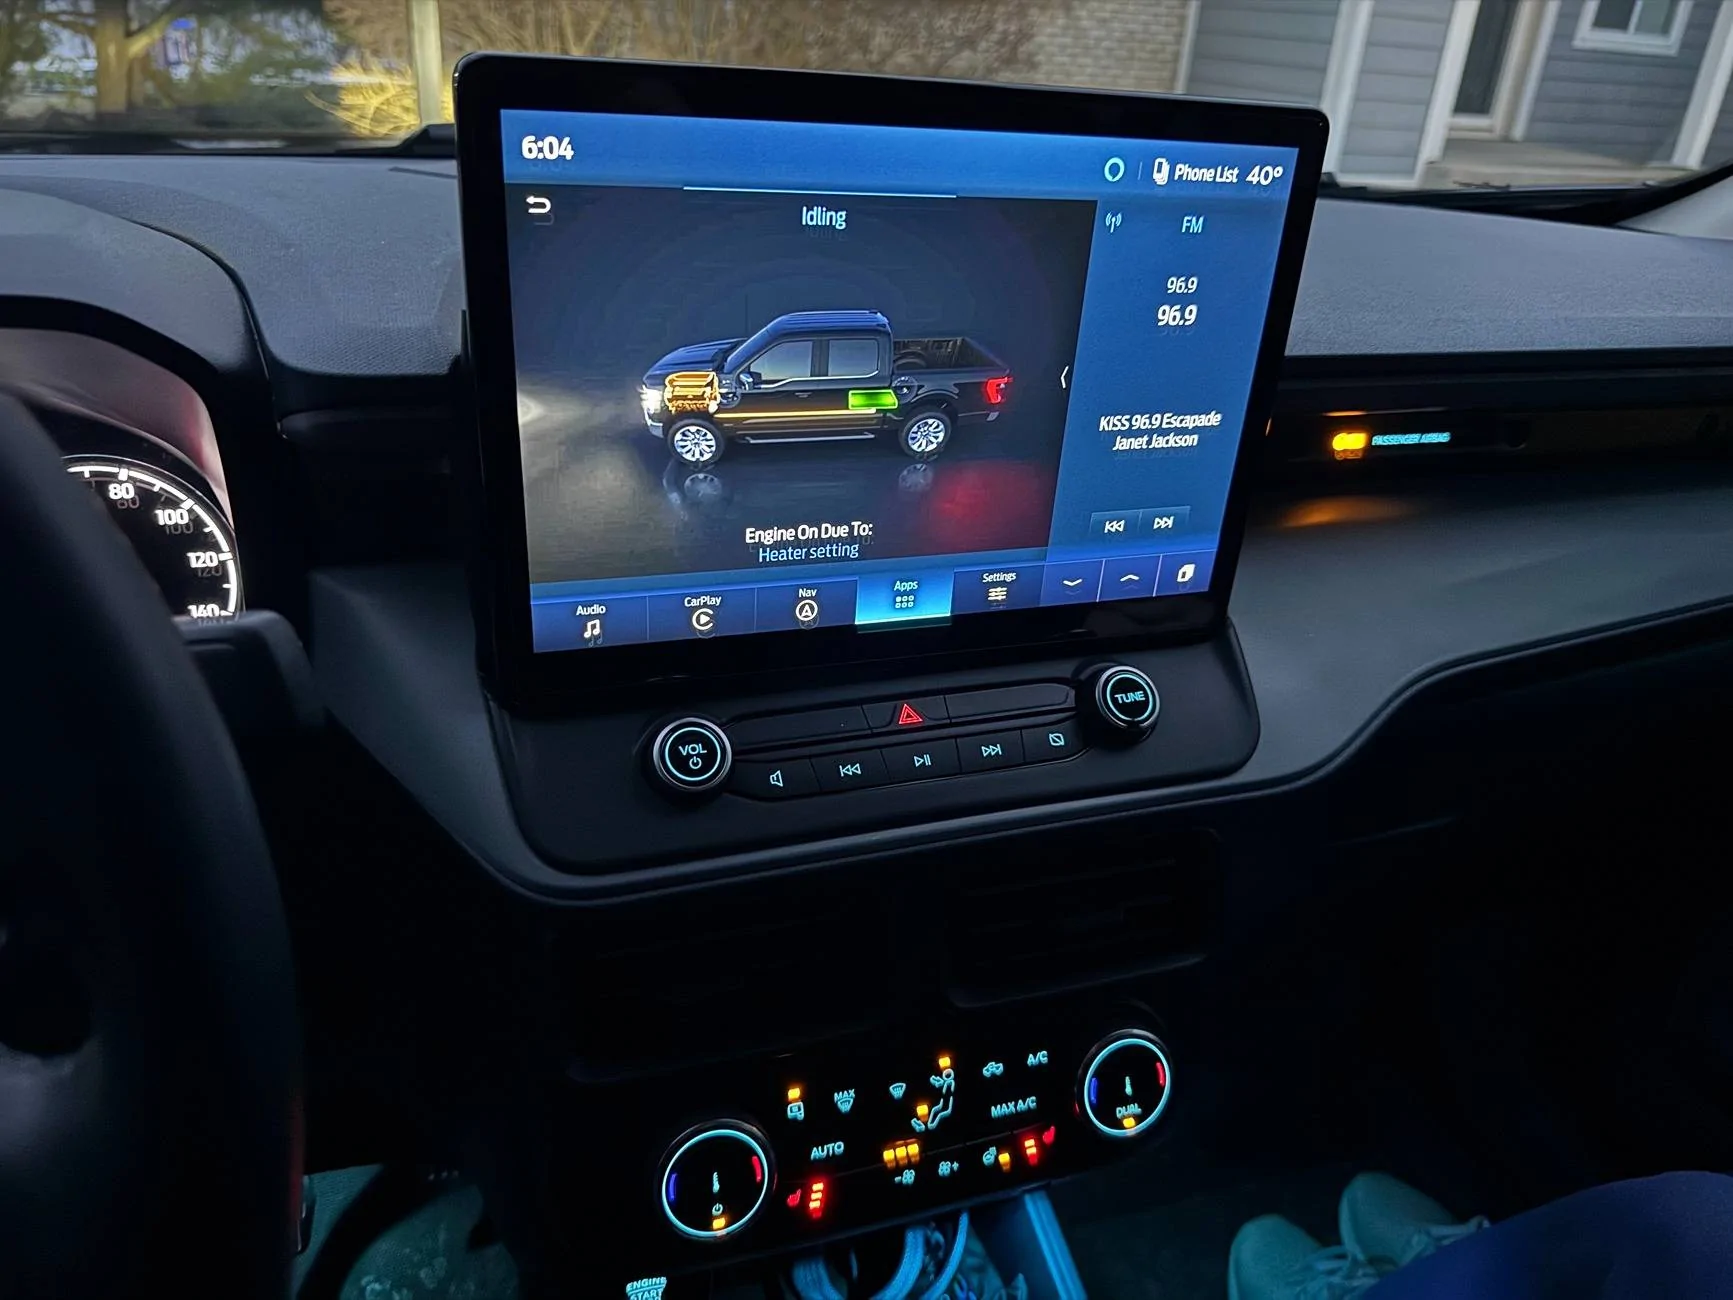
It looks great!
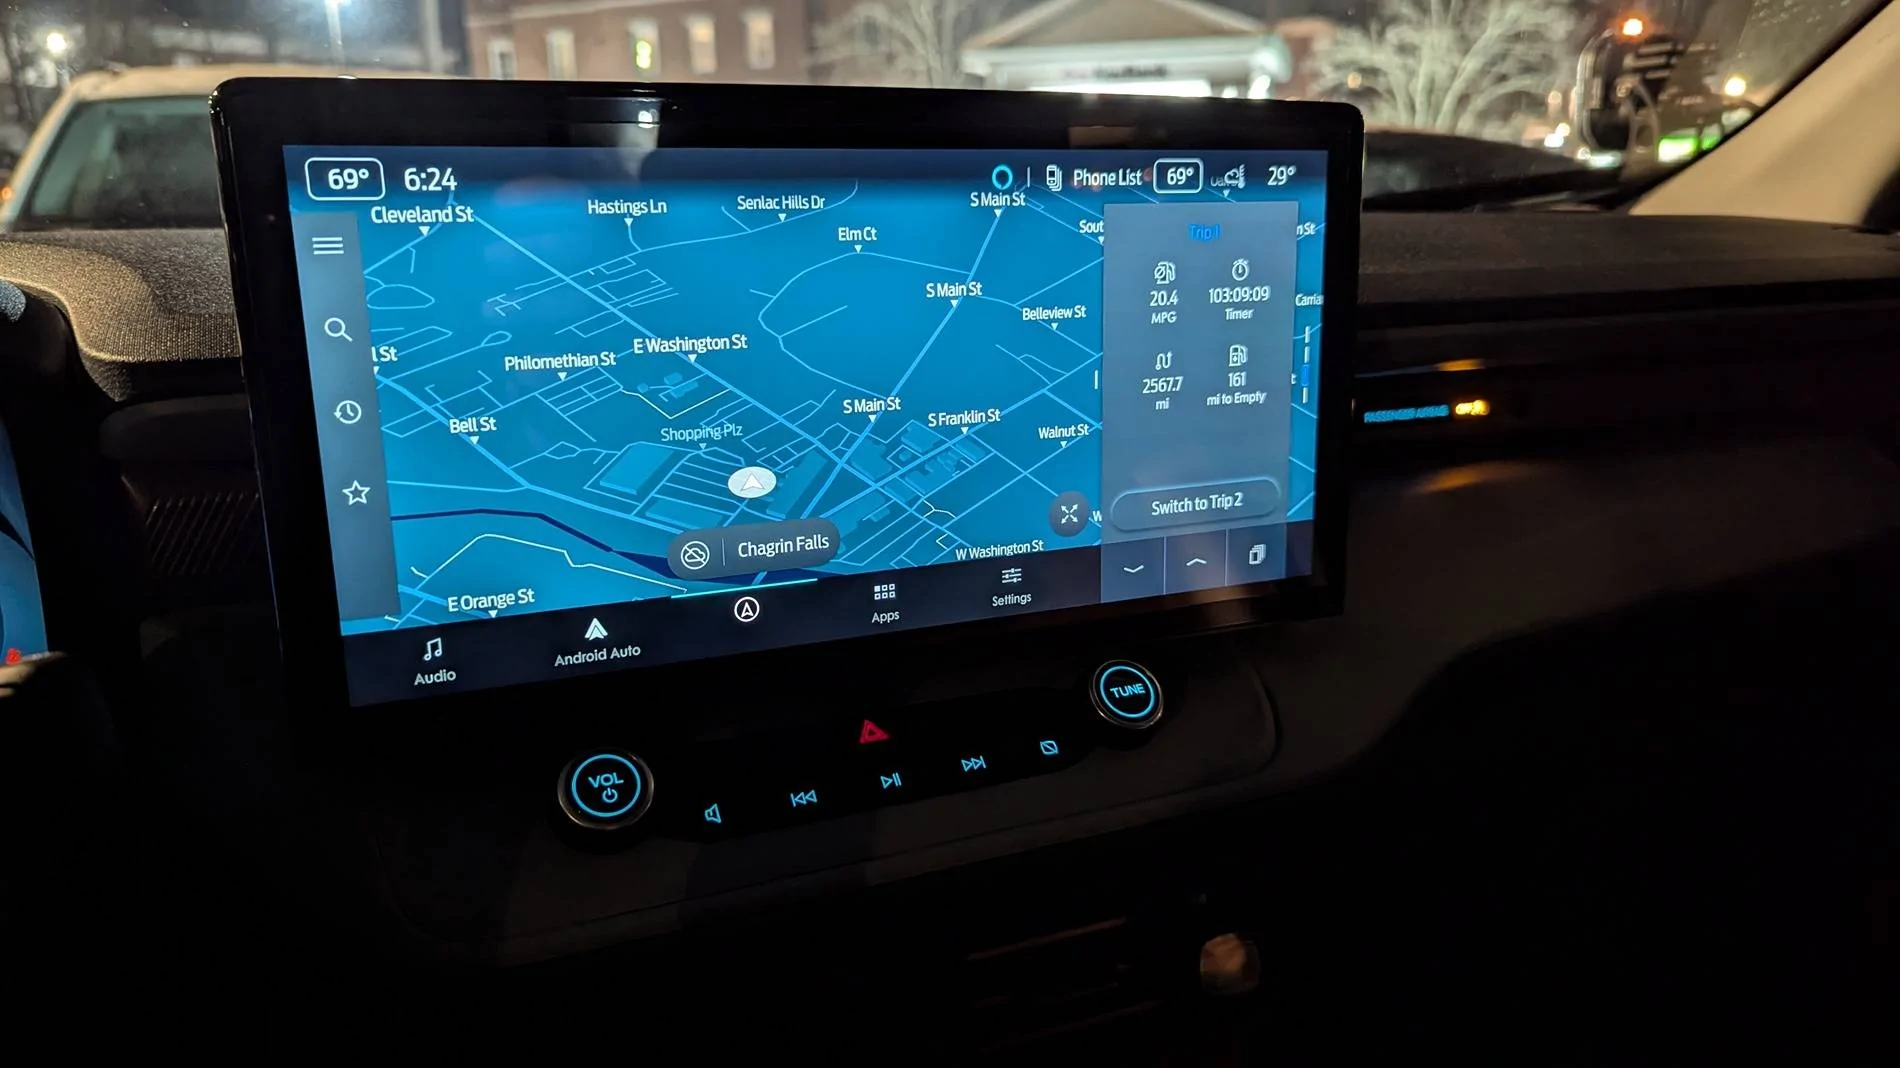
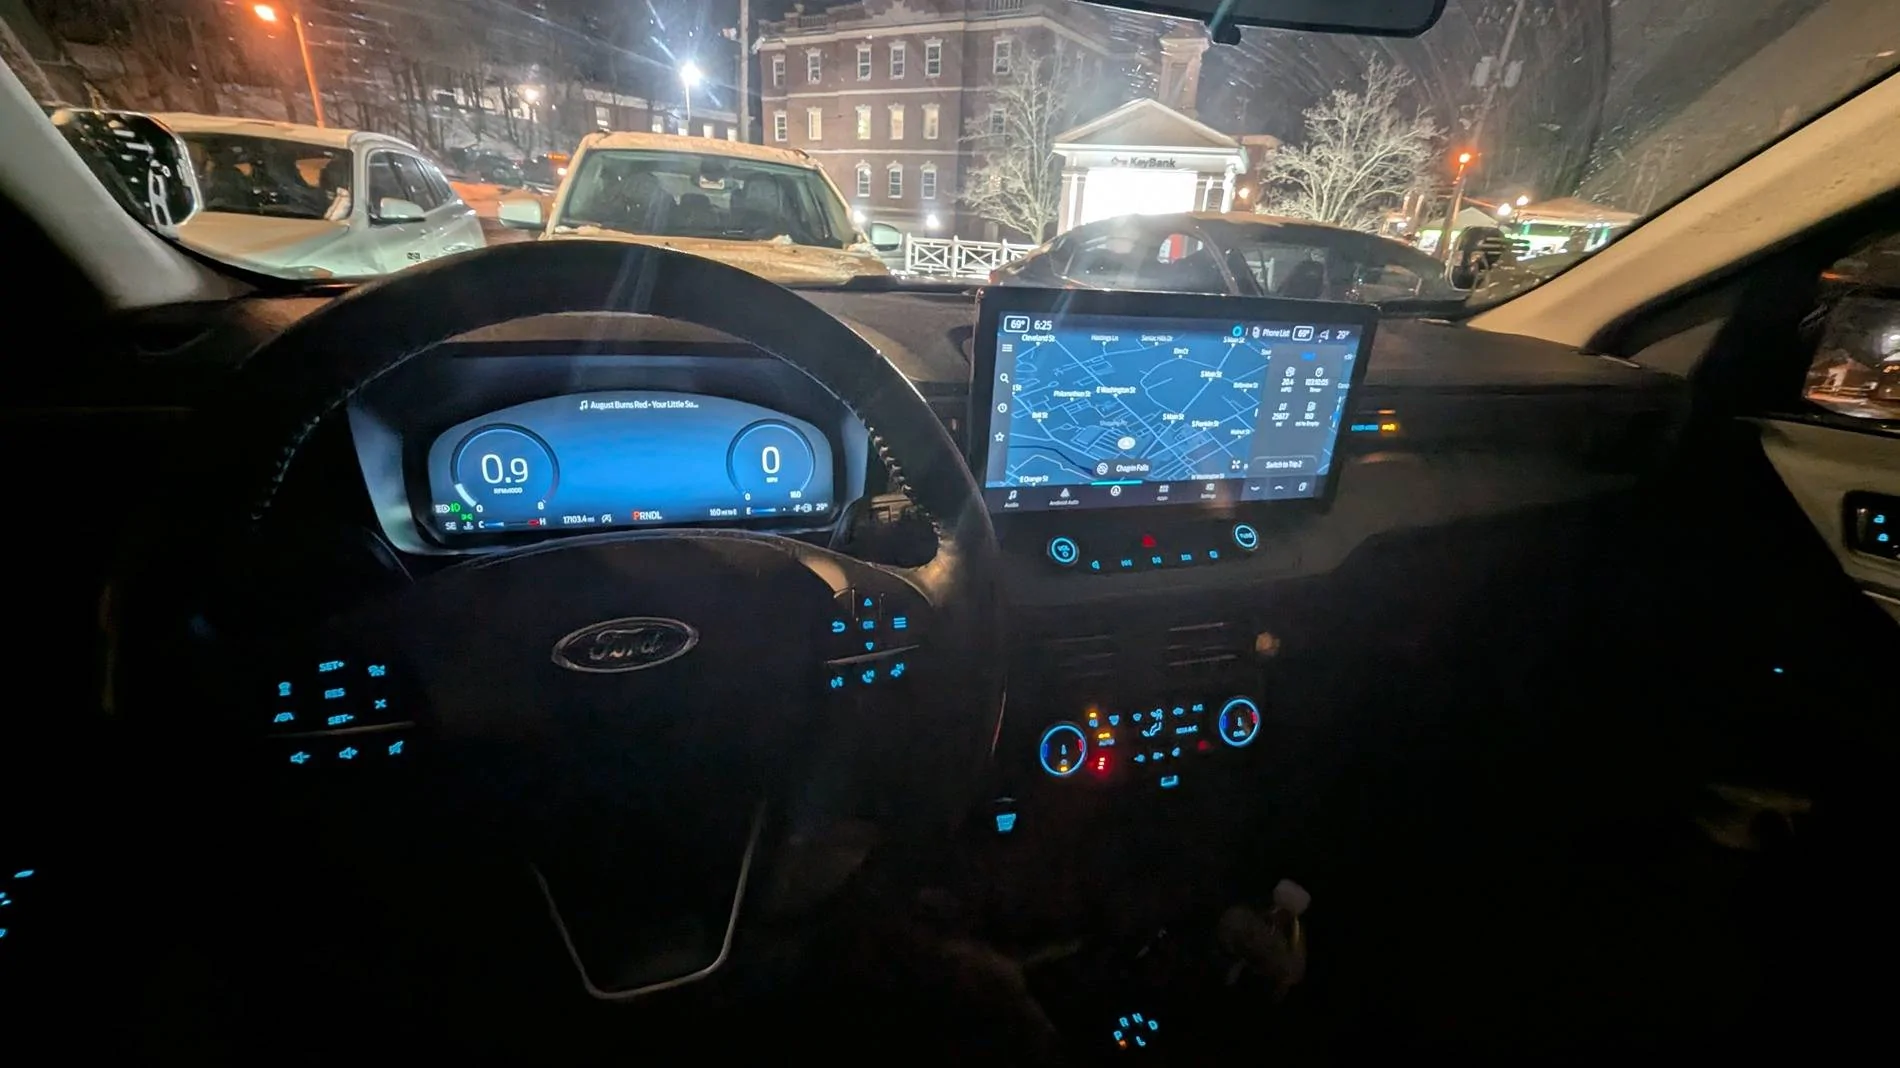
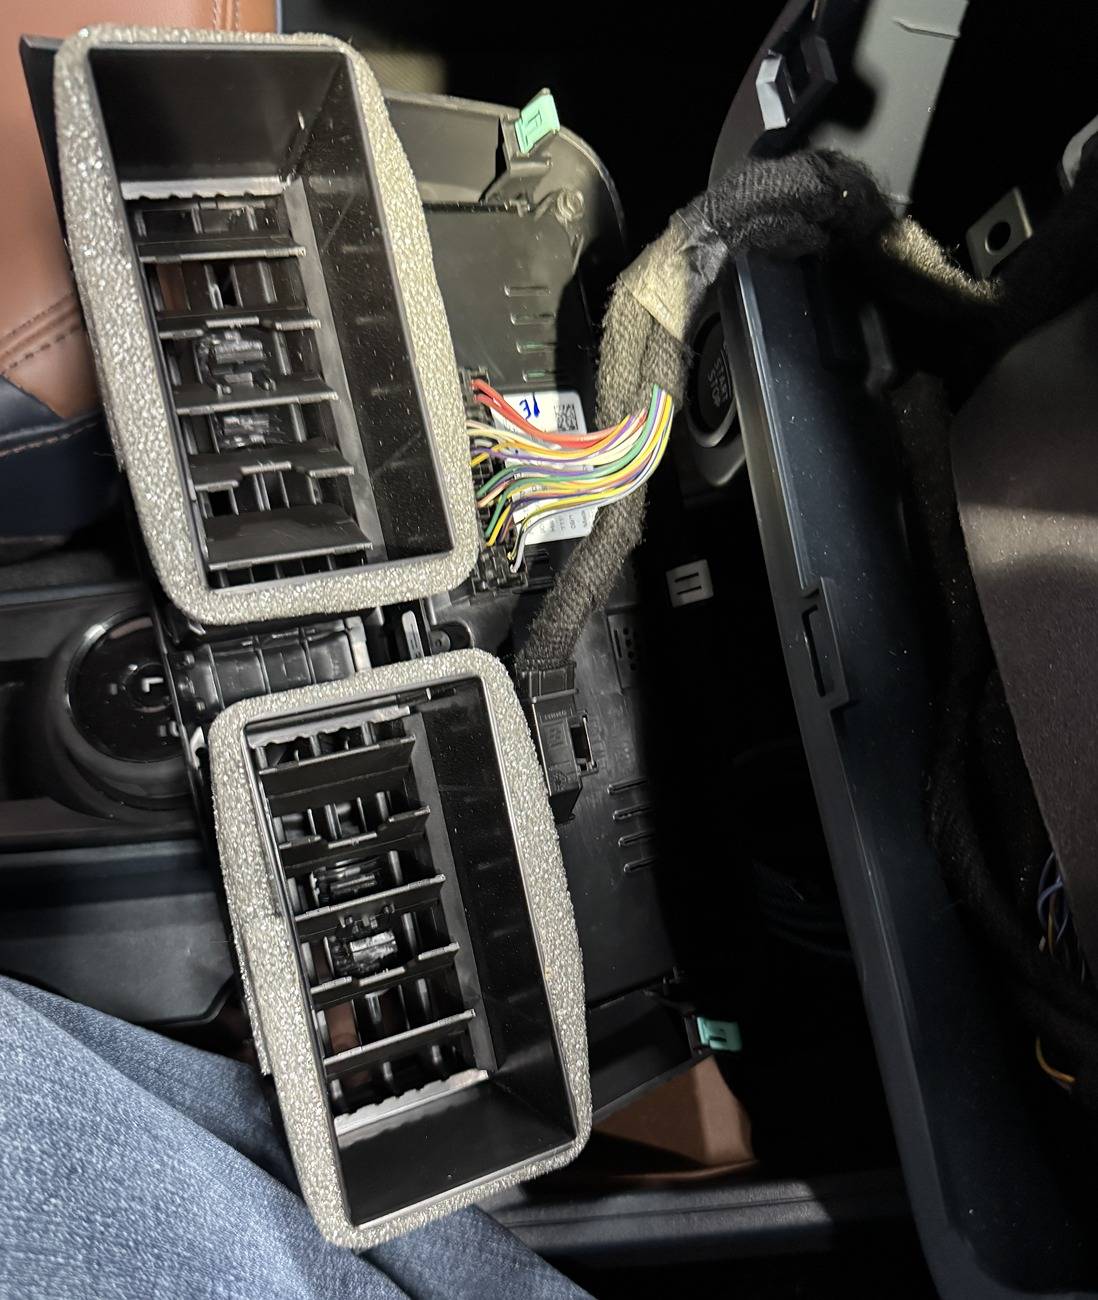
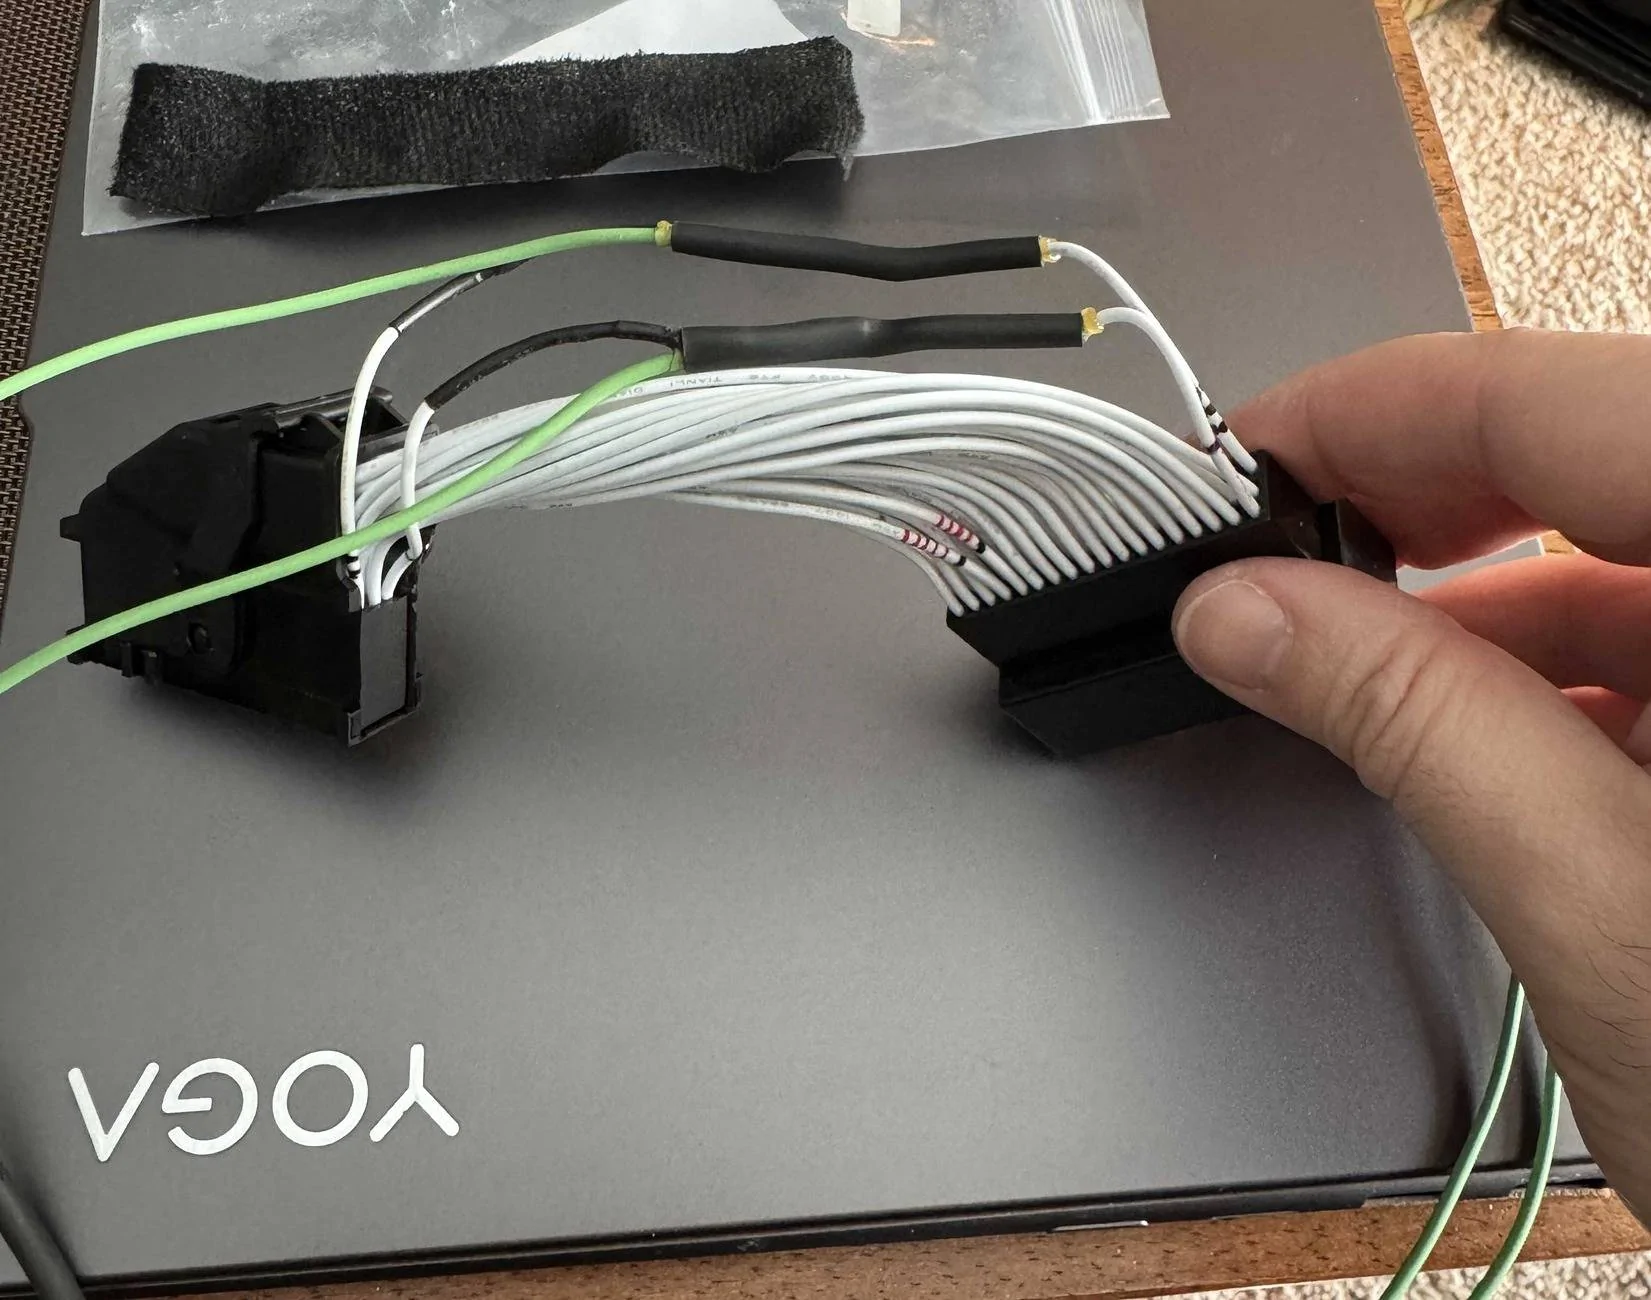
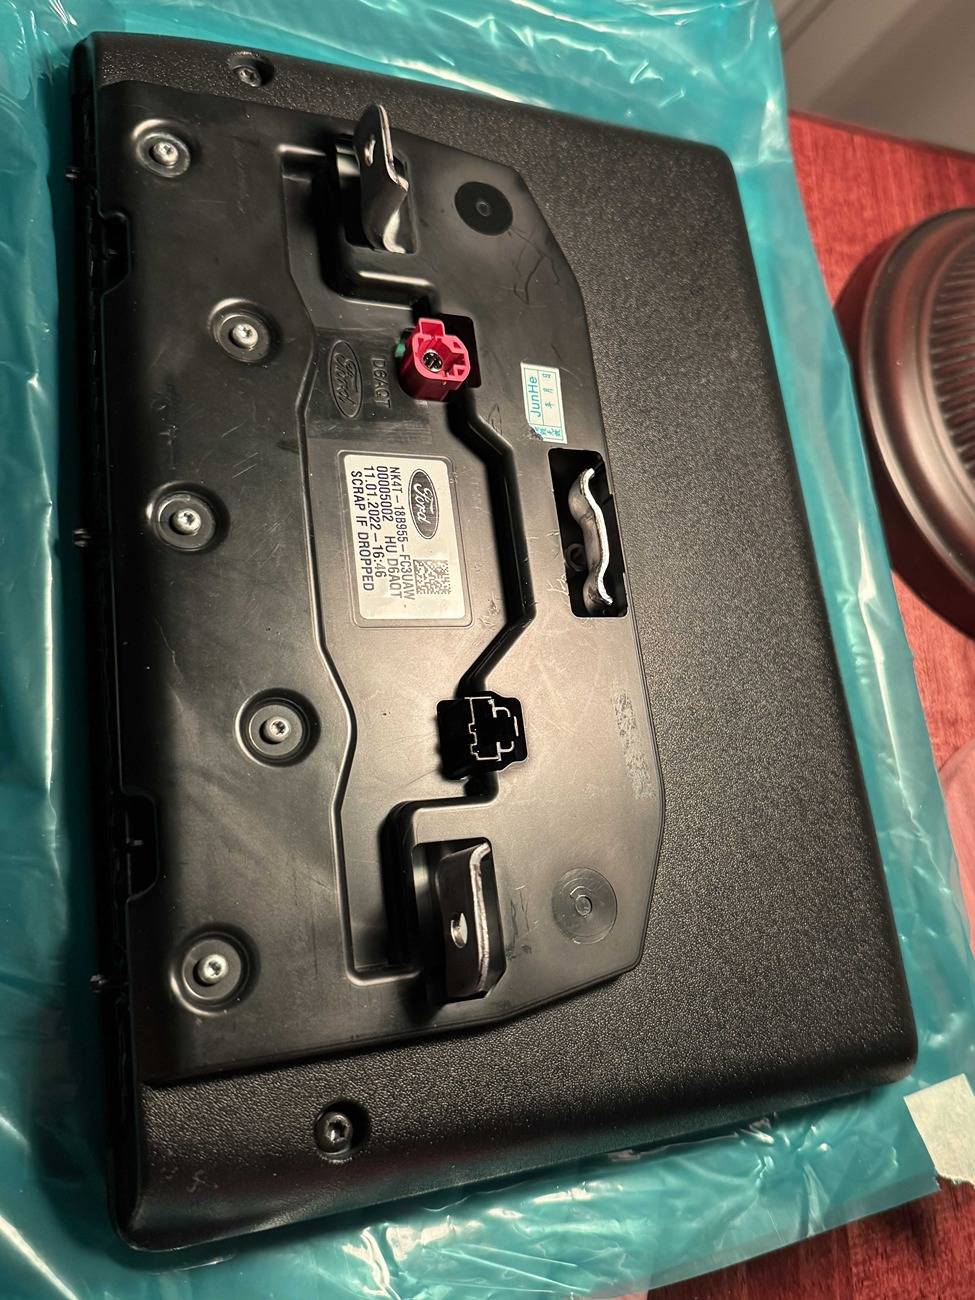
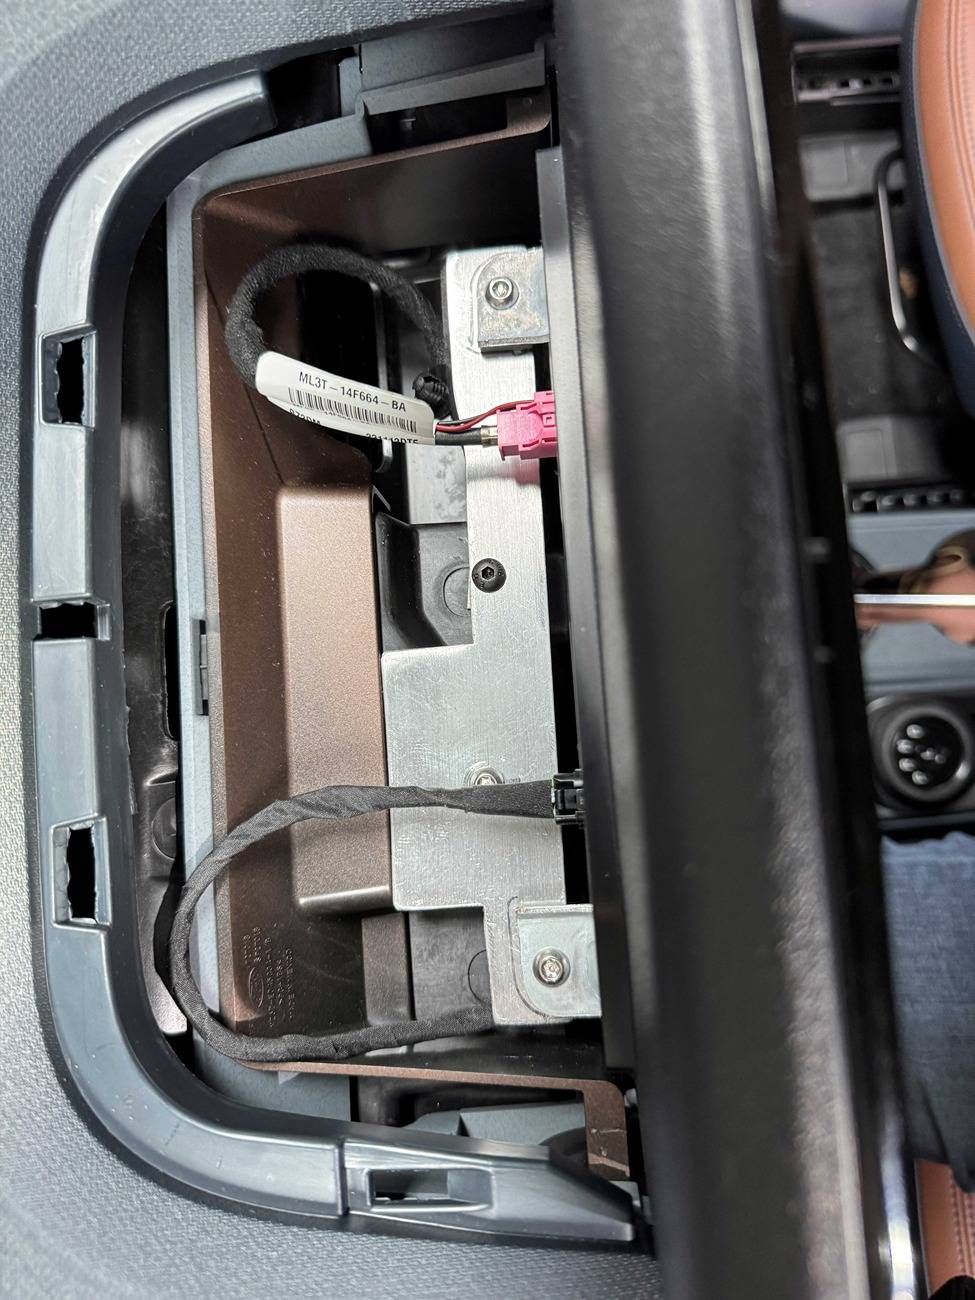
I bought an Explorer 2022 cluster that I haven't installed yet. Did you have to change anything in the configuration to get the trips ?
Sponsored


")