- Thread starter
- #1
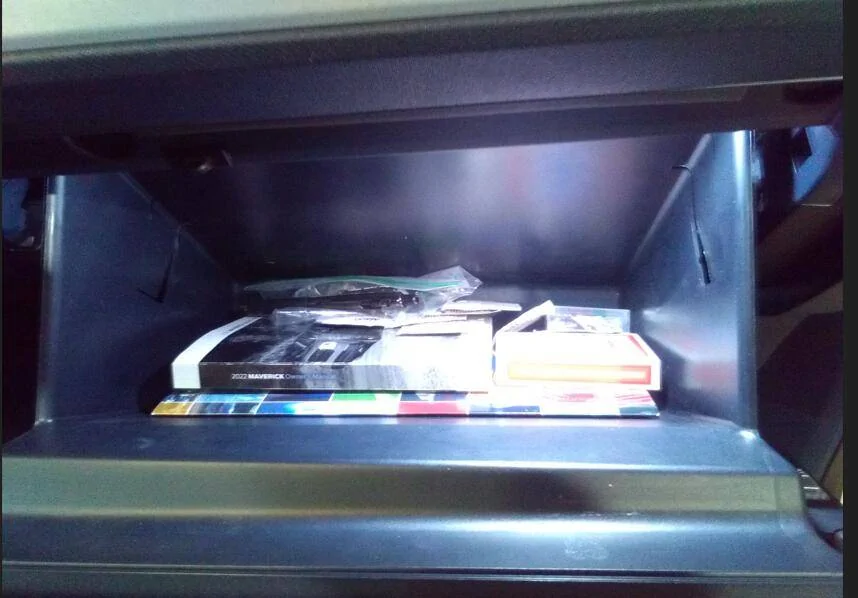
My wife was digging around in the unlit glove box and asked "is there a light?". I briefly thought about a battery operated stick-on but I wanted something better so I went looking. Sorry I don't have 'in progress' pictures. It just wasn't something I thought to do at the time. I will explain it the best I can.
I bought a KIA glove box wiring and switch from Walmart and added a brighter light from Amazon.
https://www.walmart.com/ip/Car-Glov...Ix35-Tucson-Sundries-Box-Lighting/10966368452
https://www.amazon.com/dp/B09BKGXKRD?ref=ppx_yo2ov_dt_b_fed_asin_title
To make things easier, I removed the glove box and it's frame from the truck. The Torx nuts are long and have a fine thread, they also make an odd 'crunchy' sound when I unscrewed them. Anyway. . .
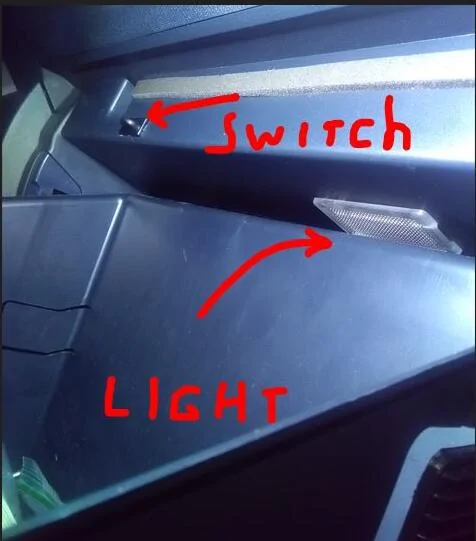
Once I got the frame out, I looked for how to place the holes for the light and the switch. I noticed that the dash had 'dibs' on the forward part of the upper shelf I wanted to use, which reduced the amount of space I could use. So, I drew a line on that shelf connecting the back of the top two mounts to represent that part of the dash that hangs down and found I had ample room for the light. Be careful when cutting because little nicks will be visible if the light or switch cannot cover them. Also cut small and test fit each cut, you will get there quicker than you think and a tight fit is better than a rattle.
I used a Dremel tool and a box opener to cut out the holes after making experimental cuts in cereal boxes to get the fit perfect. The Dremel to make the initial through cuts and the box knife to trim to final size.
Mounting the switch was trickier (it is smaller) and I found I had to mount it close to the left hand top mount so it had ample depth to not interfere with that part of the dash that hangs down because that would be highly visible. I also mounted it low and very close to the shelf.
The switch is 'keyed', that is, it has little wings molded into it. To make it easier, and minimize my chances of screwing up the face plastic, I trimmed off those 'wings' so I only had a small rectangle to cut out.
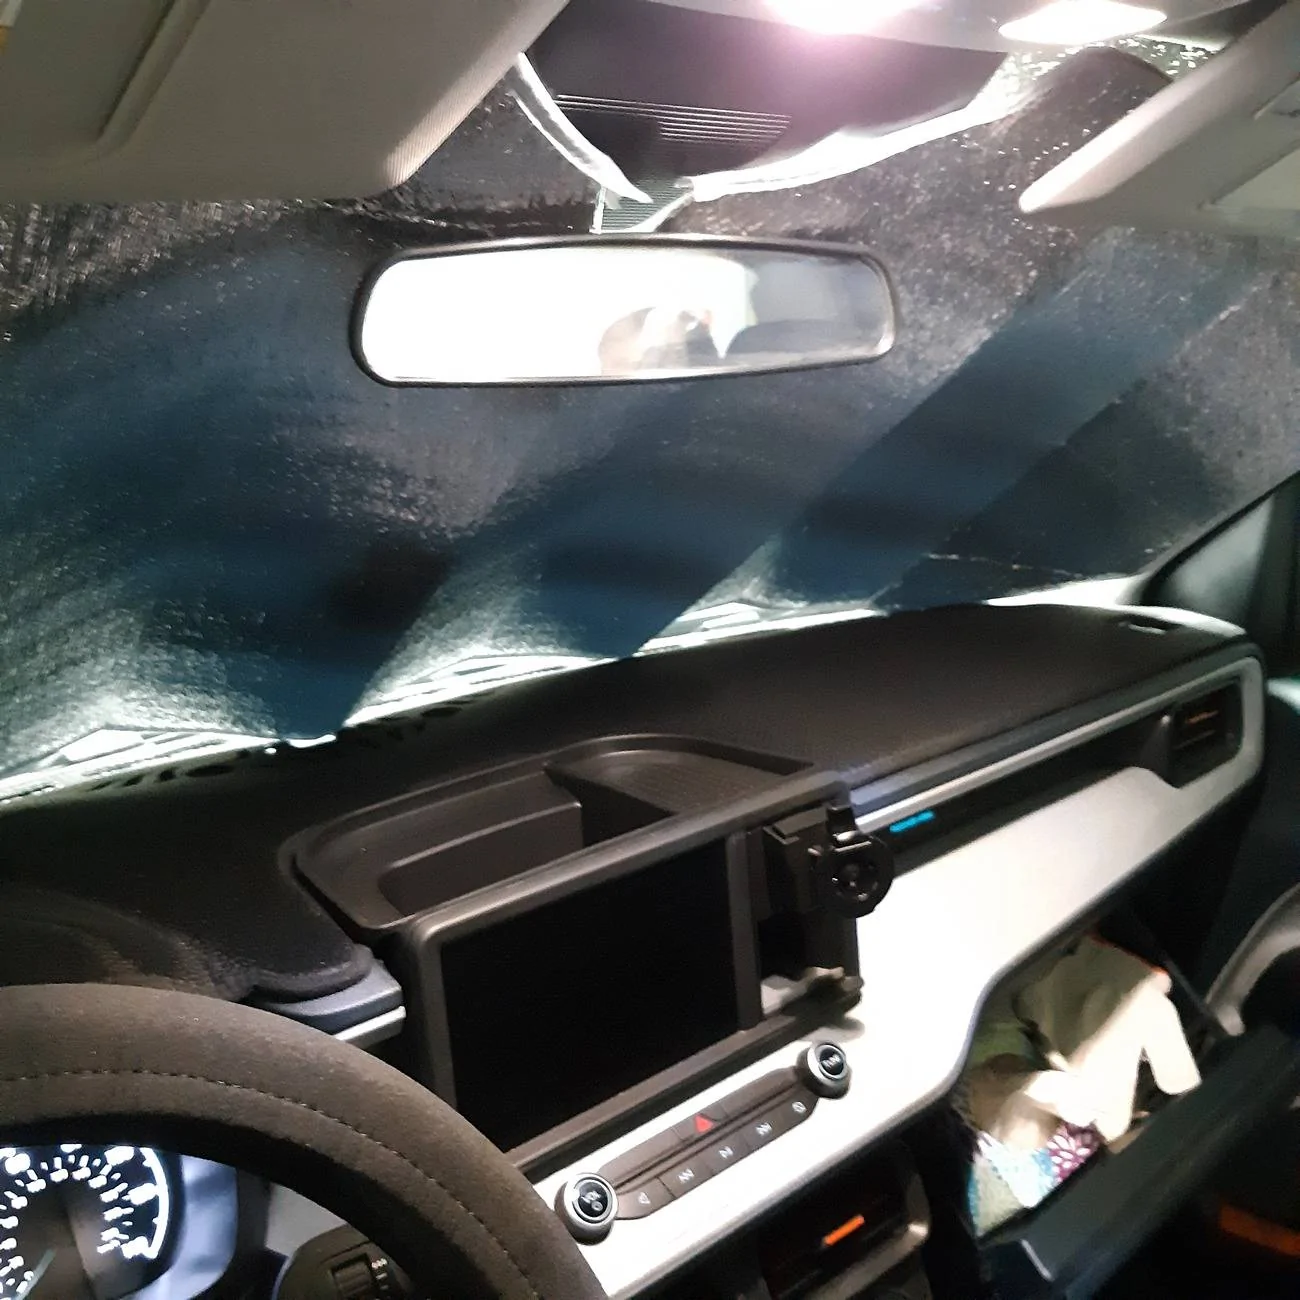
The power leads from the wiring harness for the glove box light, were not long enough so I extended them by using wires with insulated spade connectors, routed them to the BCM and secured them with zip ties to the wiring already there. One wire went to the ground stud of the BCM and the other tied into the same wire I used to power the auto dimming mirror that I installed (fuse #3).
I bought a KIA glove box wiring and switch from Walmart and added a brighter light from Amazon.
https://www.walmart.com/ip/Car-Glov...Ix35-Tucson-Sundries-Box-Lighting/10966368452
https://www.amazon.com/dp/B09BKGXKRD?ref=ppx_yo2ov_dt_b_fed_asin_title
To make things easier, I removed the glove box and it's frame from the truck. The Torx nuts are long and have a fine thread, they also make an odd 'crunchy' sound when I unscrewed them. Anyway. . .
Once I got the frame out, I looked for how to place the holes for the light and the switch. I noticed that the dash had 'dibs' on the forward part of the upper shelf I wanted to use, which reduced the amount of space I could use. So, I drew a line on that shelf connecting the back of the top two mounts to represent that part of the dash that hangs down and found I had ample room for the light. Be careful when cutting because little nicks will be visible if the light or switch cannot cover them. Also cut small and test fit each cut, you will get there quicker than you think and a tight fit is better than a rattle.
I used a Dremel tool and a box opener to cut out the holes after making experimental cuts in cereal boxes to get the fit perfect. The Dremel to make the initial through cuts and the box knife to trim to final size.
Mounting the switch was trickier (it is smaller) and I found I had to mount it close to the left hand top mount so it had ample depth to not interfere with that part of the dash that hangs down because that would be highly visible. I also mounted it low and very close to the shelf.
The switch is 'keyed', that is, it has little wings molded into it. To make it easier, and minimize my chances of screwing up the face plastic, I trimmed off those 'wings' so I only had a small rectangle to cut out.
The power leads from the wiring harness for the glove box light, were not long enough so I extended them by using wires with insulated spade connectors, routed them to the BCM and secured them with zip ties to the wiring already there. One wire went to the ground stud of the BCM and the other tied into the same wire I used to power the auto dimming mirror that I installed (fuse #3).
Sponsored
 Nice job.