
- First Name
- Ryan
- Joined
- Dec 22, 2021
- Threads
- 20
- Messages
- 173
- Reaction score
- 590
- Location
- Nova Scotia, Canada
- Vehicle(s)
- 2016 Mazda 3
- Engine
- 2.0L EcoBoost
- Thread starter
- #1
Finished my install of an upgraded sound system in my Maverick. There’s plenty of threads in here showing door panel removal and trim removal and such so I won’t go into that, but I will add that I hate all the damn clips holding everything in. I broke a few for sure, and I miss the days of just having visible screws everywhere.
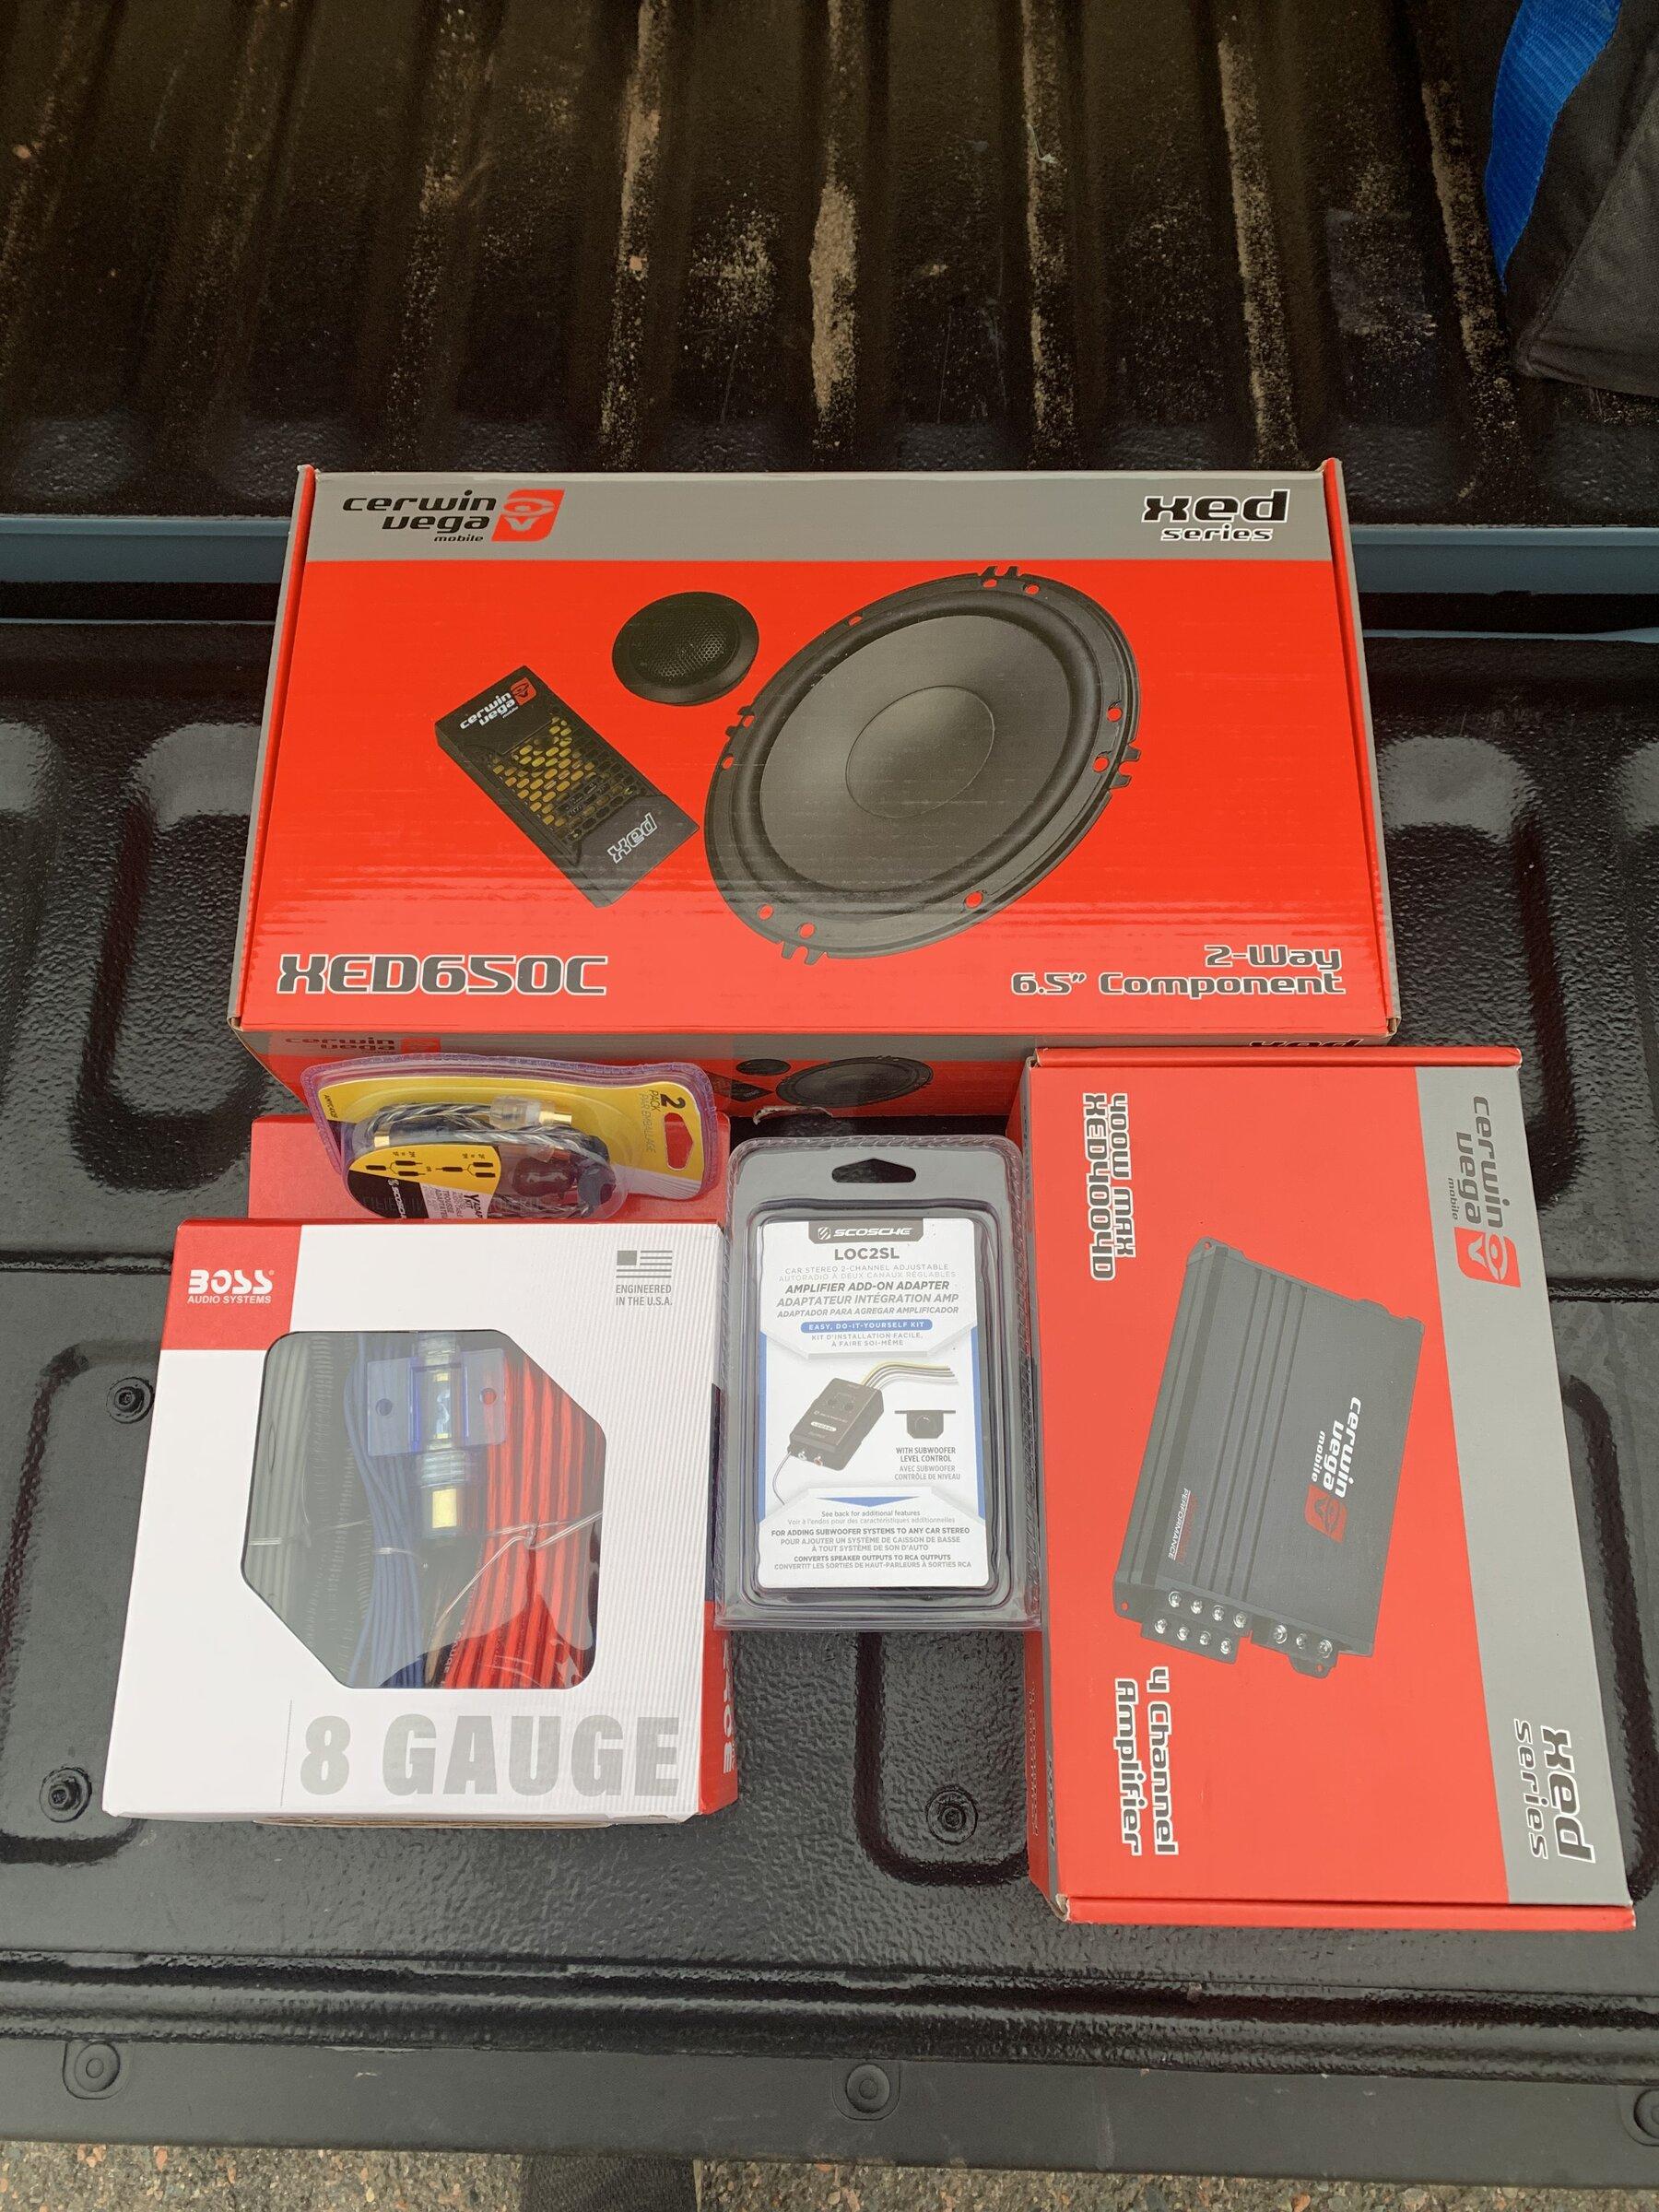
My choice of upgraded gear was based mostly on getting good quality components at a budget price. I went with a component set up front and I have it powered by an amp, there’s just not enough power off the head unit to take advantage of any speaker upgrades up front. I did not upgrade the rear speakers because I can’t hear them anyway.
Scosche LOC2SL line converter with bass control. Removed this, it only lasted a year and I highly recommend not getting one of these. I ended up getting an Audiocontrol LCS2 Pro and am blown away by the improvement in sound quality. It’s not a budget device compared to other locs but it’s absolutely worth it.
Cerwin Vega XED650C 6.5” component set.
Cerwin Vega XED4004C 4 channel amplifier.
MTX TN10-4 4 ohm 10” subwoofer.
The Scosche line out converter is tucked in behind the climate controls, I tapped the front speaker signals as well as a power and ground in that area. The Scosche will send out a remote turn on signal which is handy.
RCA cables run from the line out converter up the passenger side door sill, power off the battery and the remote turn on go up the drivers side.
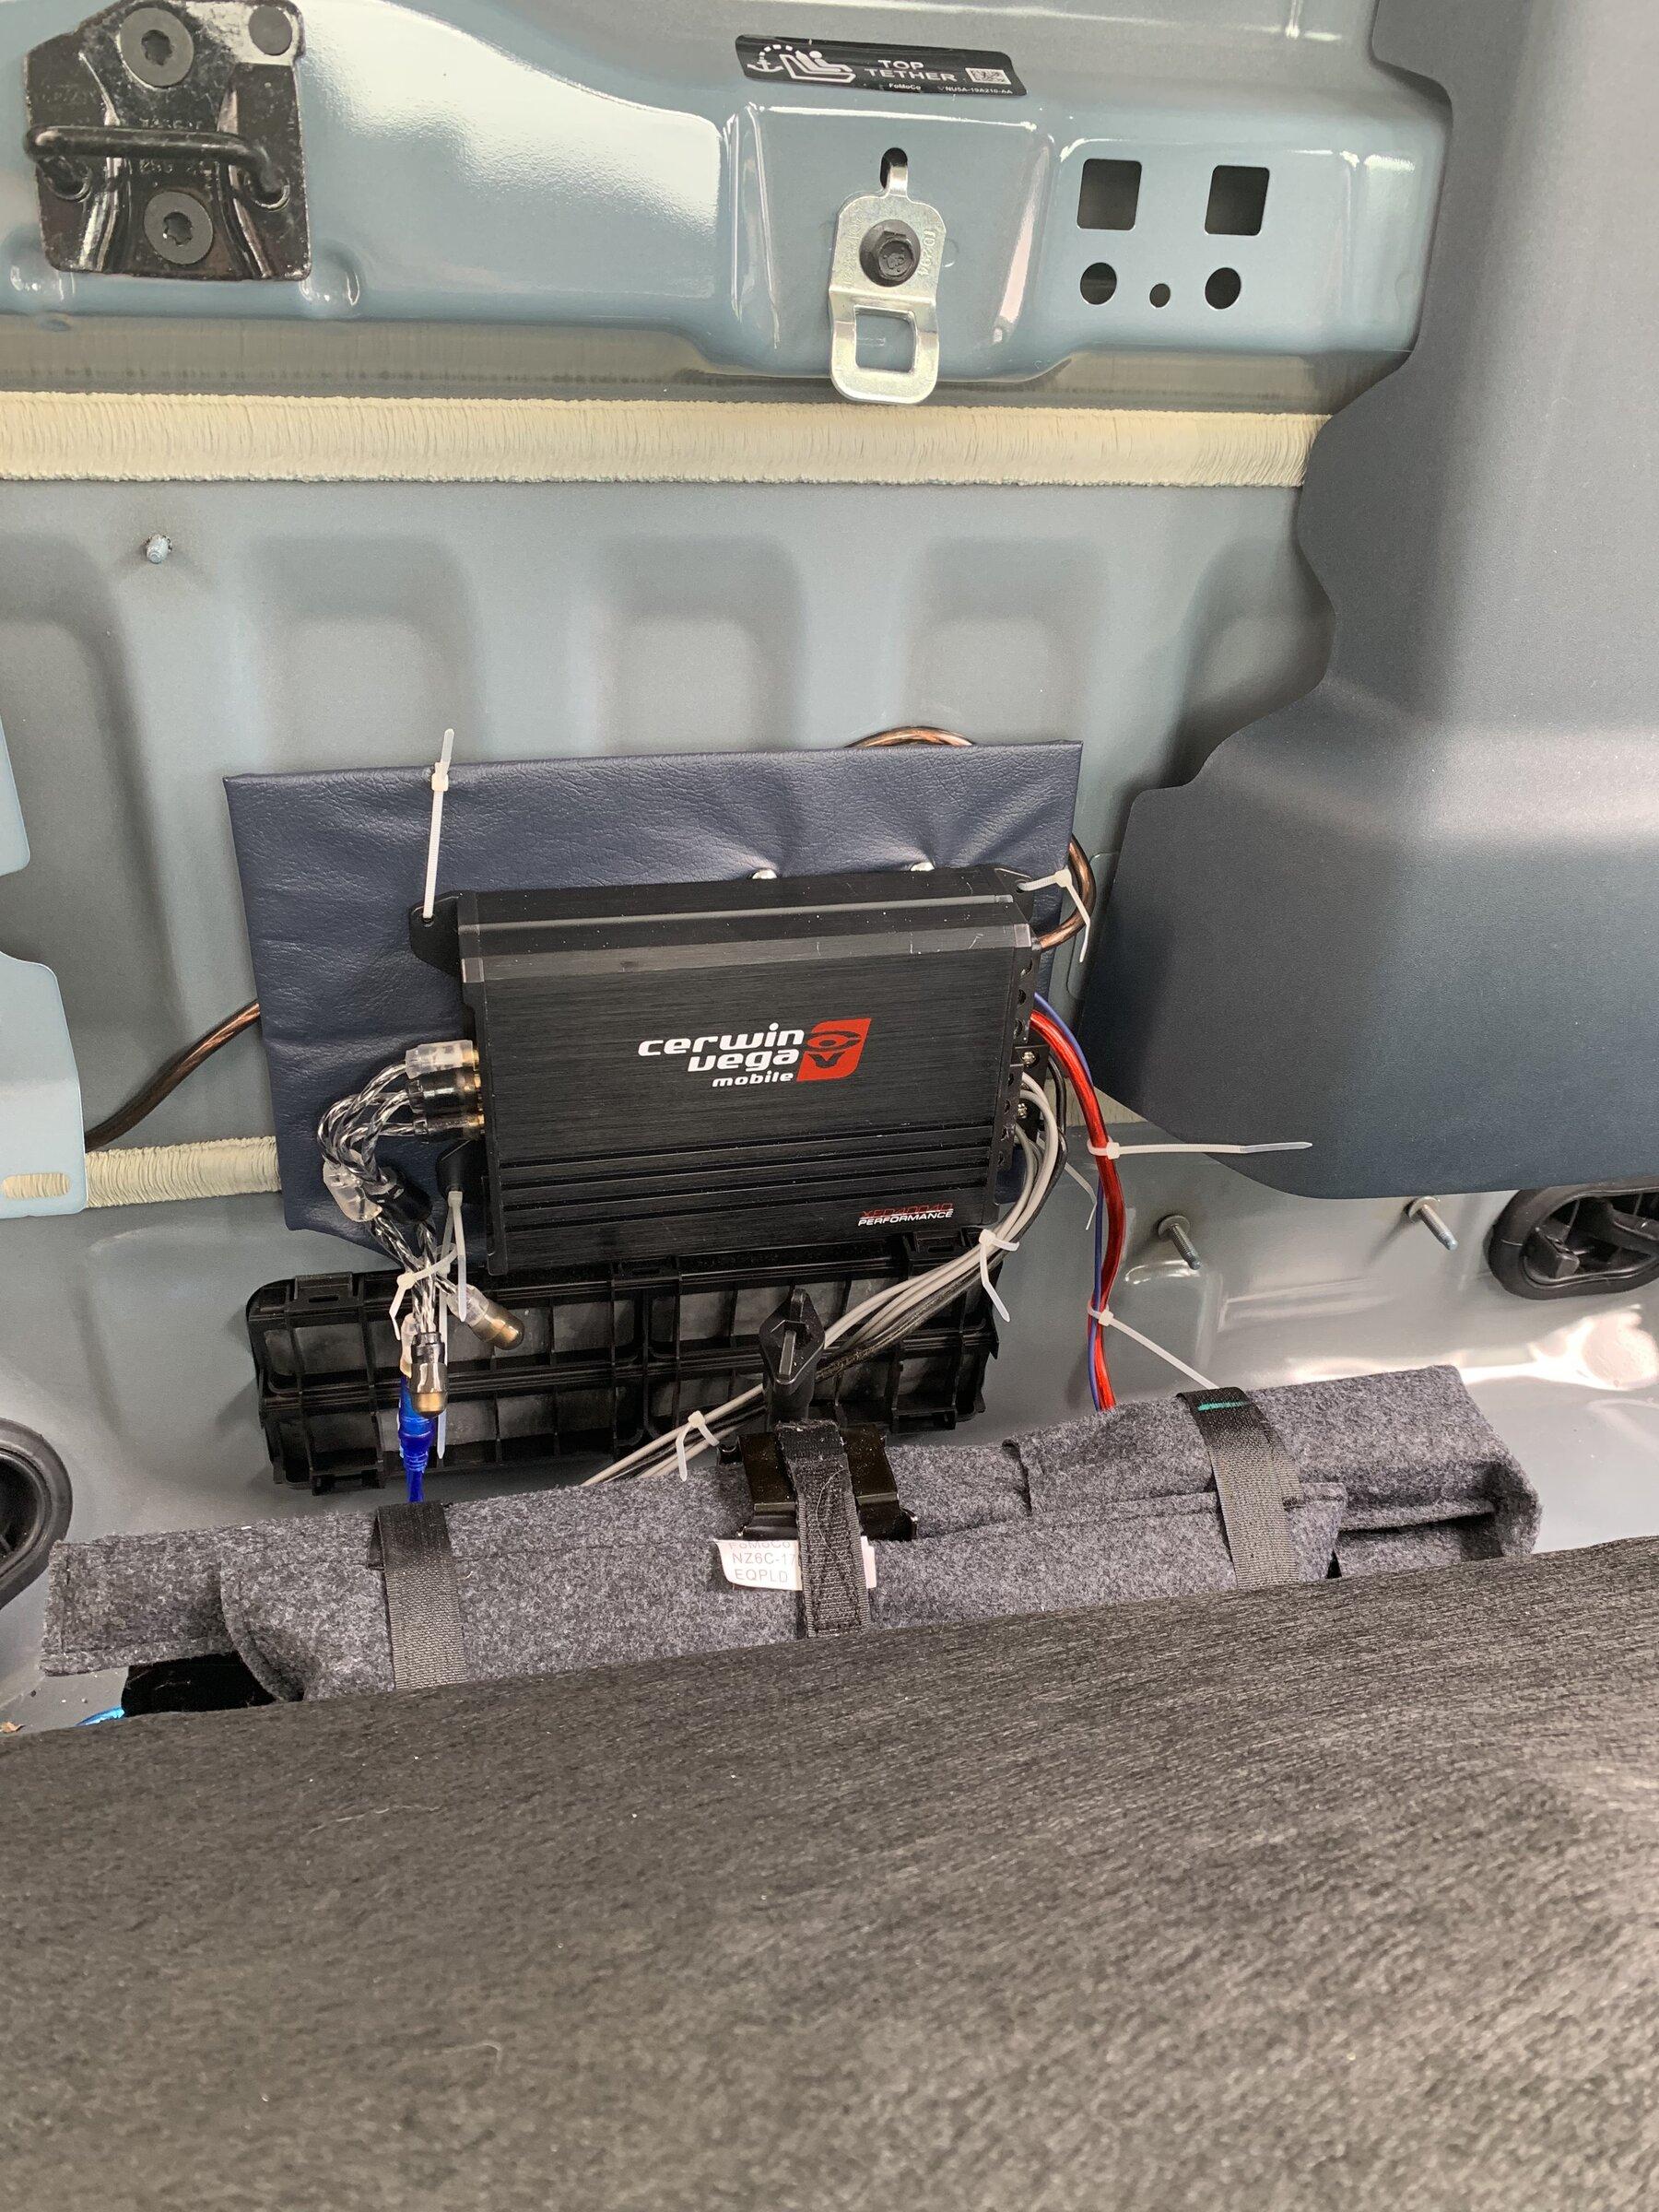
Amp is installed on an aluminum plate that’s bolted to an existing mount so no holes drilled, ground is picked up from an existing ground behind the back seat.
2 channels of the 4 channel amp are running on a high pass filter up the the front down the passenger side to the passive crossover. I could not get access to the inside of the rubber grommet that protects the wire bundle going into the door so I tapped into the existing speaker wires in each kick panel and tapped in to the other end of the speaker wire in each door.
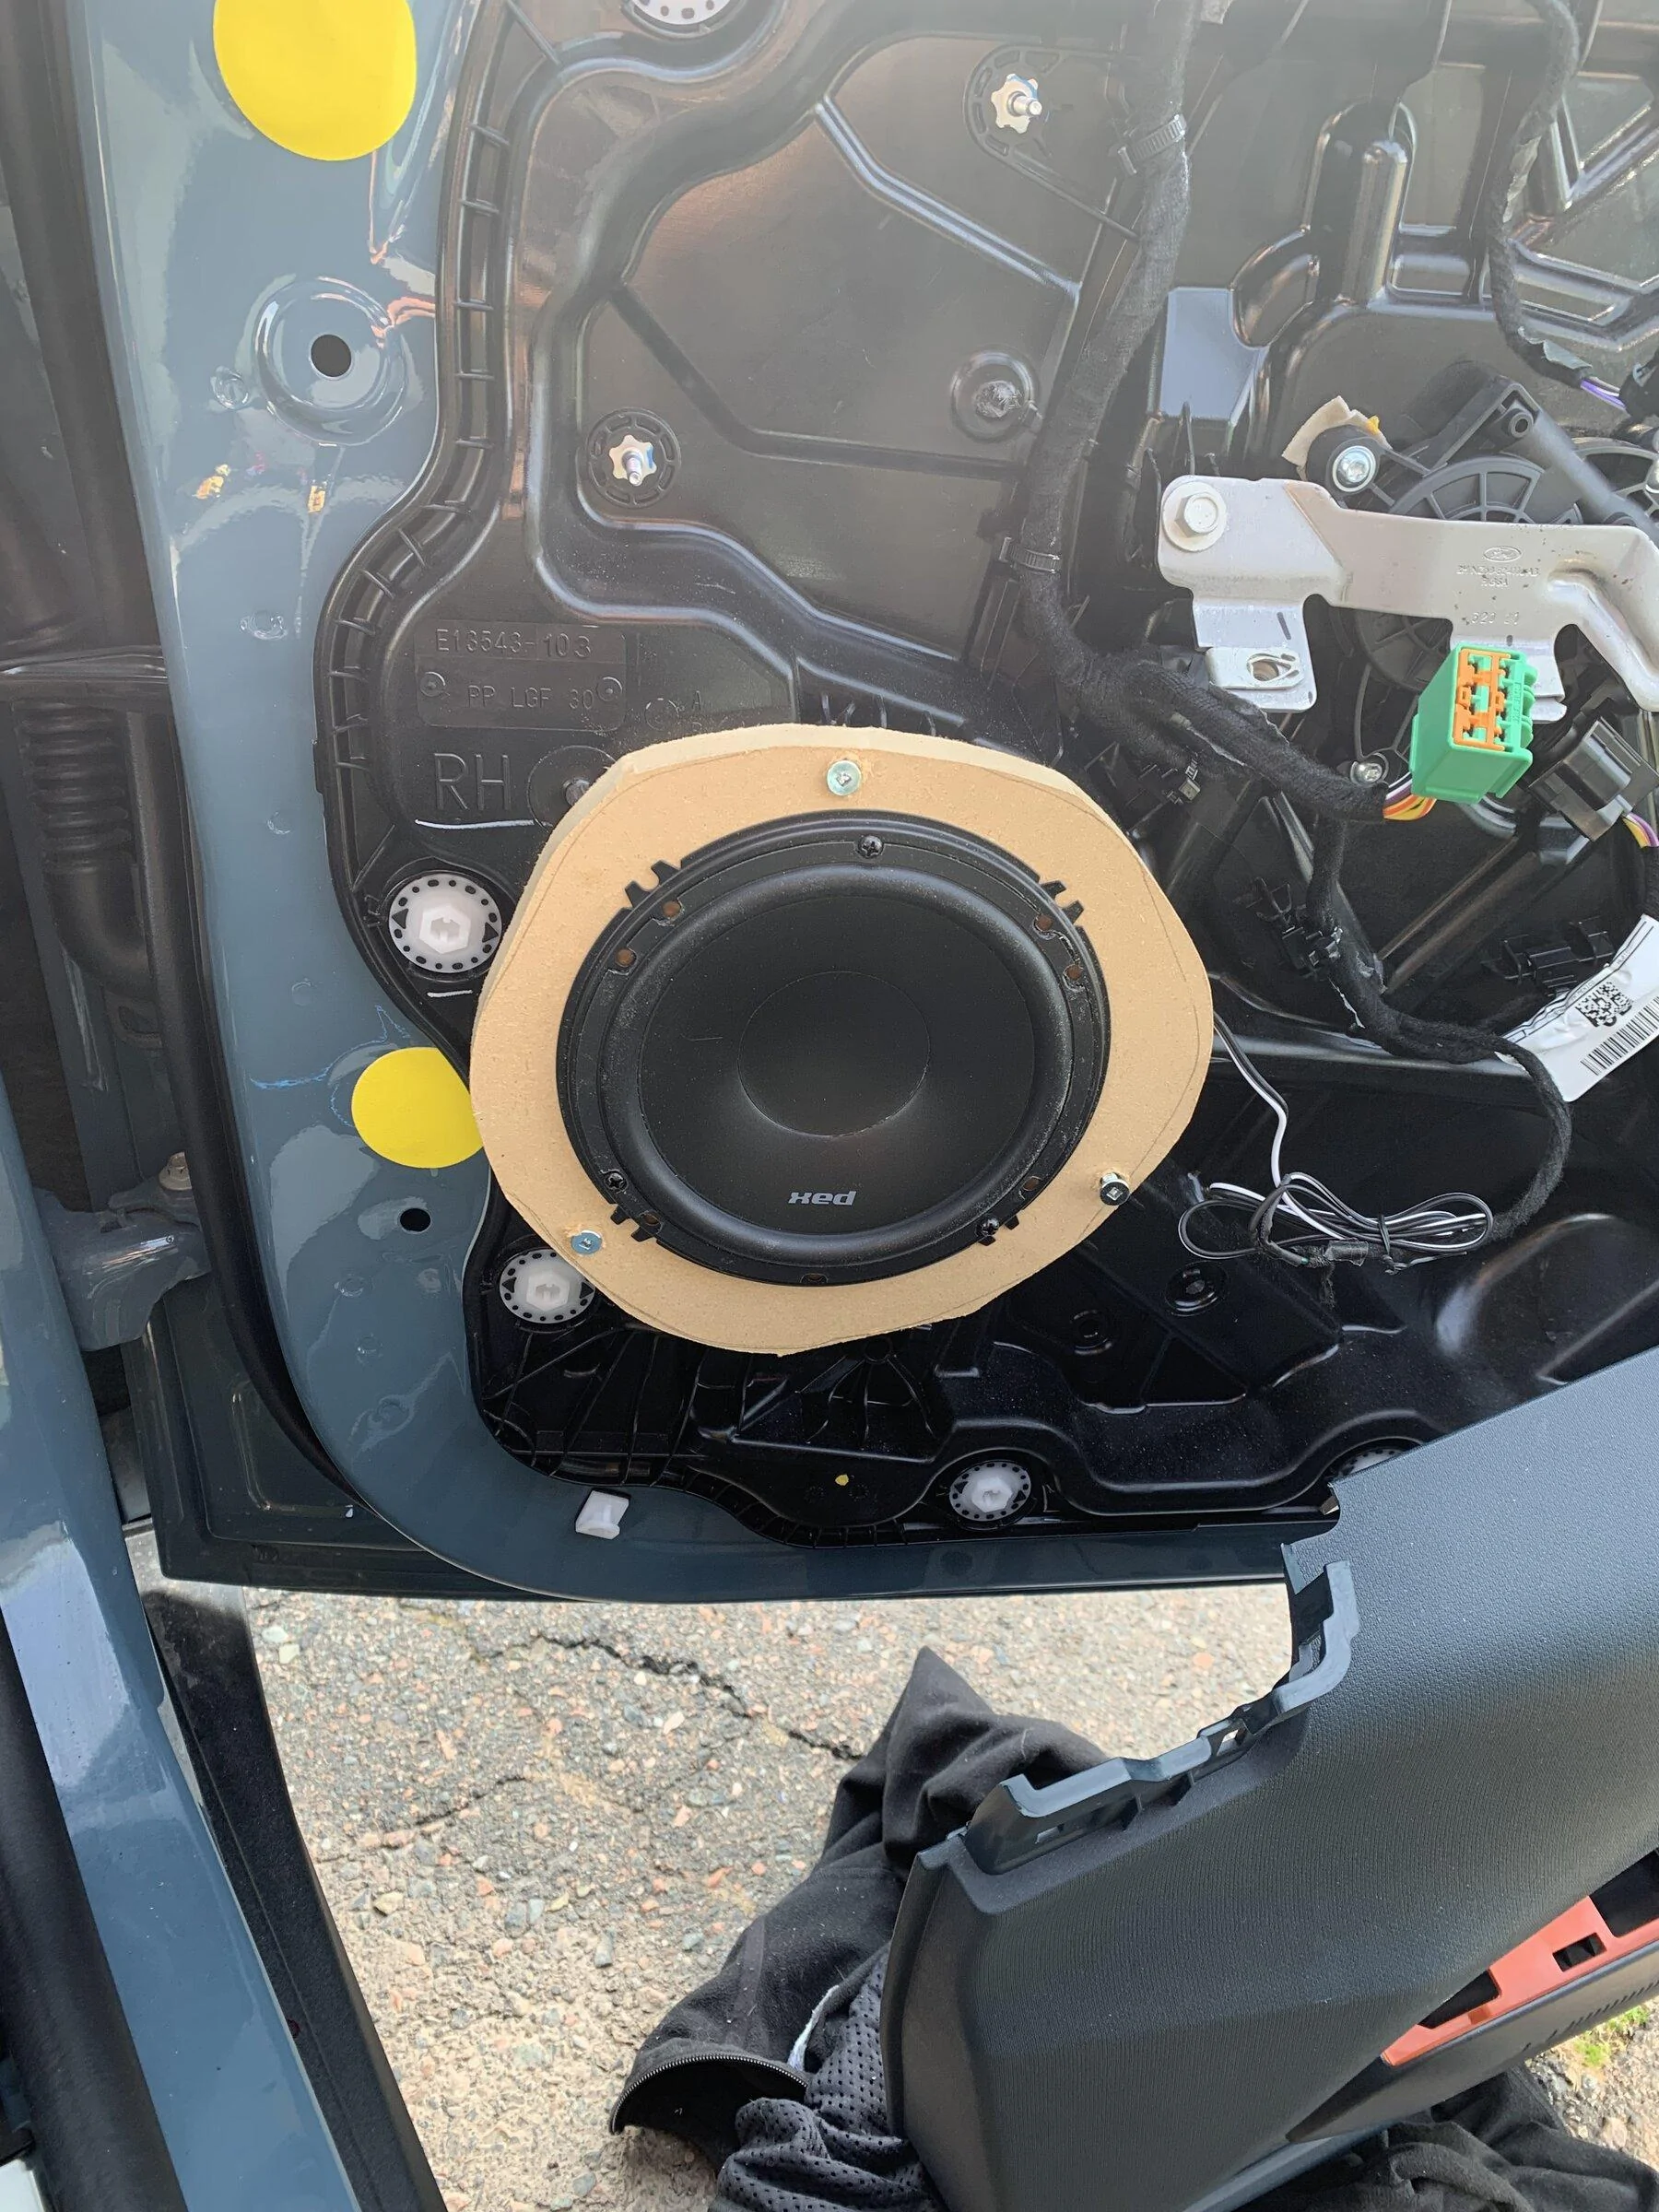
Speakers are mounted to simple 1/2” mdf spacers, which are then mounted using the existing holes for the stock speakers. There’s lots of room in the doors when the spacers are used.
Tweeters are basically press fit into the existing tweeter mounts.
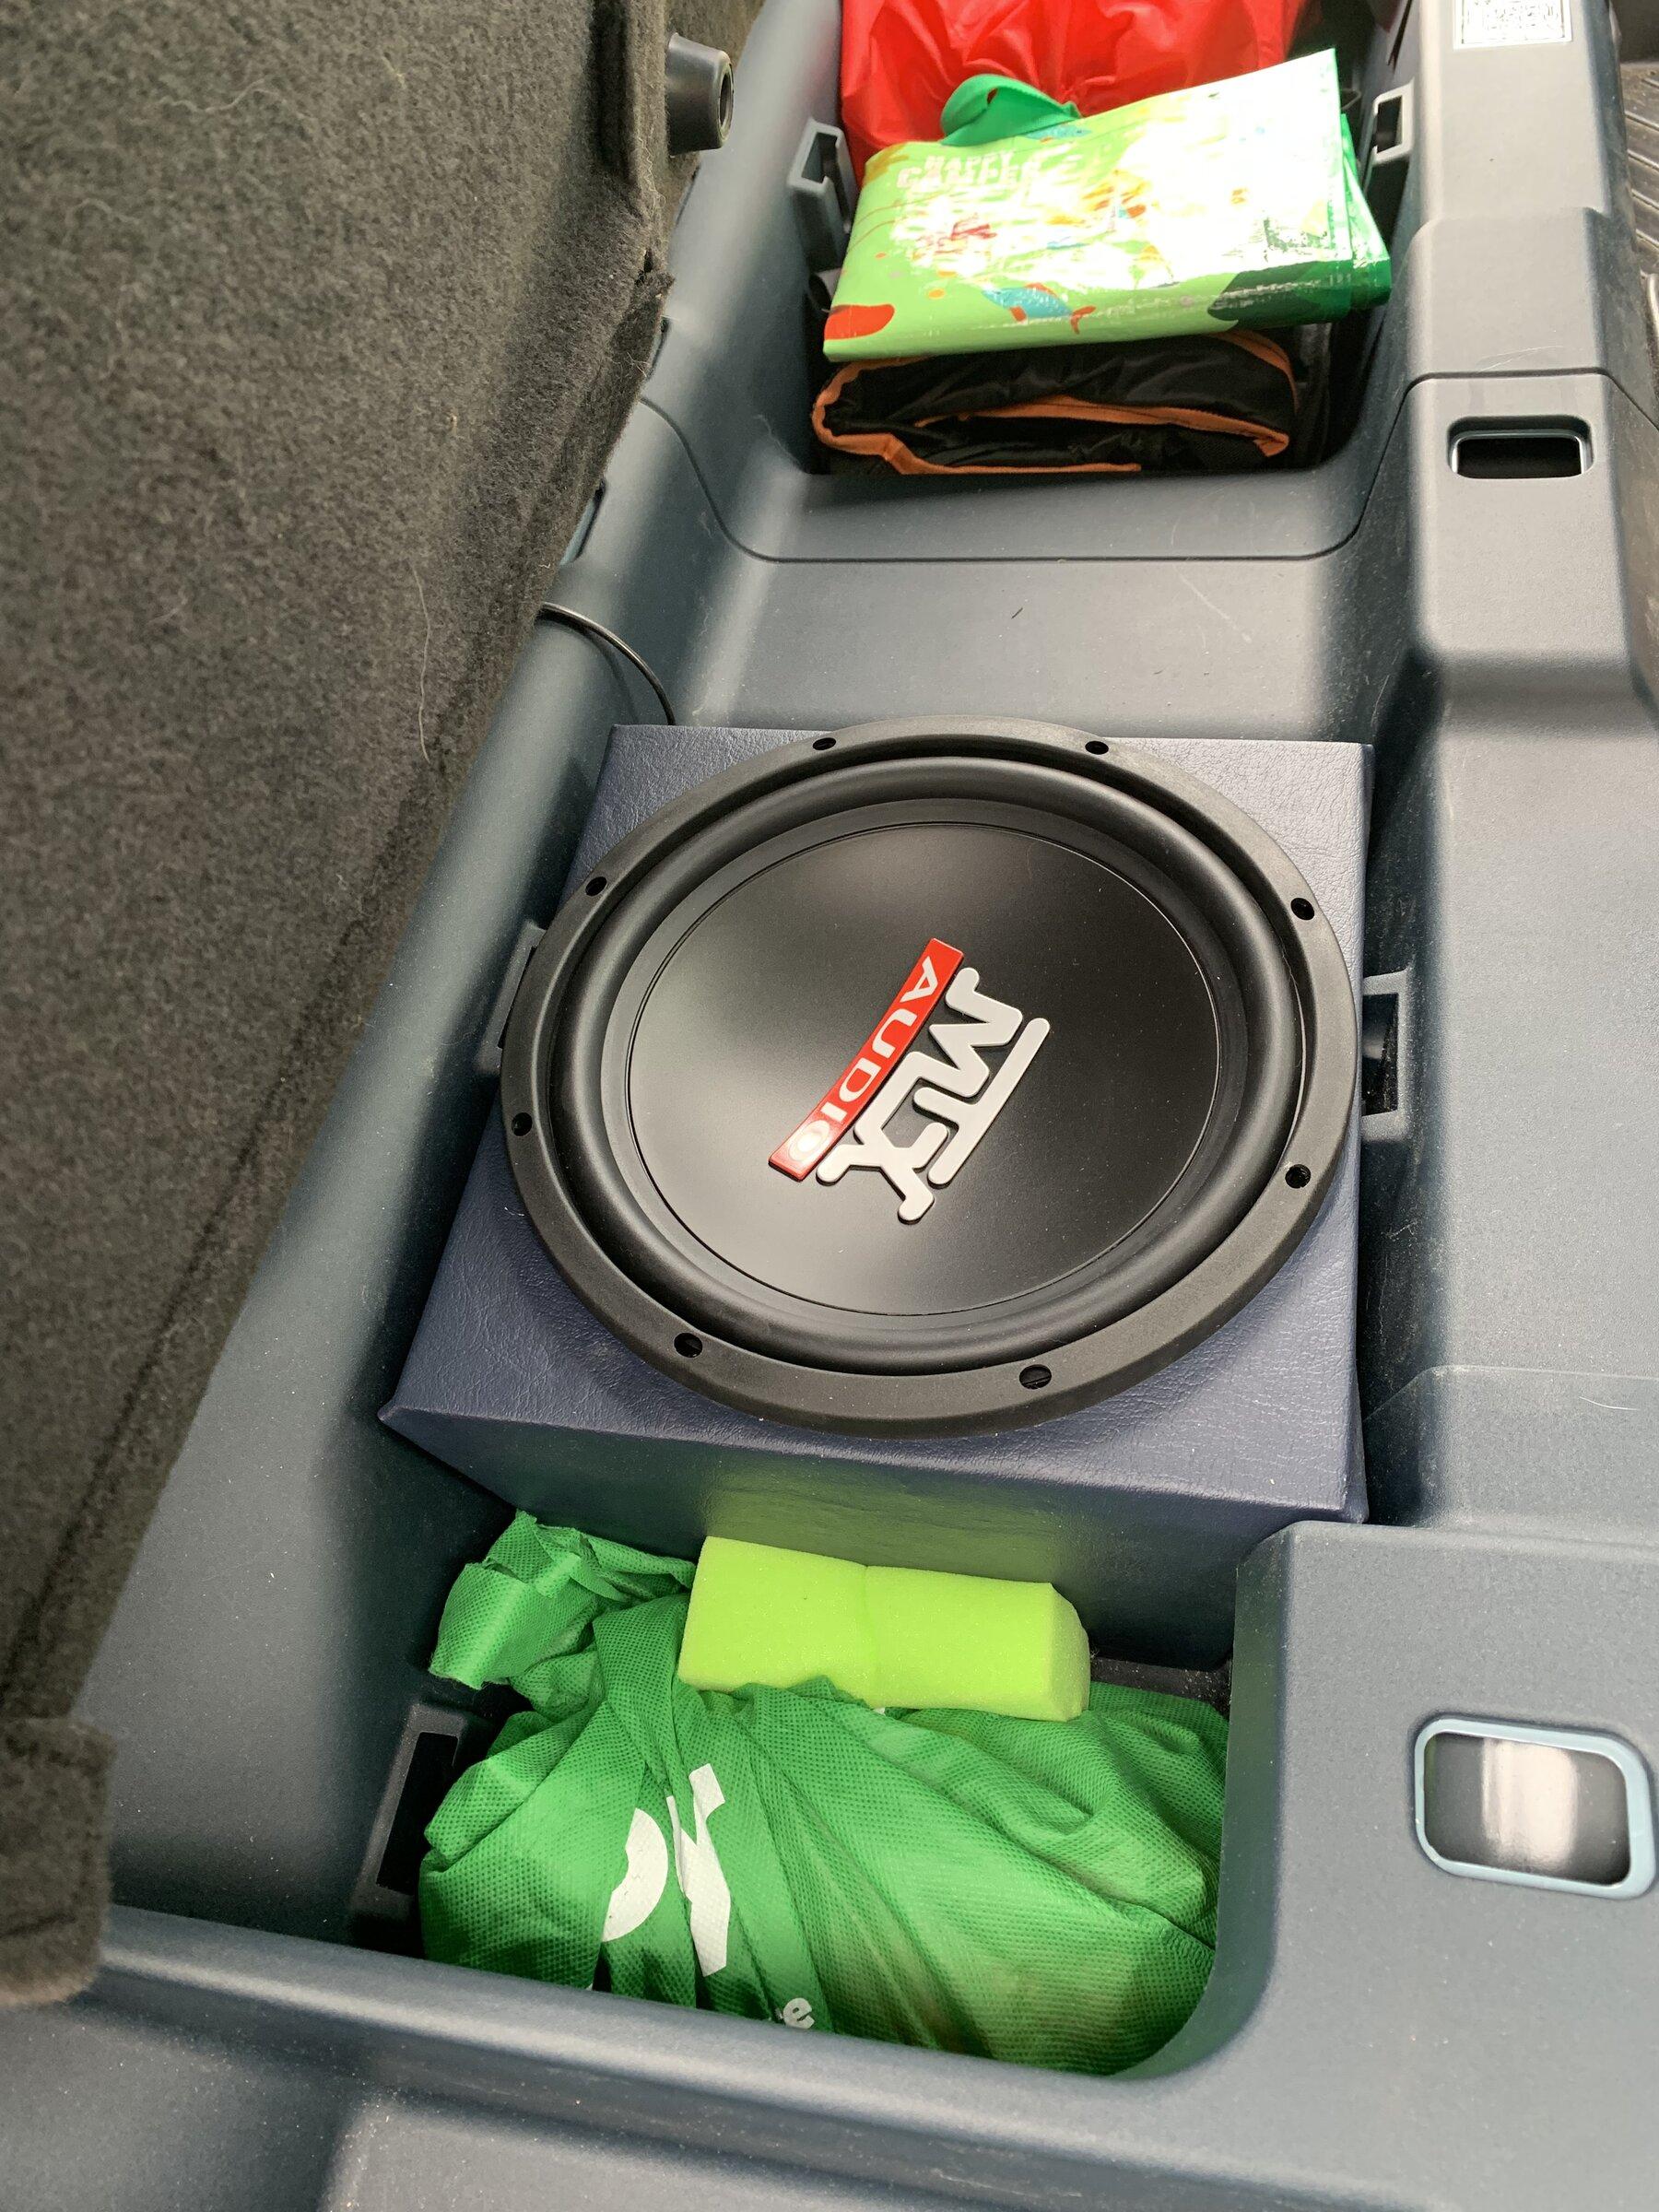
The subwoofer sits in a custom box that’s approximately 0.75 square feet and run on the 3rd and 4th channel of the amp bridged and with the low pass filter.
Sound wise this is a massive upgrade over stock, the frontend Is significantly louder and clearer than stock. The sub just adds another dimension to the sound that didn’t exist before. Super happy with the upgrades and I have absolutely no regrets.
Also, yes the amp is zip tied to the aluminum bracket, the tiny little bolts I bought to mount it were apparently not tiny enough, so that’s a temporary solution until I pick up some new tiny bolts.
My choice of upgraded gear was based mostly on getting good quality components at a budget price. I went with a component set up front and I have it powered by an amp, there’s just not enough power off the head unit to take advantage of any speaker upgrades up front. I did not upgrade the rear speakers because I can’t hear them anyway.
Scosche LOC2SL line converter with bass control. Removed this, it only lasted a year and I highly recommend not getting one of these. I ended up getting an Audiocontrol LCS2 Pro and am blown away by the improvement in sound quality. It’s not a budget device compared to other locs but it’s absolutely worth it.
Cerwin Vega XED650C 6.5” component set.
Cerwin Vega XED4004C 4 channel amplifier.
MTX TN10-4 4 ohm 10” subwoofer.
The Scosche line out converter is tucked in behind the climate controls, I tapped the front speaker signals as well as a power and ground in that area. The Scosche will send out a remote turn on signal which is handy.
RCA cables run from the line out converter up the passenger side door sill, power off the battery and the remote turn on go up the drivers side.
Amp is installed on an aluminum plate that’s bolted to an existing mount so no holes drilled, ground is picked up from an existing ground behind the back seat.
2 channels of the 4 channel amp are running on a high pass filter up the the front down the passenger side to the passive crossover. I could not get access to the inside of the rubber grommet that protects the wire bundle going into the door so I tapped into the existing speaker wires in each kick panel and tapped in to the other end of the speaker wire in each door.
Speakers are mounted to simple 1/2” mdf spacers, which are then mounted using the existing holes for the stock speakers. There’s lots of room in the doors when the spacers are used.
Tweeters are basically press fit into the existing tweeter mounts.
The subwoofer sits in a custom box that’s approximately 0.75 square feet and run on the 3rd and 4th channel of the amp bridged and with the low pass filter.
Sound wise this is a massive upgrade over stock, the frontend Is significantly louder and clearer than stock. The sub just adds another dimension to the sound that didn’t exist before. Super happy with the upgrades and I have absolutely no regrets.
Also, yes the amp is zip tied to the aluminum bracket, the tiny little bolts I bought to mount it were apparently not tiny enough, so that’s a temporary solution until I pick up some new tiny bolts.
Sponsored
Last edited:

