When @skyhawk made some last year, I bought one from his fine work. I'd have bought 2 if I'd have realized a second Maverick was in my future. Since Mouser shipping is half the price, I bought extra connectors and may end up with extra camera patch cords to sell.I should also add that @Mabcim gave me the inspiration with his write-up and helped getting mine finished. Credit where credit is due. I would also be happy to help anyone else with theirs if they want to try as well.
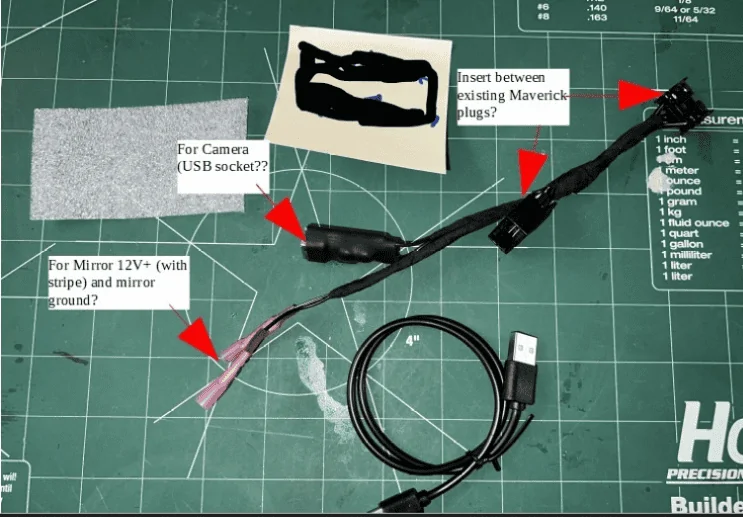
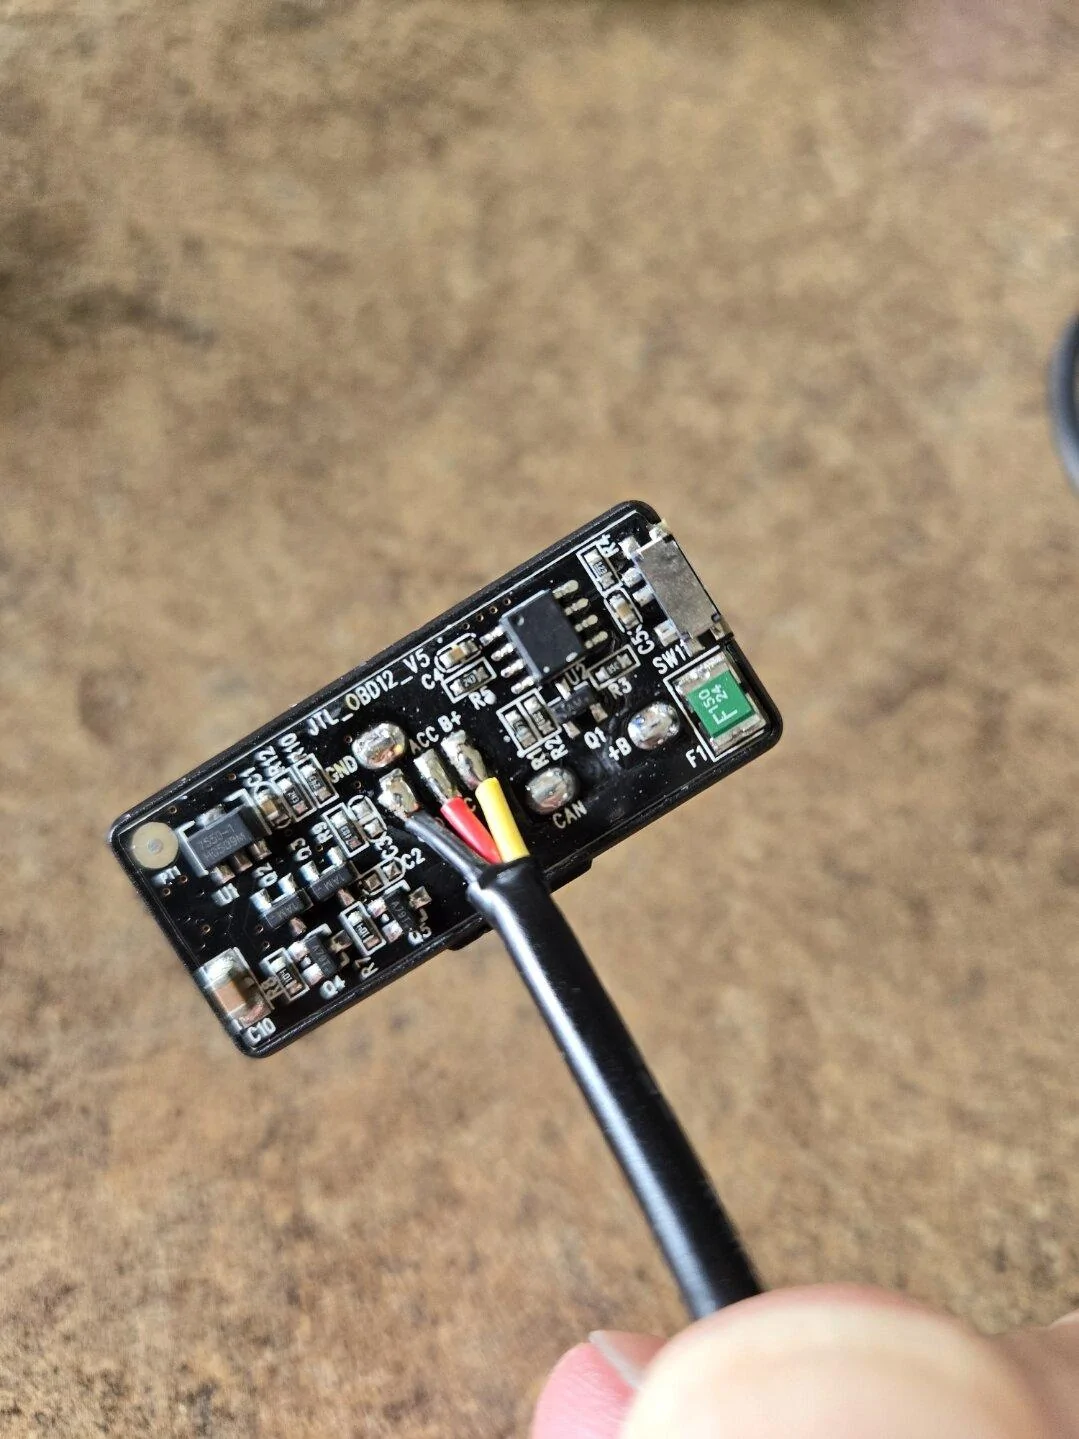
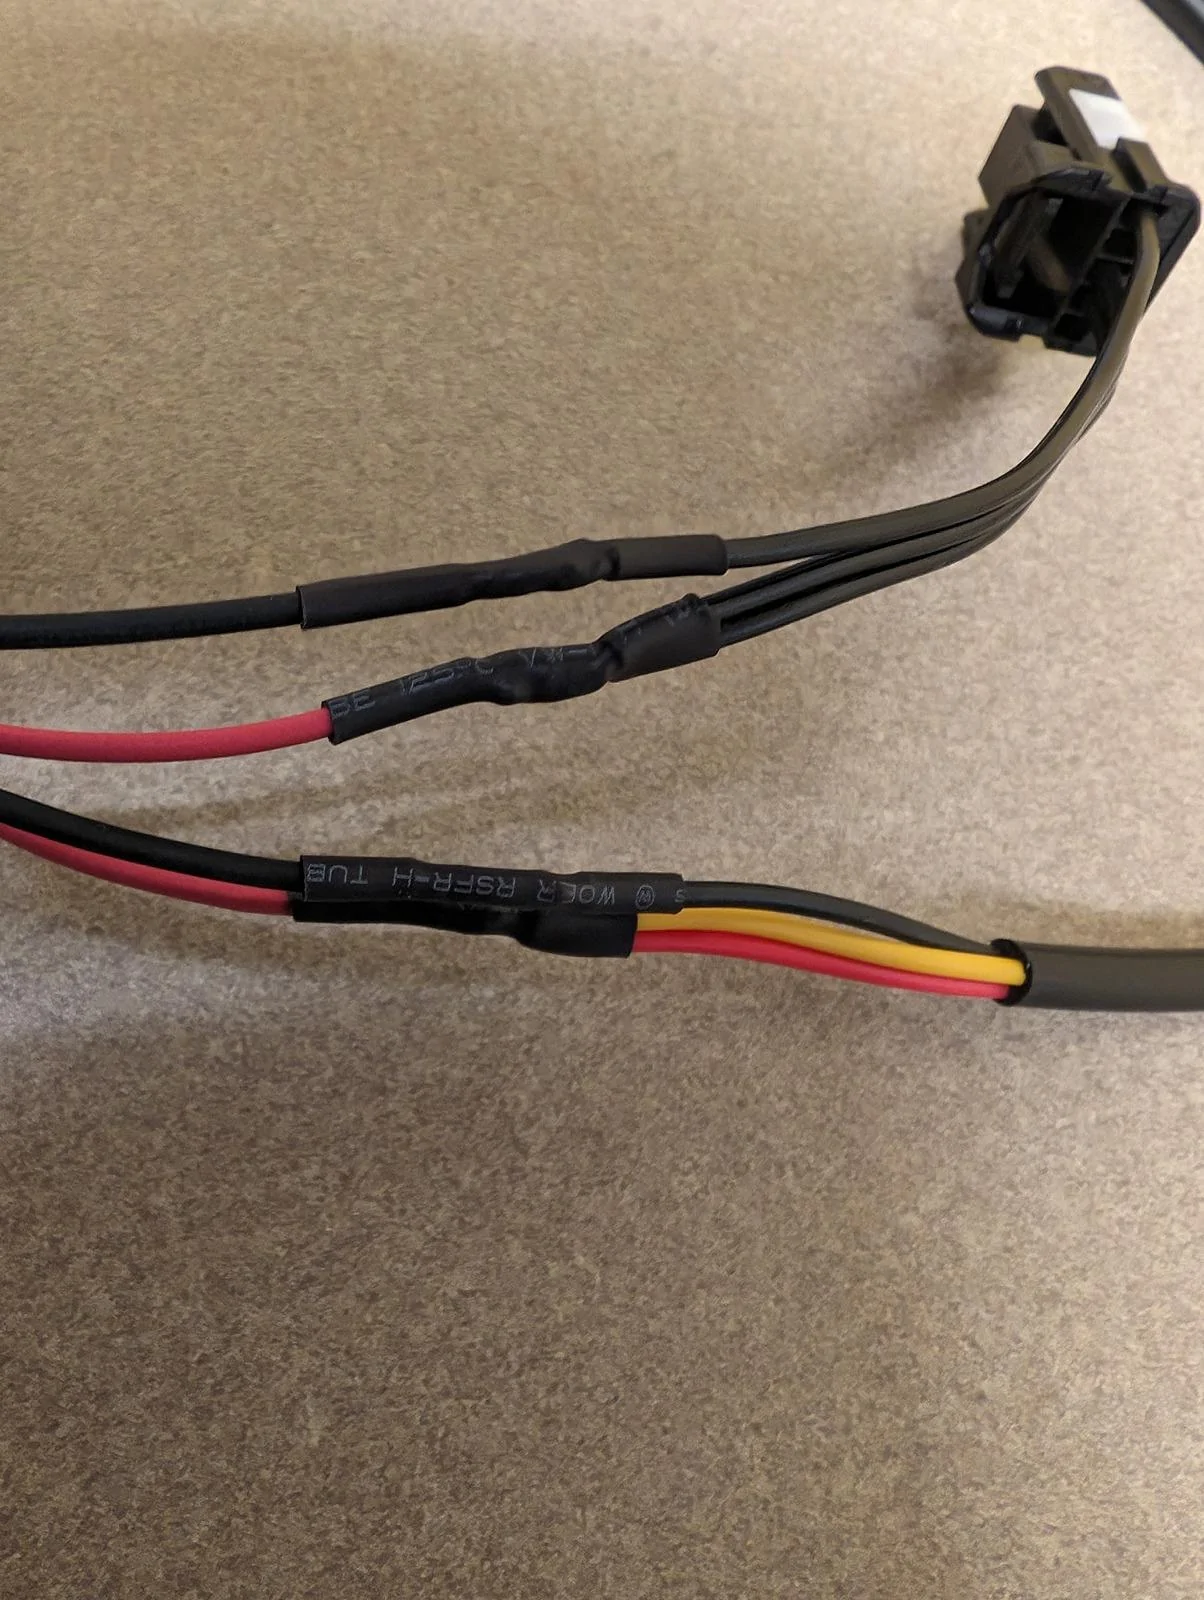
Be sure to note that a "Buck converter" is needed if the dashcam is to be a 5 volt USB connection from one of the 12 volt taps.
Sponsored