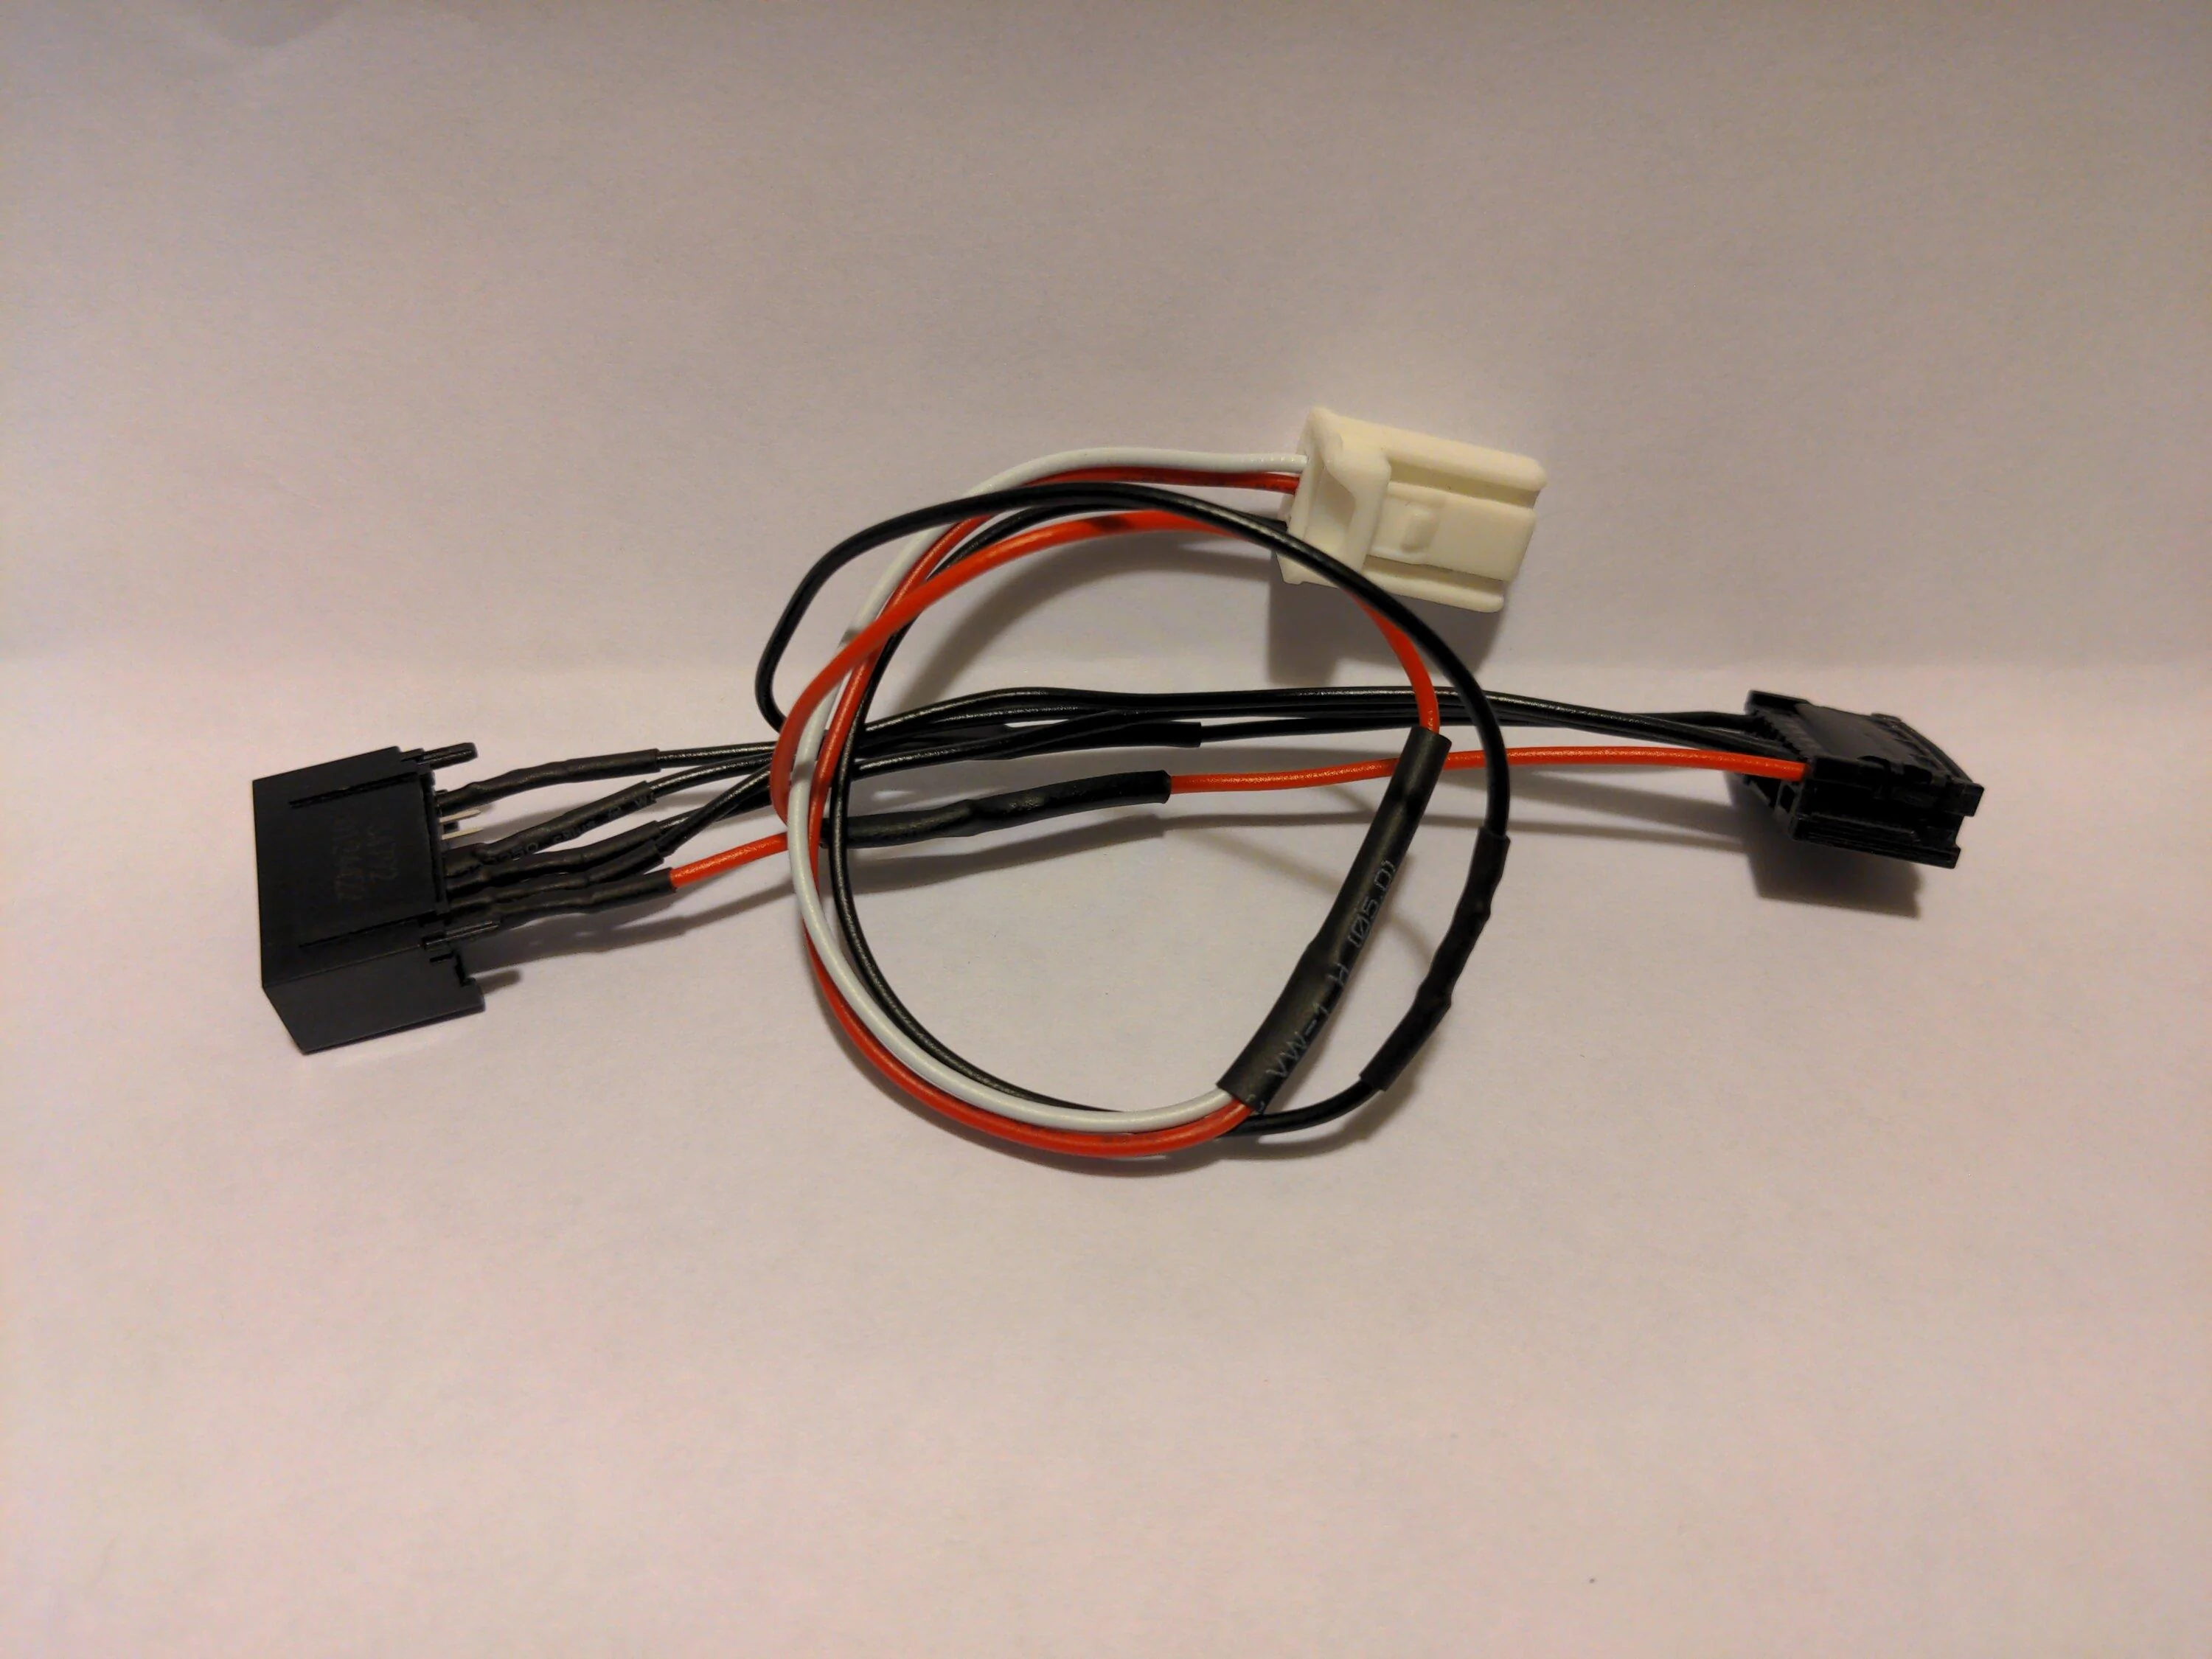
I did NOT.. But it is very obvious. You pull down the black protector directly behind the mirror. Then remove the OEM mirror with a T20 bit. Then the sunglass container with the 2 convenience lights. At the forward part of this convenience tray is a electrical connector. , Unplug it. Plug the new wire harness into the tray. Plug the removed electrical into the new harness. And then the mirror harness connector gets plugged into the remaining plug on the new harness. Snap it all back together and your done. (install new mirror first) I did notch a groove at the front lip of the black cover so the wire from the mirror wasn't pinched.Did you happen to take any pics of where each plug connects into? Or did you use a video to figure that out? And if so, could you post a link to the video that you used. Thanks for your help!
Sponsored