
- Banned
- #16
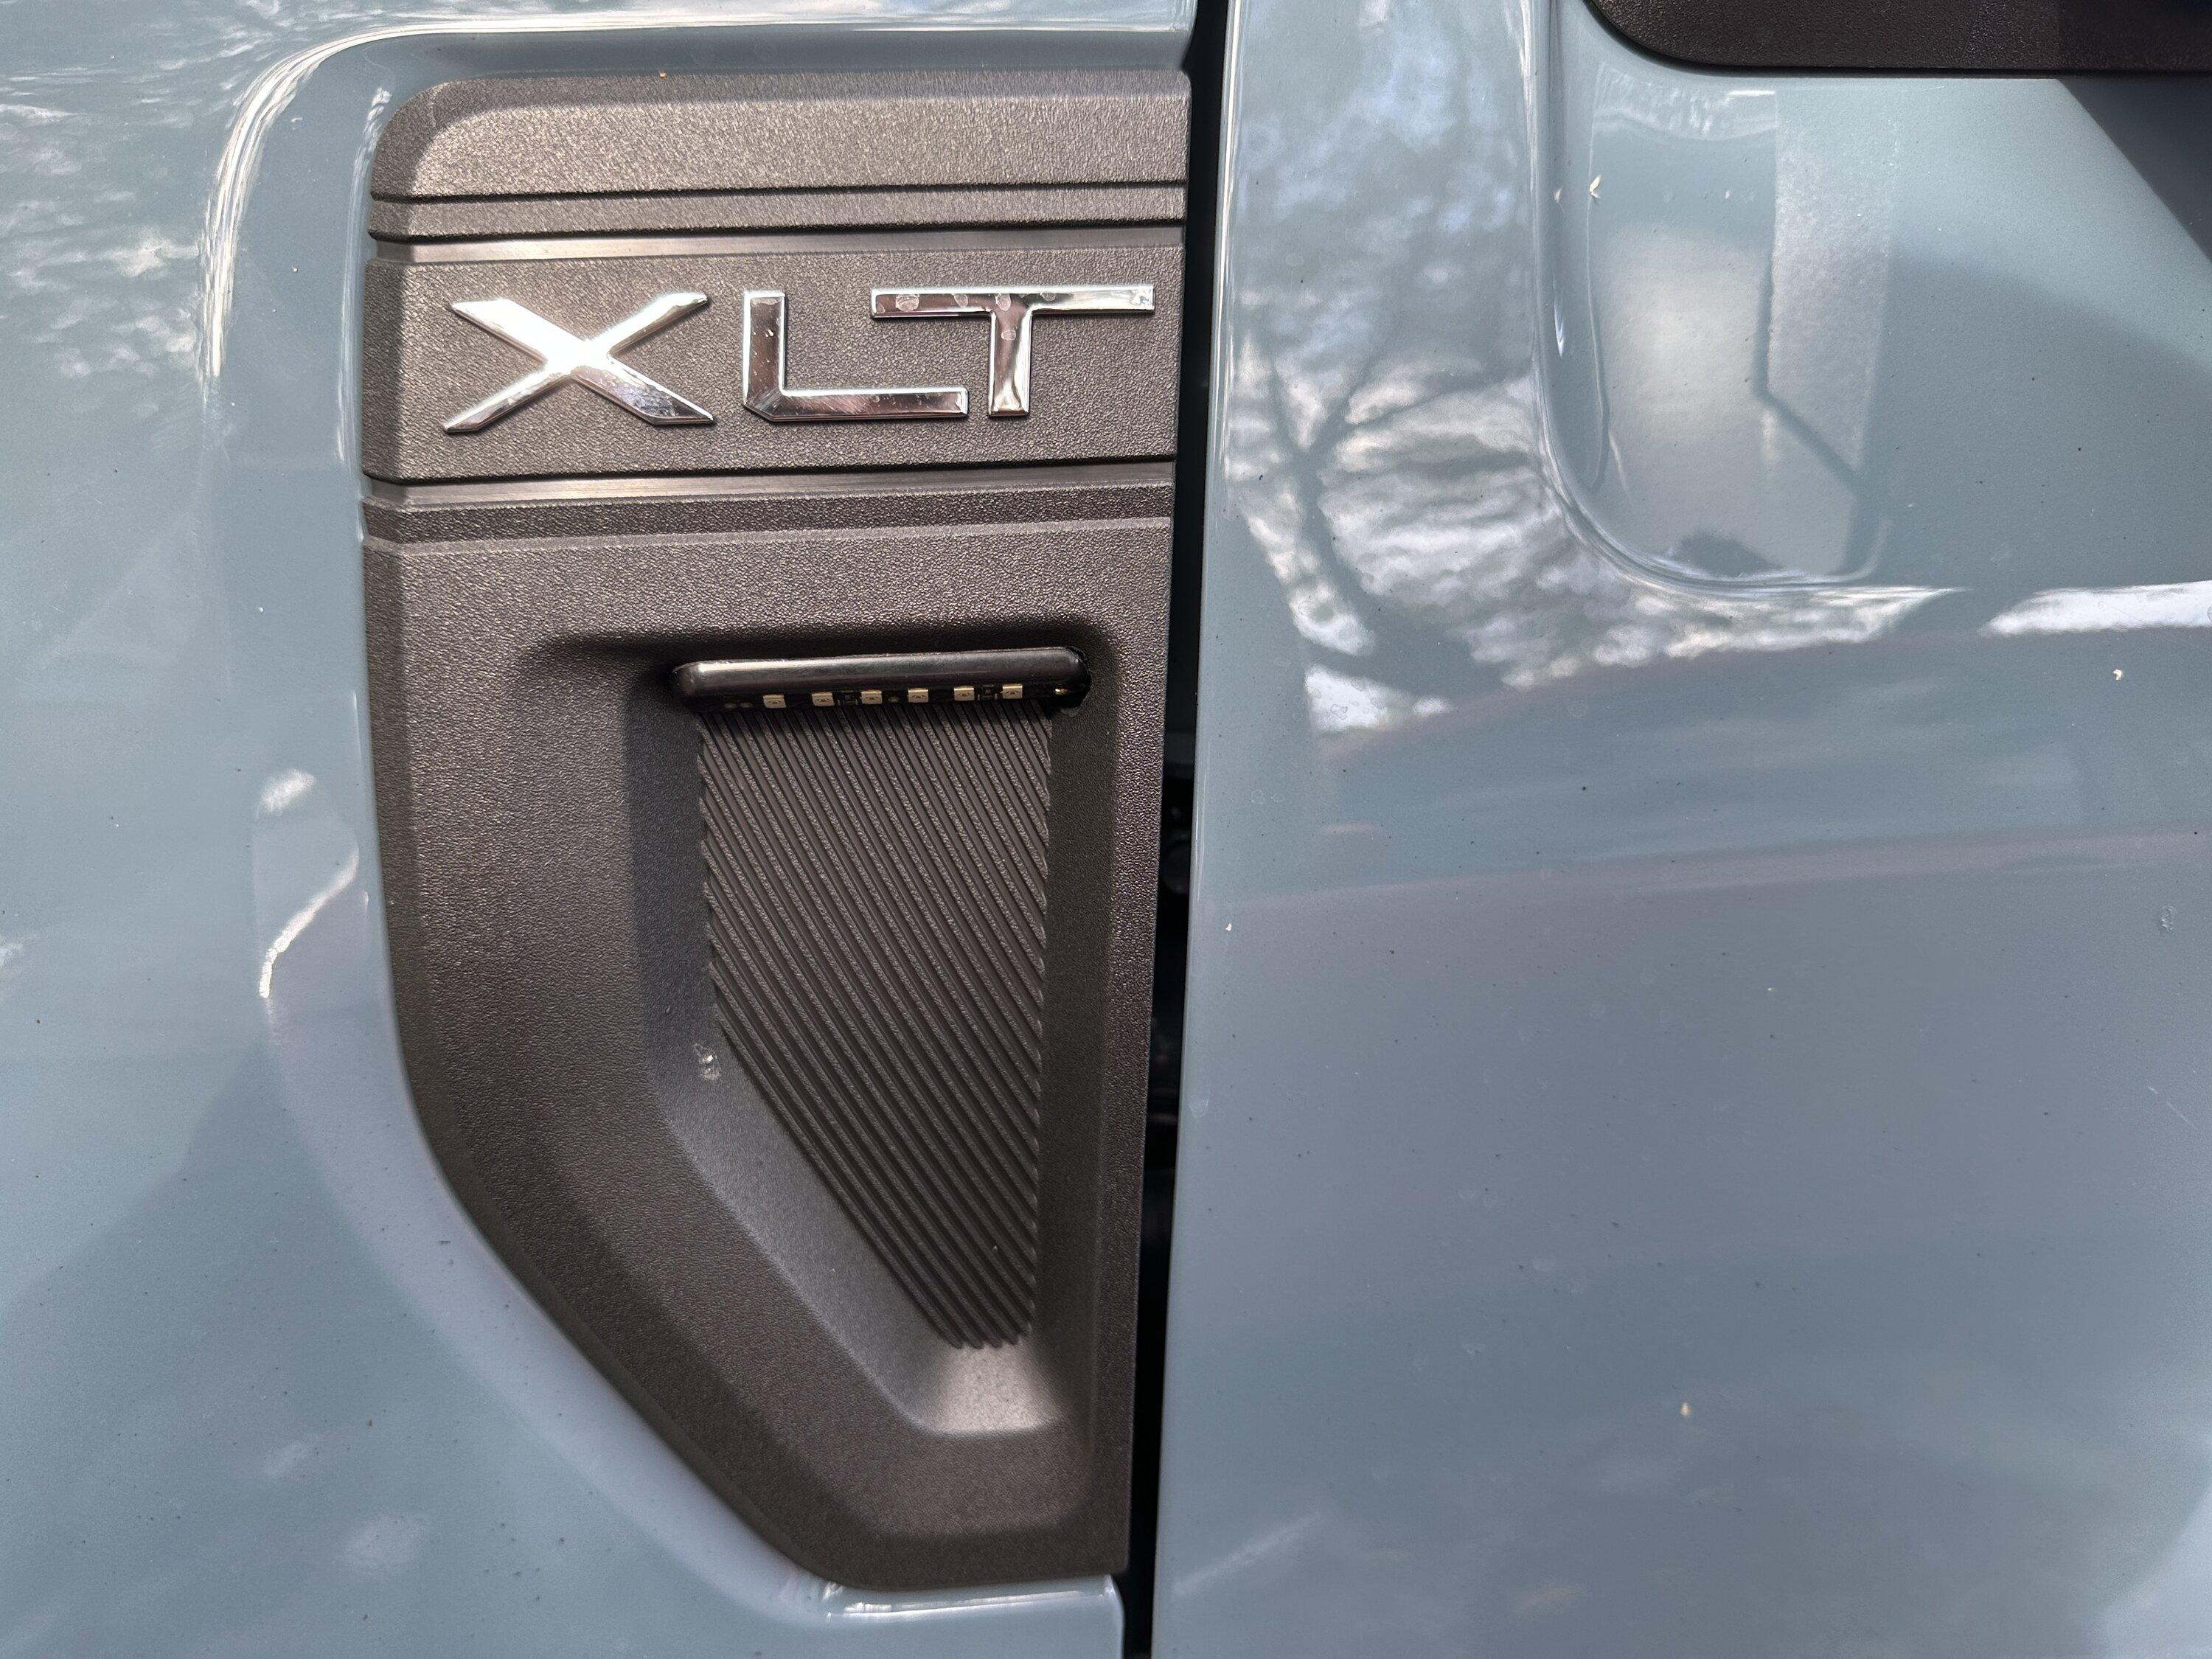
The part where you drilled the hole - is that solid plastic or mesh. My Wrangler has something similar with mesh so I put short LED strips behind the mesh.
Sponsored
If you're referring to the badge plate, it's solid plastic, but quite thin so you don't need to go too far before making the hole.The part where you drilled the hole - is that solid plastic or mesh. My Wrangler has something similar with mesh so I put short LED strips behind the mesh.
Very nice! I saw the same thread and actually purchased the same lights. Since the wiring exited the side, I didn't know how well they would hide. Looks like you were able to do that in a very clean manner. Great job and I might like this look a bit better and if I hadn't already done it the way I did, I would reconsider doing it like yours. Much appreciated.this is what i did on mine, i got the idea from someone in the forum is a led bar connected to the turn signal here is the link .
https://www.amazon.com/dp/B01EL2CG5O?psc=1&ref=ppx_yo2ov_dt_b_product_details
Question: Did you need to add resistors?this is what i did on mine, i got the idea from someone in the forum is a led bar connected to the turn signal here is the link .
https://www.amazon.com/dp/B01EL2CG5O?psc=1&ref=ppx_yo2ov_dt_b_product_details
Do you have a night photo of your side badges? I fear the light is going to be too bright without the lens cover/diffuser like DAD has. Thanks.this is what i did on mine, i got the idea from someone in the forum is a led bar connected to the turn signal here is the link .
https://www.amazon.com/dp/B01EL2CG5O?psc=1&ref=ppx_yo2ov_dt_b_product_details
i did not but it could be because i change the turn signal light with a lastfit switchback, now all of the car is led. no hyper flashing. the side emblem led bar is tap directly to the turn signal.Question: Did you need to add resistors?
Do you have a night photo of your side badges? I fear the light is going to be too bright without the lens cover/diffuser like DAD has. Thanks.
not that brightThe description of the bar light on Amazon says "blindingly bright"
Alright Very nice. Now do u have night video of it? In the air whether to do your style of the diffuser style
You're right, they are bright, however, I found the original incandescents to be bright enough and did not want to dish out $50 for a pair of LED turn lights. I did replace the reverse lights and the over cab lights with LED'si did not but it could be because i change the turn signal light with a lastfit switchback, now all of the car is led. no hyper flashing. the side emblem led bar is tap directly to the turn signal.
if you can order the lasfit switchback you will not regret it it is very bright
i will take the video tonightAlright Very nice. Now do u have night video of it? In the air whether to do your style of the diffuser style
That looks like it gets the job done without blinding the person next to you. Obviously, not a night time photo (unless you're living in Alaska).
R u able to post a night time video too? Curious how bright it is. Thank you!!Due to my envy of those vehicles that have turn signal indicators on their mirrors or body side, I took another member's basic idea and went one step further to have the badge act as a turn signal indicator. The first side took a bit of time to figure out what light would work best and how to wire it up correctly and safely. The other side took about an hour or two. Nothing like having "experience" the second time around.
This is how it came out:
What you'll need:
- plastic pry tools to ease off the badge.
- LED light. (I liked the round one where the wiring exits out the back of the light)
- butt splices. Red ones for the small wire gauge.
- several wire bridge taps. Again, the red ones.
- two ring terminals large enough to be able to attach to one of the bolts holding the fender together. This is for a ground. I got the ones that included shrink wrap on the wire end, but not necessary.
- 2 resistors. Remember, the Mav uses incandescent bulbs for its on/off turn signal function. If you introduce a lesser load bearing LED, it throws off the truck's computer into thinking a bulb is burned out and you get the hyperflash. The more expensive Laserfit LED's have internal resistors, but we are not using those today.
- wire cutters, stripper, and crimping tool.
- 4 strands of automotive wire about 3 - 1/2 feet long. Red and black are always a good choice color wise. The wires on the LED's I chose are yellow & black, so I used those colors.
- Drill bit or forstner bit large enough to cut out a round circle in the badge. The LED's I used required a 3/4" hole to fit snugly.
- 2 amber colored covers that fit the badge. These were made specifically for the Maverick and can be found on Etsy, however, this is an option. I chose to use them to cover up the LED lamp and also to disperse the light. Inexpensive . . . $20 for two.
- shrink wrap if you choose to use it and then you'll need either a heat gun or hair dryer.
- Automotive electrical tape. If you'll notice looking into any type of automotive wiring, the tape is NOT the shiny kind. The shiny kind tends to melt and get sticky. Opt for the "fabric" type. Easily available on Amazon and looks more like it belongs.
- Four #4 self-tapping screws to hold the resistors in place. Actually, one screw will hold it just fine. We'll talk about where to place the resistor and it might be tough to get two screws on. Getting one on was tough enough and it held strongly, so I didn't bother with the second one.
