- First Name
- Howard
- Joined
- Oct 4, 2021
- Threads
- 30
- Messages
- 1,236
- Reaction score
- 1,395
- Location
- Brookhaven Lake O' the Pines, Texas
- Website
- www.hchaney.com
- Vehicle(s)
- 2022 Maverick XL, VB, 2.0 EB
- Engine
- 2.0L EcoBoost
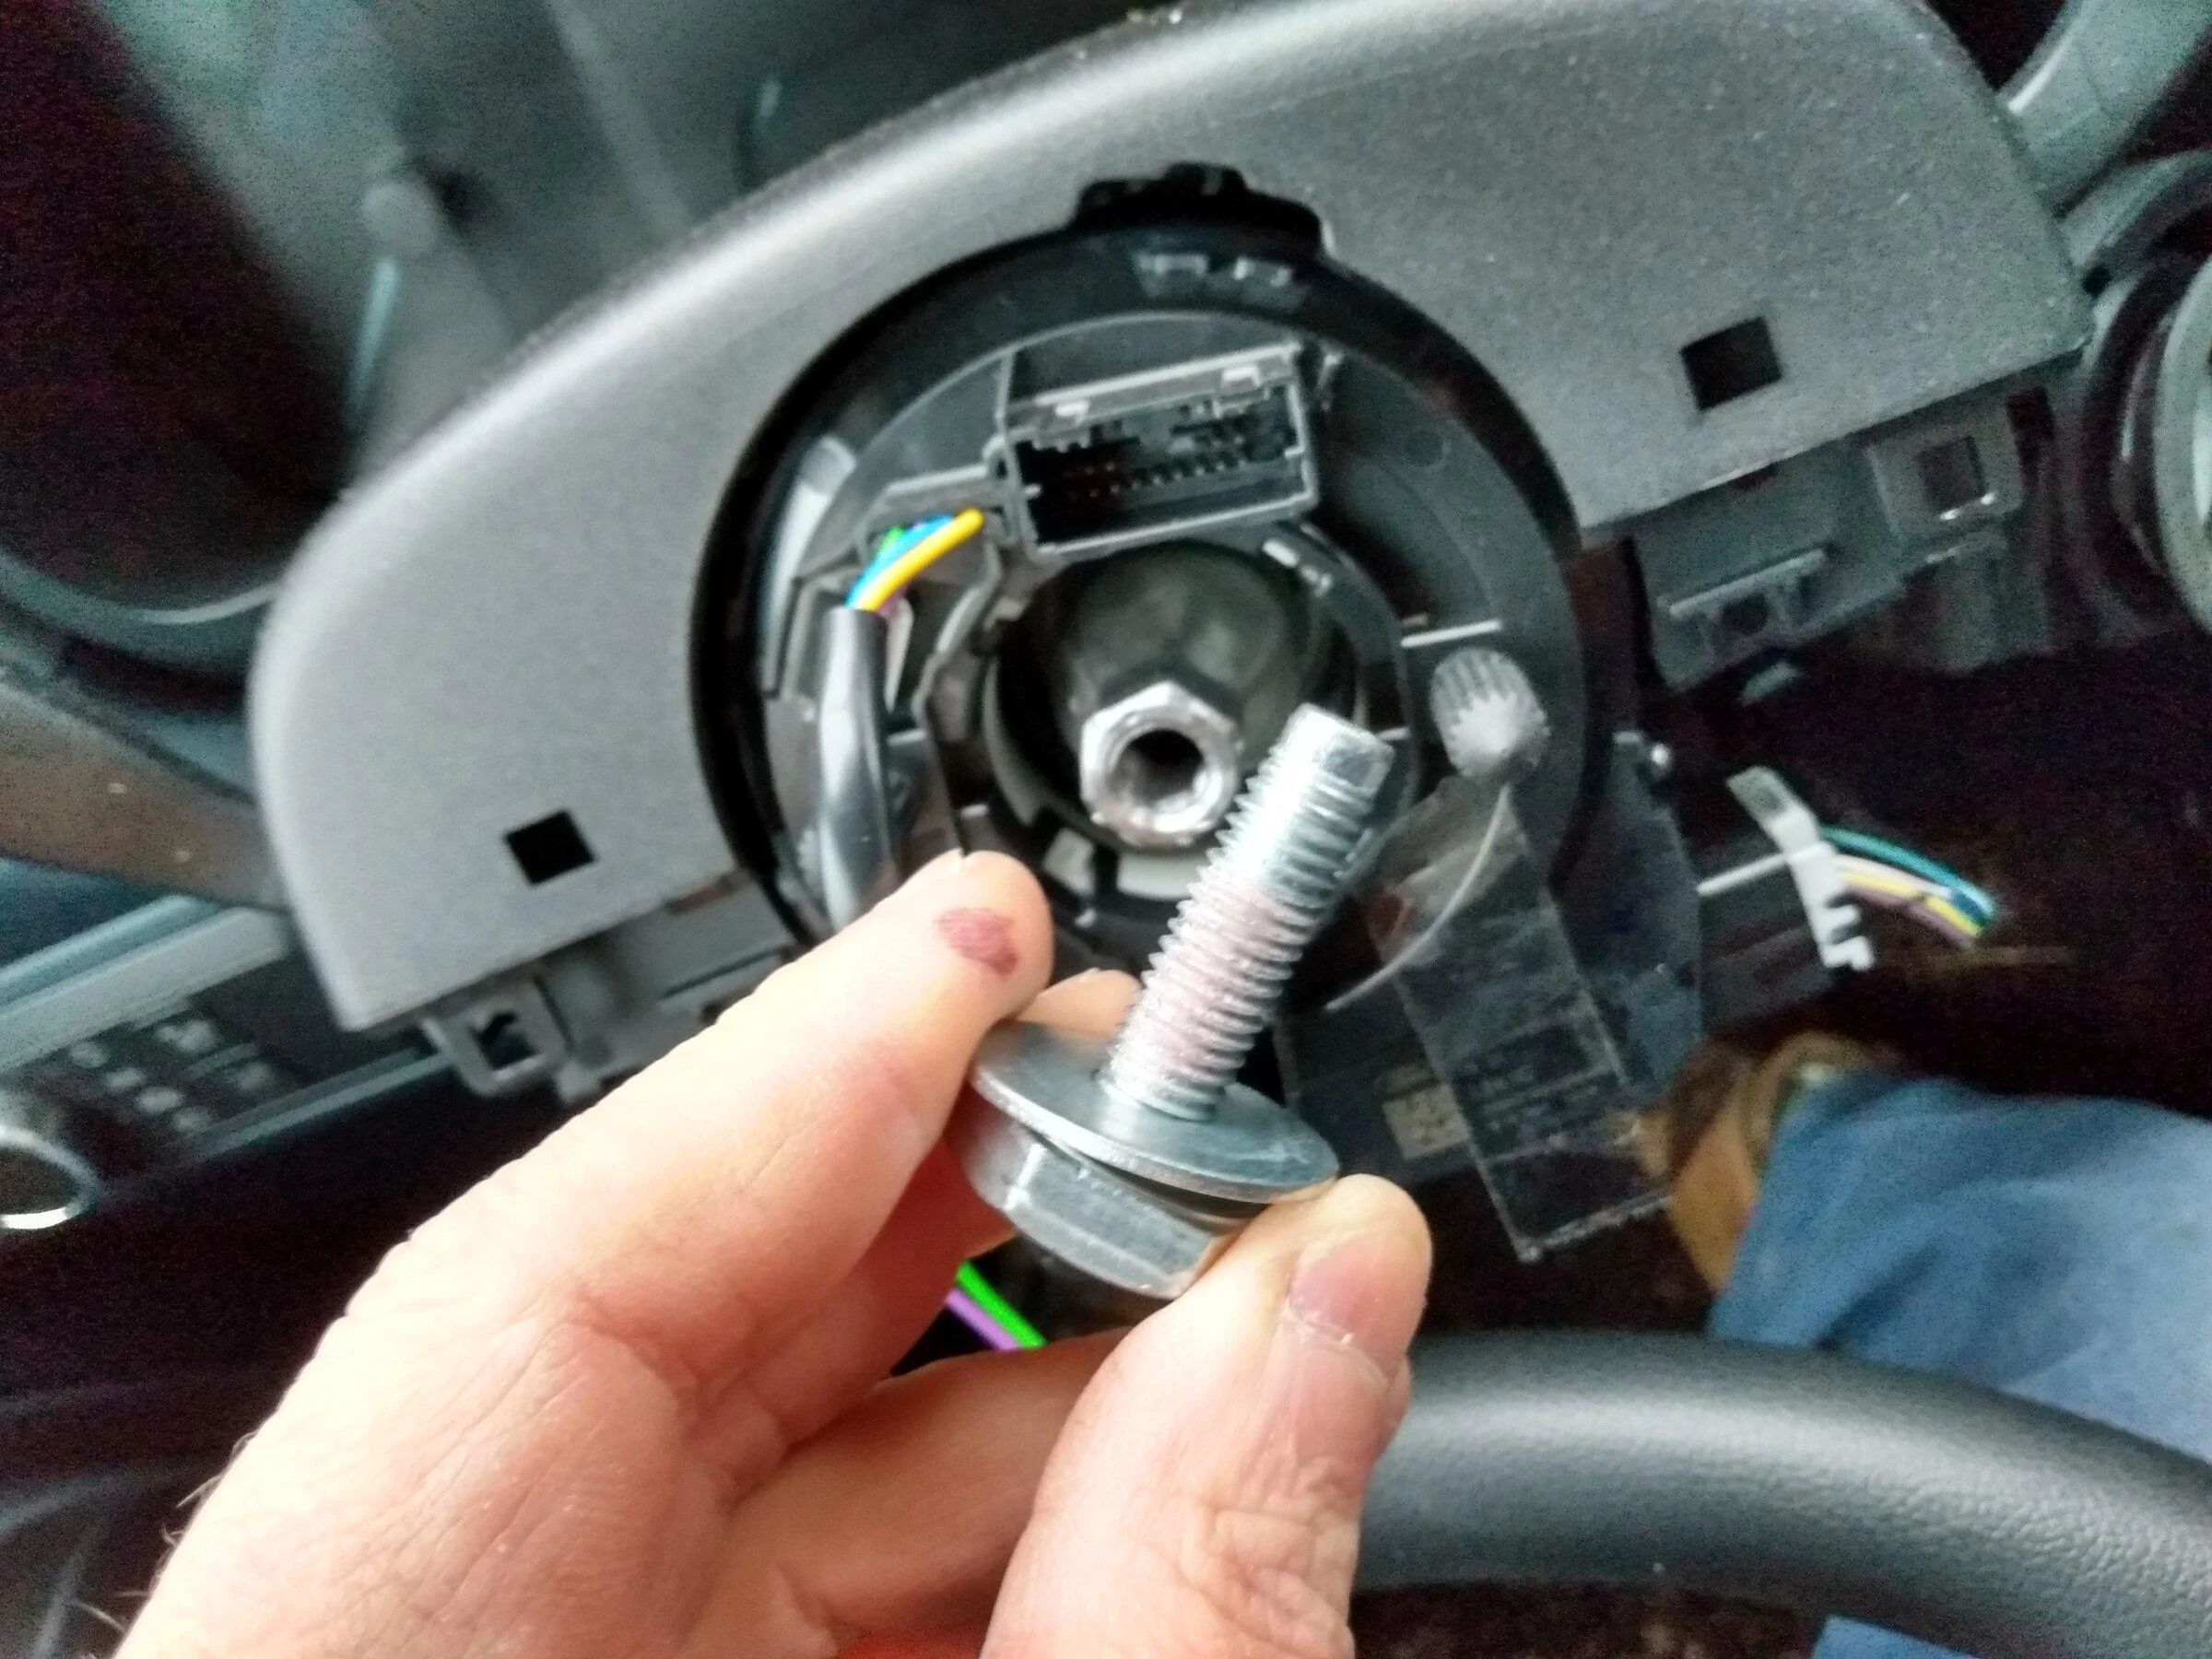
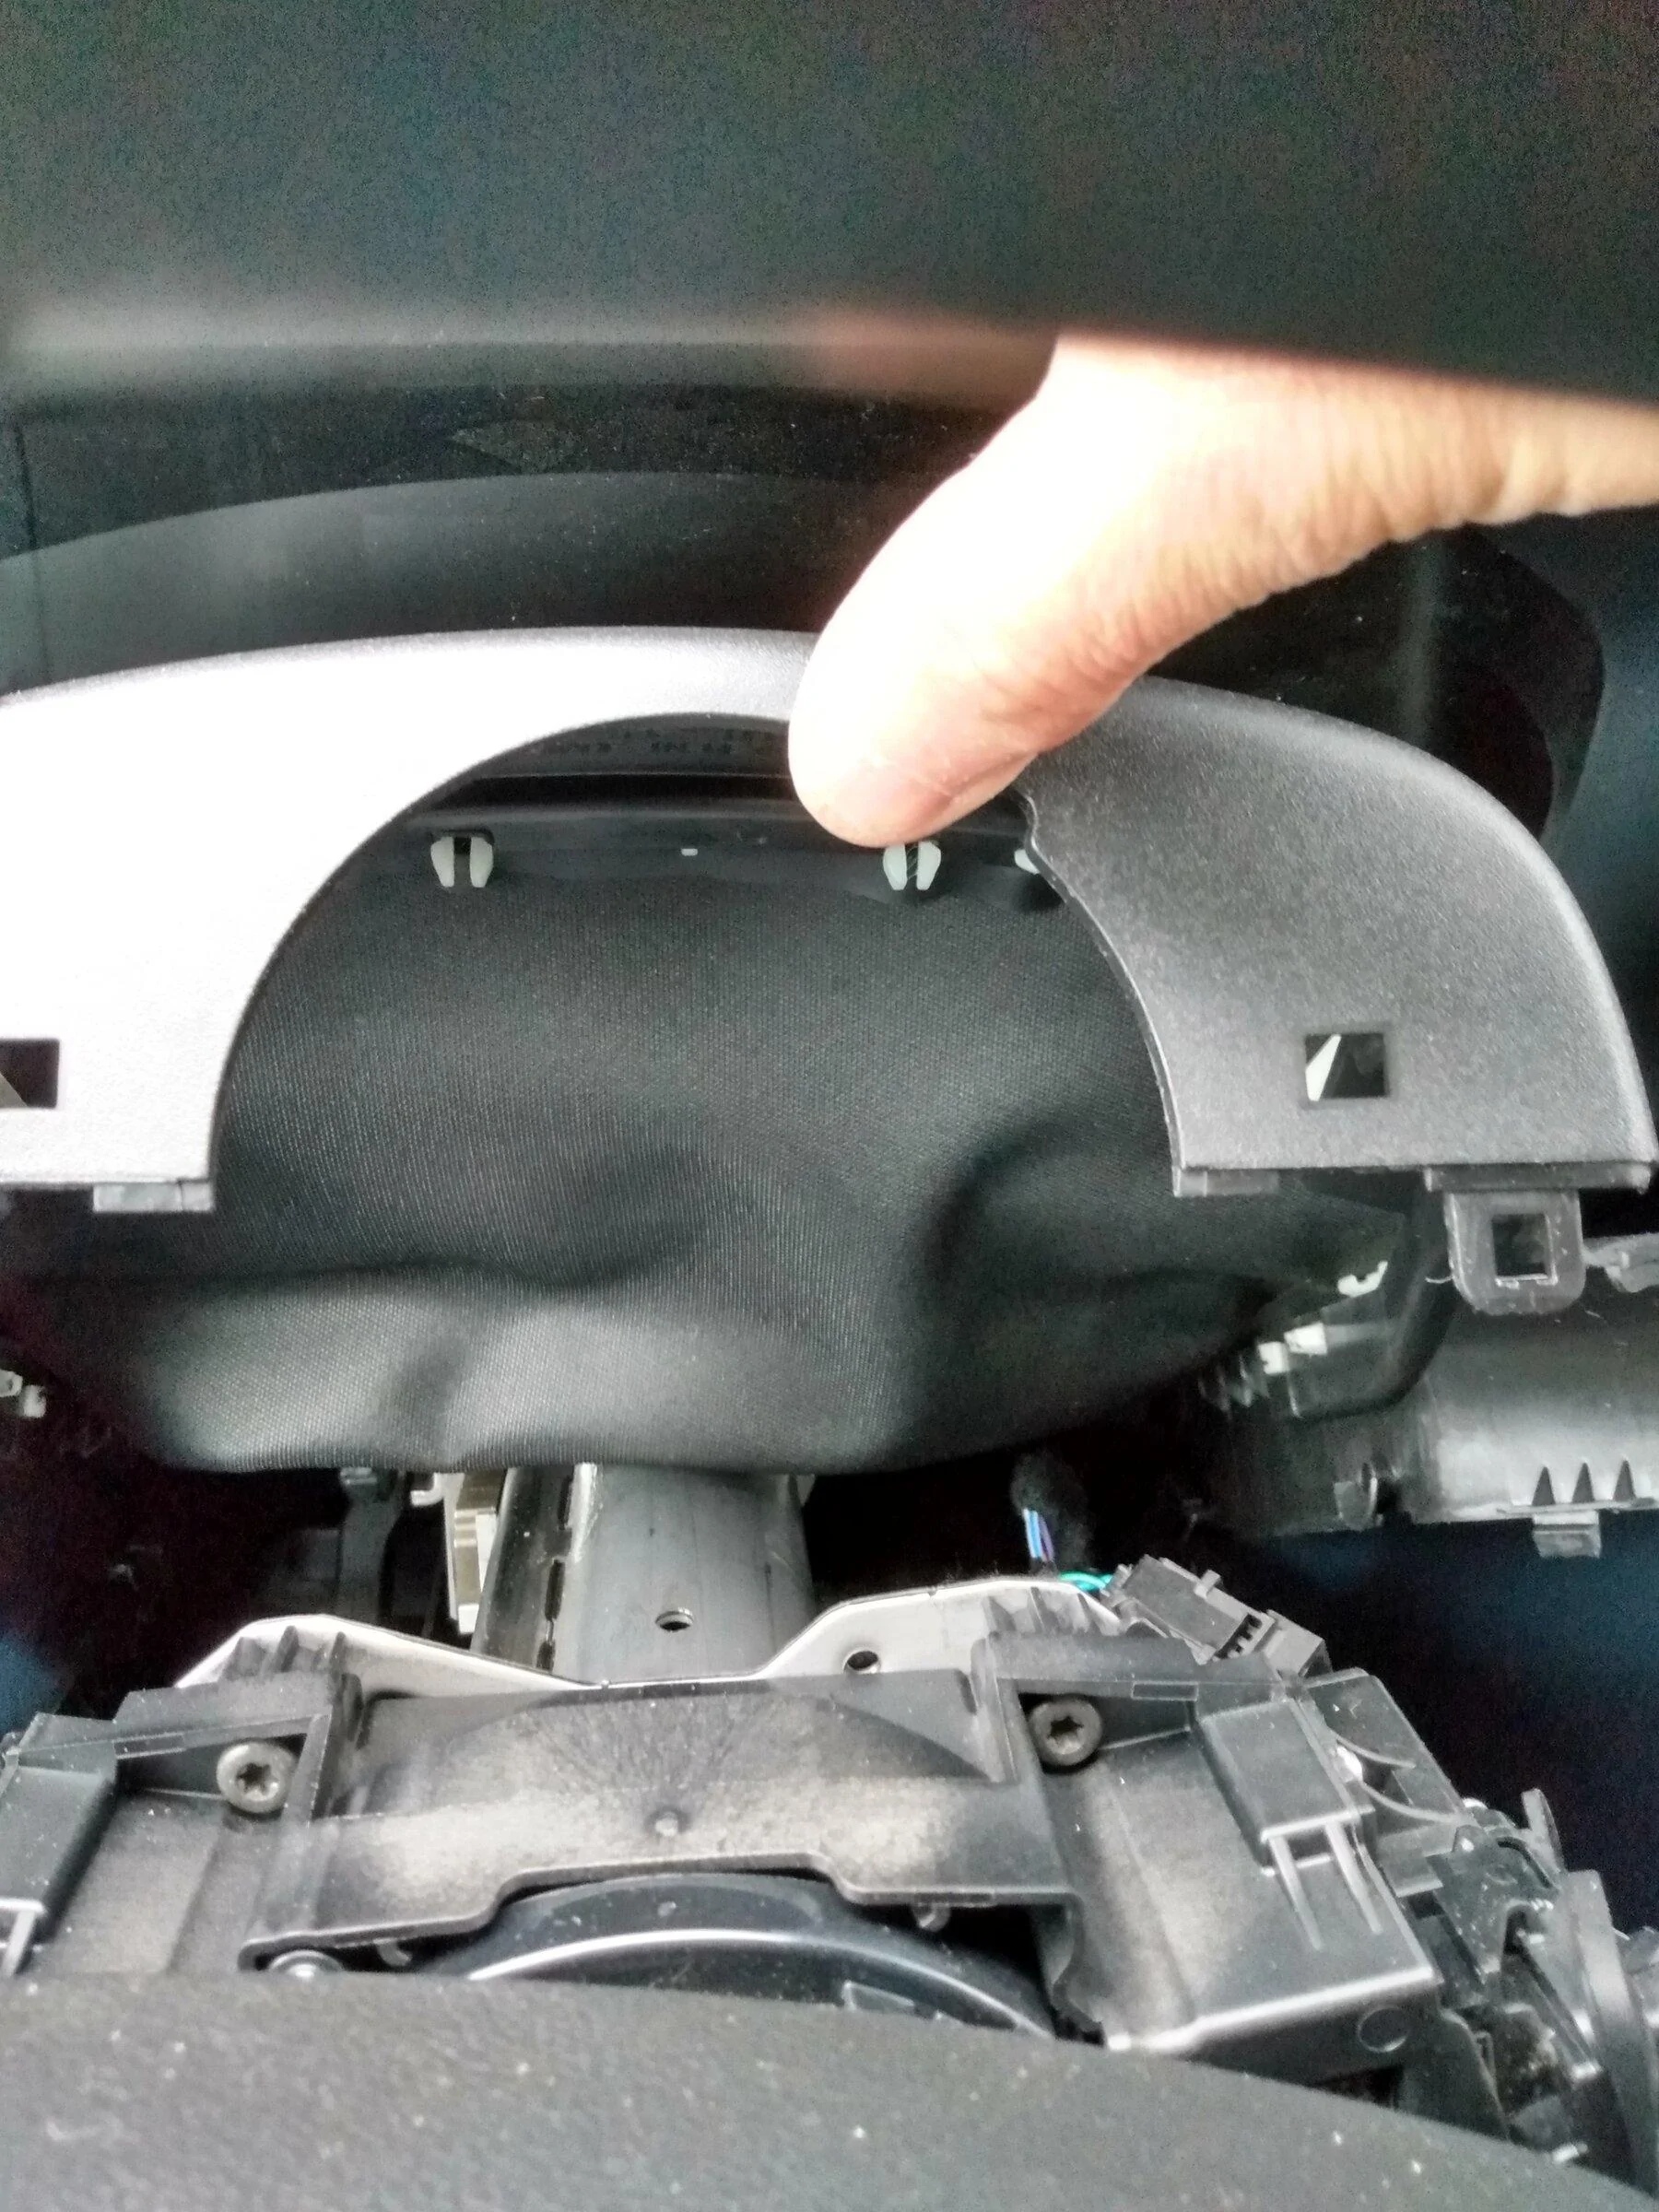
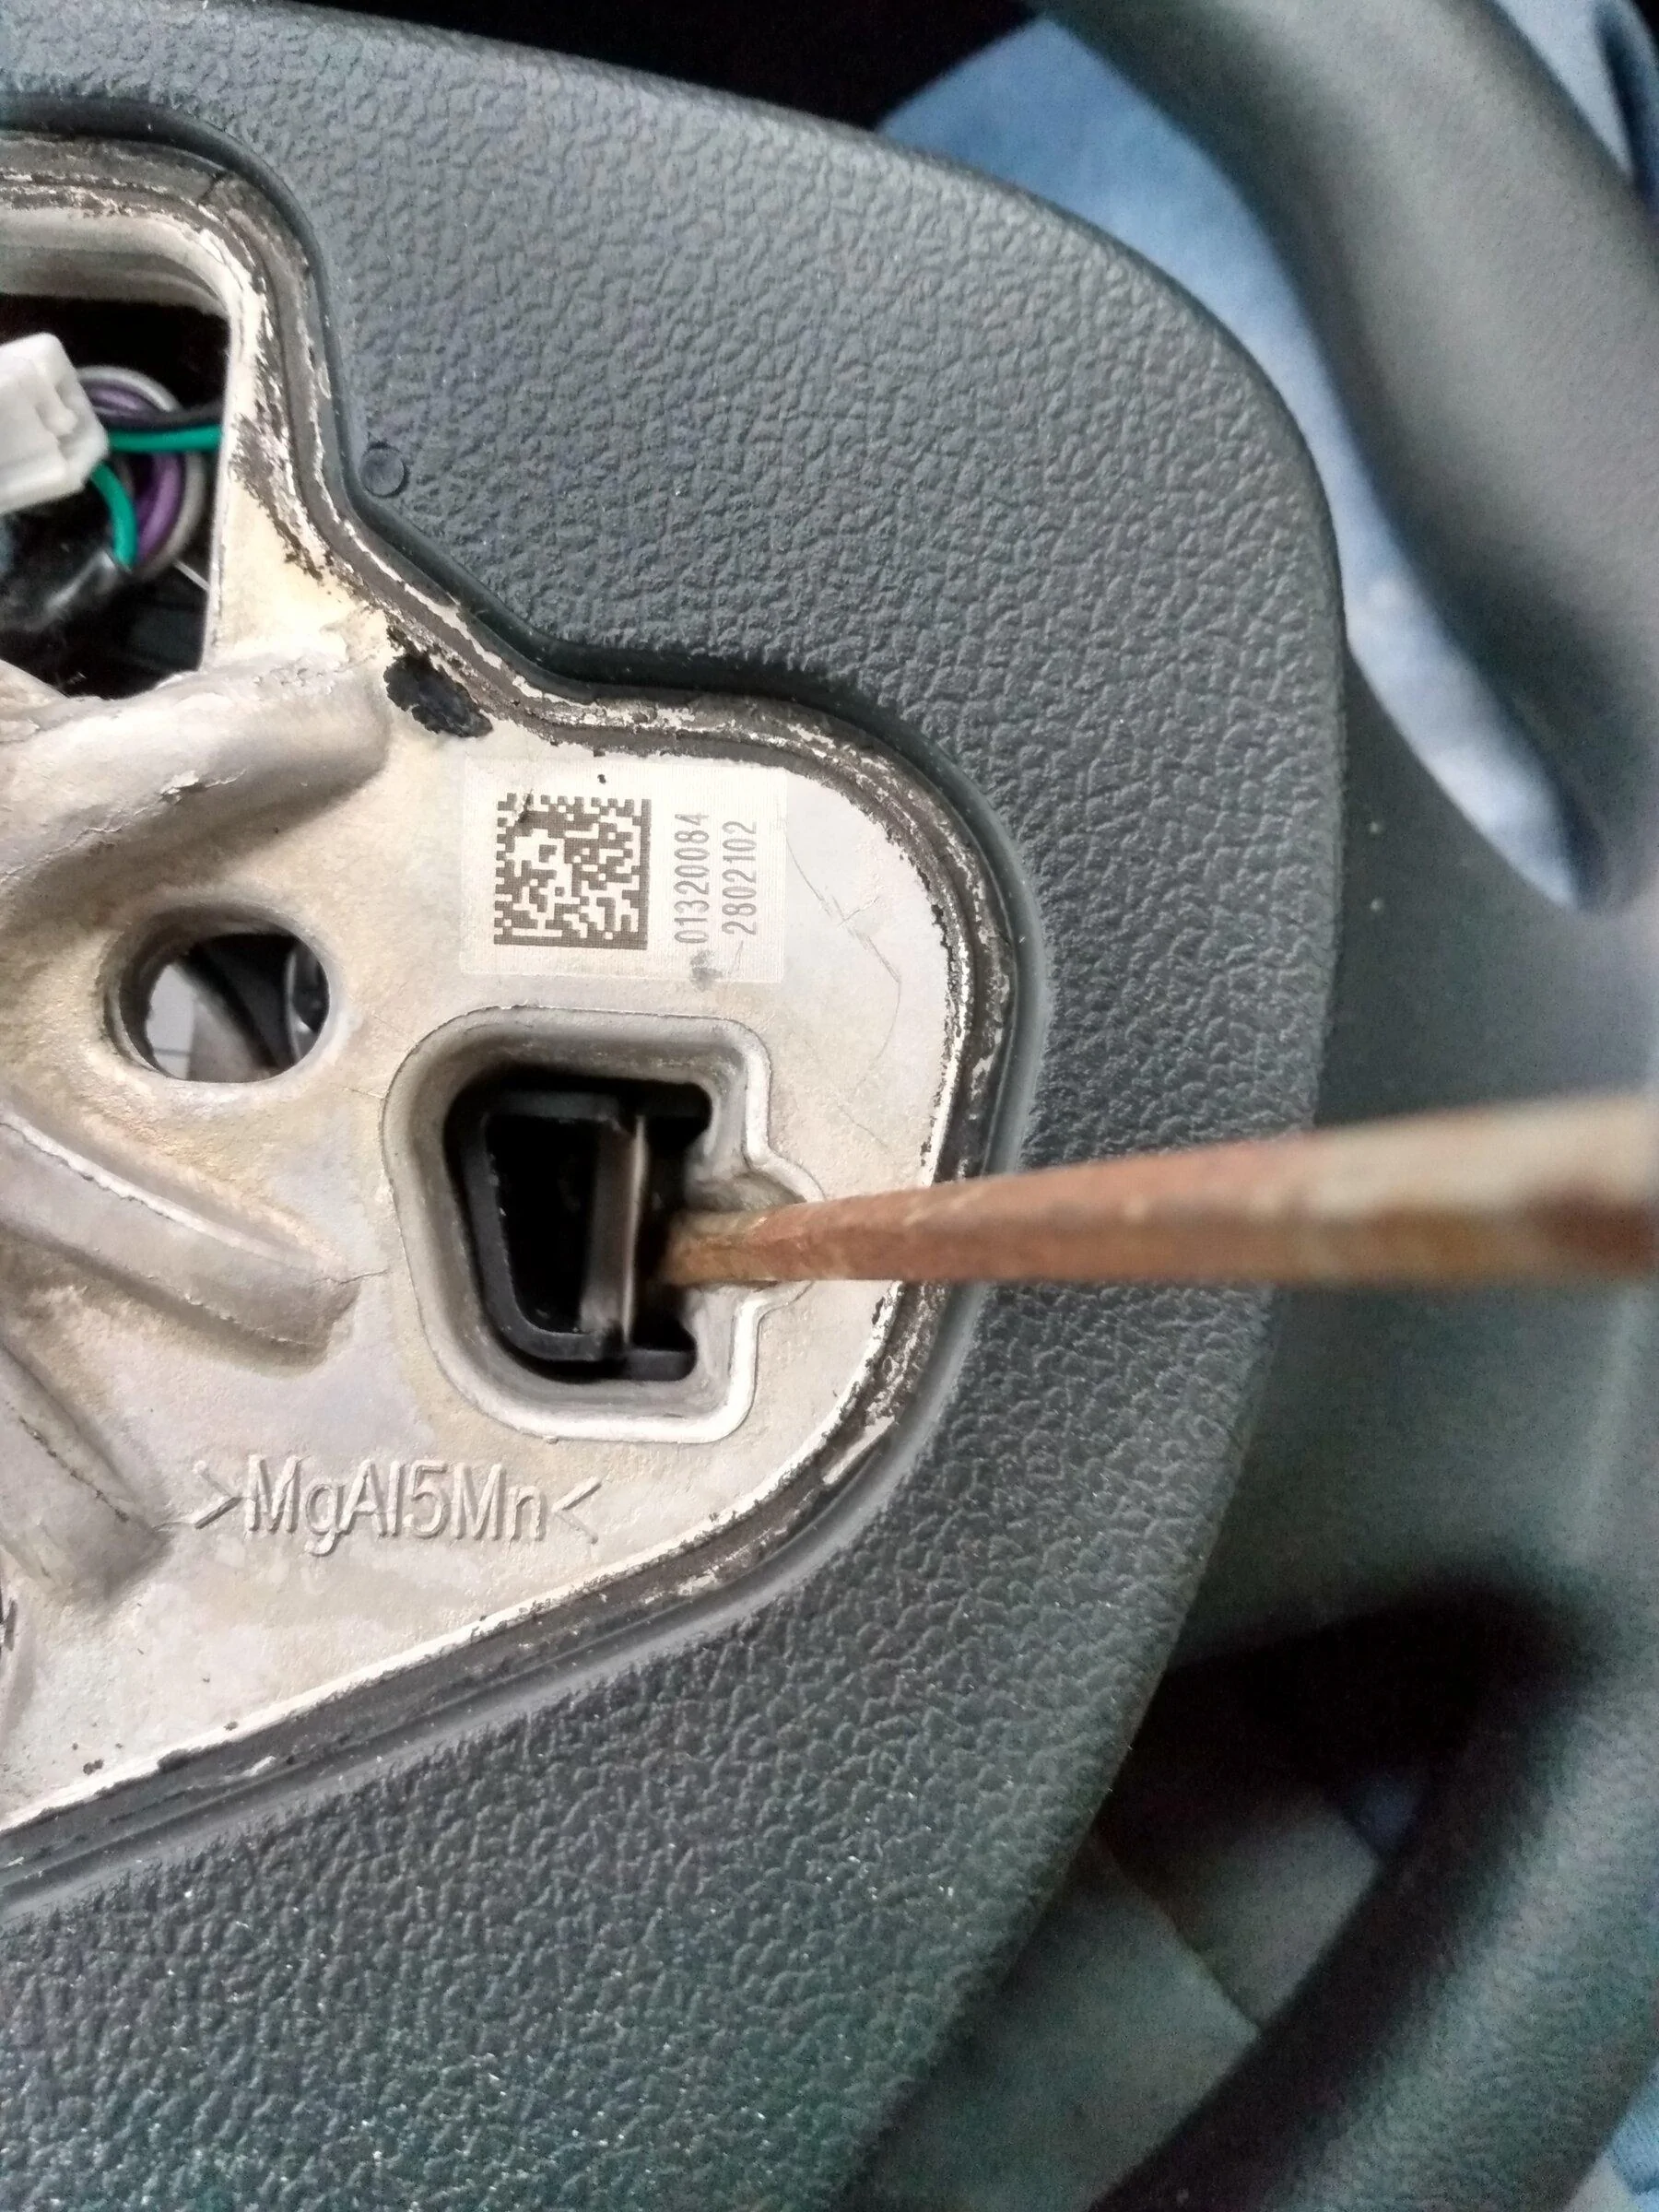
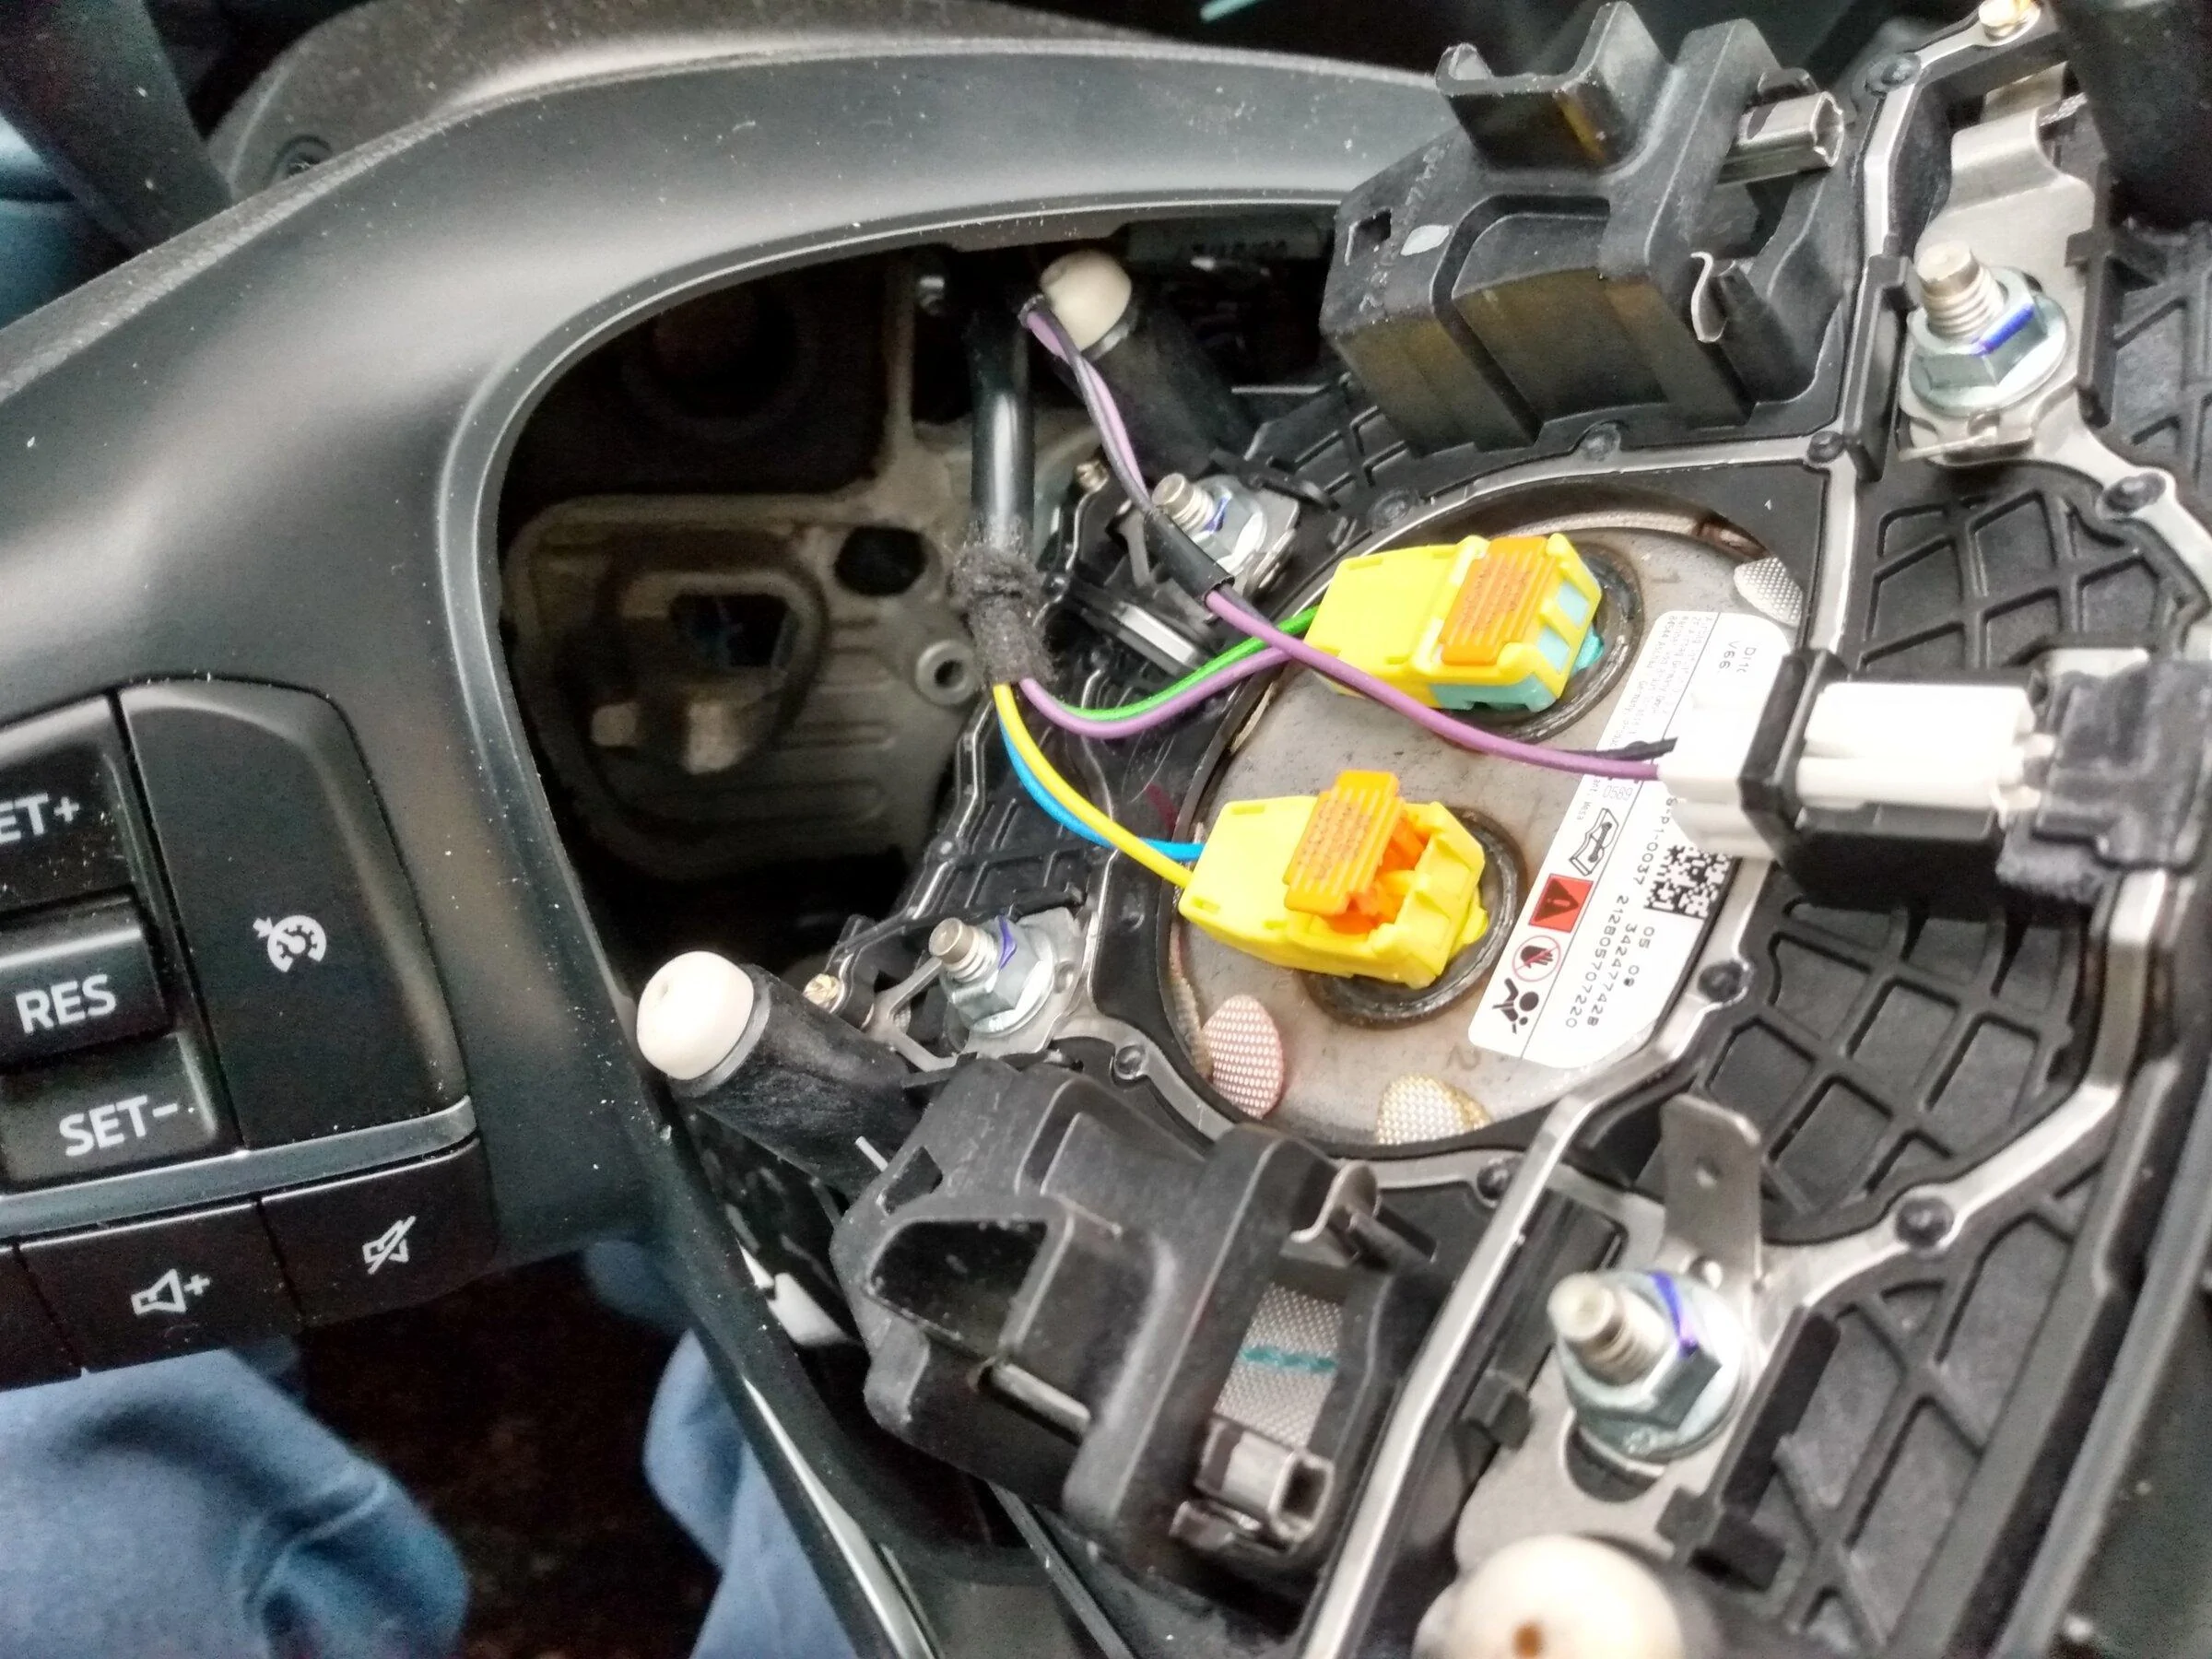
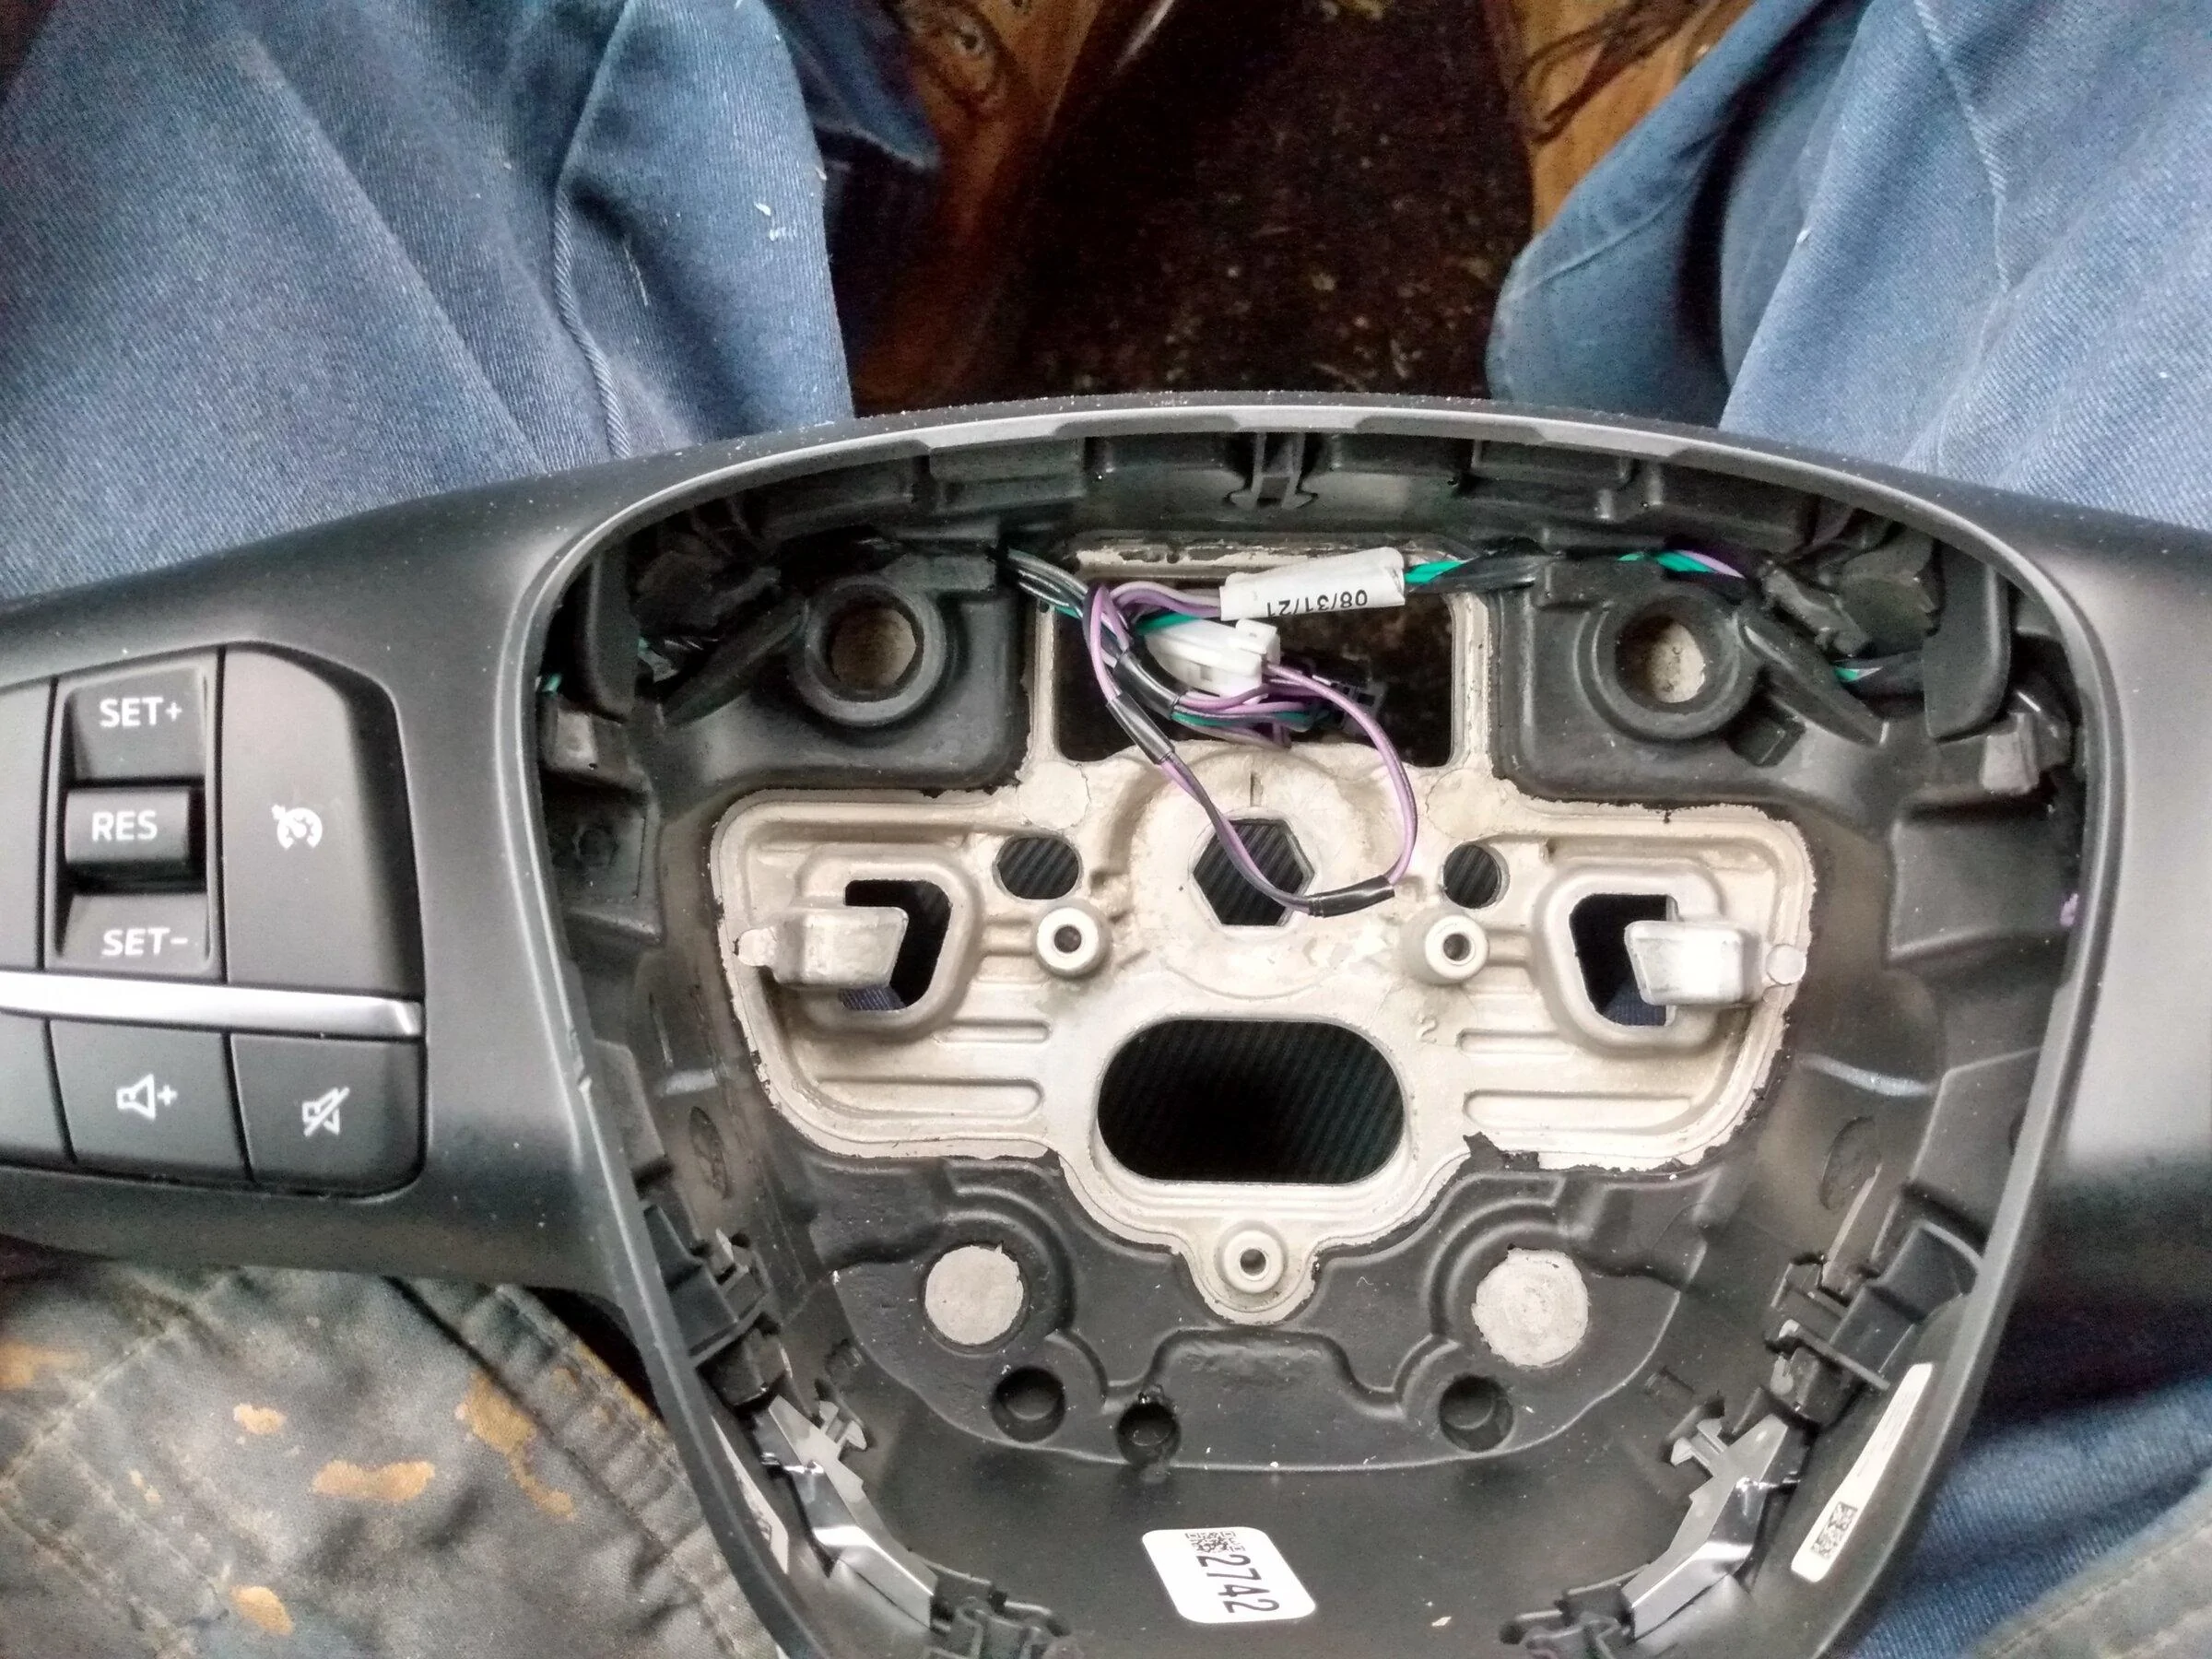
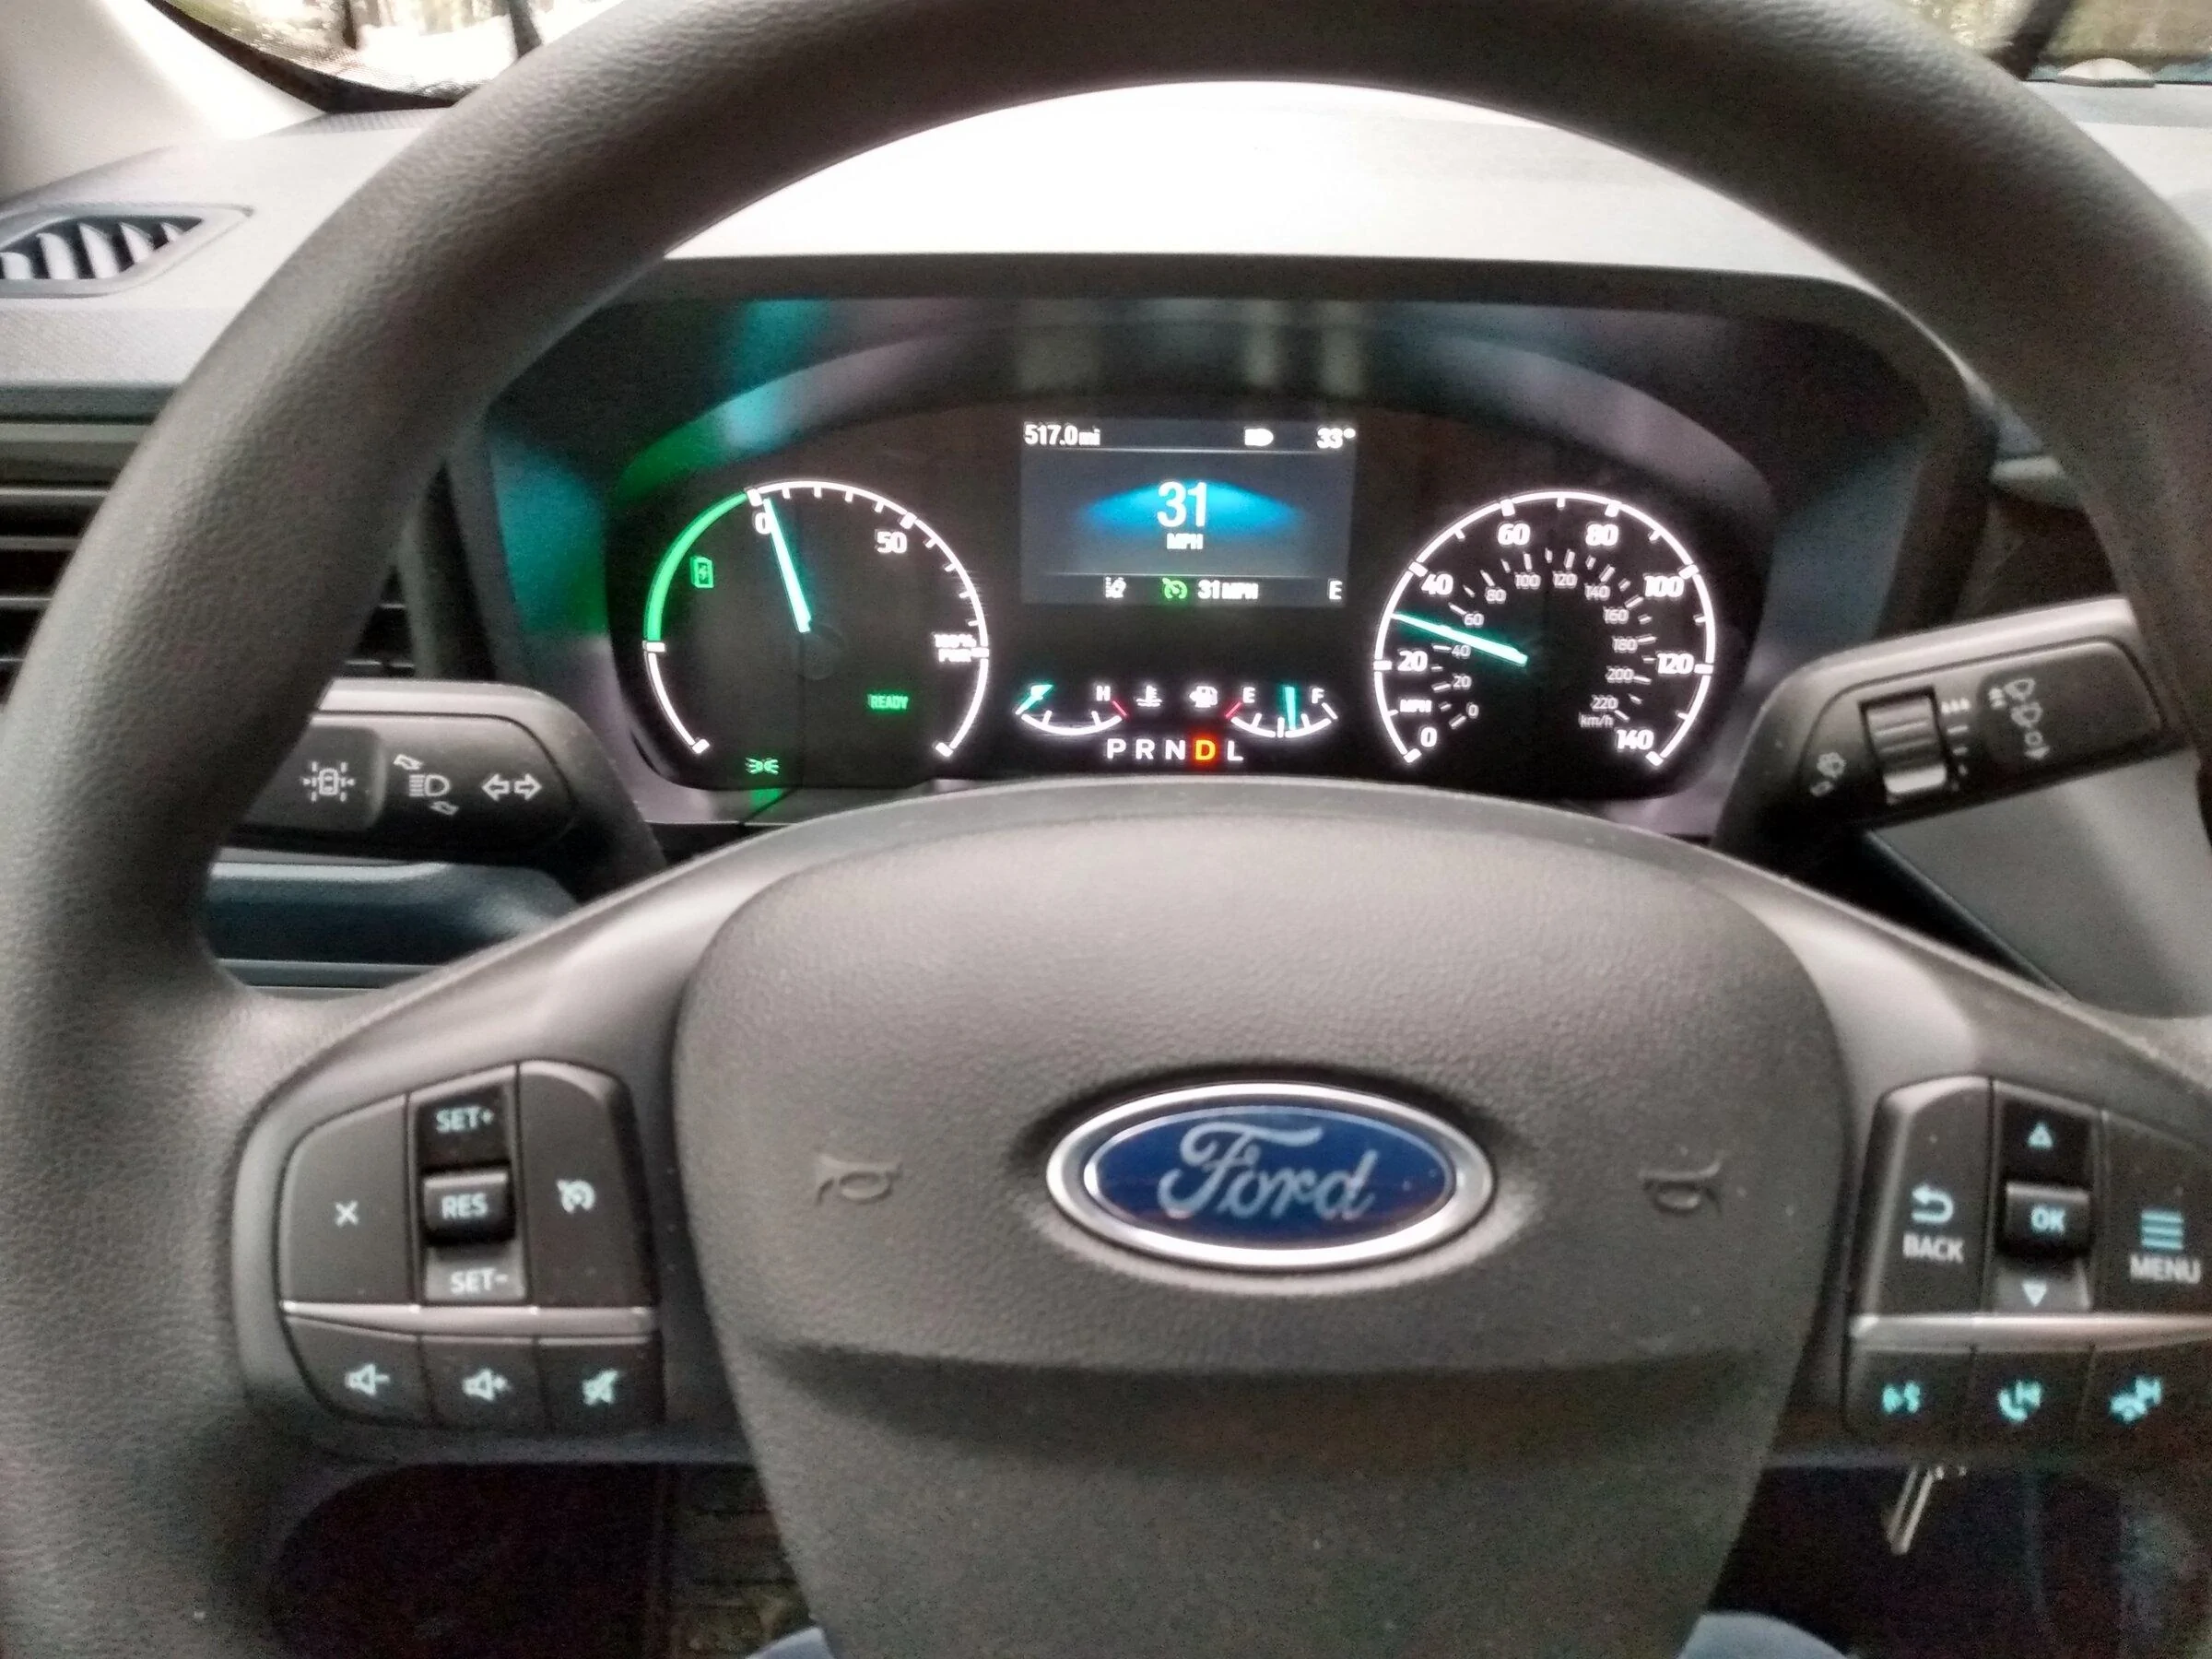
Bushpilot, thanks for taking the time to go through the mechanical details to change the switches and for cataloging the steps with photos. You, Tyvemattis, and others probably will never know how many owners you've helped. So thanks...Cool, good to know about the clamshells. I think that is the area most likely to be broken in the process anyway, so maybe most will choose to not remove it.
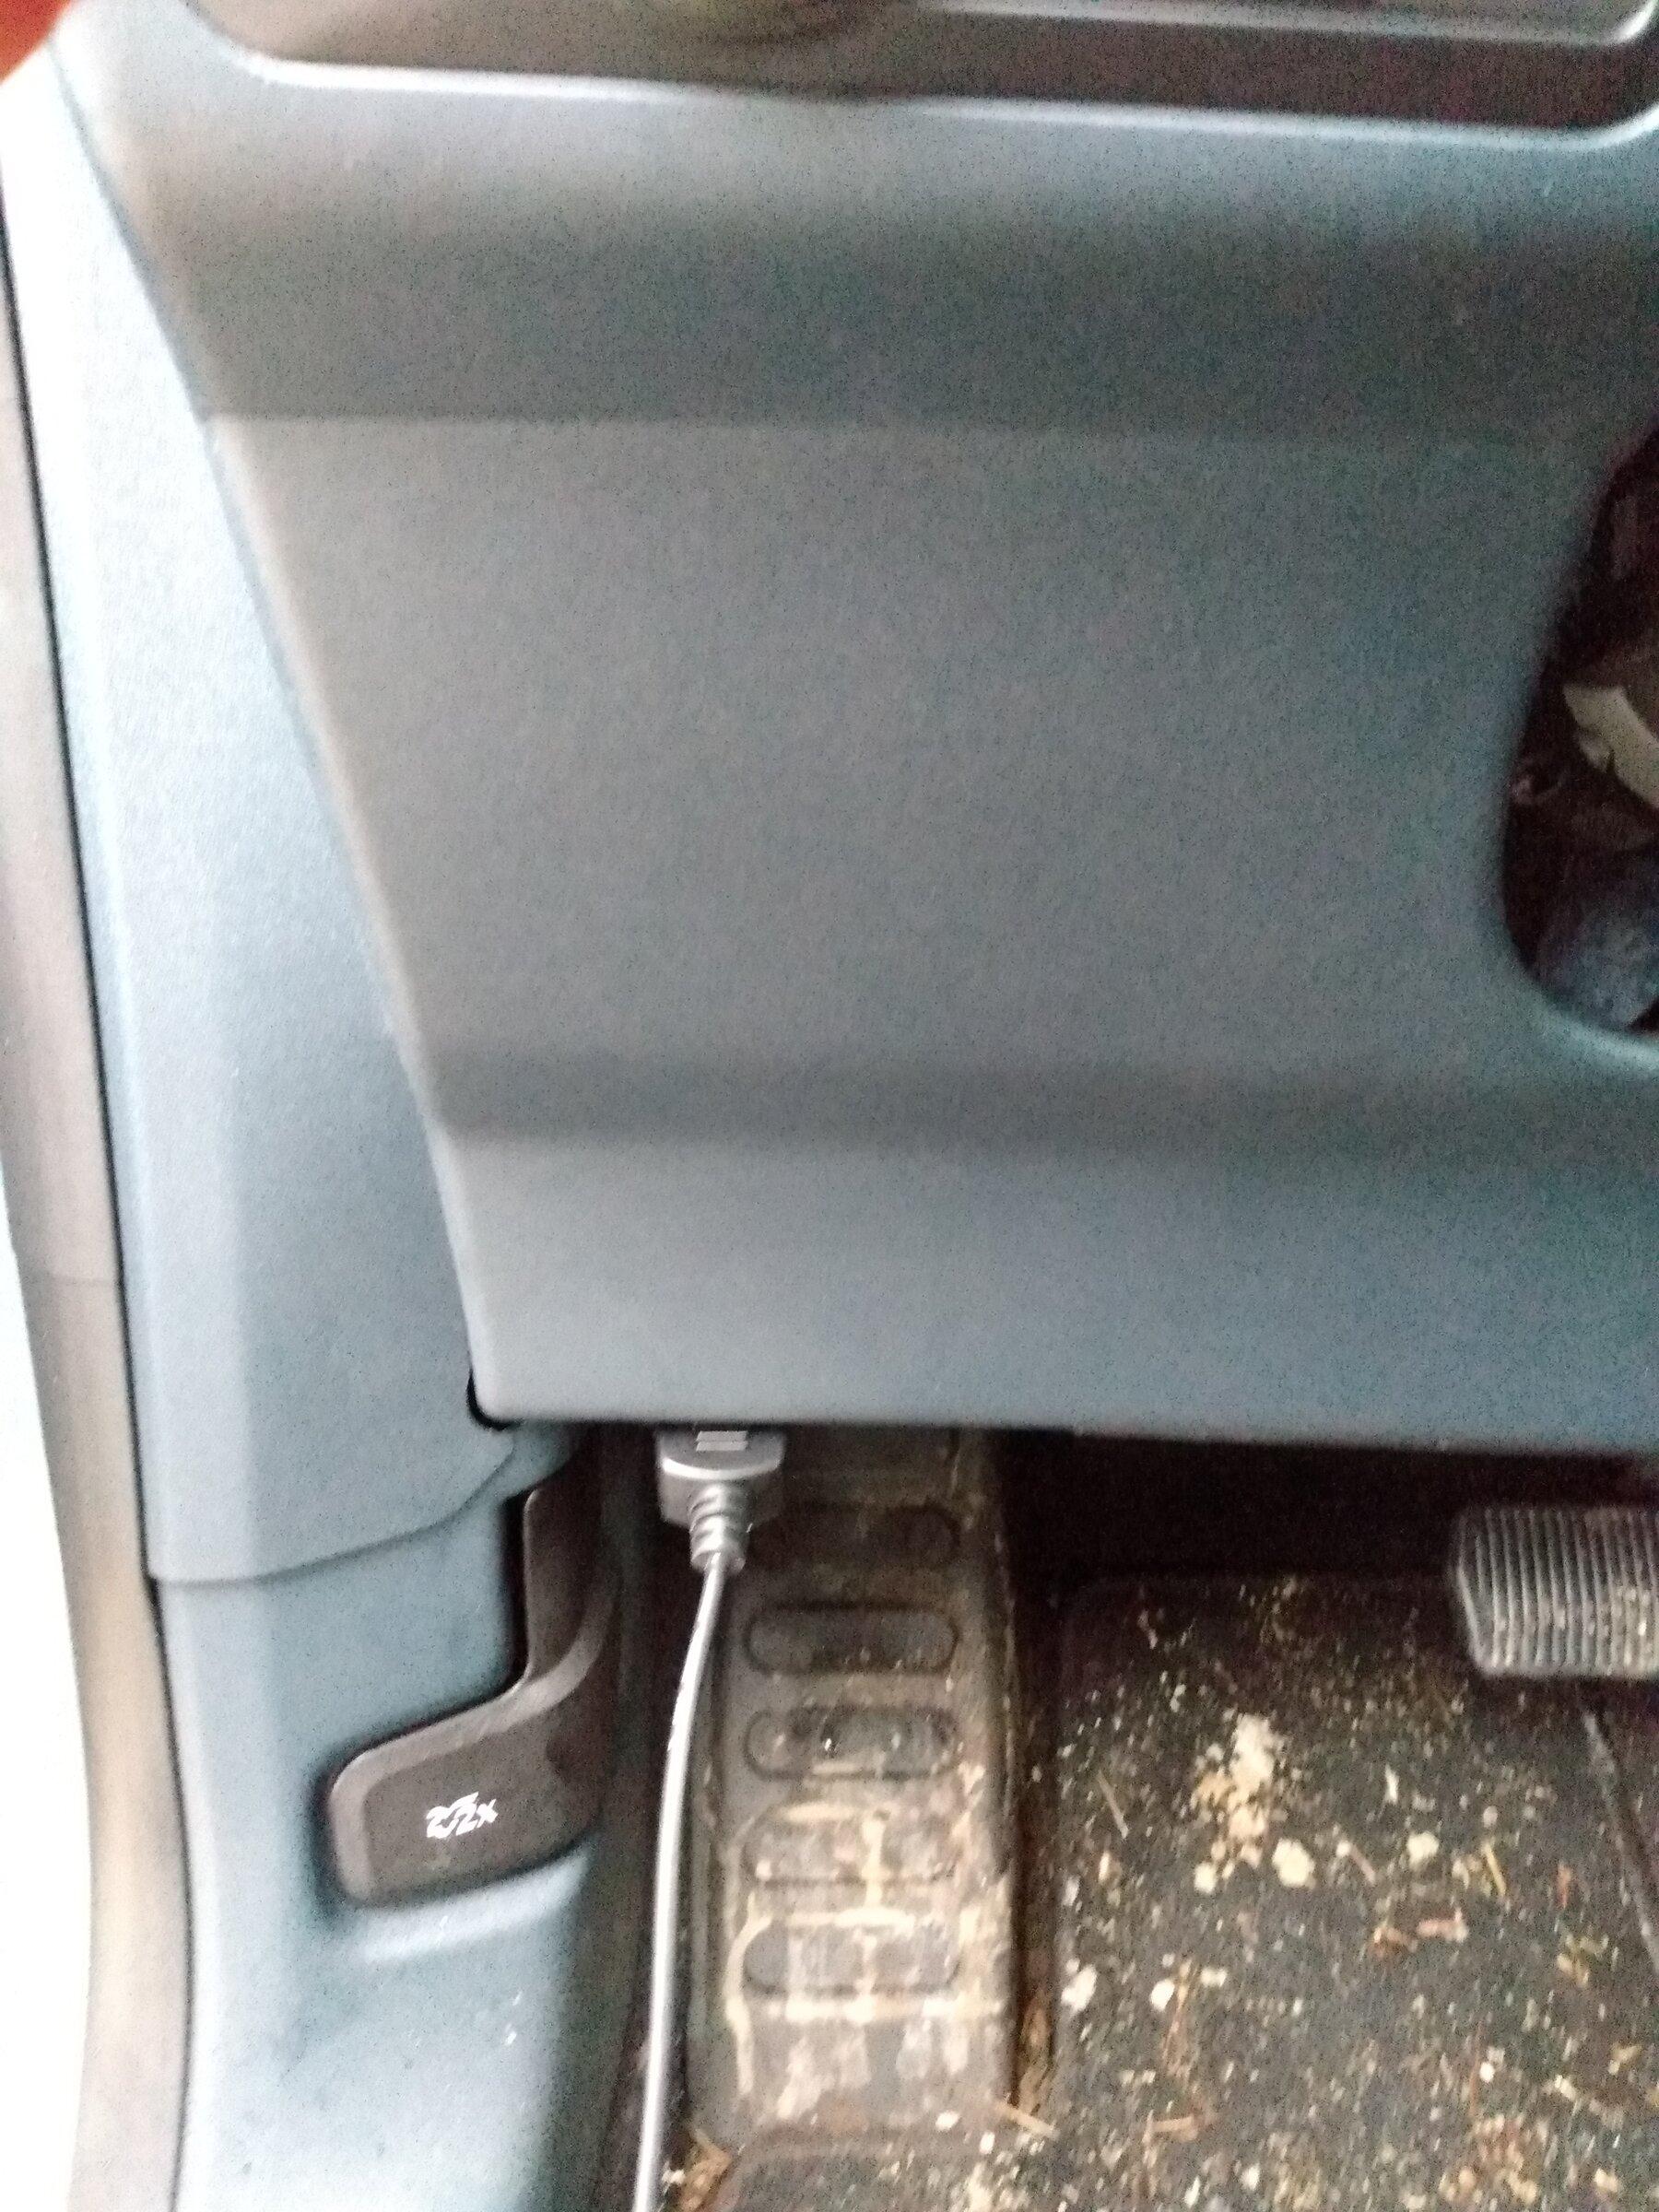
It's a country truck, not a city truck, and I was tromping through dirt, snow, and mud doing this job. And it was raining. That's my story, and I am sticking to it.
But I vacuumed immediately after finishing the job, apparently I should have done that before!
Just trying to talk my wife into letting me buy the switches and the OBDLinkEX.

Sponsored