
- Thread starter
- #1
Better late than never -- I installed this system in my 2025 XLT back in March, but never got around to posting. Here are the basics of what I installed.
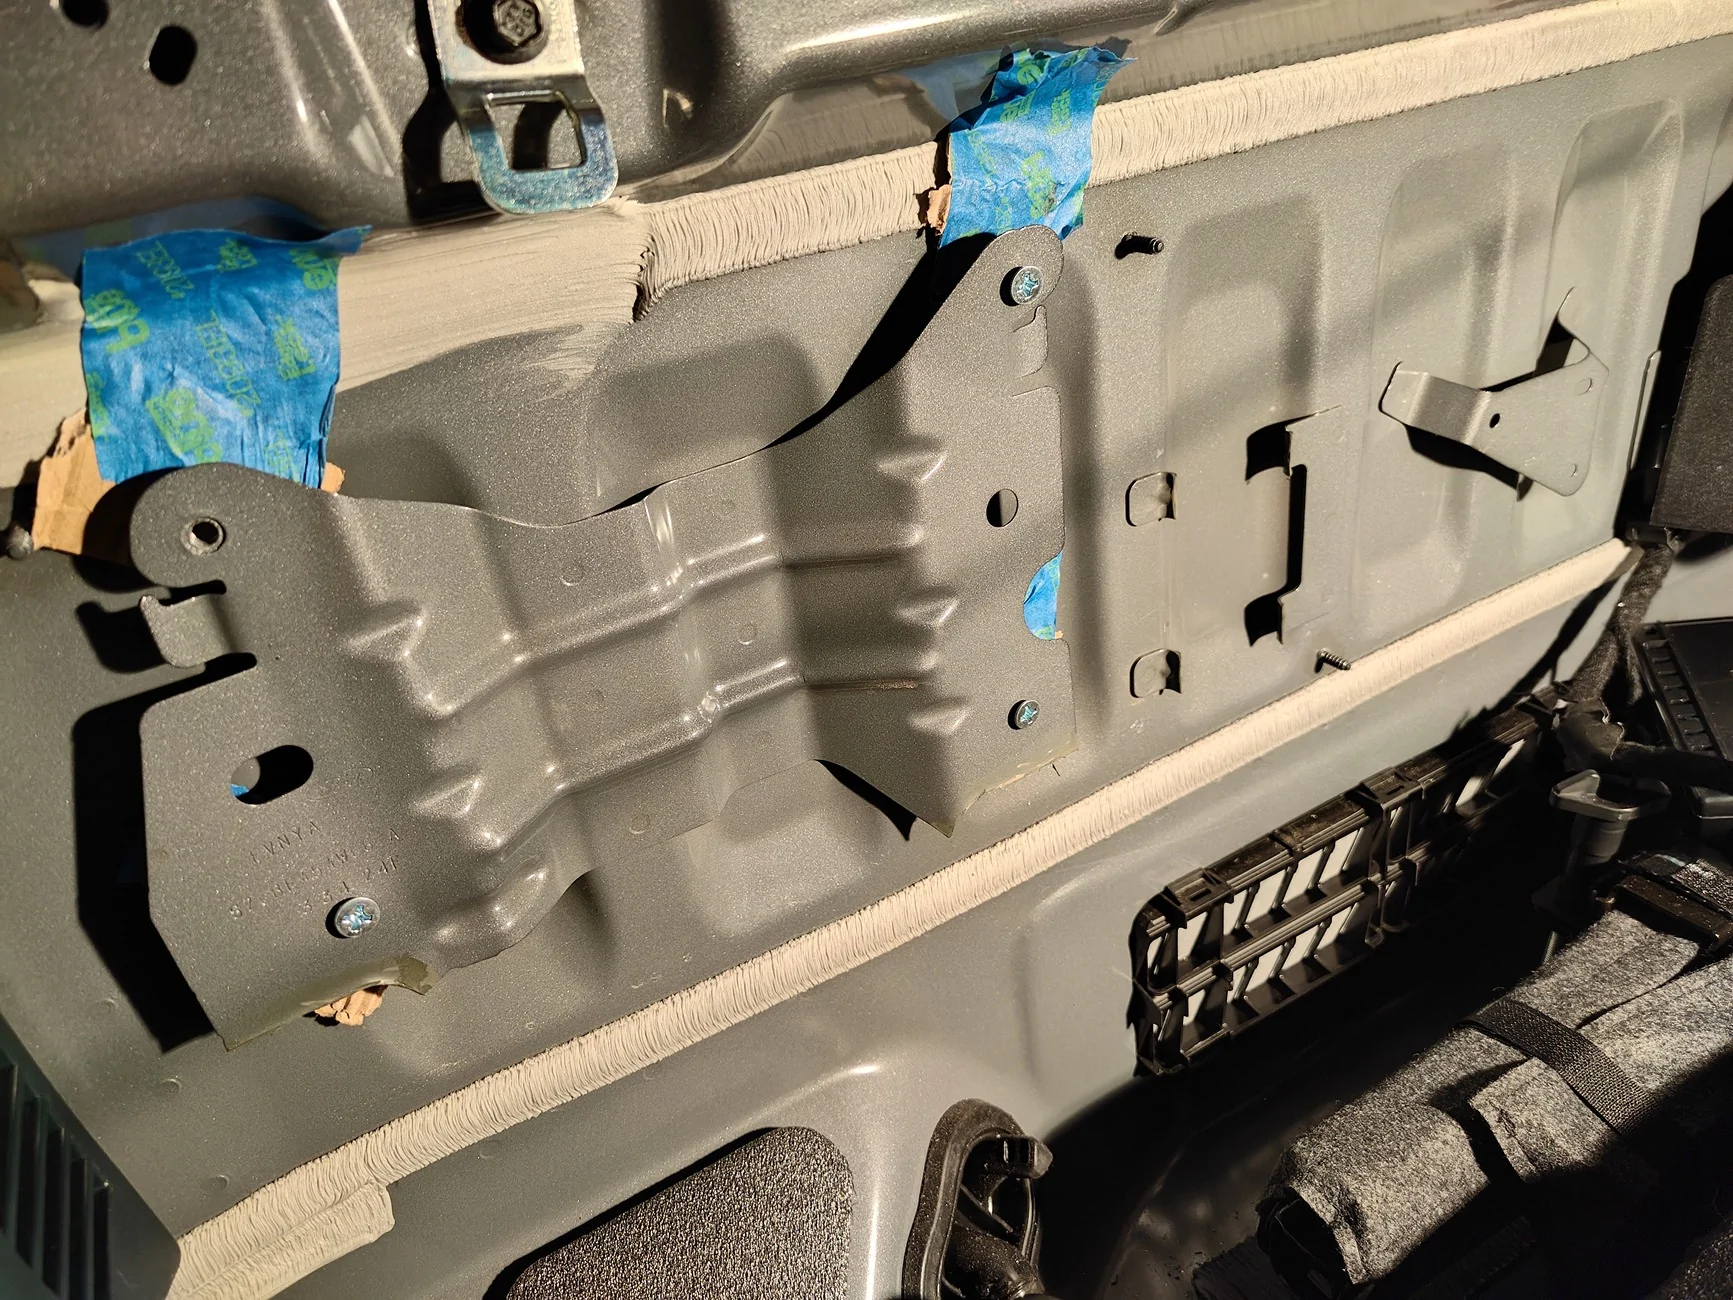
I flattened the bracket used for the factory sub. Cut off the bracket for the brake controller to later be remounted. Got everything basically the same height for a larger mounting board so the amp and everything else will be nice and solid.
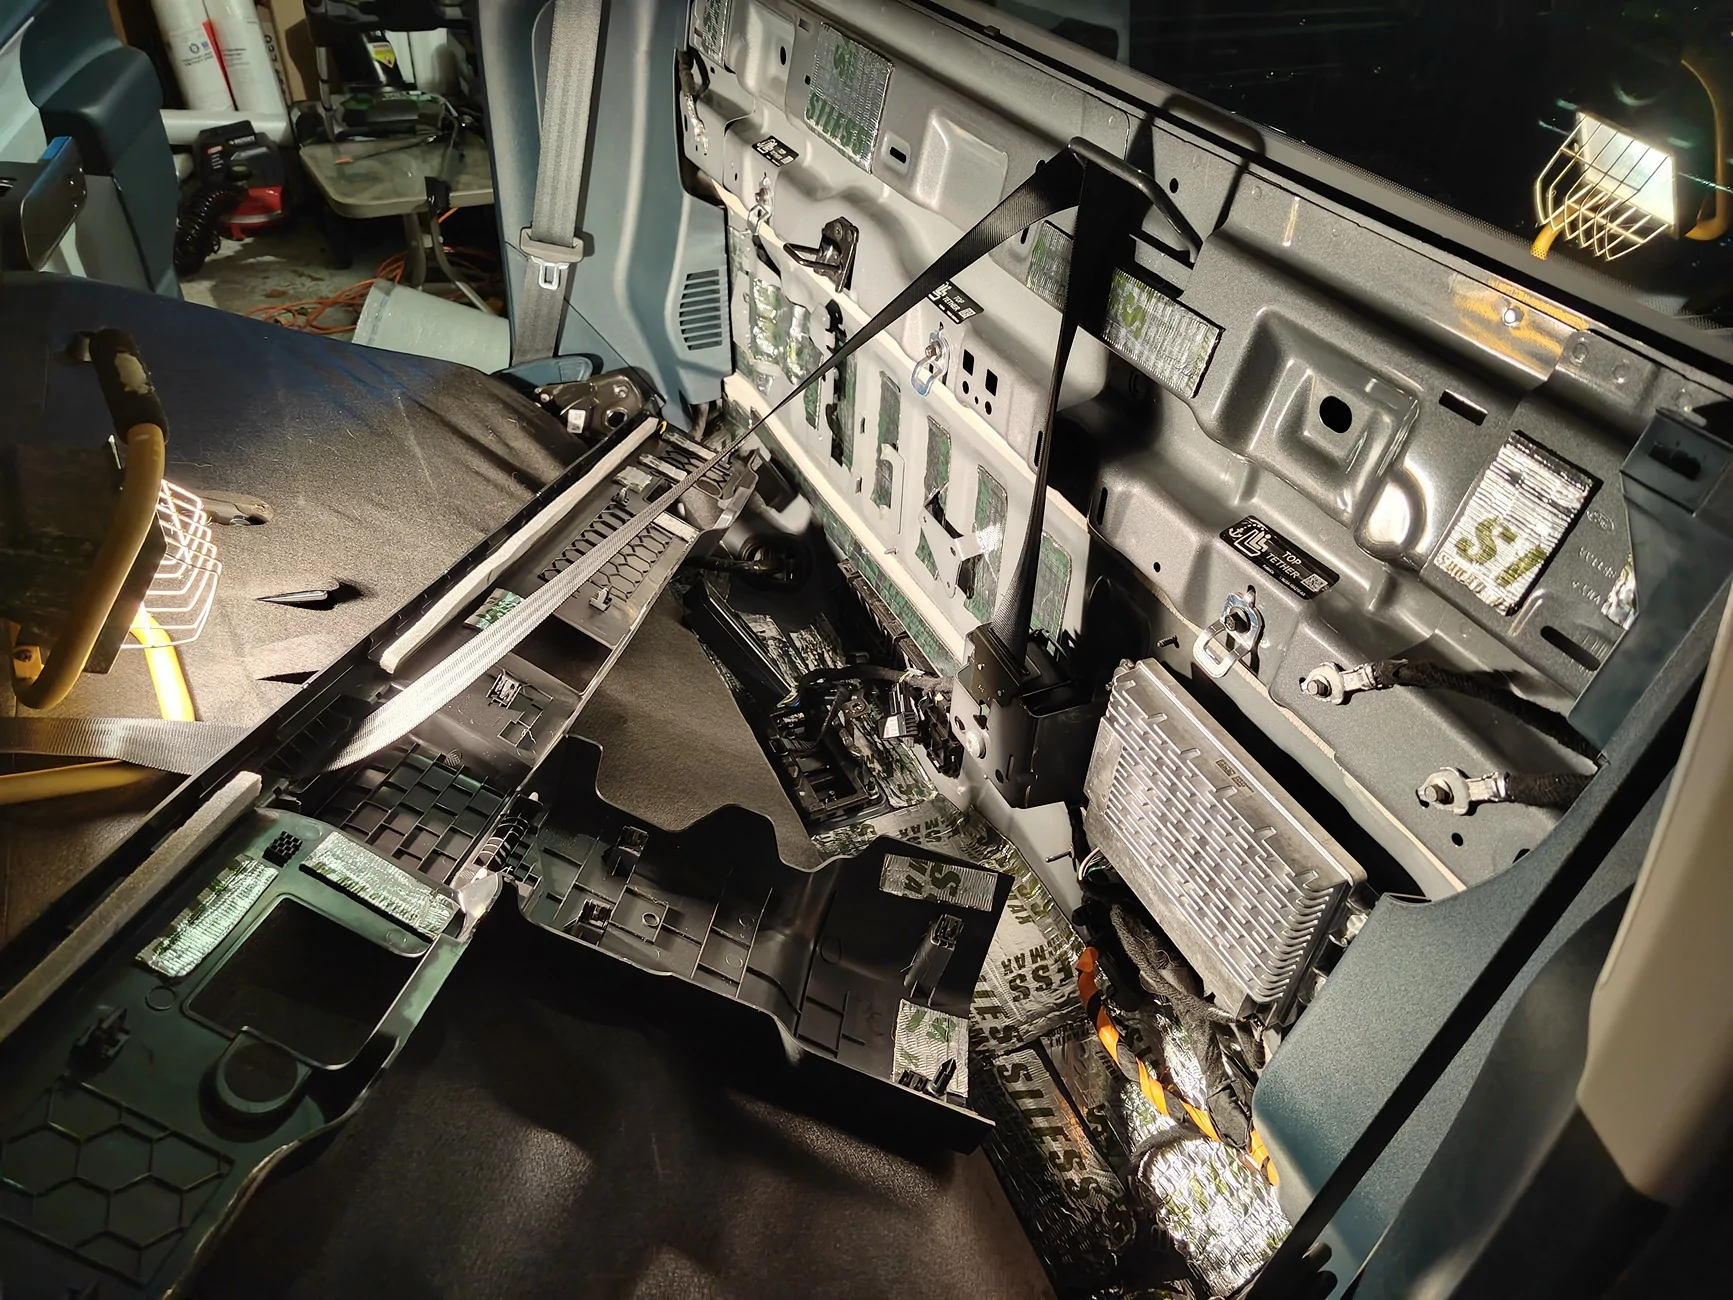
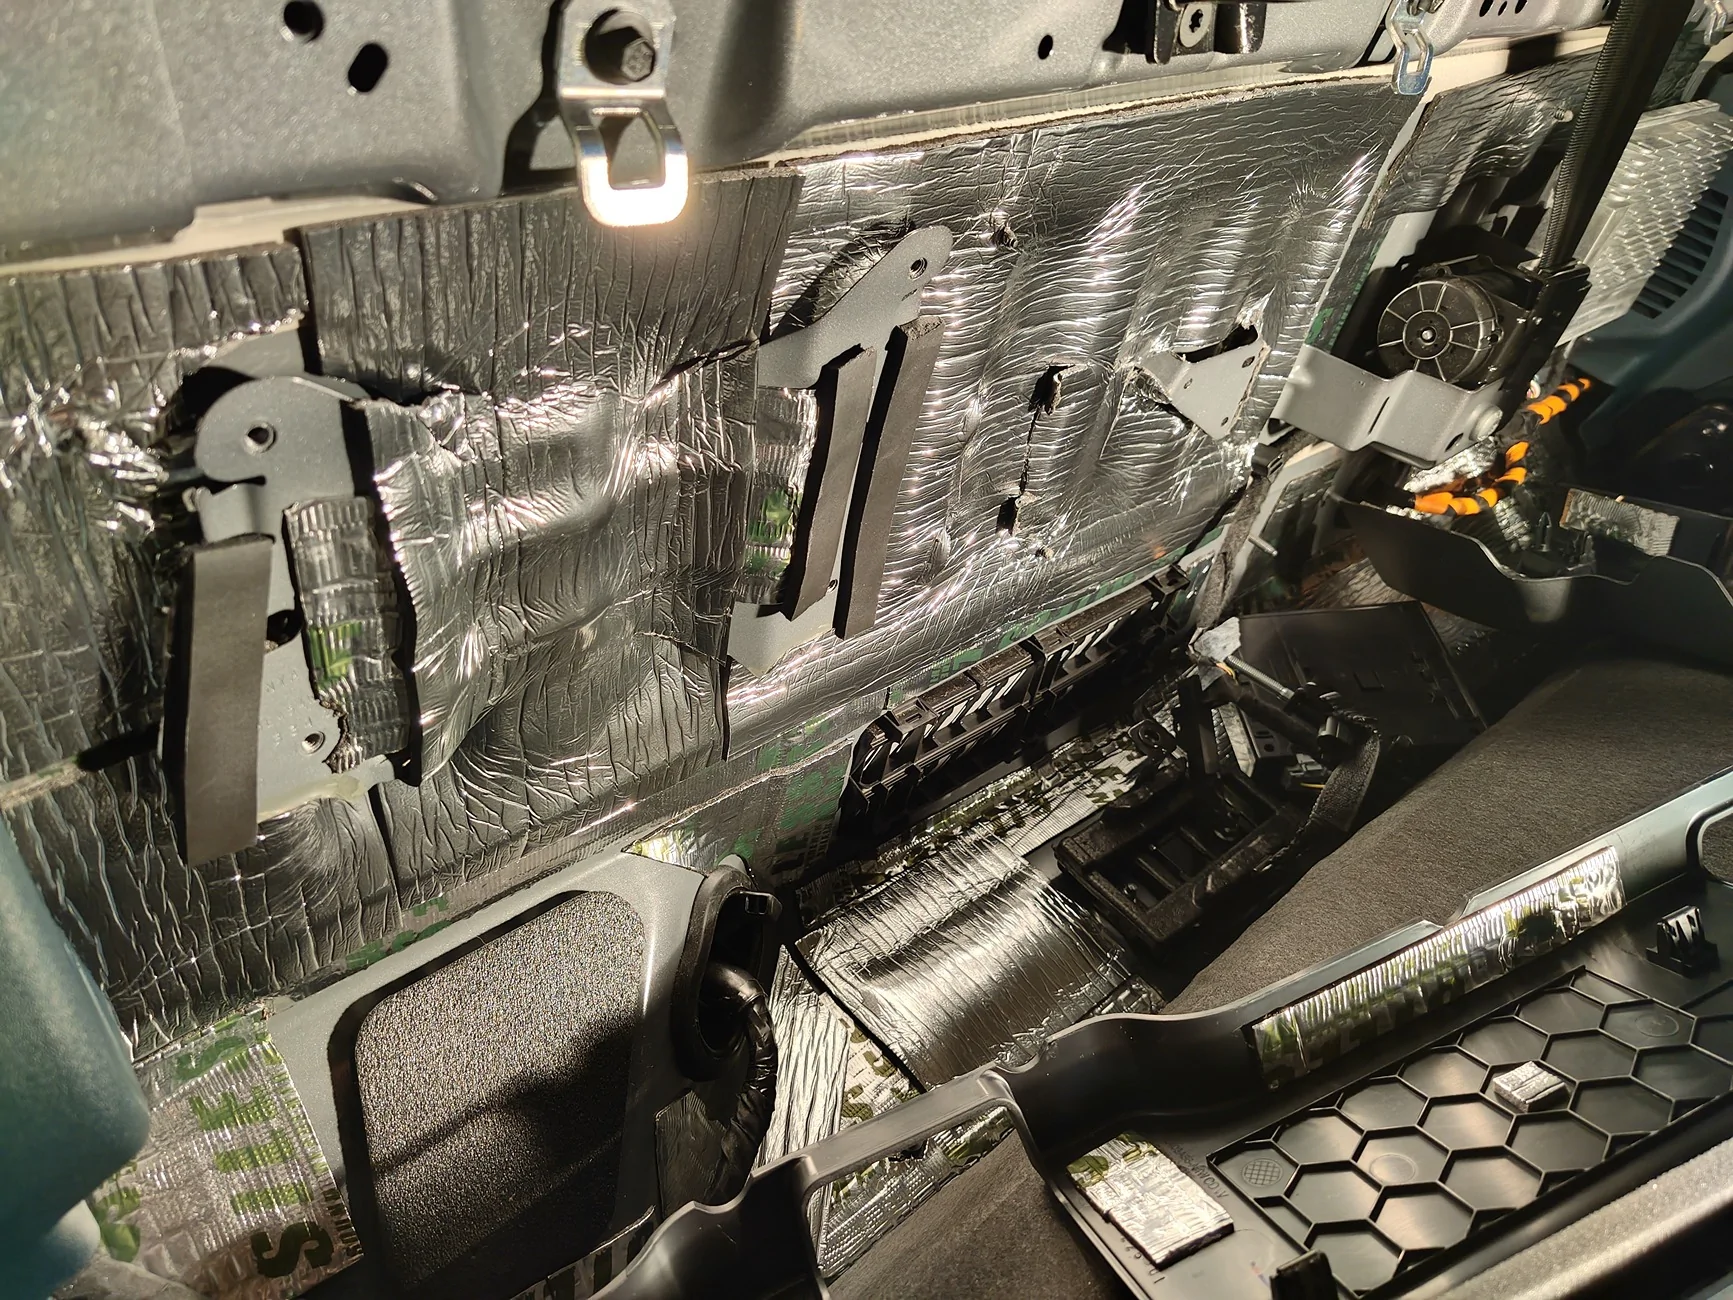
Installed Siless Max 120 mil rubber/aluminum sound deadening on ever flat surface I could in the back. Then on top of that, Siless 157 mil CCF aluminum finished as well. It's surprisingly quiet outside of the truck. Also installed around the rear pillars best I could with polyfill in there as well (not pictured).
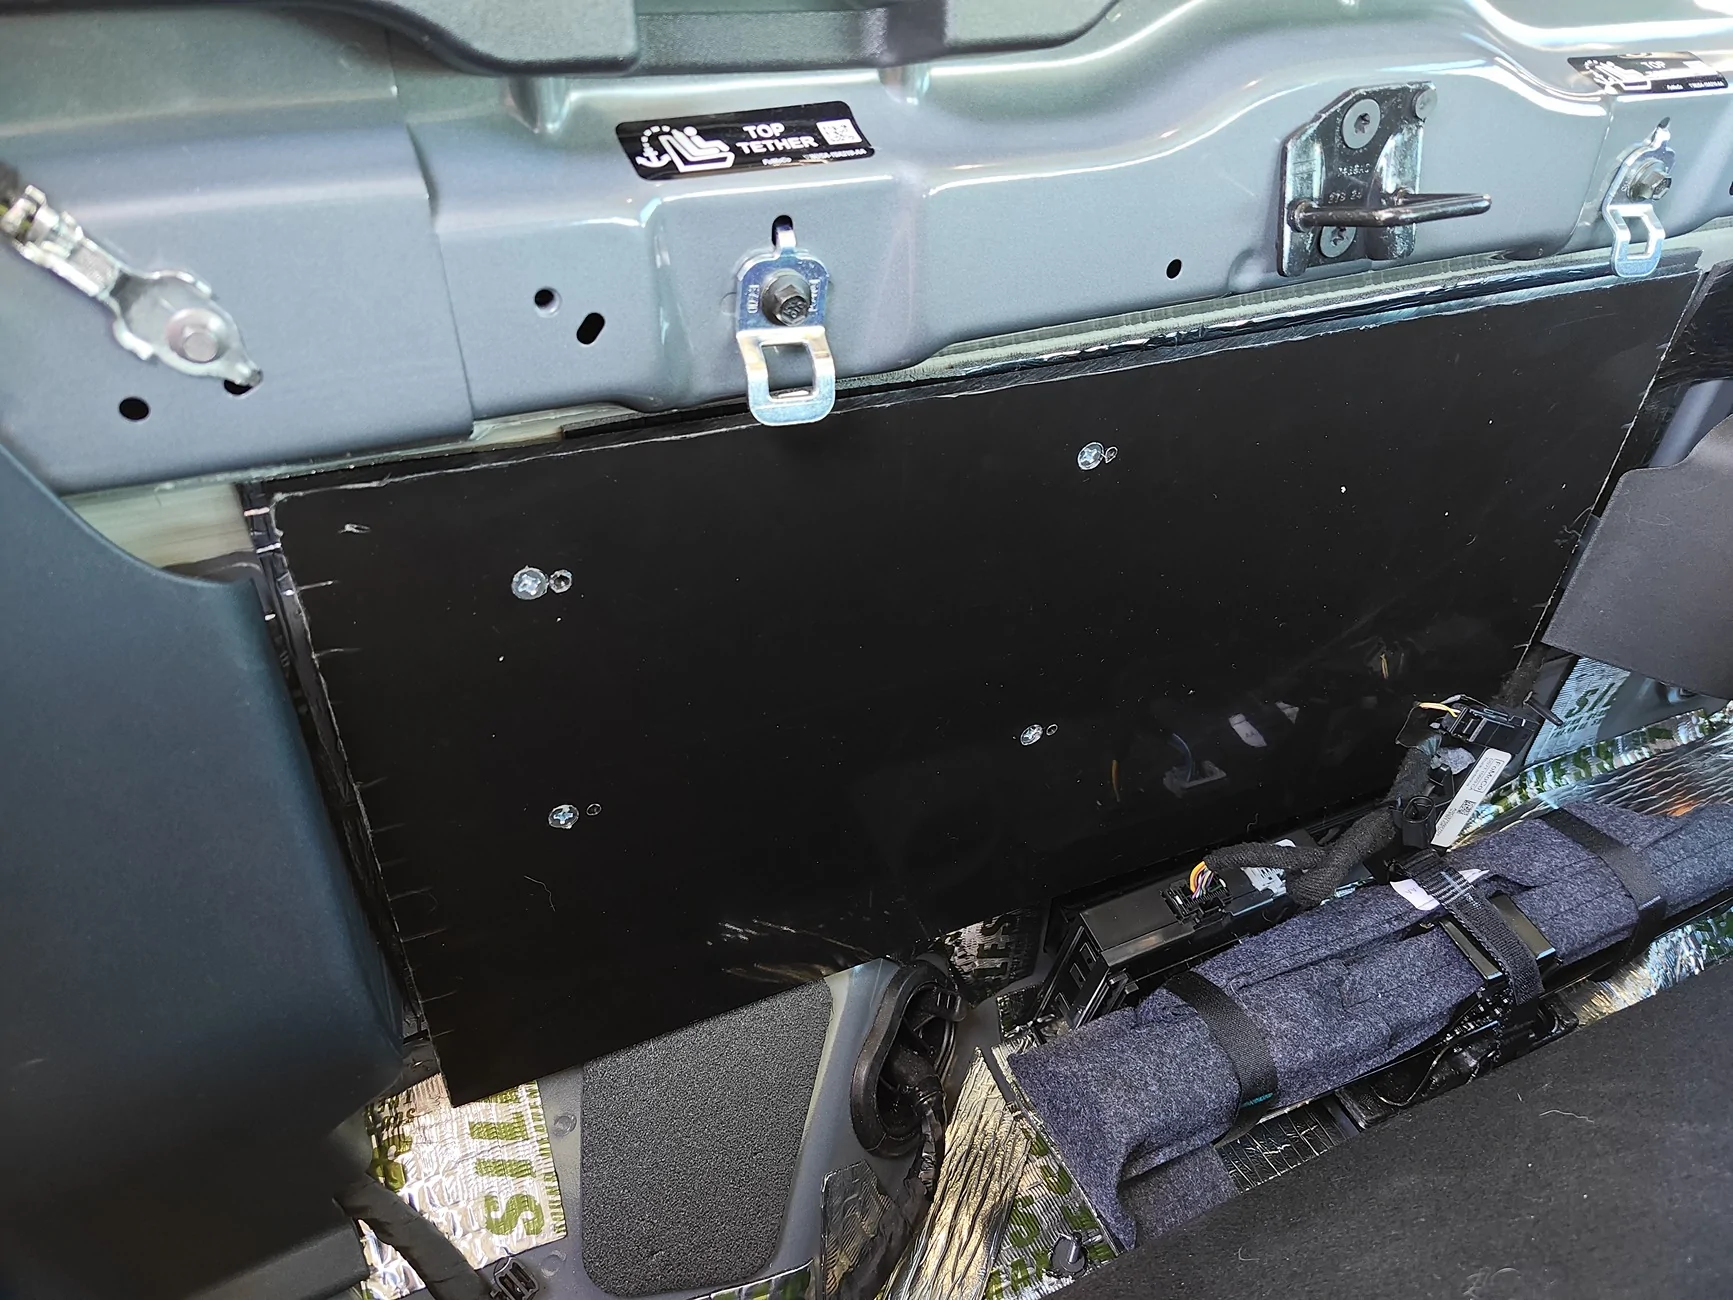
Mounted 3/8" HDPE board with some oopsies on the hole locations. I needed a tiny bit more room on the left so it didn't touch.
1/0 Gauge power wire down the driver side barely fit, but I made it work. All speaker wire was ran down the passenger side.
All new 16 gauge speaker wire ran to the front to better handle the 125w rms. Overkill? Kind of. The original is all left in place should some psychopath want to take it back to stock. I used some plastic tubing and ran an all new path through grommets to protect the wiring from opening/shutting and the elements. Formed a tight seal around the tubing. Also, the same sound deadening in the front doors.
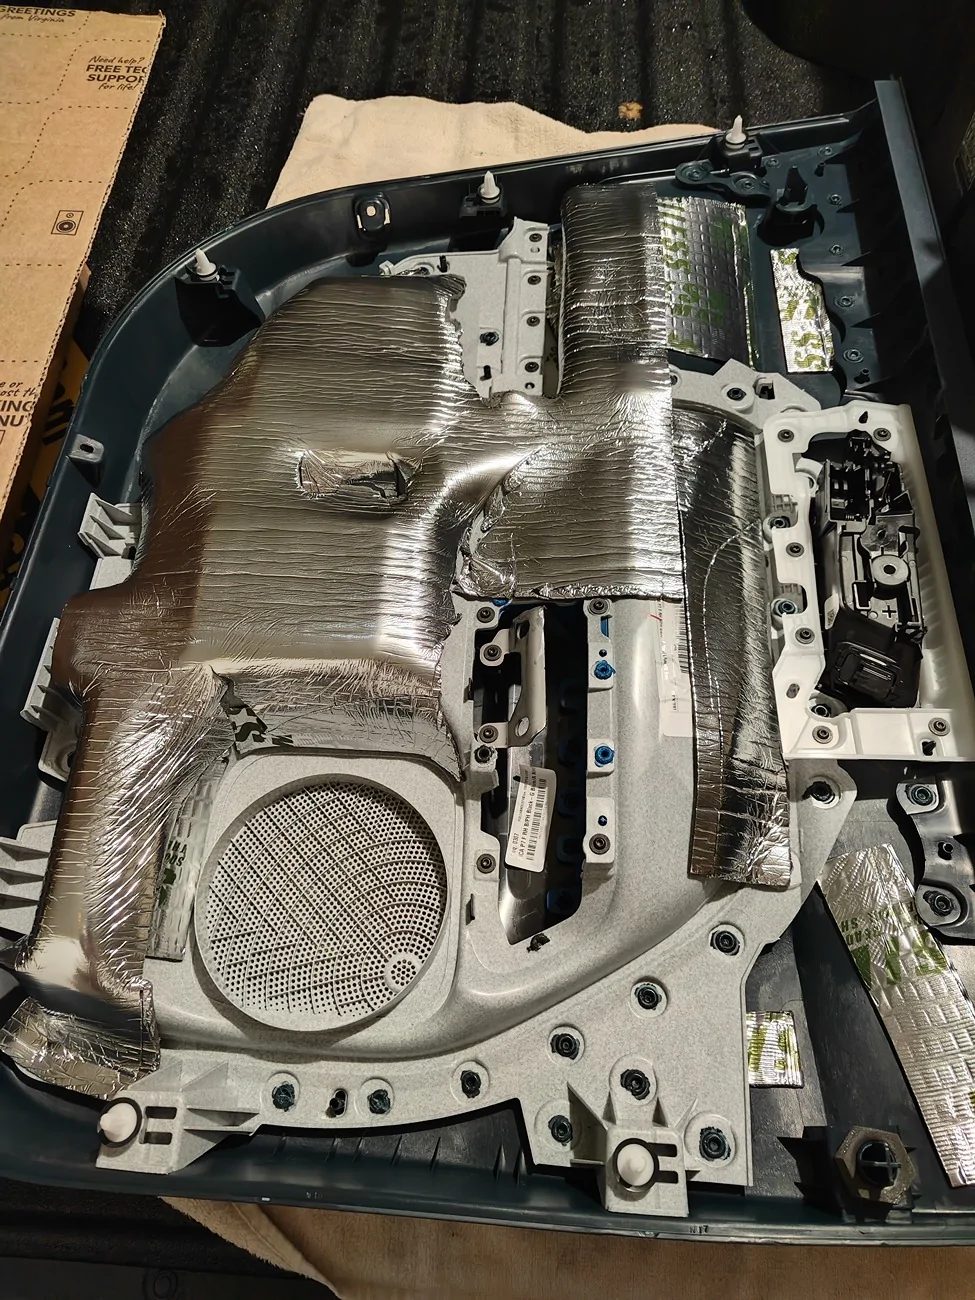
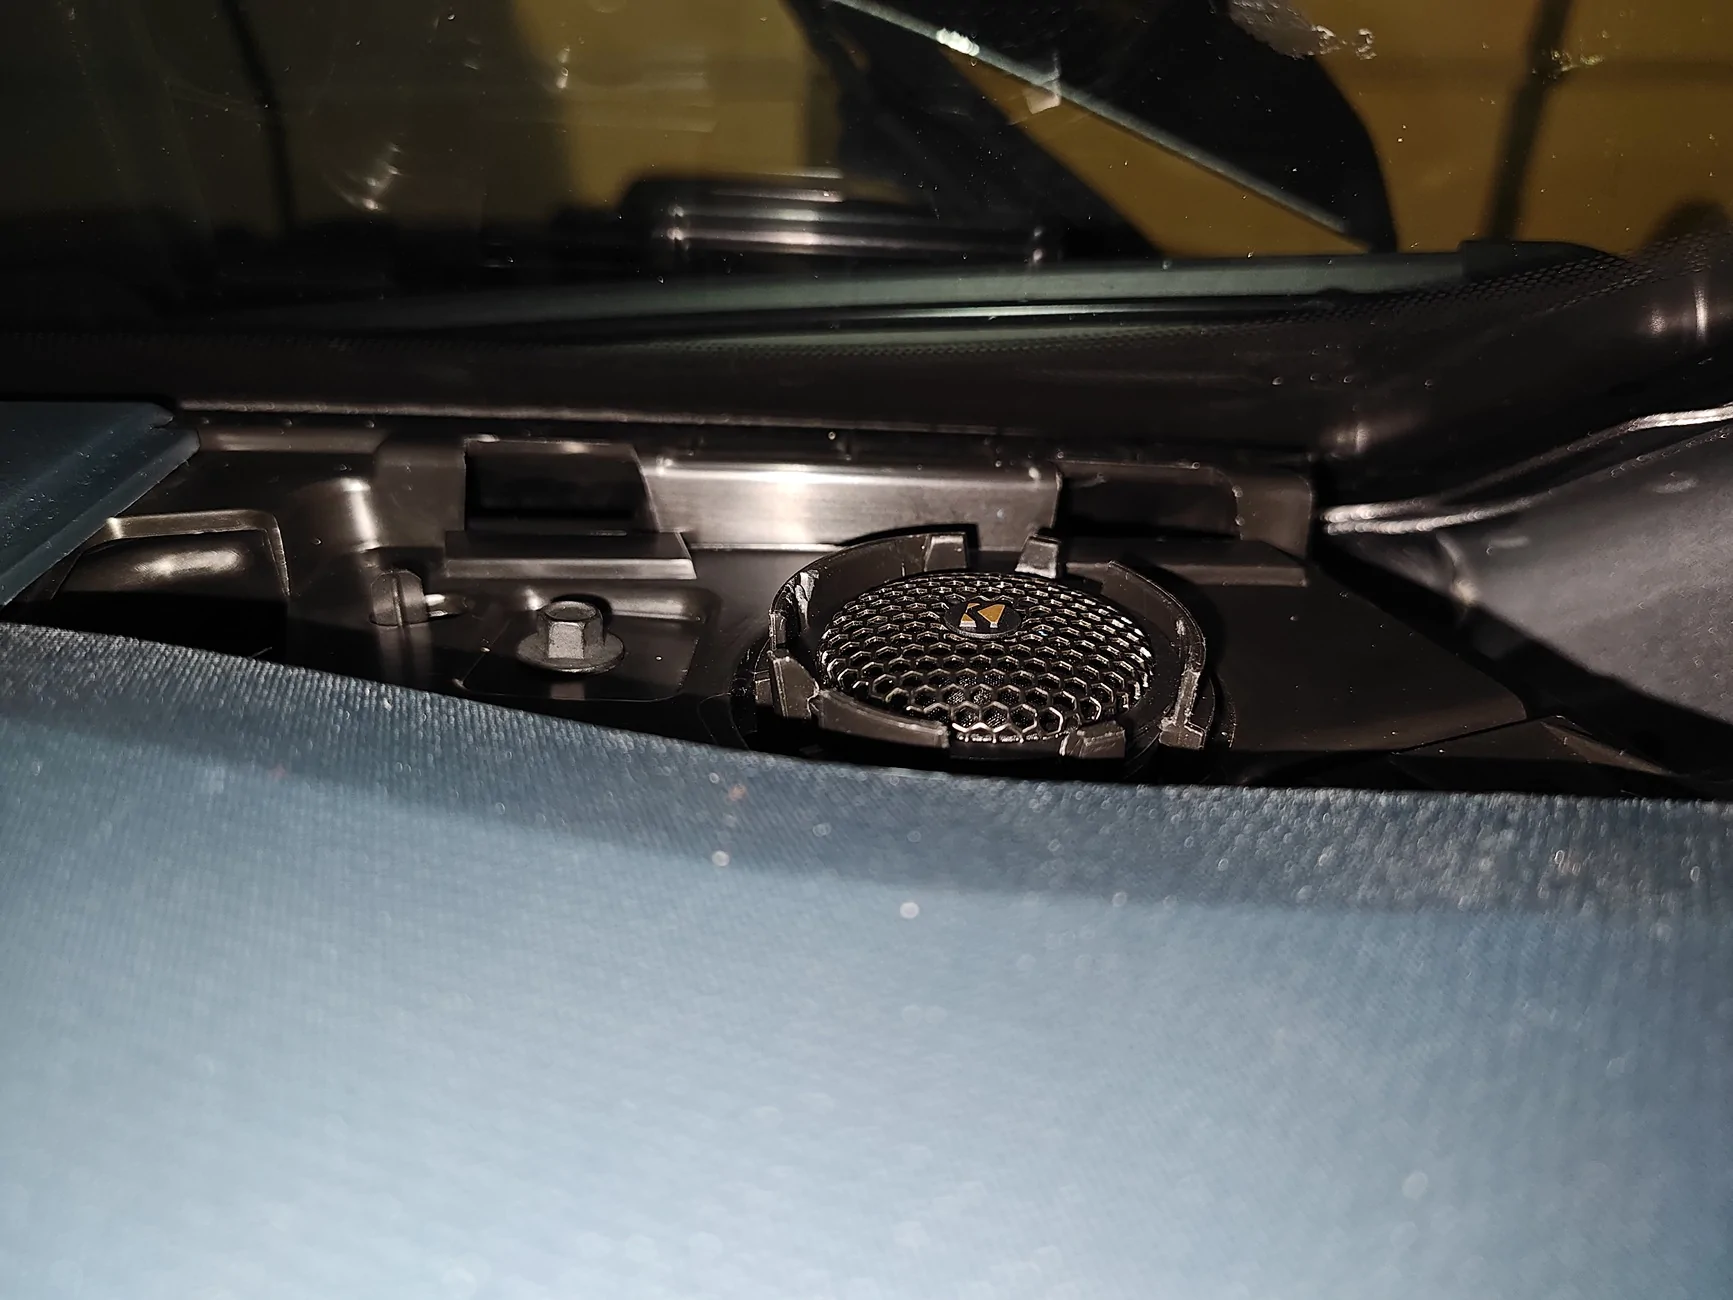
Shaved off some tabs which allowed me to put the silk dome tweeters into the factory spot. They actually snapped in perfectly even though crutchfield said I'd need to mount them elsewhere. The crossovers had just enough wiring where I mounted them up high near the doors under the dash.
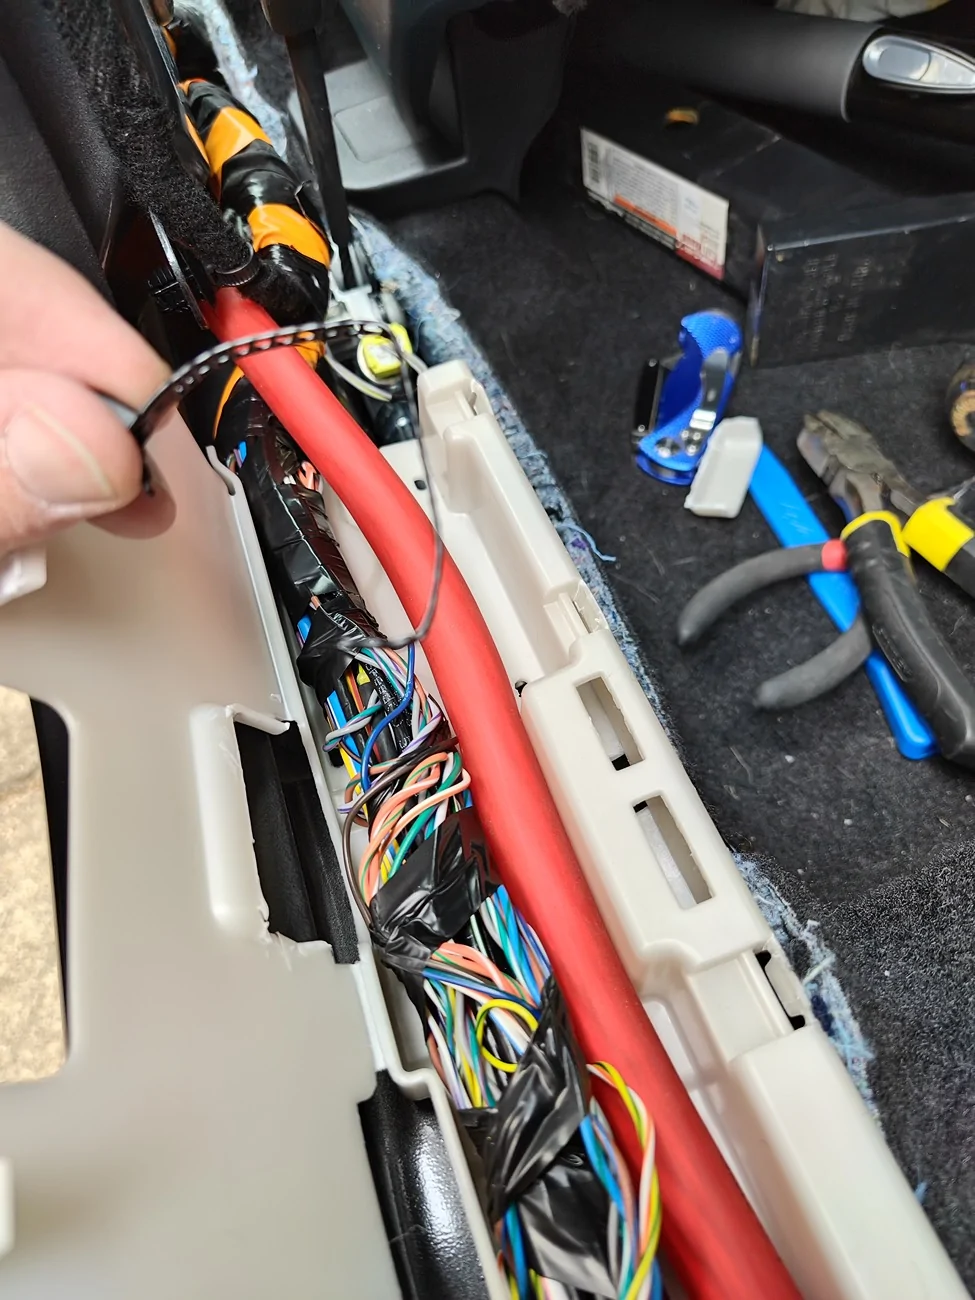
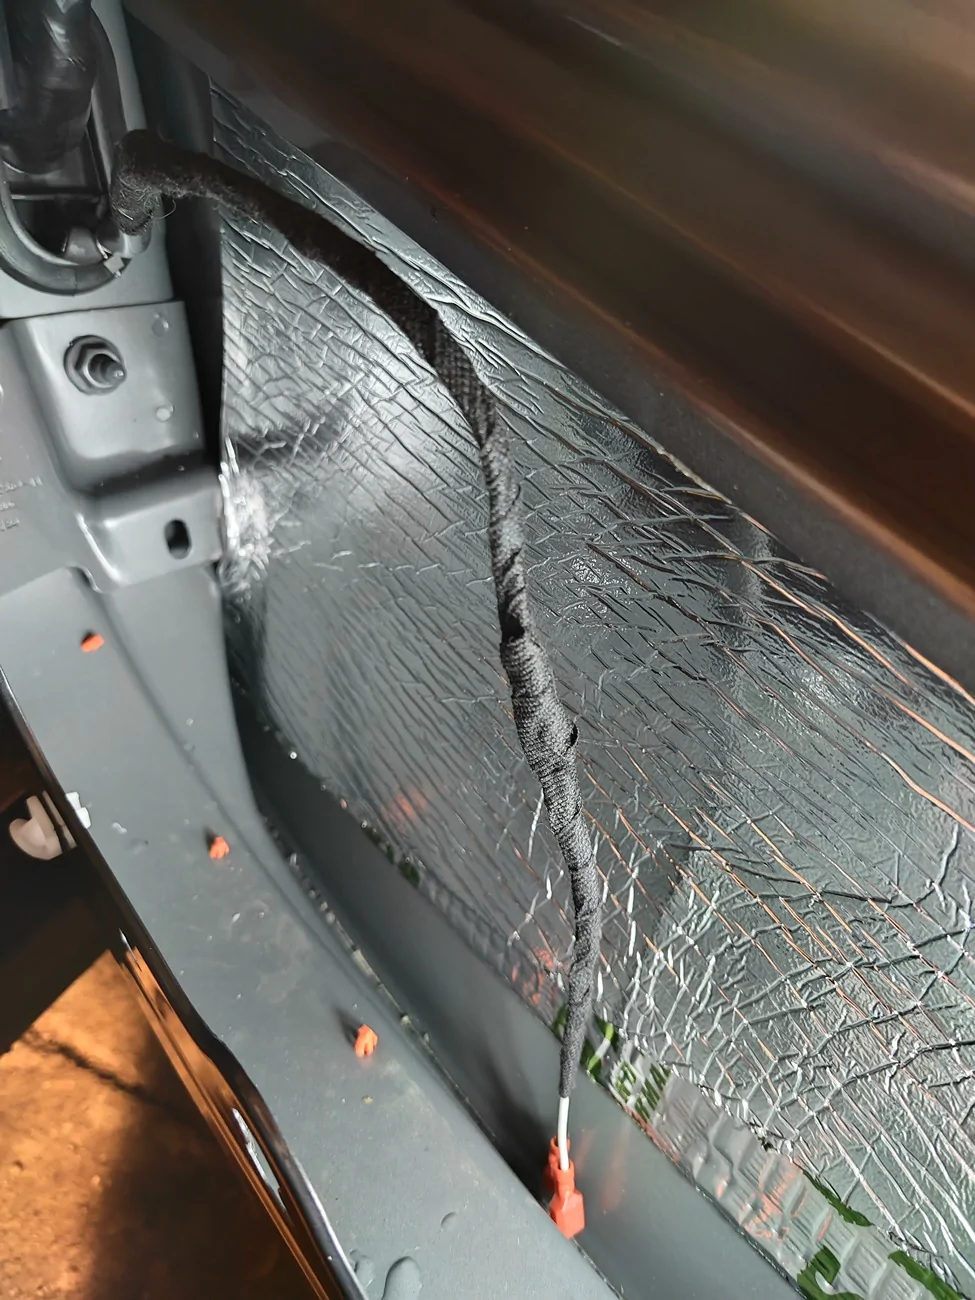
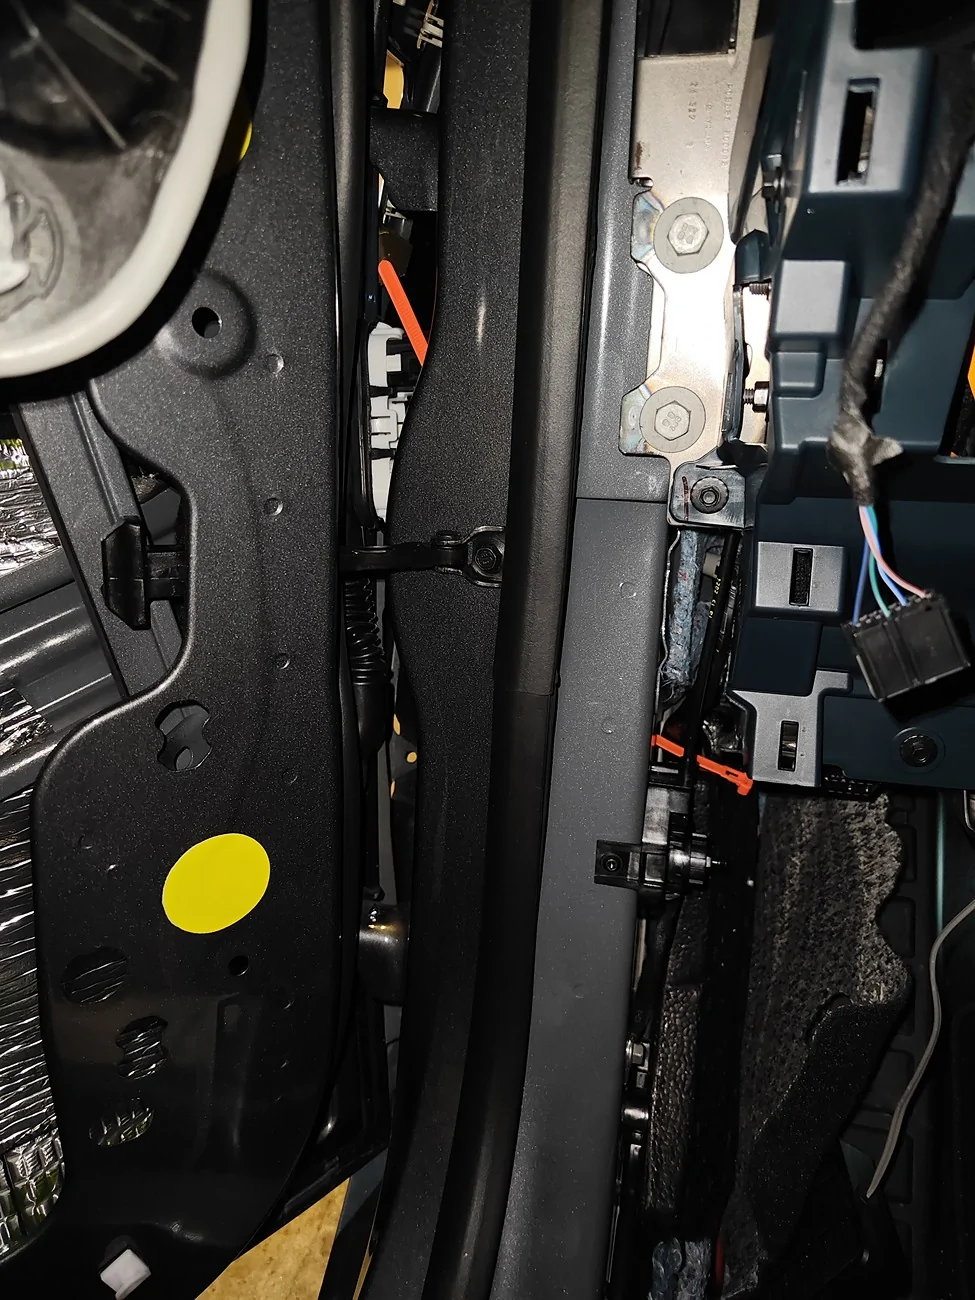
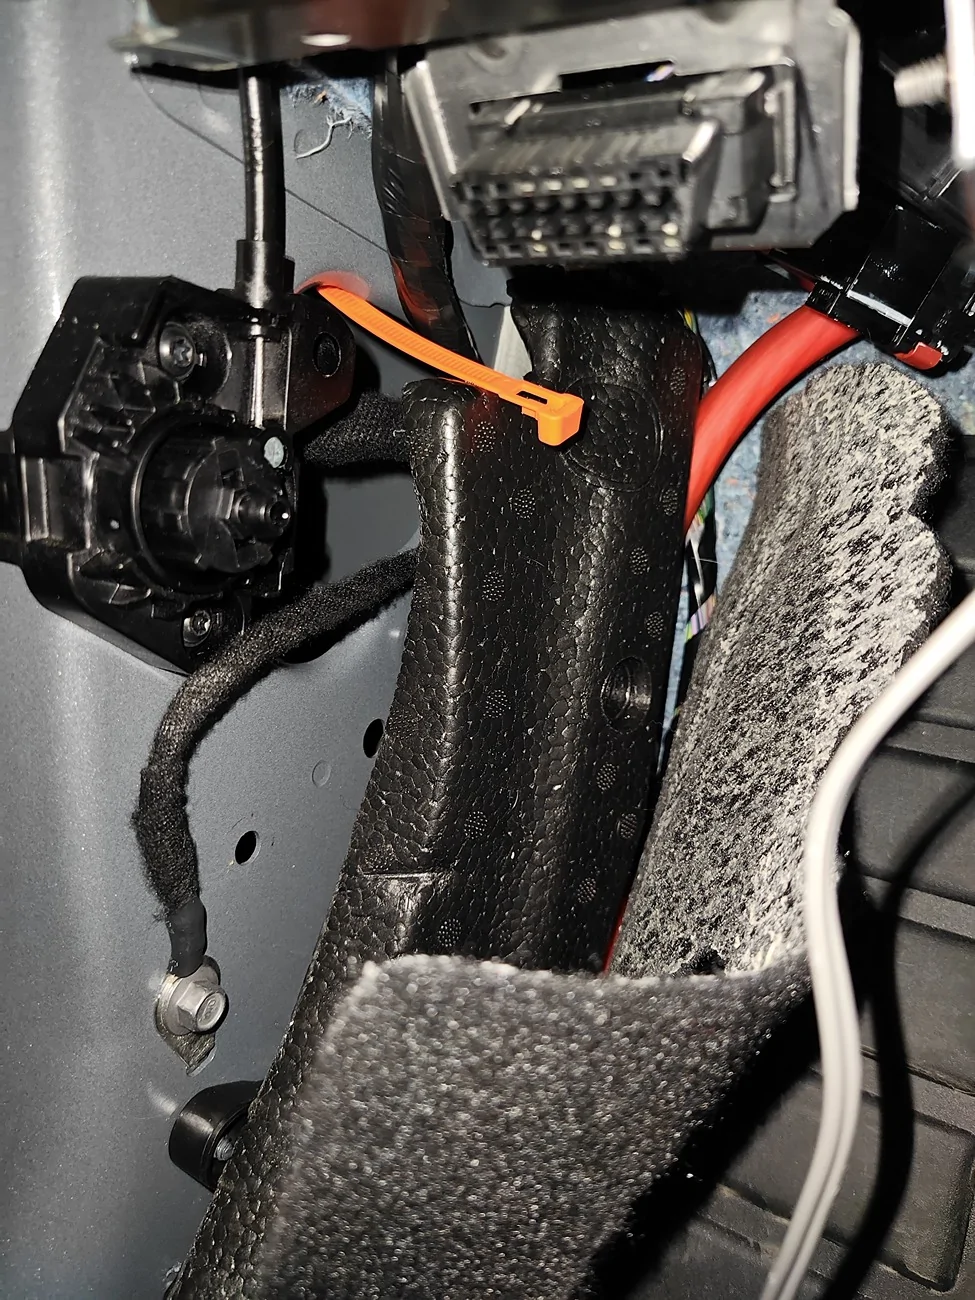
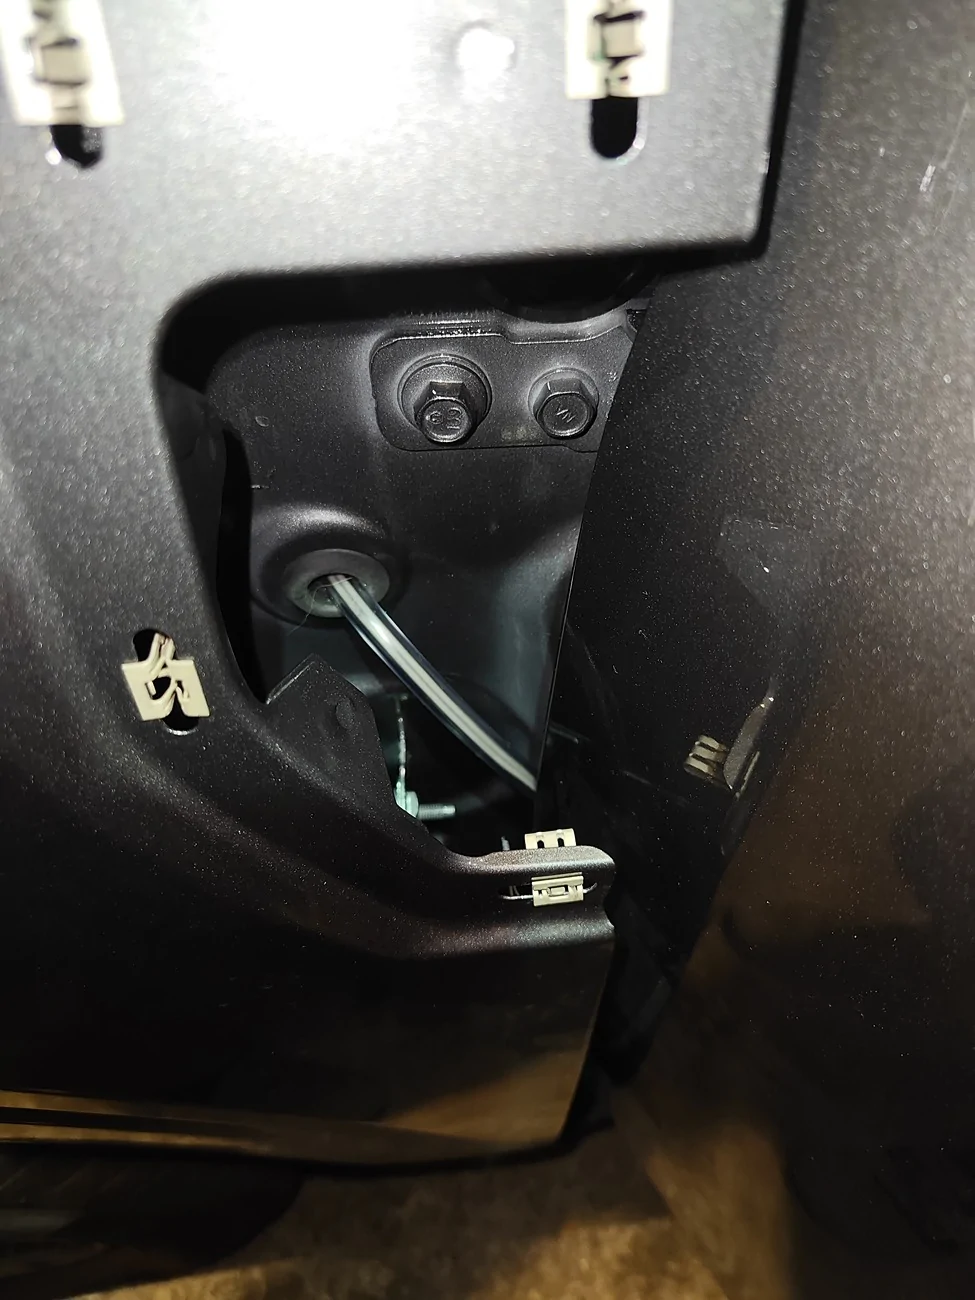
Rewiring the driver side was probably the biggest challenge I ran into. For whatever reason, it took me forever to find a path out of the cabin. I used a long orange zip tie to poke around and eventually got through. You can also see the power cord going behind the foam. I had to remove the external xlt badging to make life easier also. You can see the plastic tubing and new wire running through it in a hole I poked in the grommet. Passenger side was much easier.
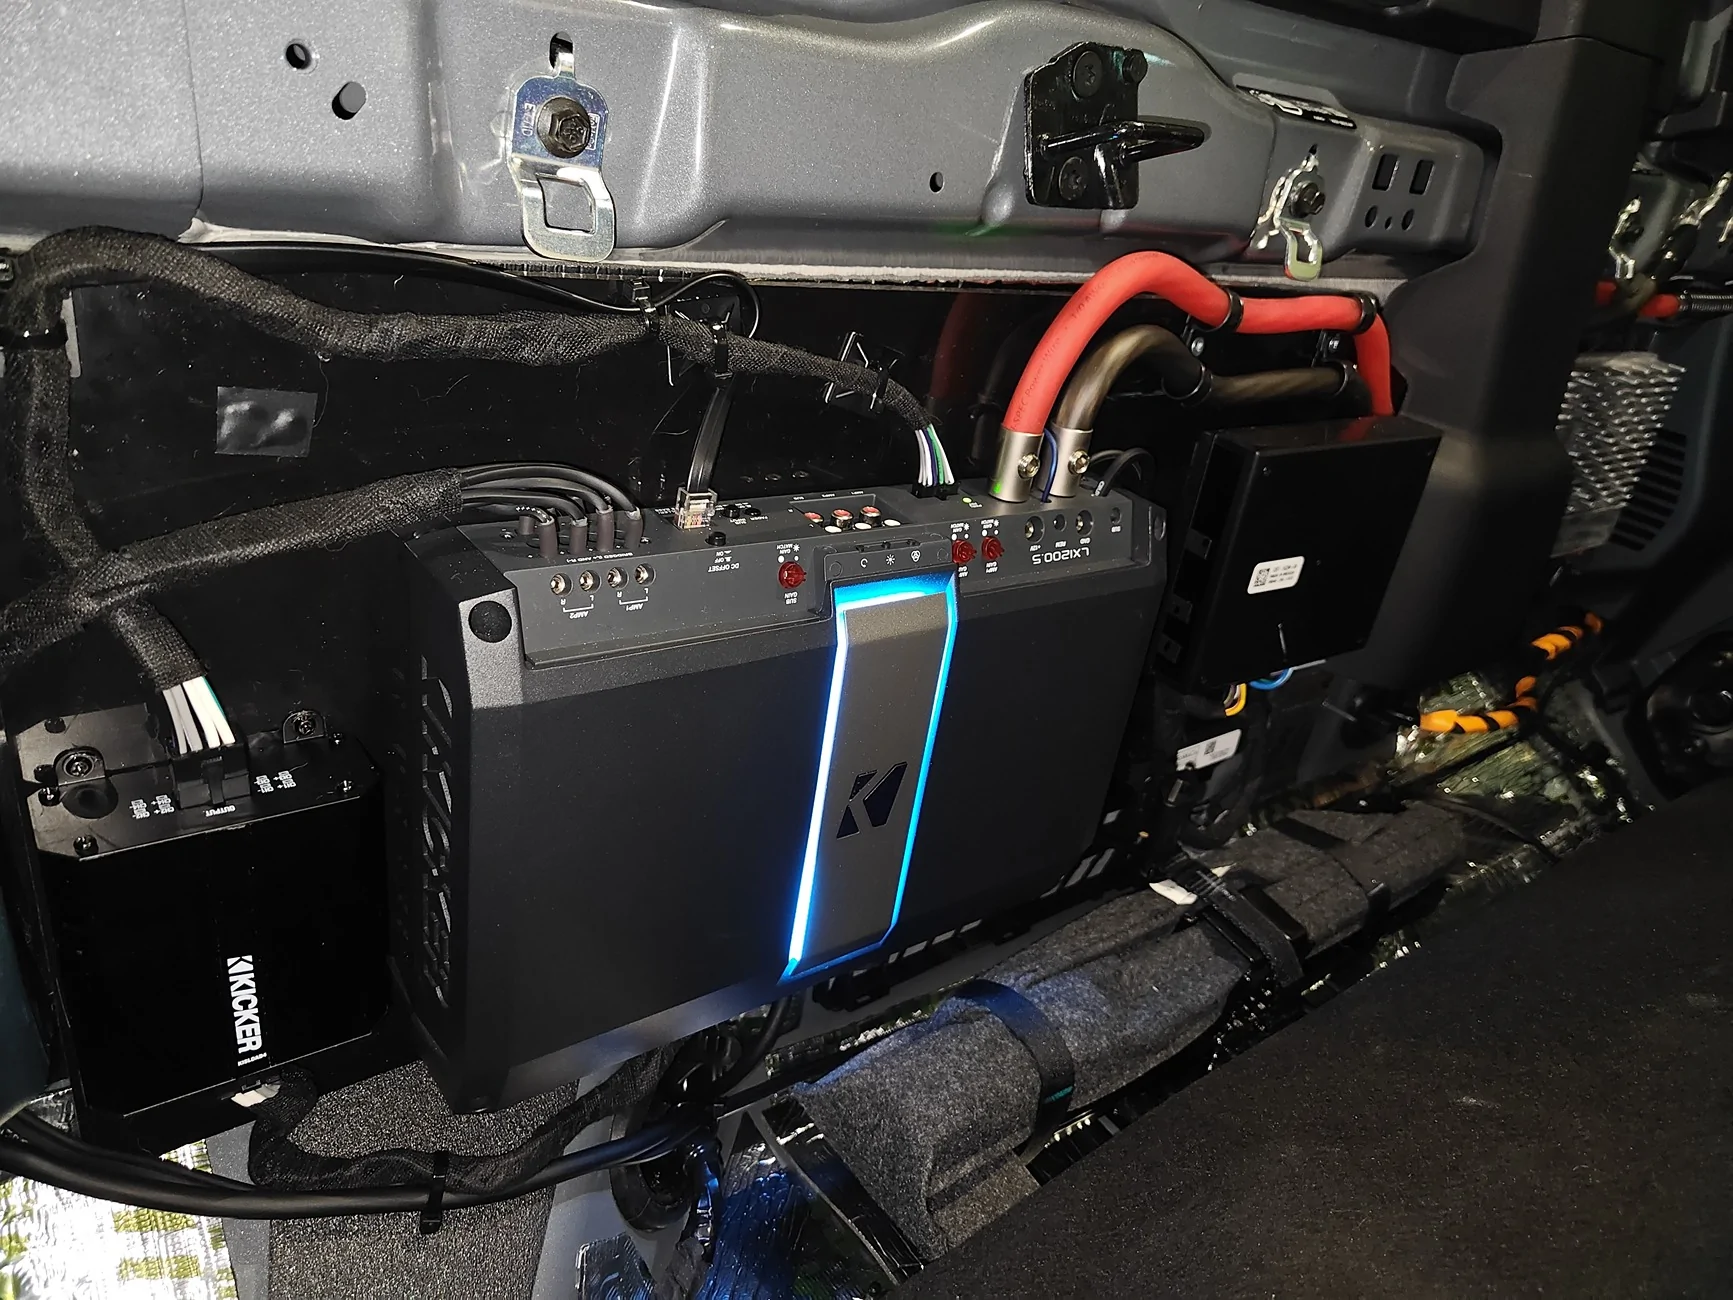
The amp all wired up. It's not the prettiest and I'm not particularly thrilled with it. Set the colors to match other lighting in the truck.
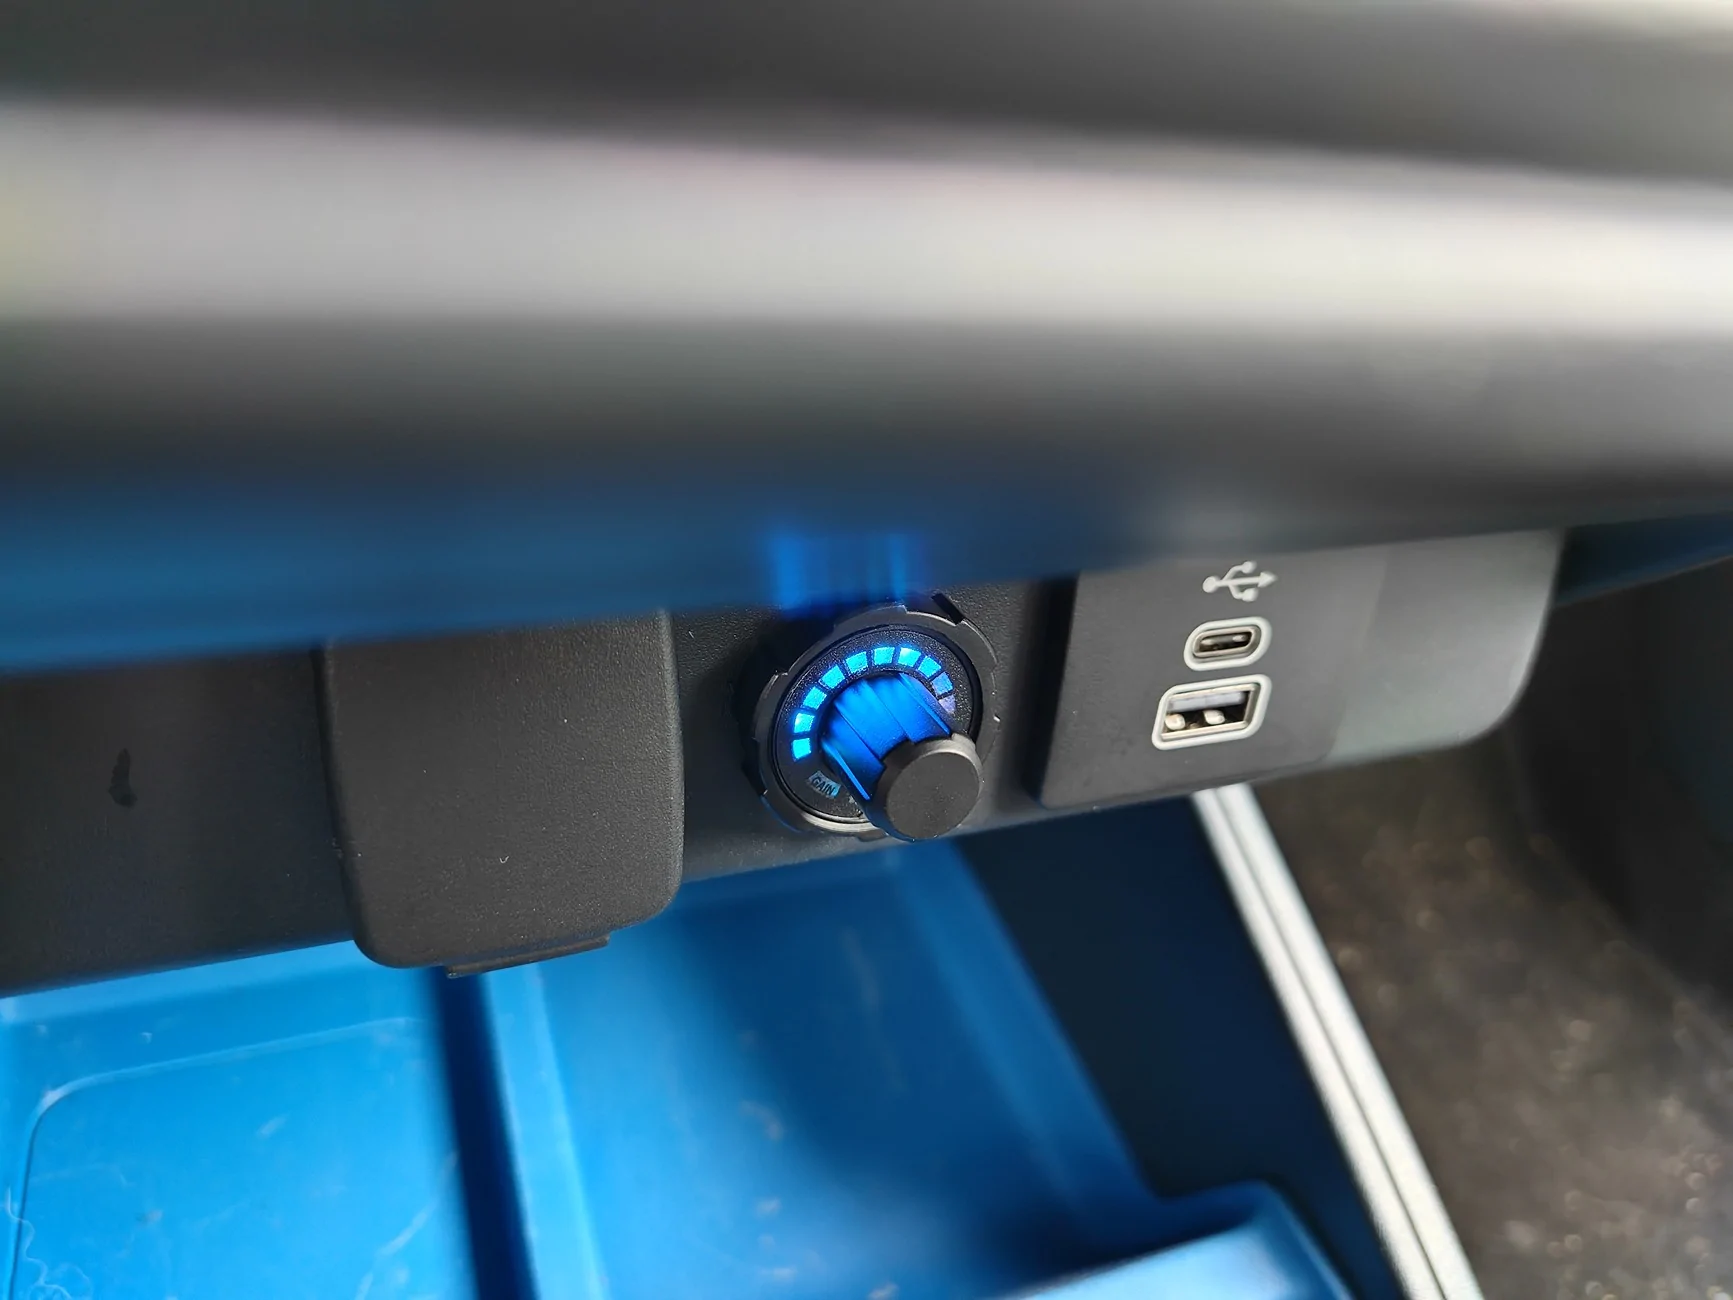
Bass boost knob discretely added. Other than this or if you lower the back seat, you'd never know anything was changed.
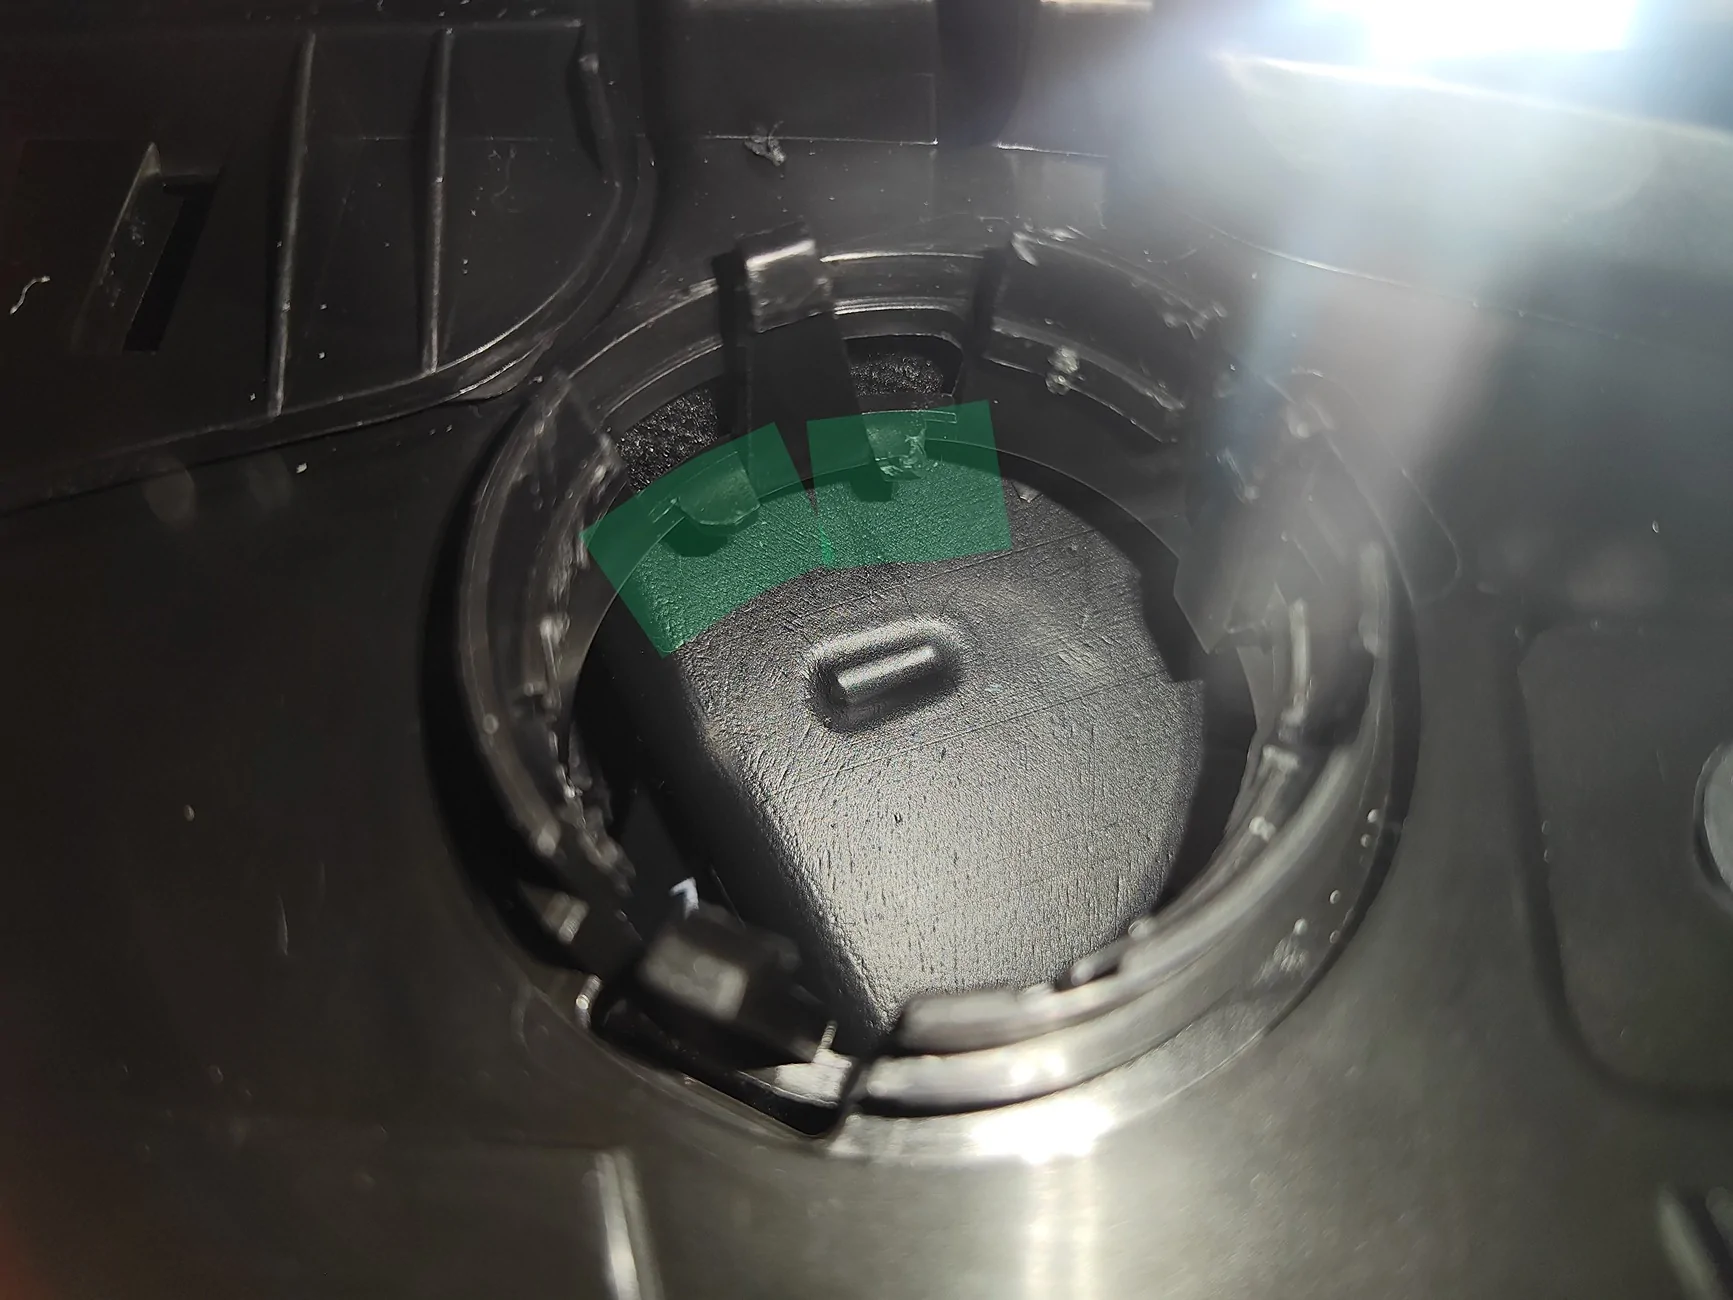
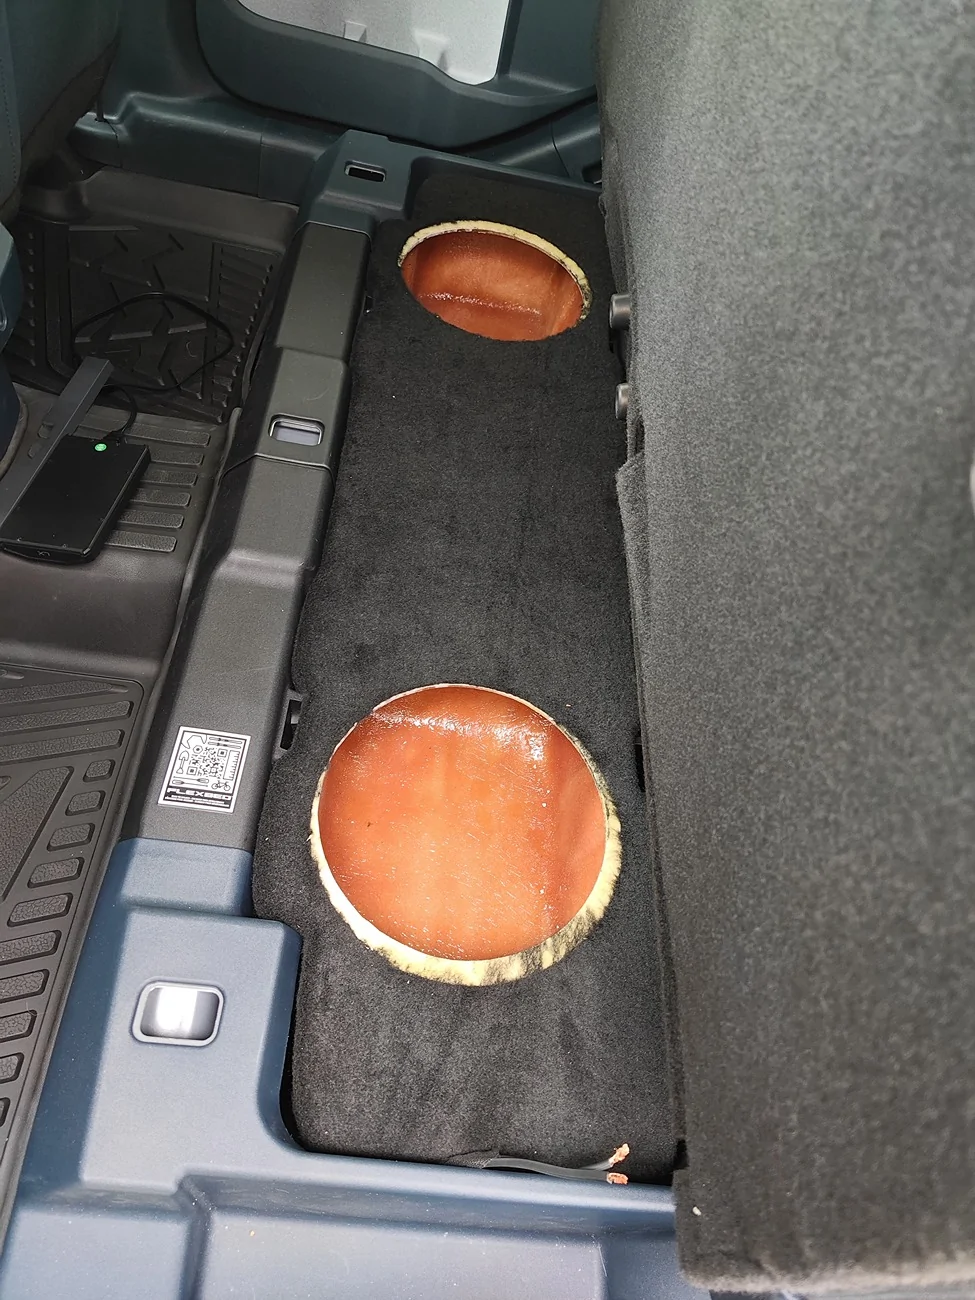
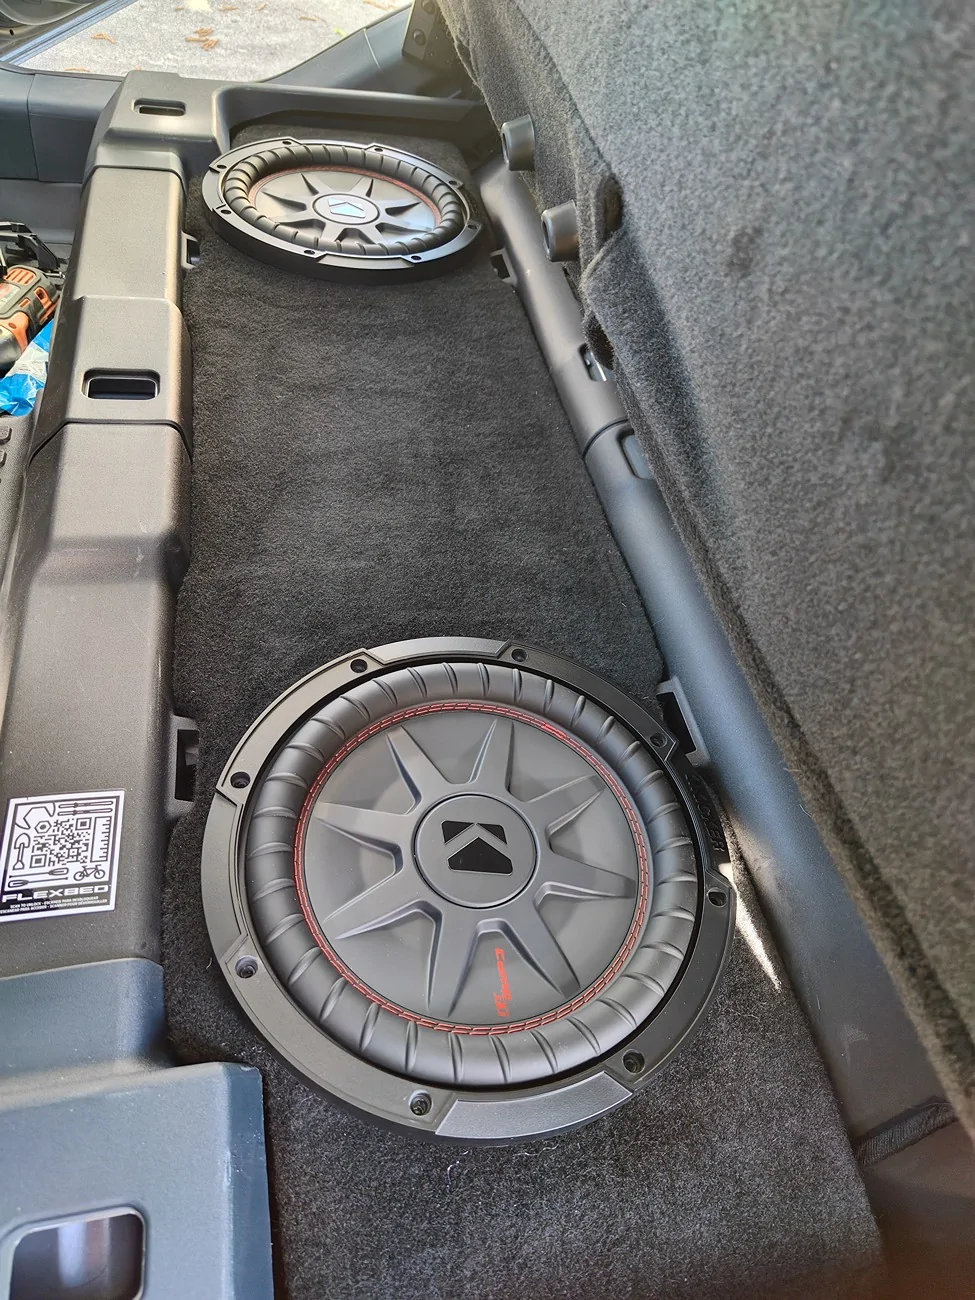
The holes in the sub box were slightly too small. Also, the entire top was fiberglass. I'm not thrilled with this box, but it had the volume I wanted. I ended up getting some mdf speaker rings and used them as backing to screw the subs into for a nice tight fit. Just needed a few modifications on the rings to get them to fit inside, and had to cut them in half and mount in two pieces to get them in there. I really wish they had made the top of this out of MDF or at least had the rings in place from the beginning. I also added Kicker's speaker grills on top to keep the seats off it (not pictured). Added some of the sound deadening and polyfill to the box.
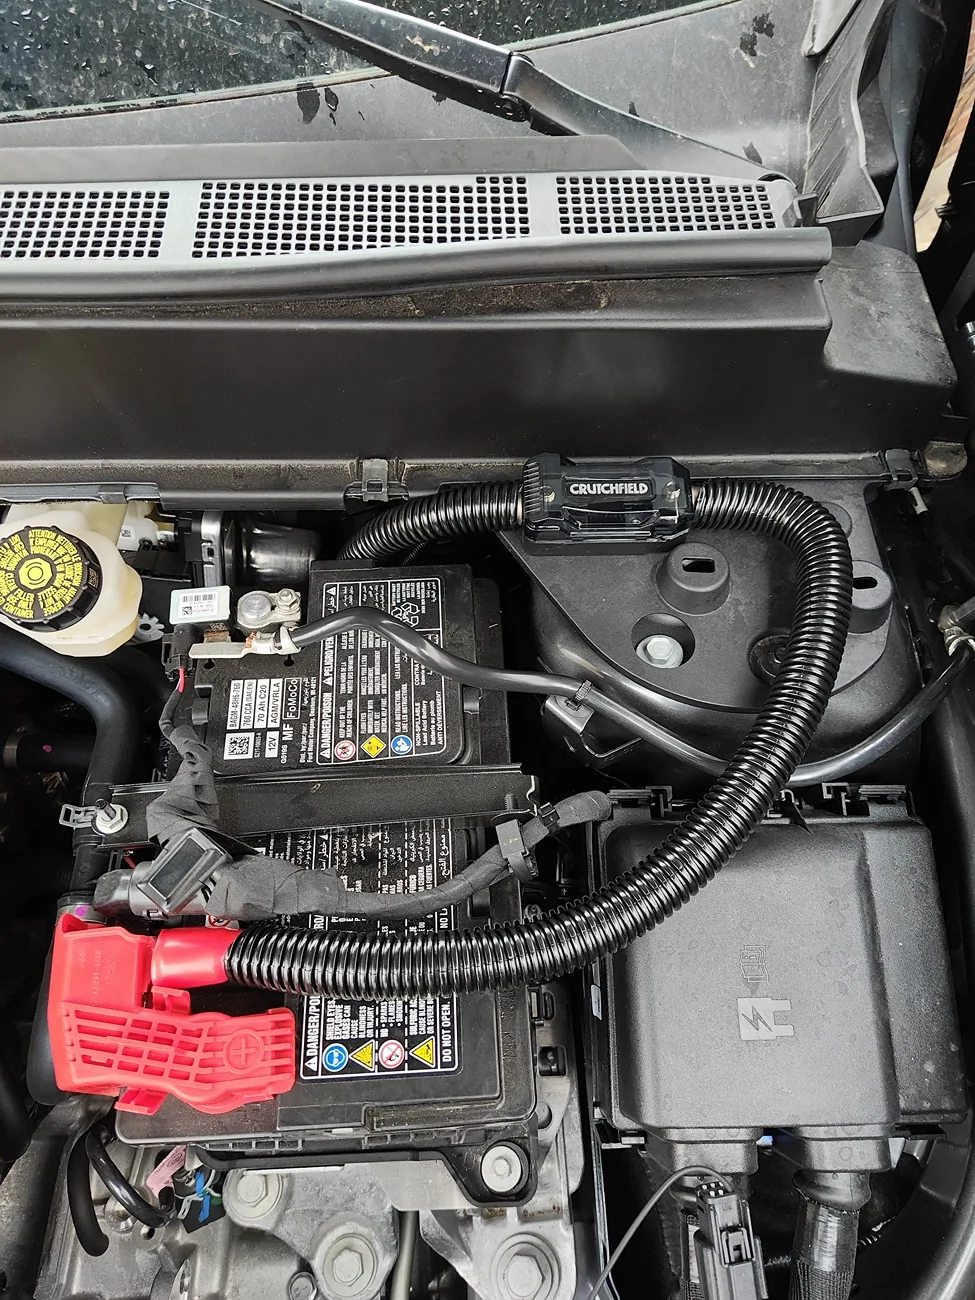
Power wiring under the hood. Not in the picture, but added later is another 4-gauge ground wire just to be safe. Likely overkill.
- Kicker 51LX1200.5 Amp - set up as 125 watts RMS x 4 @ 4 ohm + 700 watts RMS x 1 at 1 ohm for subs
- Kicker KSS670 components (front)
- Kicker KSC40 2-way (rear)
- Kicker 48CWRT104 x 2 CompRT 10" subs (shallow-mount dual 4-ohm, presented 1 ohm load to amp)
- Kicker 46KISLOAD4 load resistor
- Dual 10" fiberglass box from Electronics Depot - 1.3 cu ft
- 1/0-gauge power wire
- Additional 4 gauge ground wire for the battery
- Complete 16-gauge speaker rewire front and rear
- Used forscan to set flat eq
I flattened the bracket used for the factory sub. Cut off the bracket for the brake controller to later be remounted. Got everything basically the same height for a larger mounting board so the amp and everything else will be nice and solid.
Installed Siless Max 120 mil rubber/aluminum sound deadening on ever flat surface I could in the back. Then on top of that, Siless 157 mil CCF aluminum finished as well. It's surprisingly quiet outside of the truck. Also installed around the rear pillars best I could with polyfill in there as well (not pictured).
Mounted 3/8" HDPE board with some oopsies on the hole locations. I needed a tiny bit more room on the left so it didn't touch.
1/0 Gauge power wire down the driver side barely fit, but I made it work. All speaker wire was ran down the passenger side.
All new 16 gauge speaker wire ran to the front to better handle the 125w rms. Overkill? Kind of. The original is all left in place should some psychopath want to take it back to stock. I used some plastic tubing and ran an all new path through grommets to protect the wiring from opening/shutting and the elements. Formed a tight seal around the tubing. Also, the same sound deadening in the front doors.
Shaved off some tabs which allowed me to put the silk dome tweeters into the factory spot. They actually snapped in perfectly even though crutchfield said I'd need to mount them elsewhere. The crossovers had just enough wiring where I mounted them up high near the doors under the dash.
Rewiring the driver side was probably the biggest challenge I ran into. For whatever reason, it took me forever to find a path out of the cabin. I used a long orange zip tie to poke around and eventually got through. You can also see the power cord going behind the foam. I had to remove the external xlt badging to make life easier also. You can see the plastic tubing and new wire running through it in a hole I poked in the grommet. Passenger side was much easier.
The amp all wired up. It's not the prettiest and I'm not particularly thrilled with it. Set the colors to match other lighting in the truck.
Bass boost knob discretely added. Other than this or if you lower the back seat, you'd never know anything was changed.
The holes in the sub box were slightly too small. Also, the entire top was fiberglass. I'm not thrilled with this box, but it had the volume I wanted. I ended up getting some mdf speaker rings and used them as backing to screw the subs into for a nice tight fit. Just needed a few modifications on the rings to get them to fit inside, and had to cut them in half and mount in two pieces to get them in there. I really wish they had made the top of this out of MDF or at least had the rings in place from the beginning. I also added Kicker's speaker grills on top to keep the seats off it (not pictured). Added some of the sound deadening and polyfill to the box.
Power wiring under the hood. Not in the picture, but added later is another 4-gauge ground wire just to be safe. Likely overkill.
Sponsored
Last edited:


