- First Name
- Peter
- Joined
- Jan 13, 2022
- Threads
- 1
- Messages
- 21
- Reaction score
- 9
- Location
- Buenos Aires
- Vehicle(s)
- Ford Maverick Lariat AWD FX4
- Engine
- 2.0L EcoBoost
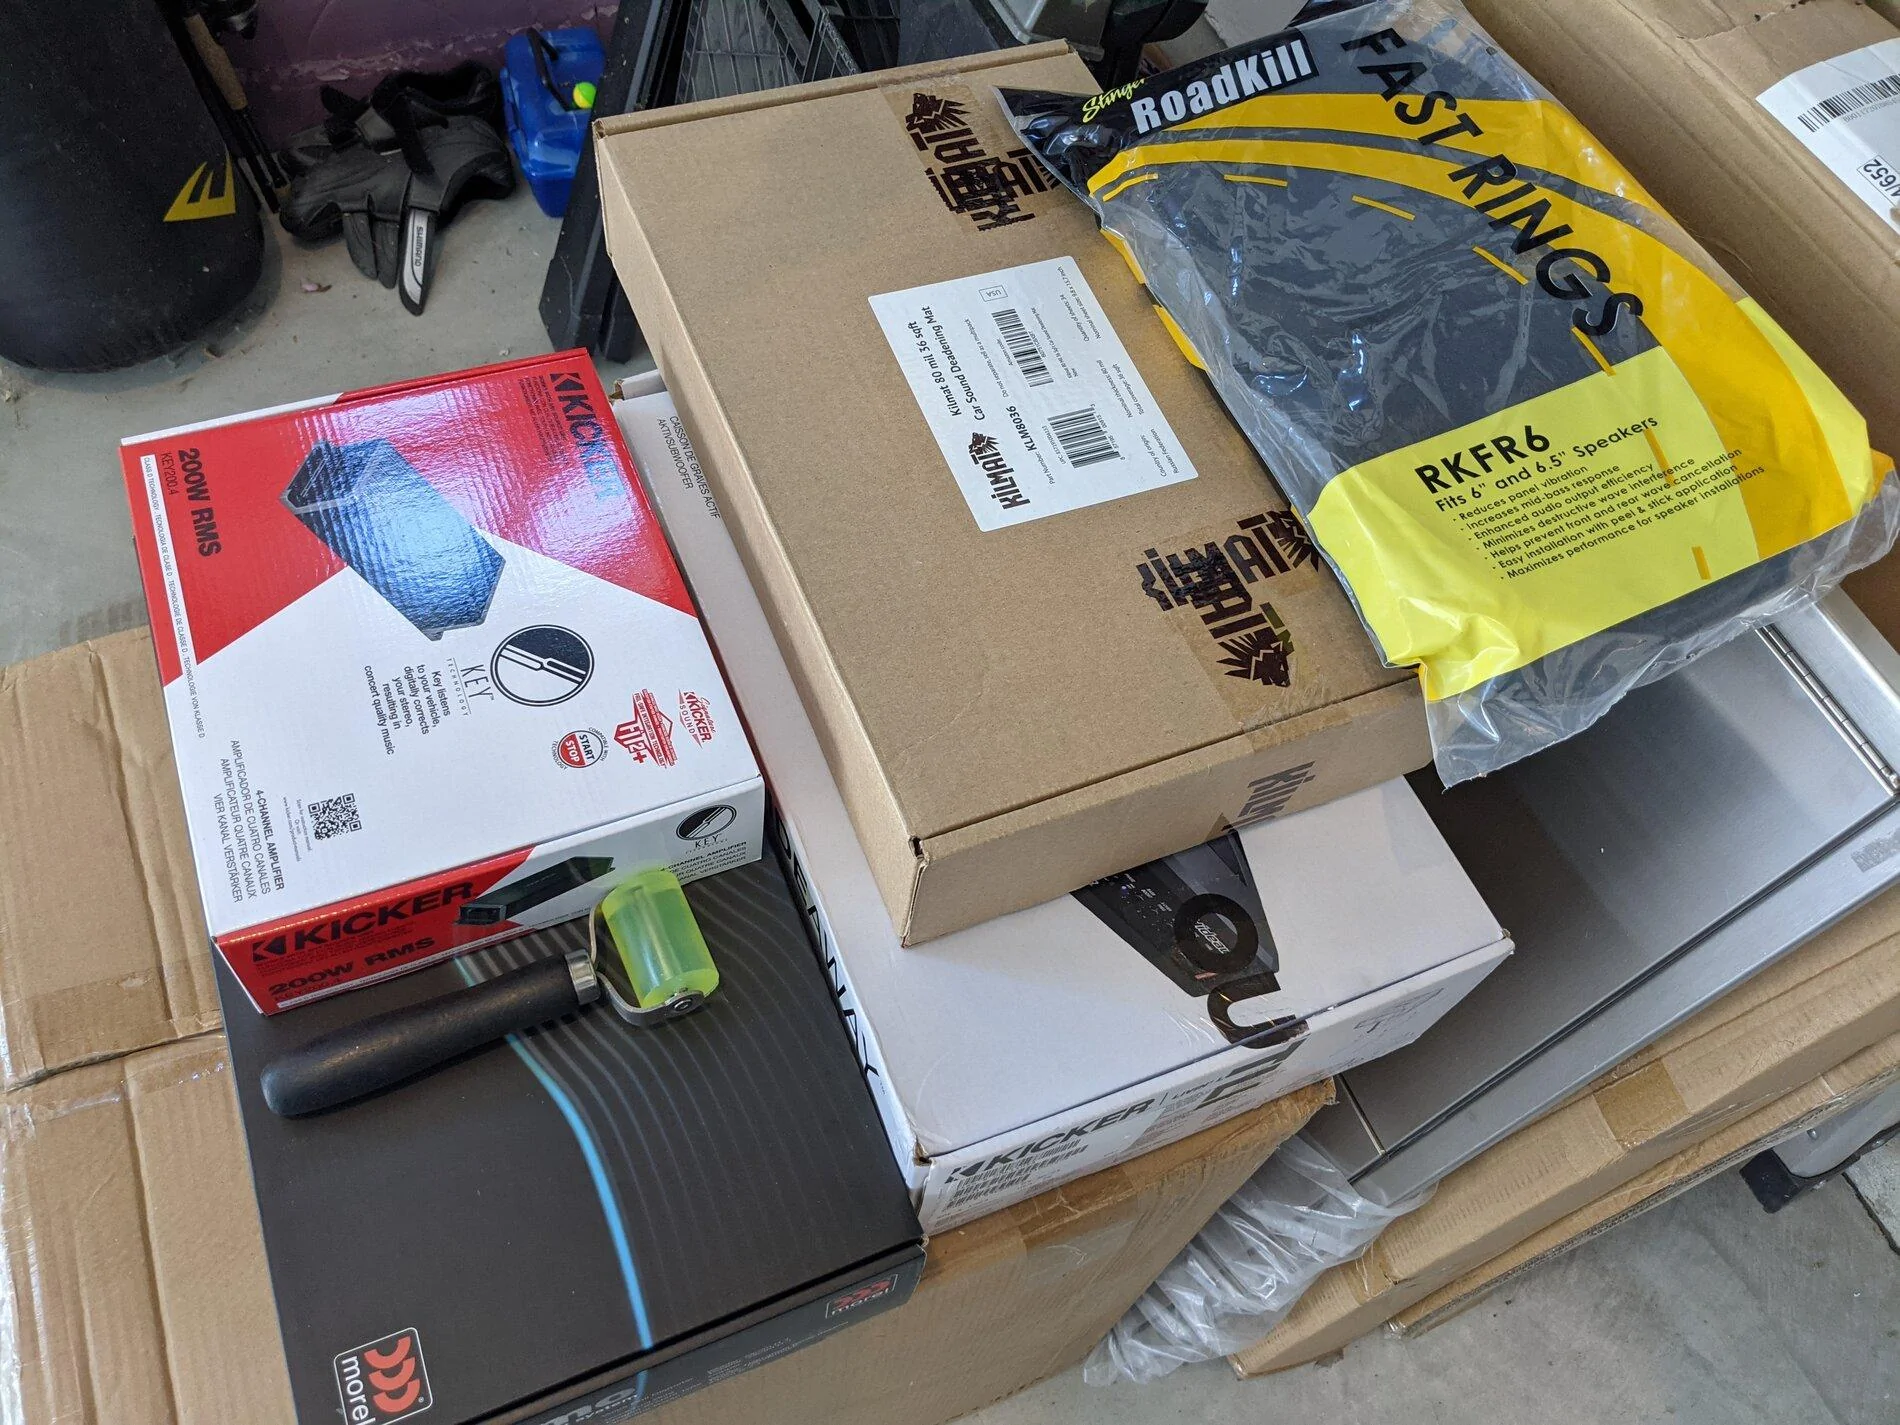
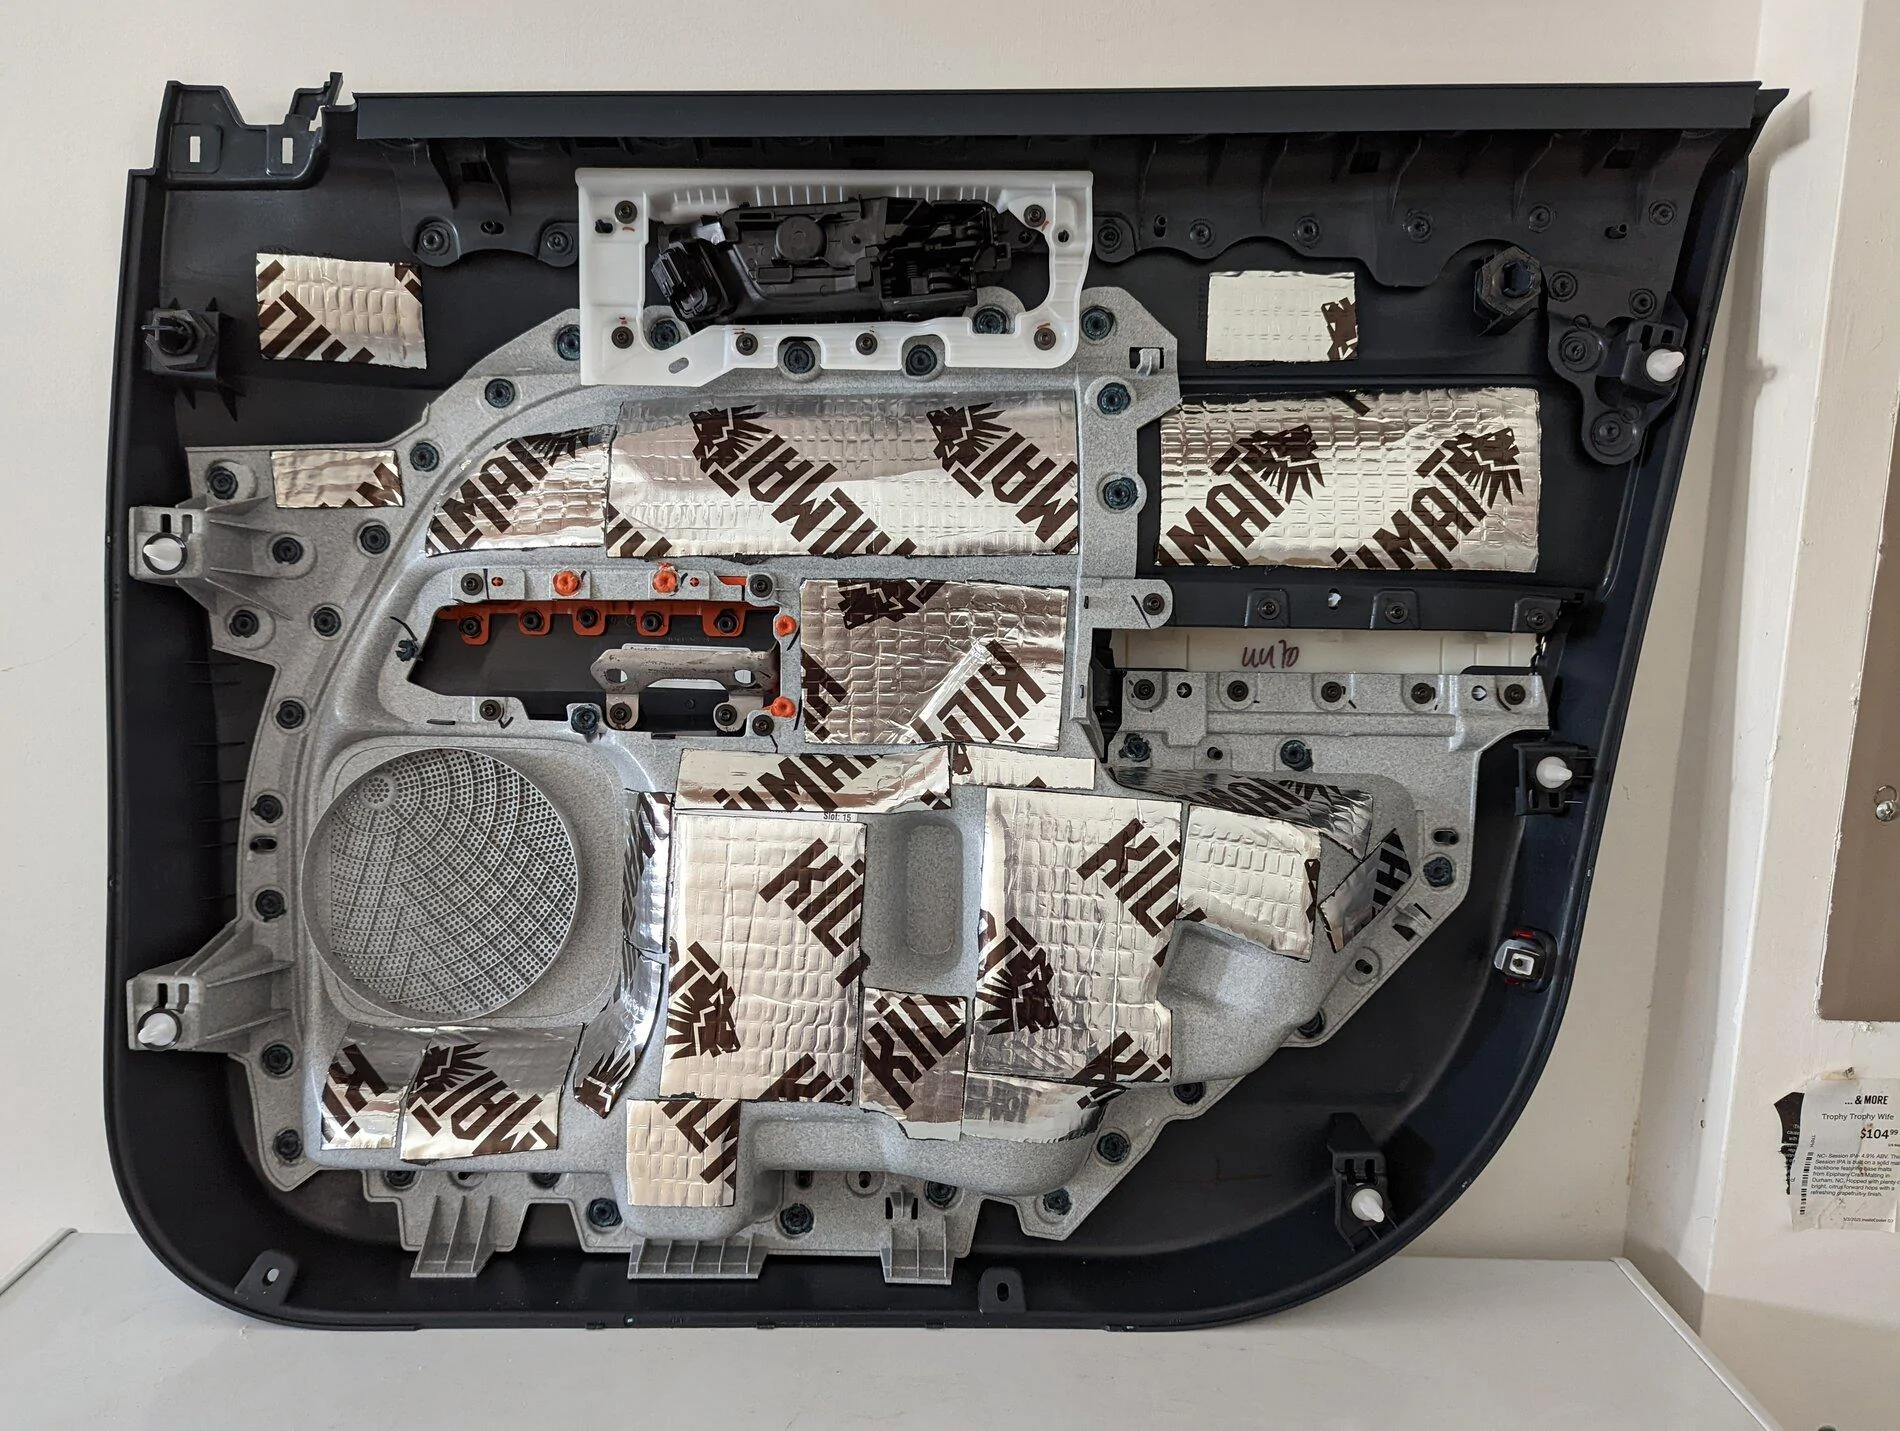
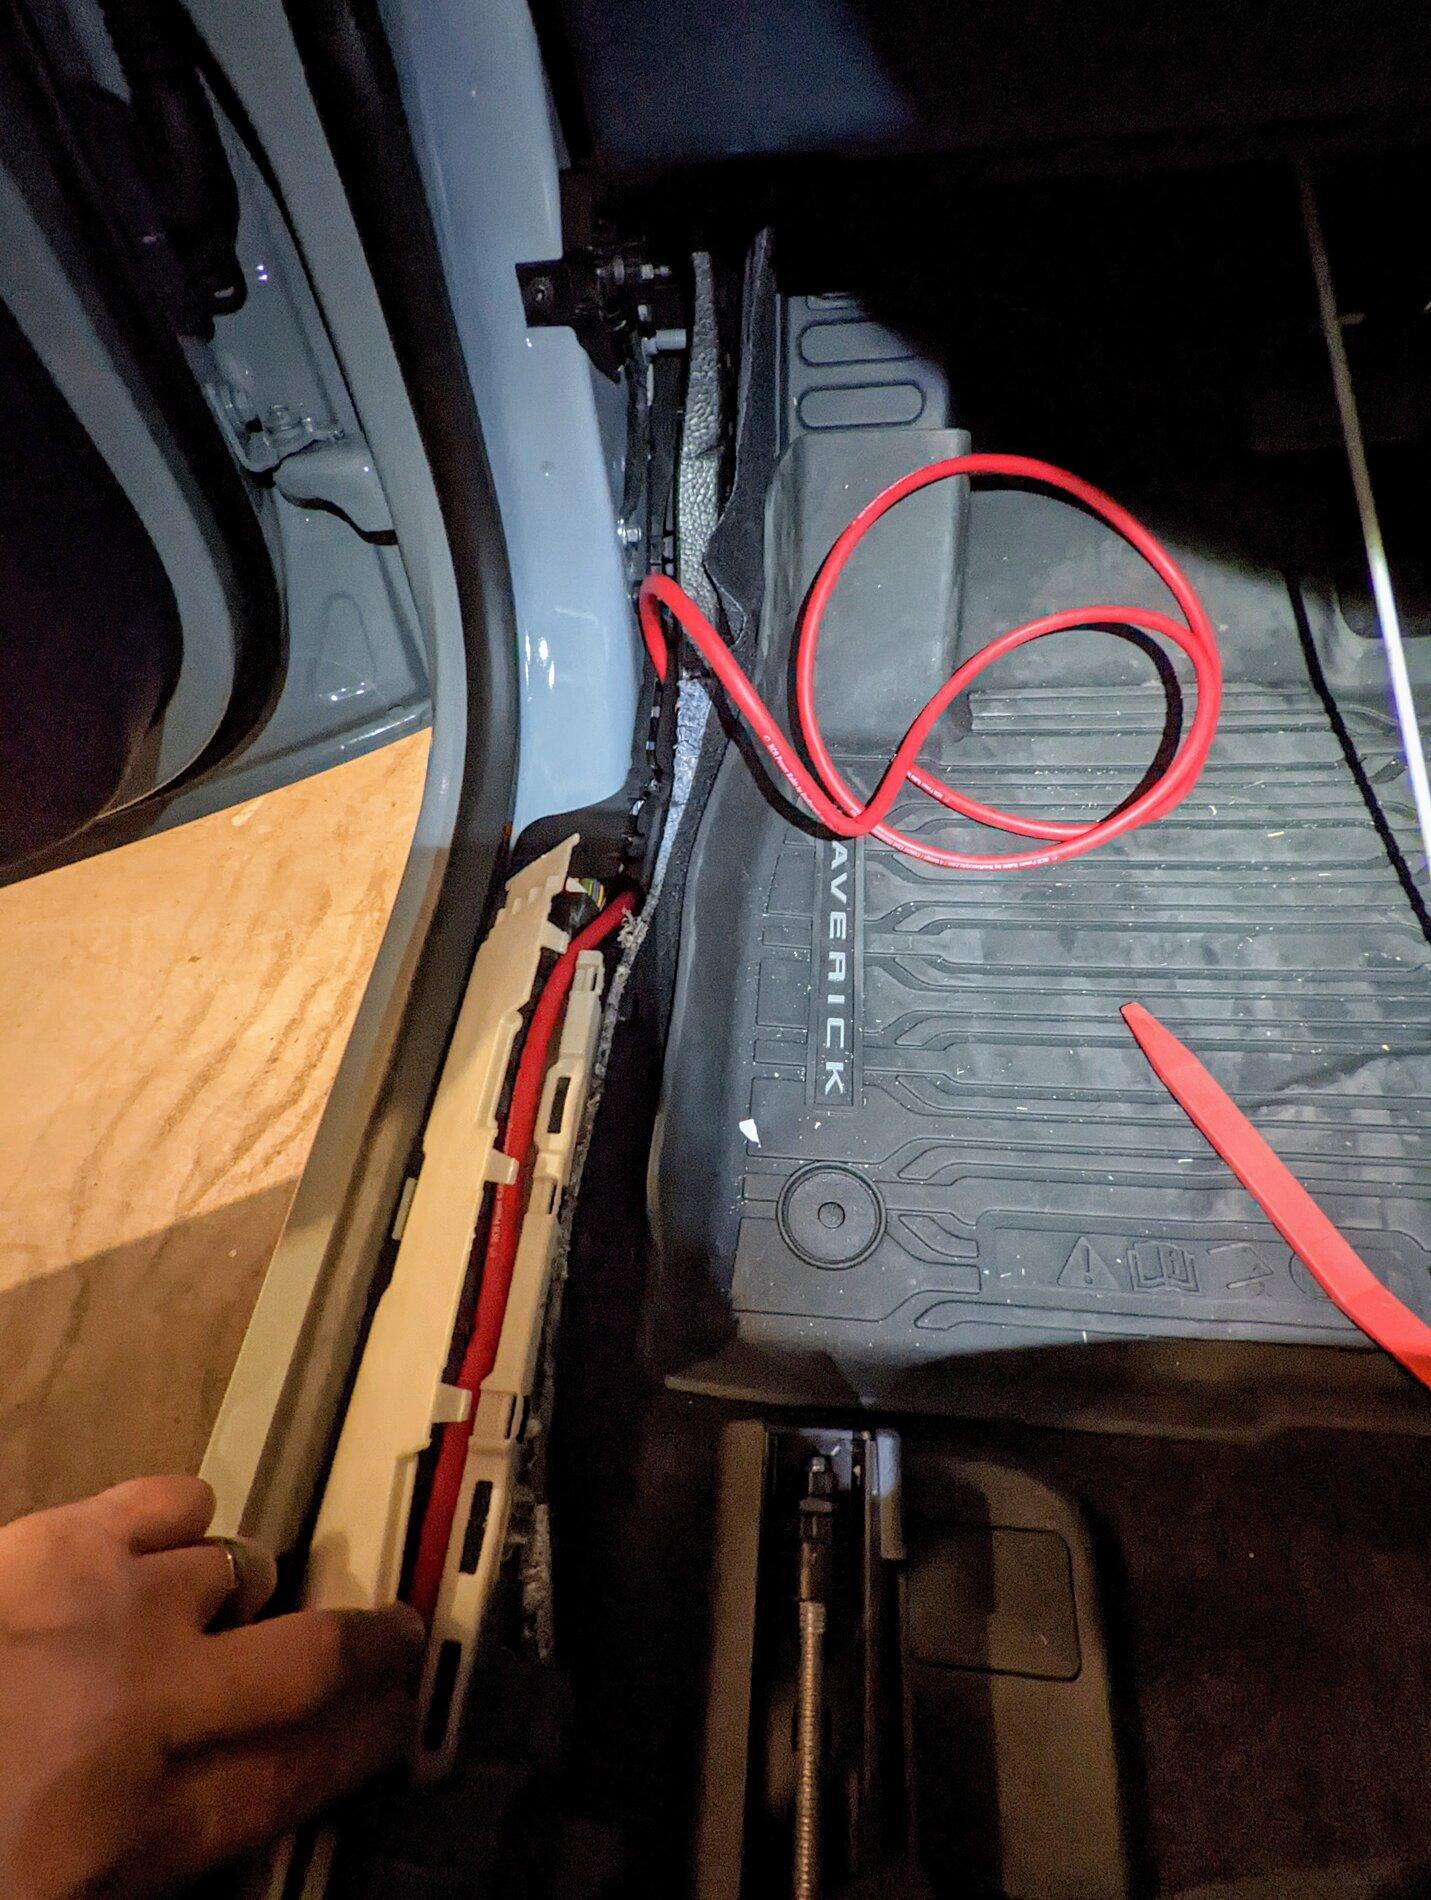
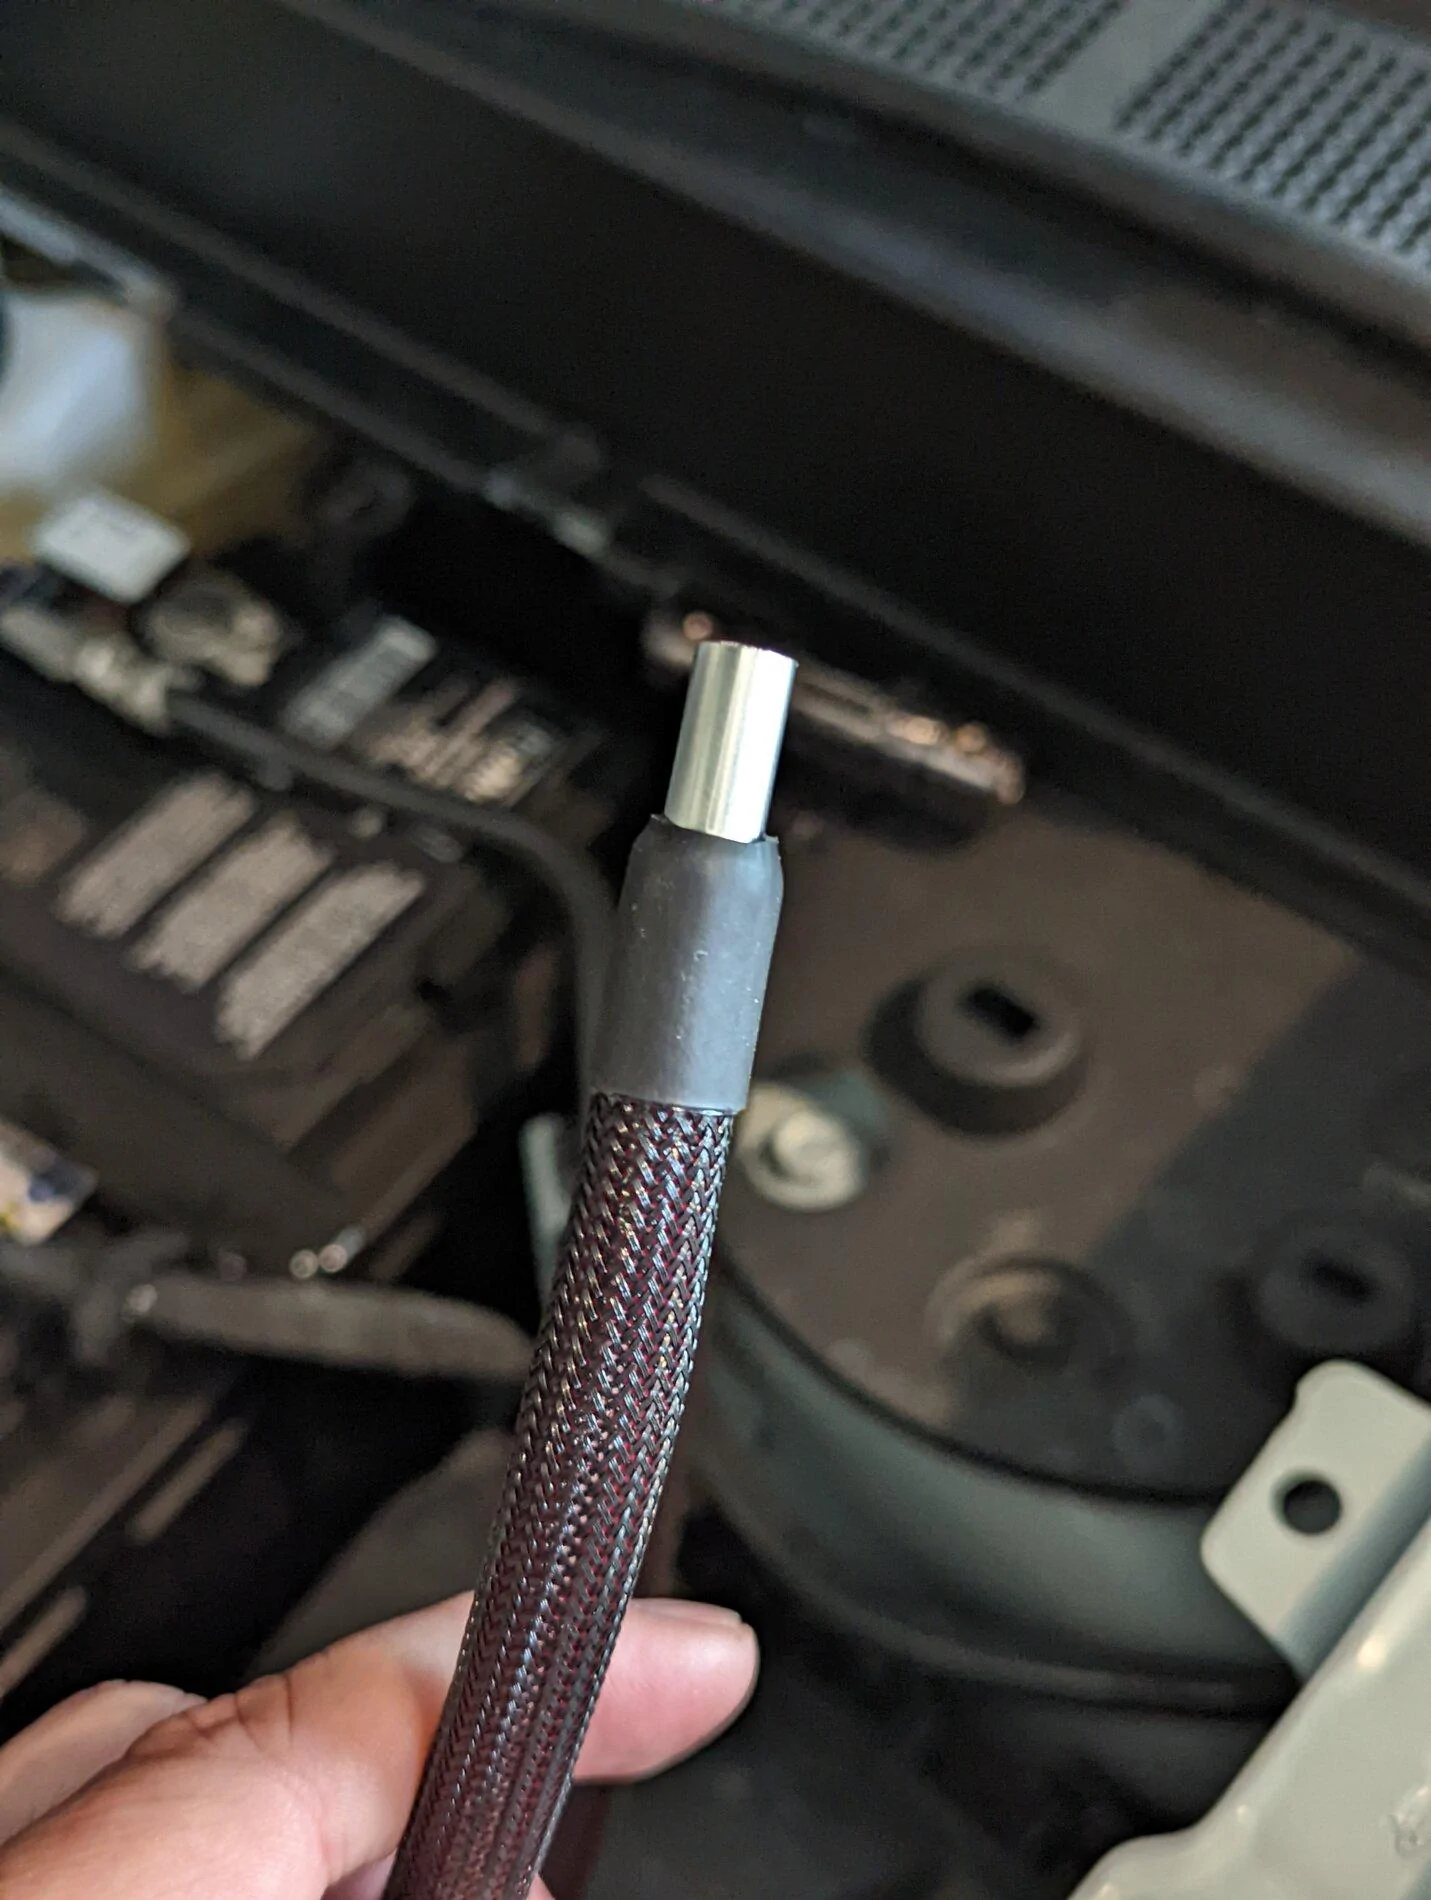
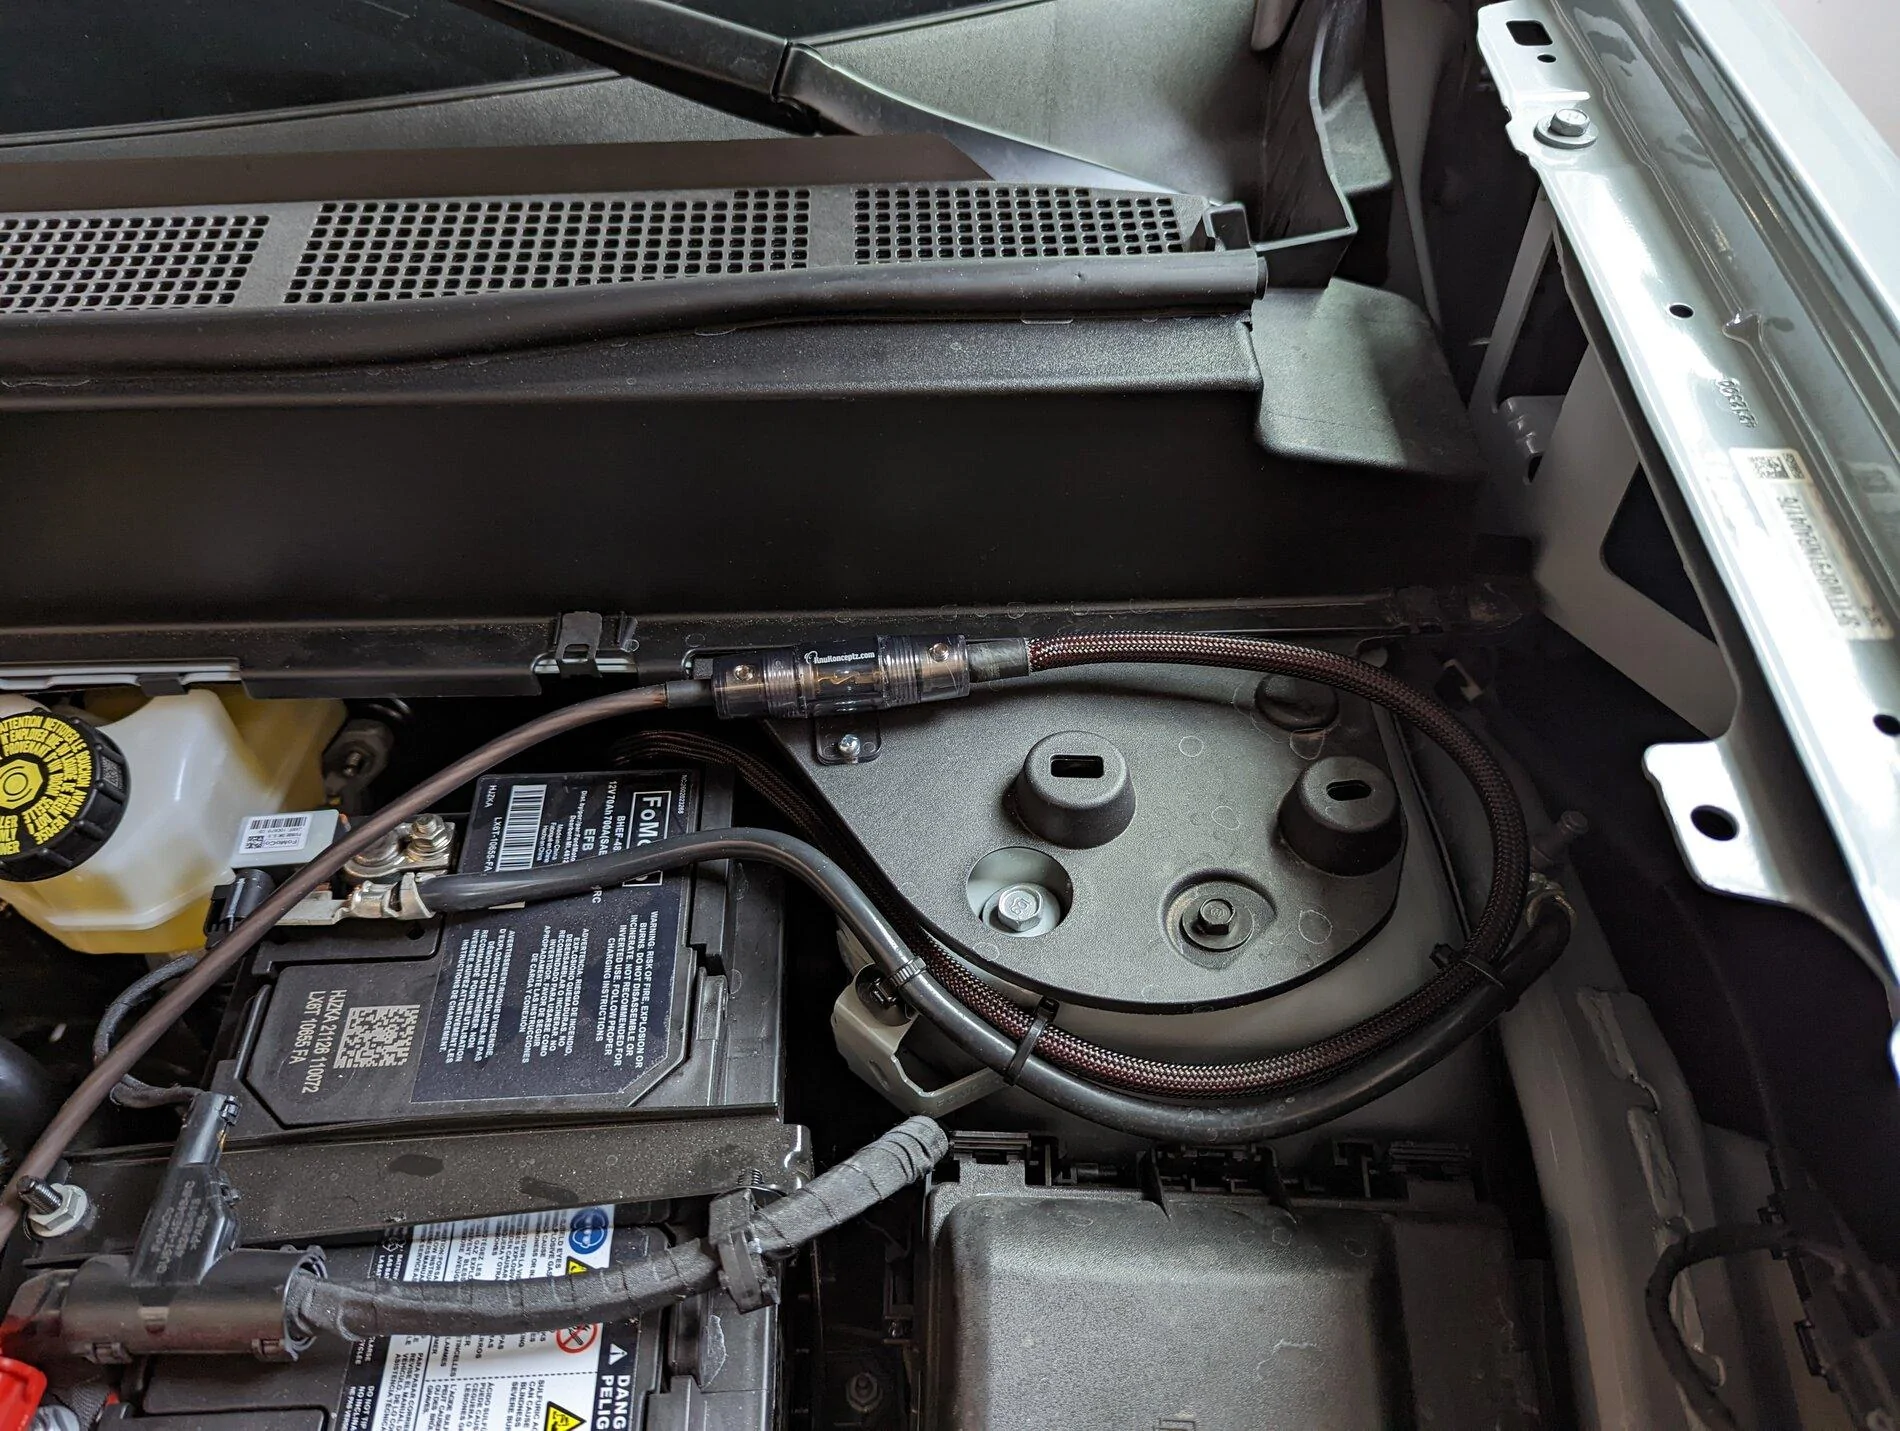
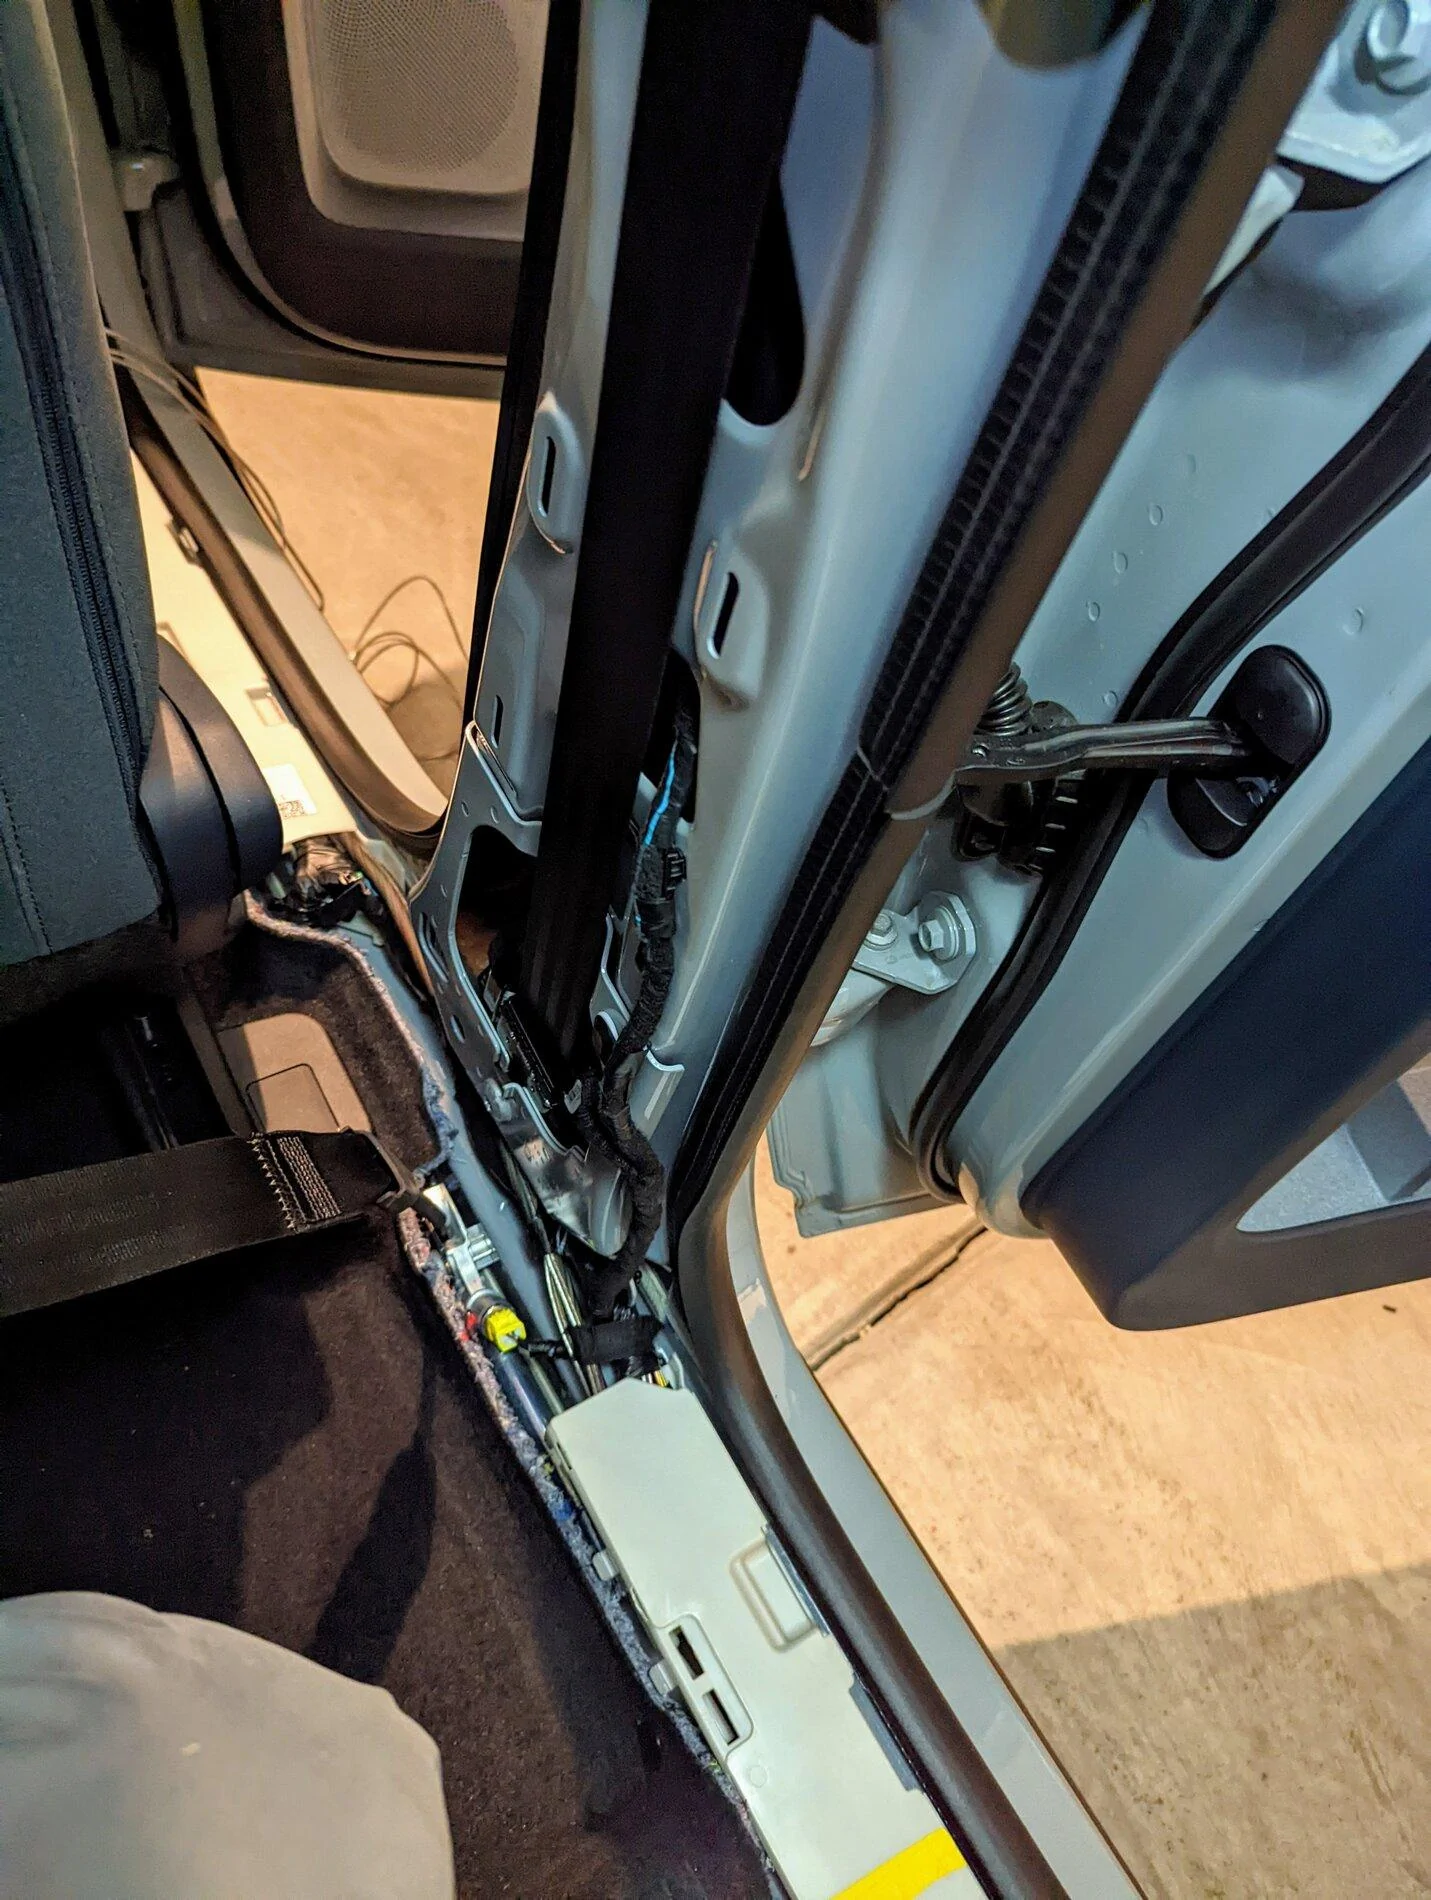
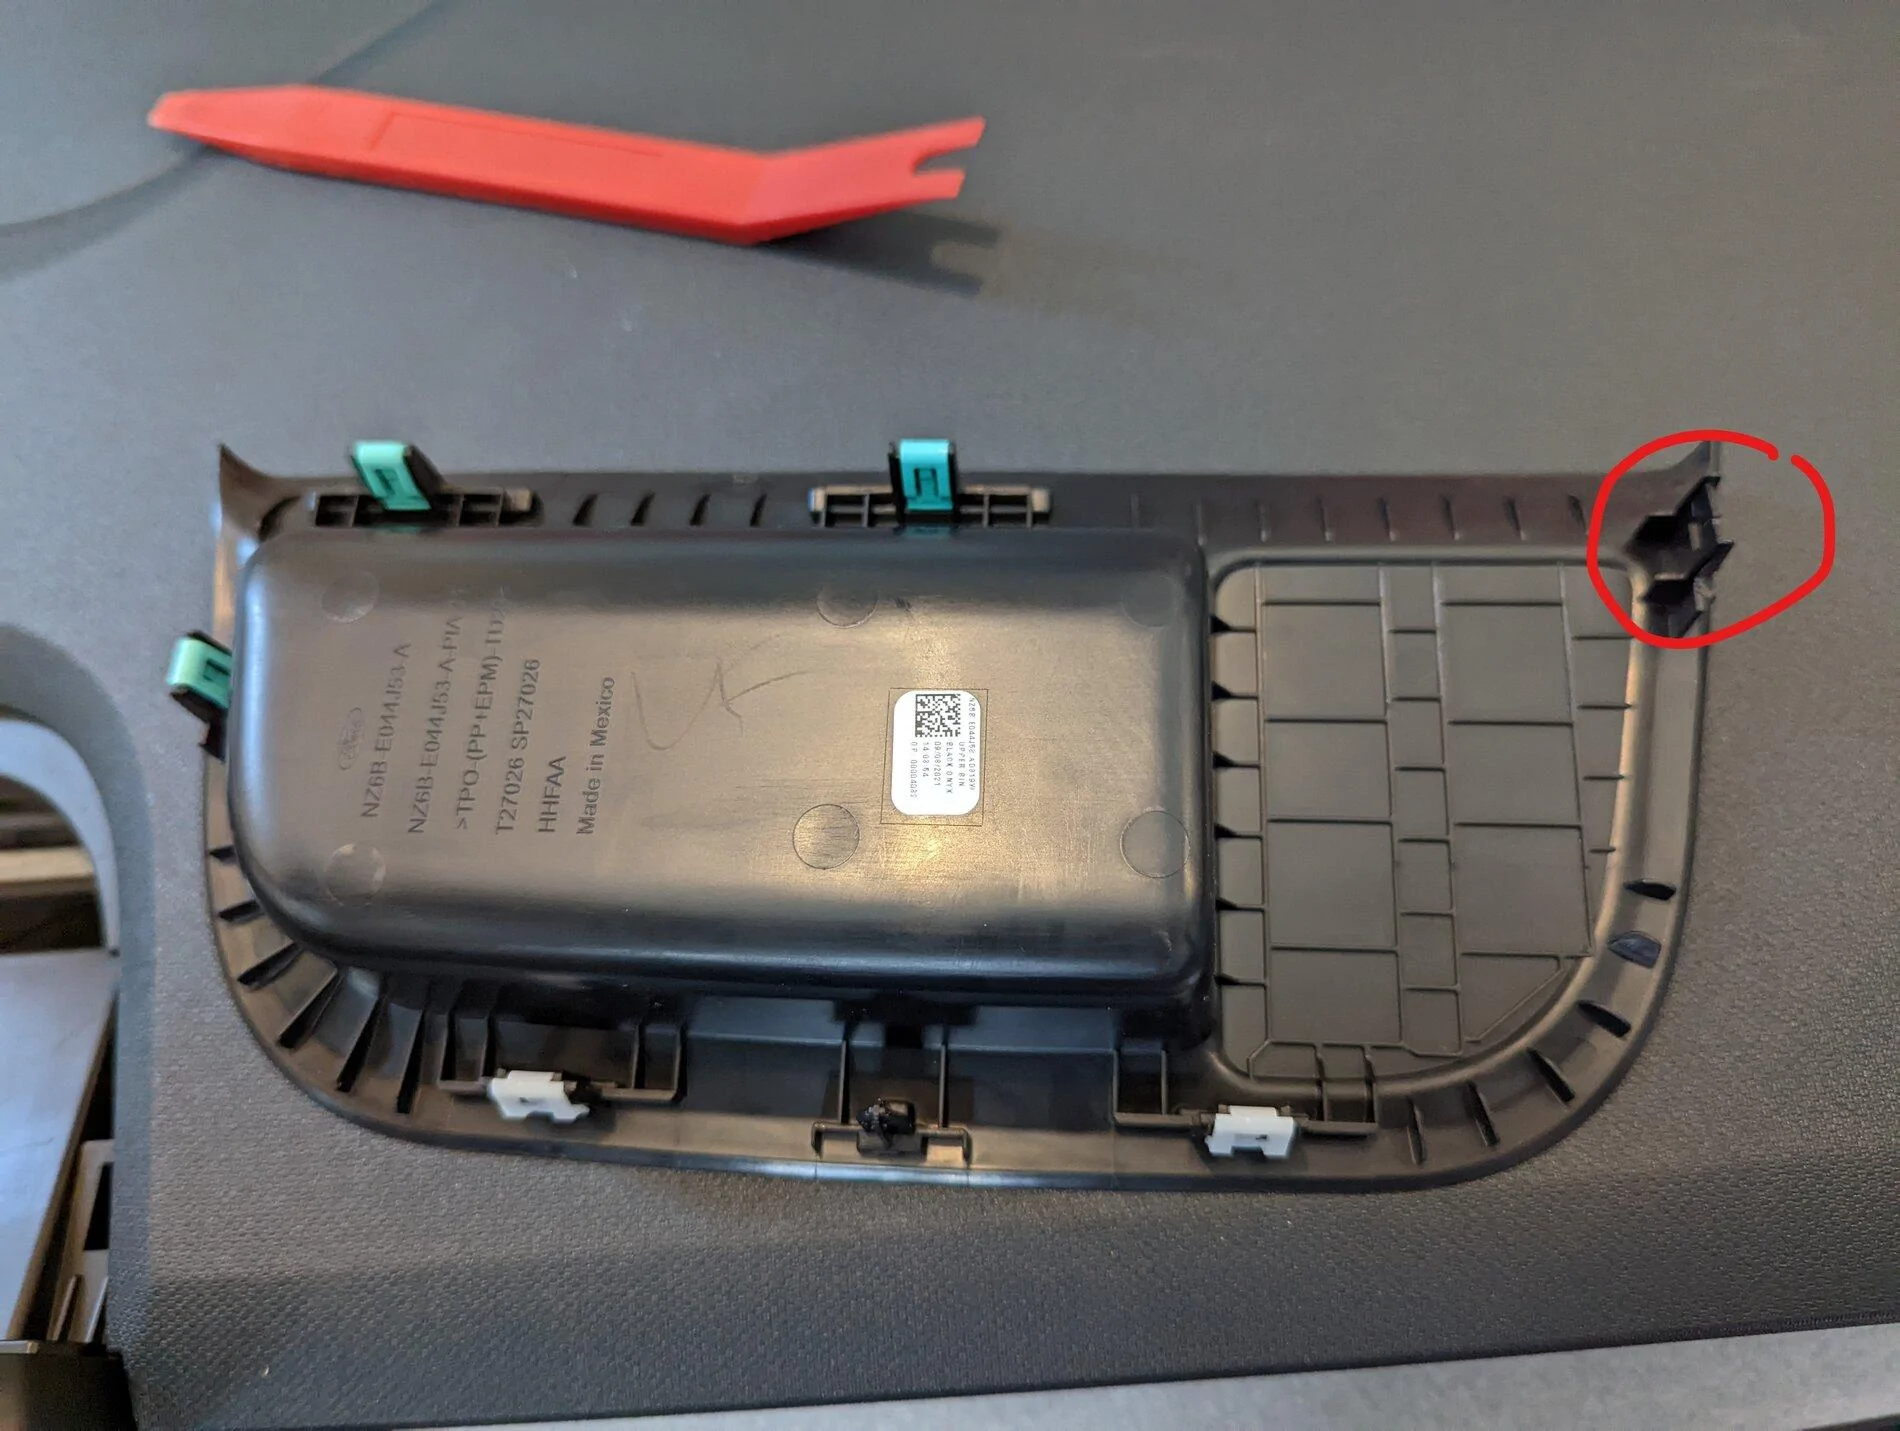
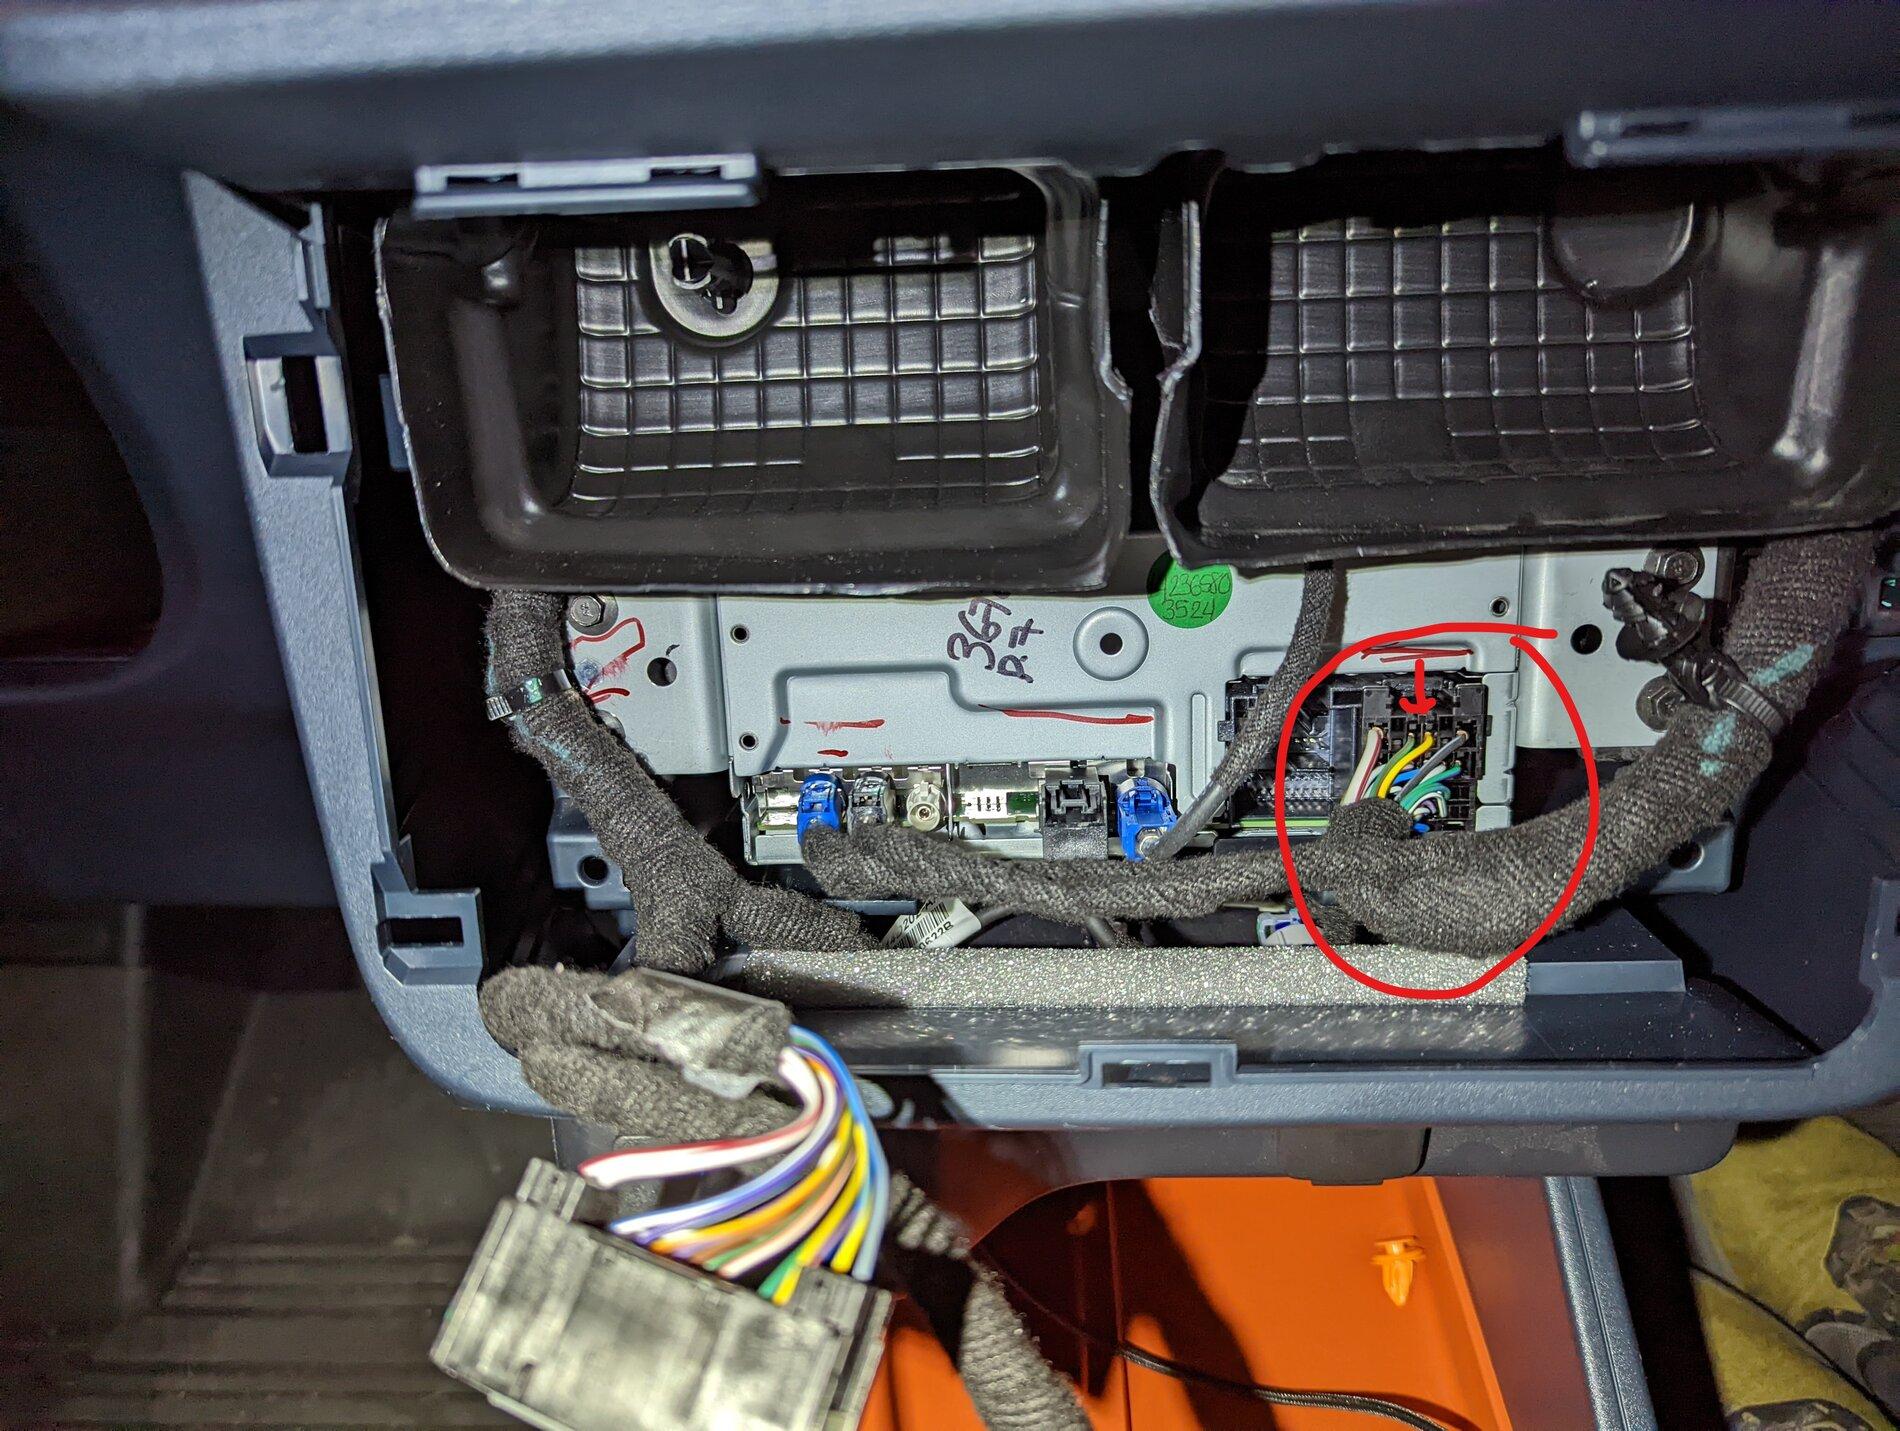
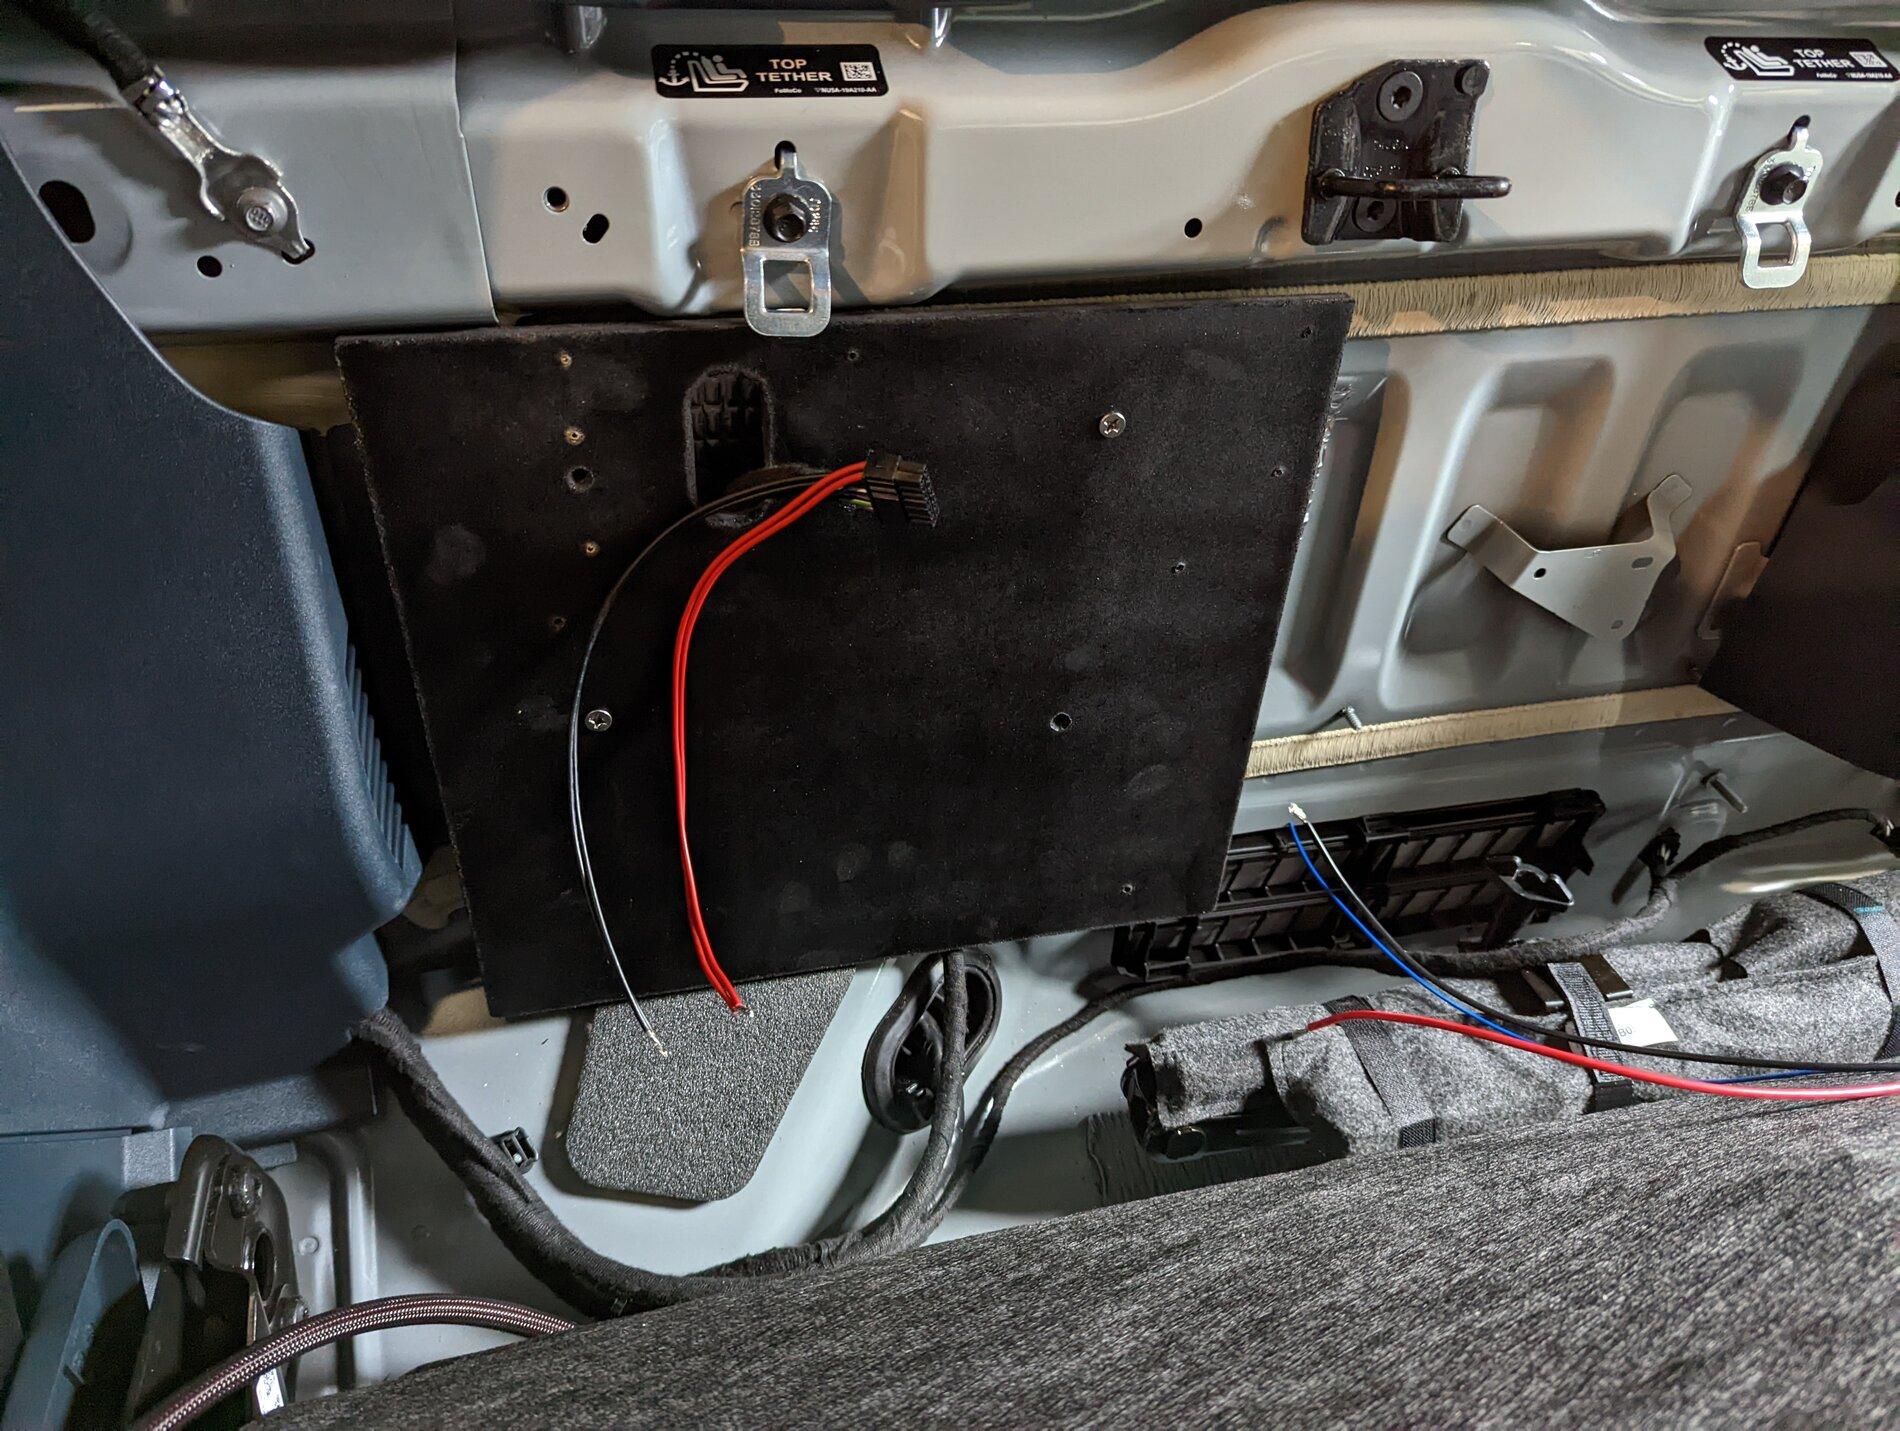
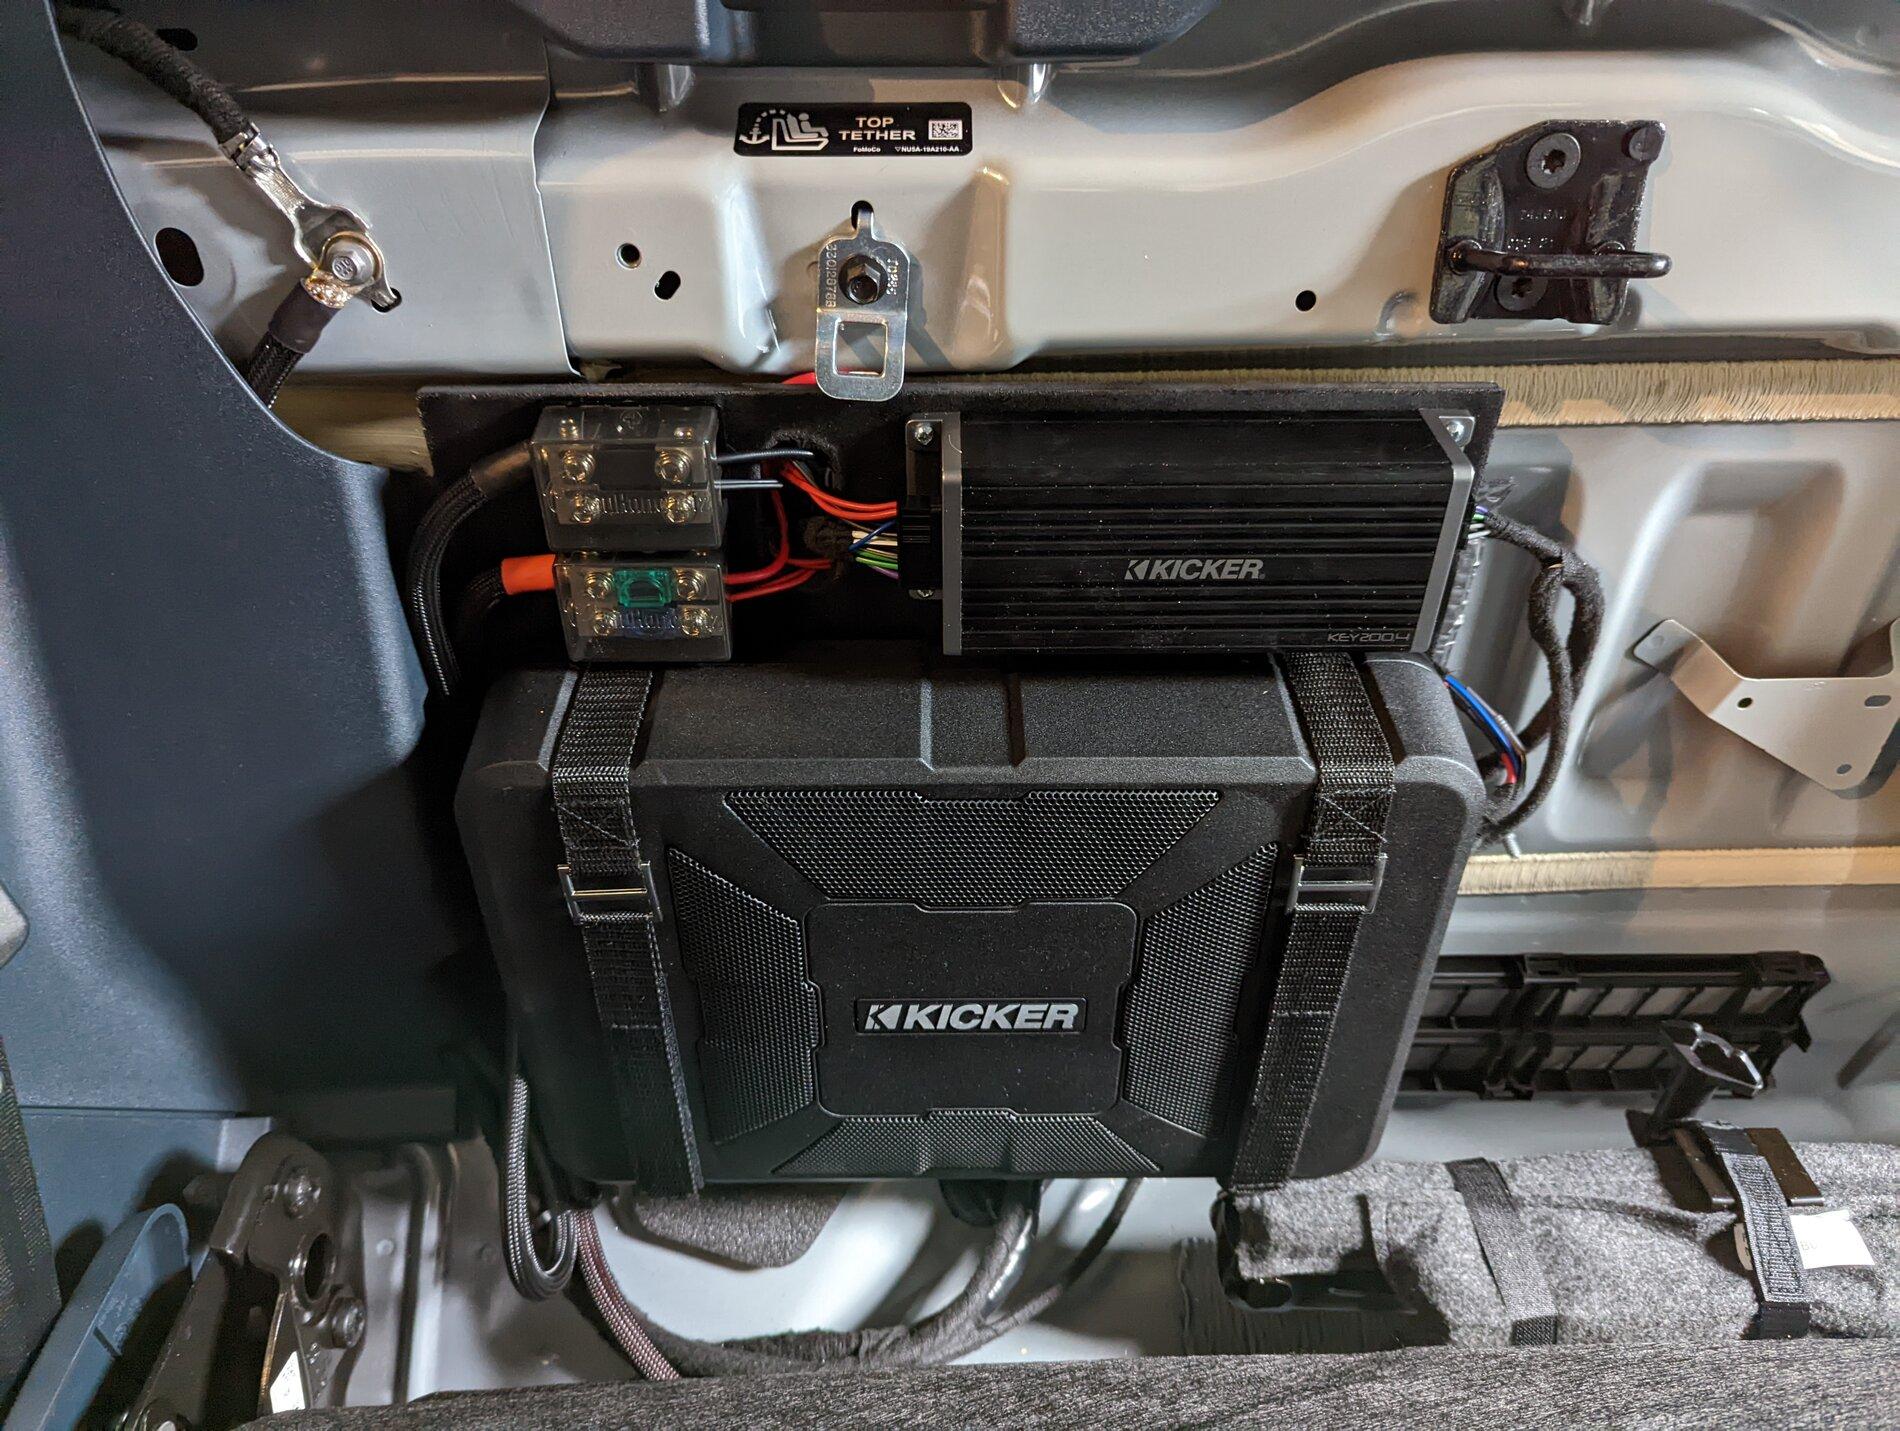
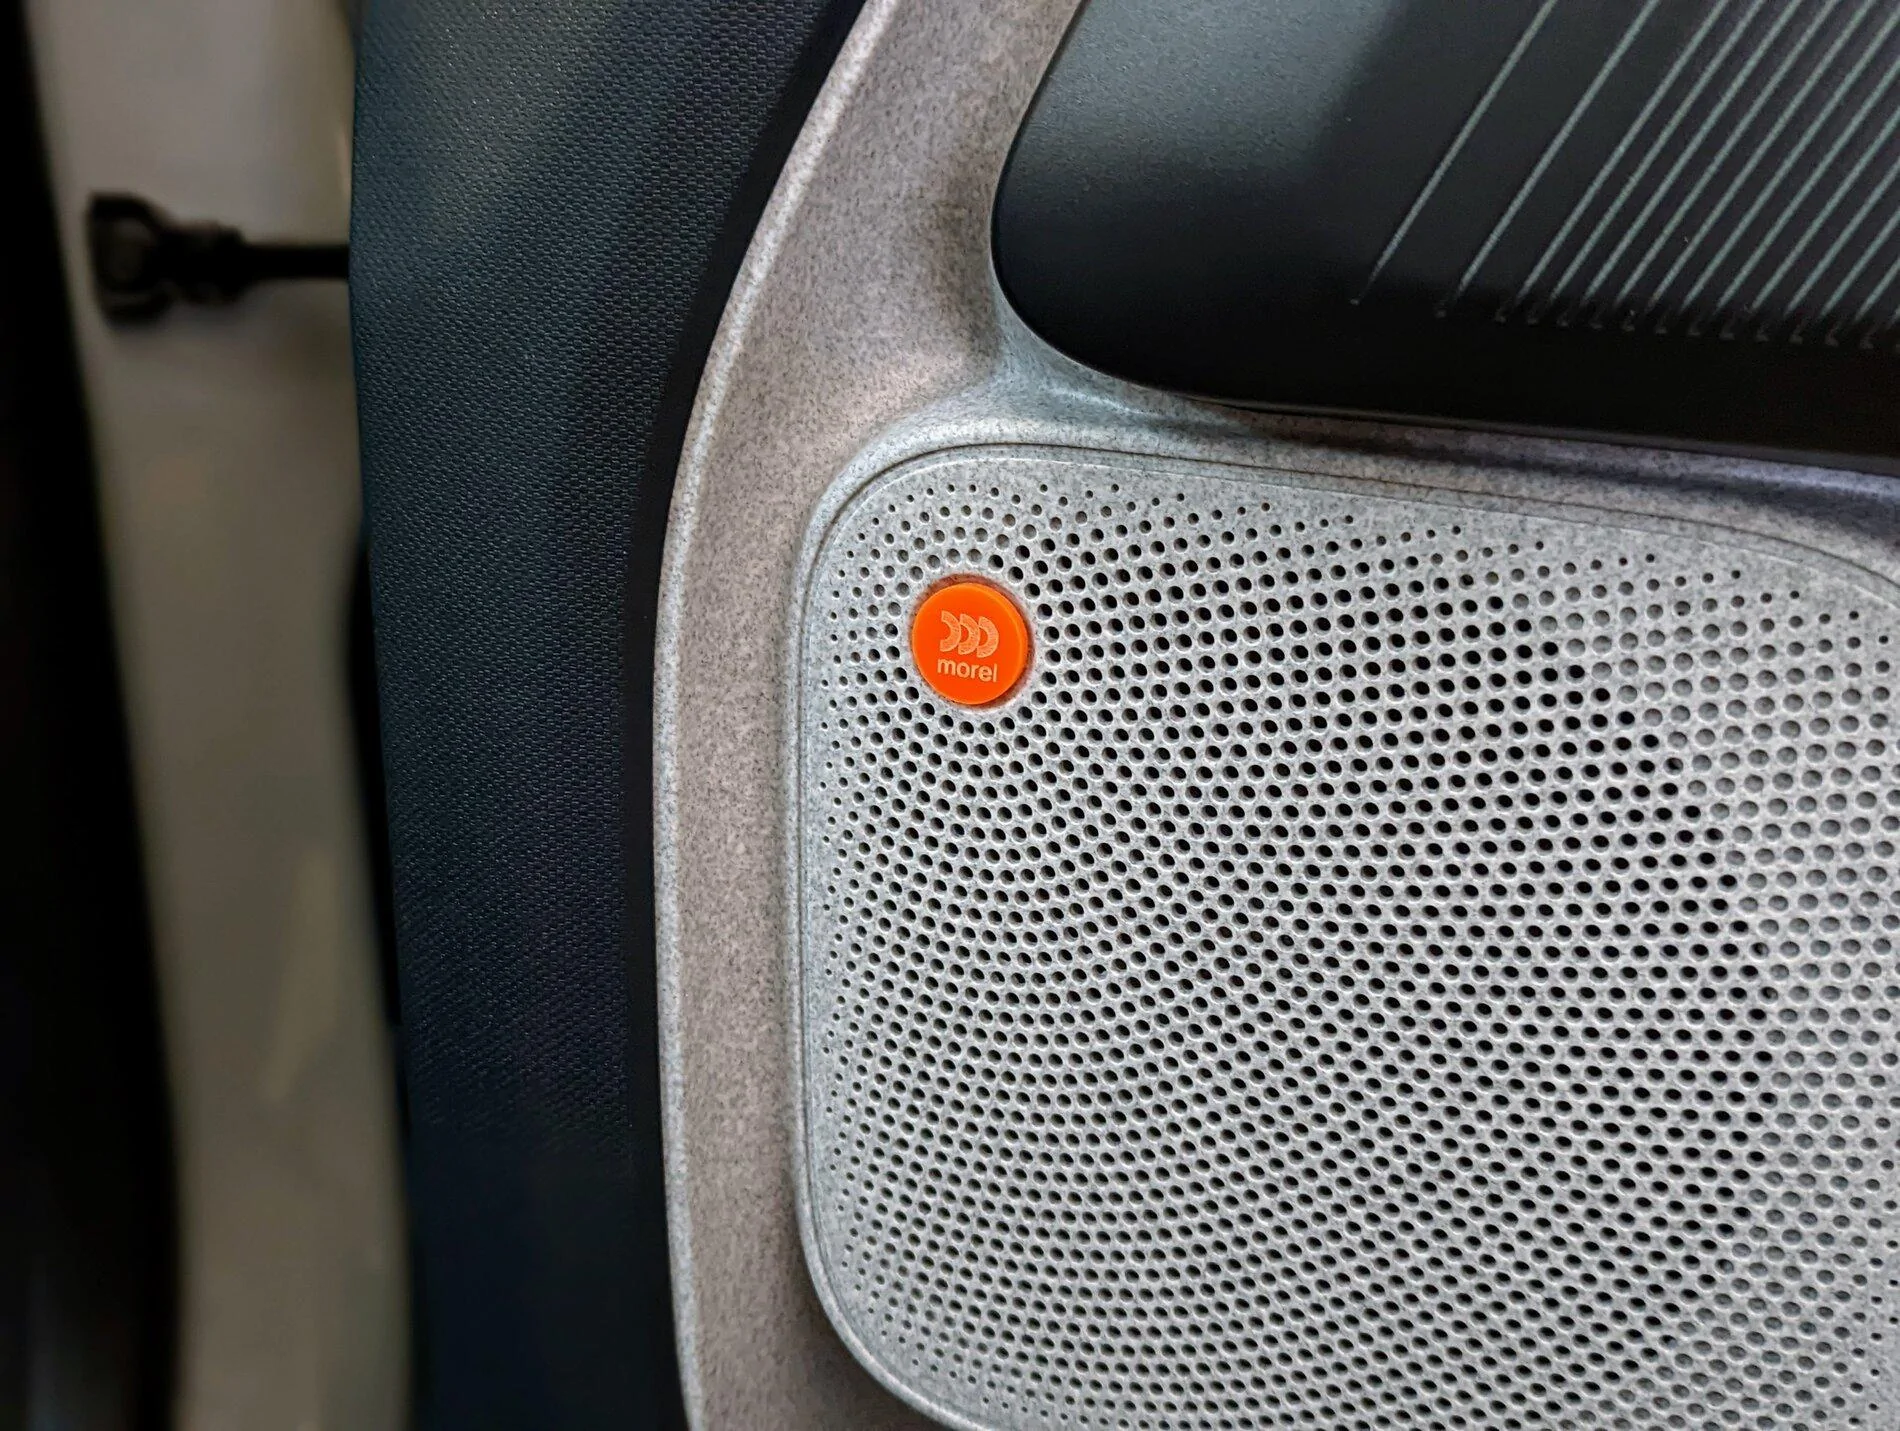
Thanks for your answer!I don't have any pictures, but I unwrapped the Tesa tape, cut the speaker wires about 2-3 inches from the connector, soldered the necessary wires to make sure they would not give me trouble later, and wrapped everything back with tape. I would avoid that if I could, but I can't even tell anything was touched and I can easily get it back if I need to.
Let's see if I understand correctly... you cut the cable from the stereo connector, from there to the amp, and from the amp you re-spliced the cables that go directly to the speaker, right?
Sponsored