
Sponsored


- Joined
- May 29, 2024
- Threads
- 30
- Messages
- 7,744
- Reaction score
- 13,378
- Location
- Central Nevada & Utah
- Vehicle(s)
- Maverick XLT Hybrid
- Engine
- 2.5L Hybrid
Thank you for posting.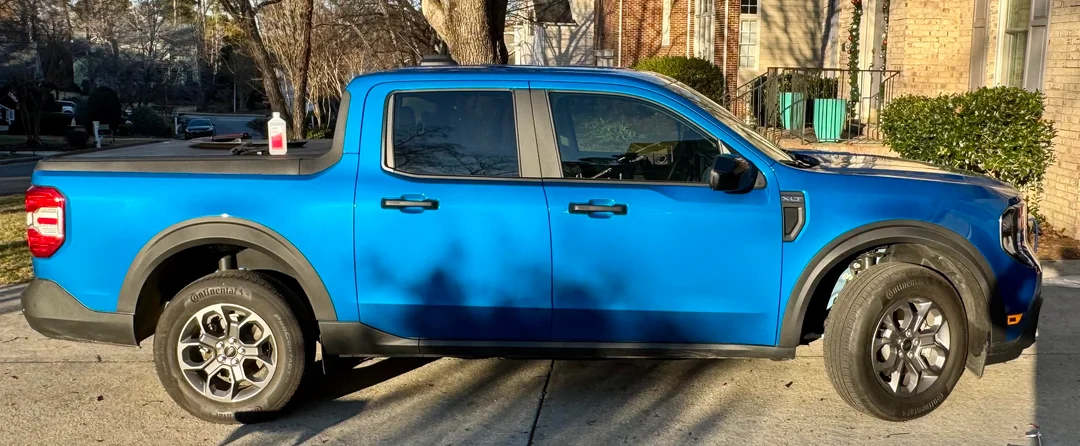
A couple of lessons learned along the way:
The fit is excellent. The ends line up with the body panels and the adhesion is excellent. The color and texture of the plastic matches the other exterior trim very well. Truly looks like it came this way from the factory.
- Once you've got the flare lined up with the holes (a small screwdriver inserted into the holes makes this easy), use some painters tape to hold it in place. This islike an extra set of hands.
- Insert the clips first (top to bottom) before sticking any of the adhesive (despite what the instructions say). You don't want to be repositioning adhesive tape to accomodate a clip that was a little off.
- Expose a little of the adhesive as the instructions say, but be sure to do it only from one end. This will allow you to stick it down in a single smooth swipe, ensuring perfect adhesion and really good fit.
- A small flat blade screwdriver is very helpful for popping the center part of the clips. It's dark in those wheel wells, park in the sunlight and/or use a light to help find the spot to pop out those clips.
- The included clips are great but are shorter than the originals. Use whichever fits and holds the tightest.
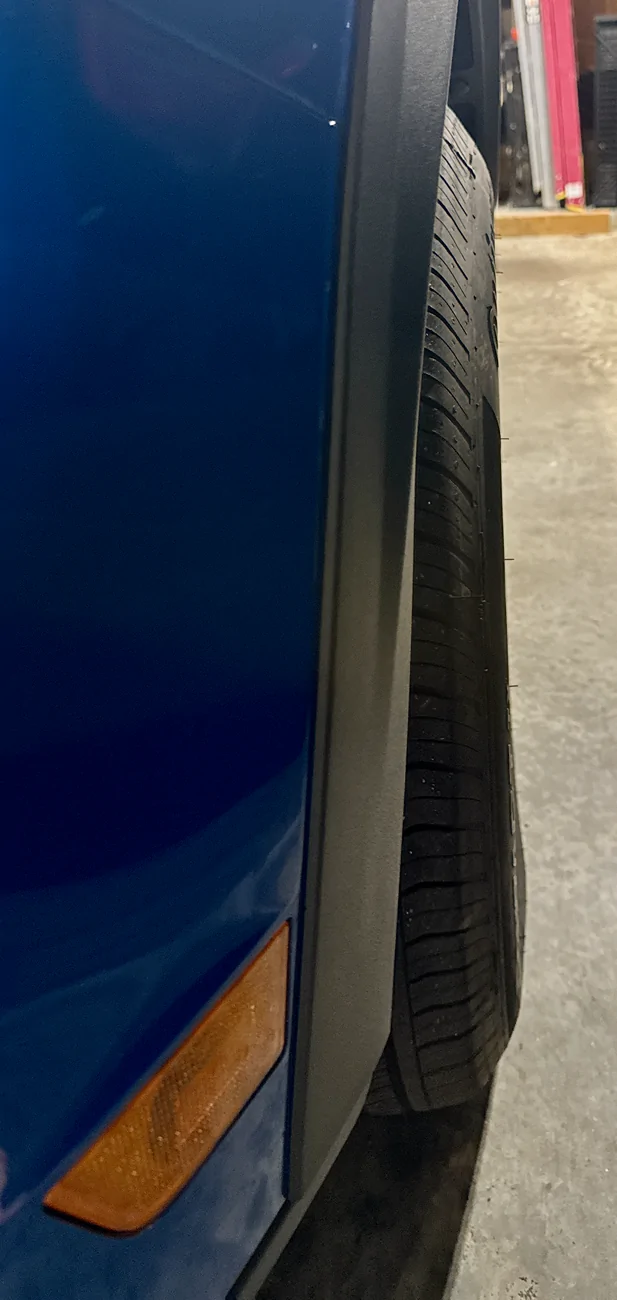
Comparing Mabett's flares to others
This is the second set of flares I'd ordered. The first set came in three pieces per wheel and didn't line up worth a $%^&*. Not worth the $30 savings over the Mabett version.
I also considered a few options from Ford Accessories including the $670 Air Designs (which are identical to the Mabetts) and $550 Husky (didn't care for the fake bolts and overall bulky design. great if you are going to put big-ass tires on I suppose, but that's not something I plan to do). Neither is worth 4-5 times the price of the Mabetts.
Looking at a 2026 XLT at my local dealer with similar flares installed (presumably the Air Designs judging from the line item on the sticker), the fit was noticably worse with wide gaps where the exterior color shows through between the bottoms of the flare and black trim across the bottom of the body. This is likely and installation issue (only $210 at your local Ford dealer),
Lesson learned: take your time can get it all lineup before adhering them (#2 above). The clips really help here.

Especially including the most important thing for correct alignment of the holes.
Starting at the top and working towards the bottom of the flares.
Early on, a few members made the mistake when attching the fastener's
of not starting at the top.
I don't think @MABETT was clear on this procedure in their instructions.

- Joined
- May 29, 2024
- Threads
- 30
- Messages
- 7,744
- Reaction score
- 13,378
- Location
- Central Nevada & Utah
- Vehicle(s)
- Maverick XLT Hybrid
- Engine
- 2.5L Hybrid
I know the car wash question has been covered in the past. If properly appliedSo I'm sure this has been asked before, but will they still work with the OEM splash guards? I like them for now and want to reuse them, and I'm not a fan of the look of the @MABETT splash guards. Also, what about automatic car wash tunnels? Do they hold up okay? Thanks!
 the Mabett flairs do just fine going through the car wash.
Proper preparation of the painted surface is key.
If the truck has been Cerakoted they're going to have a hell of a time getting something to stick long term, unless properly prepared.
Last edited:
Cool thank's Glen do you have them? I did coat my entire Mav with Adam's Ceramic coating. I will have to prep the area with 70%IPA and a light polish compound for them to stick.I know the car wash question has been covered in the past. If properly applied
Proper preparation of the painted surface is key.
If the truck has been Cerakoted they're going to have a hell of a time getting something to stick long term, unless properly prepared.
Sponsored
- Joined
- May 29, 2024
- Threads
- 30
- Messages
- 7,744
- Reaction score
- 13,378
- Location
- Central Nevada & Utah
- Vehicle(s)
- Maverick XLT Hybrid
- Engine
- 2.5L Hybrid
Nope. I got my experience from helping a formerDo you have them Glen?
(banned) member install his in early 25. I had previously helped him with a seat problem.That is when we realized that installing the TOP Fastener first and working the way down the sides was better than starting at one end and going to the other.
Last edited:
- Joined
- May 29, 2024
- Threads
- 30
- Messages
- 7,744
- Reaction score
- 13,378
- Location
- Central Nevada & Utah
- Vehicle(s)
- Maverick XLT Hybrid
- Engine
- 2.5L Hybrid
Alcohol also comes in a 91%. IPACool thank's Glen do you have them? I did coat my entire Mav with Adam's Ceramic coating. I will have to prep the area with 70%IPA and a light polish compound for them to stick.
Alcohol alone will not cut it.
I have no idea about the Polishing Compound.
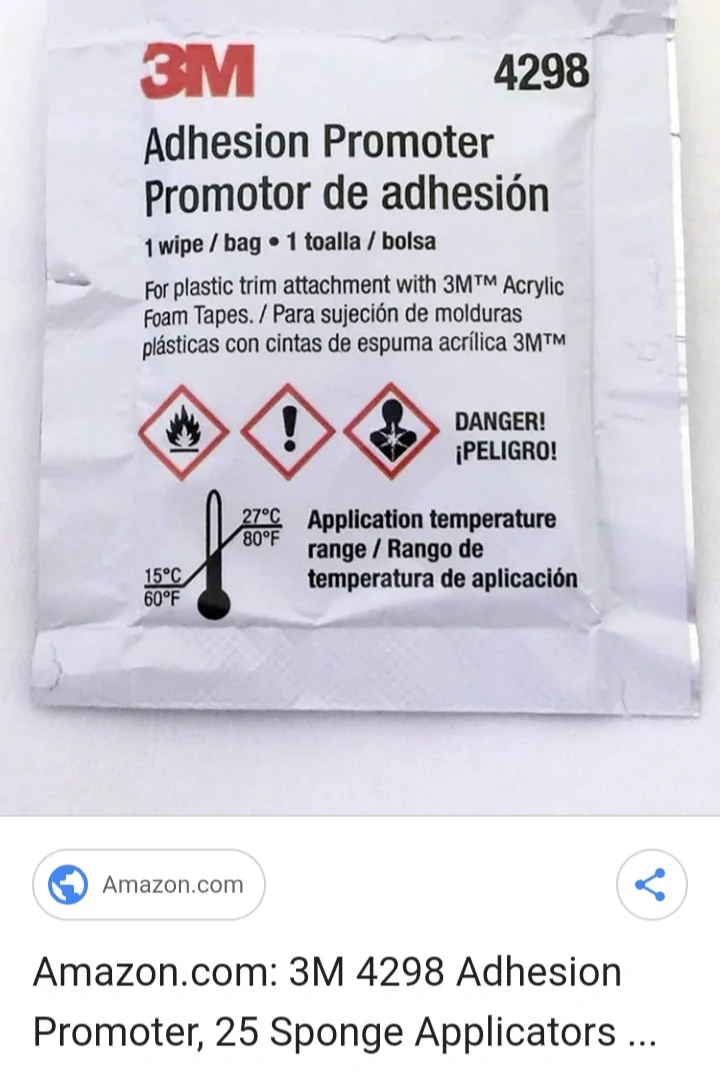
I cannot stress enough you need to use these
 after cleaning.
Spend the money and buy the 3M brand.
Thanks for the info Glen! I will ask #Adamspolish about preping the ceramic coating before the install.Alcohol also comes in a 91%. IPA
Alcohol alone will not cut it.
I have no idea about the Polishing Compound.
I cannot stress enough you need to use these
Spend the money and buy the 3M brand.
- Joined
- May 29, 2024
- Threads
- 30
- Messages
- 7,744
- Reaction score
- 13,378
- Location
- Central Nevada & Utah
- Vehicle(s)
- Maverick XLT Hybrid
- Engine
- 2.5L Hybrid
Thanks for the info Glen! I will ask #Adamspolish about preping the ceramic coating before the install.
You may want to get a hold of the ceramic coating company and see how they recommend removing their coating.
Also don't skimp when using the adhesive promoting pads. Use at least two pads per wheel well just to make sure everything is clean.
You want these stuck for the life of the vehicle.
Last edited:

I will say from past experience that most adhesion promoters have like a 6 month shelf life from time of manufacture. So make sure where ever you are buying from if online, that you have unexpired product to use when you need it.
Sponsored
Last edited:


