
Looks great! Not sure why you are getting all the hate. I would totally do the same if I used it for a work truck.
Sponsored
Wow, never thought this would be such a controversial topic! Haha

As for your PS, I'm in the same boat waiting on transport from the railyard. Hopefully you're further from the railyard than I am otherwise I'm really going to have to temper my expectations because mine has only been in Chicago for about 2-3 weeks. but I can't be more than 120-150mi from wherever that railyard is. So hopefully you're much further away and that's why it took soo long. But congrats it made it to the dealership!Thank you for this information. A question did you happen to take pictures or document on how you removed the bottom rear seat? Which bolts need to be removed?
Thanks in advance.
P.S. I am still waiting for my 22 Mav 444 days. Can't find a transport for the last 45 miles to my dealer.
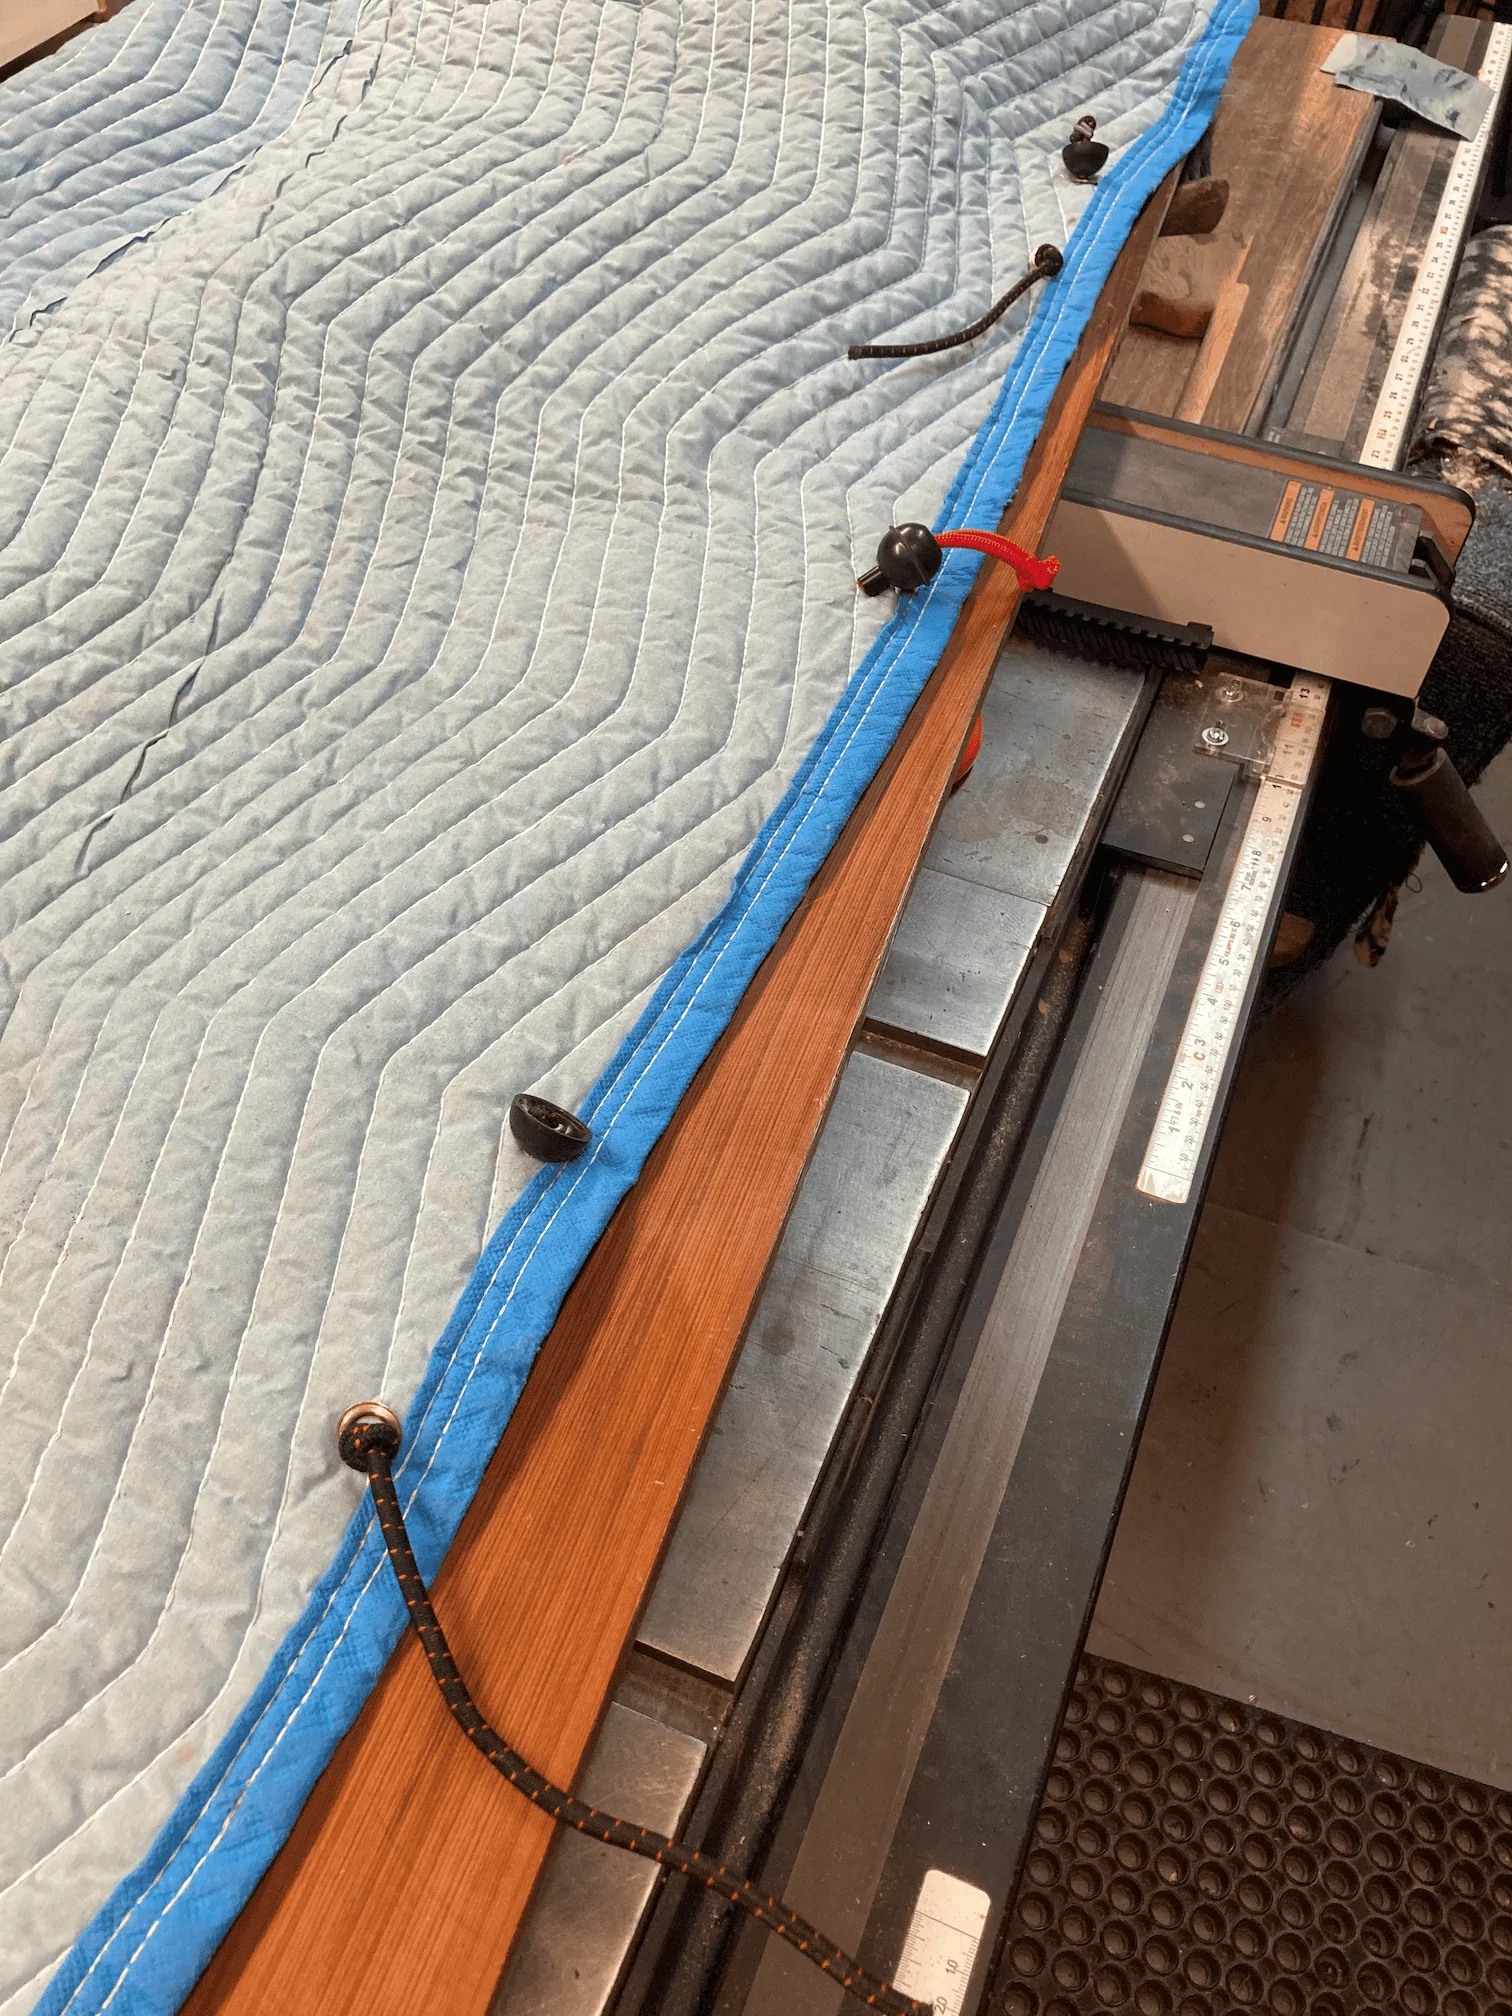
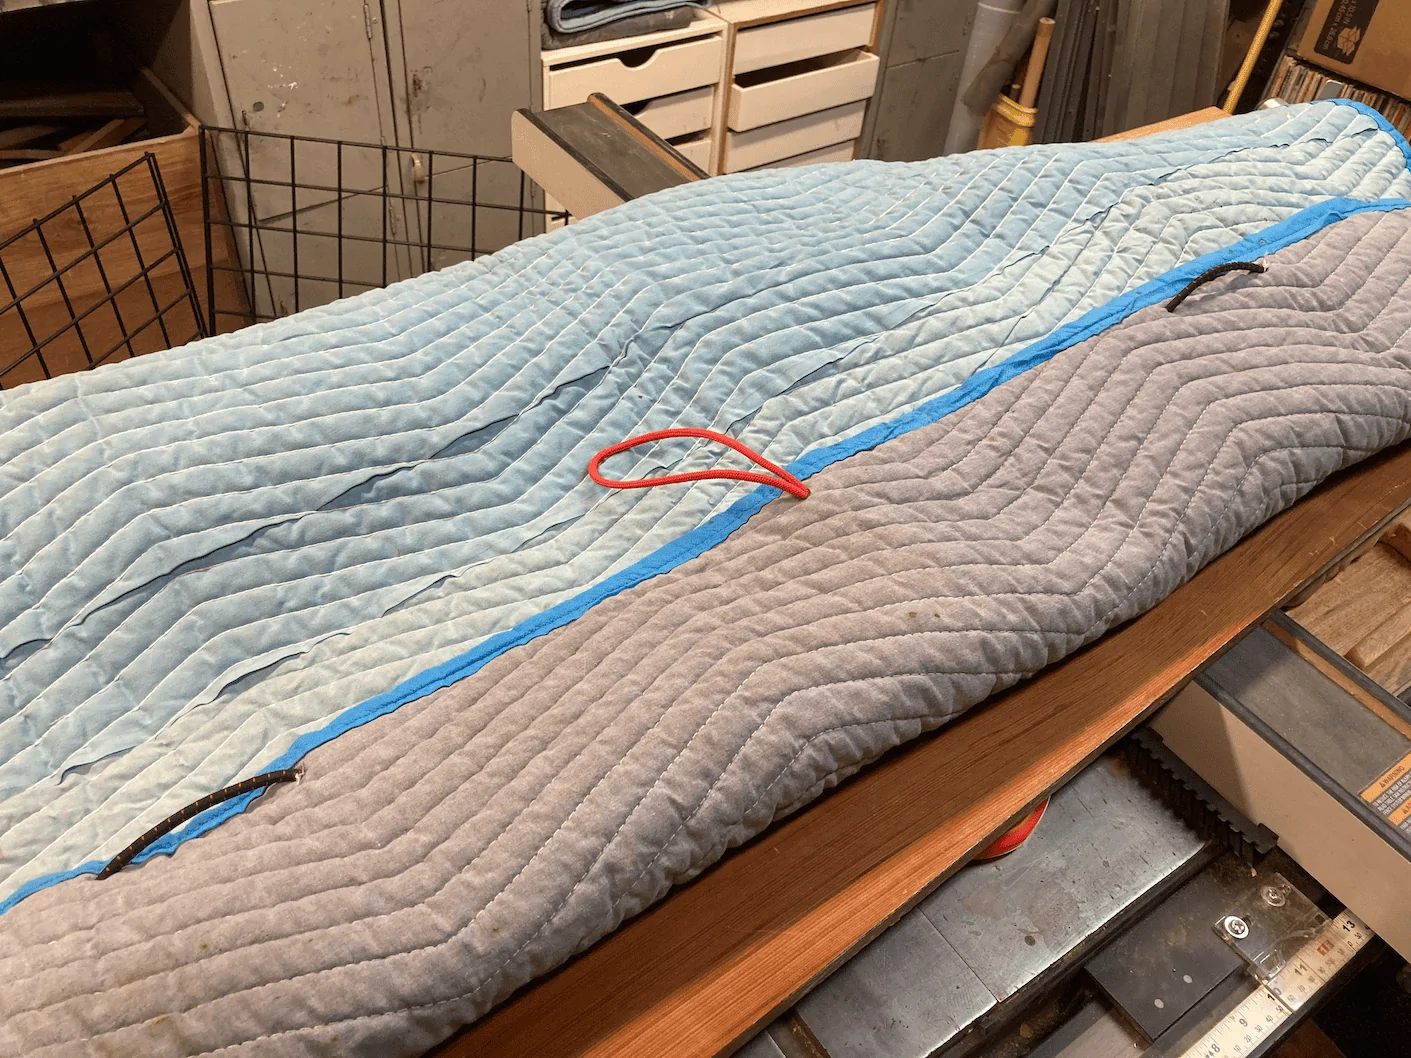
I like the idea, but I have a different approach. I've not implemented it yet, but my plan is to make a filler for the feet wells in the back. I am going to use a heavy neoprene (I think, 1/4 inch plastic similar to plexi, but pliable) and make a folding "platform" that I can fold up and store under the seat, or behind. I have the neoprene already. I also used a heavy packing blanket (free) and put bungie cords where the headrests, front and back seat, attaches. This makes a hammock that will help keep dogs in back, hopefully. Since one of my dogs is 80+ pounds, keeping him lower wouldn't be much benefit. A saftey harness is a better way to prevent injury in a crash. I'll post pictures when done, but it may be awhile as not a top priority.
I don't understand the "scratching" complaints, as my dog would not be in the truck without me. You don't leave pets in unsupervised vehicles. Period.
Cool. I haven't decided what to do about covering the seat backs yet. When the rear seat bottom was there I had one of the store-bought dog hammocks, but it was a piece of junk, shedding pieces of vinyl backing all over the place in no time. I did have a better one in a previous vehicle and might go that route as it should still work okay with the platform there.Edit:
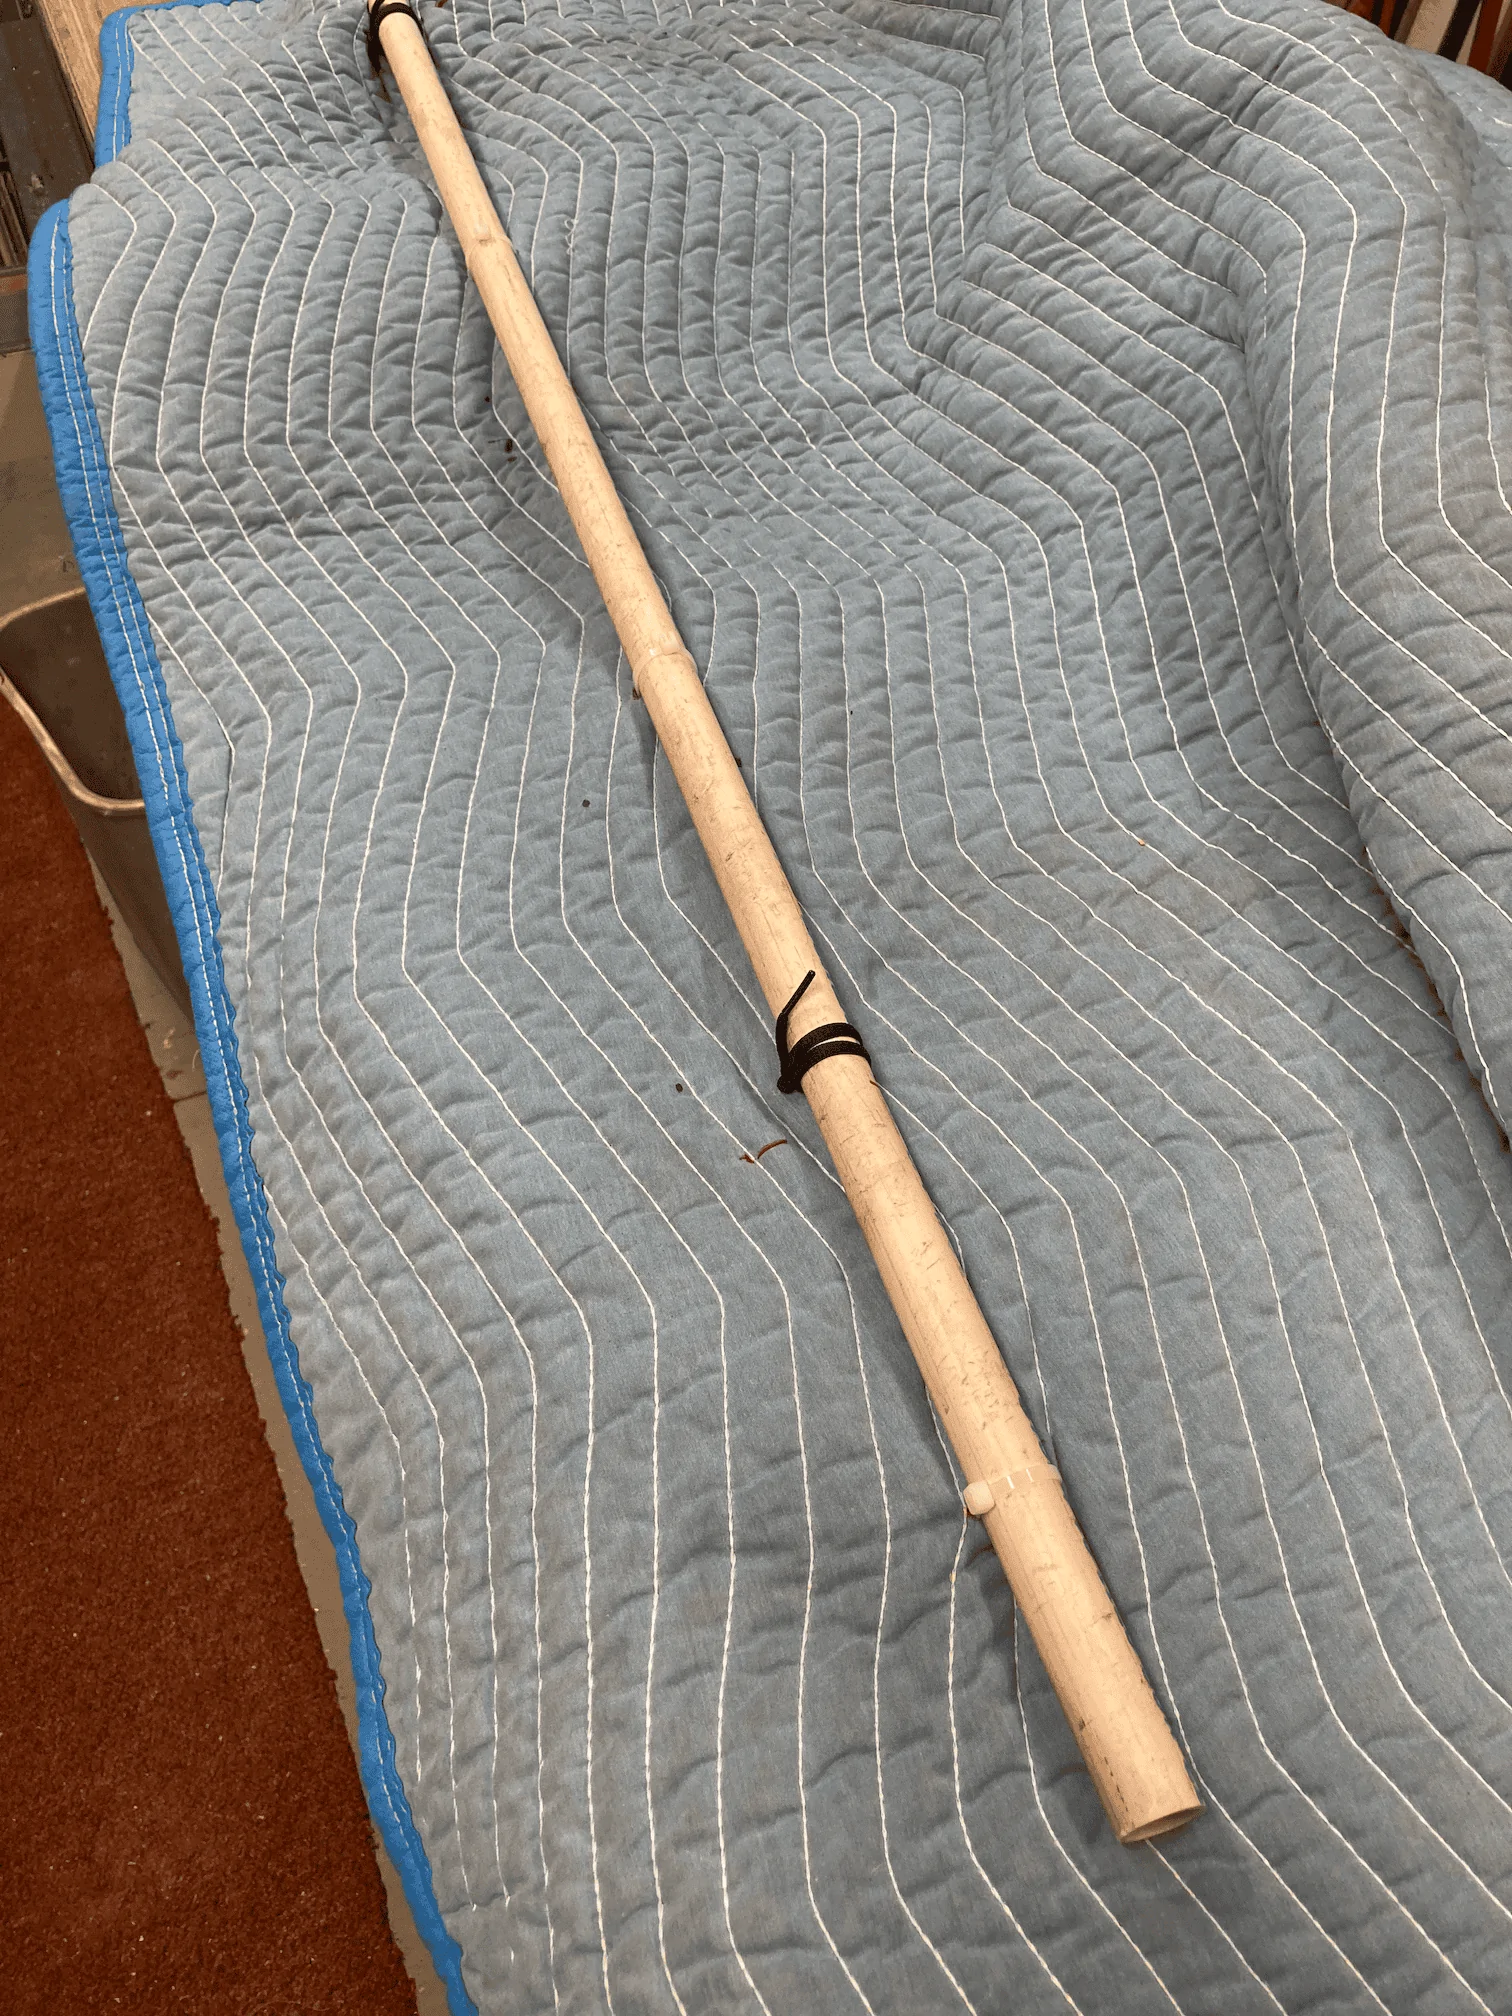
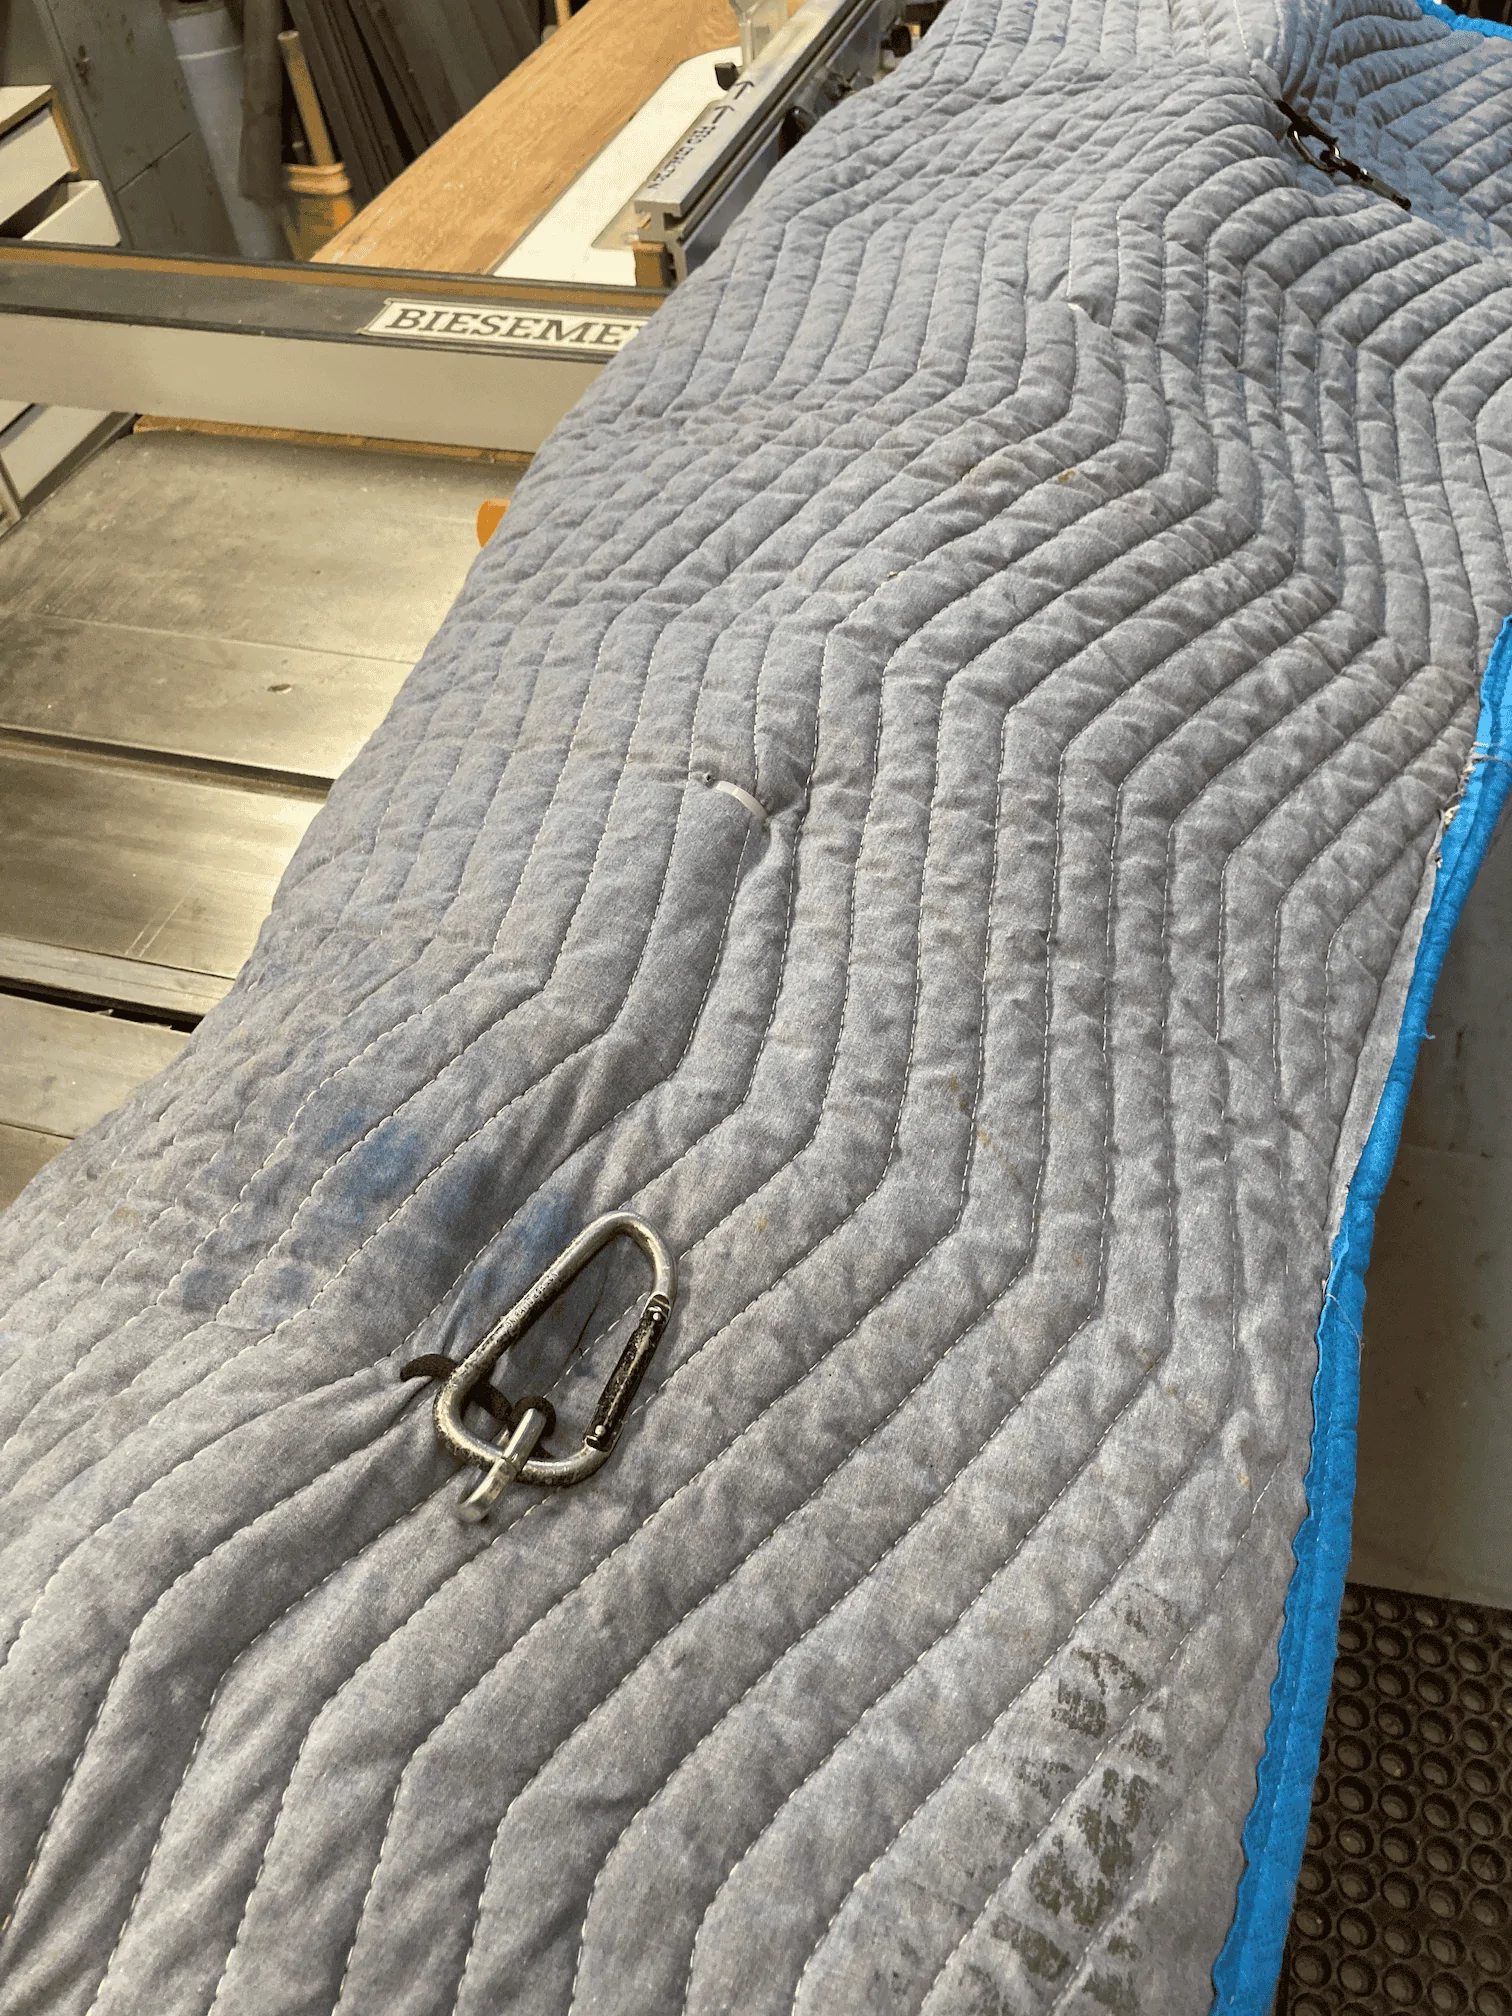
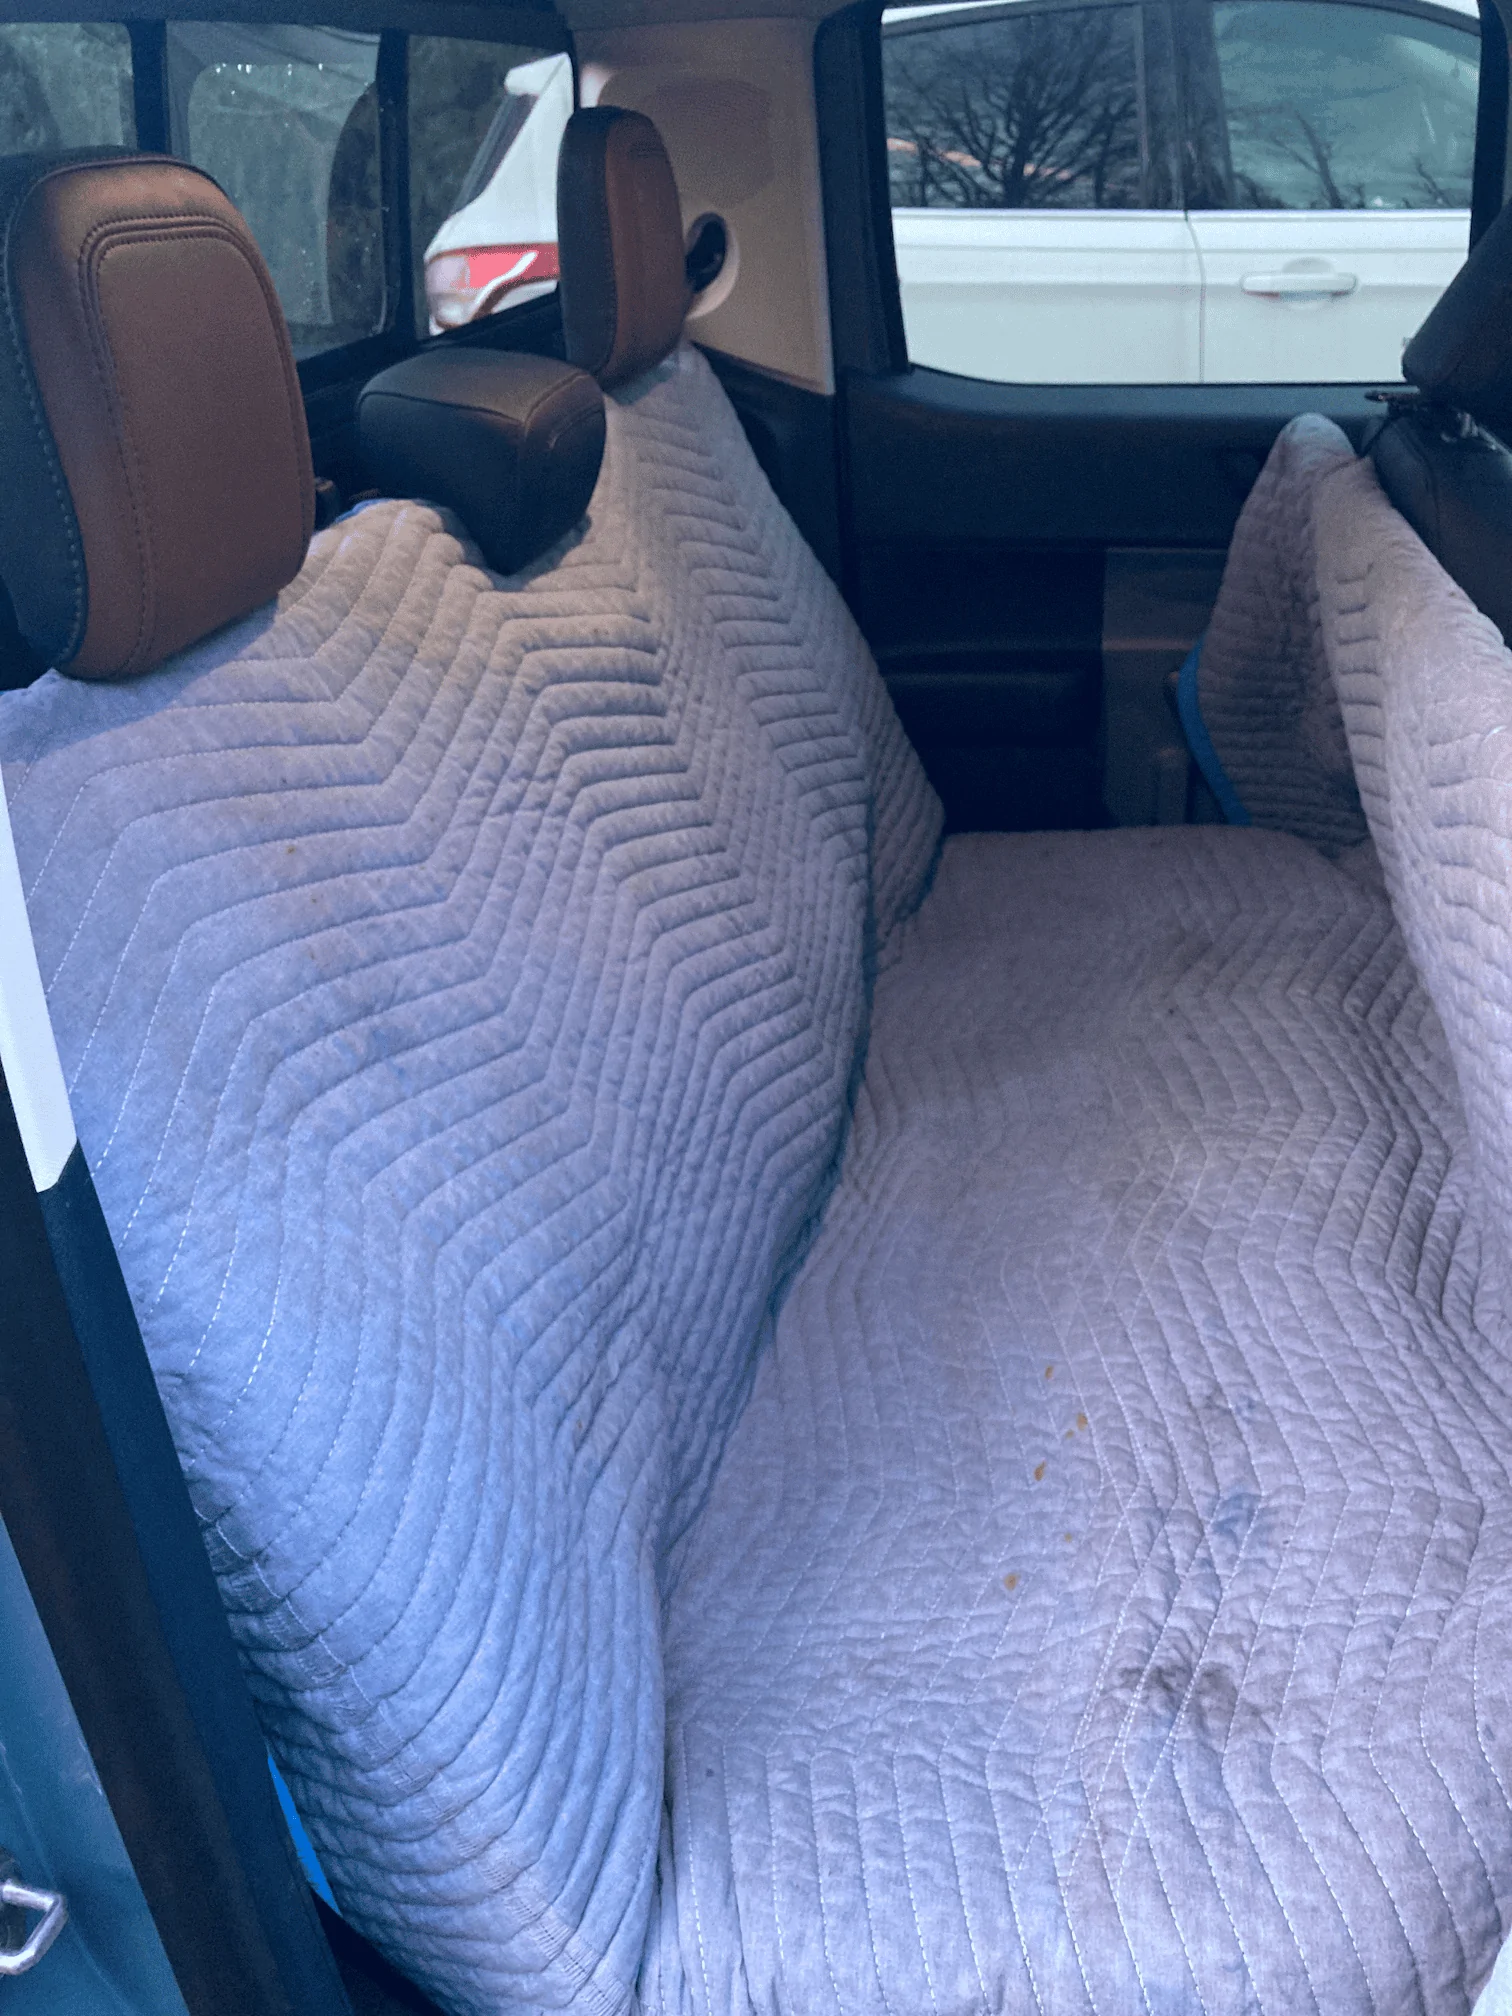
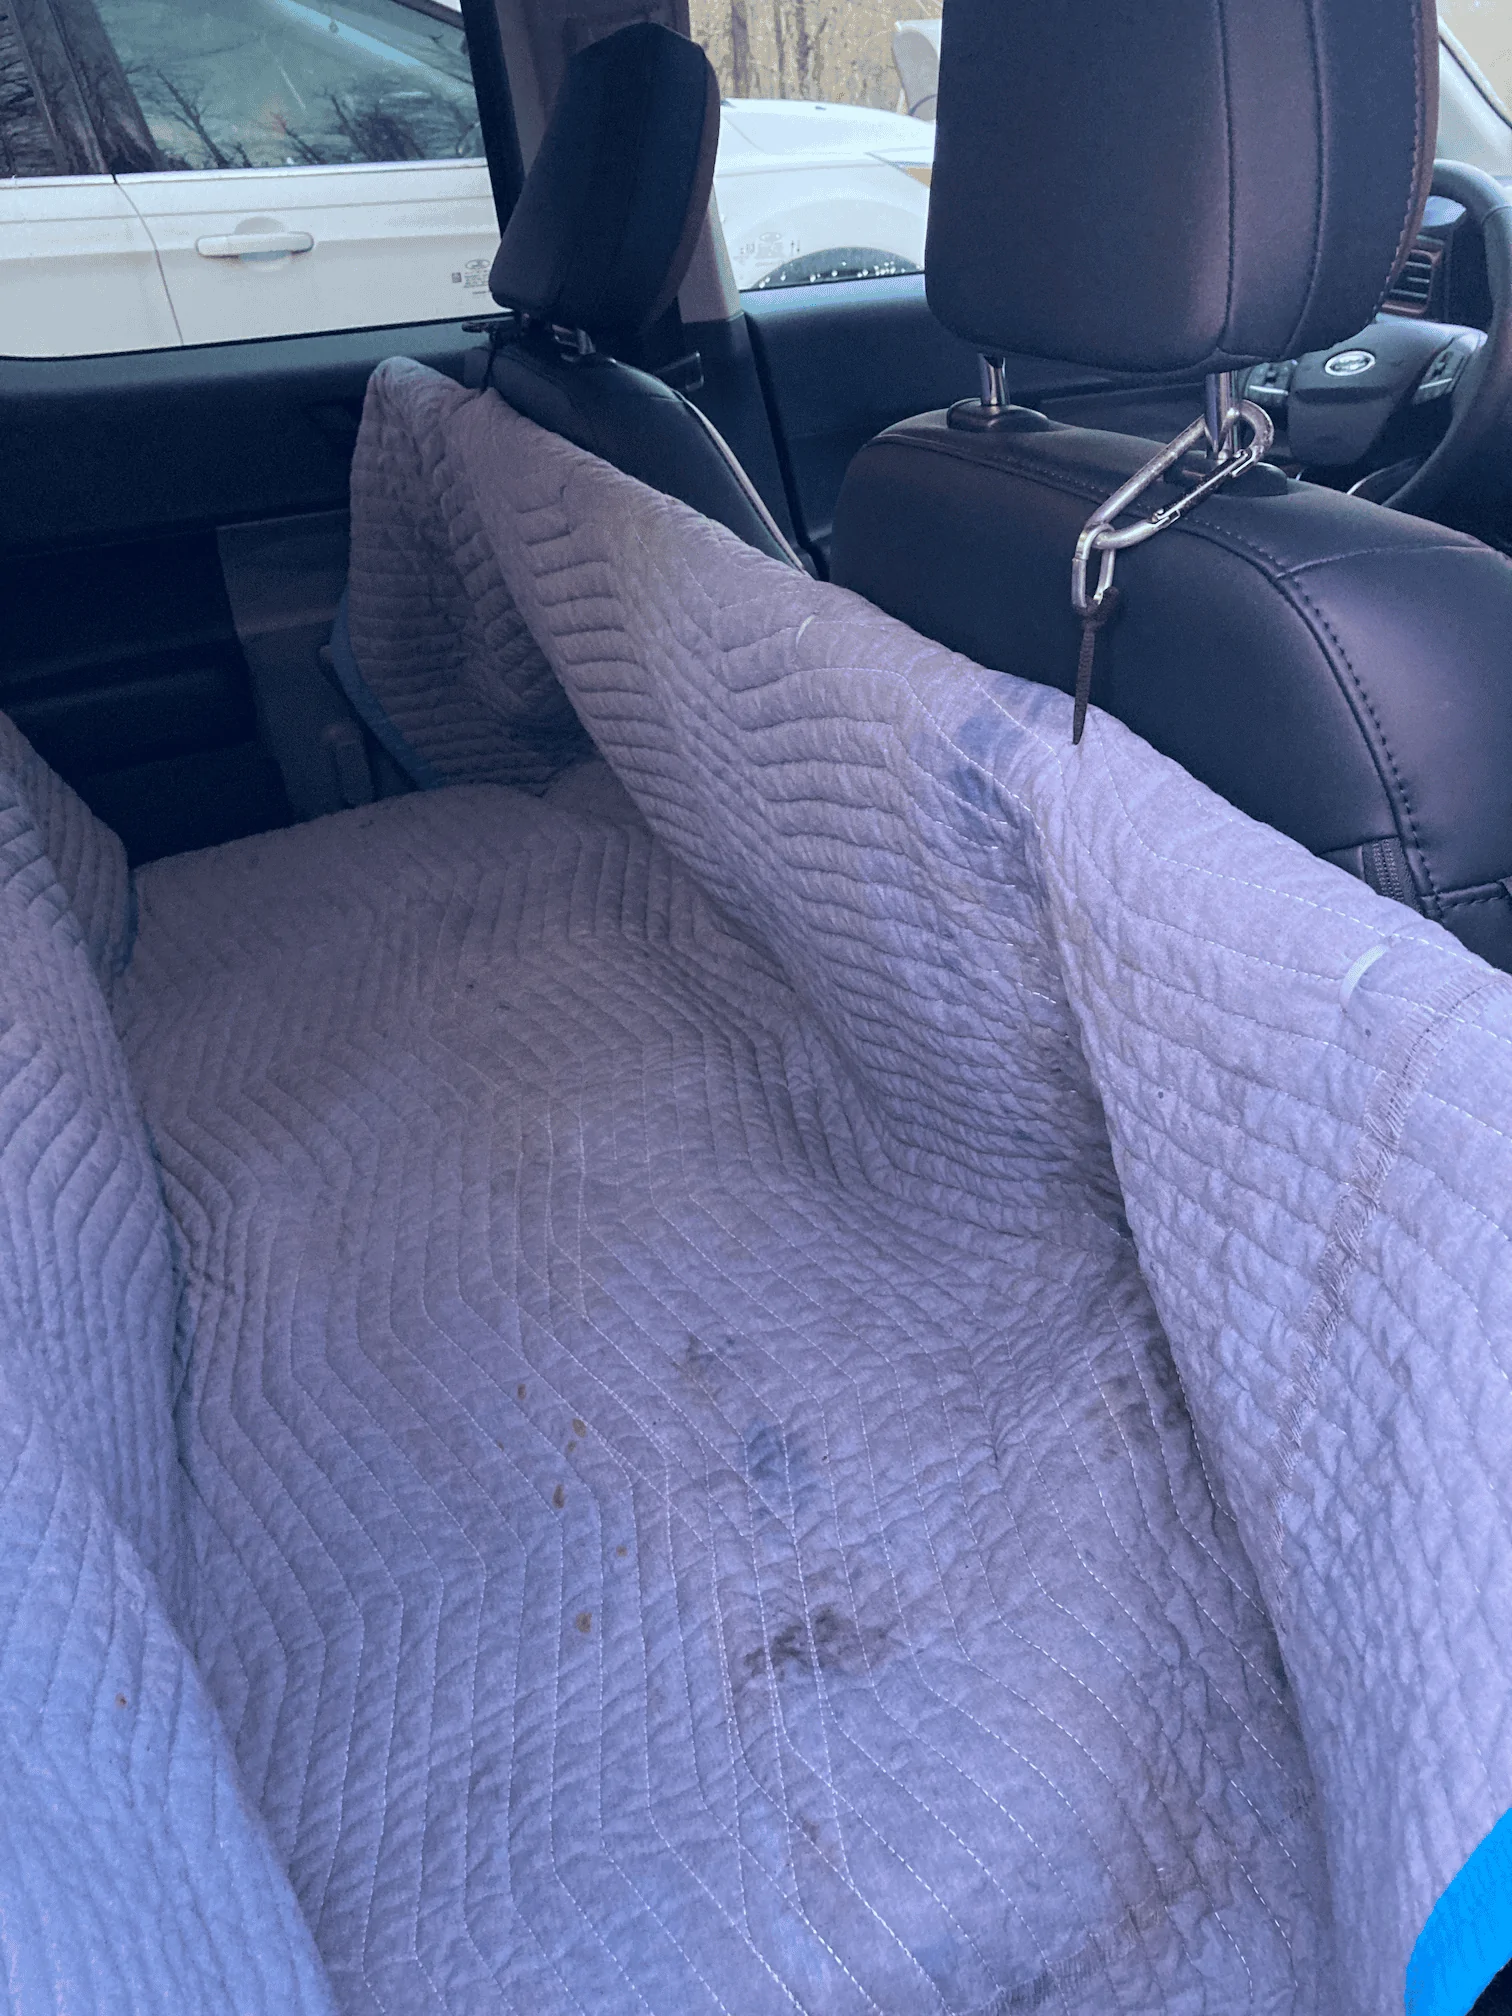
I finished the seat cover. Cost to me $0 Time to install/remove, about 30 seconds. About 2 hours build time. 3 loops to catch headrests in back. I put a pvc pipe across front, hopefully will impede access to front seats. It clips to front headrest.
I did wash this before. I may do a ScotchGuard on it.
Other main use is I take my own garbage and recycle to dump. Back holds 4 cans and some bags, but the bags of recycle can go in back seat.
I will be interested if anyone has; my assumption was and is that the metal is built into the overall body and frame structure and cannot be removed.Thanks for sharing this.
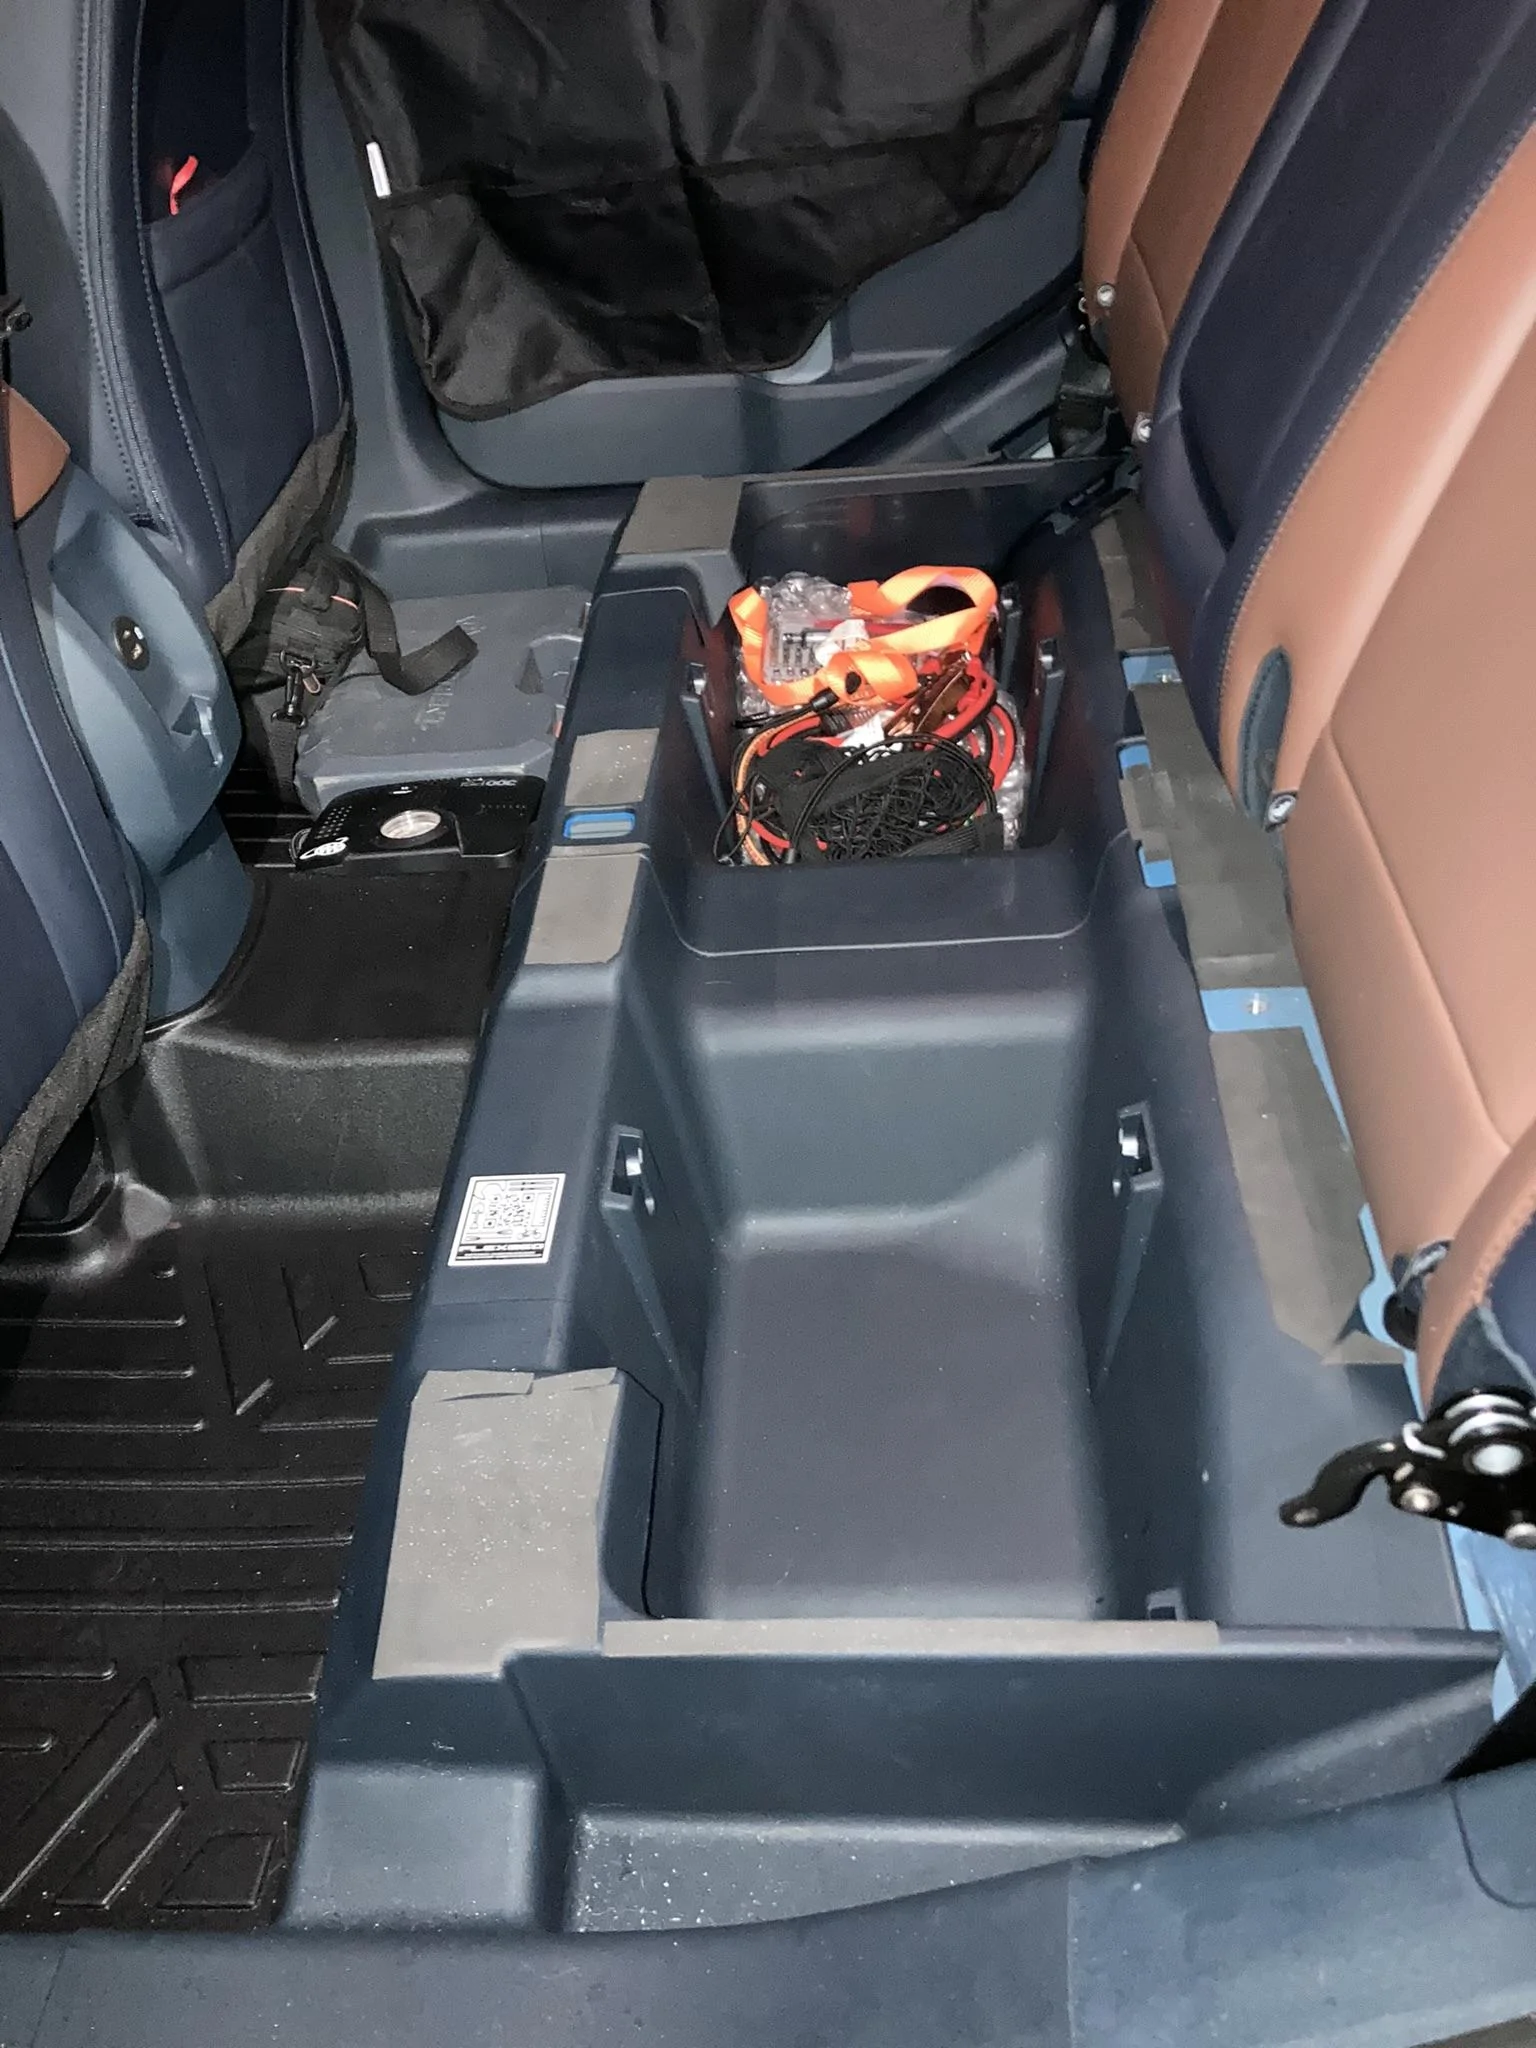
I'd like to remove the underseat storage bins as well. Has anyone removed them and are the metal brackets underneath also removeable somewhat easily? I'd like to get as close to the floor as possible, or that hump in the middle at least.
Grr. I hope not.I will be interested if anyone has; my assumption was and is that the metal is built into the overall body and frame structure and cannot be removed.
I will be interested if anyone has; my assumption was and is that the metal is built into the overall body and frame structure and cannot be removed.
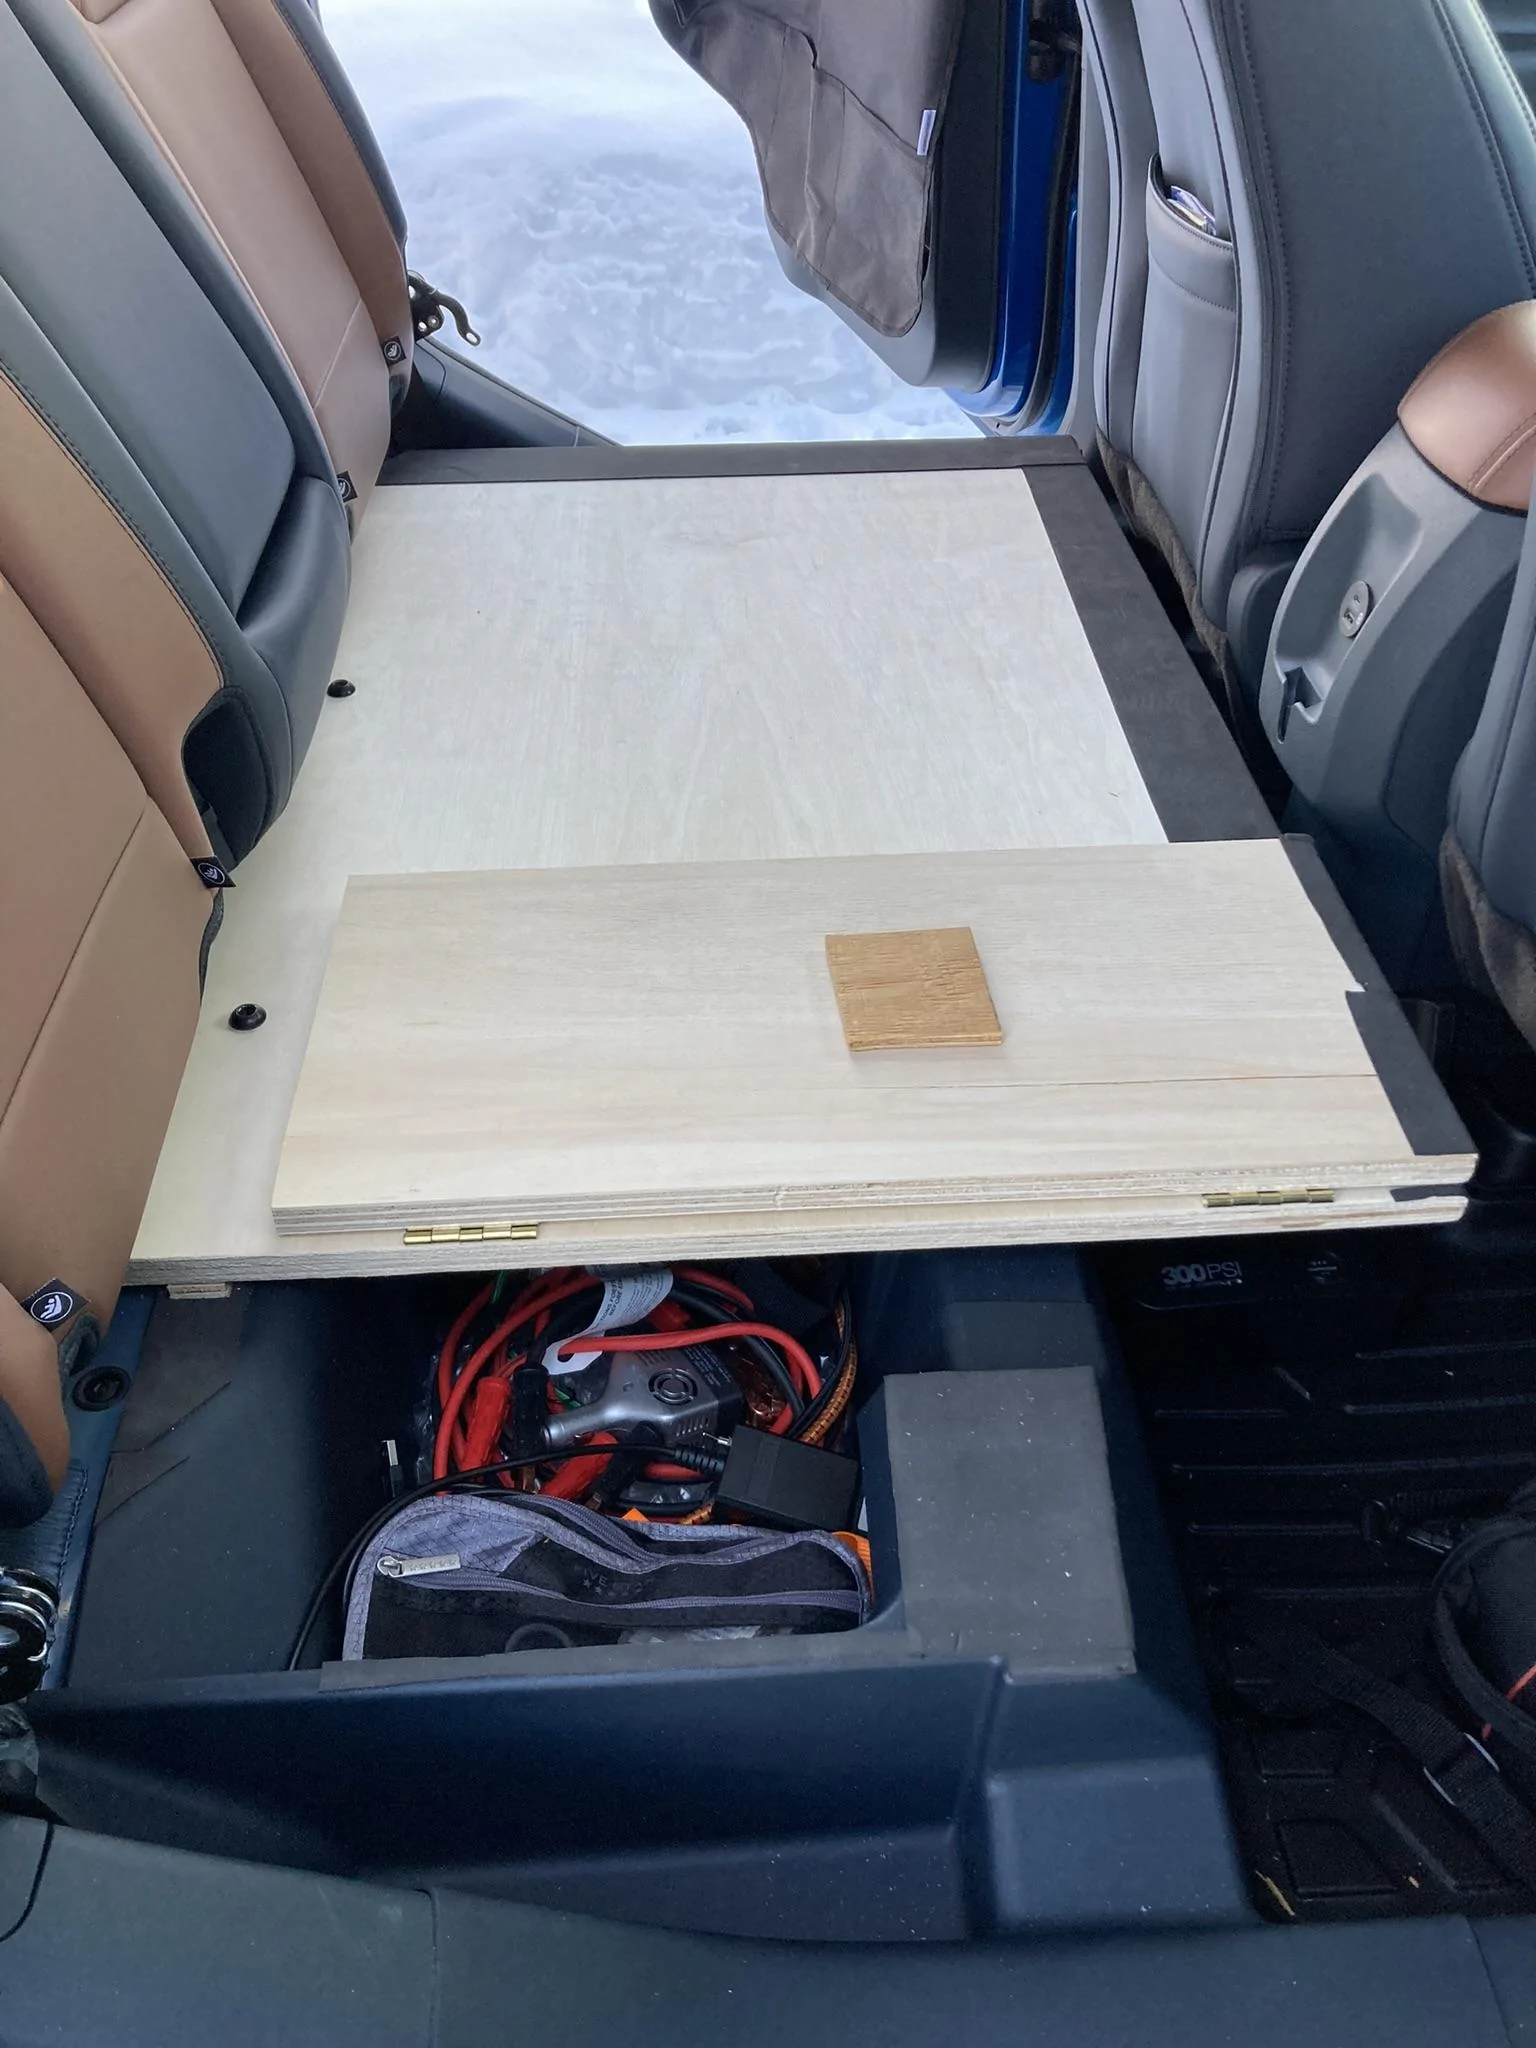
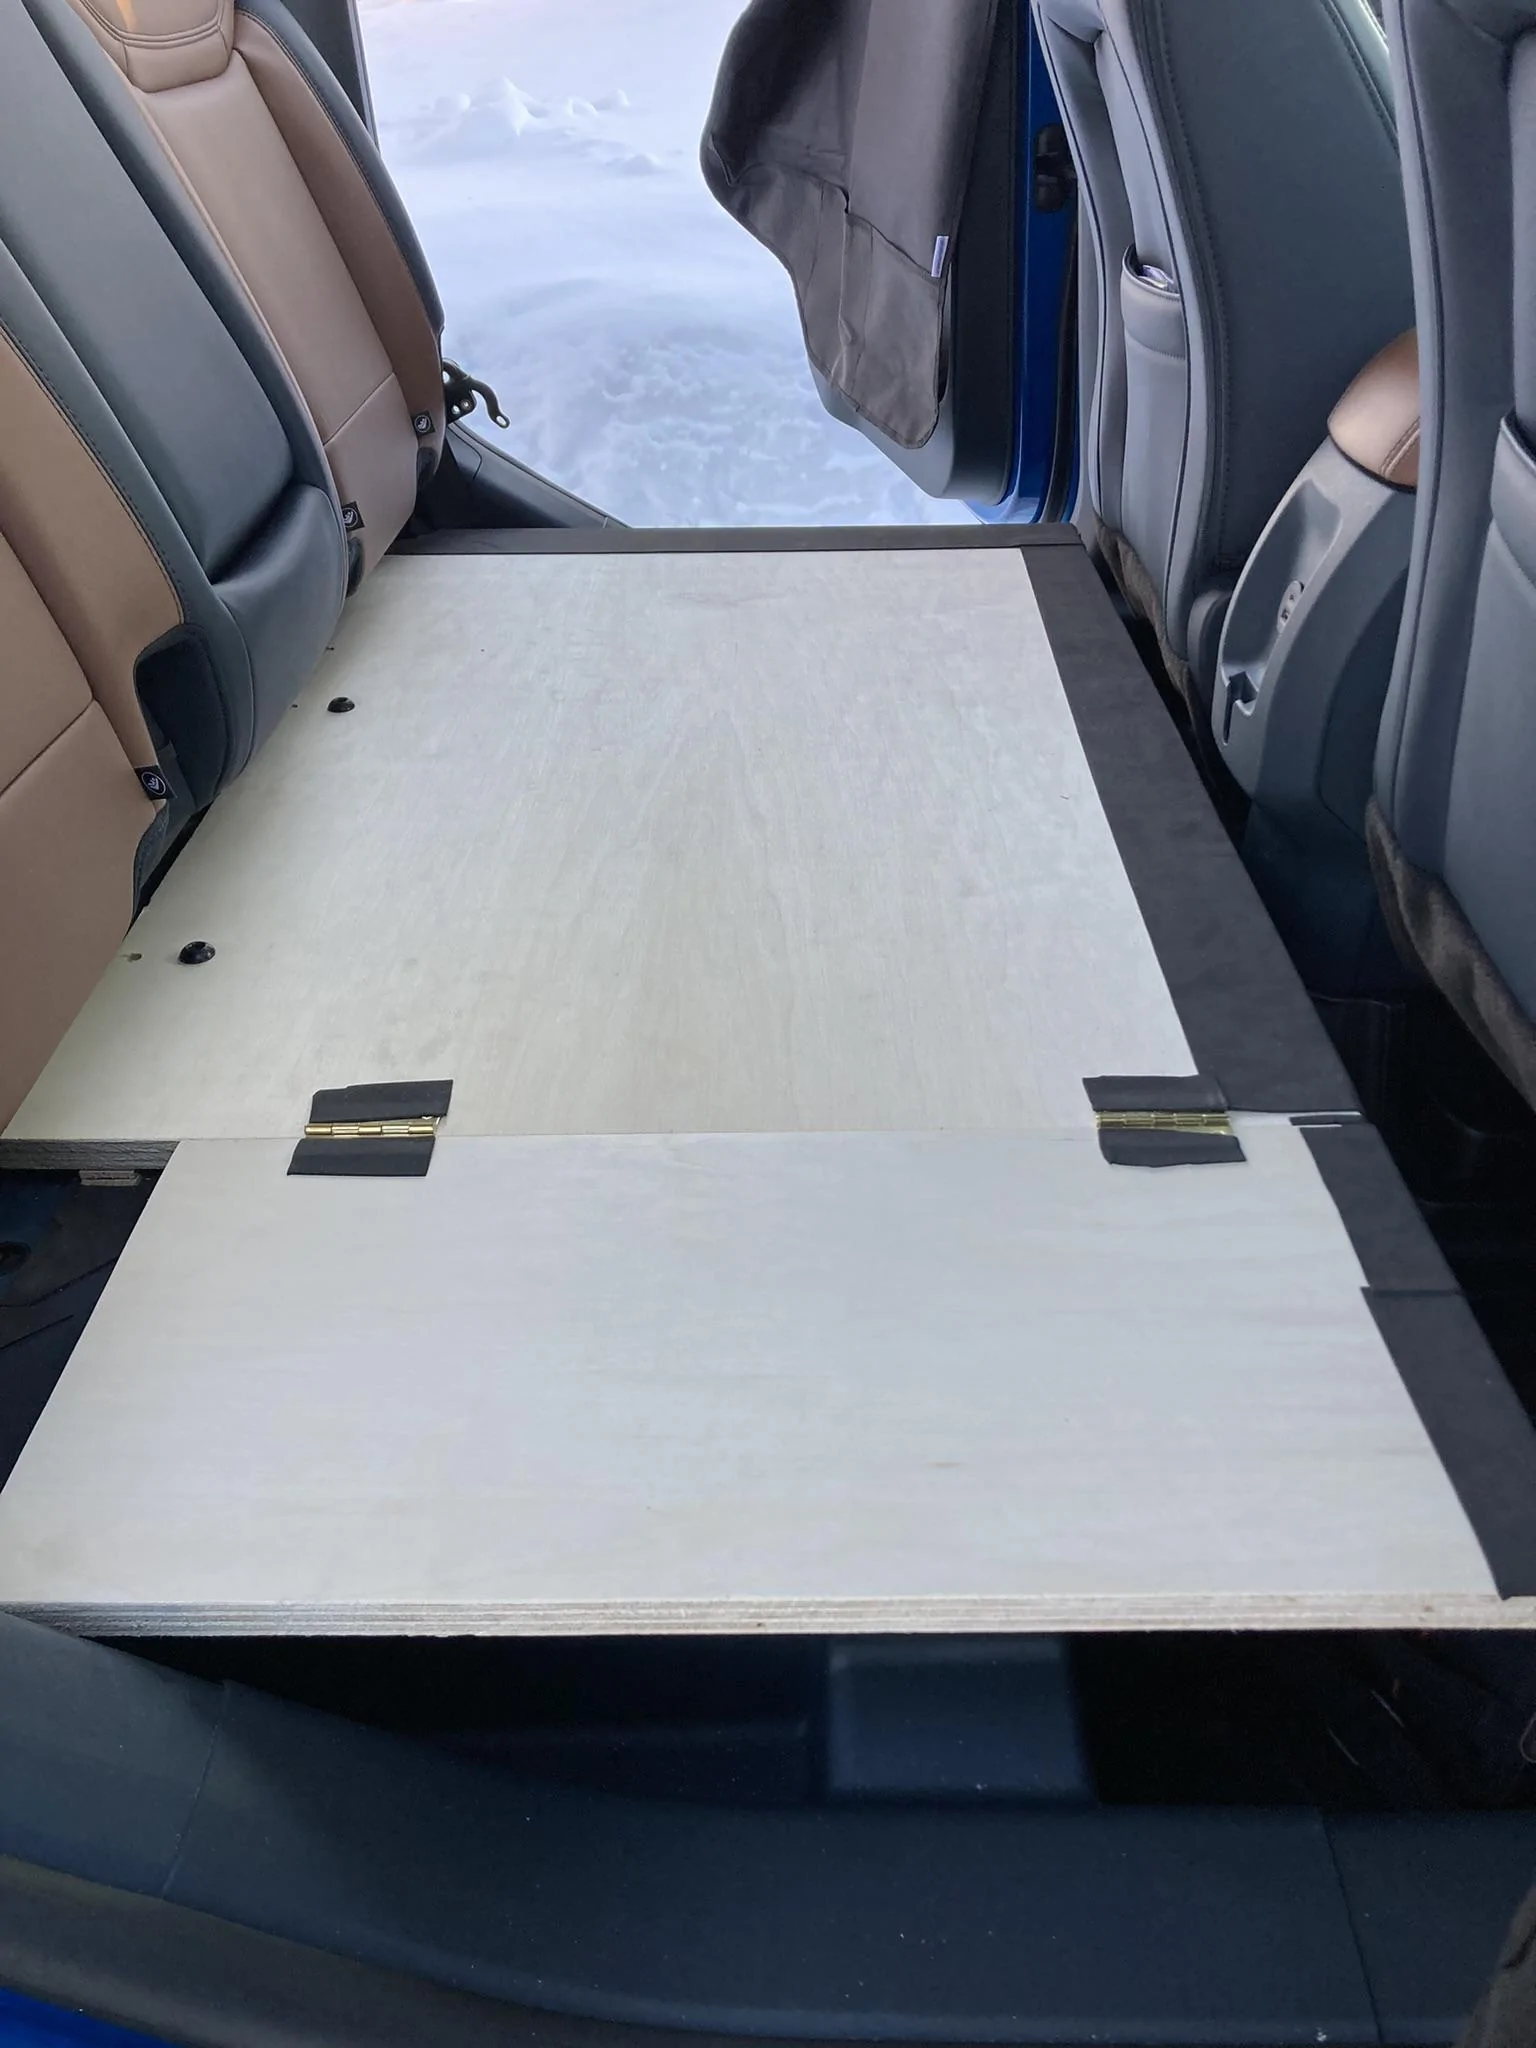
Is it possible to delete the ENTIRE rear seat? Not just the bottom, but the whole thing.With no aftermarket rear seat "delete" kits apparently available (yet), I took it upon myself with a sheet of 3/4" plywood.
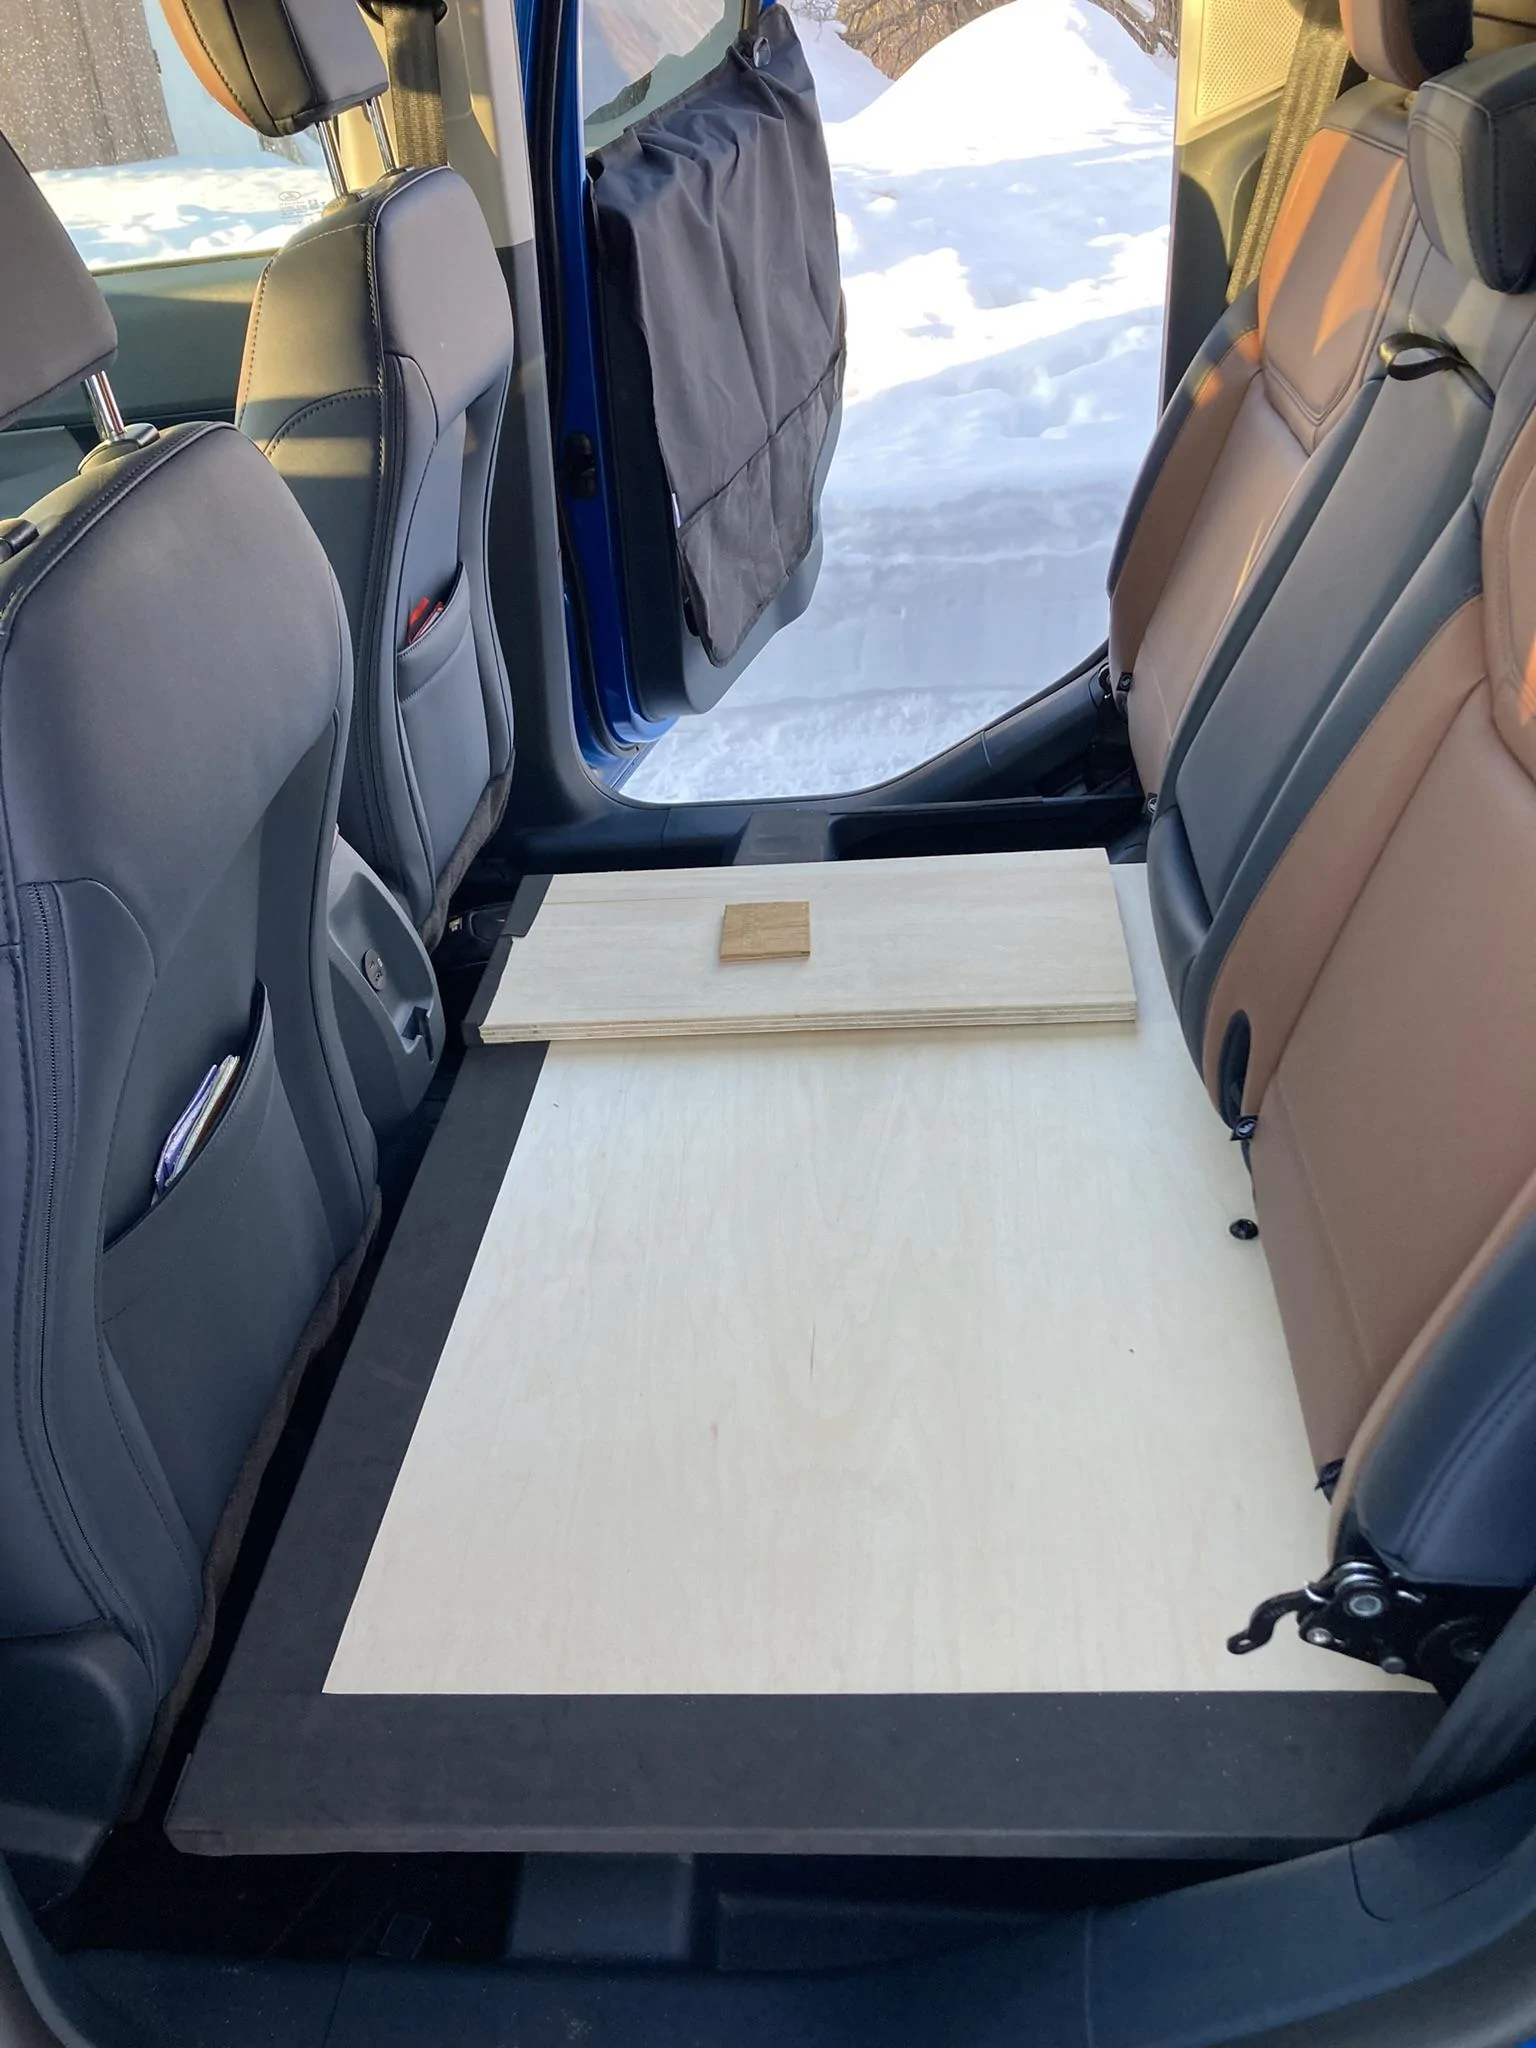
There's another thread out there from someone who used a 4'X2' sheet and just bolted it down into the seatbelt floor anchors. My solution took considerably longer because I wanted to fill a few more inches of space in each dimension. I ended up buying a 4'X4' high-quality 3/4" sheet and cutting out a 27"X40" section that I bolted in. Then I added a hinged smaller section (11" wide - I forget the length dimension offhand, but it's shorter in order to be able to clear the seatback and swing up). This allows access to (part of) one of the underseat storage areas. This configuration took up just about all of the usable width inside of the rear doors (51").
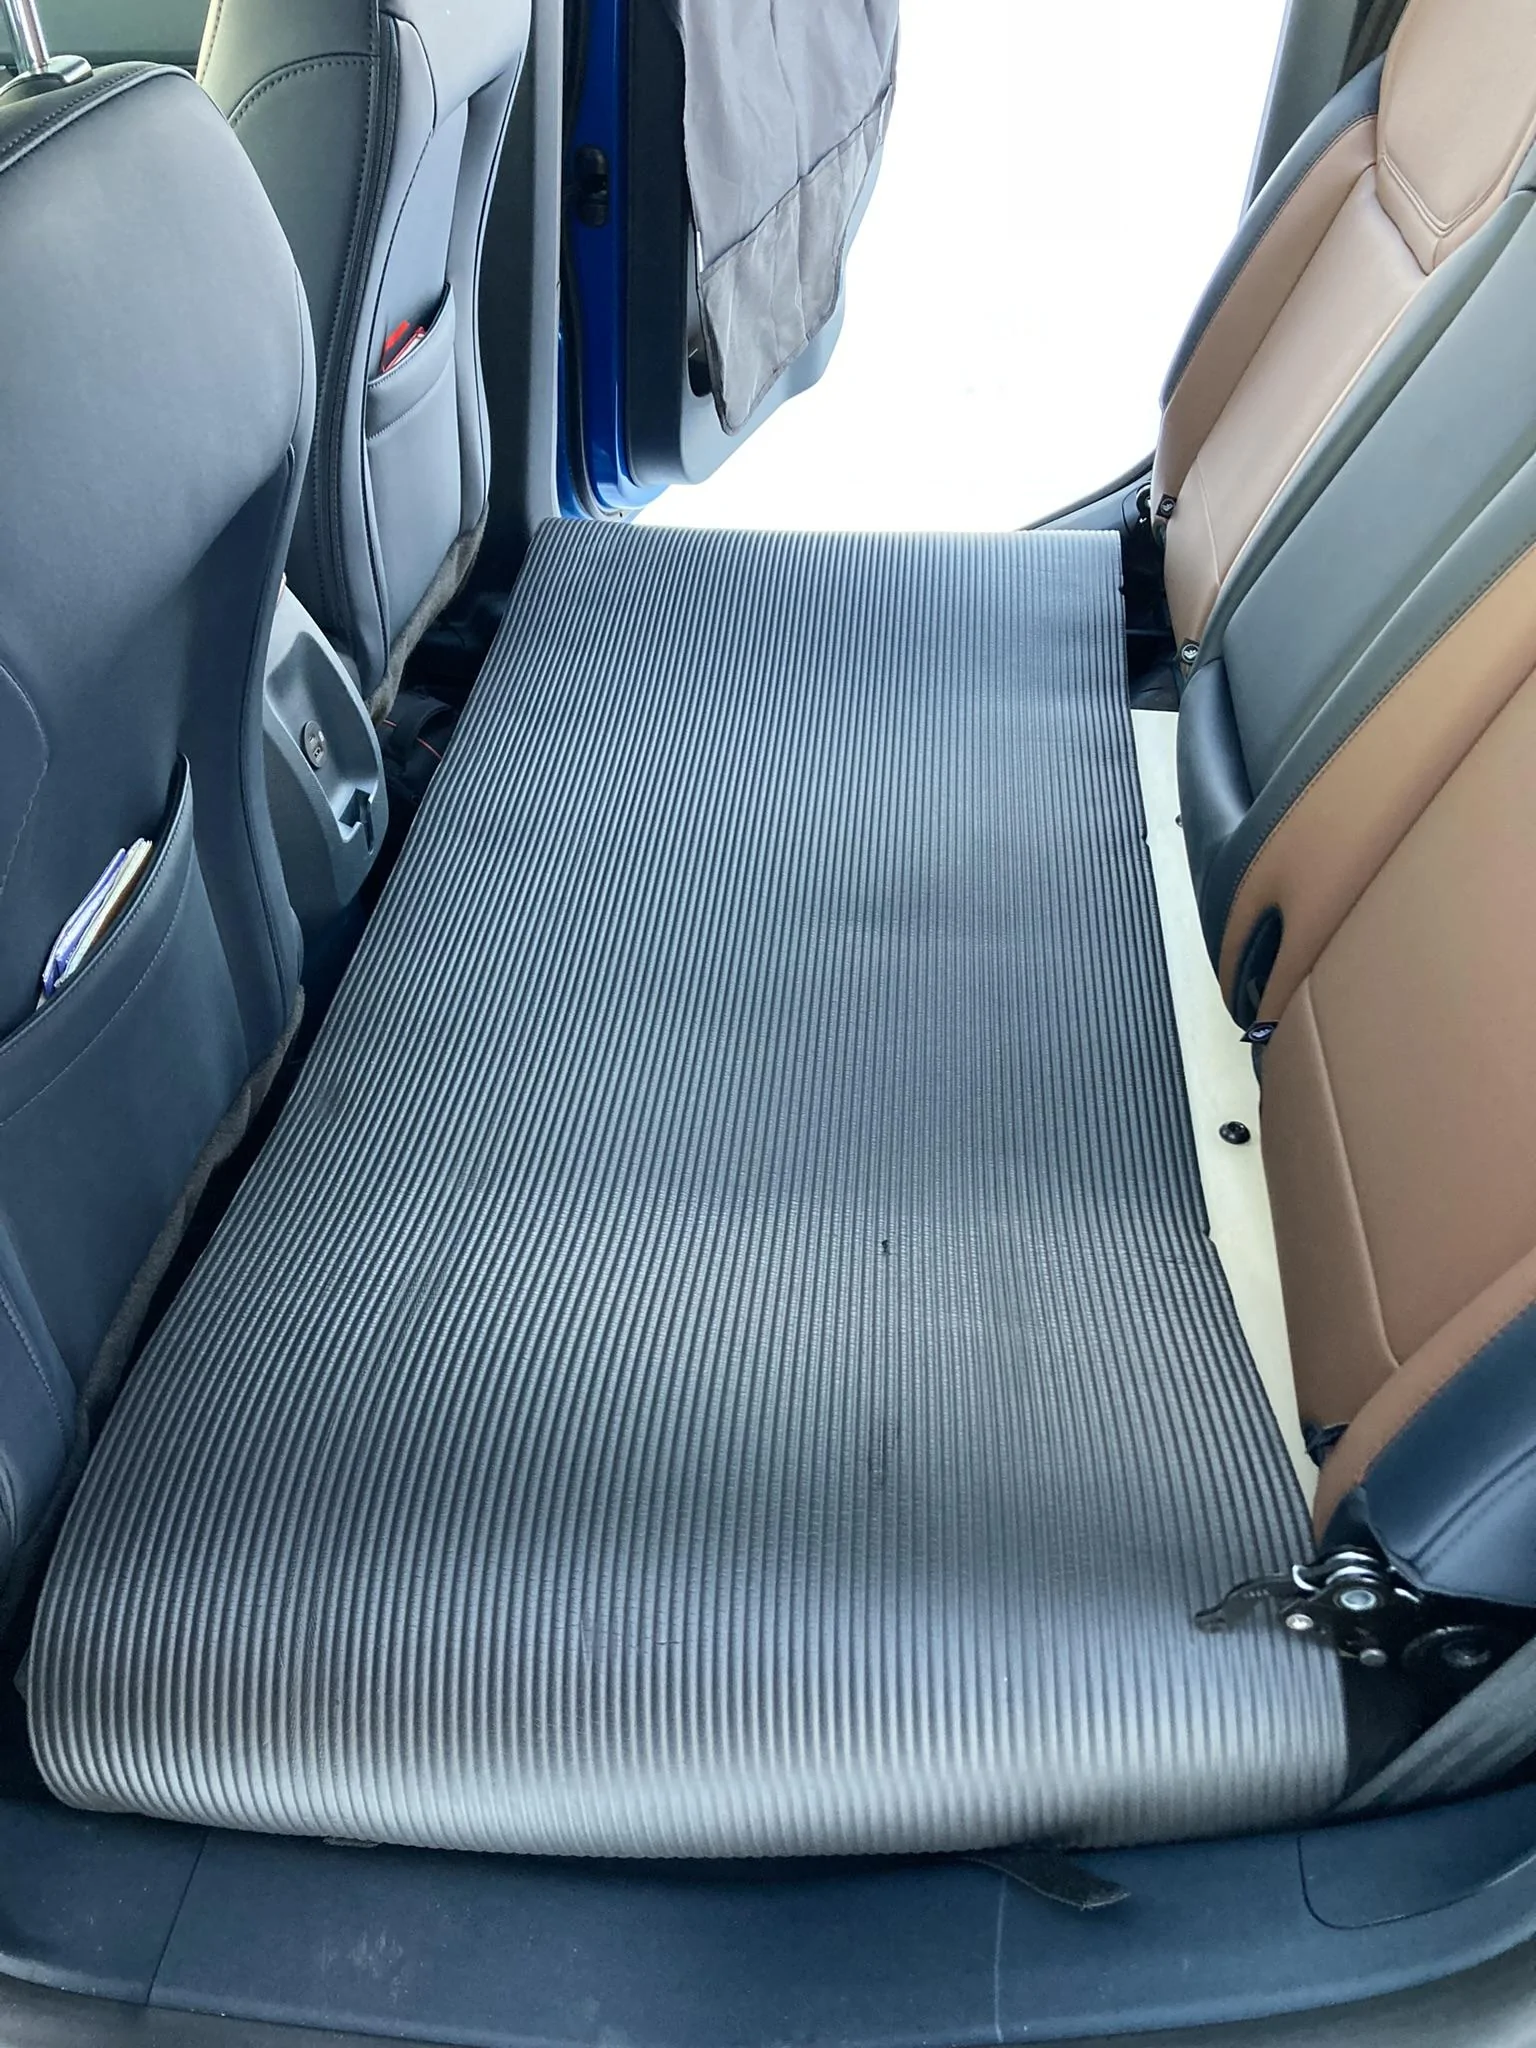
Due to a lot of little issues, this took a lot longer than it should have, but I'm pretty happy with how it turned out. Only slight regret is that I'd thought about finishing the plywood somehow for those times it gets wet. Instead I settled for attaching adhesive neoprene (which I already had) along some of the edges - I need to buy some more to finish it. I play to leave most of the platform covered with a foam mat as shown.
There is one problem with bolting in a pre-cut sheet and just being done with it: Although there is a mostly solid, plastic-covered metal frame around the front and back of the underseat area, the back middle of it (the crossmember) is slightly higher than everything else. So once I got the plywood fitted, I ended up sticking on small, thinner pieces of wood - shims, if you will - in several spots to make sure the sheet was level and had no noticeable curvature or "give." So it's not just supported by the higher center piece and wobbly on either side of it.
Tips:
The main reason I did this was for the dog (I want her as low in the vehicle as possible for safety and minimal distraction). But it will be much better for cargo capacity even when she's not there. I have absolutely no need for a rear seat 99.5% of the time.
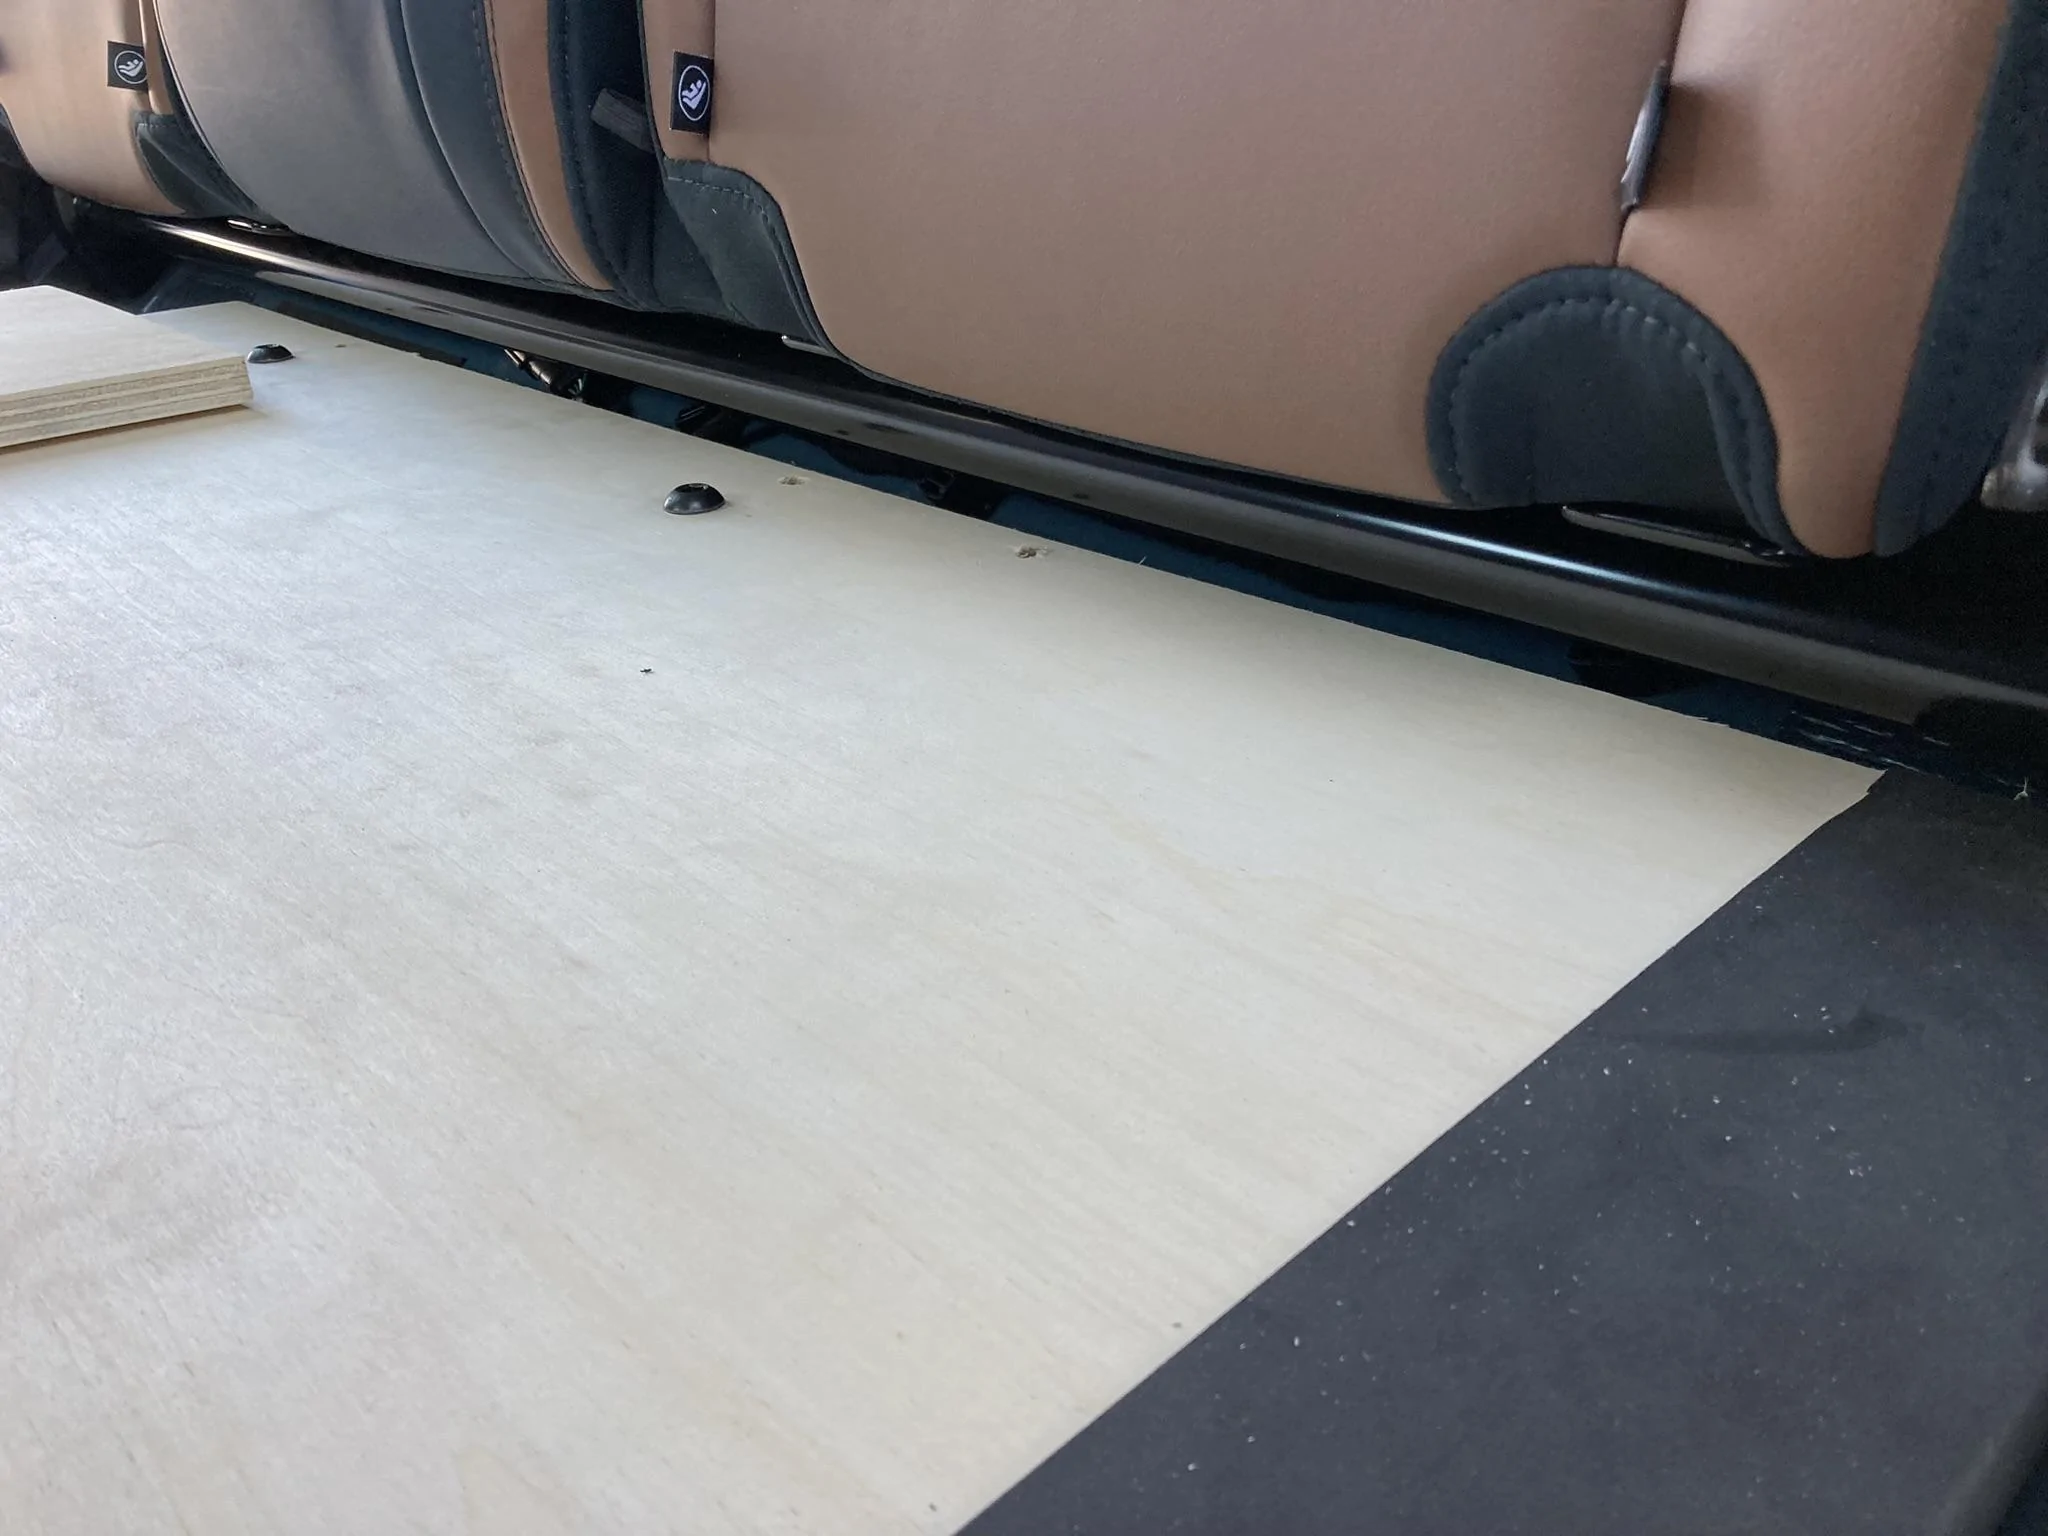
- The seatbelt anchor bolts are M10 1.5 pitch. I purchased new ones with 50mm length since the original bolts were not long enough for the 3/4" plywood.
- The small holes behind the seatbelt bolt holes are for screws that protrude from the floor; I wanted them to be able to pass through the board.
- I also attached adhesive neoprene to all contact points, especially weight-bearing points, in the underseat storage/support area.
- I left the seatbelts attached behind the seat. It appeared it might be a challenge to remove at least the driver's side belt. Also, removing the wiring to the seatbelt sensors would have triggered a fault warning every time I start the truck. I found a Forscan fix for this that supposedly worked on a Ranger, but I decided it wasn't worth the experimentation. Maybe later.
Maybe eventually a good solution will be developed to put a cover in place of the seatback as well, but for now I'm not concerned about it. Everything looks good and I'll probably cover the seatback with a sheet for protection.
Yes, but you would probably want to fabricate something to cover the back wall anyway, due to all the mechanicals behind the seat, and I didn't think it was worth the trouble.Is it possible to delete the ENTIRE rear seat? Not just the bottom, but the whole thing.
Thanks for the advice. Might do this if I decide to make a Maverick rally raid build.Yes, but you would probably want to fabricate something to cover the back wall anyway, due to all the mechanicals behind the seat, and I didn't think it was worth the trouble.
BTW, my configuration has continued to work well and I have no regrets for how I set it up!
