- Joined
- Jul 15, 2021
- Threads
- 9
- Messages
- 167
- Reaction score
- 319
- Location
- Goodyear, AZ
- Vehicle(s)
- Ford Maverick Hybrid Lariat :-)
- Engine
- 2.5L Hybrid
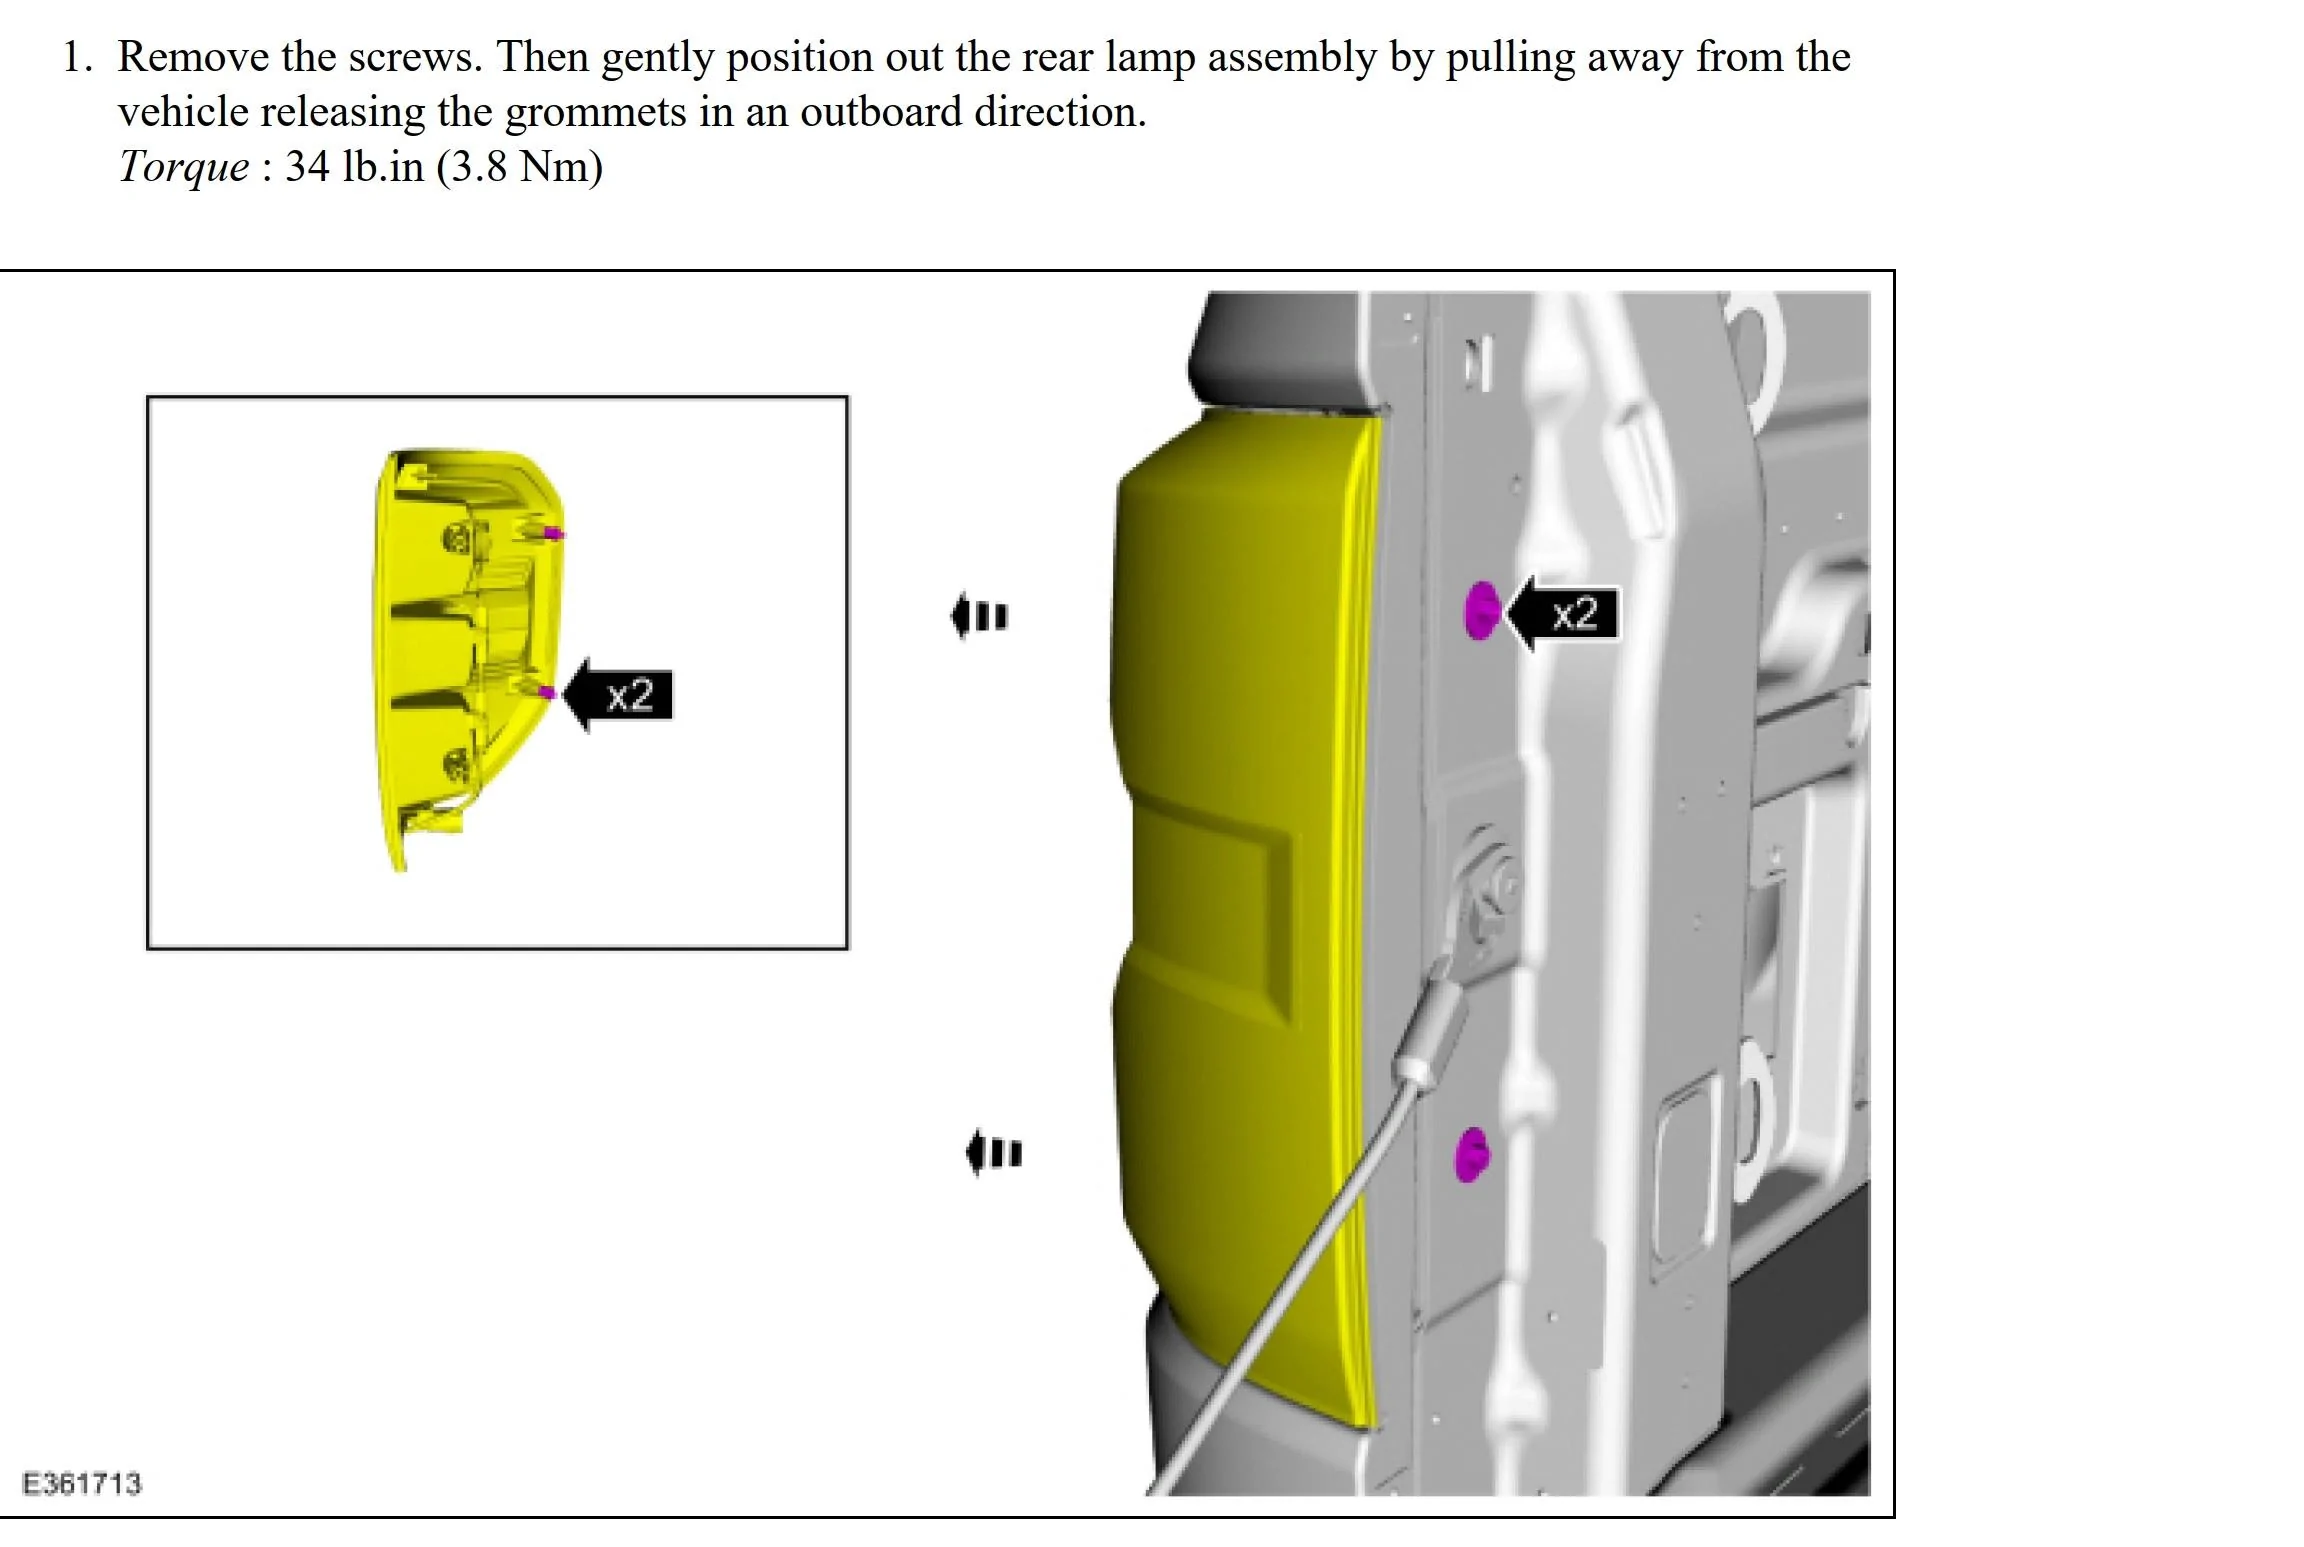
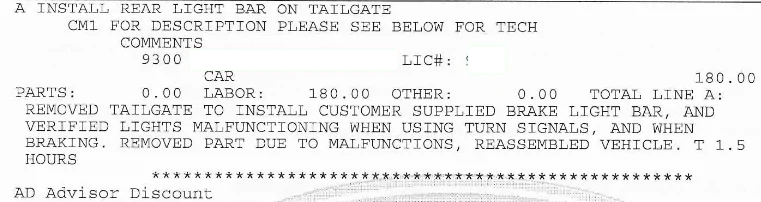
No they gave up and put it all back to factory.The instructions should have been more explicit that the only harnesses they were referencing were the taillight harnesses and the light bar harnesses. There is nothing there that has anything to do with the factory tow harness.
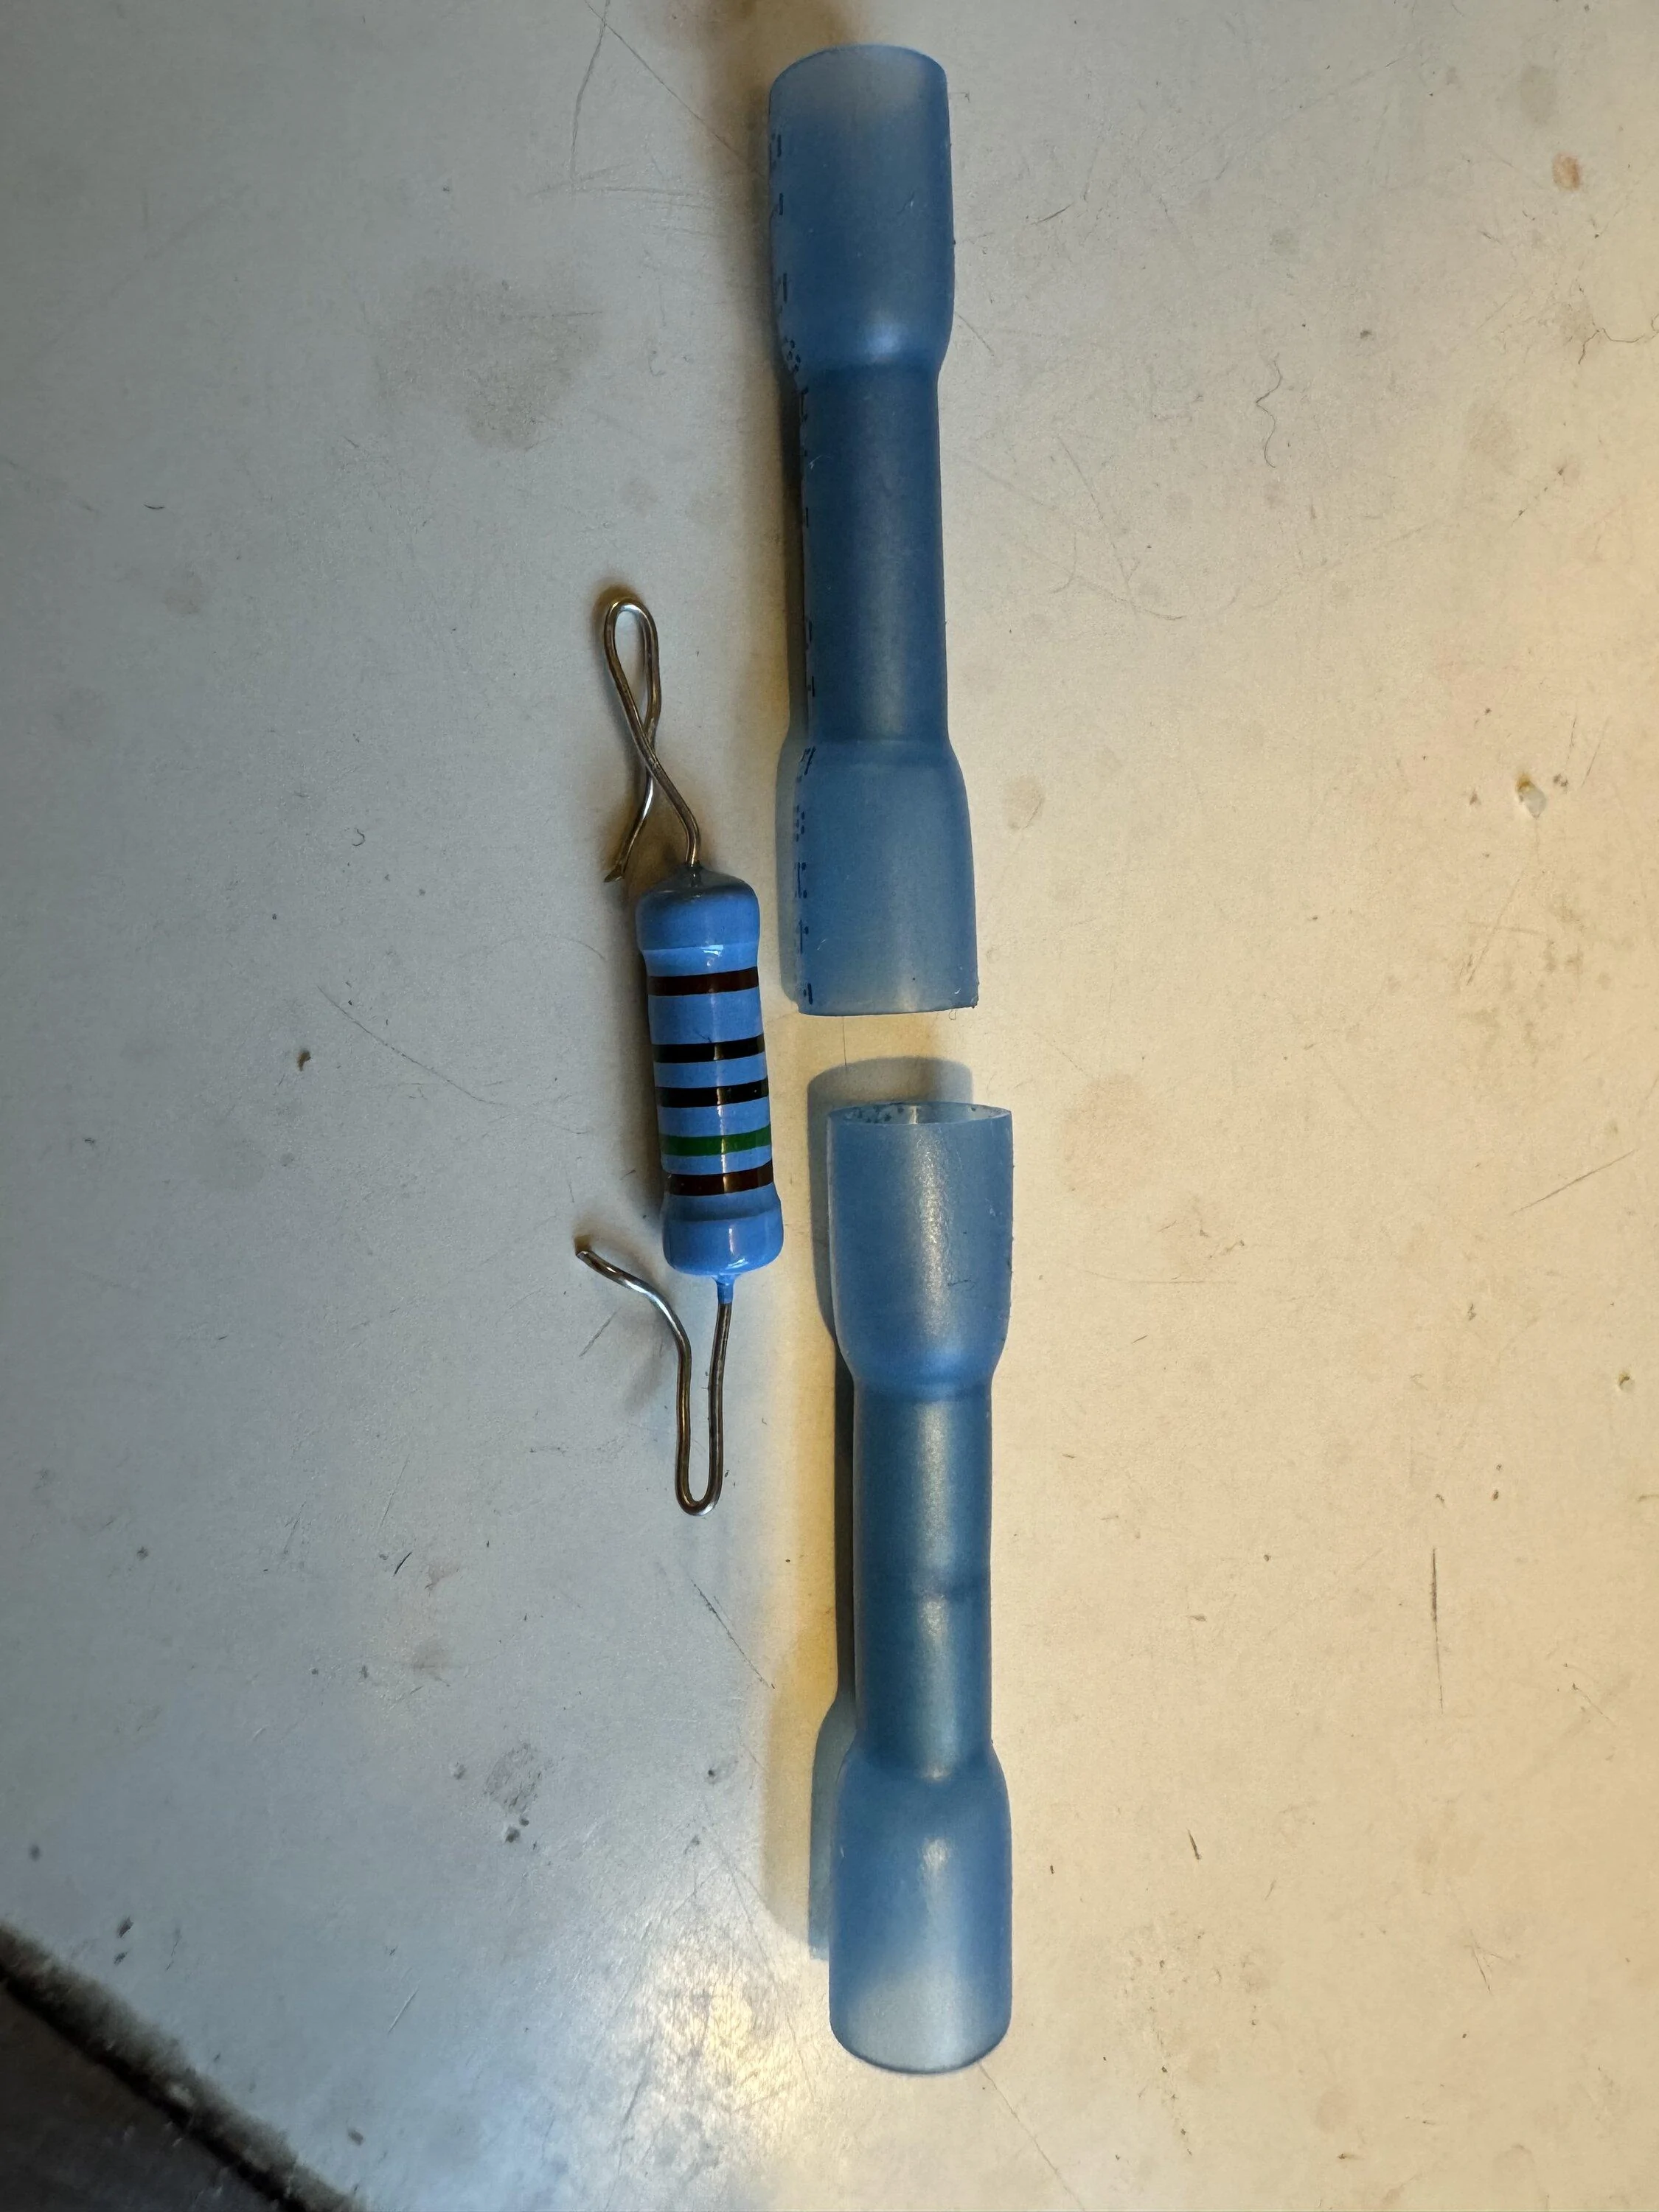
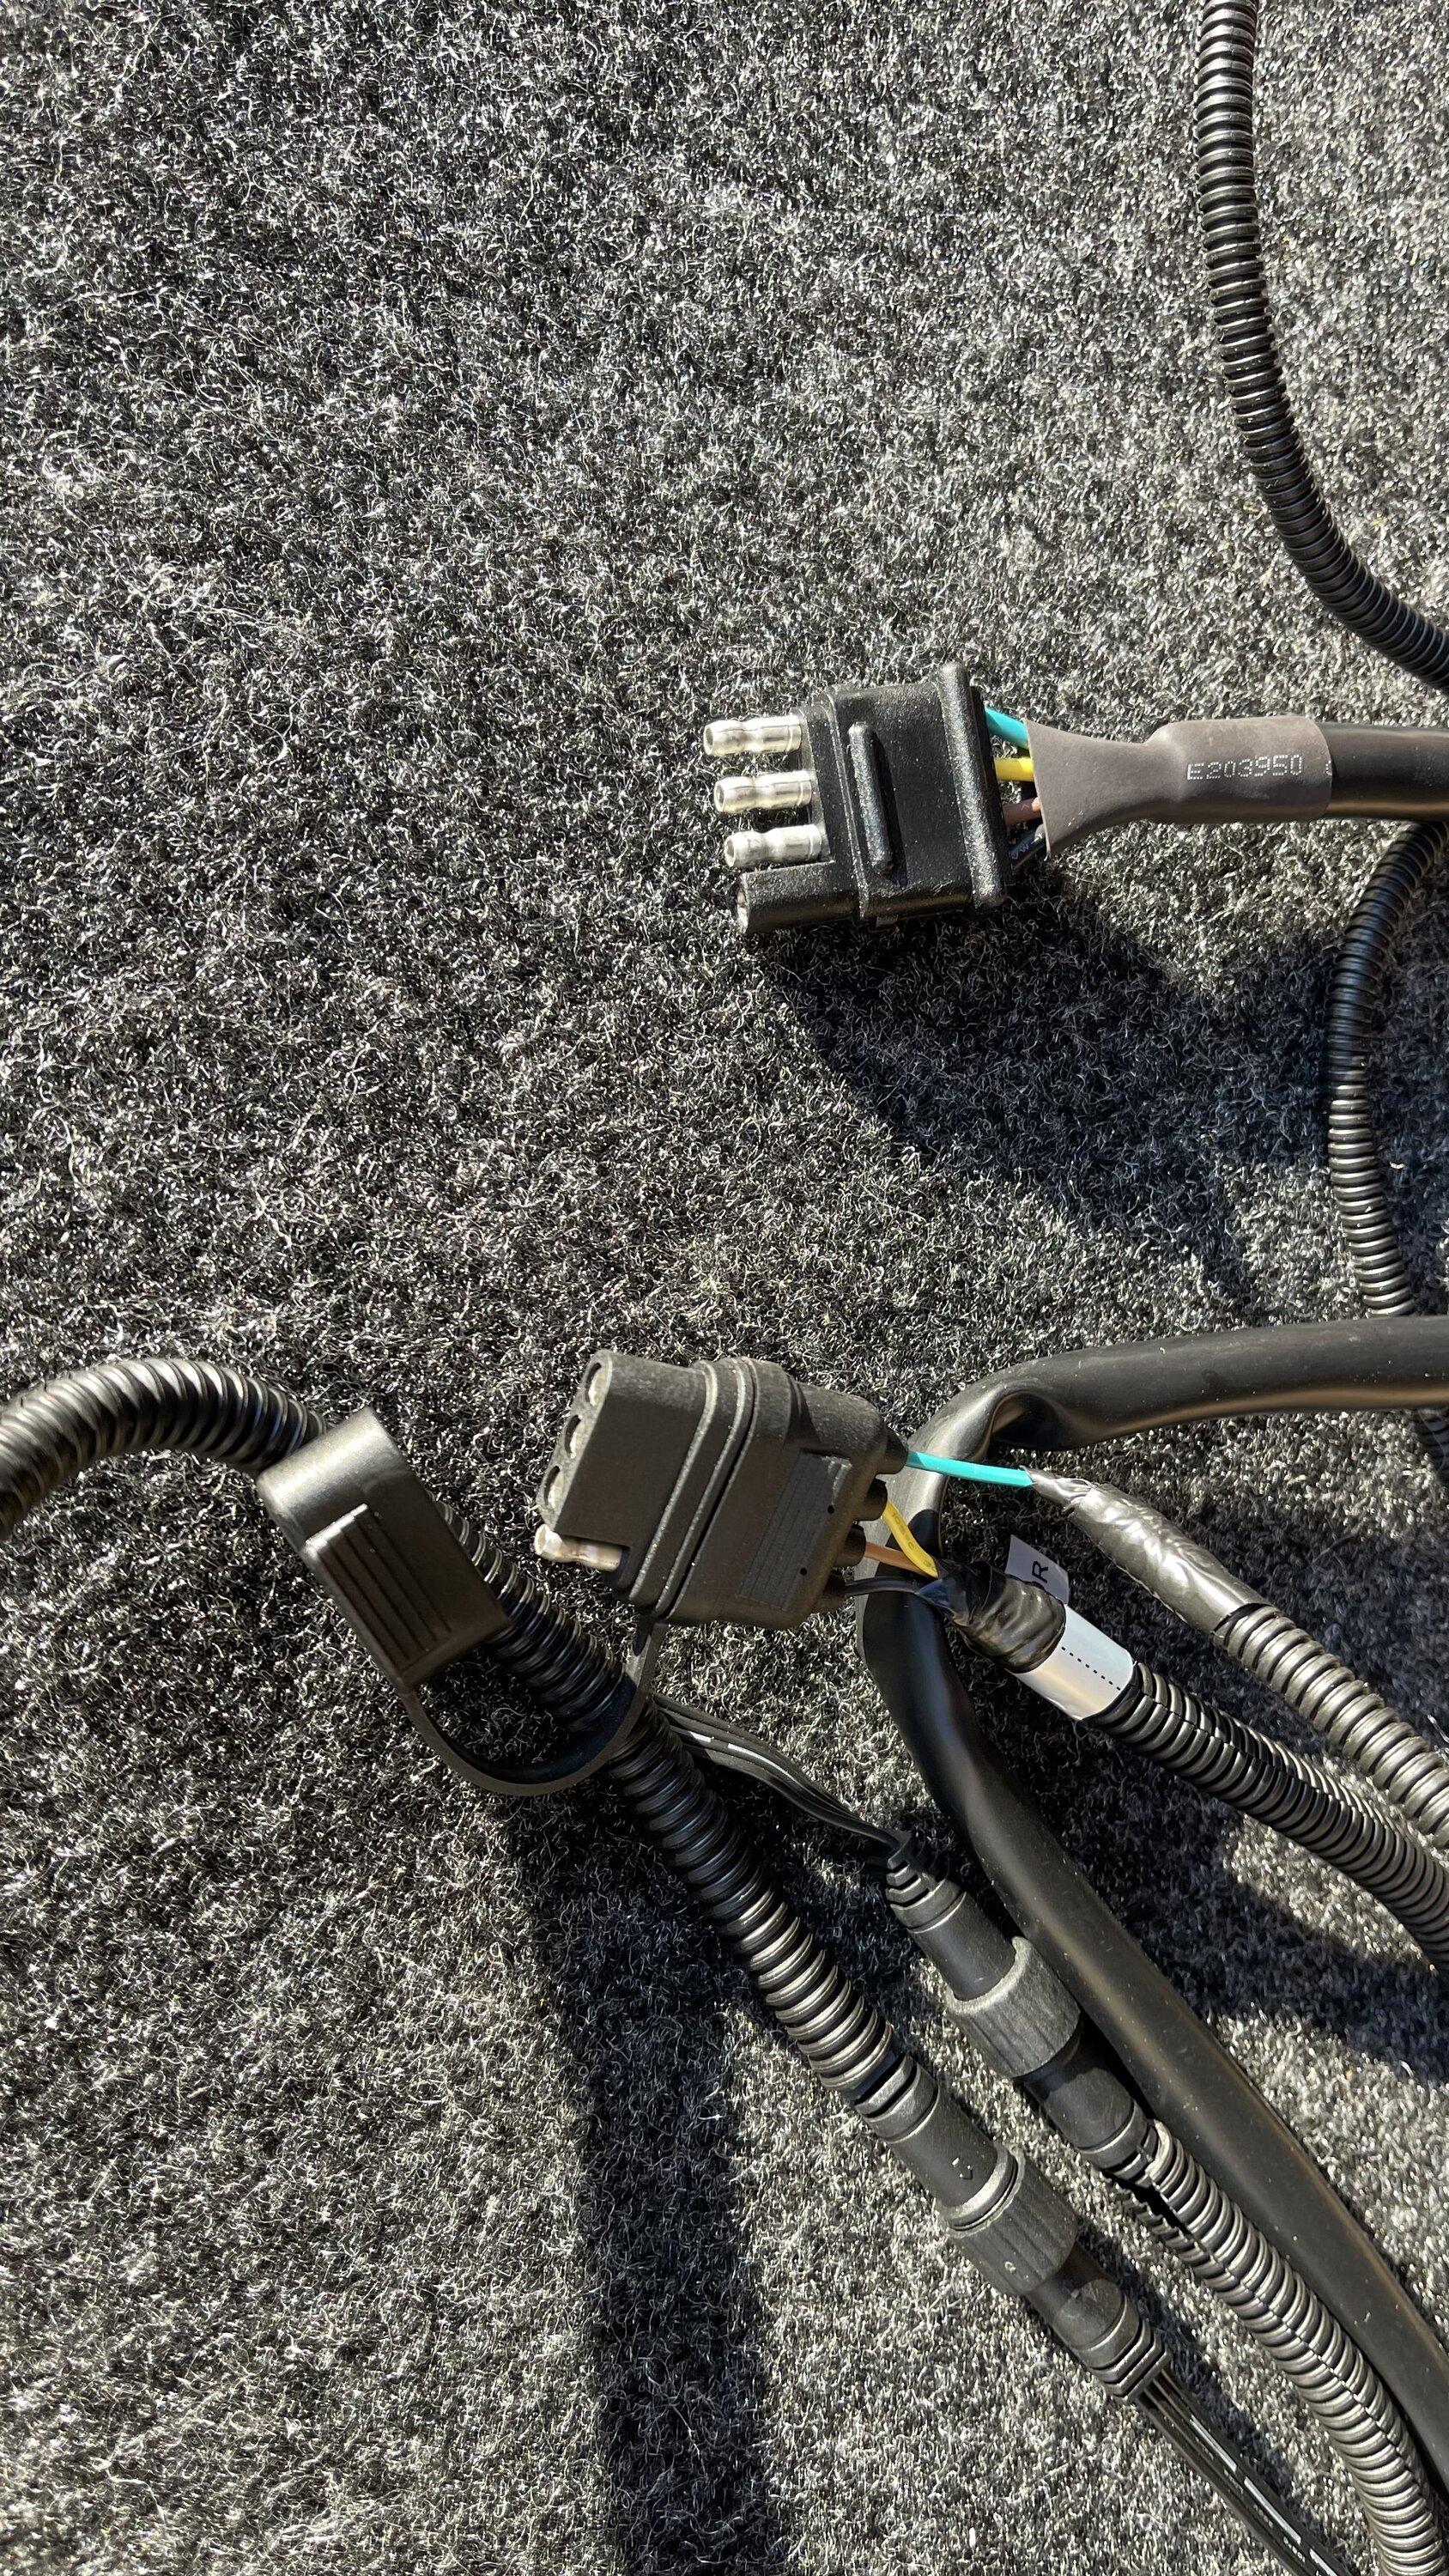
The light bar has a trailer-side 4-pin connector that mates with a truck-side 4-pin connector on the taillight adapter harness (NOT the factory one). we actually cut off both 4-pin connectors and spliced them together to avoid corrosion at the connectors.
Has the dealer put the factory 4-pin back in place and confirmed that it is working properly? It sounds like the light bar is still not working, though.
So what you are saying is they should have just hook ed up the two taillight harnesses - then the for plug pictured below either gets plugged into one another or spliced?
Sponsored