Sponsored
OP
OP
Last Truck Ever

Last Truck Ever

2.5L Hybrid
Well-known member
Joined
May 23, 2022
Threads
28
Messages
973
Reaction score
2,094
Location
Alabama
Vehicle(s)
2023 Hybrid Maverick XLT
Engine
2.5L Hybrid
Clubs
 
You did better than a pro job! You know why? Nobody on this earth cares more about your truck than you do. A pro has skill, tools, and experience, but he (or she) just wants to get on to the next job and make his pay.
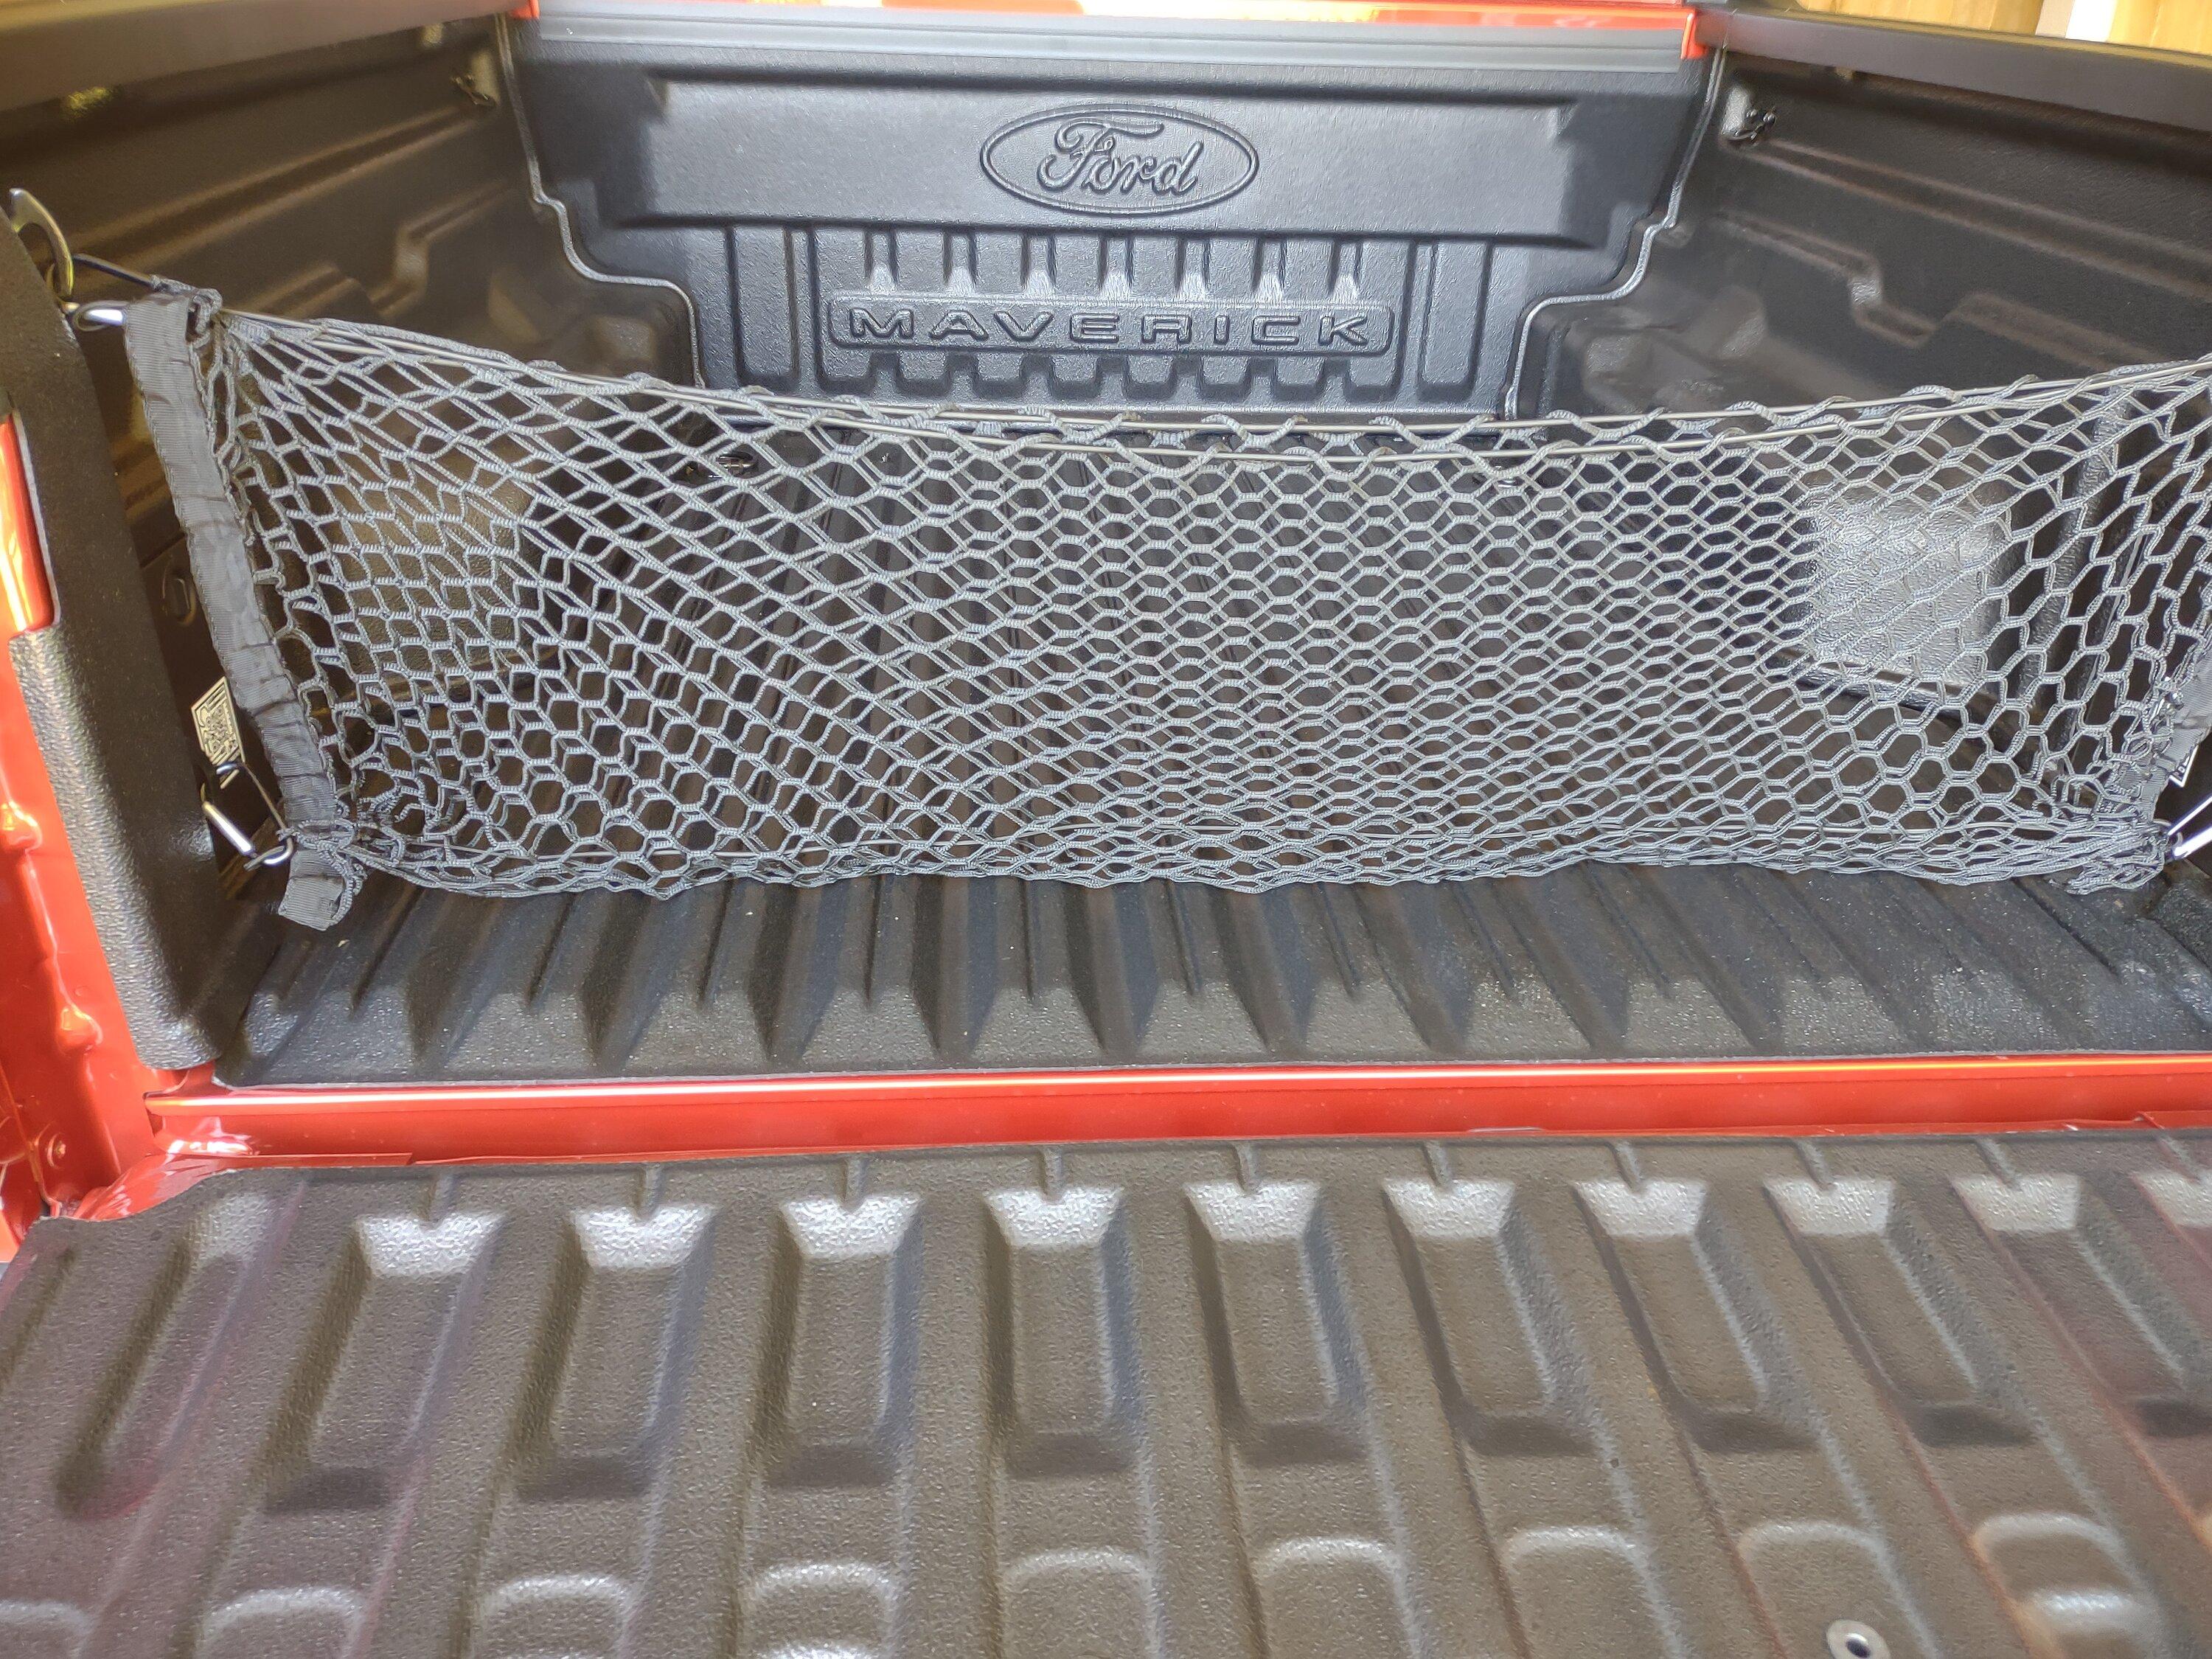
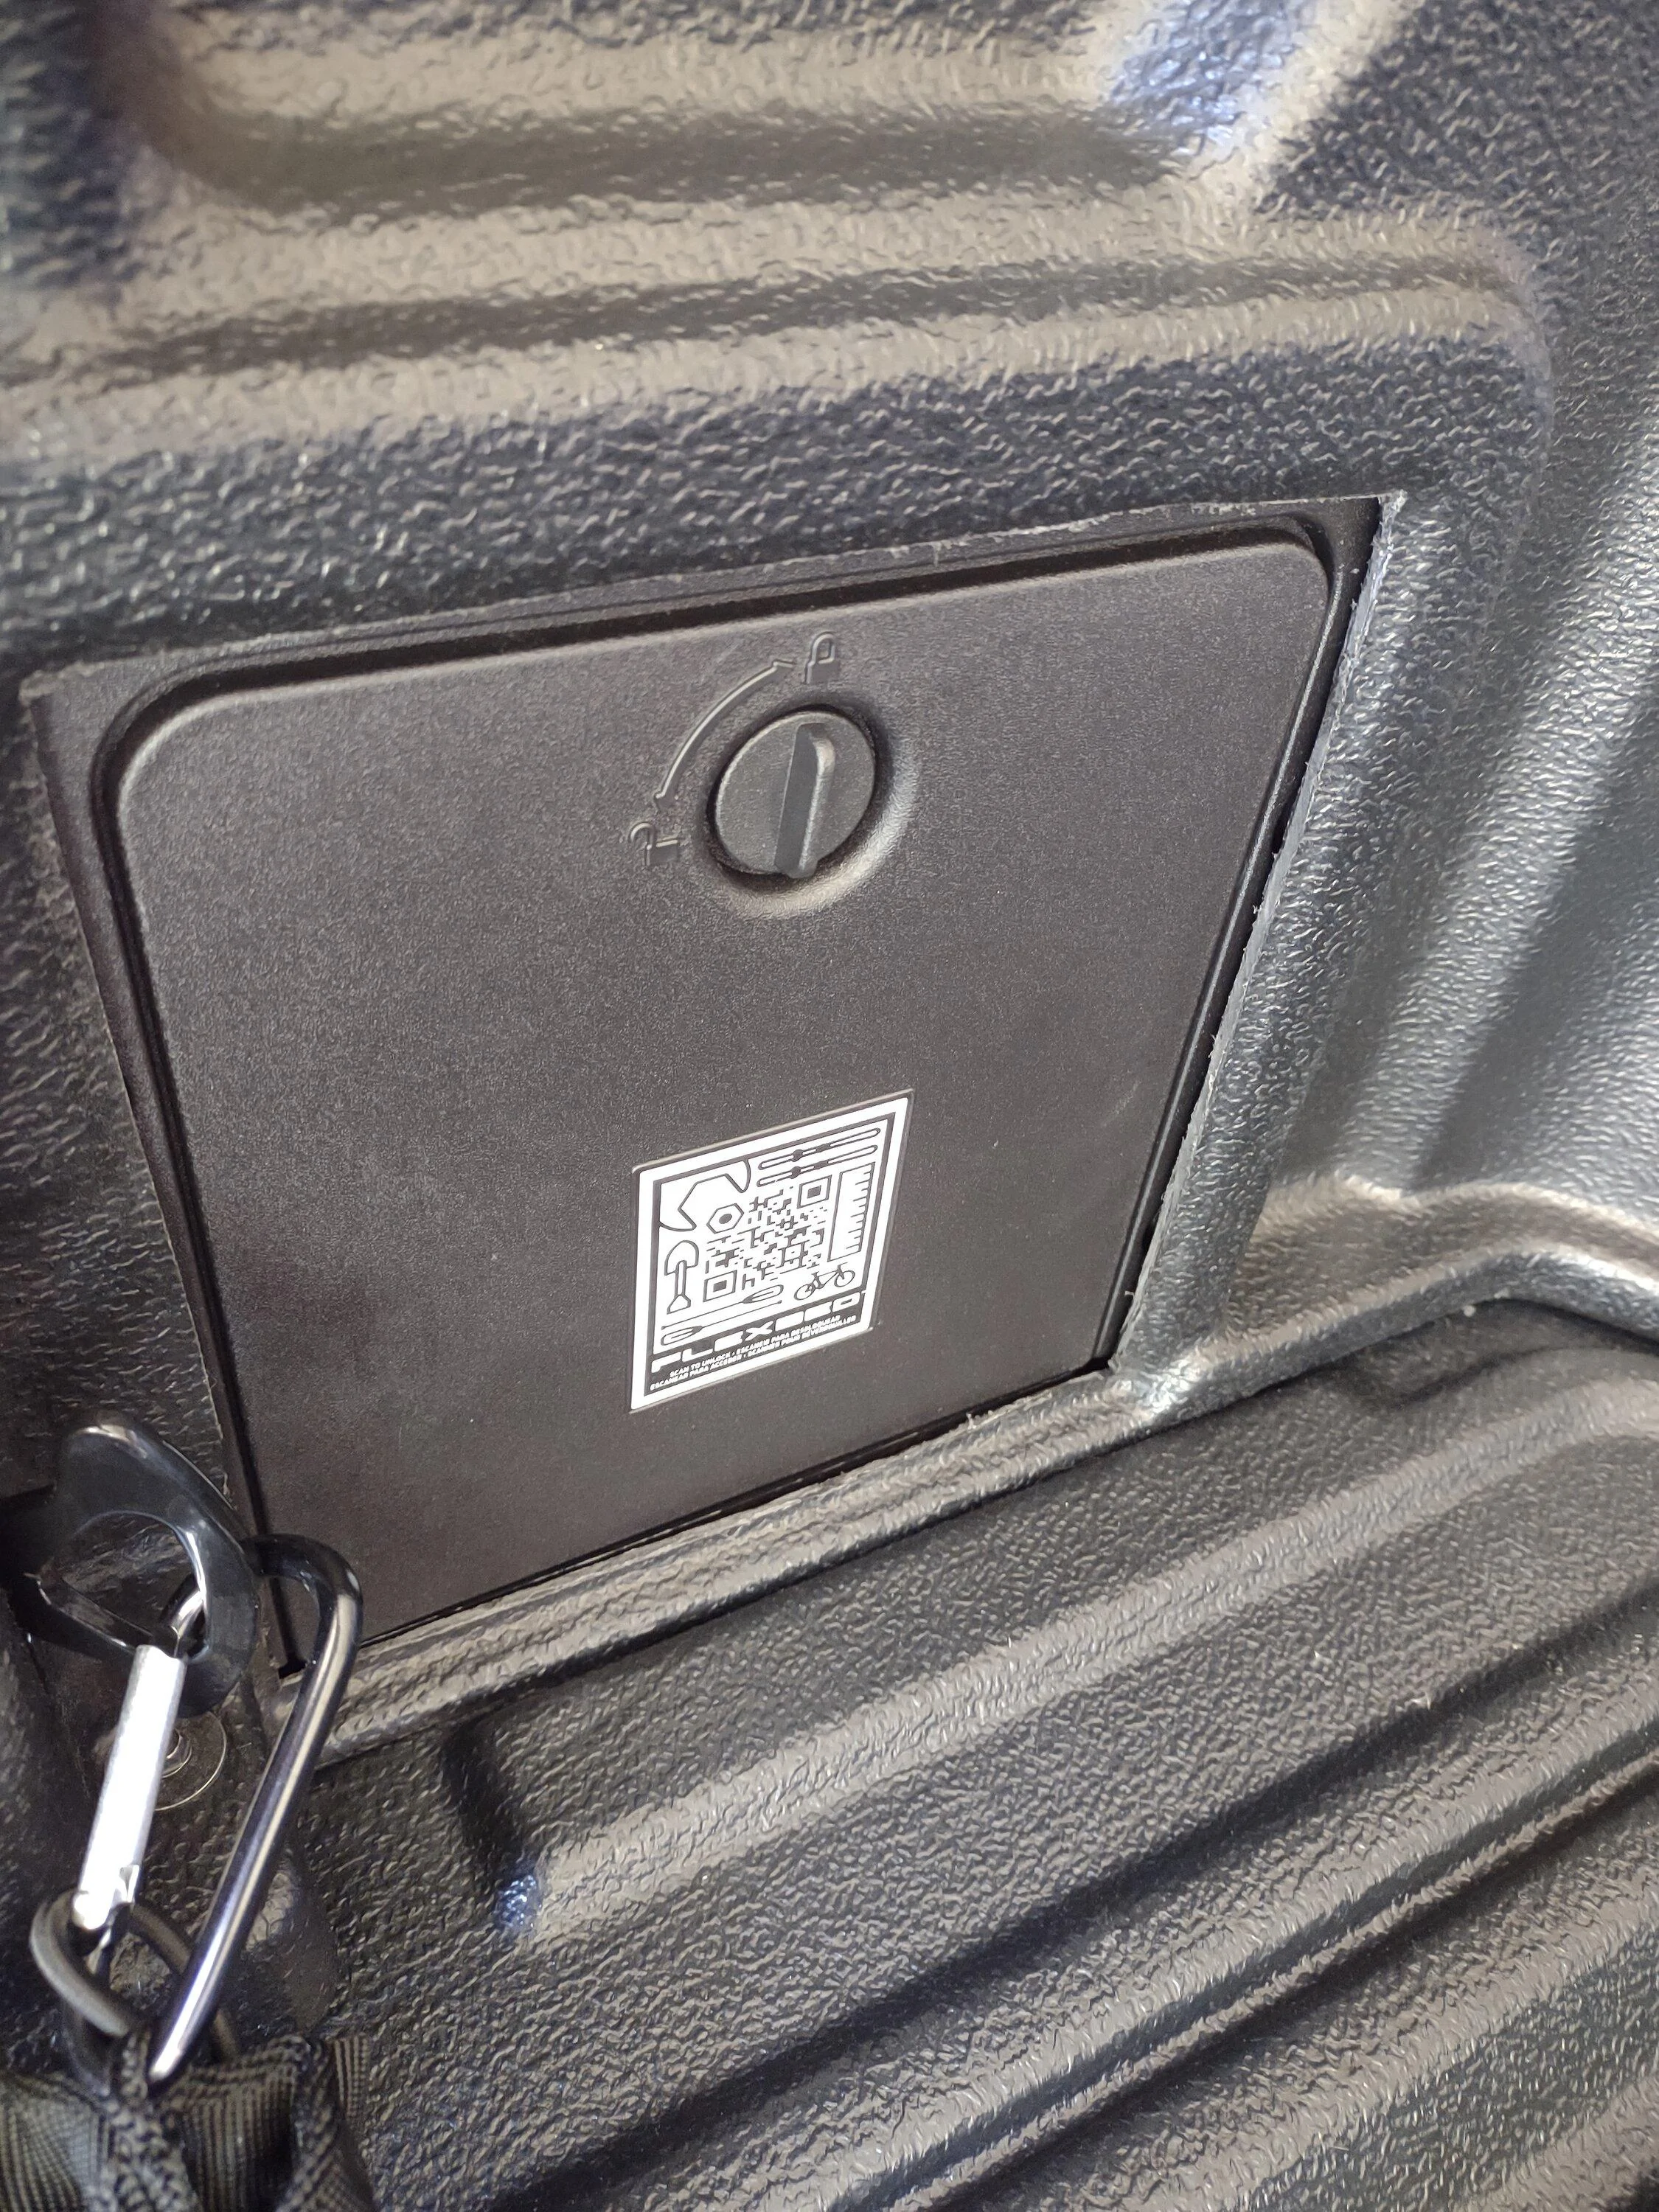
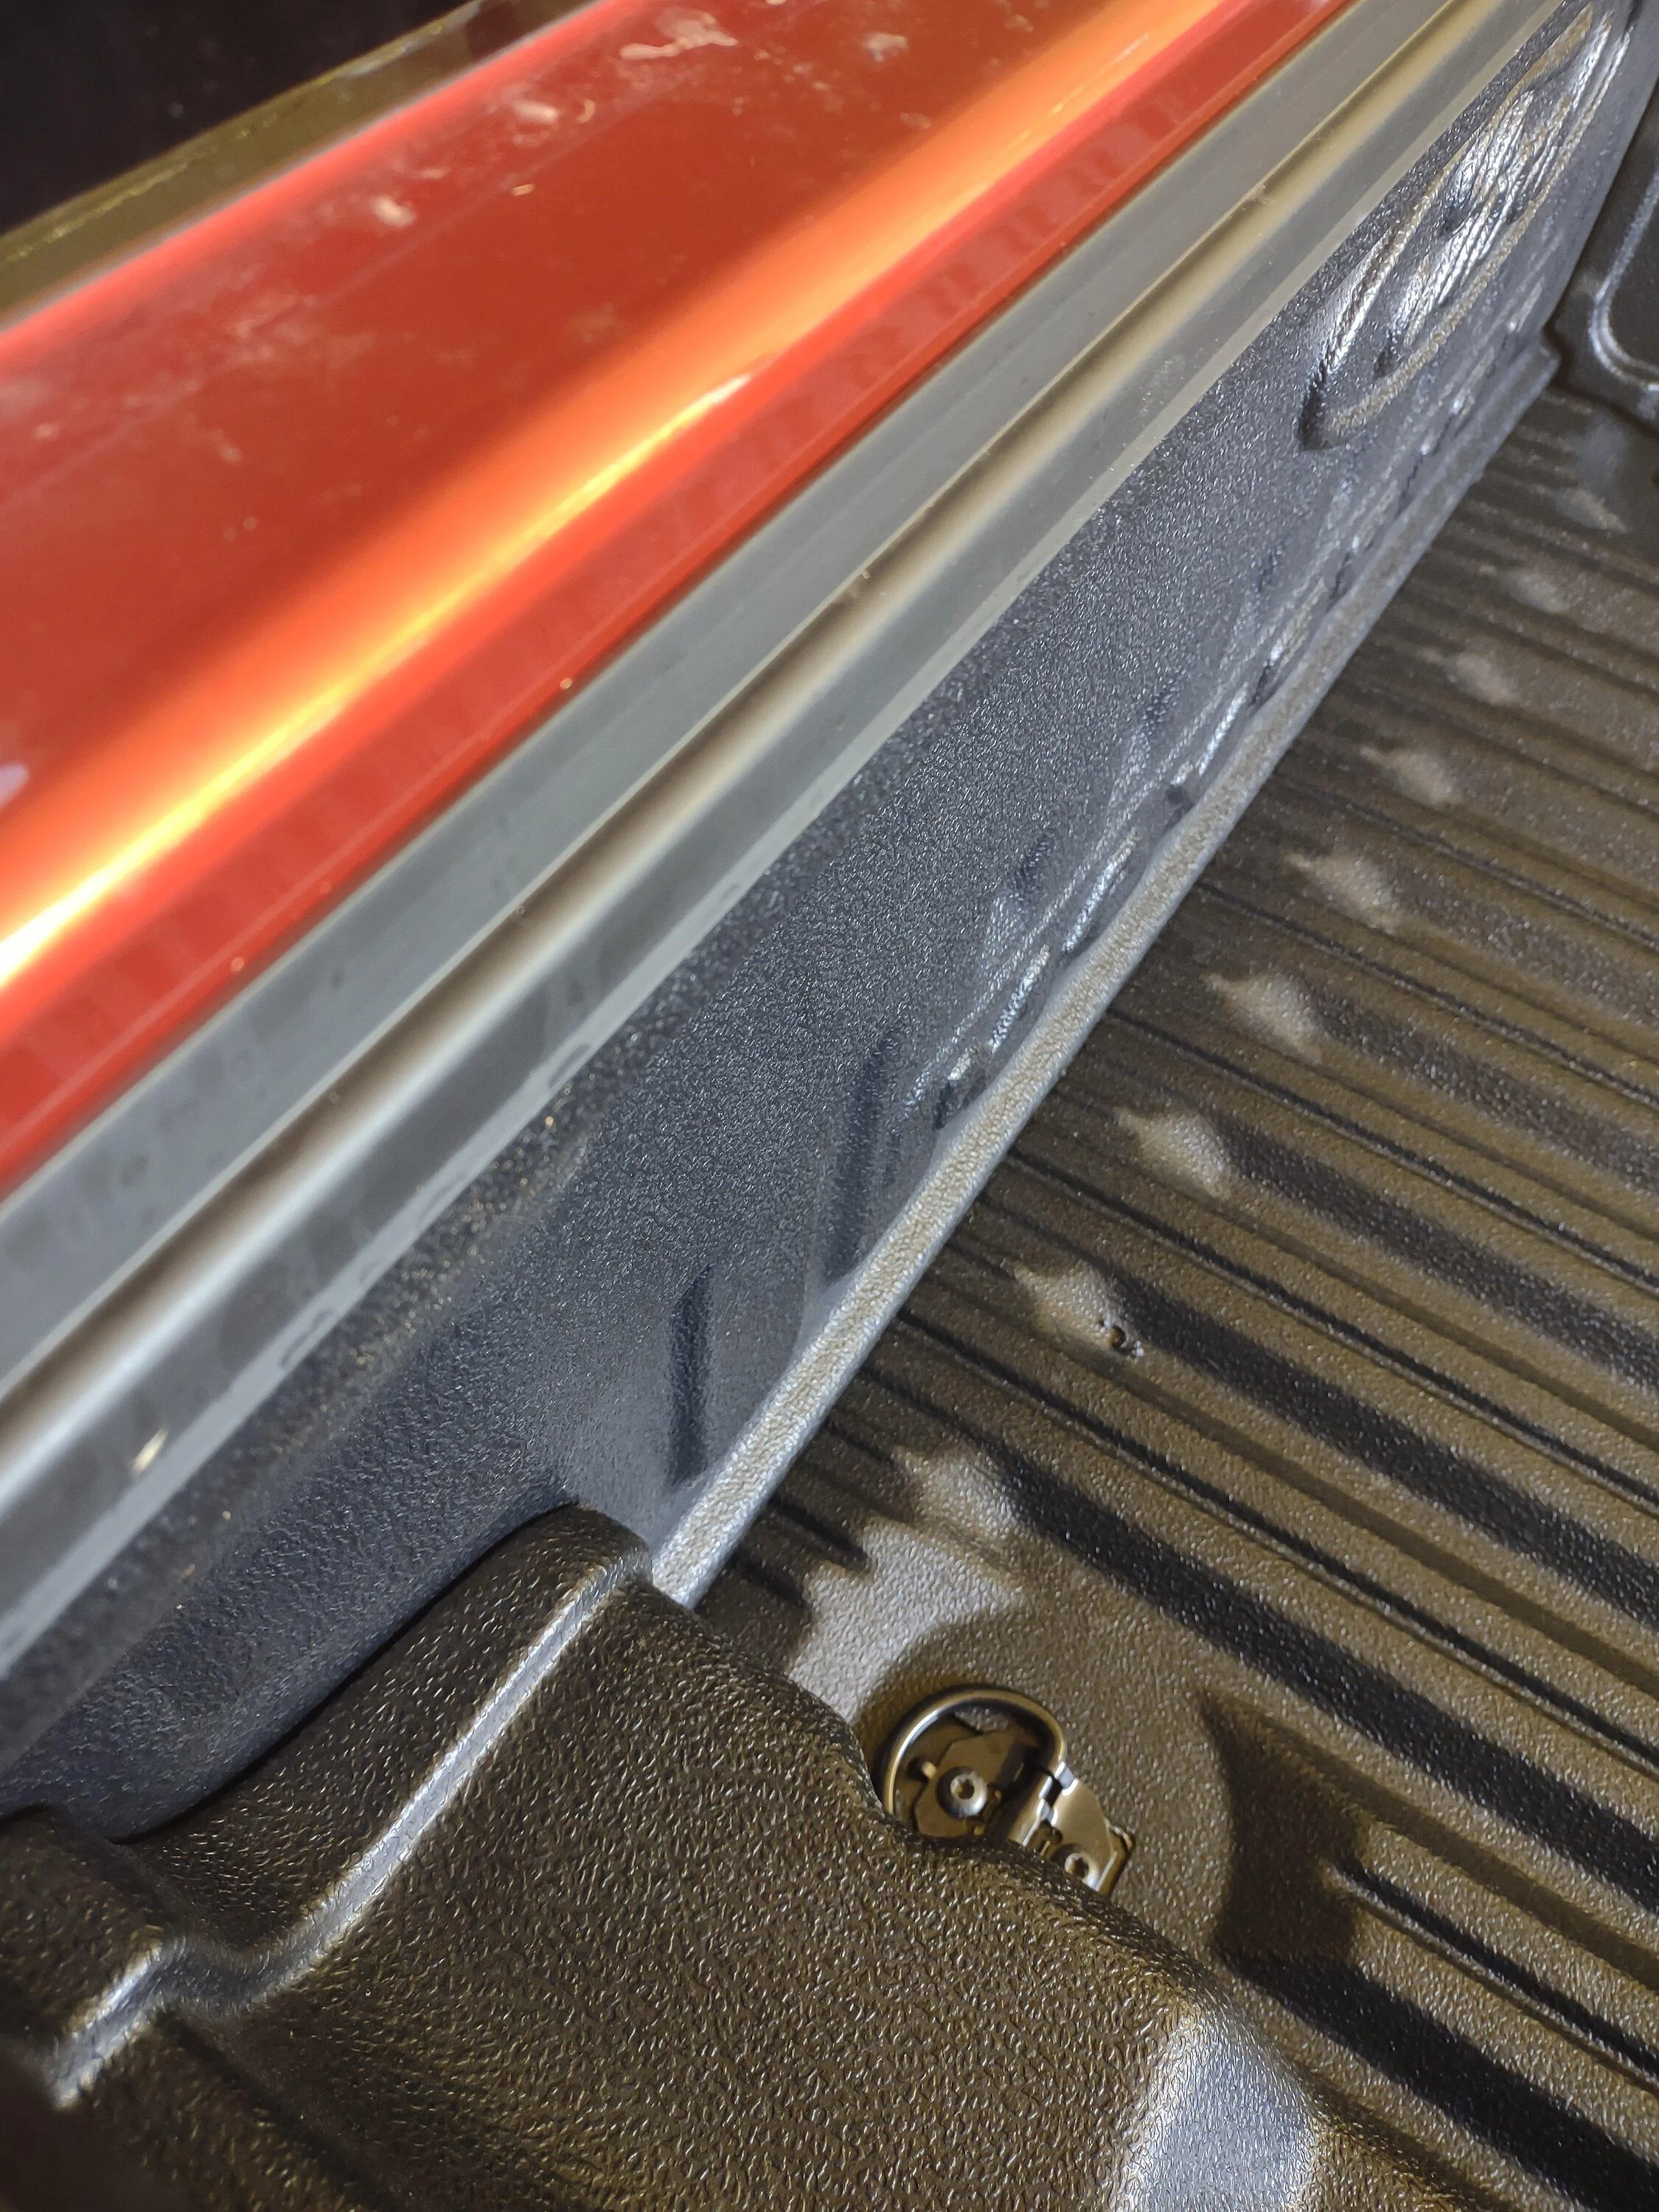
Which is EXACTLY why I chose to do it myself. Exactly. Didn't want someone at a dealership who was just gonna slap it on and go.
Sponsored

 
OP
OP
Last Truck Ever

Last Truck Ever

2.5L Hybrid
Well-known member
Joined
May 23, 2022
Threads
28
Messages
973
Reaction score
2,094
Location
Alabama
Vehicle(s)
2023 Hybrid Maverick XLT
Engine
2.5L Hybrid
Clubs
 

MakinDoForNow

2.5L Hybrid
Well-known member
First Name
James
Joined
Sep 24, 2021
Threads
2
Messages
8,429
Reaction score
5,994
Location
Texas
Vehicle(s)
2022 Maverick
Engine
2.5L Hybrid
Nice. Thank you. For taking the time. Encourages me to try it, someday. I have most of the tools, now where did I put that cat?
Hopefully not inside the tail gate!
FYI my mother dear got away saying she was 29 until I turned 39 then she was 49 for over twenty more years.
 

Jman79

2.0L EcoBoost
Well-known member
Joined
Jul 31, 2023
Threads
10
Messages
641
Reaction score
838
Location
North East, USA
Vehicle(s)
Honda Odessey, Ford Maverick 🤞MY24
Engine
2.0L EcoBoost
Nice job! Money in your pocket and confidence it's done right.

When I get mine can you come install it? I need a role model for my wife that the "honey do" list can be equal opportunity in both directions. 🤔 Or even better doing things together.
 

Sponsored

JBryant

2.5L Hybrid
Well-known member
First Name
Jesse
Joined
Nov 7, 2022
Threads
33
Messages
1,629
Reaction score
2,709
Location
Bowie, TX
Vehicle(s)
2023 Maverick Lariat Hybrid Alto Blue
Engine
2.5L Hybrid
Fantastic post and great work. Old folks like us still do things. It is partly generational. Hope your Bama heat is better than our TX heat. 108-112 nearly every day and forecast 100+ thru end of Sept.
 

Johnkn

2.5L Hybrid
Well-known member
Joined
Jan 19, 2022
Threads
73
Messages
2,283
Reaction score
3,392
Location
MD
Vehicle(s)
Bronco Raptor, TRX, Viper, 66 Shelby, 68.5 CJ Mustang, Pantera
Engine
2.5L Hybrid
OP, great job, you should be proud!.....


.
 

Mosin

2.0L EcoBoost
Well-known member
First Name
Frederick
Joined
May 11, 2023
Threads
4
Messages
156
Reaction score
175
Location
South East Texas
Vehicle(s)
2022 Maverick XLT
Engine
2.0L EcoBoost
Hey Last Truck Ever, Great job on the bed liner and Congrats on your new Maverick.
 

billygoat

2.5L Hybrid
Well-known member
Joined
Feb 7, 2022
Threads
9
Messages
61
Reaction score
44
Location
maryland
Vehicle(s)
xl
Engine
2.5L Hybrid
So my salesman was Johnny-on-the-Spot and took personal responsibility for making sure my Ford Pass Points were on my account two short days after I took delivery of Lil Red on August 8th. Ordered the modular bedliner on a Saturday, it arrived on Wednesday and I installed it this past Friday. I'm a gray-haired woman, and did the work myself, and am right pleased with the results, but I thought I'd share some thoughts/challenges to help anyone else who is about to undertake the project:

* I watched alllllllllll the install videos, and printed out the instructions, and had all of it memorized and was prepared (I thought) for the actual install. I was not. It turned out the biggest hurdle for me was tools, of which I have an embarrassing quantity, but not the BEST tools for the job. Here's the issues I ran into tool wise:

* I had a T40 torx bit for the difficult front tie downs on the floor, but those buggers still would not BUDGE for me. I do not know why. I am aware the specs call for an IP40, but everything I read said they came out with a T40 just fine. Mine did not, and I still don't know why, but damn...those things were IN THERE. I tried other sizes, to no avail. I ended up driving the truck to my local mechanic, who is thankfully just blocks away, and he had a TP40 and an impact drill which took them out in no time, and he tossed the bit to me so I could finish the job at home. Pays to have a great, nearby mechanic. I had no issues with any of the torx bits on the rest of the job, all standard, all in my tool box and of good quality. (Side NOTE: In lots of videos and comments, people complained that those flat tie downs go back in with only the two prescribed/supplied pieces of tape down, and that it results in a part of the bed color showing through, which is unattractive at best. Knowing this in advance, I supplemented the tape with a small piece of black gorilla duct tape I had, did the trick nicely. )

* I THOUGHT I had an extension that would allow my primarily socket torx to work with my drill gun, but of COURSE when I went to go lay hands on it, it had disappeared into the tool void somewhere. So I was condemned to wrenching most of the screws with a simple socket wrench, which was not a problem except it just added to the TIME the whole thing took, and I lost a good ten pounds in sweat, as I was wrenching in Alabama. I have since purchased a set of torx that will work in my screw gun, so the adapter can stay lost.

The install itself was much simpler than I expected though, primarily by virtue of watching all those videos. I used an angle grinder with a diamond wheel I had sitting around to cut the holes for the bed cubby storage areas, which made for very quick work and a clean line. Every video I watched and the instructions themselves advised a jig saw, but I'm a former metal hobbyist and super comfy with a grinder, so I went that way. I used a 1 and 1/8th" spade bit to cut the holes for the tie downs. Specs call for a step bit to 1 and 1/8th", but mine didn't go that high and I figured the spade bit would work fine and it did, no issues at all, nice clean holes, I took the extra step of beginning the hole on the backside at the marked indentation, and then flipping it over and completing it from the other side, years of habit doing that when working with wood to make a clean cut. In one of the videos I watched I saw someone using a file to clean up the edges of such cuts, but I found a simple blade (box cutter or a good knife) worked well to remove the scraggly pieces after a cut. I took my time and did all the prep work/cutting first.

In videos you learn the bedliner arrives in a box and the big bottom piece is kinda' folded over, and mine was, of course, so I took the precaution of laying it out in my den overnight, with some light weights on it (including a cat) to flatten it out, which did the trick. HOWEVER, no one had mentioned the tailgate piece, so I didn't pay that much attention to it until I went to install it, and realized both ends were bowed up a good bit. If I'd realized it sooner, I'd have weighted it down in advance, to make it lay back, but too late, had to work with those ends, coaxing them down and into shape before the install, but they're still waving at me a bit, (Photo #5) I figure with time and the tailgate closed they'll settle in.

In some of the earliest installs of this unit I saw a lot of people commenting on the back piece, the one nearest the cab that has the Maverick logo on it -- about it not laying exactly flat, and requiring all kinds of creativity to get it to lay flat and adhere. I'm guessing that the manufacturer may have actually adjusted something after those early ones, because mine not only laid flat, it was so flat and tight it was a challenge to perform the last step, which is getting behind it to pull the red tape cover off and adhere it to the bed. (You can see how tight it is against the cab in the last photo, you couldn't even slide a fingernail behind it now).

My ONLY criticism of the product is on the tailgate piece. There are screws holding it down in the section of the tailgate piece closest to you with the tailgate down, but curiously nothing at ALL holding it down in the part closest to the bed, so I anticipate issues with stuff sliding up under there, nothing at all to stop it. A poor design element, in my opinion.

After Ford Pass points and the Ford.com 20% discount, the bedliner cost me $150. Please don't start with the drop in versus spray arguments, I've had drop ins in every truck I've owned across a lifetime, and never a worry or problem, and this one appears to be of better overall quality than any I've had previously. And even an elderly woman can install it! :p

(Late Edit: Forgot to mention, I'm 5' 6", not tall enough to comfortably reach in and wrench off the tie downs and such, or wiggle the side pieces in easily, so a two-step stool was my most helpful tool, let me just lean over the sides and work).

IMG_20230818_125701789_HDR.jpg
IMG_20230820_100402025.jpg
IMG_20230820_100427685.jpg
IMG_20230820_100408060.jpg
IMG_20230820_100413431.jpg
IMG_20230820_101326098.jpg
Congrats! Hilarious and helpful.

Personally went with the spray in but after all the headache would go with drop in for future purchases.

Enjoy your new ride!
 
OP
OP
Last Truck Ever

Last Truck Ever

2.5L Hybrid
Well-known member
Joined
May 23, 2022
Threads
28
Messages
973
Reaction score
2,094
Location
Alabama
Vehicle(s)
2023 Hybrid Maverick XLT
Engine
2.5L Hybrid
Clubs
 
A
Nice job! Gorilla makes some super sticky double sided tape, I wonder if that would help hold down the bottom of the tailgate piece? Also, our cats usually just lay in the box. It's nice to see a cat actually helping.
As you can see in the pic, the troublesome piece on the tailgate is right over the bolts for the bottle opener/tie downs, I'm sorely tempted to drill a hole and reinstall that top bolt of the bottle opener THROUGH that piece of the tailgate, to hold it into place. Actually a little surprised Ford didn't think to do that with these.
 
Sponsored

golfguy2020

2.5L Hybrid
Well-known member
First Name
Jordan
Joined
Jun 13, 2022
Threads
14
Messages
105
Reaction score
132
Location
Ontario
Vehicle(s)
Ford Maverick XLT Lux
Engine
2.5L Hybrid
A

As you can see in the pic, the troublesome piece on the tailgate is right over the bolts for the bottle opener/tie downs, I'm sorely tempted to drill a hole and reinstall that top bolt of the bottle opener THROUGH that piece of the tailgate, to hold it into place. Actually a little surprised Ford didn't think to do that with these.
was just going to suggest this lol I think it would help
 
OP
OP
Last Truck Ever

Last Truck Ever

2.5L Hybrid
Well-known member
Joined
May 23, 2022
Threads
28
Messages
973
Reaction score
2,094
Location
Alabama
Vehicle(s)
2023 Hybrid Maverick XLT
Engine
2.5L Hybrid
Clubs
 
was just going to suggest this lol I think it would help
It's supposed to be well over 100 degrees every day this week, I'm thinking Alabama heat may lay that panel down real fast! 🌞☀
 

VICKY

2.0L EcoBoost
Well-known member
First Name
Vicky
Joined
Jan 17, 2022
Threads
4
Messages
588
Reaction score
705
Location
Sarasota, F
Vehicle(s)
2022 FORD MAVERICK 2.L ECO-BOOST & Mazda Miata
Engine
2.0L EcoBoost
So my salesman was Johnny-on-the-Spot and took personal responsibility for making sure my Ford Pass Points were on my account two short days after I took delivery of Lil Red on August 8th. Ordered the modular bedliner on a Saturday, it arrived on Wednesday and I installed it this past Friday. I'm a gray-haired woman, and did the work myself, and am right pleased with the results, but I thought I'd share some thoughts/challenges to help anyone else who is about to undertake the project:

* I watched alllllllllll the install videos, and printed out the instructions, and had all of it memorized and was prepared (I thought) for the actual install. I was not. It turned out the biggest hurdle for me was tools, of which I have an embarrassing quantity, but not the BEST tools for the job. Here's the issues I ran into tool wise:

* I had a T40 torx bit for the difficult front tie downs on the floor, but those buggers still would not BUDGE for me. I do not know why. I am aware the specs call for an IP40, but everything I read said they came out with a T40 just fine. Mine did not, and I still don't know why, but damn...those things were IN THERE. I tried other sizes, to no avail. I ended up driving the truck to my local mechanic, who is thankfully just blocks away, and he had a TP40 and an impact drill which took them out in no time, and he tossed the bit to me so I could finish the job at home. Pays to have a great, nearby mechanic. I had no issues with any of the torx bits on the rest of the job, all standard, all in my tool box and of good quality. (Side NOTE: In lots of videos and comments, people complained that those flat tie downs go back in with only the two prescribed/supplied pieces of tape down, and that it results in a part of the bed color showing through, which is unattractive at best. Knowing this in advance, I supplemented the tape with a small piece of black gorilla duct tape I had, did the trick nicely. )

* I THOUGHT I had an extension that would allow my primarily socket torx to work with my drill gun, but of COURSE when I went to go lay hands on it, it had disappeared into the tool void somewhere. So I was condemned to wrenching most of the screws with a simple socket wrench, which was not a problem except it just added to the TIME the whole thing took, and I lost a good ten pounds in sweat, as I was wrenching in Alabama. I have since purchased a set of torx that will work in my screw gun, so the adapter can stay lost.

The install itself was much simpler than I expected though, primarily by virtue of watching all those videos. I used an angle grinder with a diamond wheel I had sitting around to cut the holes for the bed cubby storage areas, which made for very quick work and a clean line. Every video I watched and the instructions themselves advised a jig saw, but I'm a former metal hobbyist and super comfy with a grinder, so I went that way. I used a 1 and 1/8th" spade bit to cut the holes for the tie downs. Specs call for a step bit to 1 and 1/8th", but mine didn't go that high and I figured the spade bit would work fine and it did, no issues at all, nice clean holes, I took the extra step of beginning the hole on the backside at the marked indentation, and then flipping it over and completing it from the other side, years of habit doing that when working with wood to make a clean cut. In one of the videos I watched I saw someone using a file to clean up the edges of such cuts, but I found a simple blade (box cutter or a good knife) worked well to remove the scraggly pieces after a cut. I took my time and did all the prep work/cutting first.

In videos you learn the bedliner arrives in a box and the big bottom piece is kinda' folded over, and mine was, of course, so I laid it out in my den overnight, with some light weights on it (including a cat) to flatten it out, which did the trick. HOWEVER, no one had mentioned the tailgate piece, so I didn't pay that much attention to it until I went to install it, and realized both ends were bowed up a good bit. If I'd realized it sooner, I'd have weighted it down in advance, to make it lay back, but too late, had to work with those ends, coaxing them down and into shape before the install, but they're still waving at me a bit, (Photo #5) I figure with time and the tailgate closed they'll settle in.

In some of the earliest installs of this unit I saw a lot of people commenting on the back piece, the one nearest the cab that has the Maverick logo on it -- about it not laying exactly flat, and requiring all kinds of creativity to get it to lay flat and adhere. I'm guessing that the manufacturer may have actually adjusted something after those early ones, because mine not only laid flat, it was so flat and tight it was a challenge to perform the last step, which is getting behind it to pull the red tape cover off and adhere it to the bed. (You can see how tight it is against the cab in the last photo, you couldn't even slide a fingernail behind it now).

My ONLY criticism of the product is on the tailgate piece. There are screws holding it down in the section of the tailgate piece closest to you with the tailgate down, but curiously nothing at ALL holding it down in the part closest to the bed, so I anticipate issues with stuff sliding up under there, nothing at all to stop it. A poor design element, in my opinion.

After Ford Pass points and the Ford.com 20% discount, the bedliner cost me $150. Please don't start with the drop in versus spray arguments, I've had drop ins in every truck I've owned across a lifetime, and never a worry or problem, and this one appears to be of better overall quality than any I've had previously. And even an elderly woman can install it! :p

(Late Edit: Forgot to mention, I'm 5' 6", not tall enough to comfortably reach in and wrench off the tie downs and such, or wiggle the side pieces in easily, so a two-step stool was my most helpful tool, let me just lean over the sides and work).

IMG_20230818_125701789_HDR.jpg
IMG_20230820_100402025.jpg
IMG_20230820_100427685.jpg
IMG_20230820_100408060.jpg
IMG_20230820_100413431.jpg
IMG_20230820_101326098.jpg
AWESOME JOB AND I SEE YOU MADE A GREAT COLOR CHOICE!!!!!!!
 
OP
OP
Last Truck Ever

Last Truck Ever

2.5L Hybrid
Well-known member
Joined
May 23, 2022
Threads
28
Messages
973
Reaction score
2,094
Location
Alabama
Vehicle(s)
2023 Hybrid Maverick XLT
Engine
2.5L Hybrid
Clubs
 
There were OTHER choices? Hmmm..... I was unaware.... :p

HPR is the ONLY choice in my mind!
 

jpv74

2.5L Hybrid
Well-known member
First Name
Jim
Joined
Apr 25, 2023
Threads
31
Messages
282
Reaction score
296
Location
Chantilly Virginia
Vehicle(s)
Ford Maverick Hybrid XL
Engine
2.5L Hybrid
Awesome work and I loved the write up. I installed mine from watching a couple of vids but for the life of me I couldnt find the PDF instructions to print out. That said I made several mistakes and I am not a gray haired lady :) but I do qualify with some salt and pepper. Overall I thought the install was a fun and easy install for folks that have watched the vids AND have the written instructions. I totally agree with you about the tail gate piece.....what the heck were they thinking? My biggest issues were having to remove the side panels no less then 4 times after I thought I was done to drill more holes for more gadgets. For example I am not going to install the bed track cleat system but I did want access to those threaded holes....call me crazy but not all were marked...I think only two were marked for the track system. I hole sawed 4 holes on each side for D rings that I have along my side panels. Then when I thought I was done for sure.....I forgot the darn power outlets in the back were covered up!!!! So I removed the panels again and made cut outs so I had access to the power outlets. ( which I believe yours are covered up :( ) ........and the last time I removed the darn side panels was for the additional OEM tie down towards the tailgate.....my XL only came with two but there are threaded holes for four so I removed and cut that out then installed the Amazon version of the OEM tie downs and now have 4. So in the end I feel like I got a D- due to having to remove my side panels and make corrections so many times but this info was not in the vids that I watched and I had no paper instructions. I am very impressed with your skill set and you did an awesome job!
Sponsored


Top