

Sponsored

Wolfbox's Powered Retractable Tonneau Cover Installation

AbnRgr

2.5L Hybrid
Well-known member
First Name
Jim
Joined
Mar 31, 2022
Threads
72
Messages
532
Reaction score
877
Location
Athens, AL
Vehicle(s)
Porsche 944NA, Mazda Miata, PT Cruiser Conv.
Engine
2.5L Hybrid
Clubs
 
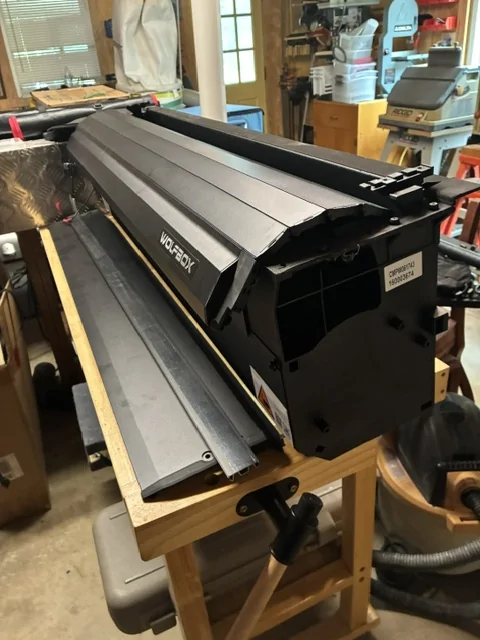
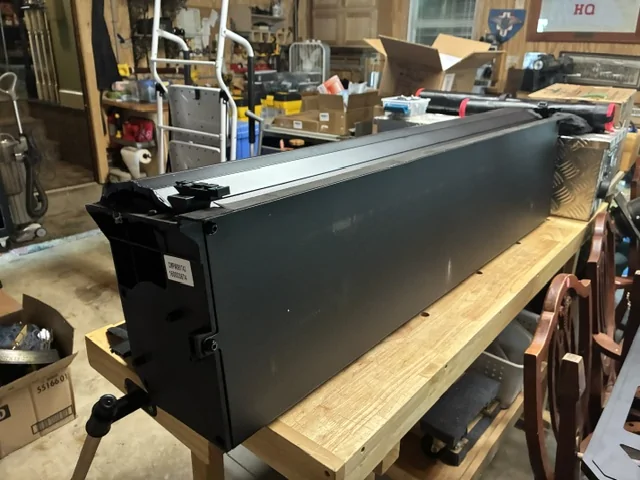
Yesterday, I popped the shipping bands and opened the box with my recent prize award, Wolfbox’s Powered Retractable Tonneau Cover. The box is heavy requiring a two-man lift or a HD moving dolly. Each item appears to be well packed with adequate cushioning material separating the contents. I spent the next hour reviewing the accompanying installation booklet. First impression - the instructions are straight forward and well laid out. Each step incorporates a multitude of detailed drawings.

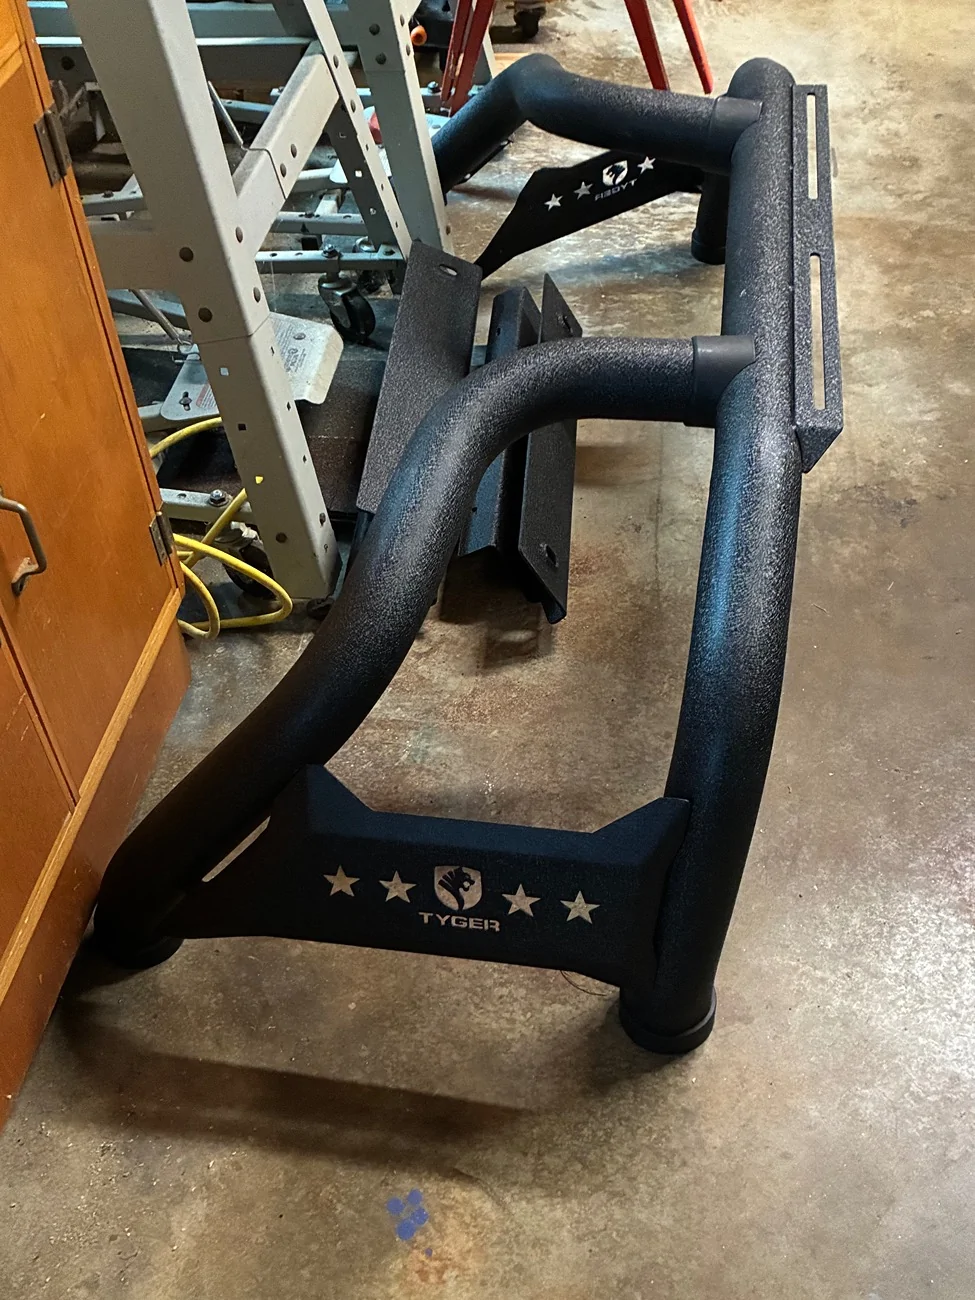
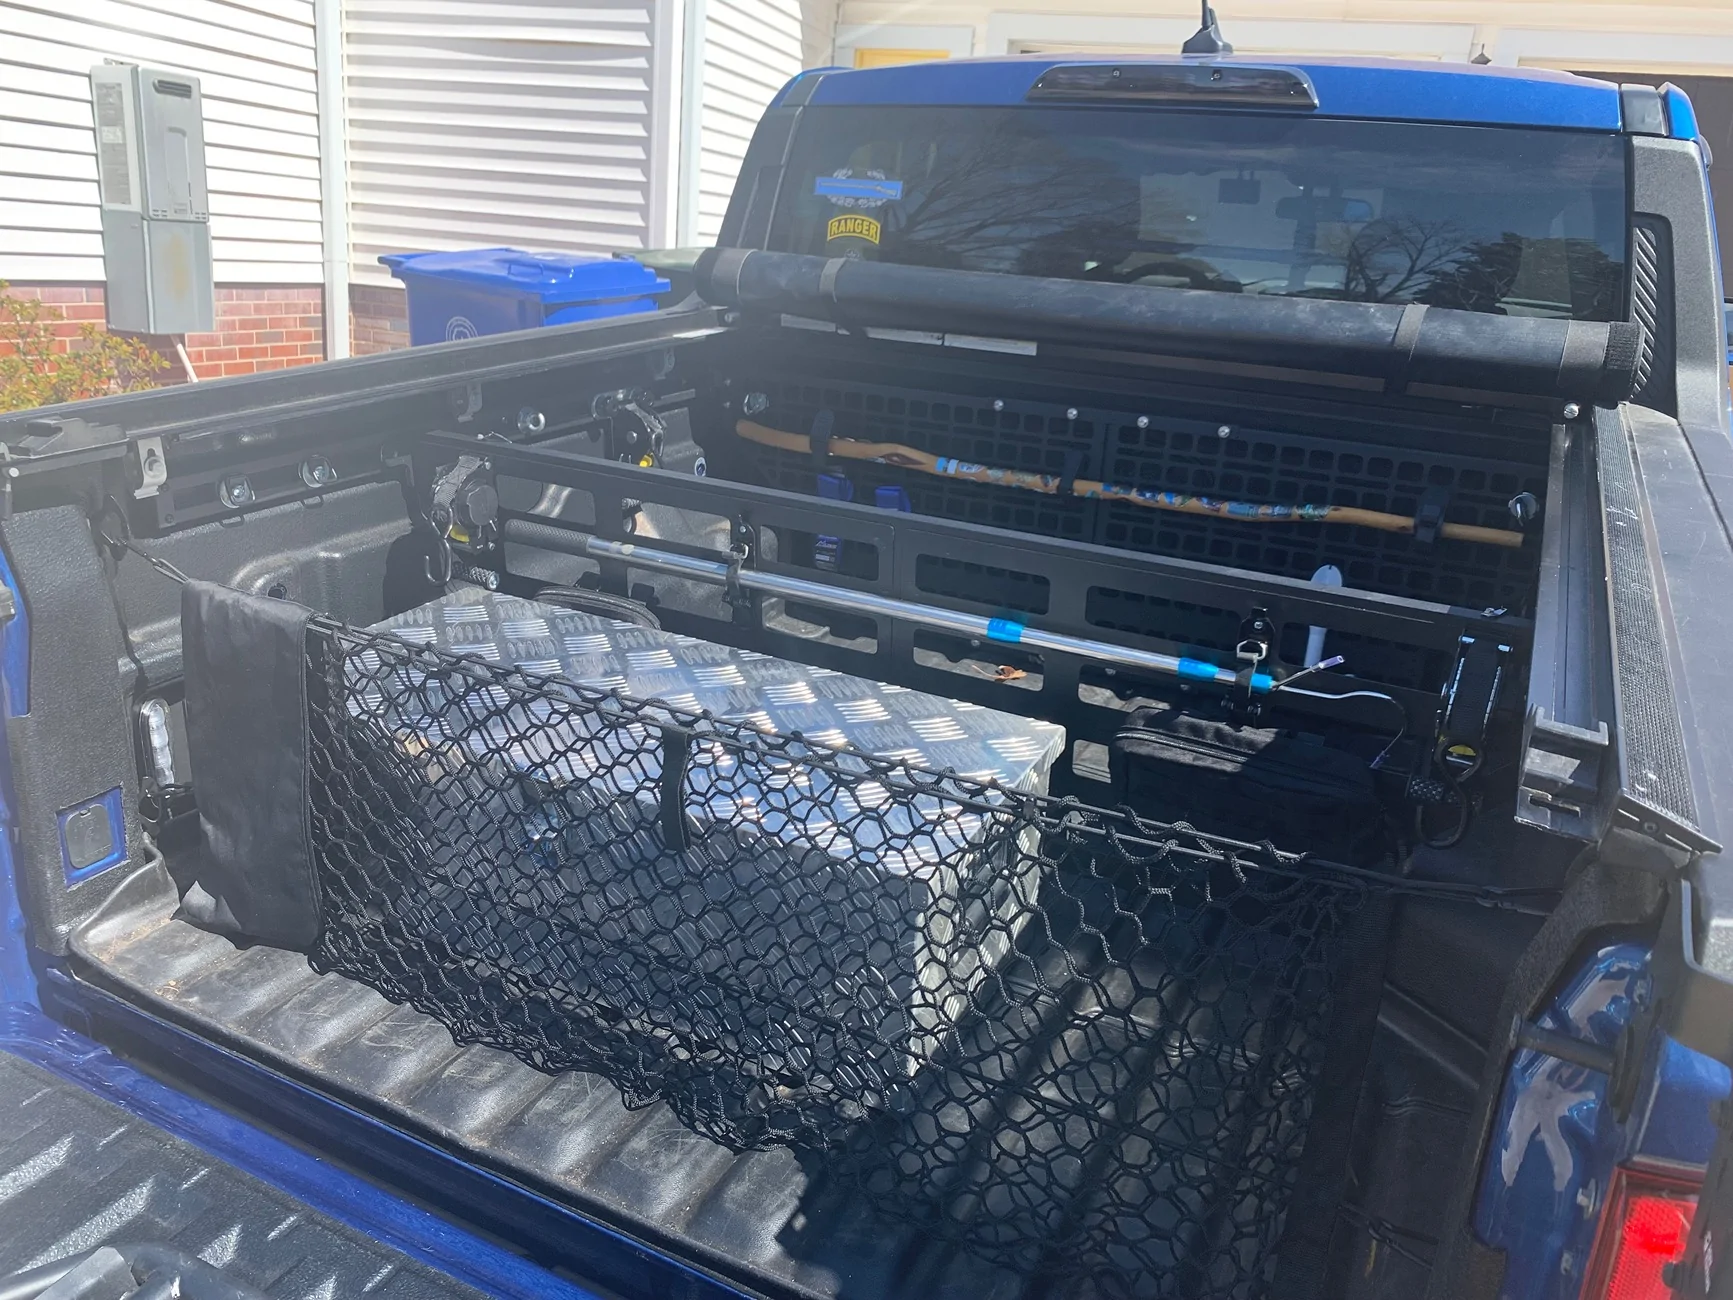
My first surprise from reviewing the instructions was a realization that installing the cover will necessitate removing and losing the utility of several accessories and modifications that have been a part of my build. This is due to the tonneau being anchored by brackets to the truck bed’s side cargo rails. While I may be able to use several of my DIY rail- adjustable anchor points, I will lose the function of Mabett’ sliding bed divider/Molle panel. With the divider, I also lose a pair of attached Maxzina’s ratcheting tie down straps. I had modified a second pair of tie downs to slide and anchor along the length of the rails. This capability will also be lost. I may be able to mount this pair on the rail in between the cover‘s brackets without the ability for them to move. With my calibrated eyeballs, It appears I will be able to retain the mounted Maxzina front Molle panel. My major loss at this point, is the inability to install a Tyger sports bar that has been awaiting installation in my garage. My hope is that following the installation of the cover, I will identify a means to incorporate the two.

As I begin the installation process, I’ll be returning to post photos and comments of my experience and how I might recover some of the utility lost with stripping out prior mods. Thanks to Wolfbox for their cover and their continued patience while I go about its installation.
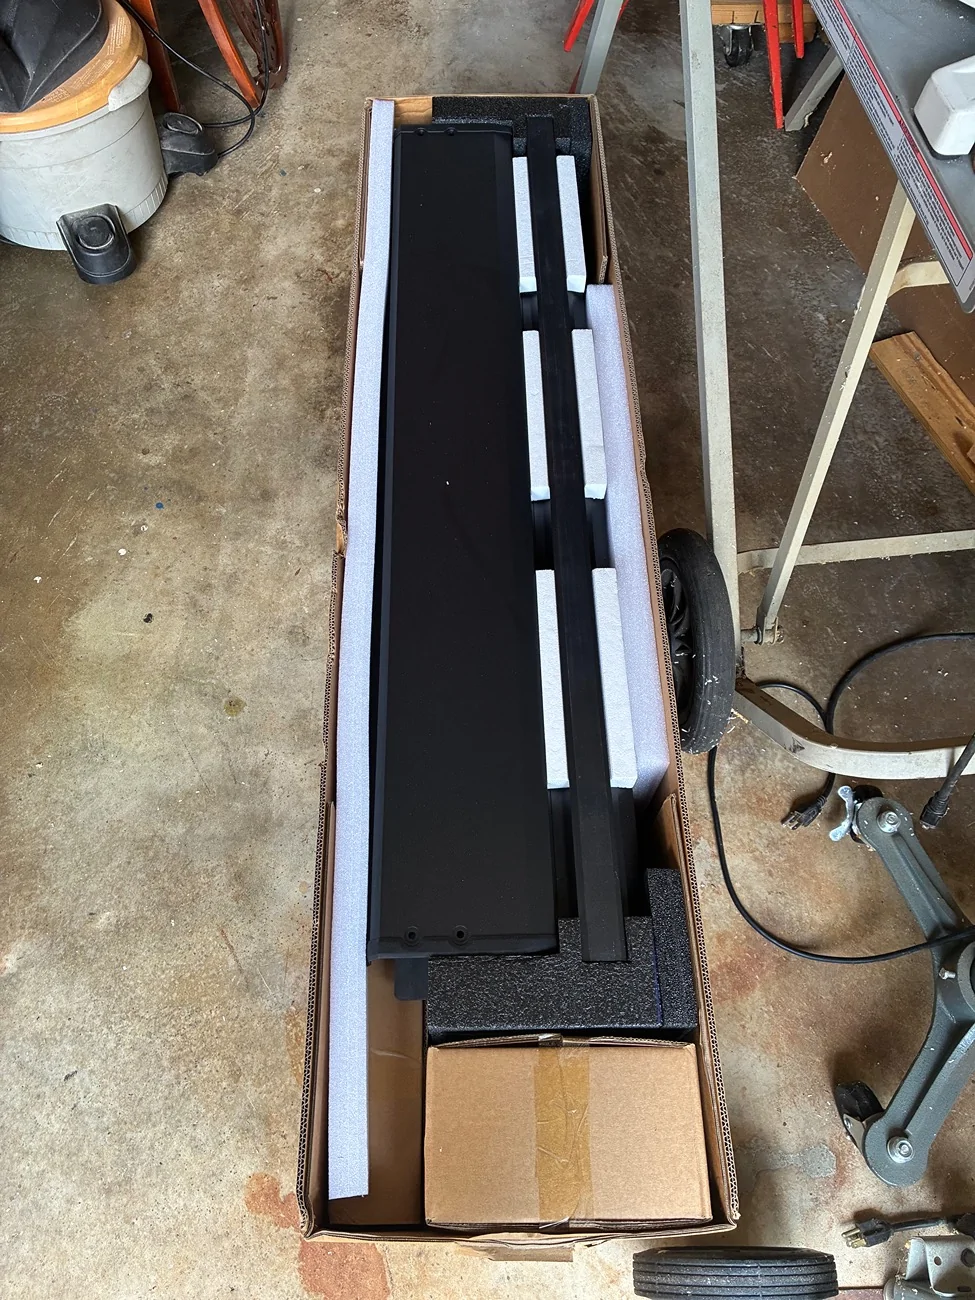
Ford Maverick Wolfbox's Powered Retractable Tonneau Cover Installation IMG_2152
Ford Maverick Wolfbox's Powered Retractable Tonneau Cover Installation IMG_0015
Ford Maverick Wolfbox's Powered Retractable Tonneau Cover Installation IMG_0017
Ford Maverick Wolfbox's Powered Retractable Tonneau Cover Installation IMG_0021
Sponsored

 
Last edited:

BK007

2.0L EcoBoost
Well-known member
First Name
BK007
Joined
Mar 27, 2026
Threads
15
Messages
318
Reaction score
913
Location
OH
Vehicle(s)
2024 Ford Maverick Lariat Tremor
Engine
2.0L EcoBoost
Yesterday, I popped the shipping bands and opened the box with my recent prize award, Wolfbox’s Powered Retractable Tonneau Cover. The box is heavy requiring a two-man lift or a HD moving dolly. Each item appears to be well packed with adequate cushioning material separating the contents. I spent the next hour reviewing the accompanying installation booklet. First impression - the instructions are straight forward and well laid out. Each step incorporates a multitude of detailed drawings.

My first surprise from reviewing the instructions was a realization that installing the cover will necessitate removing and losing the utility of several accessories and modifications that have been a part of my build. This is due to the tonneau being anchored by brackets to the truck bed’s side cargo rails. While I may be able to use several of my DIY rail- adjustable anchor points, I will lose the function of Mabett’ sliding bed divider/Molle panel. With the divider, I also lose a pair of attached Maxzina’s ratcheting tie down straps. I had modified a second pair of tie downs to slide and anchor along the length of the rails. This capability will also be lost. I may be able to mount this pair on the rail in between the cover‘s brackets without the ability for them to move. With my calibrated eyeballs, It appears I will be able to retain the mounted Maxzina front Molle panel. My major loss at this point, is the inability to install a Tigre sports bar that has been awaiting installation in my garage. My hope is that following the installation of the cover, I will identify a means to incorporate the two.

As I begin the installation process, I’ll be returning to post photos and comments of my experience and how I might recover some of the utility lost with stripping out prior mods. Thanks to Wolfbox for their cover and their continued patience while I go about its installation.
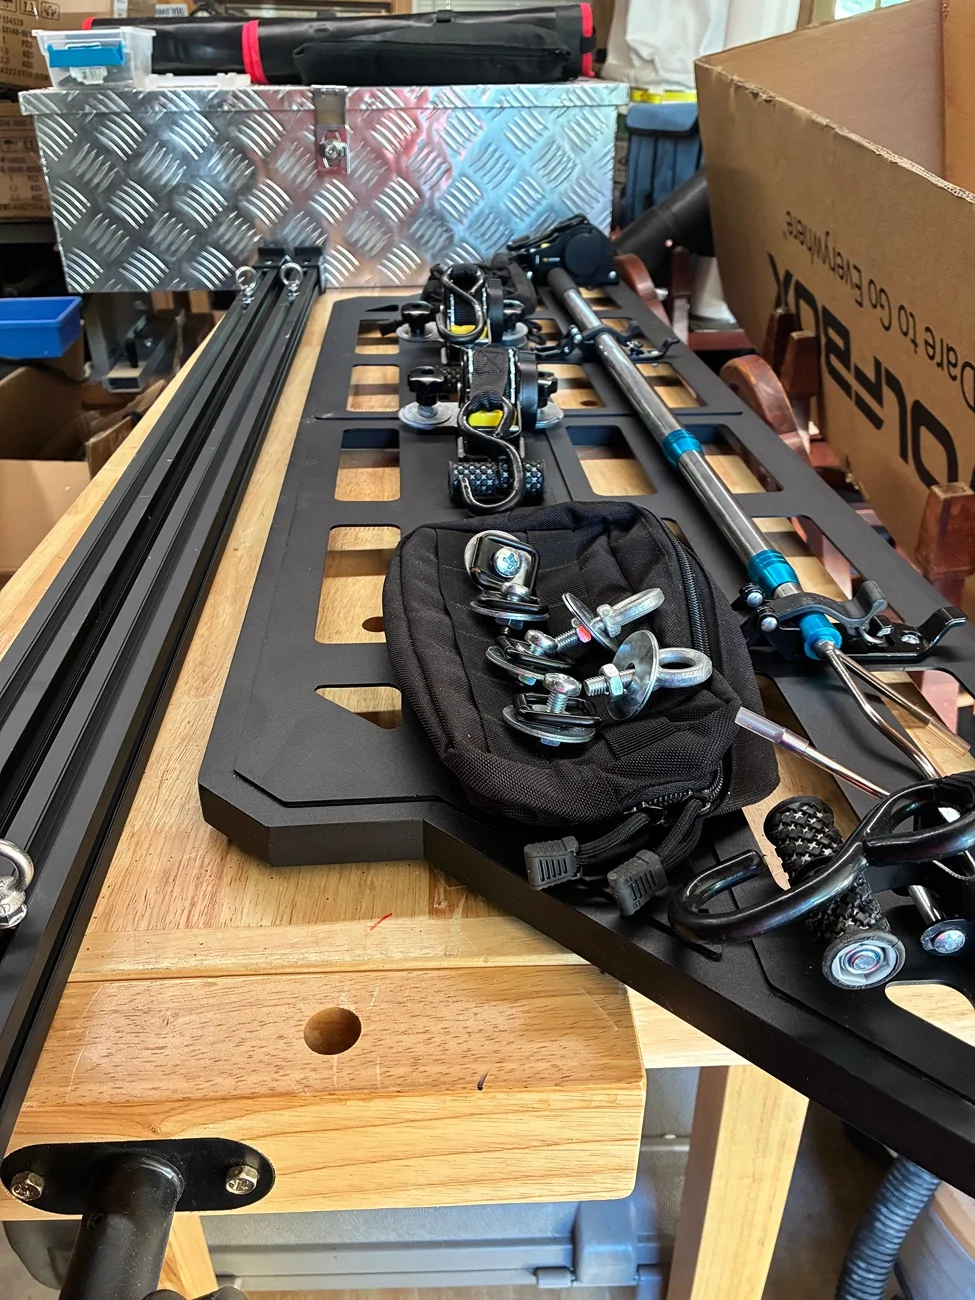
IMG_2152.webp
IMG_0015.webp
IMG_0017.webp
IMG_0021.webp
Wow you had to remove all of your build to install it!? Hard Pass!! If I won it I would sell it lol 2k+$$!!! My roll up cover is just fine. 🤷‍♂️
 
OP
OP
AbnRgr

AbnRgr

2.5L Hybrid
Well-known member
First Name
Jim
Joined
Mar 31, 2022
Threads
72
Messages
532
Reaction score
877
Location
Athens, AL
Vehicle(s)
Porsche 944NA, Mazda Miata, PT Cruiser Conv.
Engine
2.5L Hybrid
Clubs
 
I have to admit that now that the main unit is out of the box and sitting on one of my work benches the thought has crossed my mind. In addition to the weight, the unit is large. In my case there is the sacrifice of cargo space for the benefit of more secure bed storage and the luxury of the remote controlled retractable cover. Nothing is lost, everything removed can go back if I choose with tradeoffs in keeping the cover.

Ford Maverick Wolfbox's Powered Retractable Tonneau Cover Installation IMG_0022
Ford Maverick Wolfbox's Powered Retractable Tonneau Cover Installation IMG_0023
 
Last edited:

BK007

2.0L EcoBoost
Well-known member
First Name
BK007
Joined
Mar 27, 2026
Threads
15
Messages
318
Reaction score
913
Location
OH
Vehicle(s)
2024 Ford Maverick Lariat Tremor
Engine
2.0L EcoBoost

Sponsored

Tech Tye

2.5L Hybrid
Well-known member
First Name
Ken
Joined
Oct 10, 2023
Threads
5
Messages
213
Reaction score
185
Location
Kentucky
Vehicle(s)
2023 Maverick
Engine
2.5L Hybrid
No, it’s to check the alignment .
 
OP
OP
AbnRgr

AbnRgr

2.5L Hybrid
Well-known member
First Name
Jim
Joined
Mar 31, 2022
Threads
72
Messages
532
Reaction score
877
Location
Athens, AL
Vehicle(s)
Porsche 944NA, Mazda Miata, PT Cruiser Conv.
Engine
2.5L Hybrid
Clubs
 
STEP 1 - Unpack and Inventory

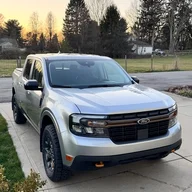
STEP 2 - My installation of Wolfbox’s Powered Retractable Tonneau Cover into my ’24 hydrid XLT Maverick has led to one immediate lesson. Heat indexes exceeding 100*F are not conducive for a 70+ old working outside. I have completed stripping my prior accessories and mods from my truck bed in preparation of the install. That has included disassembling the OEM drop-in bed liner, ratcheting tie-down straps, my sliding bed divider (Mabett), and the bed’s front wall Molle panel (Maxzina).

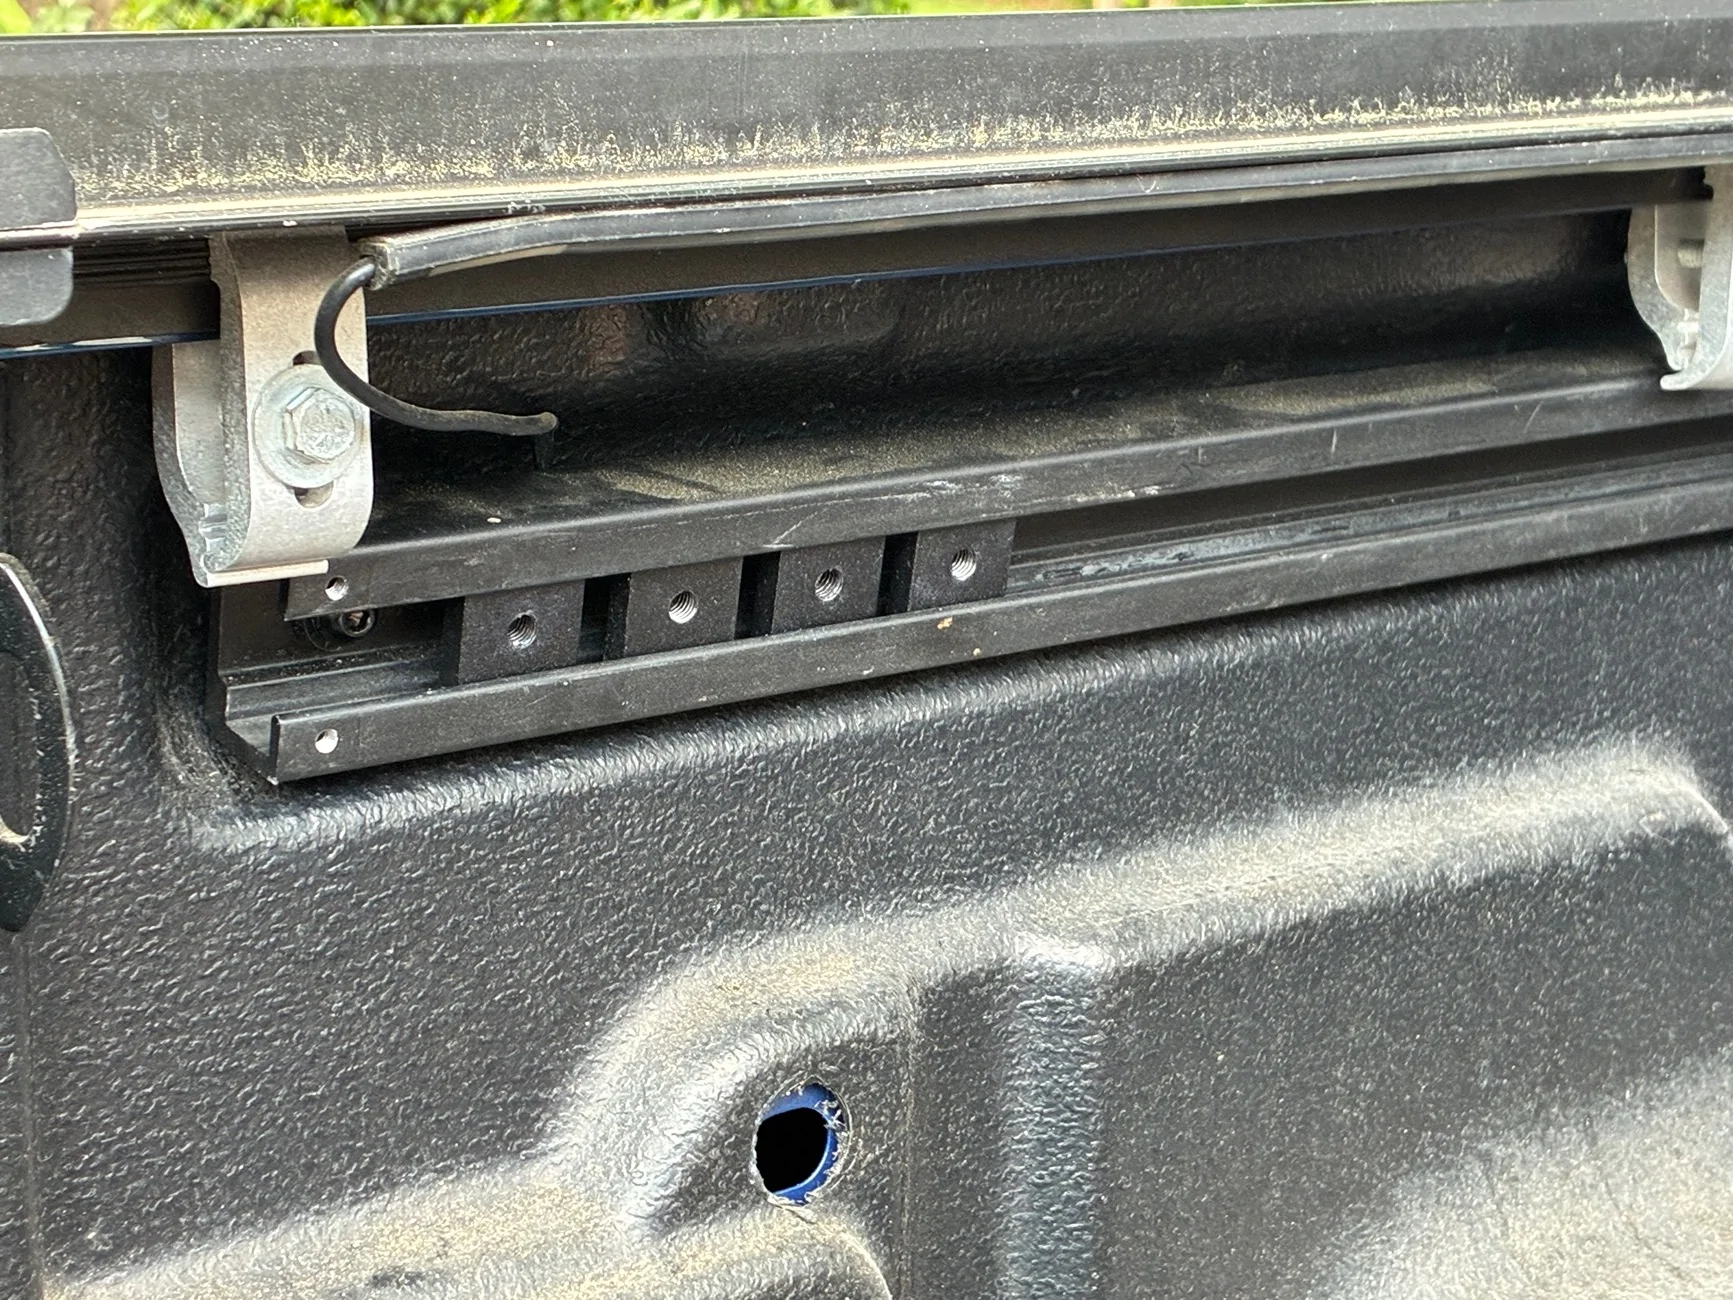
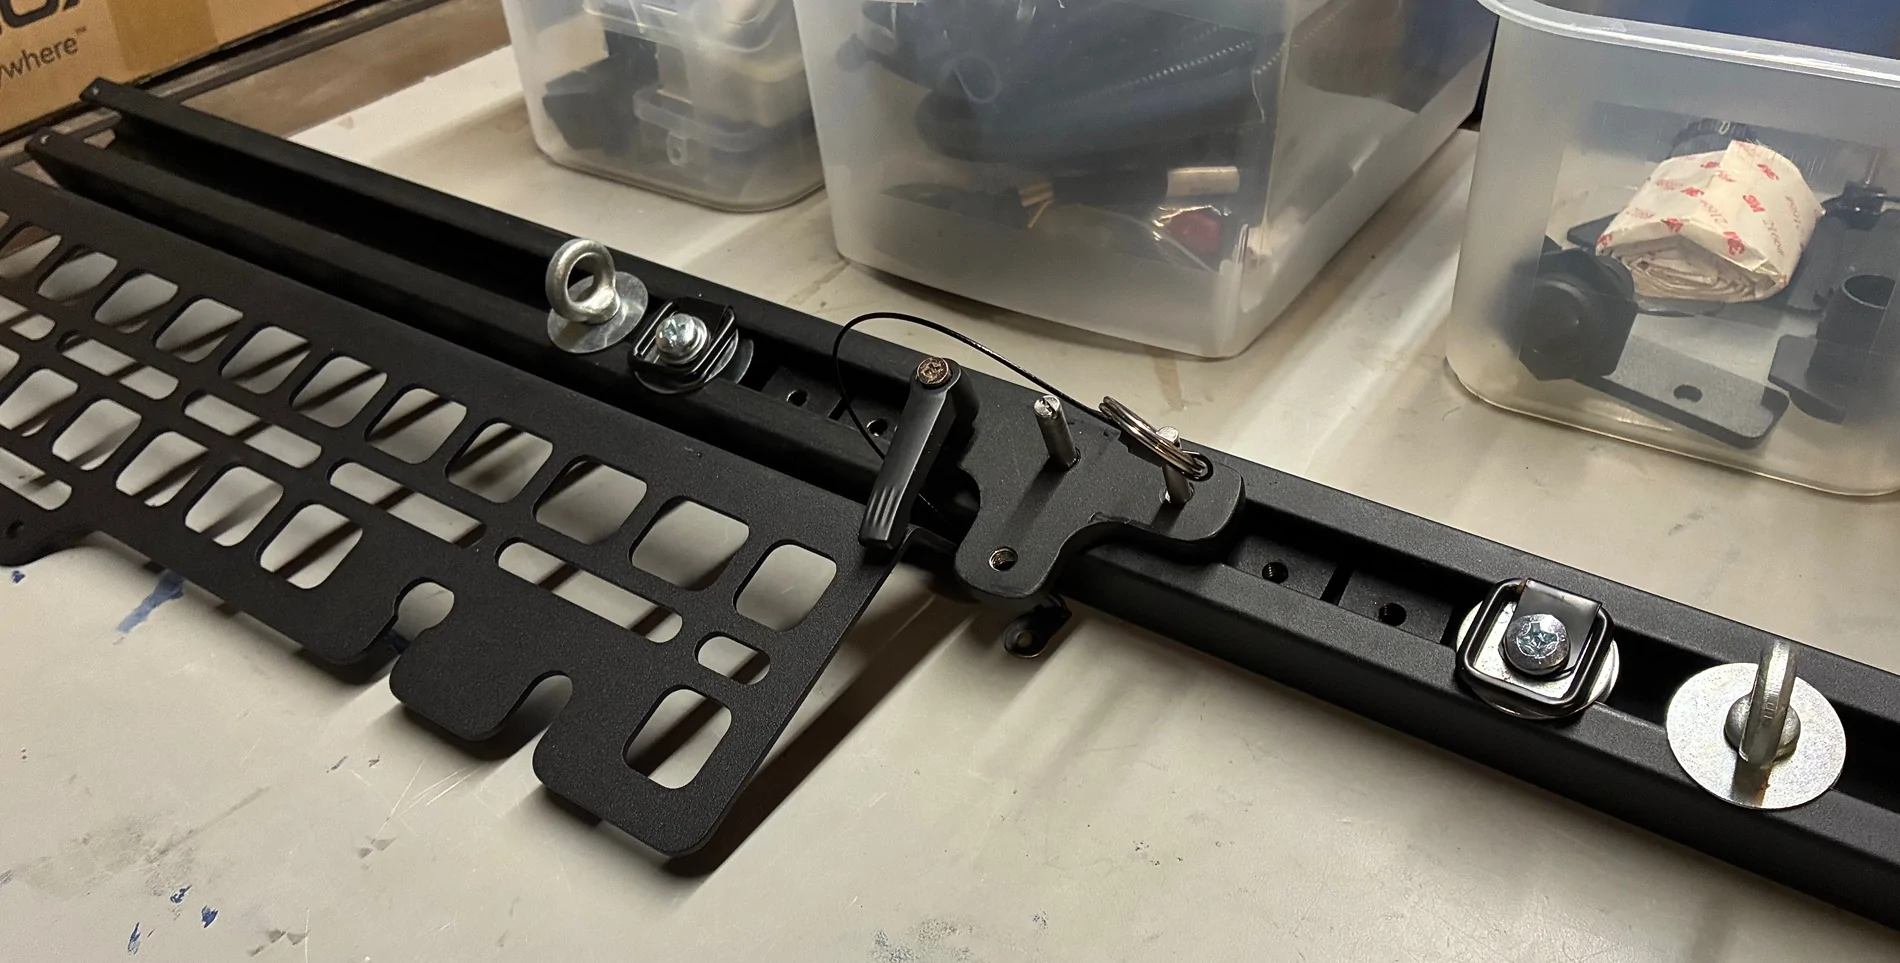
The 1st step of Wolfbox’s instruction manual calls for removing an end cap from the bed’s side cargo rails. That permits one to slide in four threaded nut pieces on each slide. In the first of other variations from the manufacturer’s instructions to come, I interspaced my modded mounting brackets for my sliding bed divider and several DIY adjustable tie-downs with the threaded nuts. For those whose Maverick is not already equipped with utility rails, Wolfbox includes a pair and the needed mounting hardware.

Ford Maverick Wolfbox's Powered Retractable Tonneau Cover Installation IMG_0046


Ford Maverick Wolfbox's Powered Retractable Tonneau Cover Installation IMG_0052


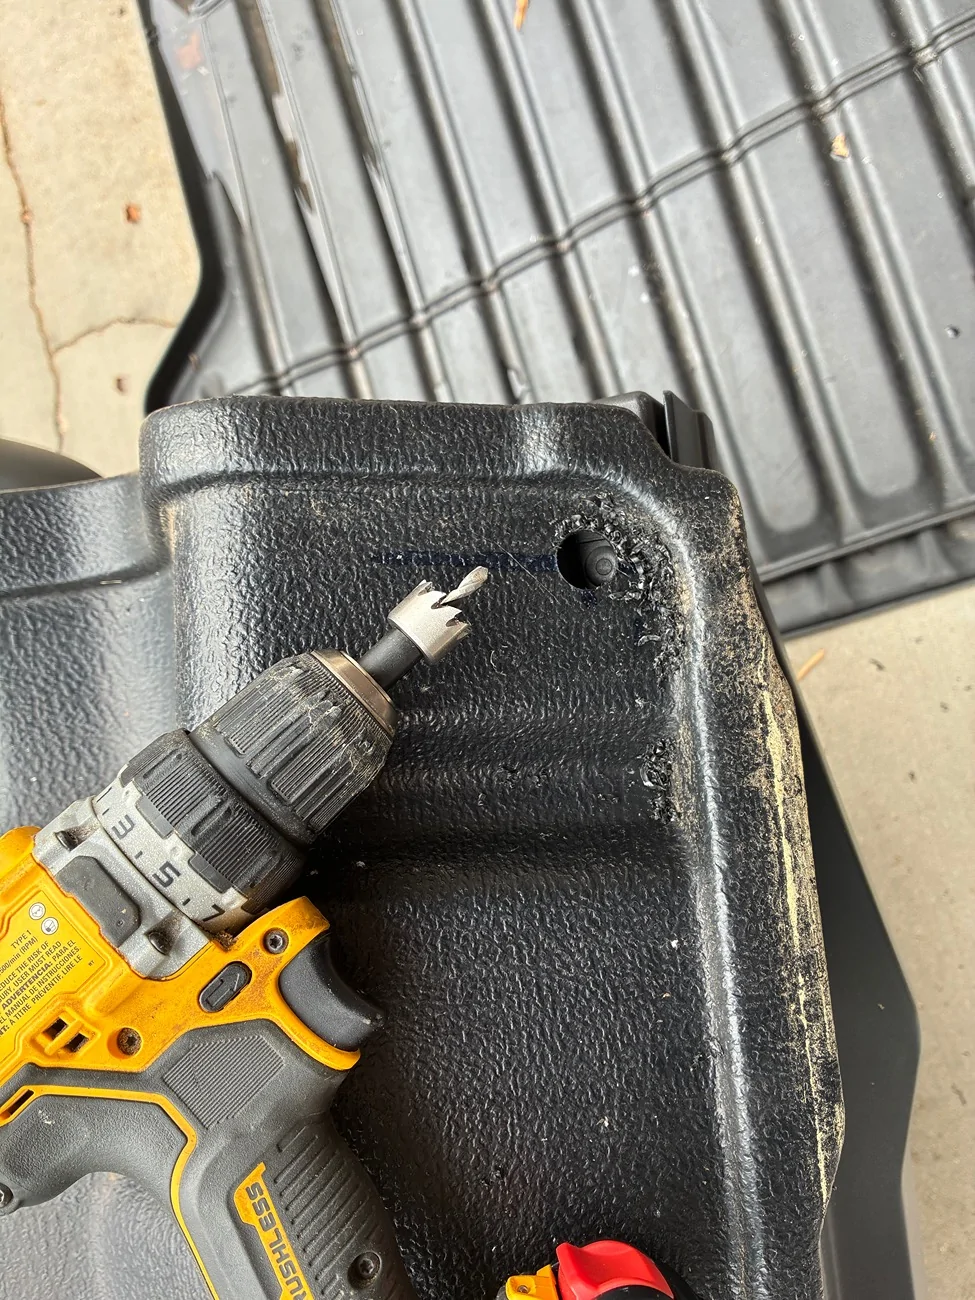
The 1st step also calls for identifying the location and drilling two holes in the lower front corners of the truck bed that will accept a pair of drain hoses in a later step. The appropriate sized hole saw is provided. Tip – The hole required drilling both the liner and the bed’s metal side. To assure the holes line up, begin with a long drill bit of a much smaller diameter. Drill a pilot hole through both pieces. Follow up with the hole saw, drilling the two layers individually.

Ford Maverick Wolfbox's Powered Retractable Tonneau Cover Installation IMG_0050


I'm deferring applying the flexible foam weather stripping to the bed rails until just prior to installing the unit to prevent damage to them.
 
Last edited:
OP
OP
AbnRgr

AbnRgr

2.5L Hybrid
Well-known member
First Name
Jim
Joined
Mar 31, 2022
Threads
72
Messages
532
Reaction score
877
Location
Athens, AL
Vehicle(s)
Porsche 944NA, Mazda Miata, PT Cruiser Conv.
Engine
2.5L Hybrid
Clubs
 
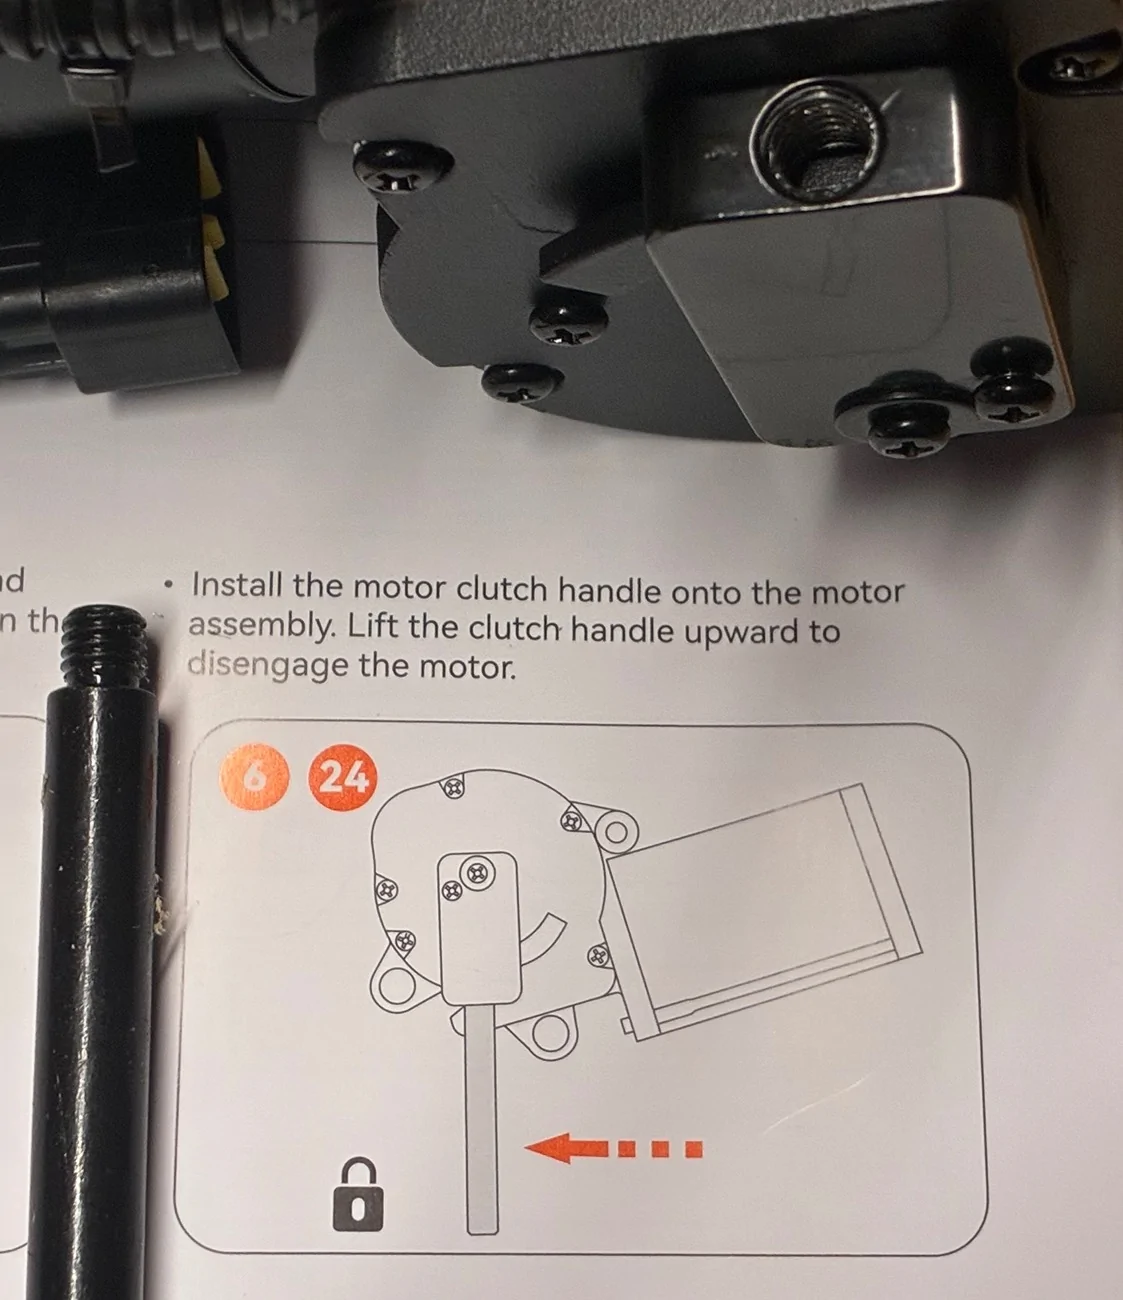
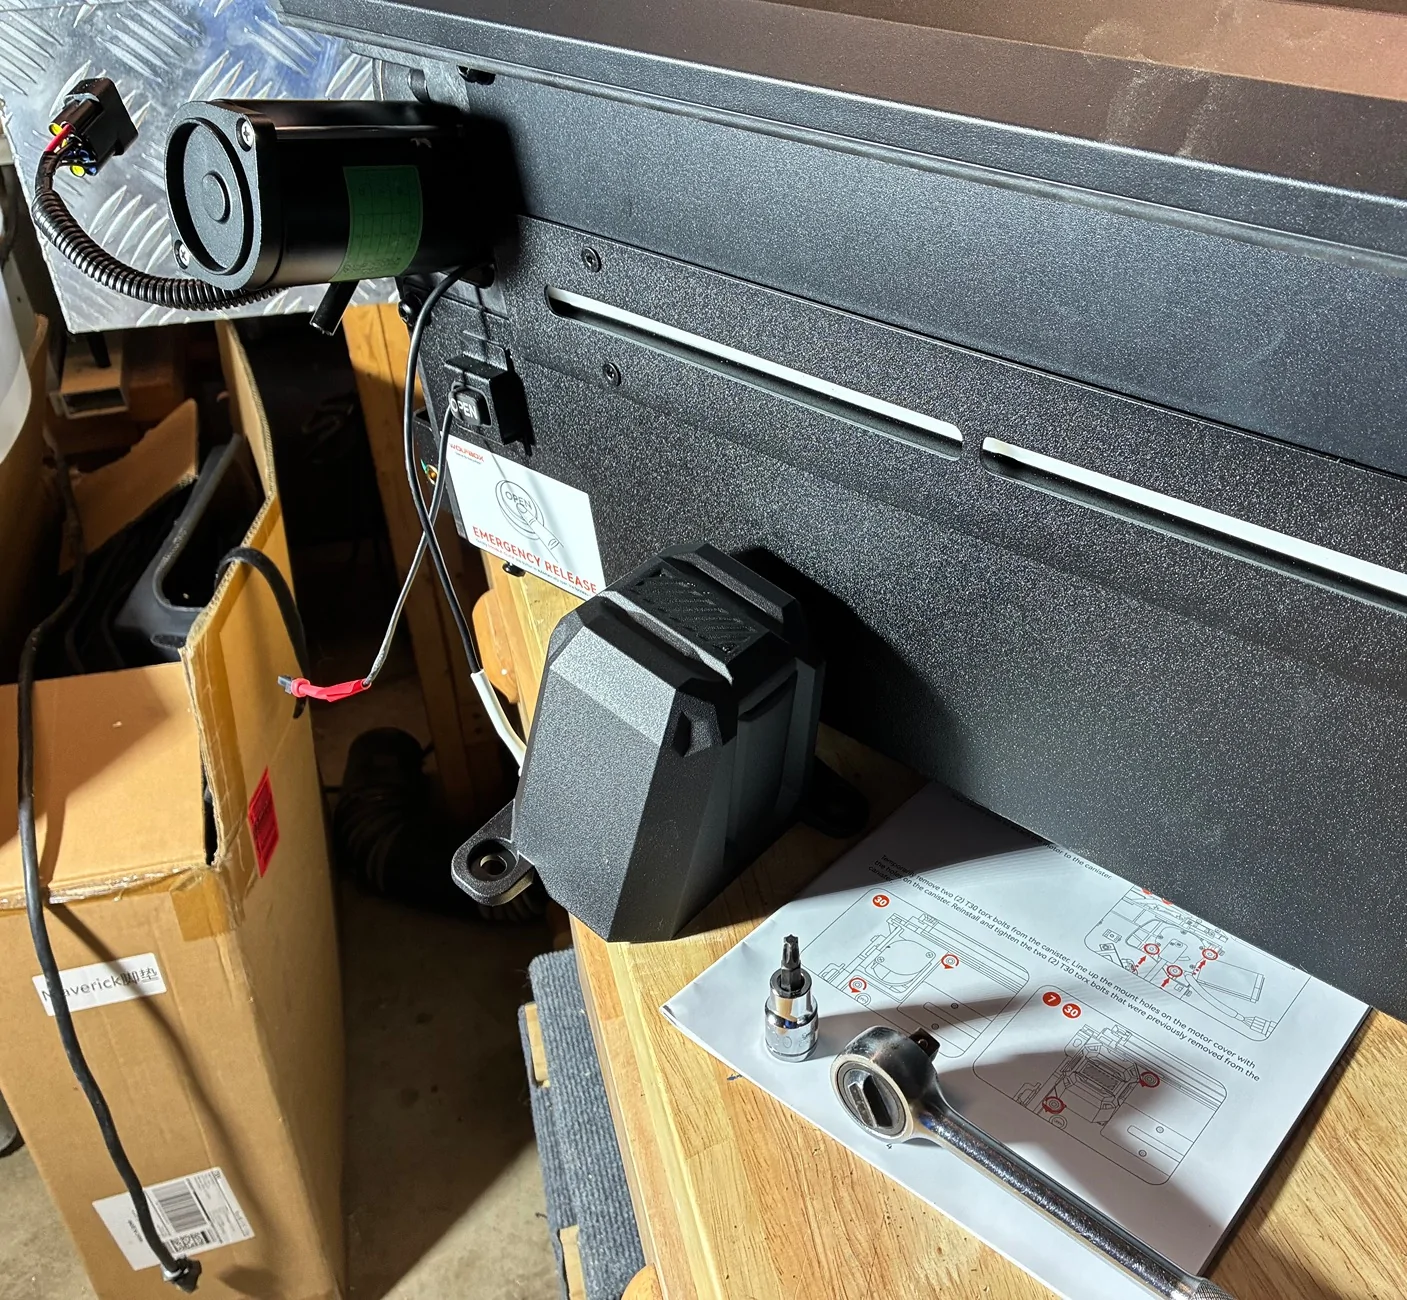
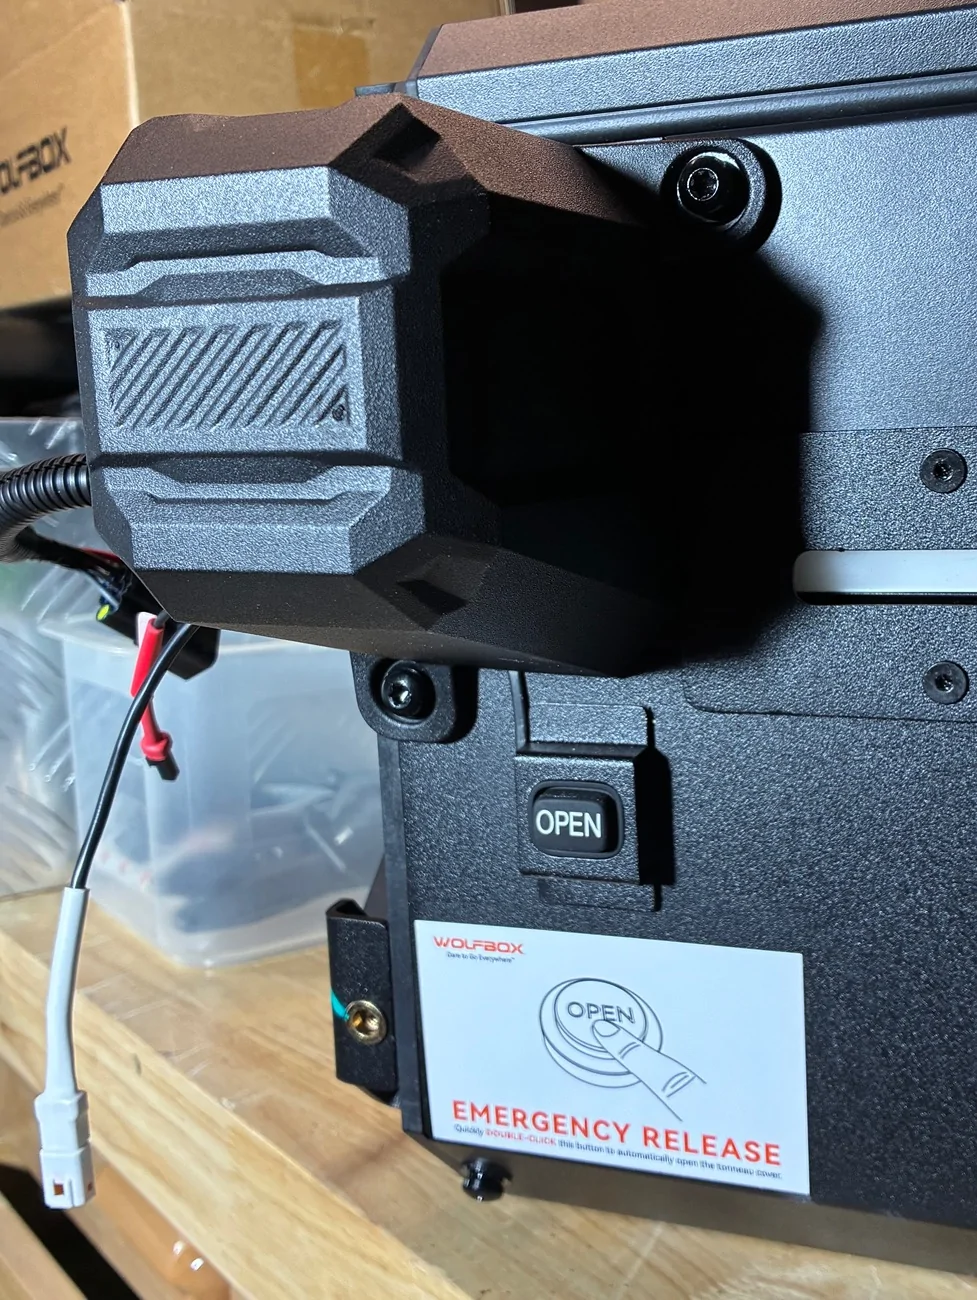
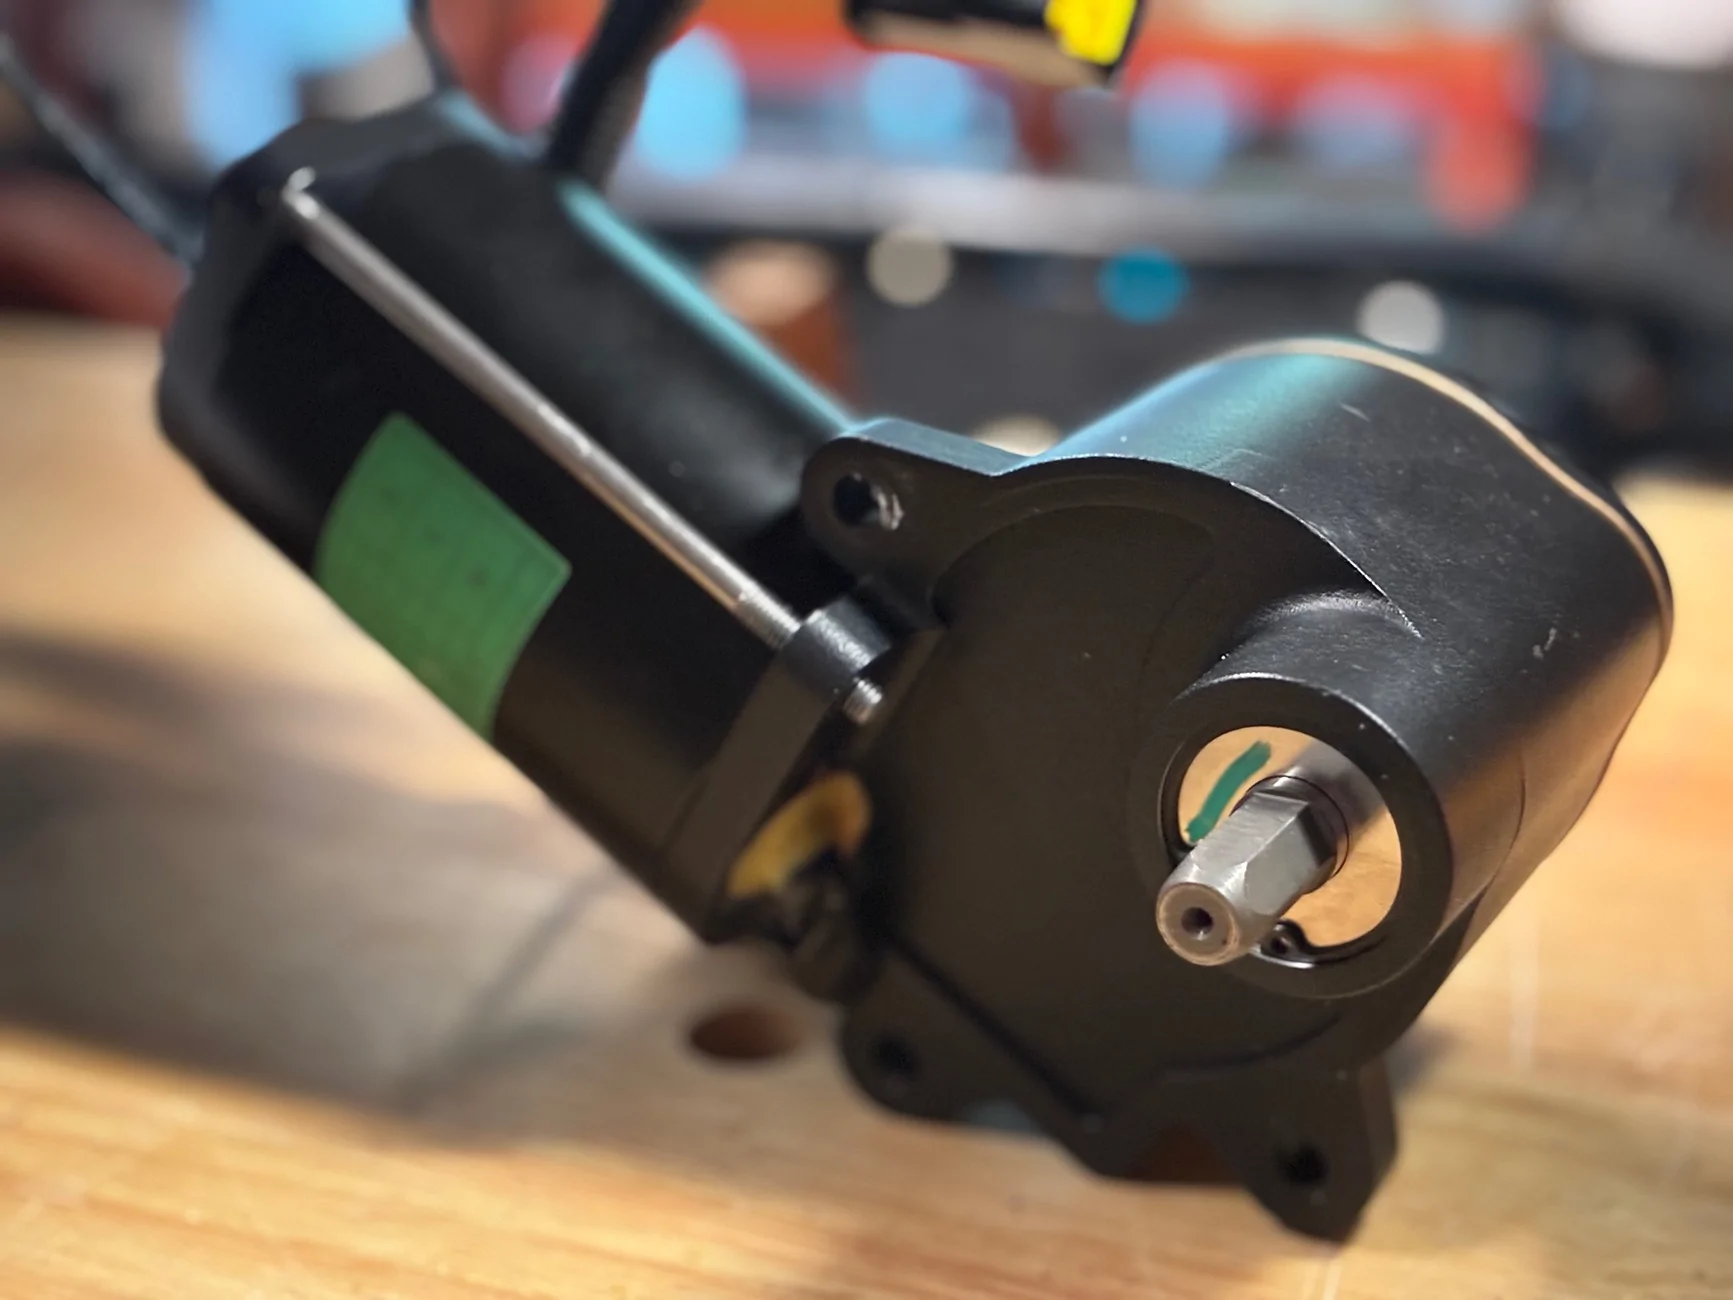
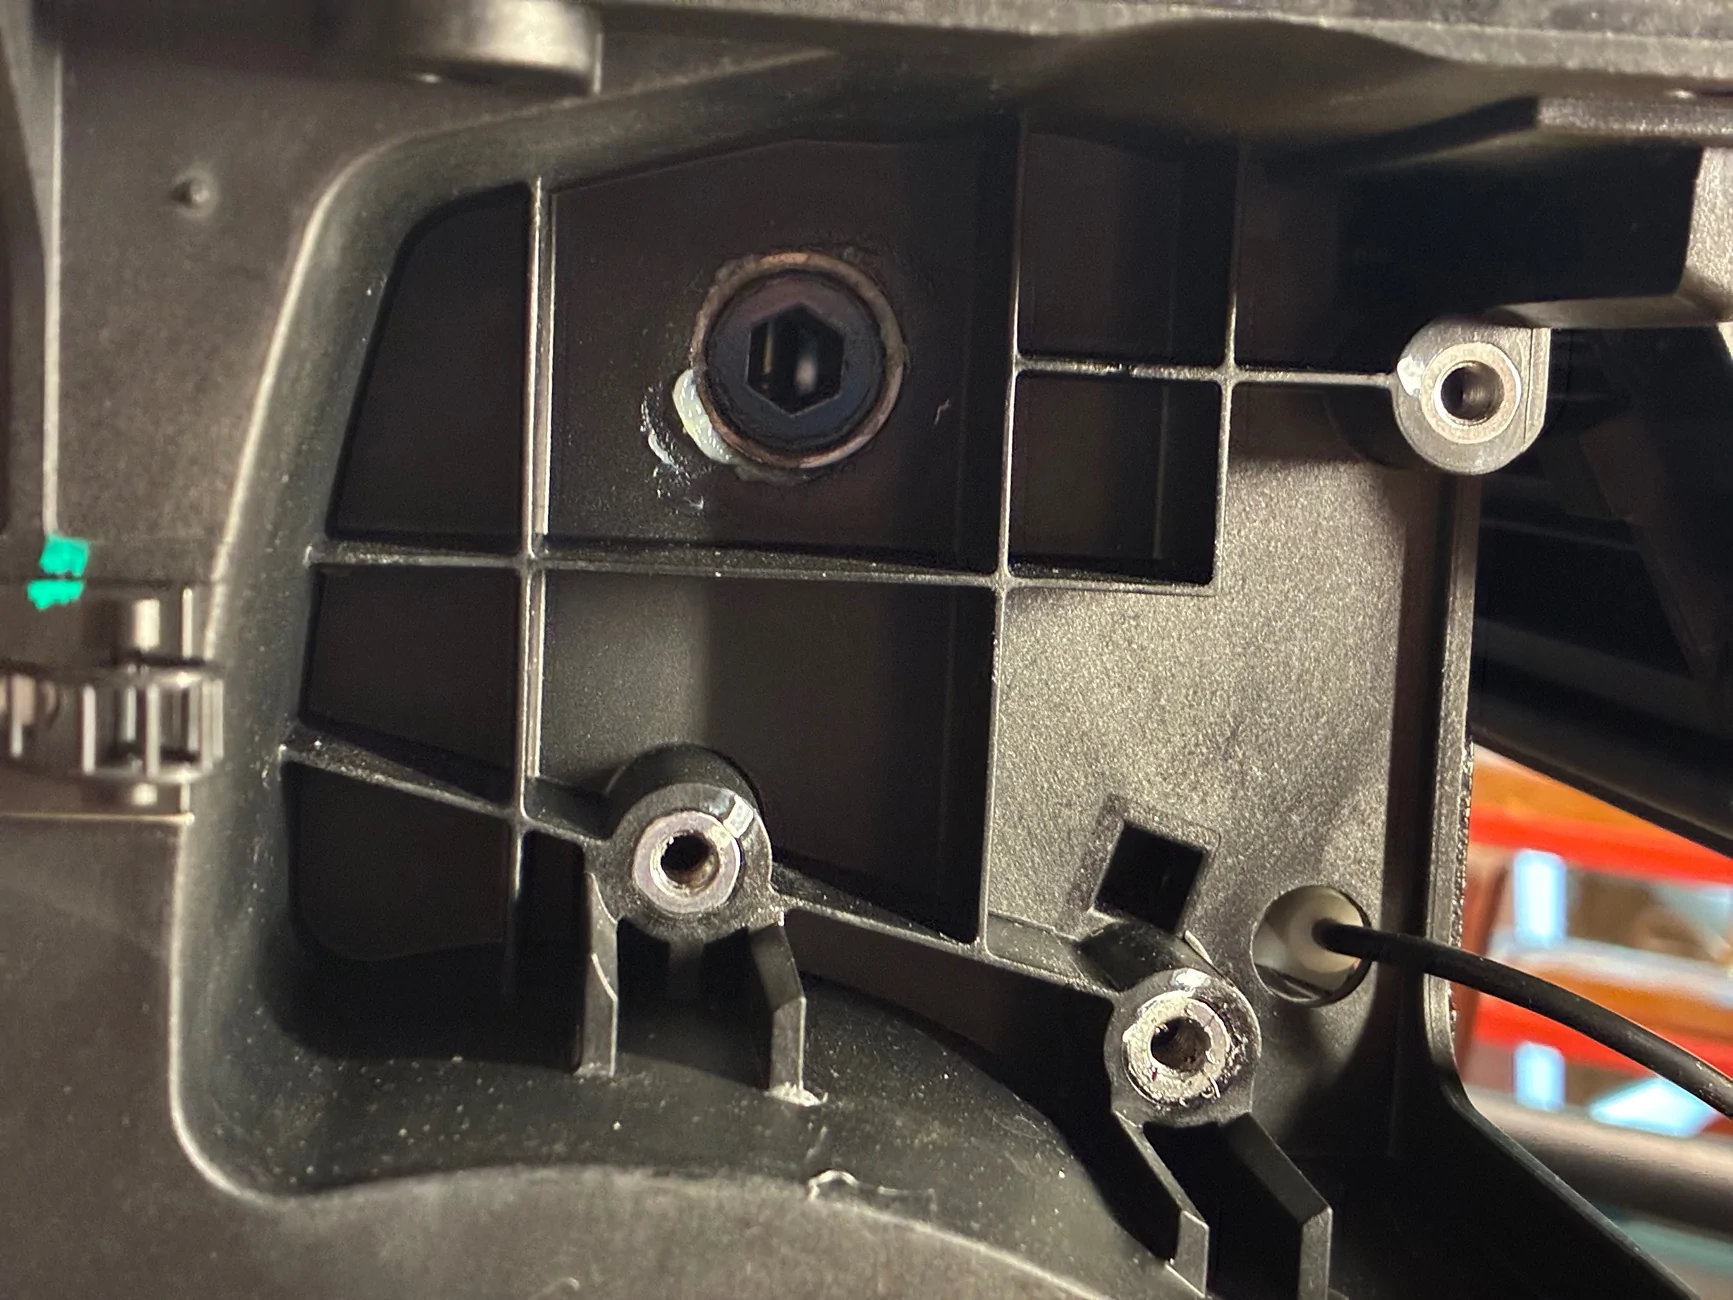
STEP 3 – Has you threading the clutch handle to the motor and then mounting the motor to the cover’s canister, the large housing that receives the retractable slats. The motor is bolted to the canister with the clutch disengaged (the handle lifted upwards). Engaging the motor’s hexed shaft was easy with just a slight pull of the retractable cover to line everything up. Following installation, the motor receives a plastic cover secured by two bolts.

Ford Maverick Wolfbox's Powered Retractable Tonneau Cover Installation IMG_0039
Ford Maverick Wolfbox's Powered Retractable Tonneau Cover Installation IMG_0044
Ford Maverick Wolfbox's Powered Retractable Tonneau Cover Installation IMG_0045
Ford Maverick Wolfbox's Powered Retractable Tonneau Cover Installation IMG_0041
Ford Maverick Wolfbox's Powered Retractable Tonneau Cover Installation IMG_0042
 
Last edited:
OP
OP
AbnRgr

AbnRgr

2.5L Hybrid
Well-known member
First Name
Jim
Joined
Mar 31, 2022
Threads
72
Messages
532
Reaction score
877
Location
Athens, AL
Vehicle(s)
Porsche 944NA, Mazda Miata, PT Cruiser Conv.
Engine
2.5L Hybrid
Clubs
 
STEP 4 - Attaching the side rails - Up to this point. I have been able to accomplish assembly by myself. The most challenging task has been lifting the heavy cannister onto my work bench. With this step I could have really used a second set of hands. Holding the side rails aligned with the mounting bolt holes on the canister, while assuring the cover’s slats are appropriately fitted into the rail proved challenging. I eventually found some items in the garage that were of an approximate height and was able to rest the far end of the rail on while securing the other end. A clamp on the working end also helped keep the rail in position while threading the attaching bolts

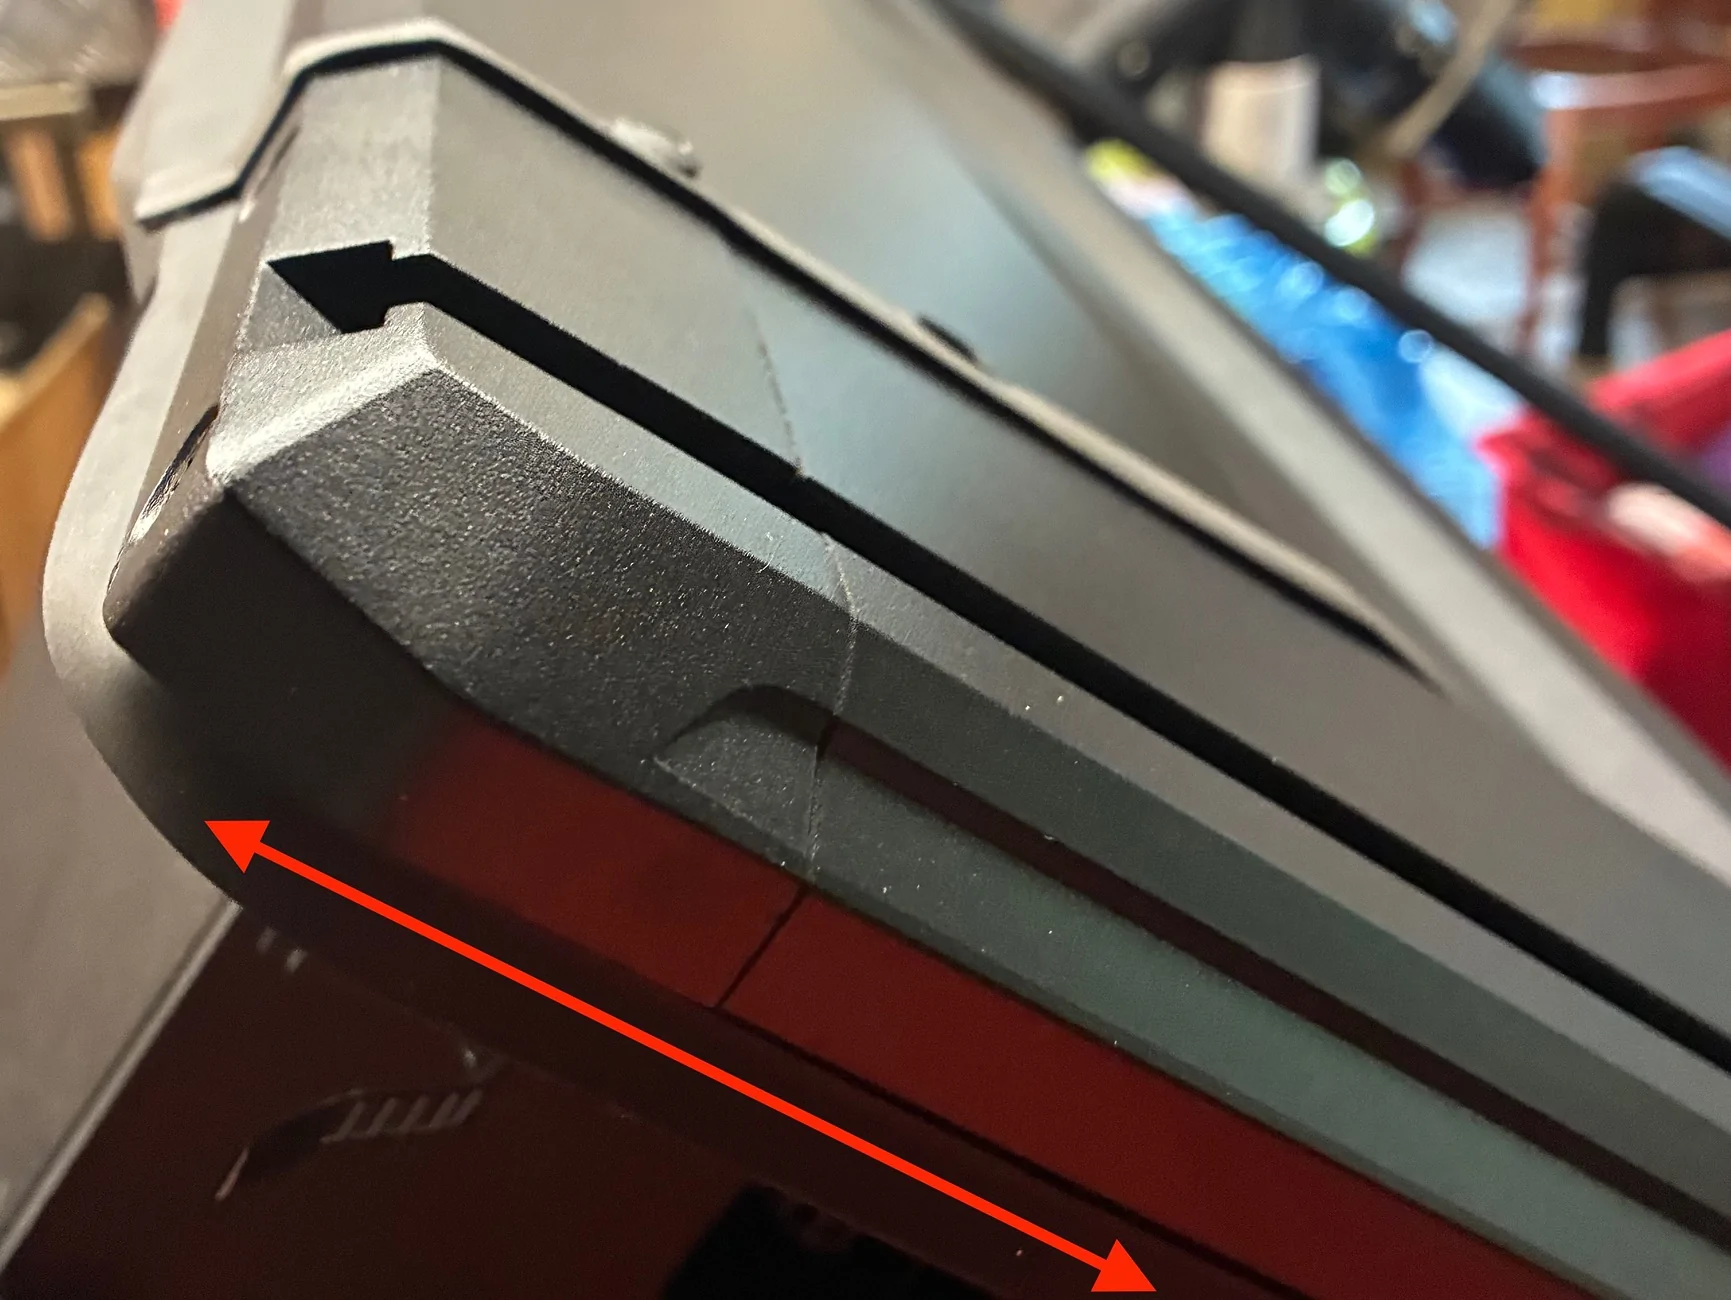
I also admit to a mistake that took time to correct. The instructions called for the tonneau cover to be pulled out from the cannister. If I had watched Wolfbox’s installation video posted to their website, I would have realized they were talking just a matter of inches. Not me! I rolled the cover out completely from the cannister, laying it flat on the workbench in front of the cannister. When I realized my error, it was a trial getting the flexible, wide and heavy cover rolled back in the cannister where it belonged. Correctly, the forward is pulled forward only about six inches to where a lug on the bottom side of its leading edge catches on the edge of the cannister and prevents it from falling back into the storage box. A photo below shows the correct position.

View attachment 252926 View attachment 252927 View attachment 252926 View attachment 252927
 
Sponsored
OP
OP
AbnRgr

AbnRgr

2.5L Hybrid
Well-known member
First Name
Jim
Joined
Mar 31, 2022
Threads
72
Messages
532
Reaction score
877
Location
Athens, AL
Vehicle(s)
Porsche 944NA, Mazda Miata, PT Cruiser Conv.
Engine
2.5L Hybrid
Clubs
 
STEP 5 - Leads to the installation of a full-length cover plate to the top of the canister. It also gave rise to a common frustration I often experience when assembling similar products. This step uses four small metric flathead screws to mount the cover. Wolfbox included plastic rings and caps to provides a more finished look. Wolfbox provided exactly four of each. As you might guess, one of the plastic caps fell off the work bench to my cluttered garage floor. It might as well have fallen into a cosmic black hole. I’ll look at the big box hardware store but have little expectation I’ll find a replacement. Would it really undercut profit to include a spare for similar unique items.

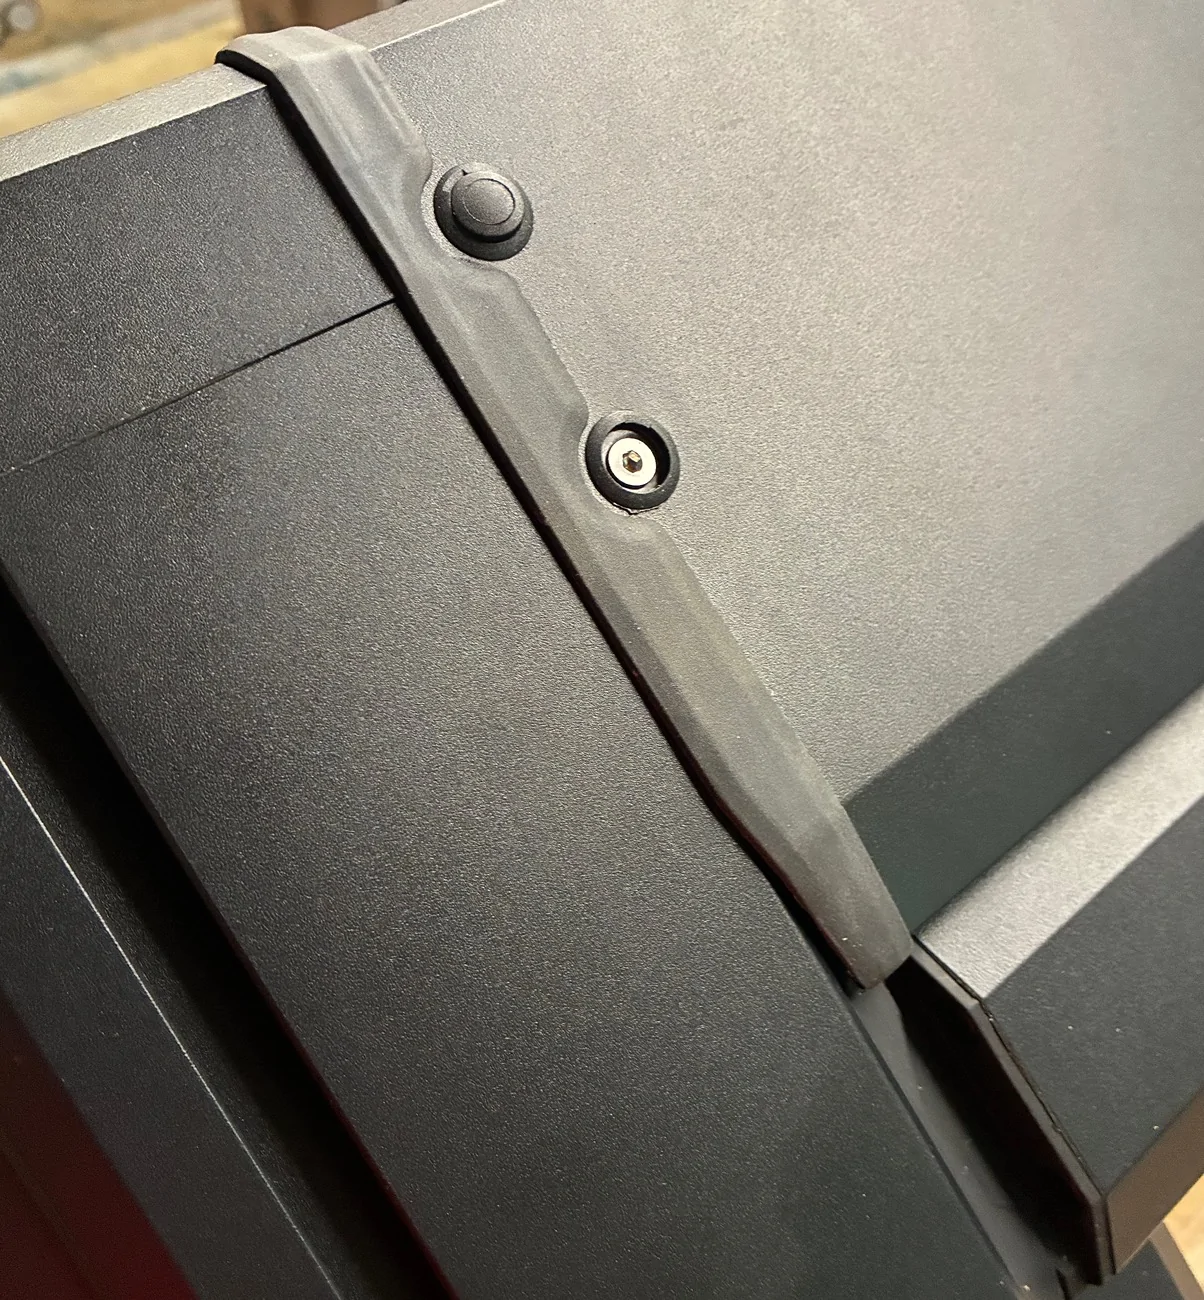
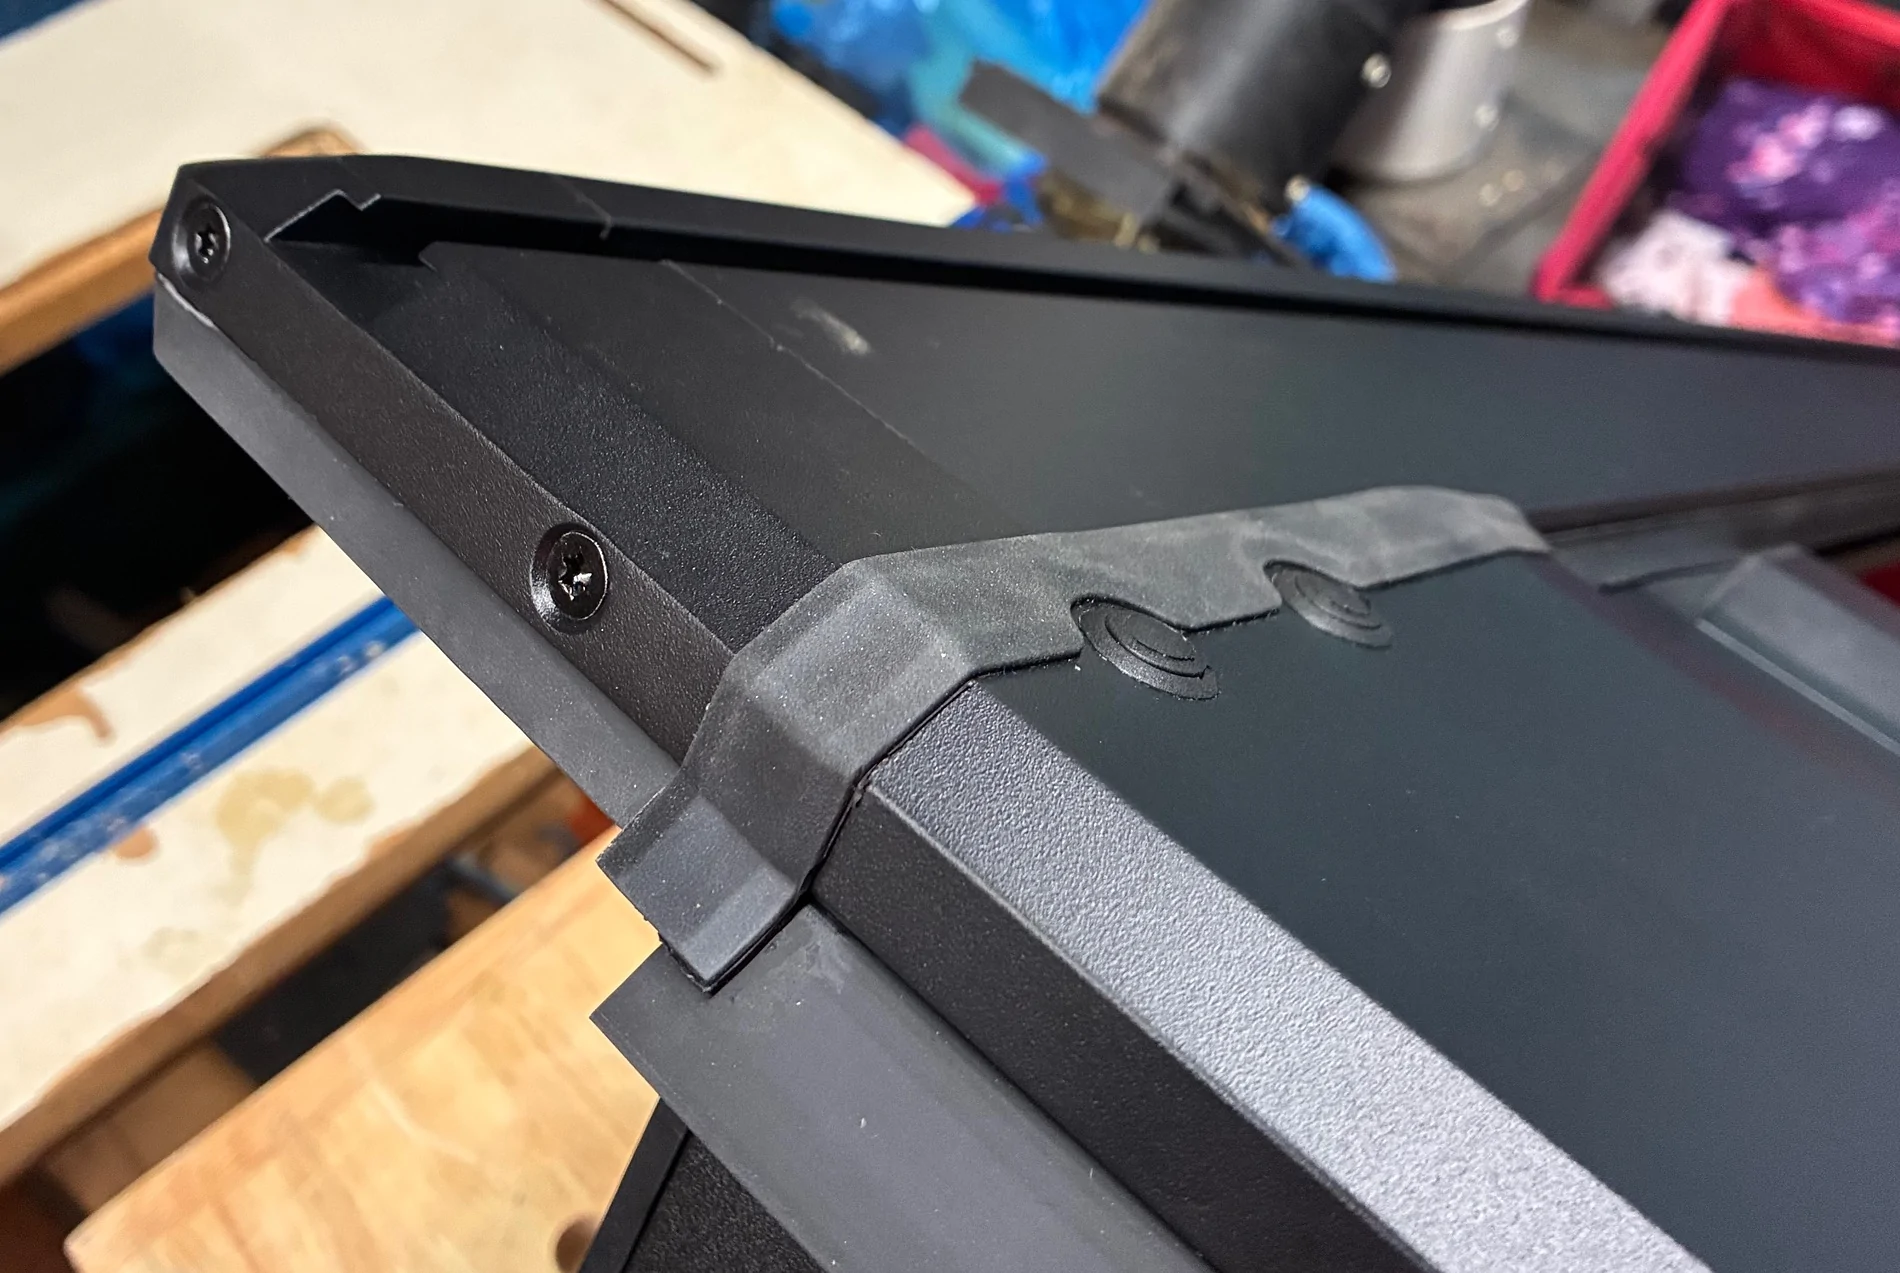
On a positive note, I want to highlight Wolfbox’s design efforts to eliminate water leaking into the truck bed. This goes beyond the inclusion of drains at each corner of the bed. They have included flexible rubber waterproof seals throughout. The cover installed in this step has such along three sides. The two rails have rubber strips along their outer edge where they contact the bed’s sides. As well, there is another strip that runs on top of the slats that fit into a track that runs the length of the rails. I look forward to seeing if these efforts keep my bed dry.
Ford Maverick Wolfbox's Powered Retractable Tonneau Cover Installation IMG_0061
Ford Maverick Wolfbox's Powered Retractable Tonneau Cover Installation IMG_0059


Ford Maverick Wolfbox's Powered Retractable Tonneau Cover Installation IMG_0060
 
OP
OP
AbnRgr

AbnRgr

2.5L Hybrid
Well-known member
First Name
Jim
Joined
Mar 31, 2022
Threads
72
Messages
532
Reaction score
877
Location
Athens, AL
Vehicle(s)
Porsche 944NA, Mazda Miata, PT Cruiser Conv.
Engine
2.5L Hybrid
Clubs
 
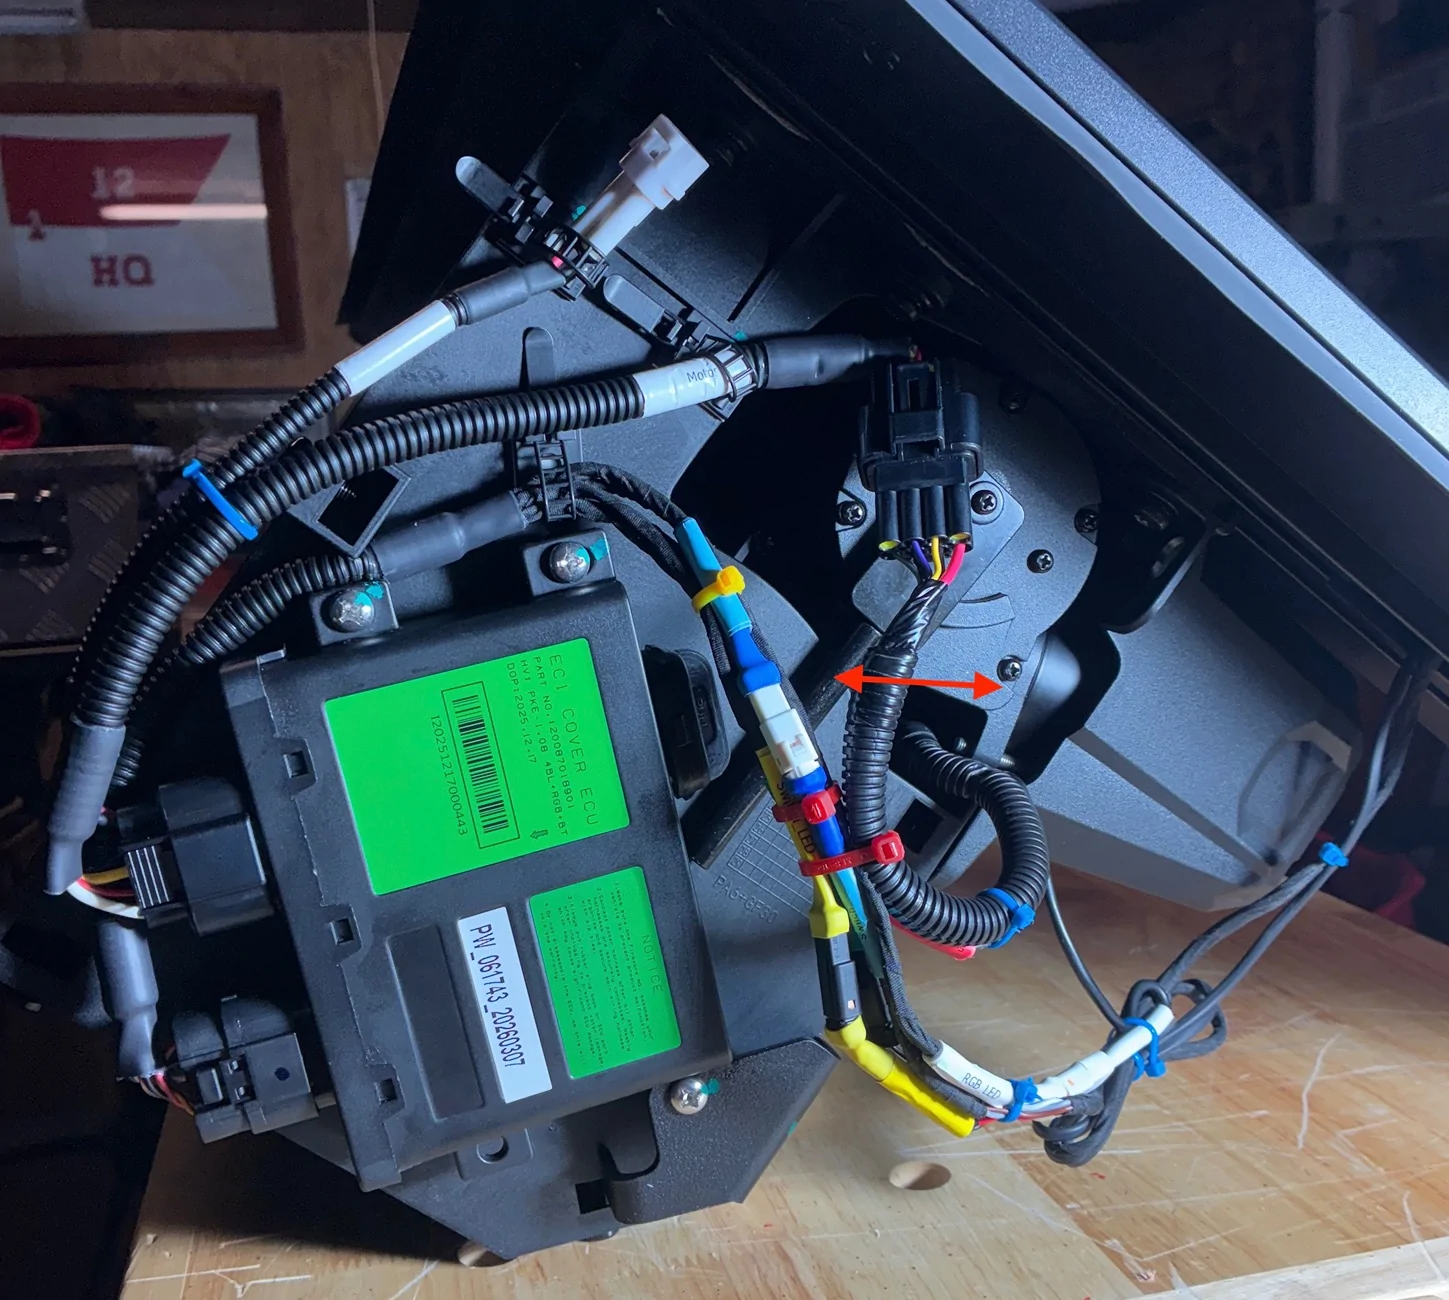
STEP 6 - Directs connecting the unit’s wiring harness. I commend Wolfbox for making all connections plug and play. The two major terminals connect to the ECU mounted at the factory on the left side of the cannister. The other ends of the harness connect to corresponding terminal connections on the driver’s side rail and elsewhere on the canister. Wolfbox makes it foolproof. Each wire on the harness is color coded and clearly marked as to its purpose. In addition, Wolfbox provides tiedowns and cable ties to further organize the multiple circuits. One word of caution, when bundling the wires and securing them, insure the clutch handle remains free to move into both free and engaged positions.
Ford Maverick Wolfbox's Powered Retractable Tonneau Cover Installation IMG_0064
 
OP
OP
AbnRgr

AbnRgr

2.5L Hybrid
Well-known member
First Name
Jim
Joined
Mar 31, 2022
Threads
72
Messages
532
Reaction score
877
Location
Athens, AL
Vehicle(s)
Porsche 944NA, Mazda Miata, PT Cruiser Conv.
Engine
2.5L Hybrid
Clubs
 
STEP 7 - Directs the routing of the power harness. My truck is a hybrid XLT. Wolfbox would have me run the circuit from the 12V battery under the rear seat, through the cab rear wall, under a chassis splash guard, behind the loosened left rear wheel liner, and into the truck bed. At my age, I don’t need to contort myself or work on my back to complete an install. I’m taking a much simpler, direct route to pull 12Vs. I’ll start at a rubber plug at the front of the bed on the driver’s side, route the harness between the DIBL and the truck side, continue rearward to the OEM left Flexbed 12V connector and draw from there.
Sponsored


Top