
- Thread starter
- #1
Hi everyone, I was recovering from a surgery (21 days of rest) but could not be w/o doing something so I decided to use some time to improve my Maverick speakers. This Lariat trim is the 2nd Maverick I own , the 1st one was a beautiful silver XLT that I sold to my Dad ") where I had also upgraded the sound system, suspension, and many more adds.
where I had also upgraded the sound system, suspension, and many more adds.
On the XLT I recycled some speakers I had from other projects and used 4 kicker KS series, a Kenwood class D 5ch.amp and a small factory sealed remote controlled 8" Pionneer enclosure under the rear passenger seat , I shared more details on that project in past threads. I did not used the amp for the front and rear speakers since it was loud enough for me with factory radio power.
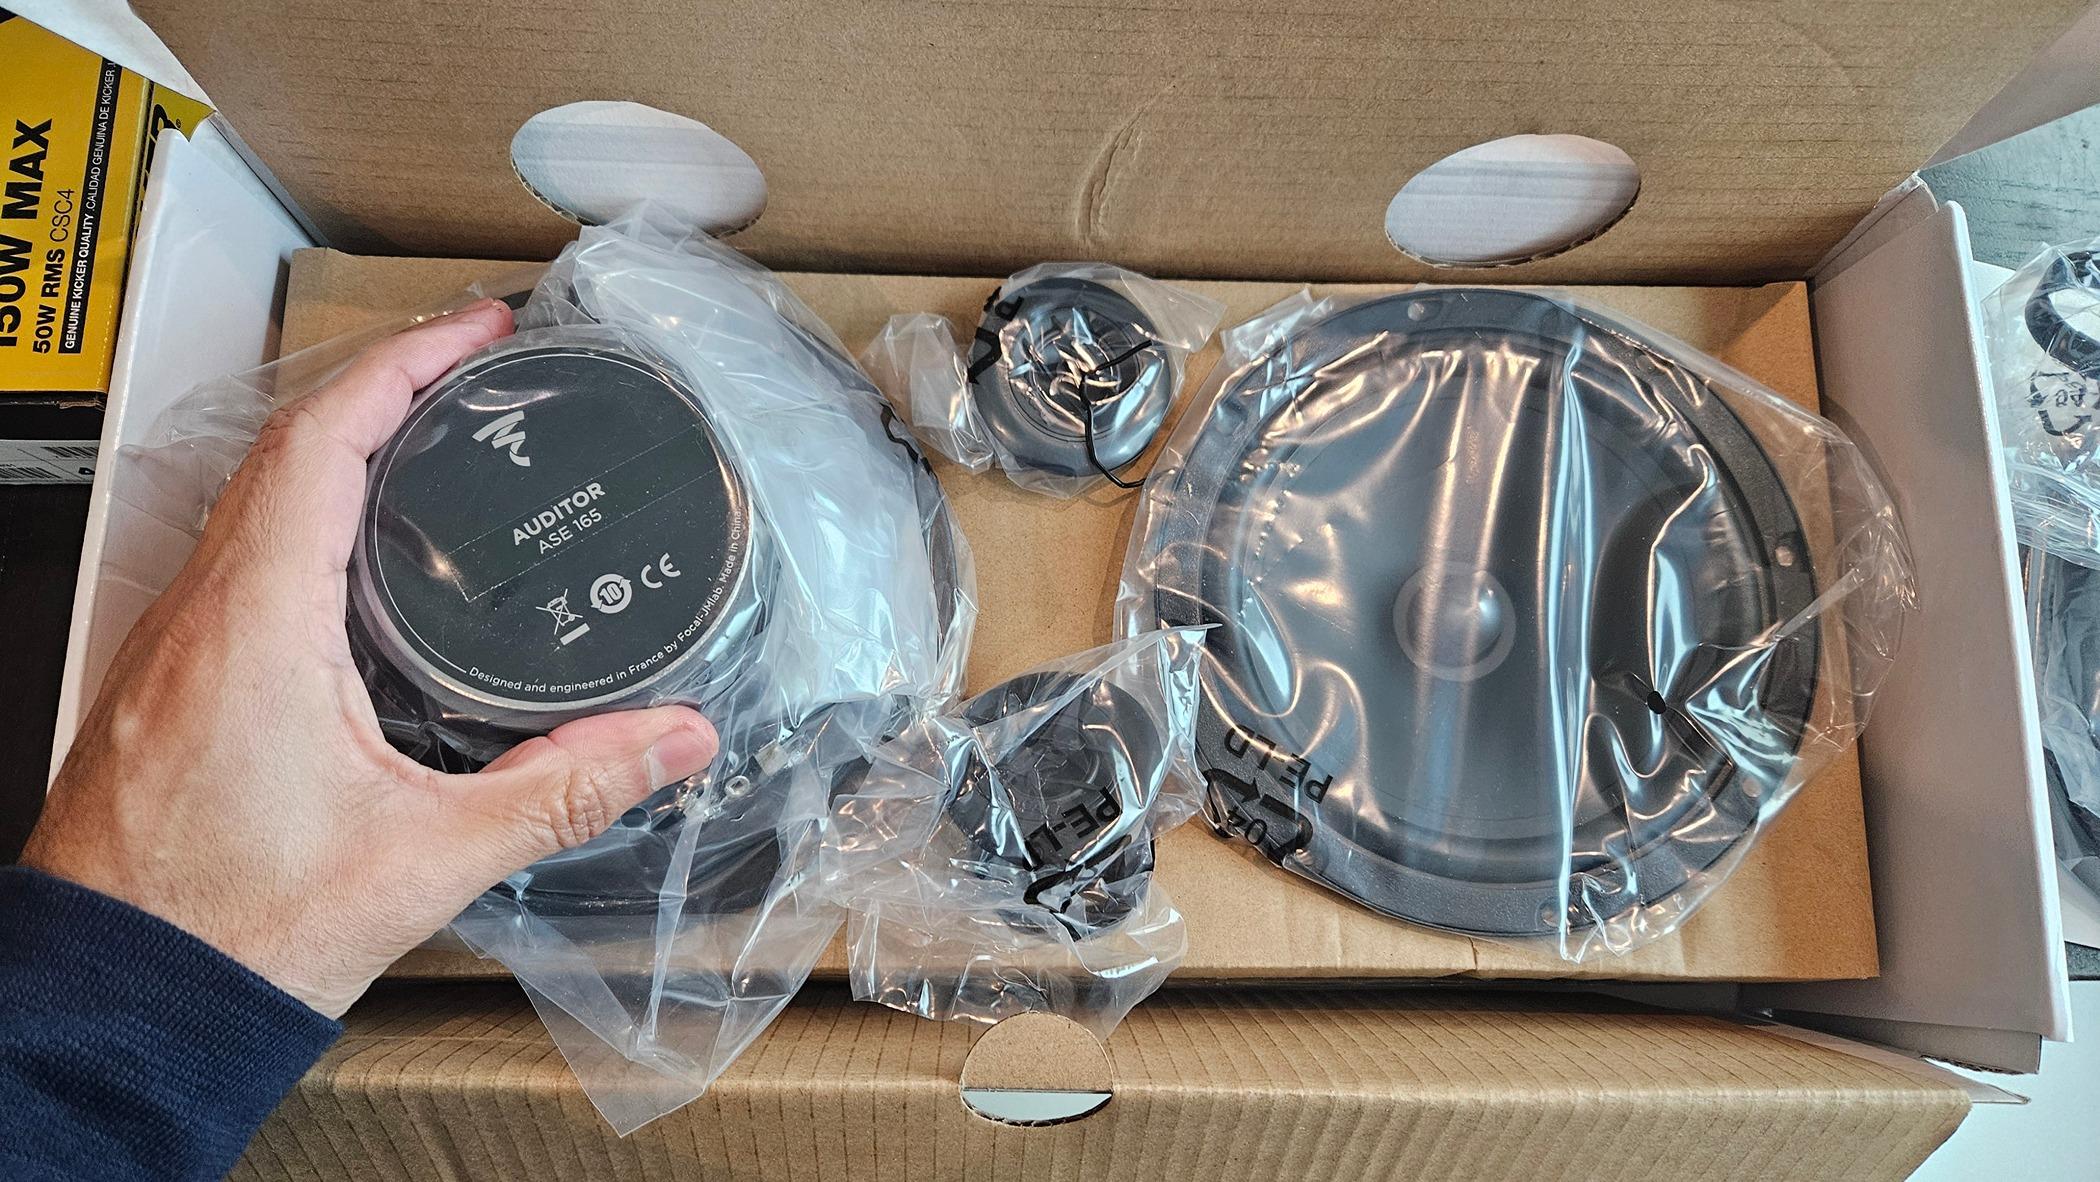
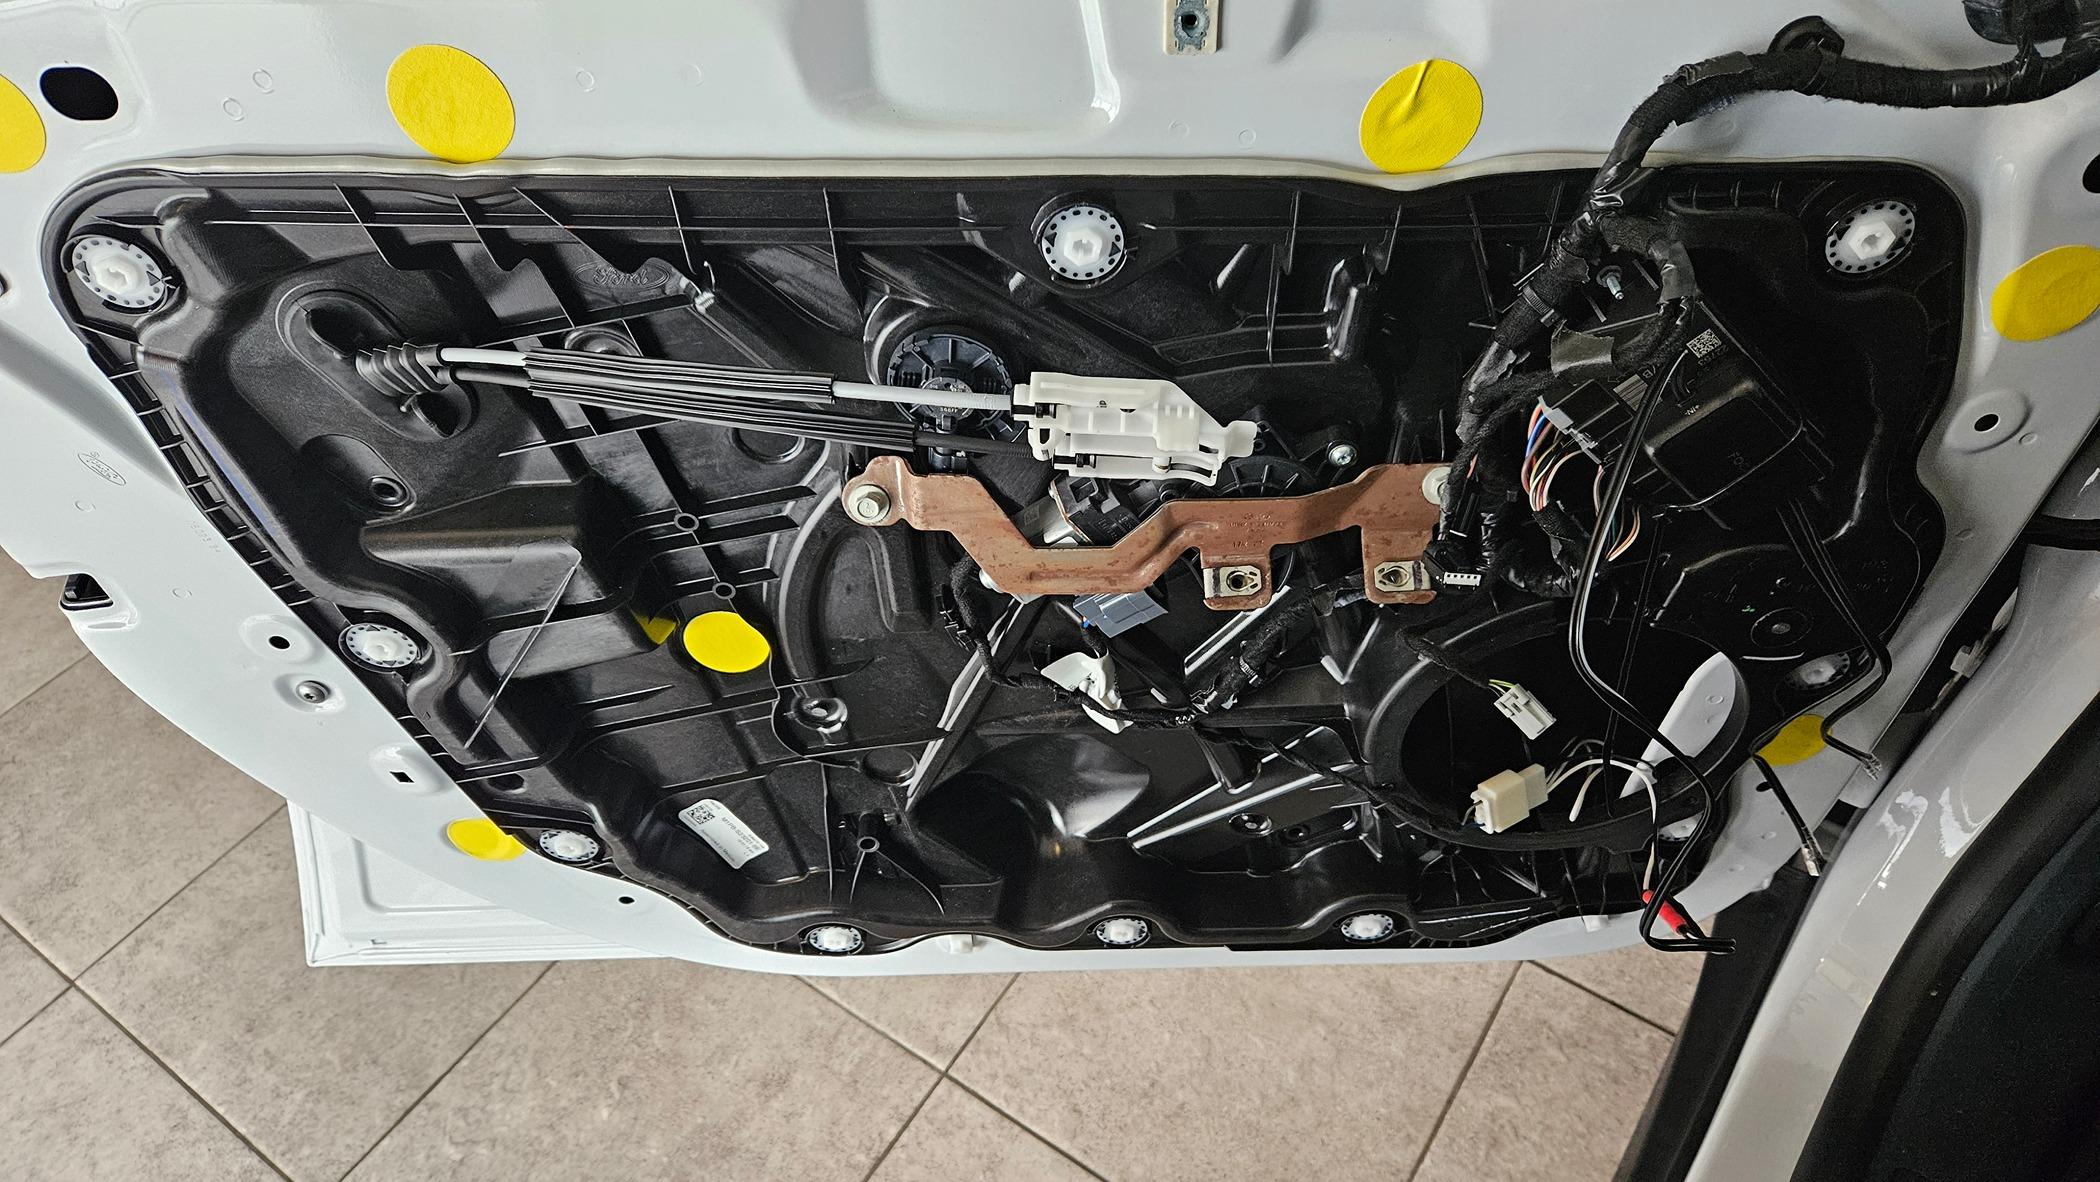
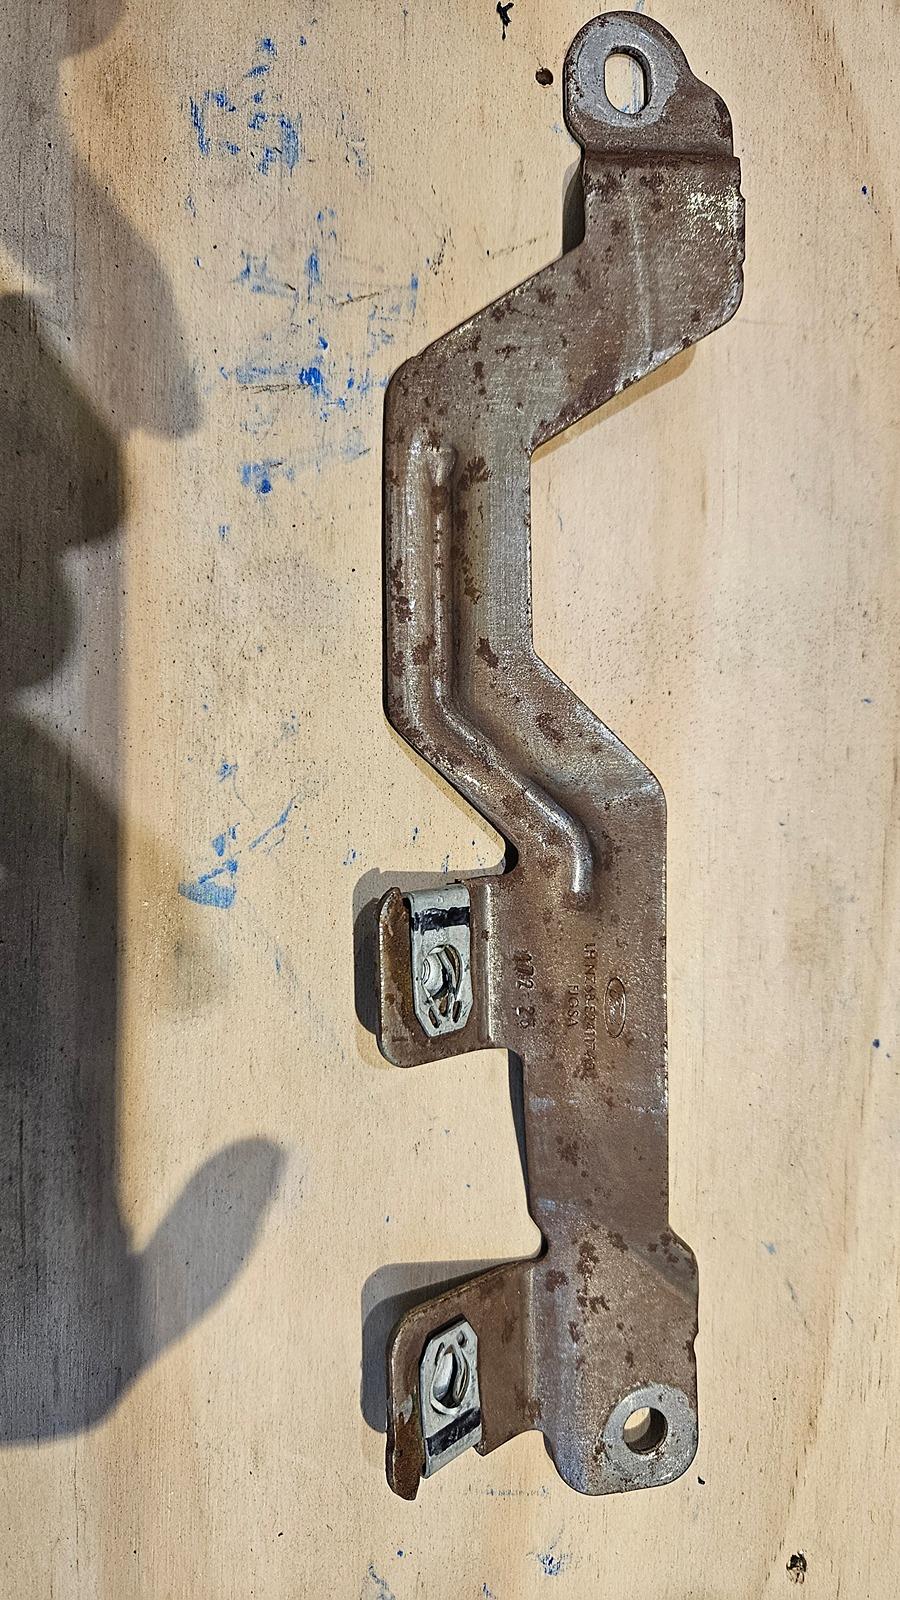
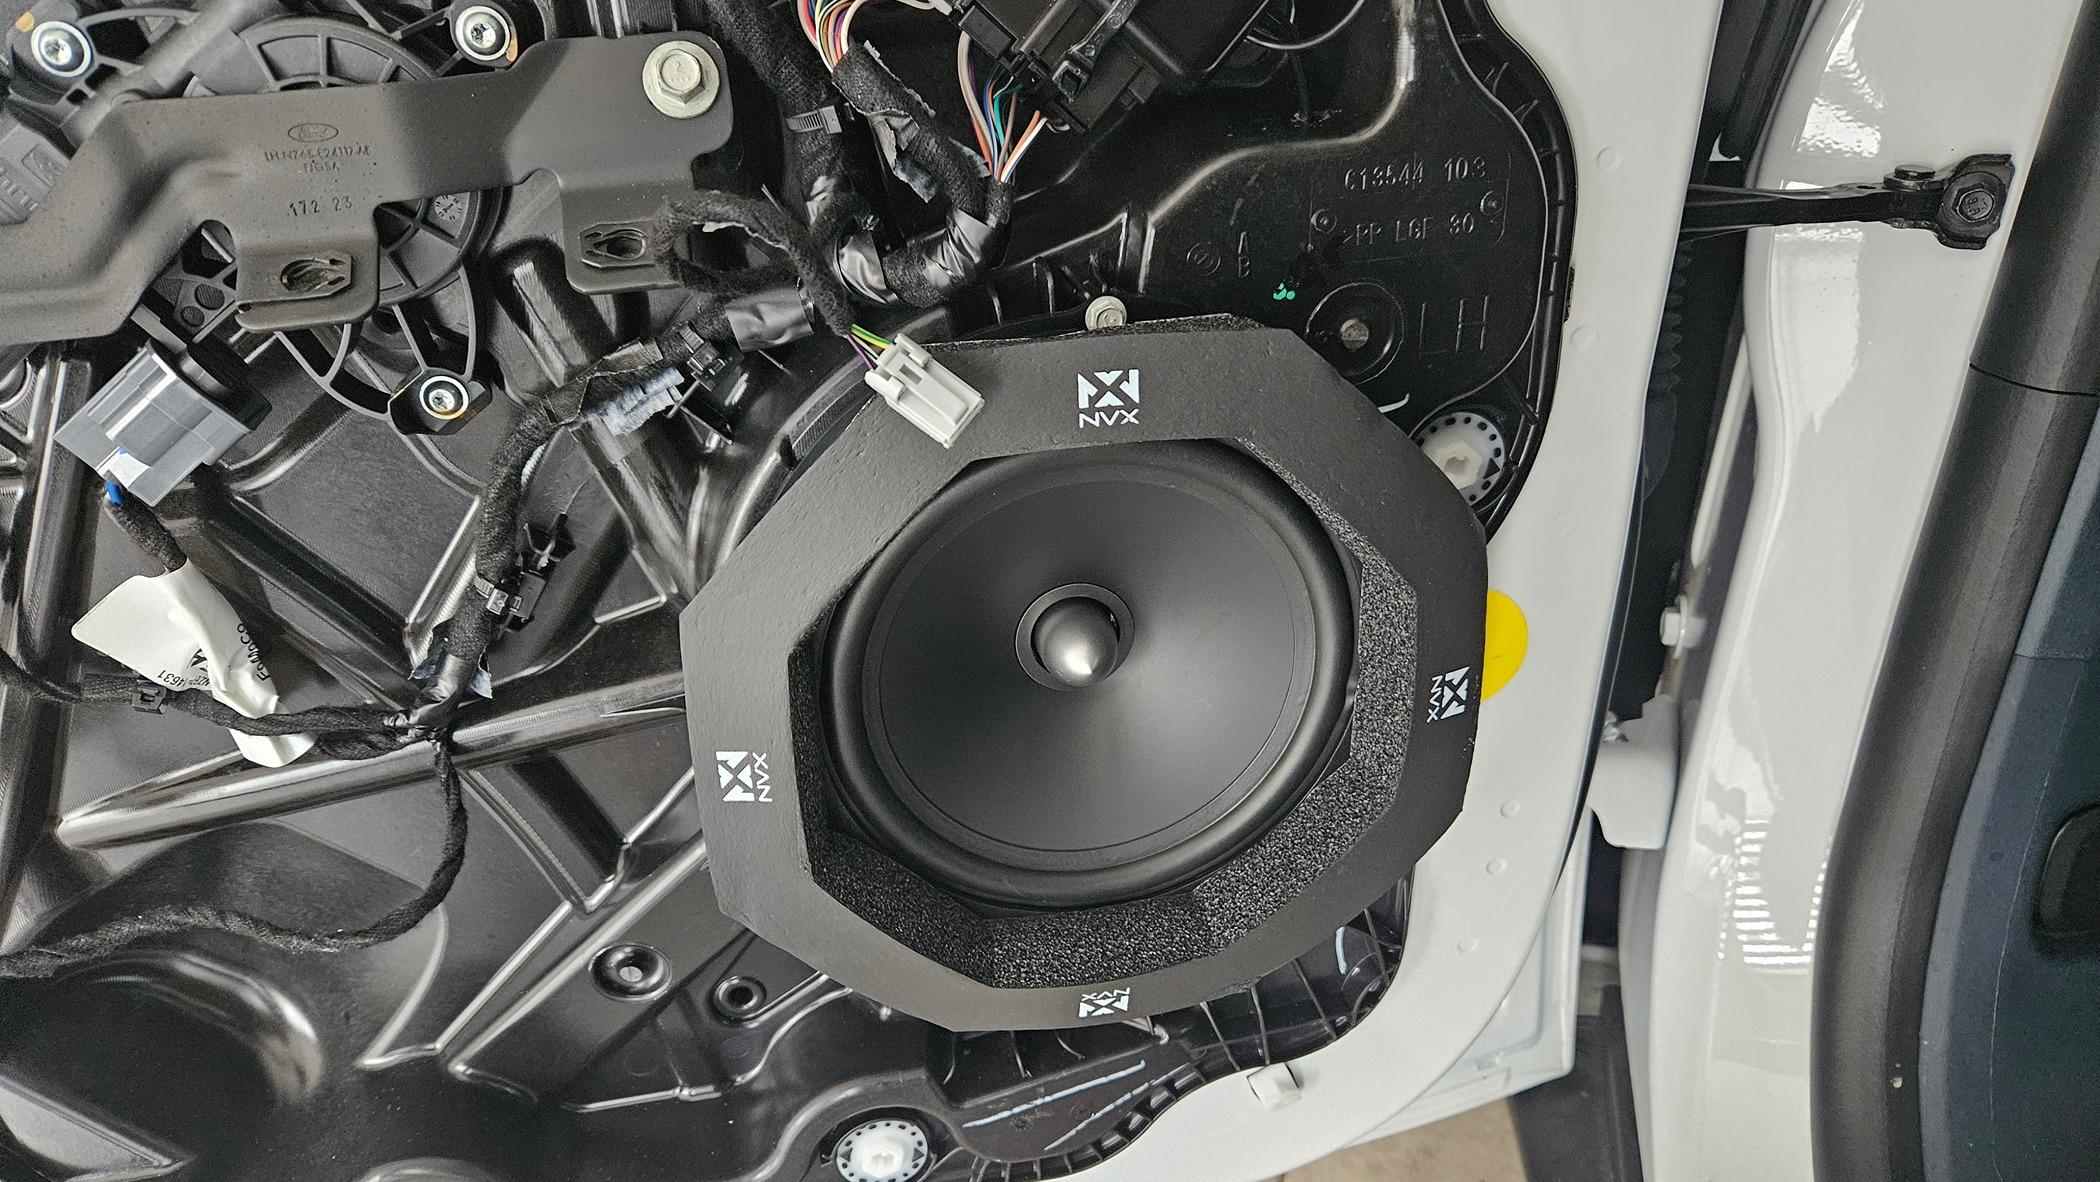
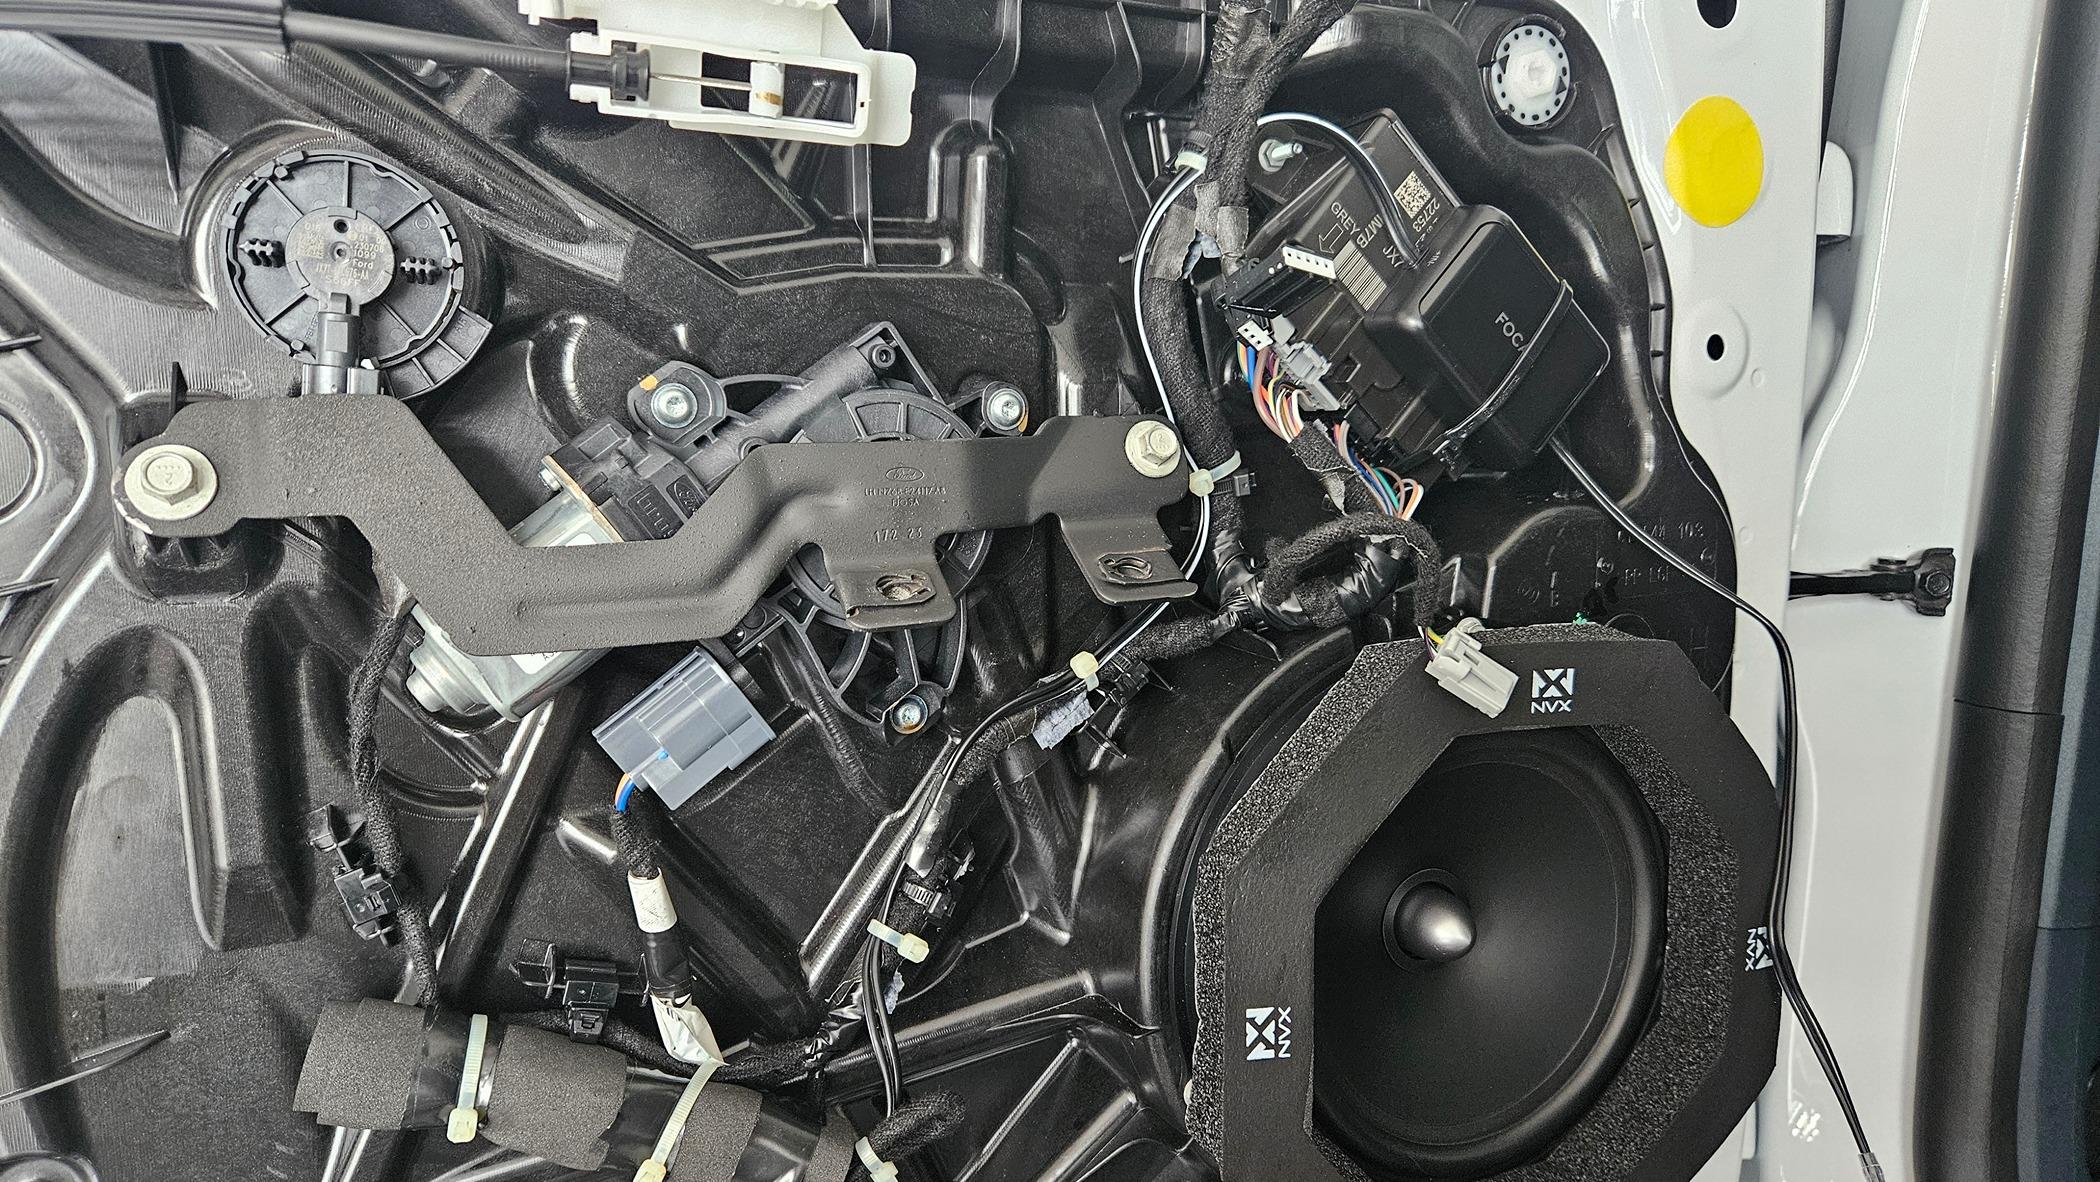
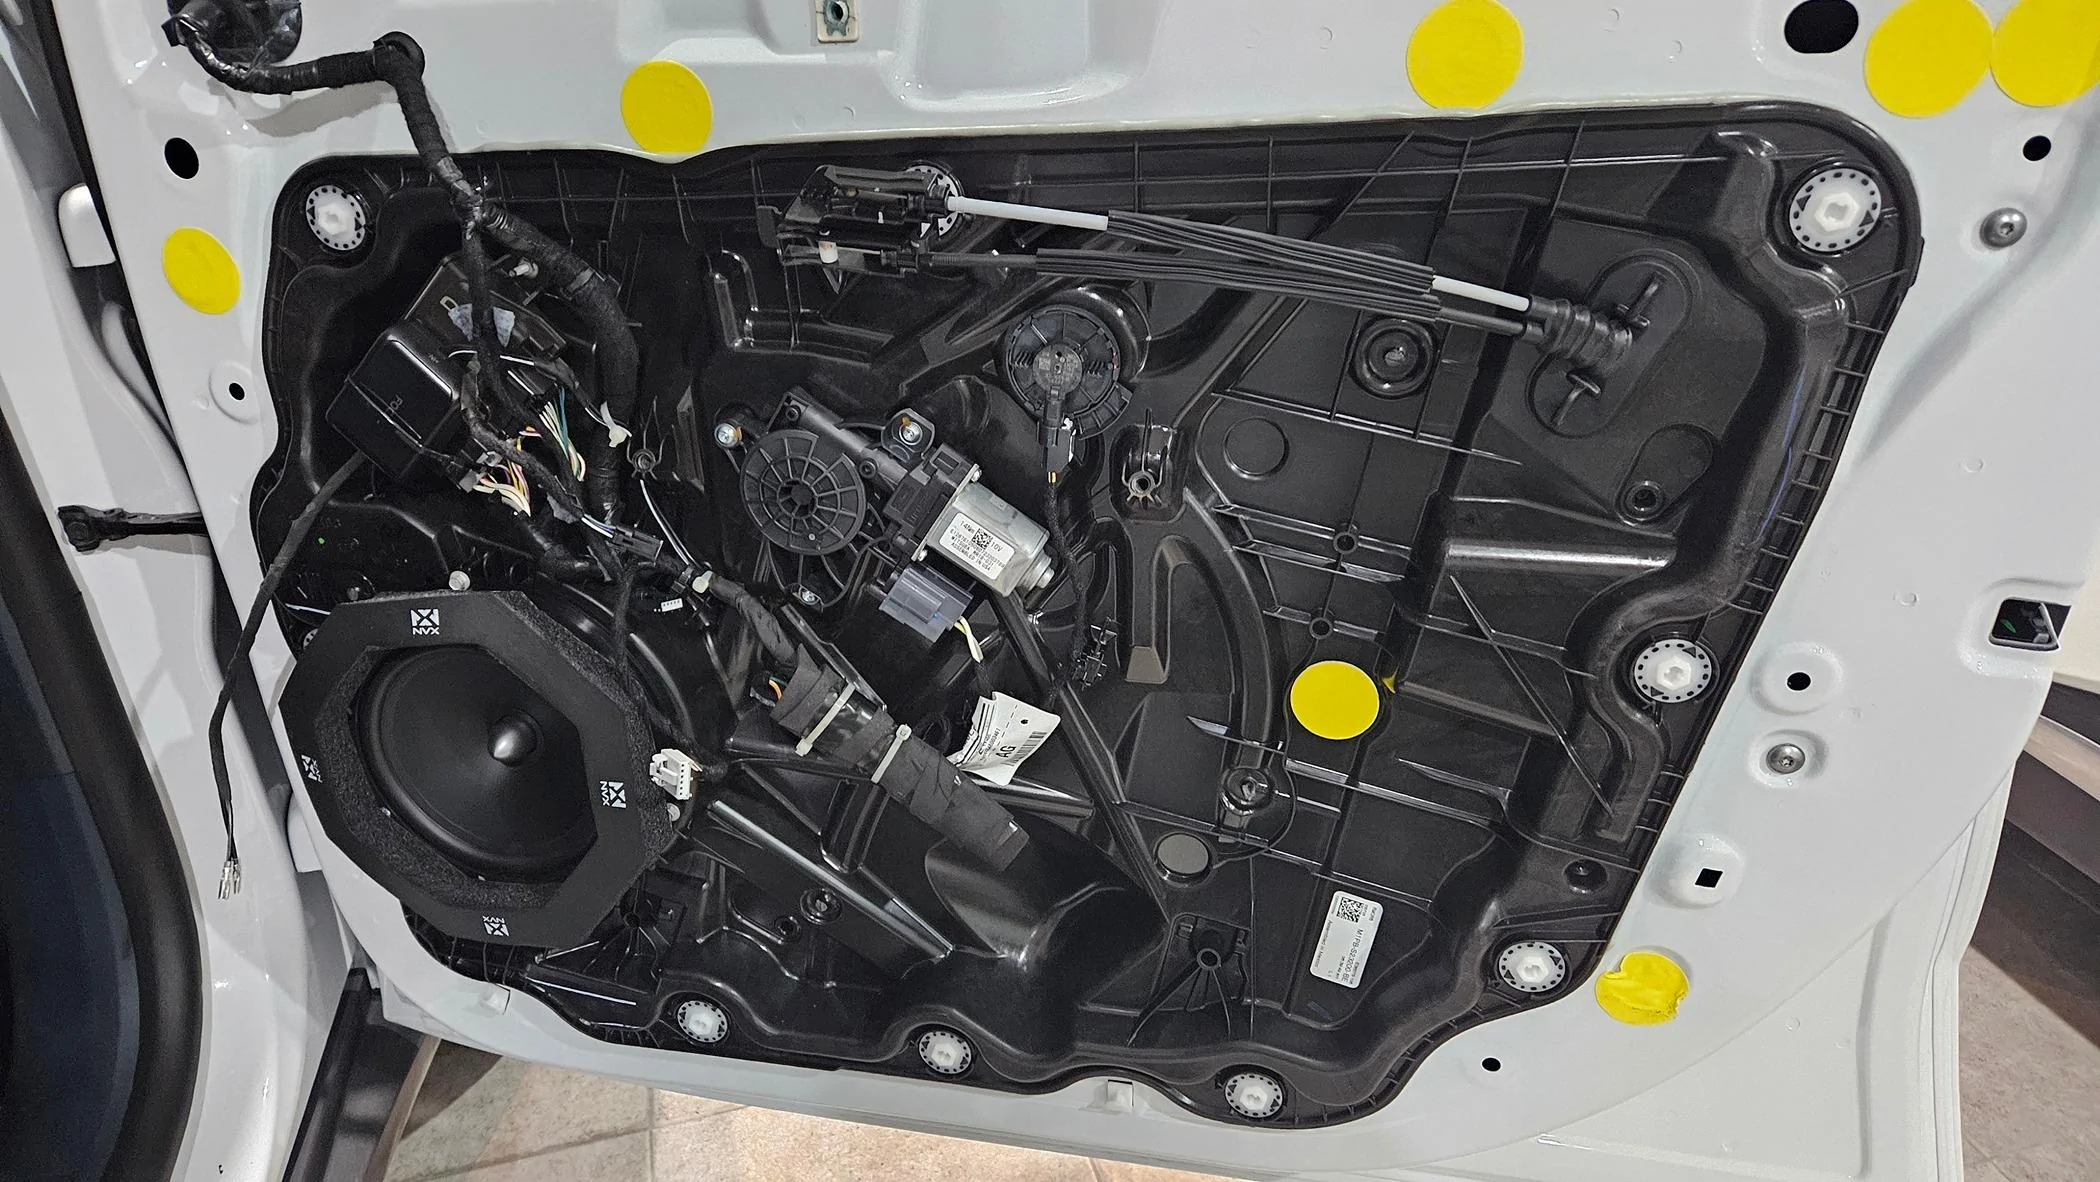
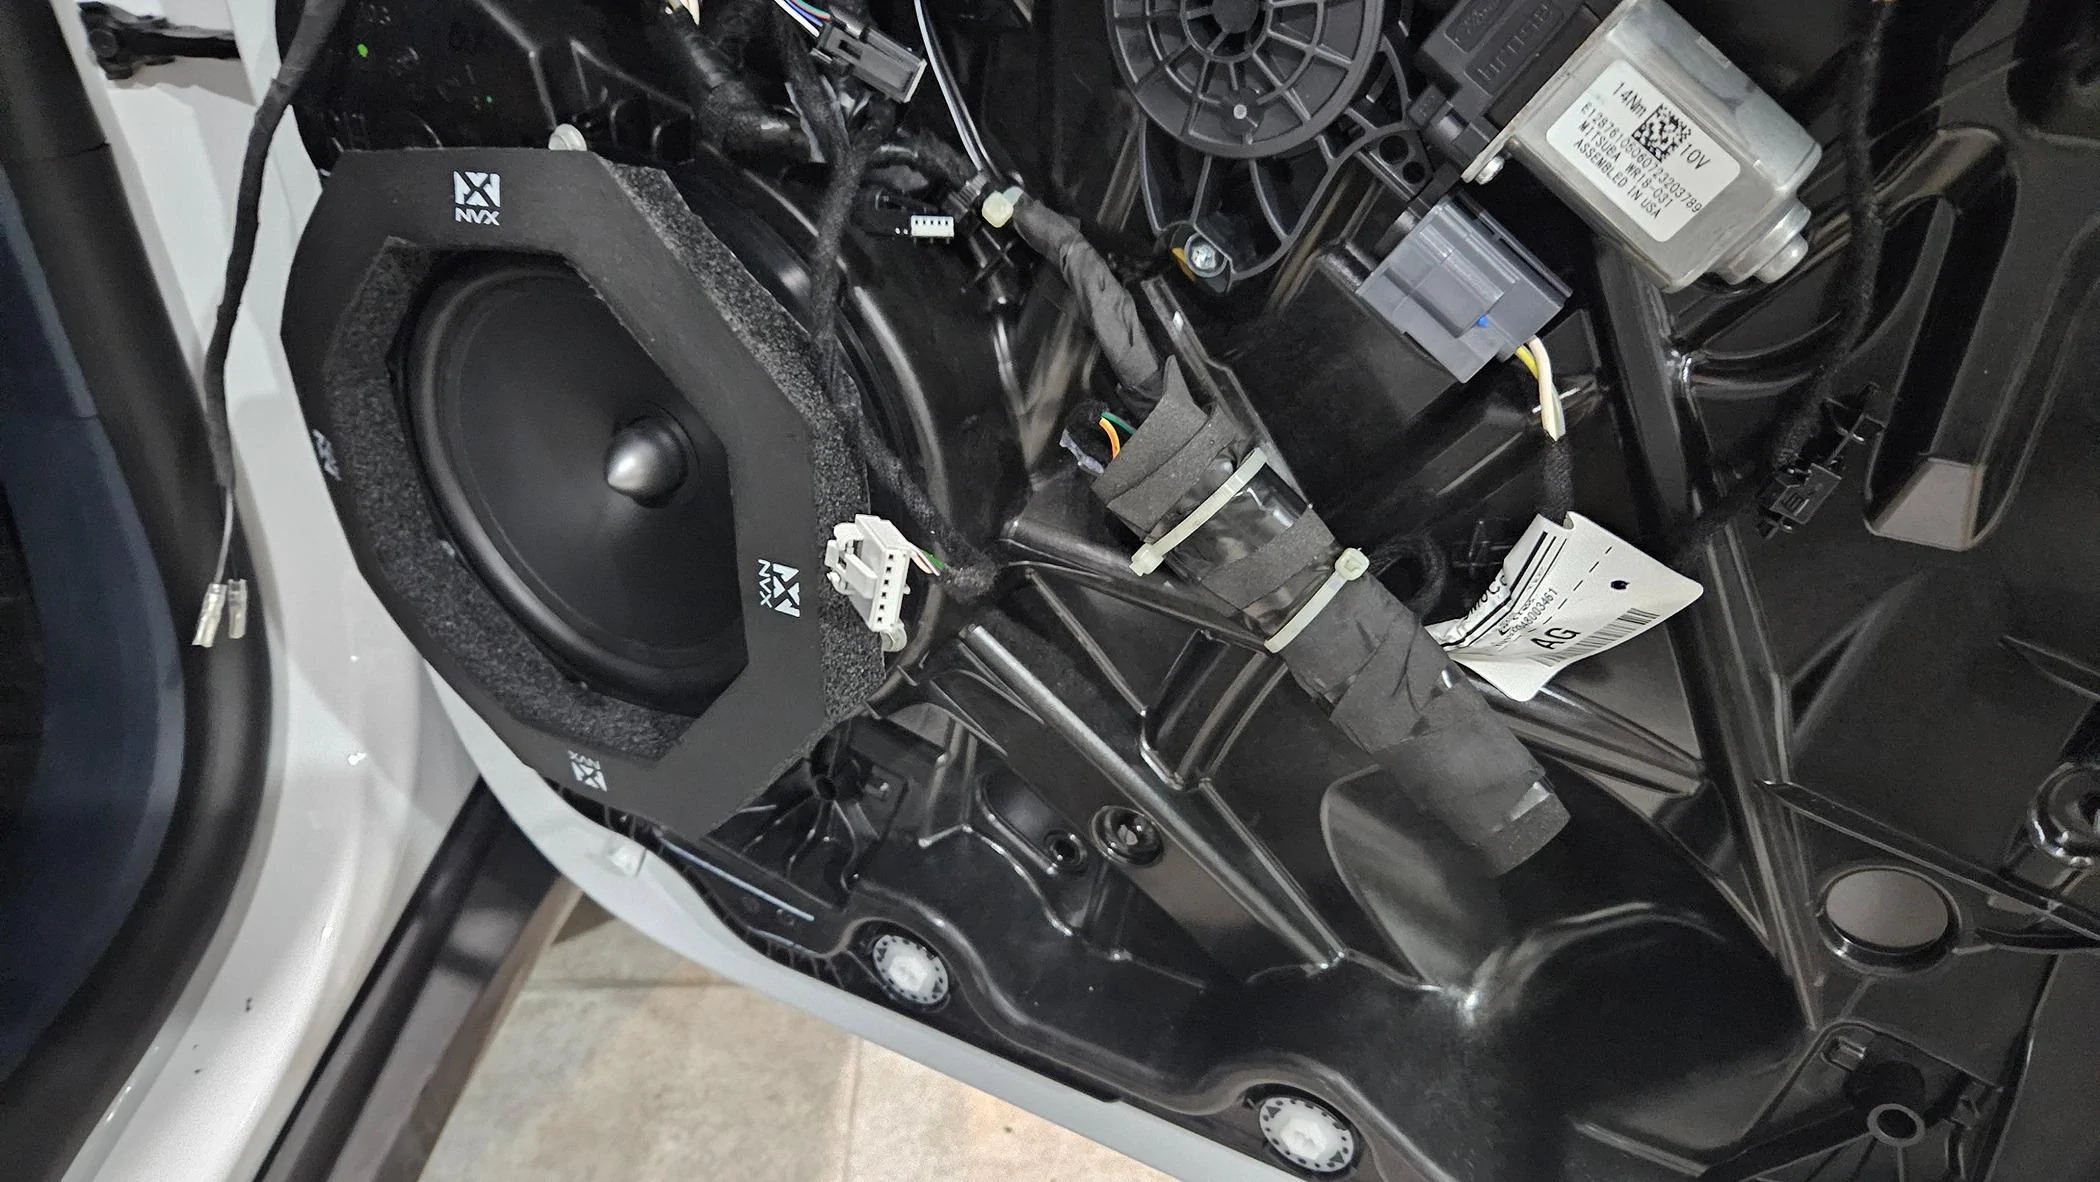
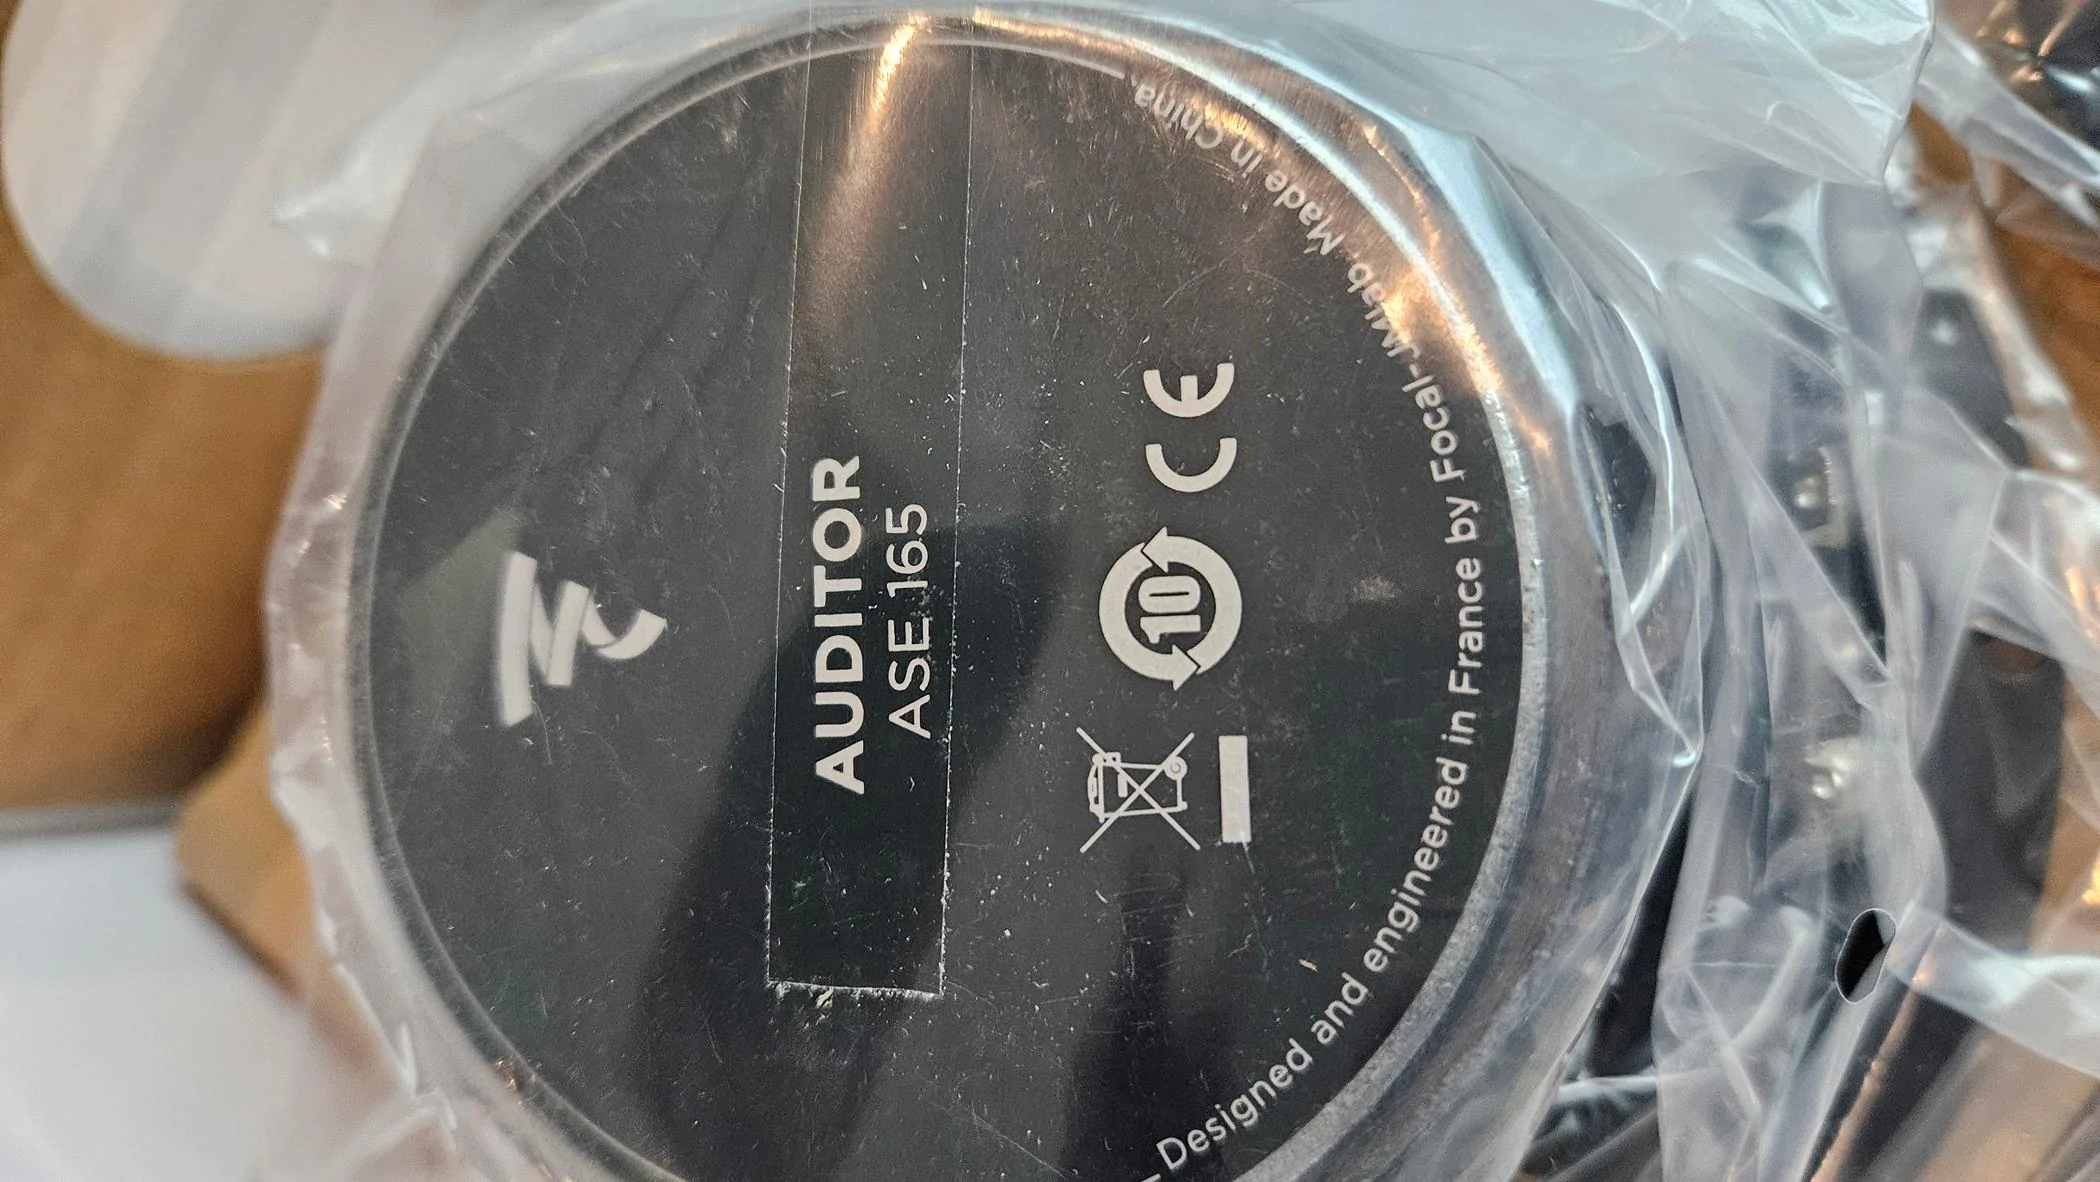
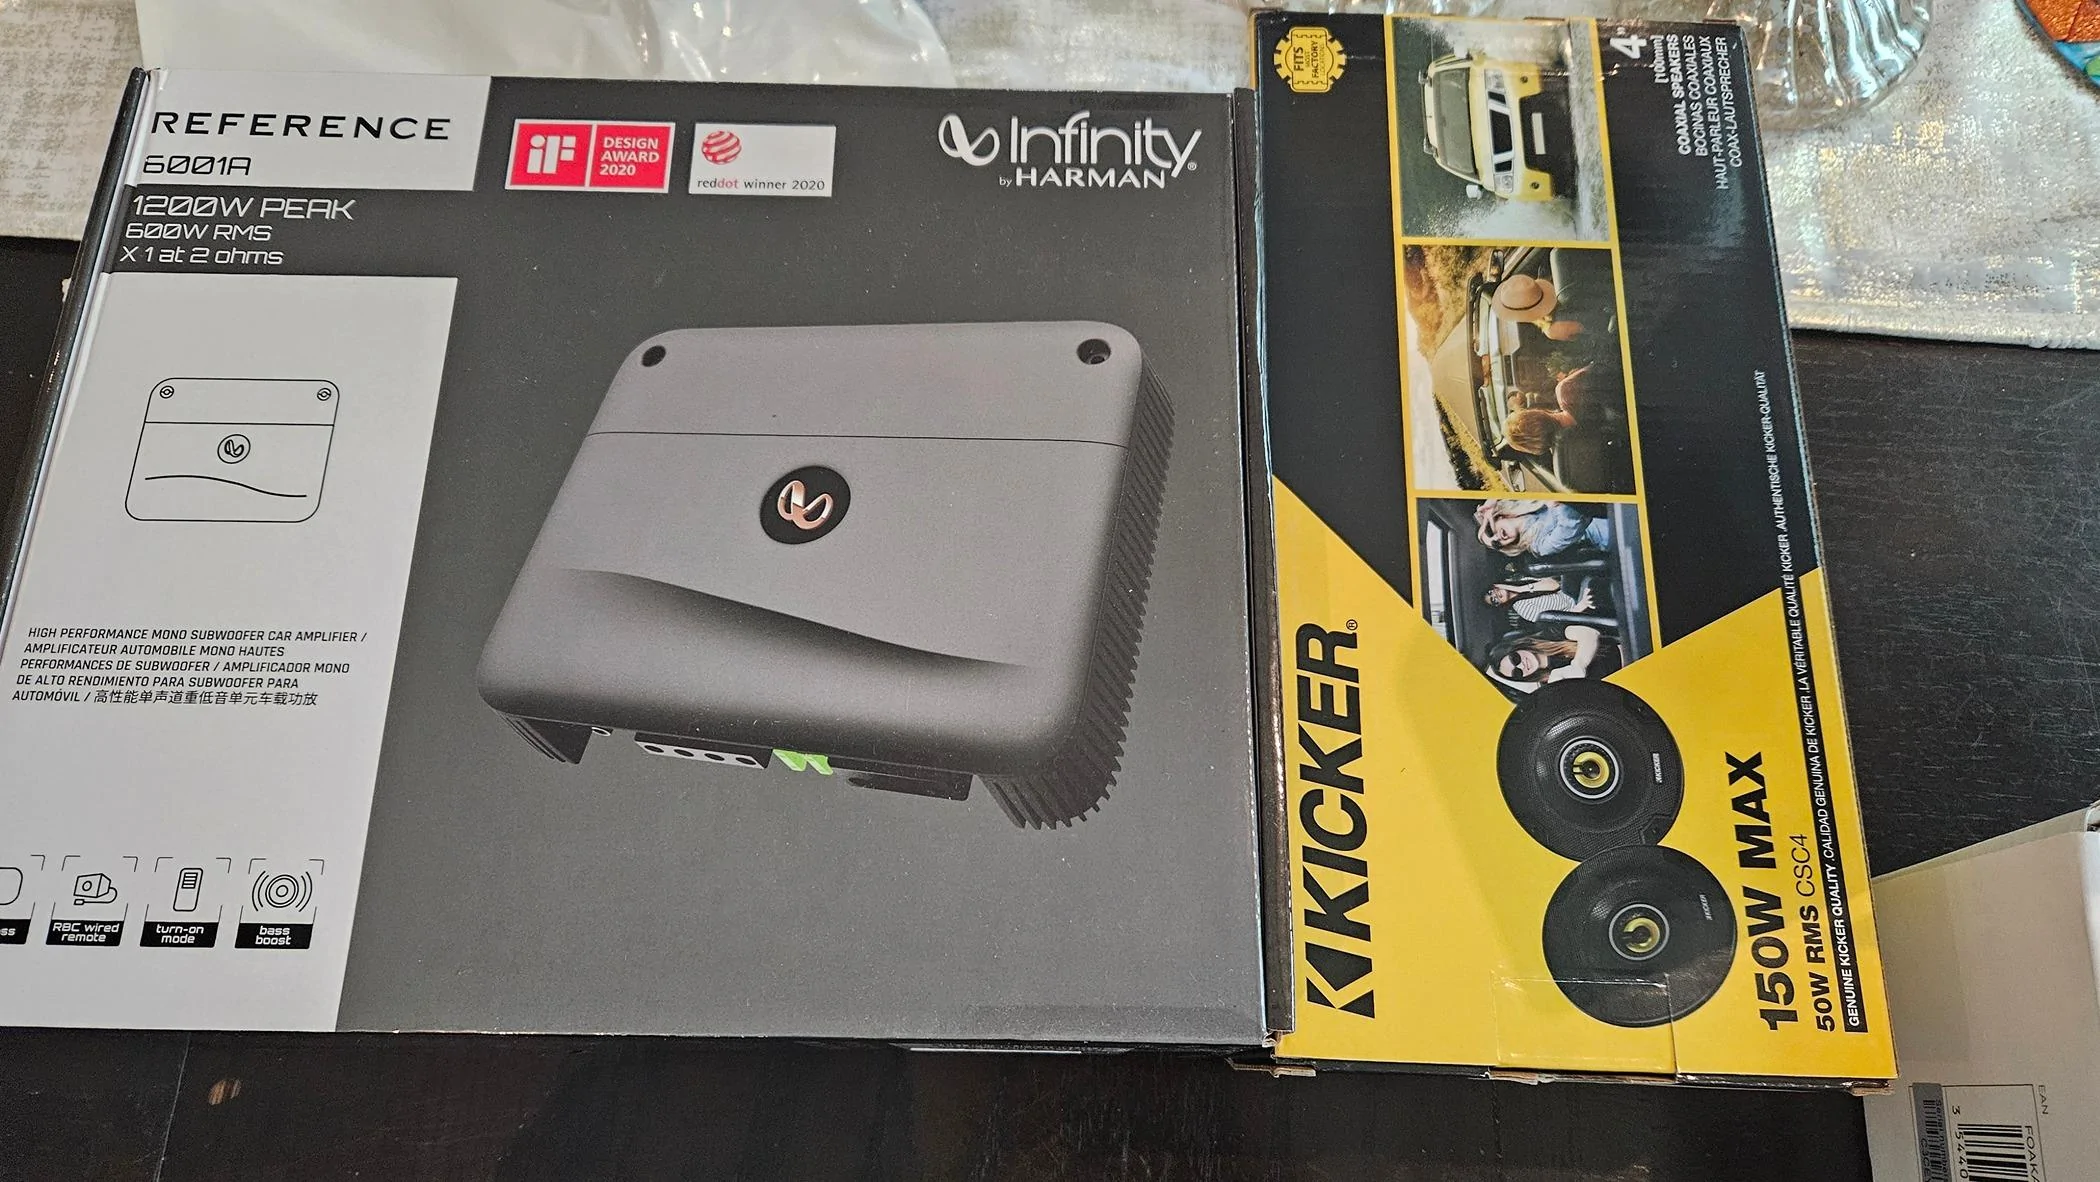
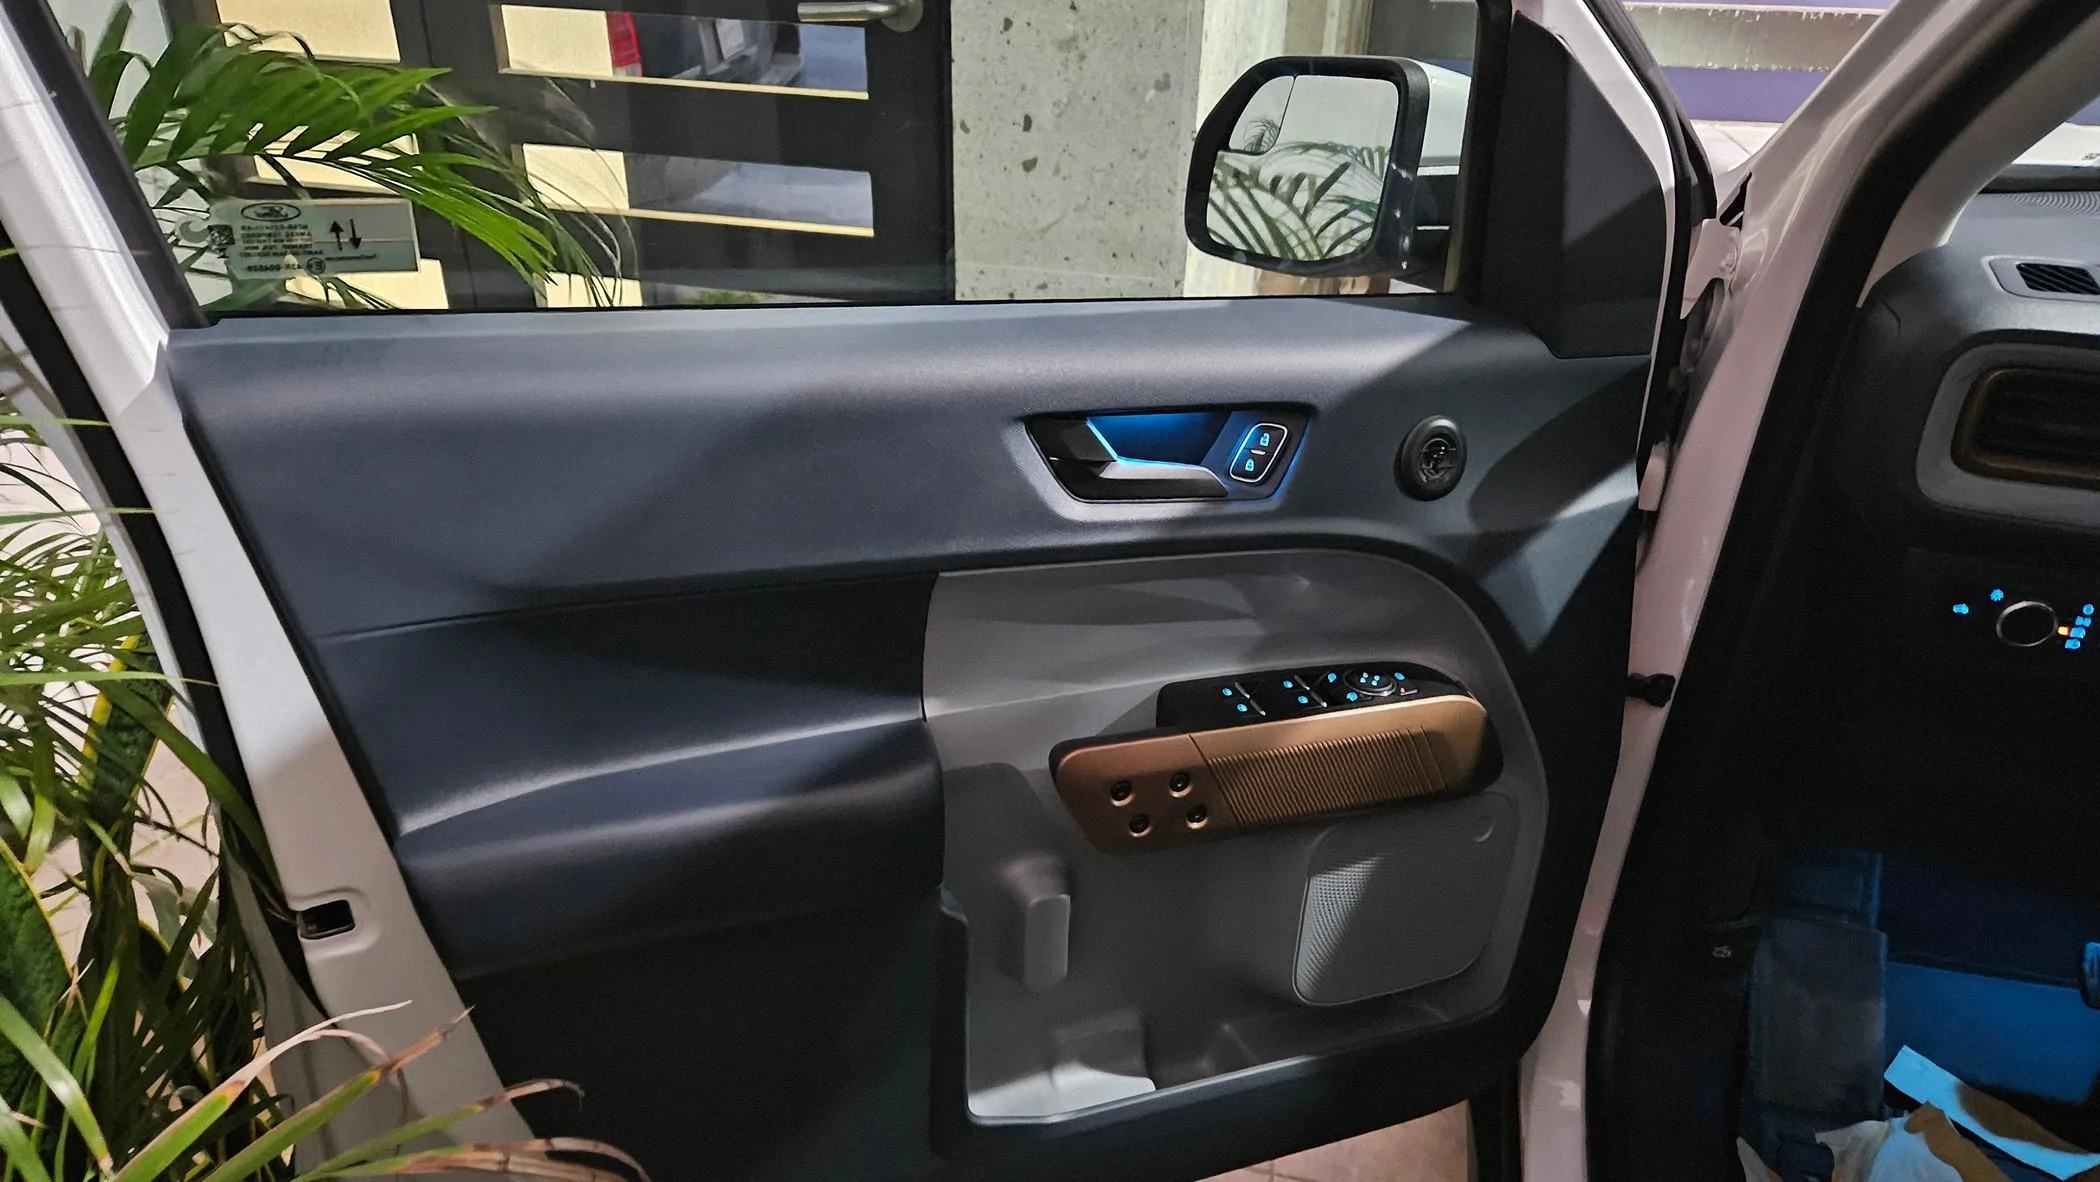
This time I was looking for better sound fidelity, crisp sound and powerful enough to please the passengers inside the cabin, also looking to get the most out of a sub sound w/o doing modifications to the truck. I was not looking to come up with a system that is loud to the outside of the cabin. I also wanted to keep this under a budget so after doing some research and also catching some good crutchfield discounts. I decided to go with a couple of Focal component Auditor series (ASE 165 new version at $200) for the front + Kicker CS series in the rear ( 46CSC44 at $70 ) + 10" groundshaker box ($220-230) w/10" SKAR sub ($80-85) + Infinity reference amp (6001A at $150). Used Metra harnesses on both front and rear to avoid cutting or biting the factory harness cables, the front mounting brackets too. Used foam rings on the speakers and added a few sound deadener layer on the front doors that I was able to paste and squeeze in by stretching my arm ... a little cumbersome but this I believe made a huge difference. When disassembling the front door panels I noticed a metal bracket was VERY rusty, so I decided to sand and used some antirust paint, this was just for fun. A watch out on the front doors is try to avoid using the rear foam circles that come with the speaker foam rings, that can interfere with the power window slider channel and harm the functionality.. I had to re-do the doors (open it all up again…) to spend time and figure out what the issue was with the windows... a painful 2-3 hour rework I had to do since the windows were not rolling freely anymore.
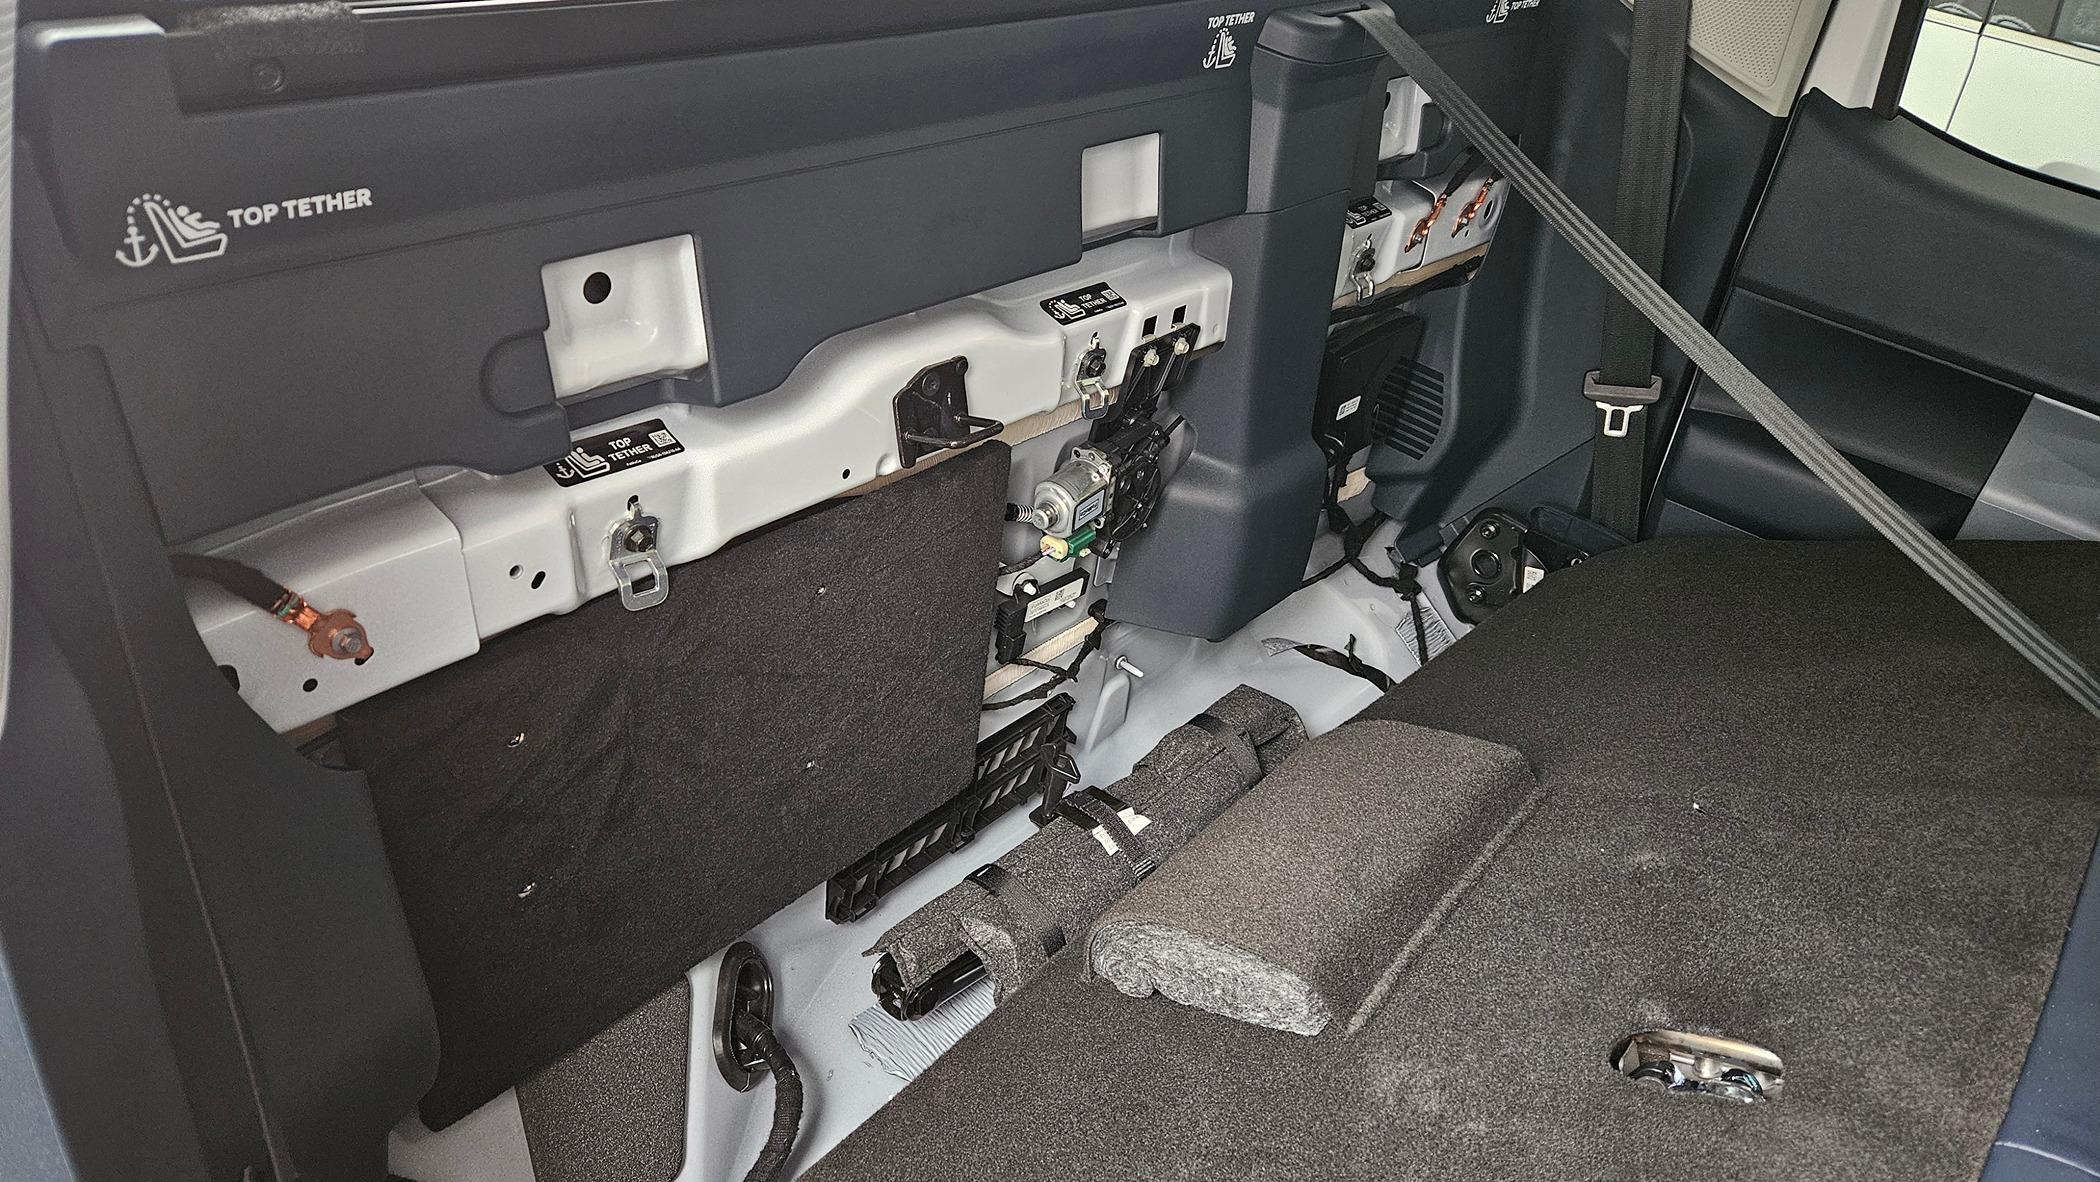
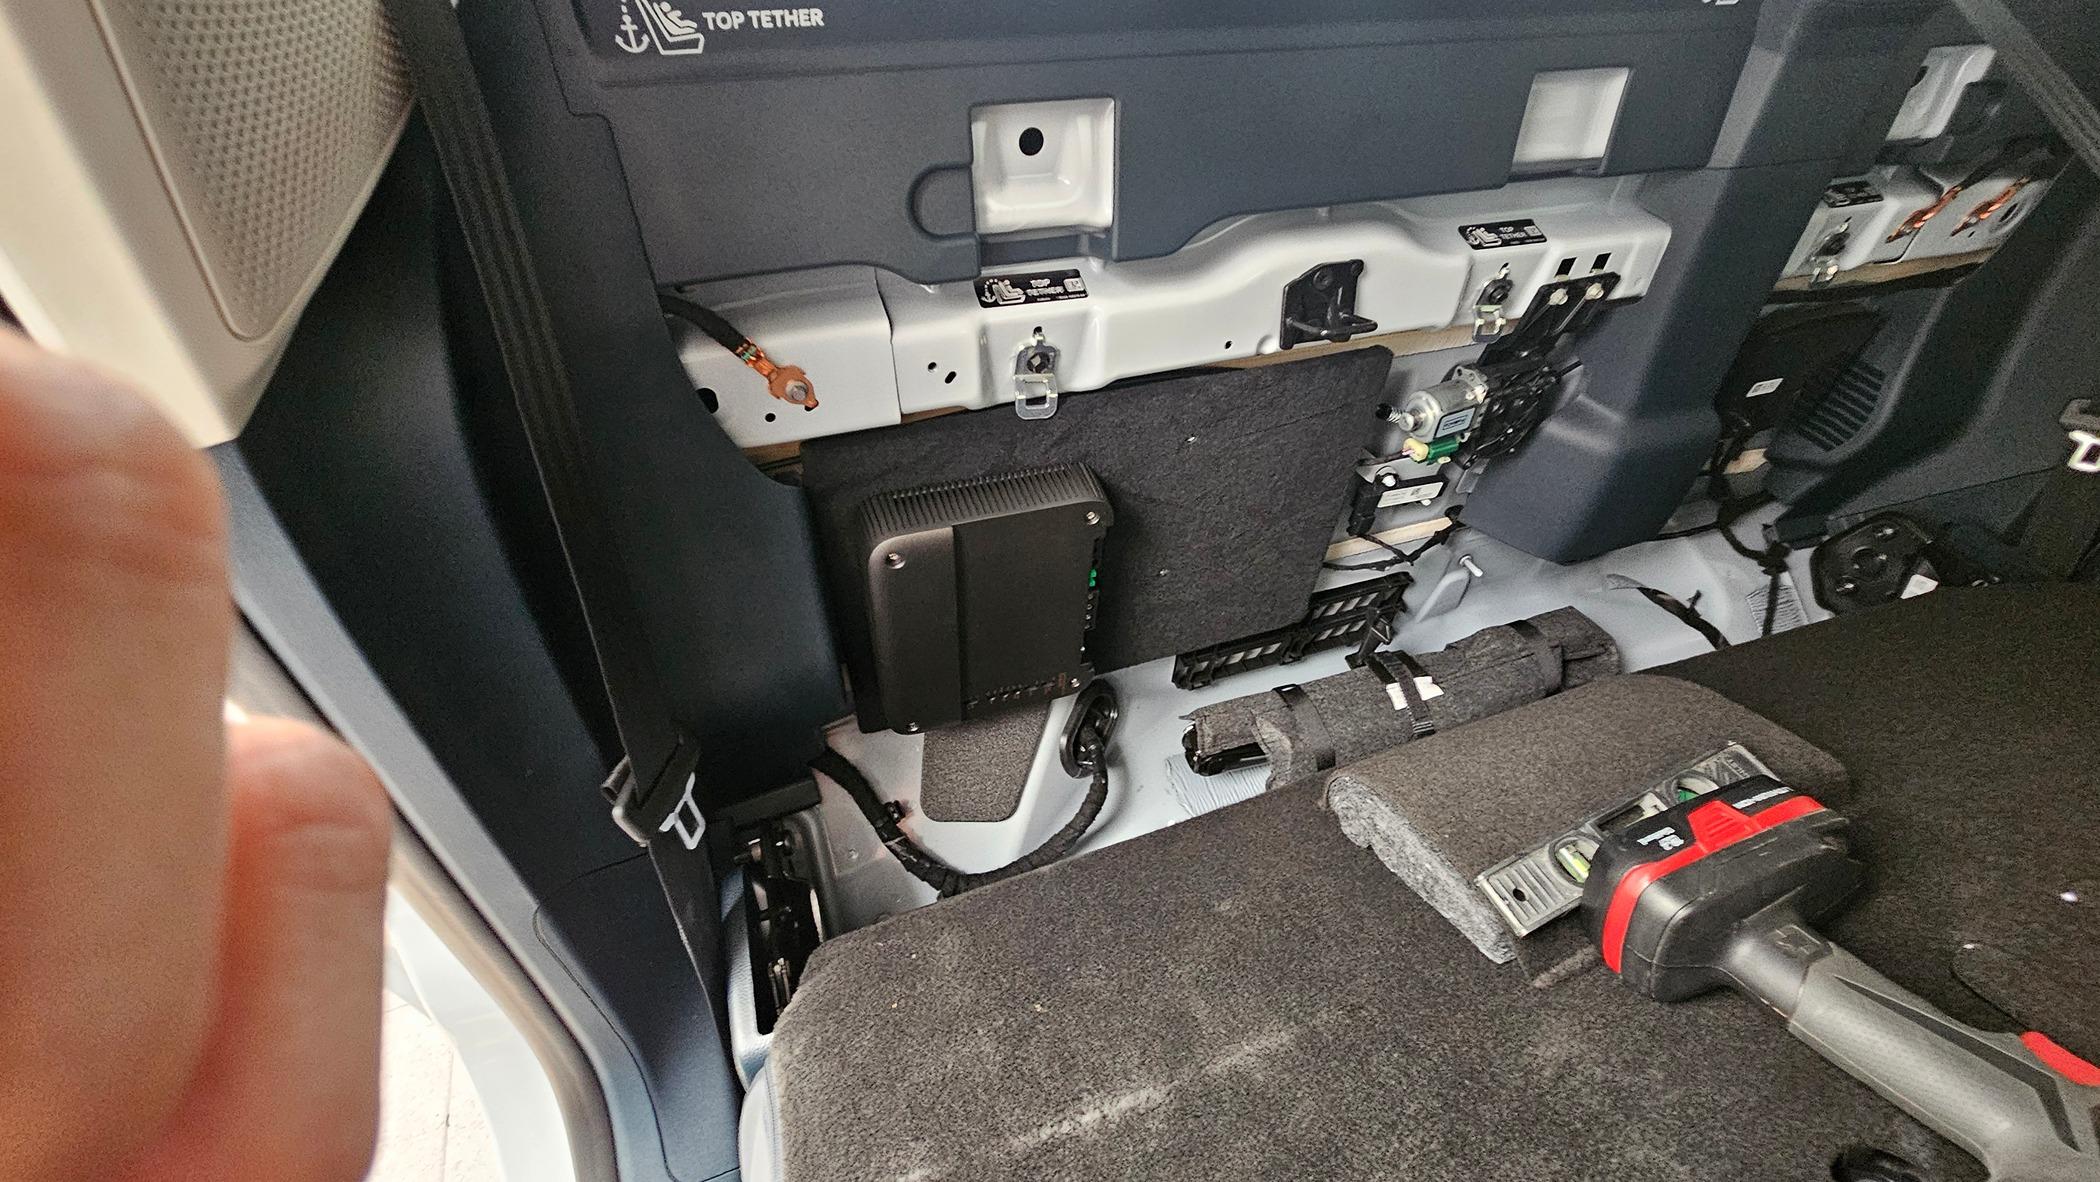
For mounting the amp on my first XLT project I made a custom wood mounting base to maximize mounting space and did similarly for this lariat. However I ended up with less mounting area on the lariat due to the space taken by the rear sliding window motor that was a slight change vs. the XLT. Still was able to maximize every inch to leave some free area in the case I wanted to do future upgrades, installing any extra equipment. This worked great in both projects the XLT and Lariat, just sanded and treated a 1/2" thick 5plywood with a water/humidity resistant anti mold/termite. Predrilled 3 mounting points premeasuring in the truck with a soft poster board I used as a template for pre-drilling the wood, did some countersink to make sure wood heads were flat when installed. Painted the screws with anti corrosion black matte paint I had. Glued and stapled black speaker carpet on it for it to look and feel good when mounted. The three mounting points available on that mavericks metal "butterfly" bracket are solid, you just have to bend the side flaps a little by hand to make it completely flat.
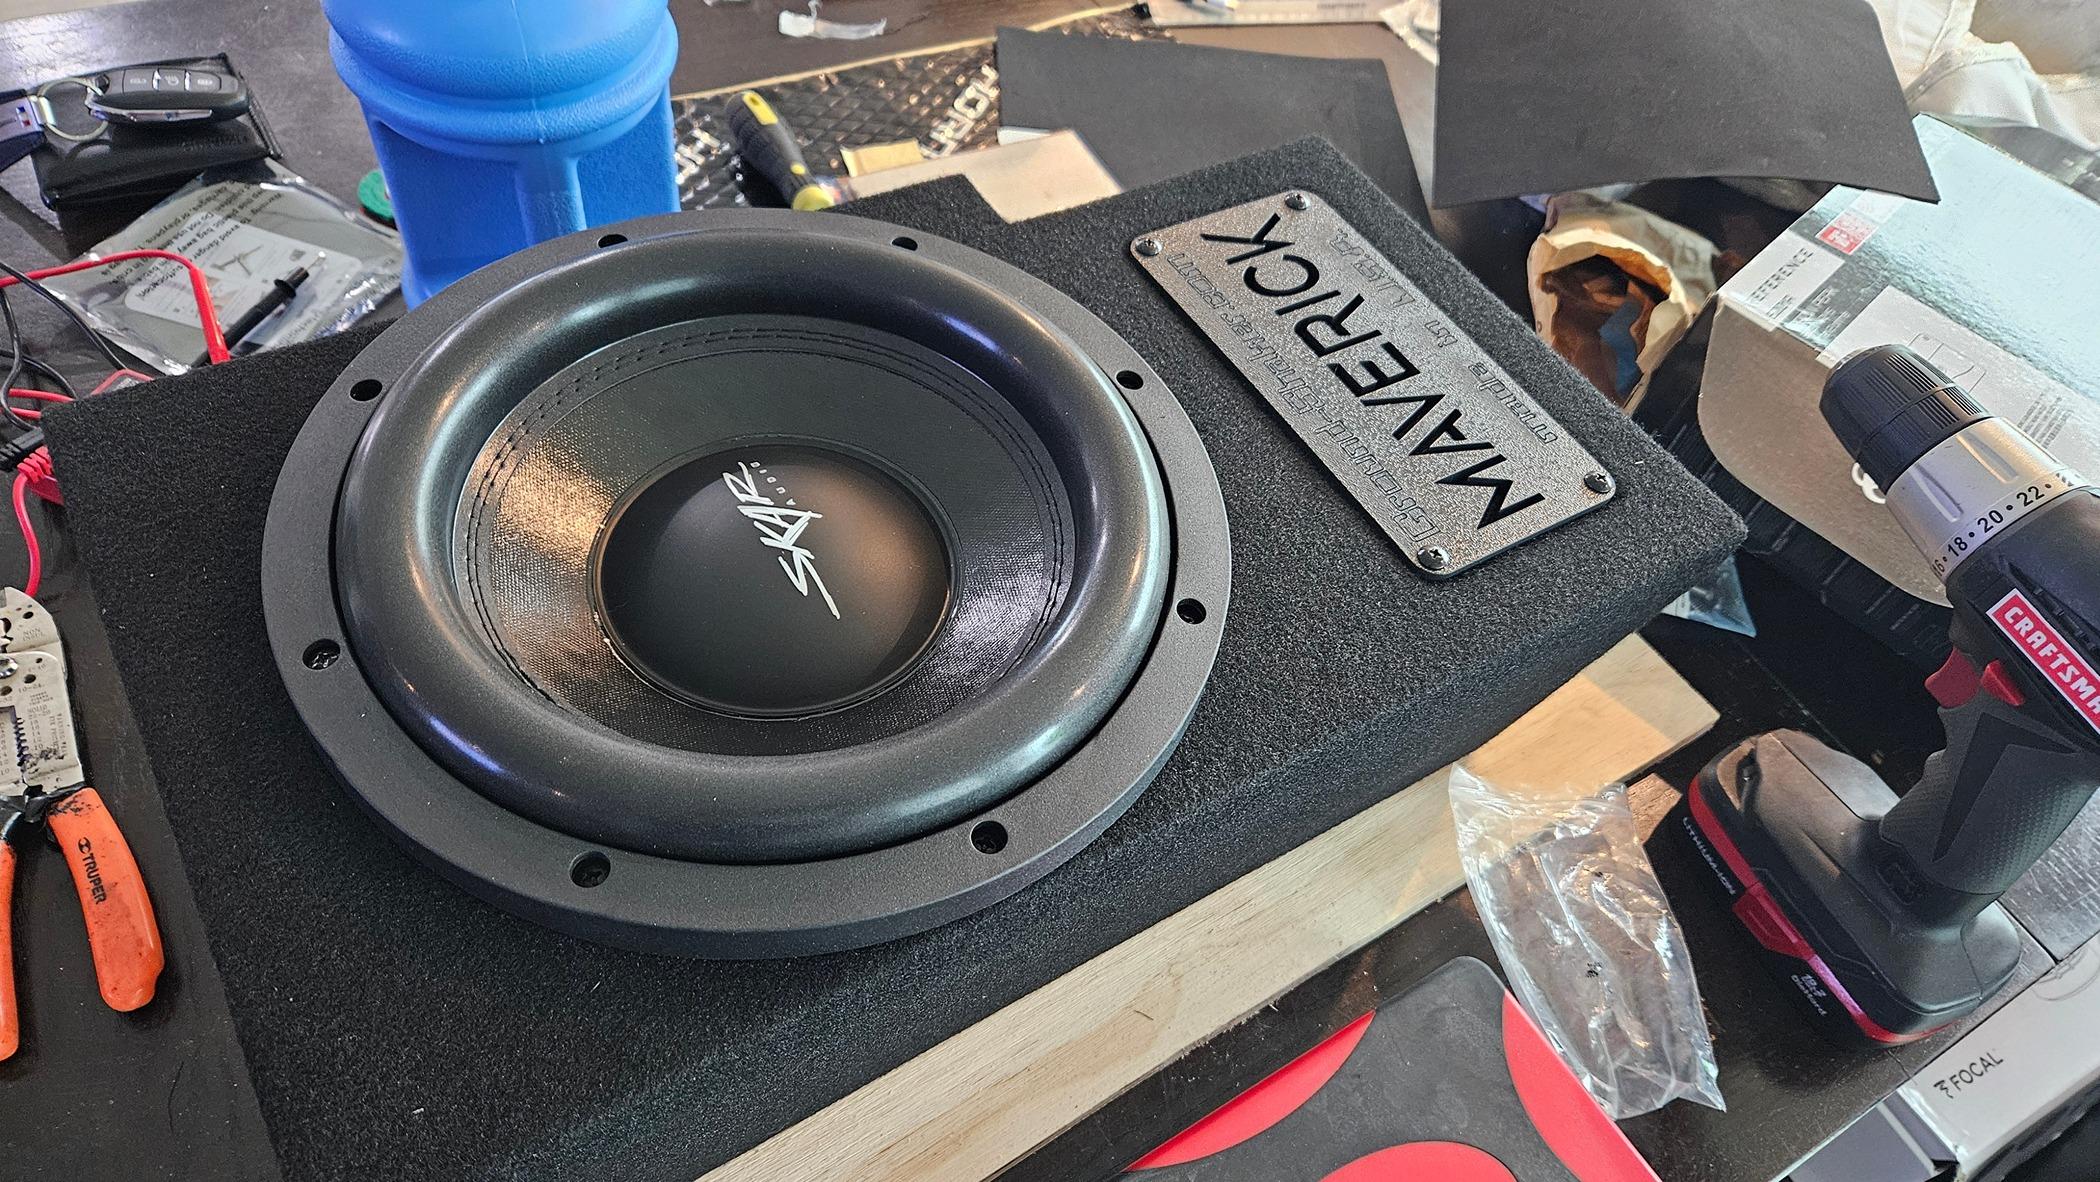
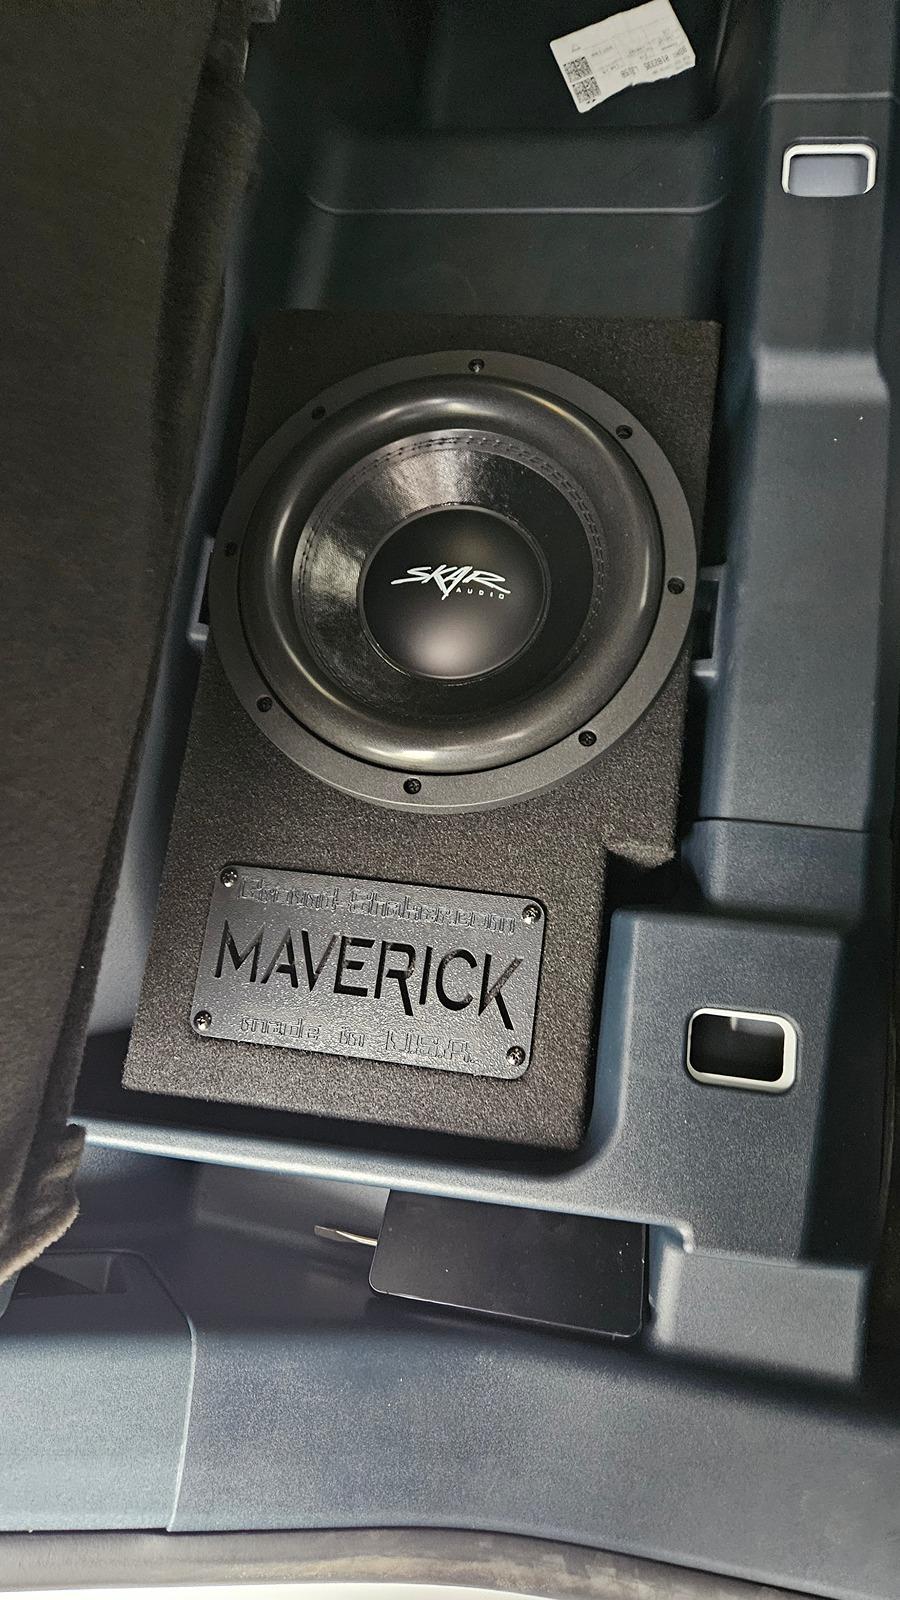
Given I wanted to make sure I got the most out of 1 rear seat mounted subwoofer, definitely investing $$$ on the custom made ground shaker 10" sealed enclosure was the best decision I could have made, it is worth every penny believe me. I paired this with a budget friendly but VERY powerful 10" 2 OHM DVC SKAR audio sub. Powered with that inifinity refence at 2 OHM, the sub sound is so good that makes you want to amp the 4 speakers and add a 2nd sub. Better sound than a powered sub I think.
In case someone is new on this DIY project here are what These are the steps I followed , I am not saying these the best but I am just sharing my experience and what worked well for me.
1. Fabricated and mounted the ½” 5plywood mounting base, treated and carpeted
2. Mounted the amplifier on the base to define mounting area, cable lengths as well as amp orientation for cable inputs (oriented the input panel towards the drivers side)
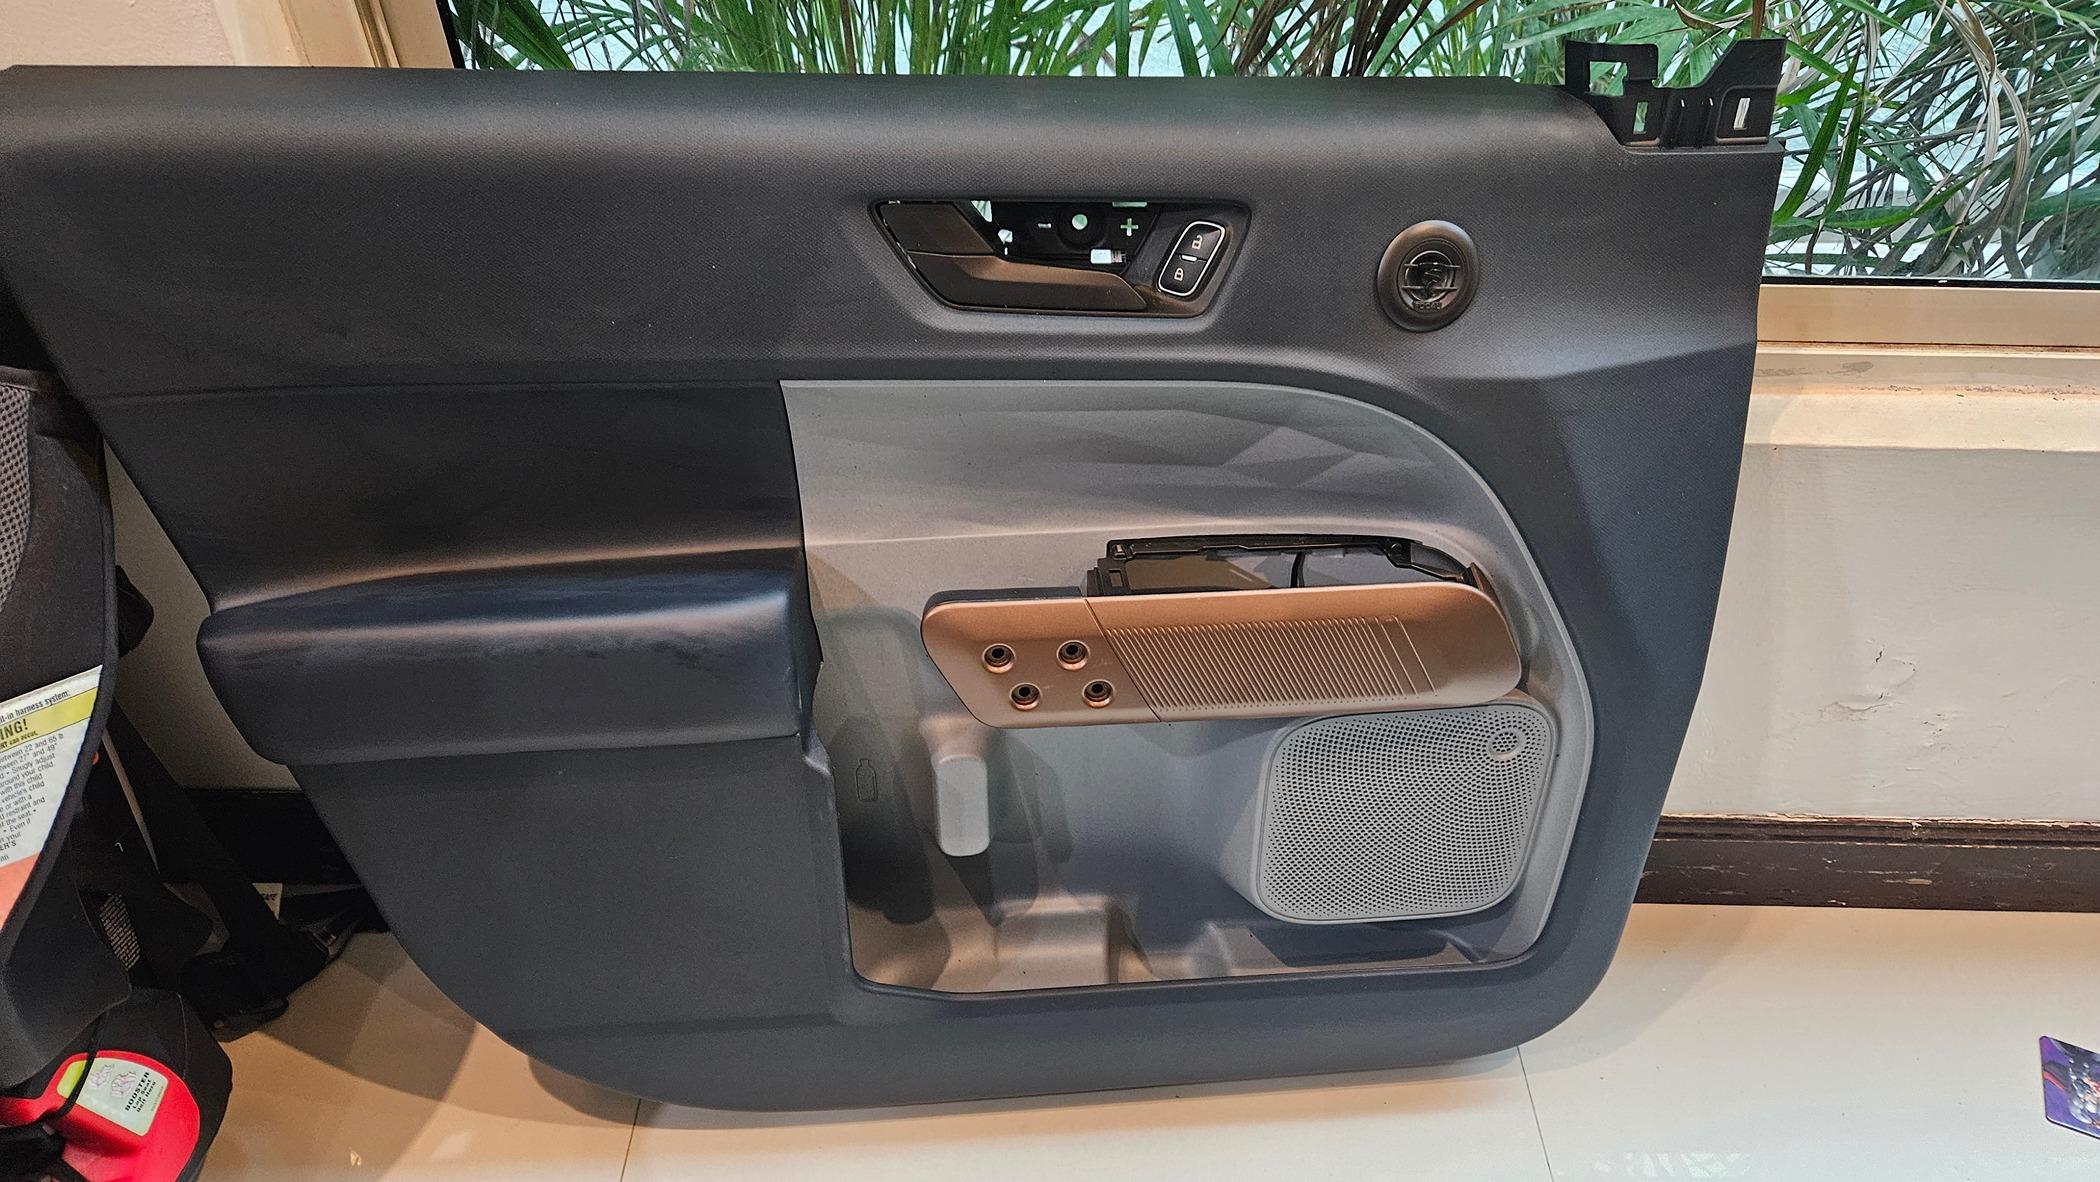
3. Installed front speakers on both doors, drilled a hole (drill&Dremel) besides the door handles to flat mount the provided focal tweeters by pressure, tested before wrapping up. Used front roam rings only , avoided rear ones. Installed some sound isolation layers inside the door panels. Used metra mounting brackerts and harnesses. The focals come with a prewired crossover (I loved this) and the crossover is very small in size
4. Installed the rear speakers and t-tapped each side (on the metras) to be used as a speaker level signal for the infinity amp (love this amp feature), tested the speakers before wrapping up. Used form rings and rear speaker circle foam too. Used metra harnesses
5. Picked SKARs 4 gauge OFC (oxygen free is preferred) amp kit. Identified the fuse mount location and mounted it. Prepared and ran the power cable (fuse to cabin only, w/o connecting fuse to the battery yet) by the passenger side using the trucks firewall entry point available. Prepared the hot power cable and the amp ground cable. Ran the amp remote control cable picking desired knob control location first. One thing to note here is I noticed that some water could get into the SKARs fuse enclosure, I did not like that. I have used the BOSS fuses in the past those close very tightly and even have some type of seal so that it almost can prevent any water from getting in… so I think SKAR could improve that.
6. Prep and mounted sub box enclosure and put it under the rear passenger seat, perfect fit
7. Made all the connections on the amp, including ground, verified all the settings and knobs were set as shown in amp installation manual. Pre-set my factory radio settings to an approximate ¾ for the sub. Set the amp remote knob to 100% as a pass through.
8. All set, disconnected battery’s ground (negative) and hook up the hot power cable from battery to the fuse, verified amp was powering on
9. Starting with amp settings with some sound testing and following amps installation manual recommendations, find your sweet spot and make sure you can almost turn your radio 75% of volume w/o compromising the sub
10. All set , gave me a smile on the face
The end results were just what I was looking for to get as far as sound power and quality too. The focals sound very good and I am impressed how good the both the focals and the low cost kicker CS’s mate with the factory radio. I am attributing this not only to brand but to the very high sensitivity all these 4 speakers have, so that they can start to respond from the minimum bottom wattage provided by the factory radio head. Noting I only amplified the sub. Spending this $ is worth every penny for me, I now enjoyed even more the everyday routine daily trips, home to school, school to work, evenings, leisure and it looks like my family enjoys it too, my oldest now asks me to play music and what's most important, happy wife happy life!
Here are some pics, will add a few more later, Cheers!


where I had also upgraded the sound system, suspension, and many more adds.On the XLT I recycled some speakers I had from other projects and used 4 kicker KS series, a Kenwood class D 5ch.amp and a small factory sealed remote controlled 8" Pionneer enclosure under the rear passenger seat , I shared more details on that project in past threads. I did not used the amp for the front and rear speakers since it was loud enough for me with factory radio power.
This time I was looking for better sound fidelity, crisp sound and powerful enough to please the passengers inside the cabin, also looking to get the most out of a sub sound w/o doing modifications to the truck. I was not looking to come up with a system that is loud to the outside of the cabin. I also wanted to keep this under a budget so after doing some research and also catching some good crutchfield discounts. I decided to go with a couple of Focal component Auditor series (ASE 165 new version at $200) for the front + Kicker CS series in the rear ( 46CSC44 at $70 ) + 10" groundshaker box ($220-230) w/10" SKAR sub ($80-85) + Infinity reference amp (6001A at $150). Used Metra harnesses on both front and rear to avoid cutting or biting the factory harness cables, the front mounting brackets too. Used foam rings on the speakers and added a few sound deadener layer on the front doors that I was able to paste and squeeze in by stretching my arm ... a little cumbersome but this I believe made a huge difference. When disassembling the front door panels I noticed a metal bracket was VERY rusty, so I decided to sand and used some antirust paint, this was just for fun. A watch out on the front doors is try to avoid using the rear foam circles that come with the speaker foam rings, that can interfere with the power window slider channel and harm the functionality.. I had to re-do the doors (open it all up again…) to spend time and figure out what the issue was with the windows... a painful 2-3 hour rework I had to do since the windows were not rolling freely anymore.
For mounting the amp on my first XLT project I made a custom wood mounting base to maximize mounting space and did similarly for this lariat. However I ended up with less mounting area on the lariat due to the space taken by the rear sliding window motor
that was a slight change vs. the XLT. Still was able to maximize every inch to leave some free area in the case I wanted to do future upgrades, installing any extra equipment. This worked great in both projects the XLT and Lariat, just sanded and treated a 1/2" thick 5plywood with a water/humidity resistant anti mold/termite. Predrilled 3 mounting points premeasuring in the truck with a soft poster board I used as a template for pre-drilling the wood, did some countersink to make sure wood heads were flat when installed. Painted the screws with anti corrosion black matte paint I had. Glued and stapled black speaker carpet on it for it to look and feel good when mounted. The three mounting points available on that mavericks metal "butterfly" bracket are solid, you just have to bend the side flaps a little by hand to make it completely flat.Given I wanted to make sure I got the most out of 1 rear seat mounted subwoofer, definitely investing $$$ on the custom made ground shaker 10" sealed enclosure was the best decision I could have made, it is worth every penny believe me. I paired this with a budget friendly but VERY powerful 10" 2 OHM DVC SKAR audio sub. Powered with that inifinity refence at 2 OHM, the sub sound is so good that makes you want to amp the 4 speakers and add a 2nd sub. Better sound than a powered sub I think.
In case someone is new on this DIY project here are what These are the steps I followed , I am not saying these the best but I am just sharing my experience and what worked well for me.
1. Fabricated and mounted the ½” 5plywood mounting base, treated and carpeted
2. Mounted the amplifier on the base to define mounting area, cable lengths as well as amp orientation for cable inputs (oriented the input panel towards the drivers side)
3. Installed front speakers on both doors, drilled a hole (drill&Dremel) besides the door handles to flat mount the provided focal tweeters by pressure, tested before wrapping up. Used front roam rings only , avoided rear ones. Installed some sound isolation layers inside the door panels. Used metra mounting brackerts and harnesses. The focals come with a prewired crossover (I loved this) and the crossover is very small in size
4. Installed the rear speakers and t-tapped each side (on the metras) to be used as a speaker level signal for the infinity amp (love this amp feature), tested the speakers before wrapping up. Used form rings and rear speaker circle foam too. Used metra harnesses
5. Picked SKARs 4 gauge OFC (oxygen free is preferred) amp kit. Identified the fuse mount location and mounted it. Prepared and ran the power cable (fuse to cabin only, w/o connecting fuse to the battery yet) by the passenger side using the trucks firewall entry point available. Prepared the hot power cable and the amp ground cable. Ran the amp remote control cable picking desired knob control location first. One thing to note here is I noticed that some water could get into the SKARs fuse enclosure, I did not like that. I have used the BOSS fuses in the past those close very tightly and even have some type of seal so that it almost can prevent any water from getting in… so I think SKAR could improve that.
6. Prep and mounted sub box enclosure and put it under the rear passenger seat, perfect fit
7. Made all the connections on the amp, including ground, verified all the settings and knobs were set as shown in amp installation manual. Pre-set my factory radio settings to an approximate ¾ for the sub. Set the amp remote knob to 100% as a pass through.
8. All set, disconnected battery’s ground (negative) and hook up the hot power cable from battery to the fuse, verified amp was powering on
9. Starting with amp settings with some sound testing and following amps installation manual recommendations, find your sweet spot and make sure you can almost turn your radio 75% of volume w/o compromising the sub
10. All set , gave me a smile on the face
The end results were just what I was looking for to get as far as sound power and quality too. The focals sound very good and I am impressed how good the both the focals and the low cost kicker CS’s mate with the factory radio. I am attributing this not only to brand but to the very high sensitivity all these 4 speakers have, so that they can start to respond from the minimum bottom wattage provided by the factory radio head. Noting I only amplified the sub. Spending this $ is worth every penny for me, I now enjoyed even more the everyday routine daily trips, home to school, school to work, evenings, leisure and it looks like my family enjoys it too, my oldest now asks me to play music and what's most important, happy wife happy life!
Here are some pics, will add a few more later, Cheers!
Sponsored
Last edited:

