- First Name
- Dan
- Joined
- Sep 20, 2024
- Threads
- 1
- Messages
- 12
- Reaction score
- 28
- Location
- Las Vegas, Nevada USA
- Vehicle(s)
- 2024 Hybrid Maverick XLT, 2015 Mustang Ecoboost Convertible
- Engine
- 2.5L Hybrid
- Thread starter
- #1
Hi all, long time lurker, short-time Maverick Owner (2024 XLT Hybrid, bought August 6, 2024).
Got the usual mods done - bed cover, rubber floor mats, dash cam, etc. and now want to add some nice features.
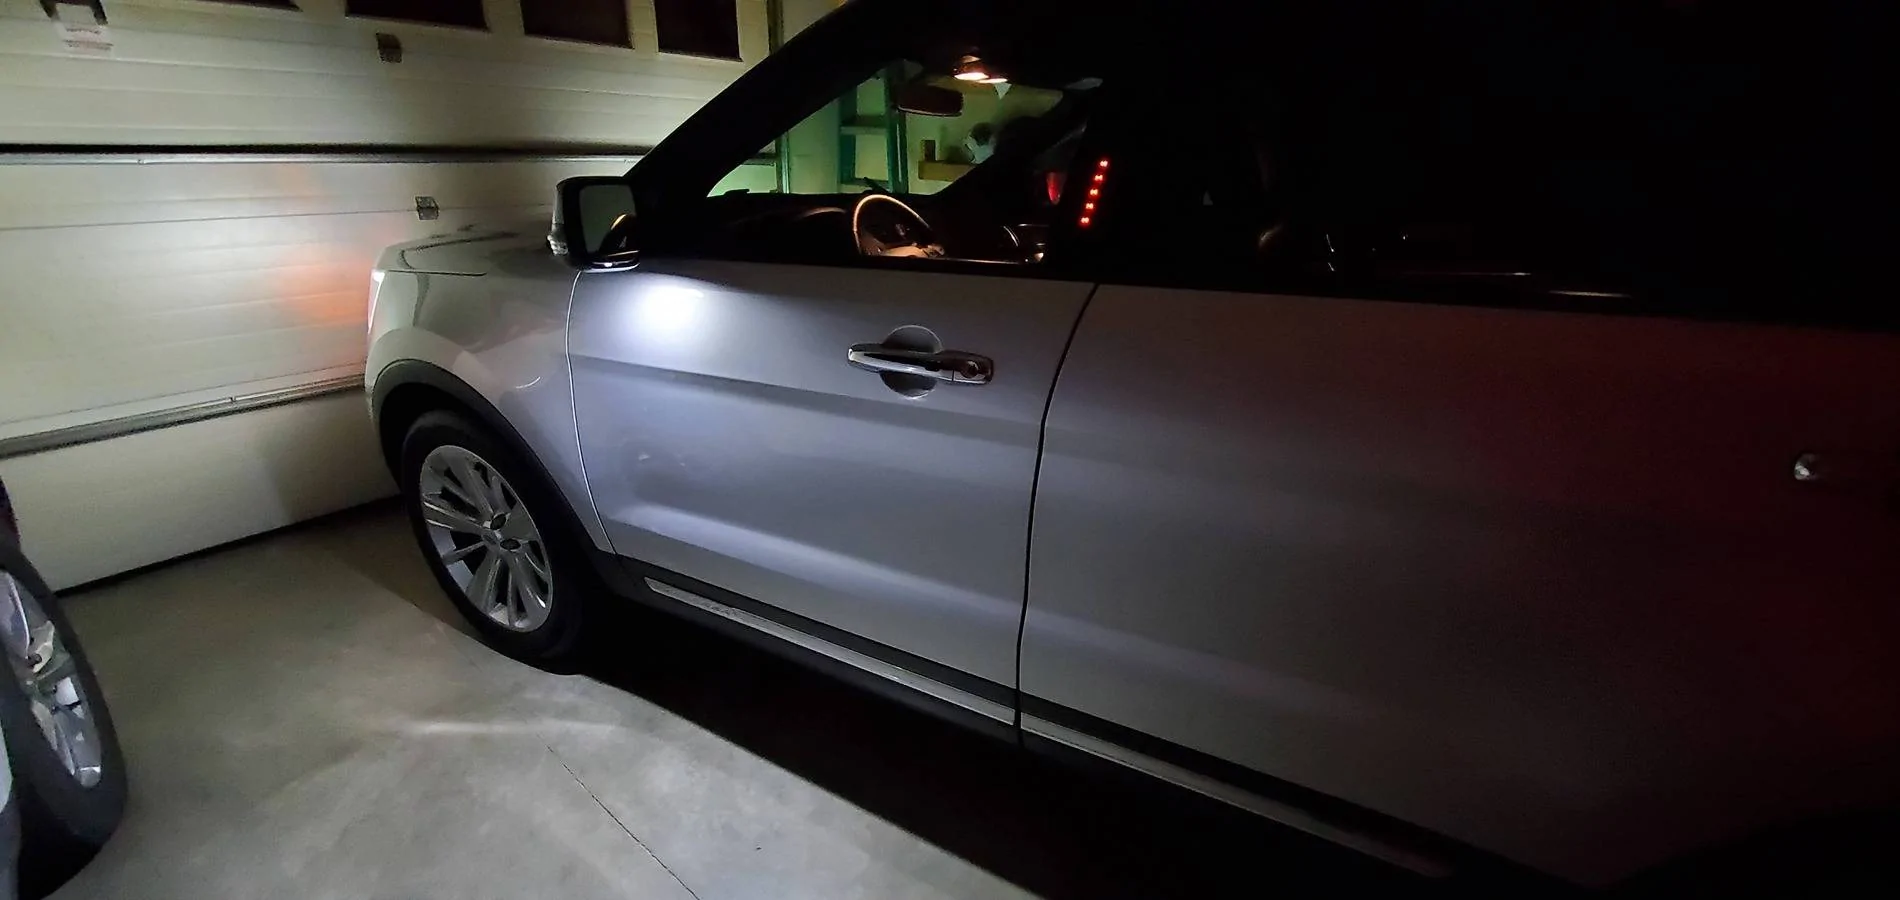
1. Interior ambient/mood lighting. Love this on my wife's 2015 Mustang. Subtle lighting in the footwells. Would also add below the front seats, so the rear passengers get it, too.
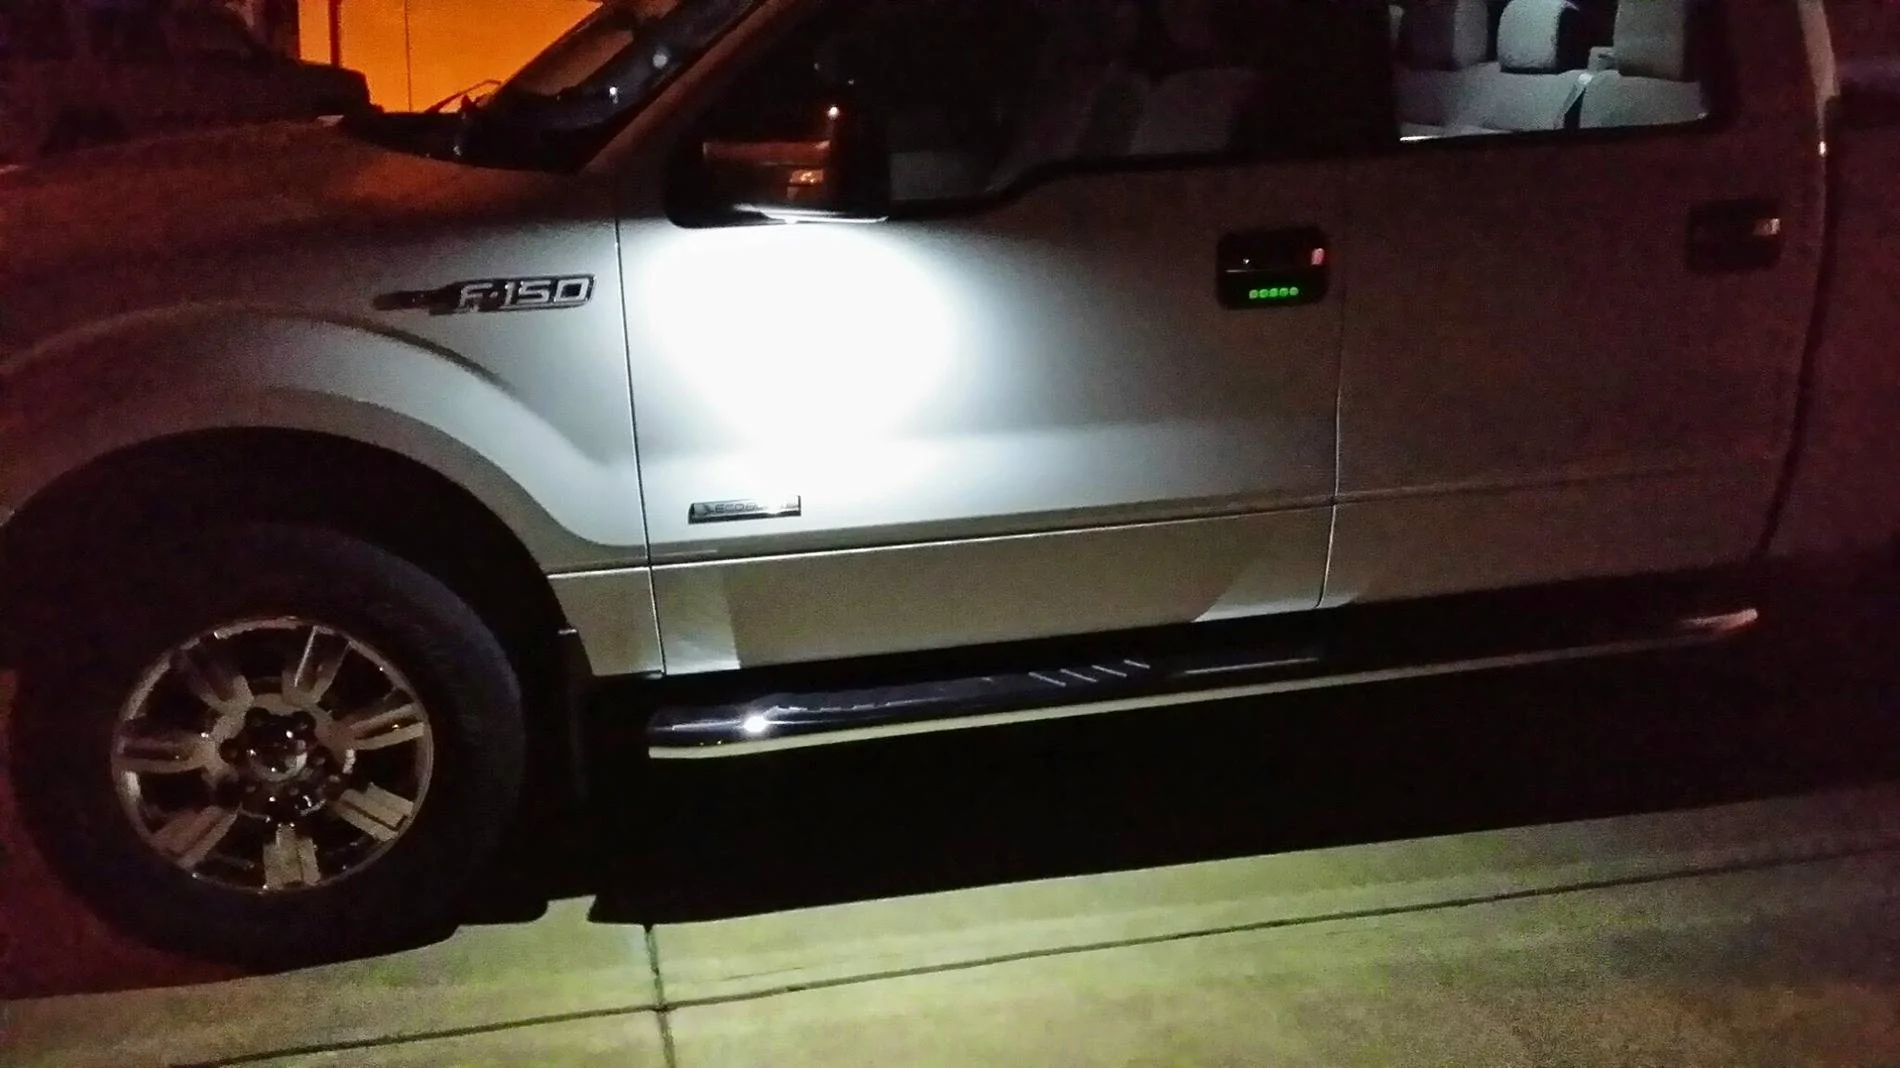
2. Puddle lights. Exterior lighting at the doors (all 4) when you unlock the doors, turn off after you start the vehicle.
THIS WILL BE A LONGISH, EVOLVING THREAD! I'M DOING IT IN REAL-TIME AS I'M WORKING THROUGH THE DESIGN/IMPLEMENTATION!
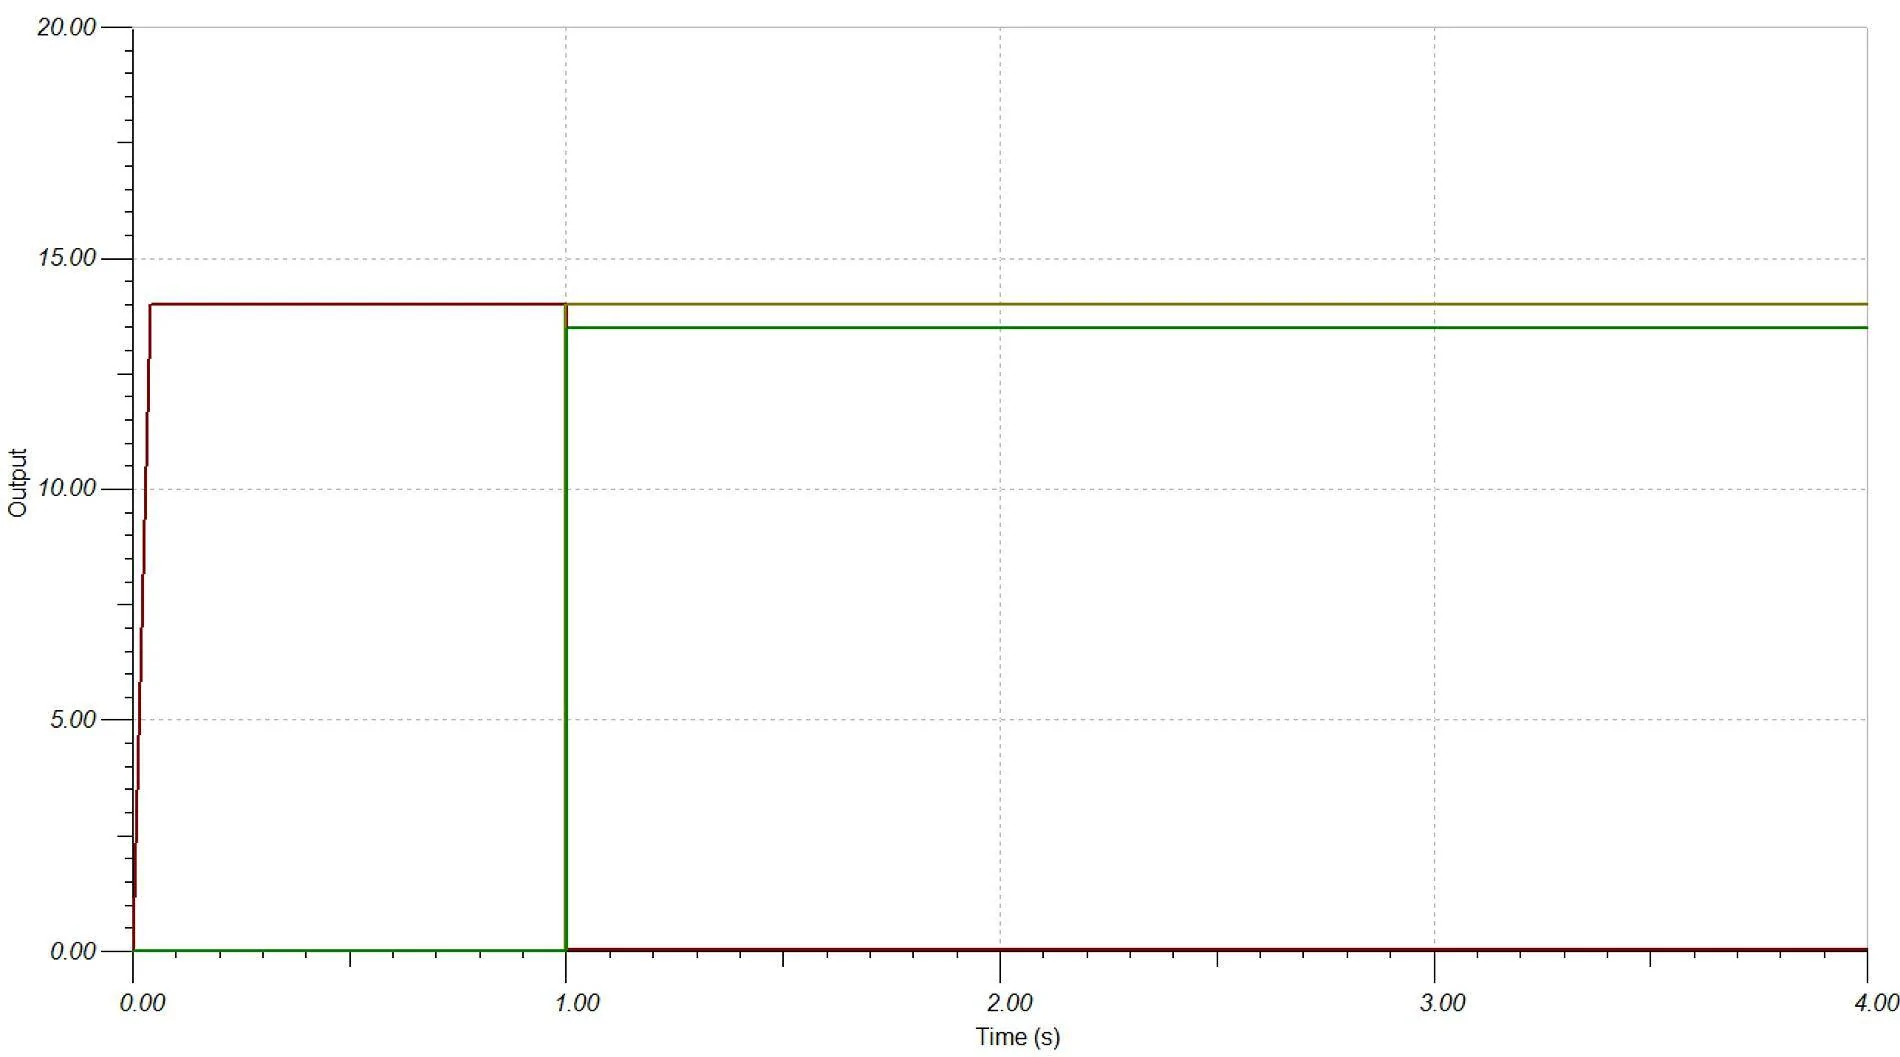
Now, analyzing the way the Maverick behaves, and the different model options/features, I've narrowed it down. The dome light comes on (all models) when you unlock the vehicle, or open the door. The dome light goes off when you start the vehicle (or about 60 seconds has elapsed). So, it seems to me, that puddle lights should track the dome light. When you unlock the truck, the dome lights come on - so should the puddle lights, to illuminate around the truck. And then when you start the truck (or after 60 seconds of closing the last open door - how slow are you, after all?) the dome light goes off - so should the puddle lights.
So - for puddle lights, I'll track the operation of the dome lights. Done.
Ambient/mood lighting? Well, in the Mustang, they turn on when it's dark outside. When you unlock the vehicle, the mood lights come on, and stay on (if it's dark outside). I'd like that, too. So when you open the door you can see the floor, etc. So - dome light! We want that same behavior. HOWEVER, we have the added requirement of staying on if it's dark!
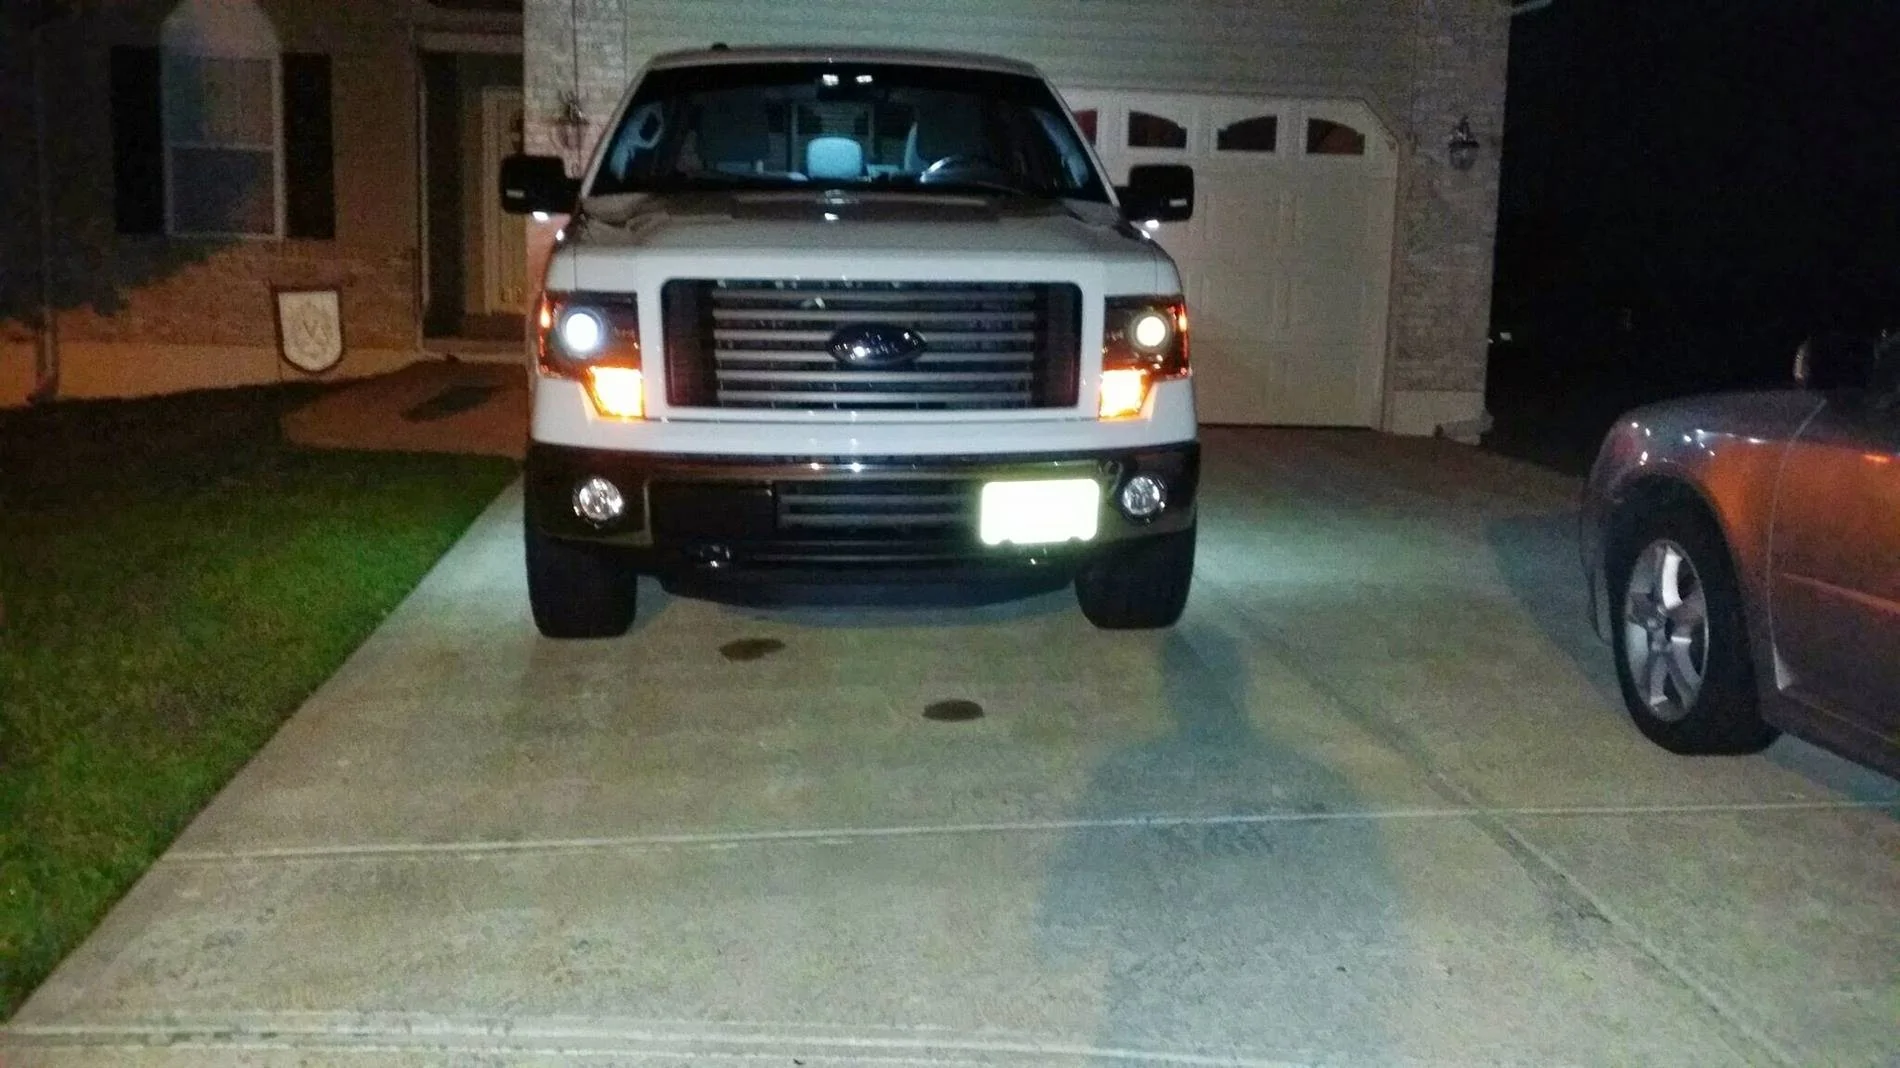
Now, the XL and the XLT do NOT have dedicated daytime running lights; they use the low beams instead. The Lariat, however, does have DRLs. In automatic mode, the Lariat's low beams come on when it starts to get dark, which is the behavior we want.
So - solution for mood lighting that works for all models: turn on when the dome light turns on, AND stay on if the low beams are on (meaning it's either dark enough to have them - Lariat - or it's maybe dark - XL/XLT).
Summary so far:
- Puddle lights track the dome light
- Ambient/mood lighting tracks dome light and also stay on if the low beams are on
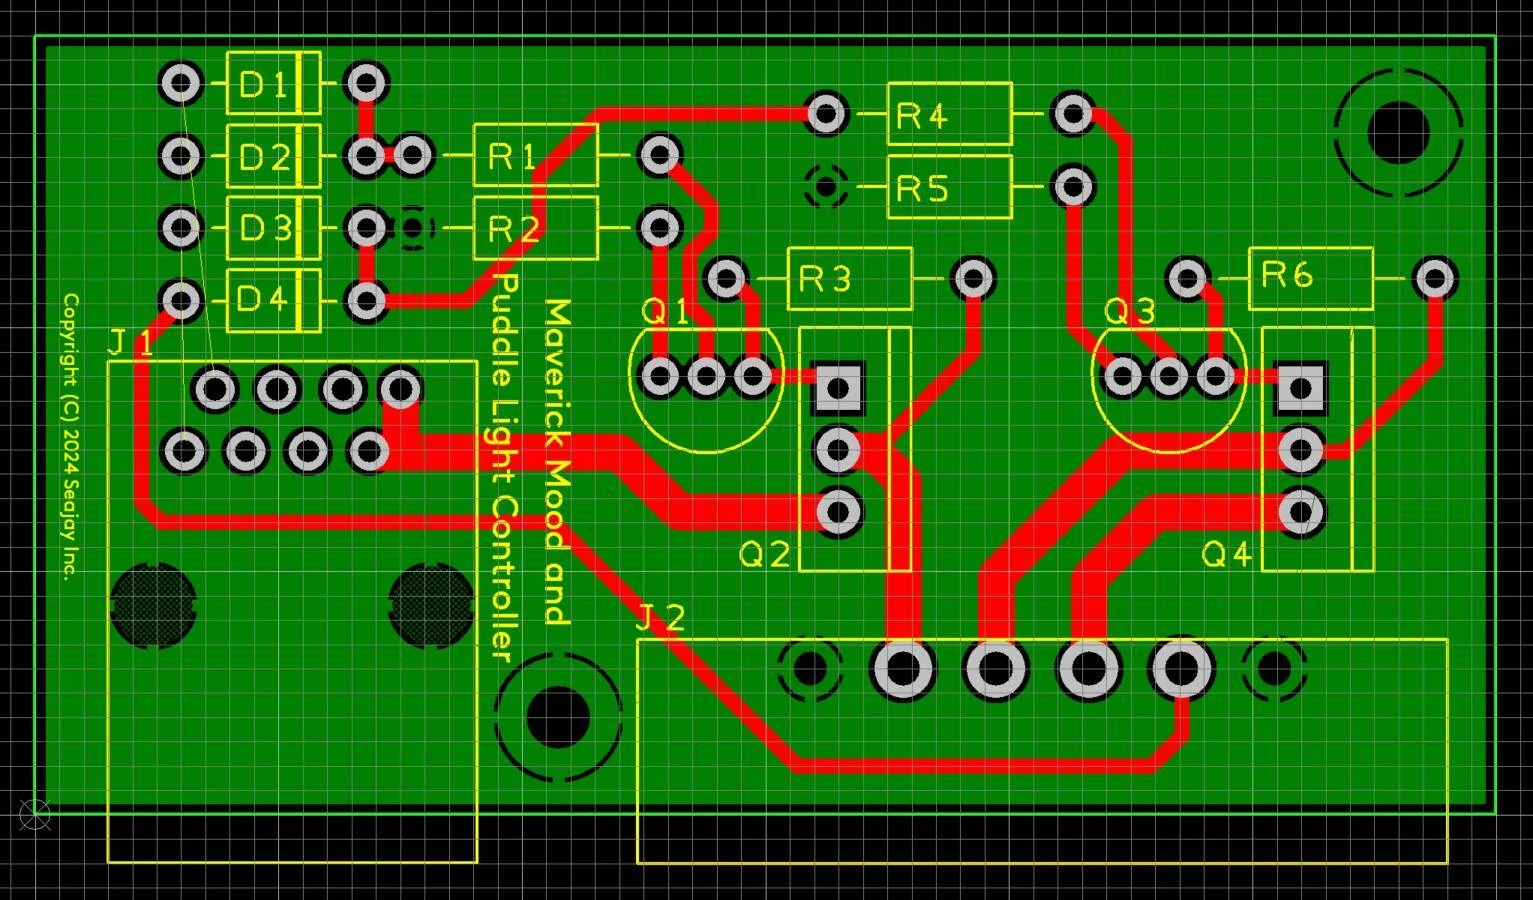
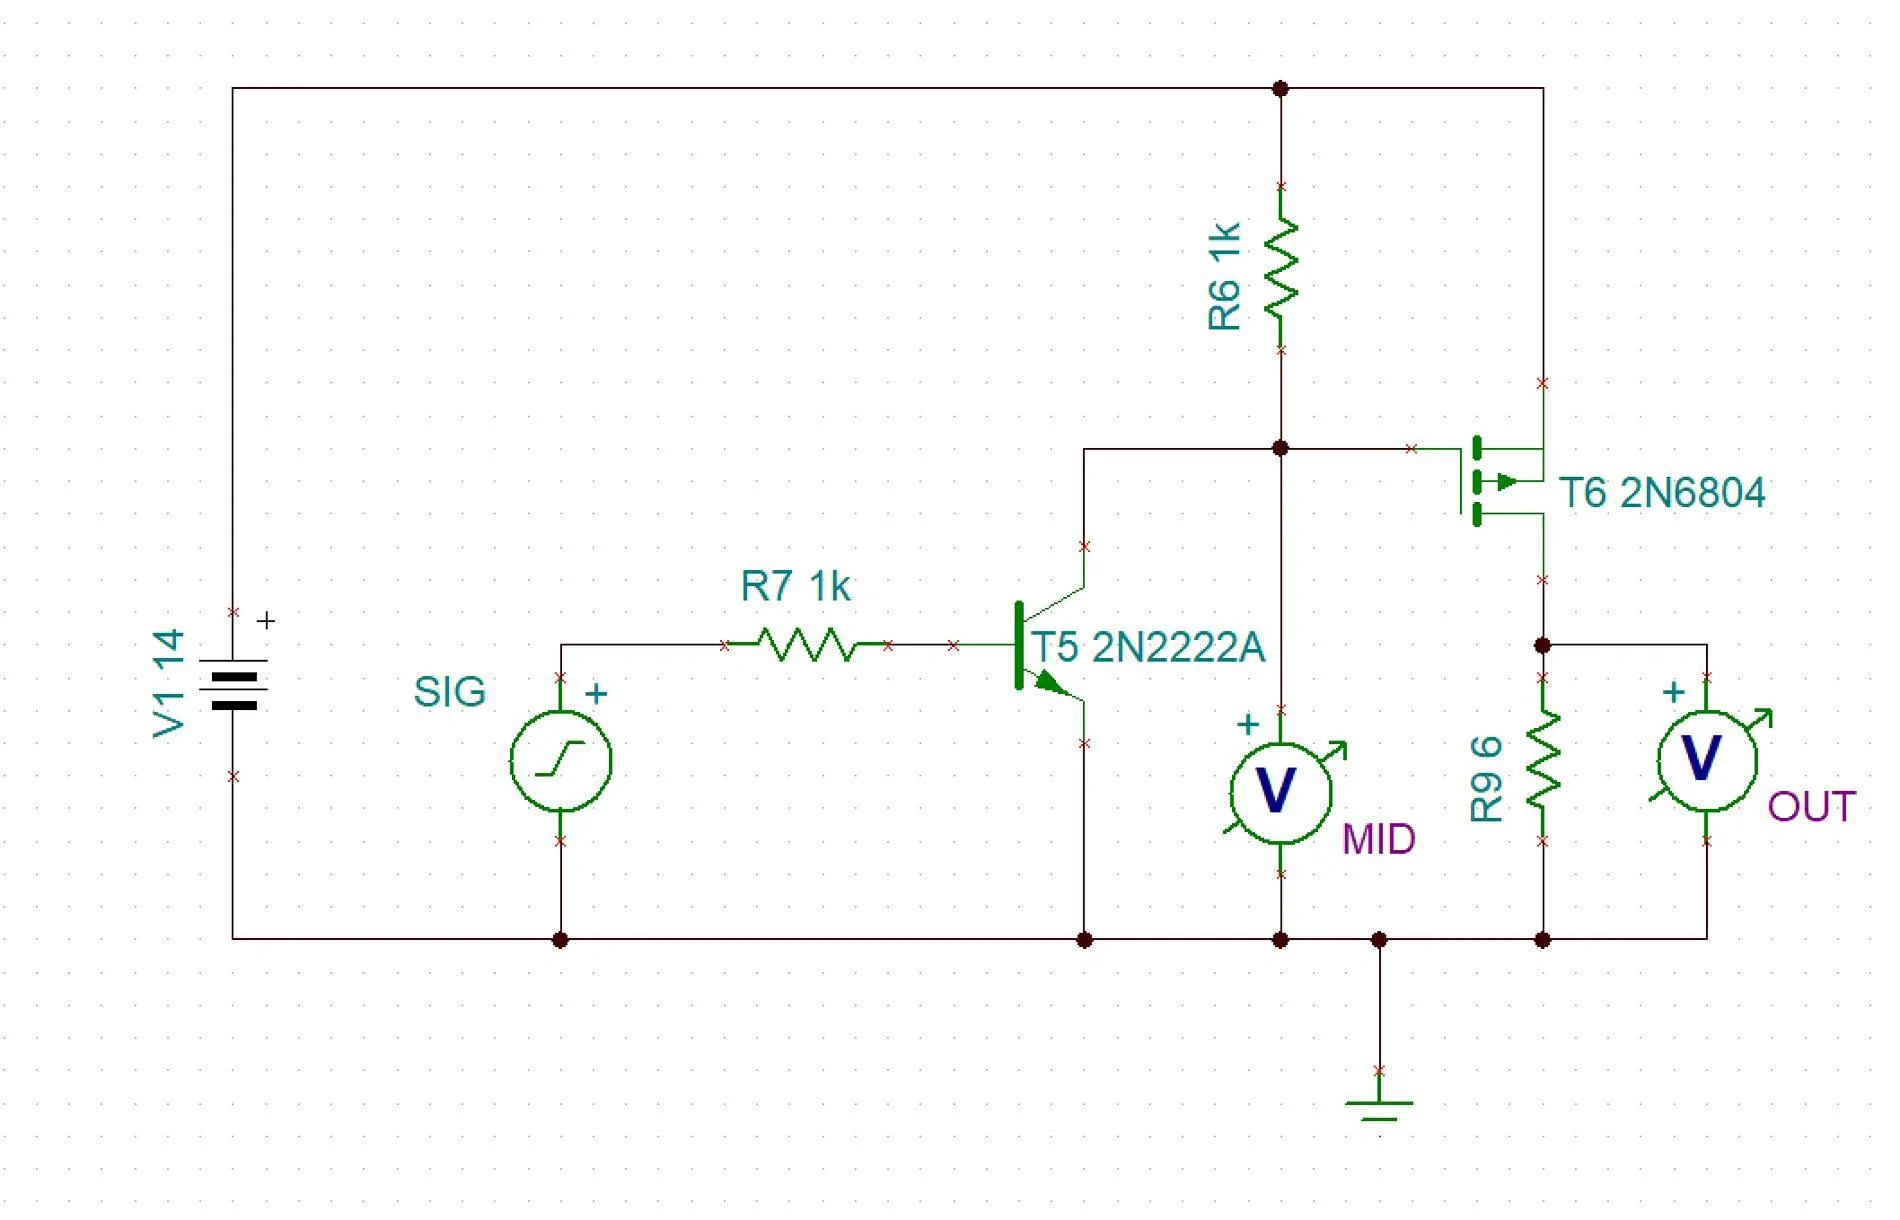
So, what I need is a way to do that. Now, I could tie into circuits directly and hope - but puddle lights (the ones I'm eyeing) pull a few amps, as does mood lighting. Will that overload the CANBUS system which monitors current draw and flags errors based upon overload/underload conditions? Who knows. But, being a long-time engineer, I'll make my own drive circuit...
Next post gets into some electrical theory, so skip if you're not interested in it.
Got the usual mods done - bed cover, rubber floor mats, dash cam, etc. and now want to add some nice features.
1. Interior ambient/mood lighting. Love this on my wife's 2015 Mustang. Subtle lighting in the footwells. Would also add below the front seats, so the rear passengers get it, too.
2. Puddle lights. Exterior lighting at the doors (all 4) when you unlock the doors, turn off after you start the vehicle.
THIS WILL BE A LONGISH, EVOLVING THREAD! I'M DOING IT IN REAL-TIME AS I'M WORKING THROUGH THE DESIGN/IMPLEMENTATION!
Now, analyzing the way the Maverick behaves, and the different model options/features, I've narrowed it down. The dome light comes on (all models) when you unlock the vehicle, or open the door. The dome light goes off when you start the vehicle (or about 60 seconds has elapsed). So, it seems to me, that puddle lights should track the dome light. When you unlock the truck, the dome lights come on - so should the puddle lights, to illuminate around the truck. And then when you start the truck (or after 60 seconds of closing the last open door - how slow are you, after all?) the dome light goes off - so should the puddle lights.
So - for puddle lights, I'll track the operation of the dome lights. Done.
Ambient/mood lighting? Well, in the Mustang, they turn on when it's dark outside. When you unlock the vehicle, the mood lights come on, and stay on (if it's dark outside). I'd like that, too. So when you open the door you can see the floor, etc. So - dome light! We want that same behavior. HOWEVER, we have the added requirement of staying on if it's dark!
Now, the XL and the XLT do NOT have dedicated daytime running lights; they use the low beams instead. The Lariat, however, does have DRLs. In automatic mode, the Lariat's low beams come on when it starts to get dark, which is the behavior we want.
So - solution for mood lighting that works for all models: turn on when the dome light turns on, AND stay on if the low beams are on (meaning it's either dark enough to have them - Lariat - or it's maybe dark - XL/XLT).
Summary so far:
- Puddle lights track the dome light
- Ambient/mood lighting tracks dome light and also stay on if the low beams are on
So, what I need is a way to do that. Now, I could tie into circuits directly and hope - but puddle lights (the ones I'm eyeing) pull a few amps, as does mood lighting. Will that overload the CANBUS system which monitors current draw and flags errors based upon overload/underload conditions? Who knows. But, being a long-time engineer, I'll make my own drive circuit...
Next post gets into some electrical theory, so skip if you're not interested in it.
Sponsored
Last edited:
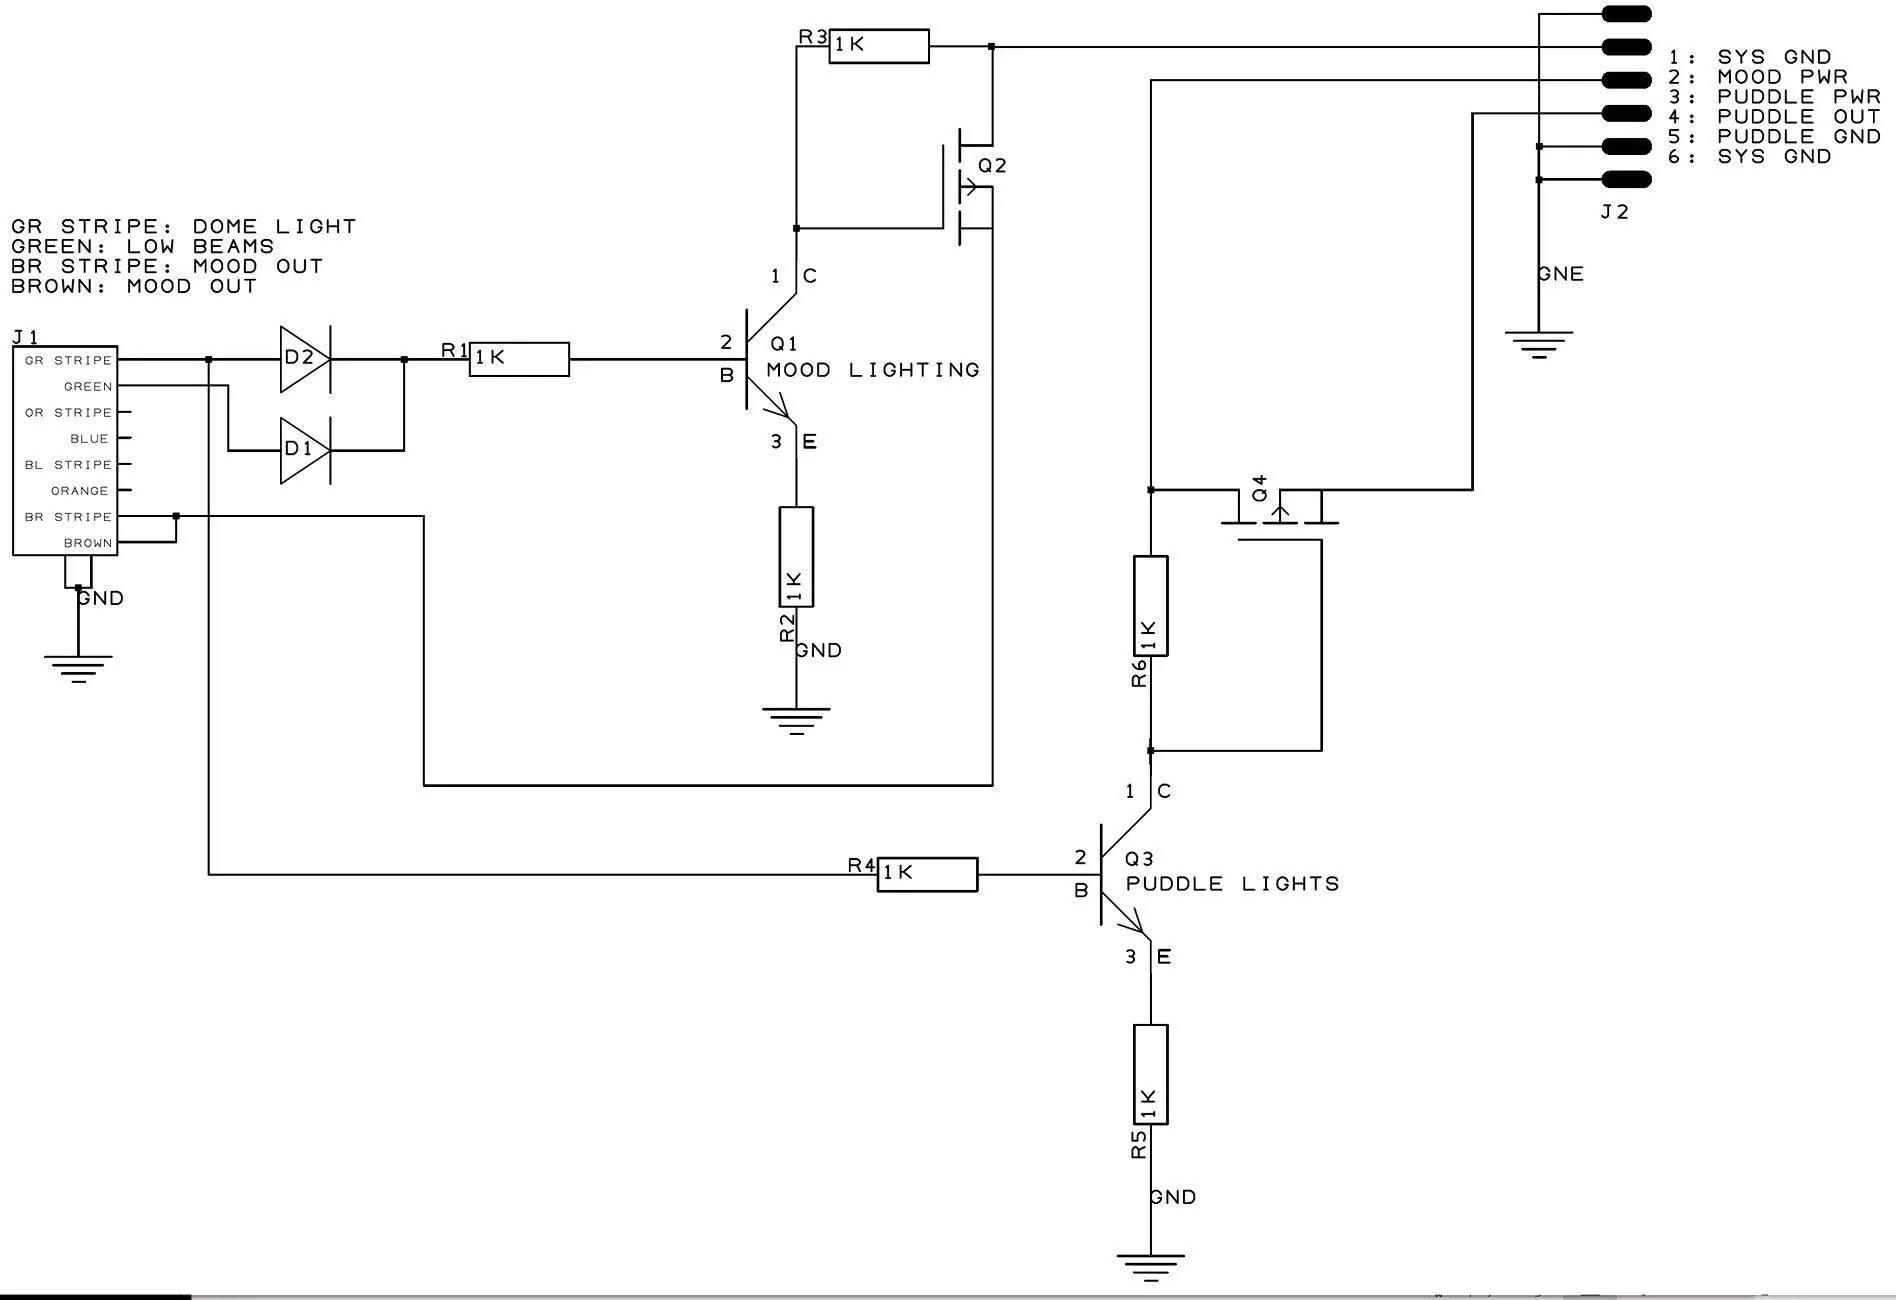
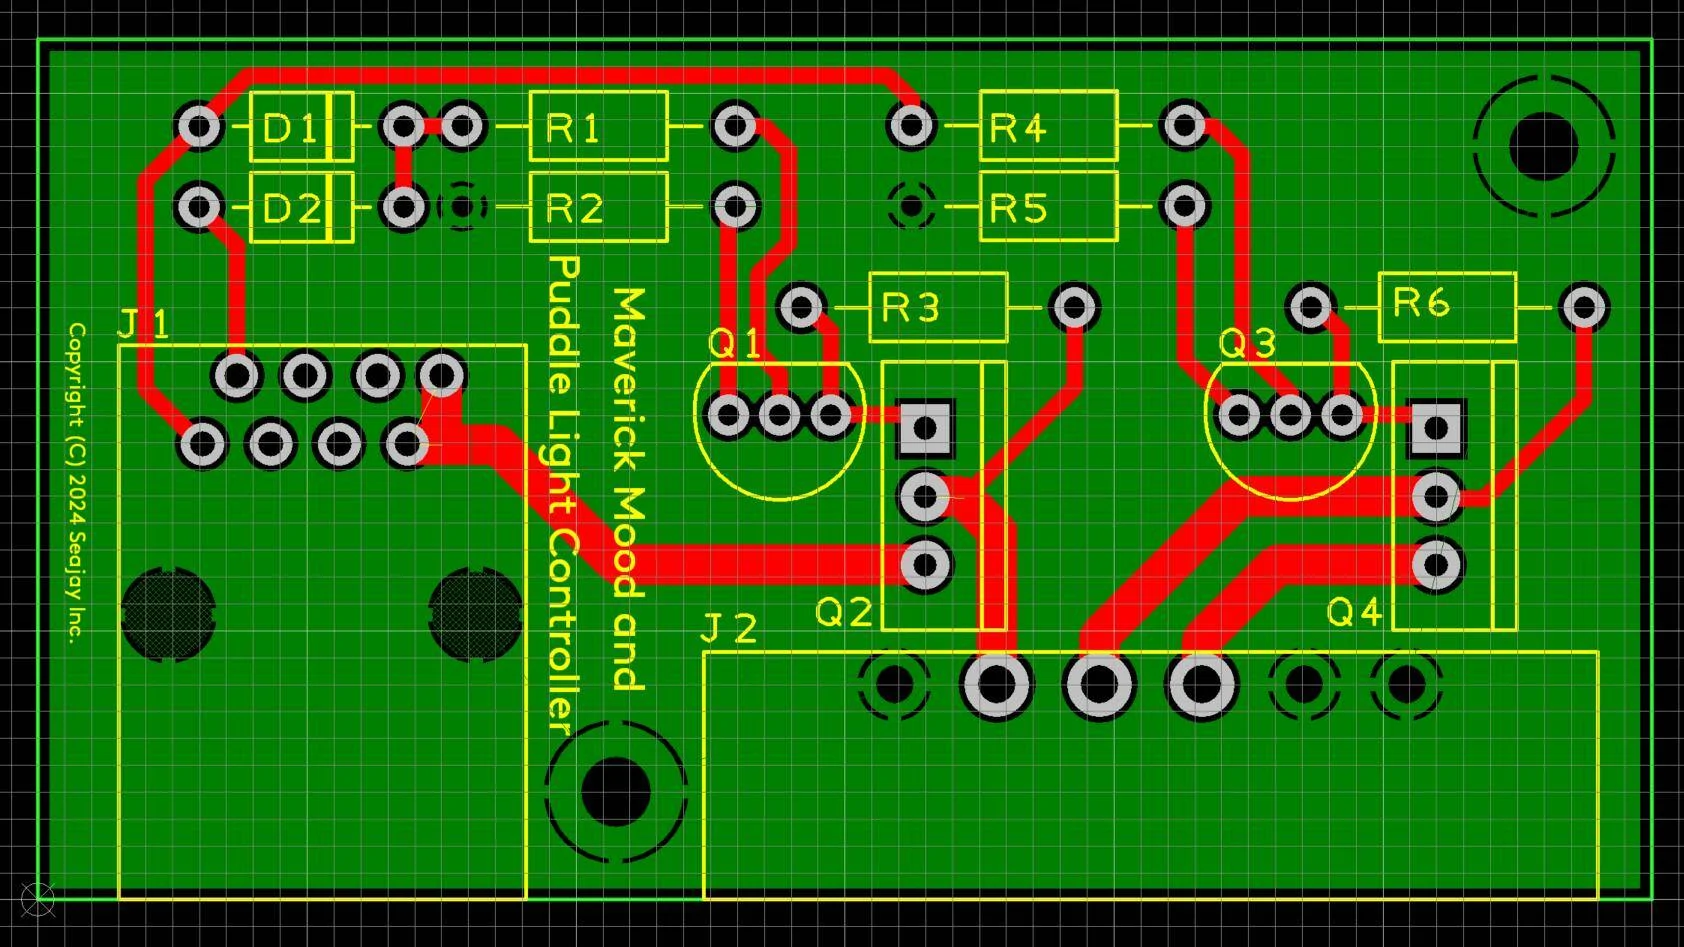
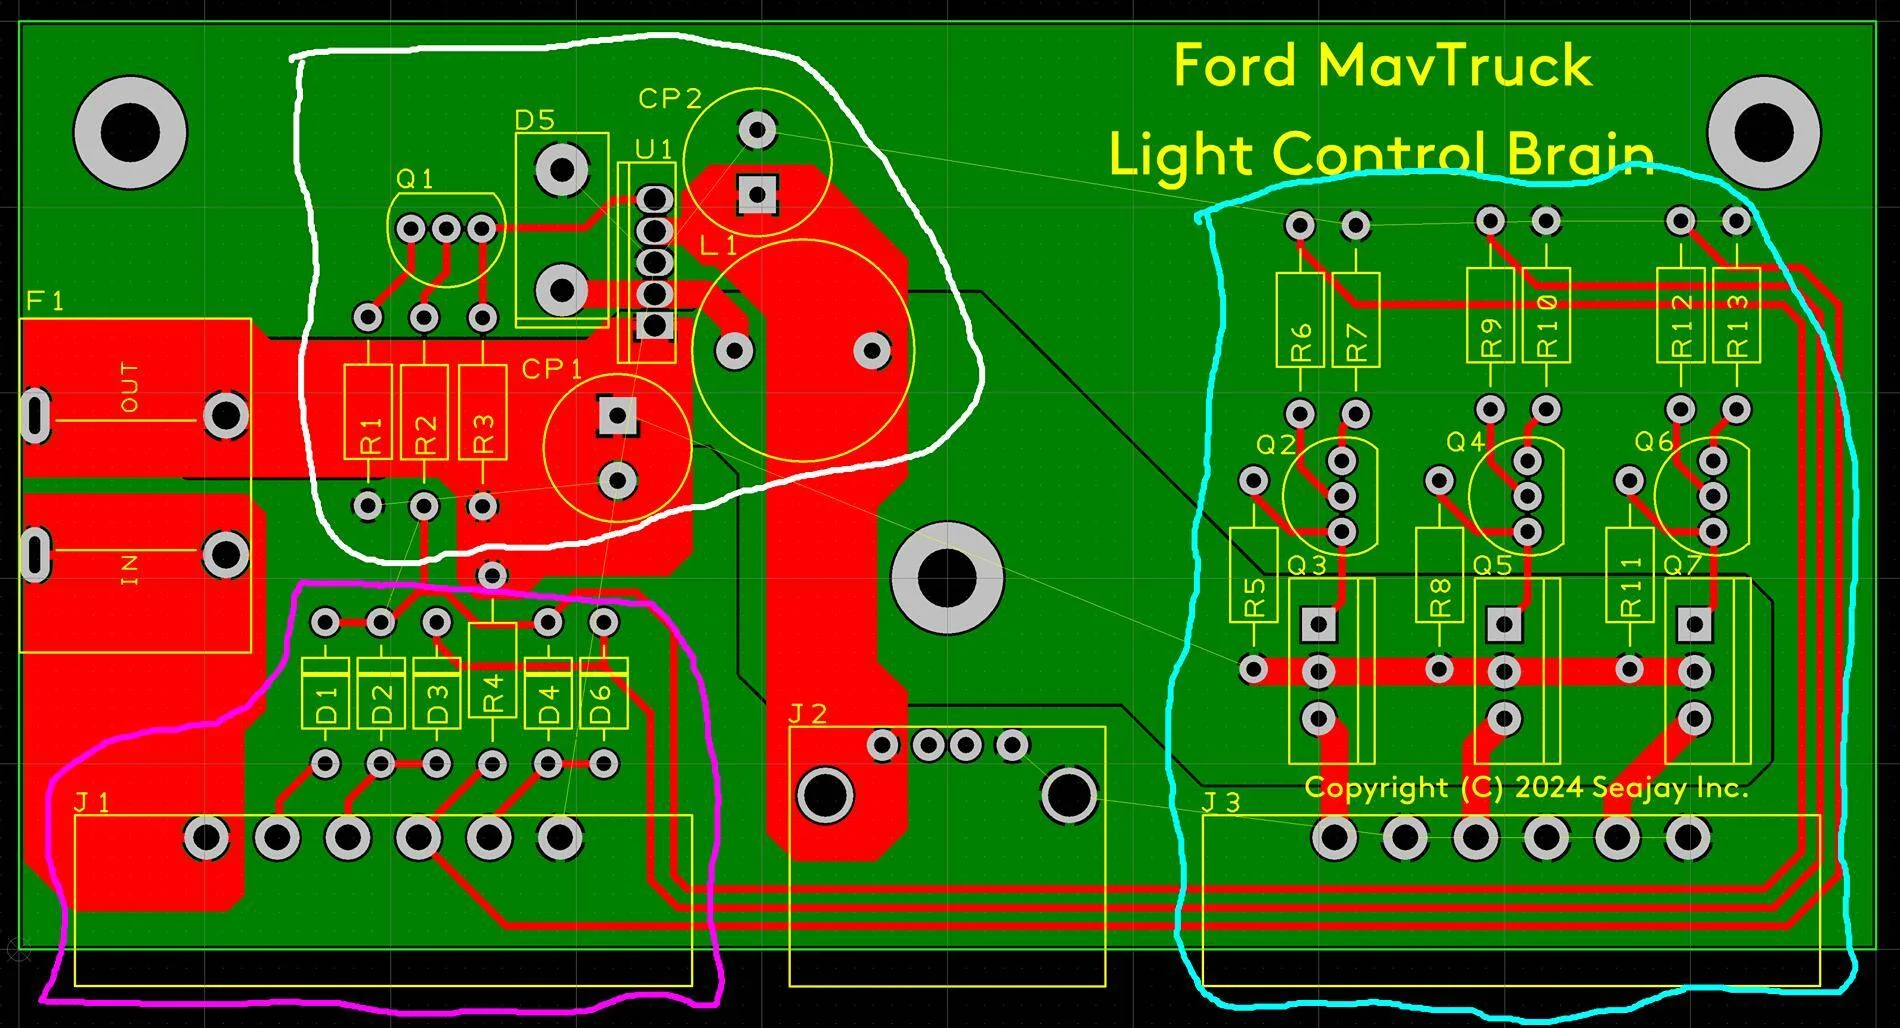
") Isolating it to a separate board - which will be fused off a distribution block fed from the battery - will solve that.
Isolating it to a separate board - which will be fused off a distribution block fed from the battery - will solve that.