- Joined
- Jul 23, 2022
- Threads
- 8
- Messages
- 59
- Reaction score
- 76
- Location
- Dallas, TX
- Vehicle(s)
- Acura, Honda
- Engine
- 2.0L EcoBoost
- Thread starter
- #1
EDIT (20241222): The final pics are in Post #4 of this thread.
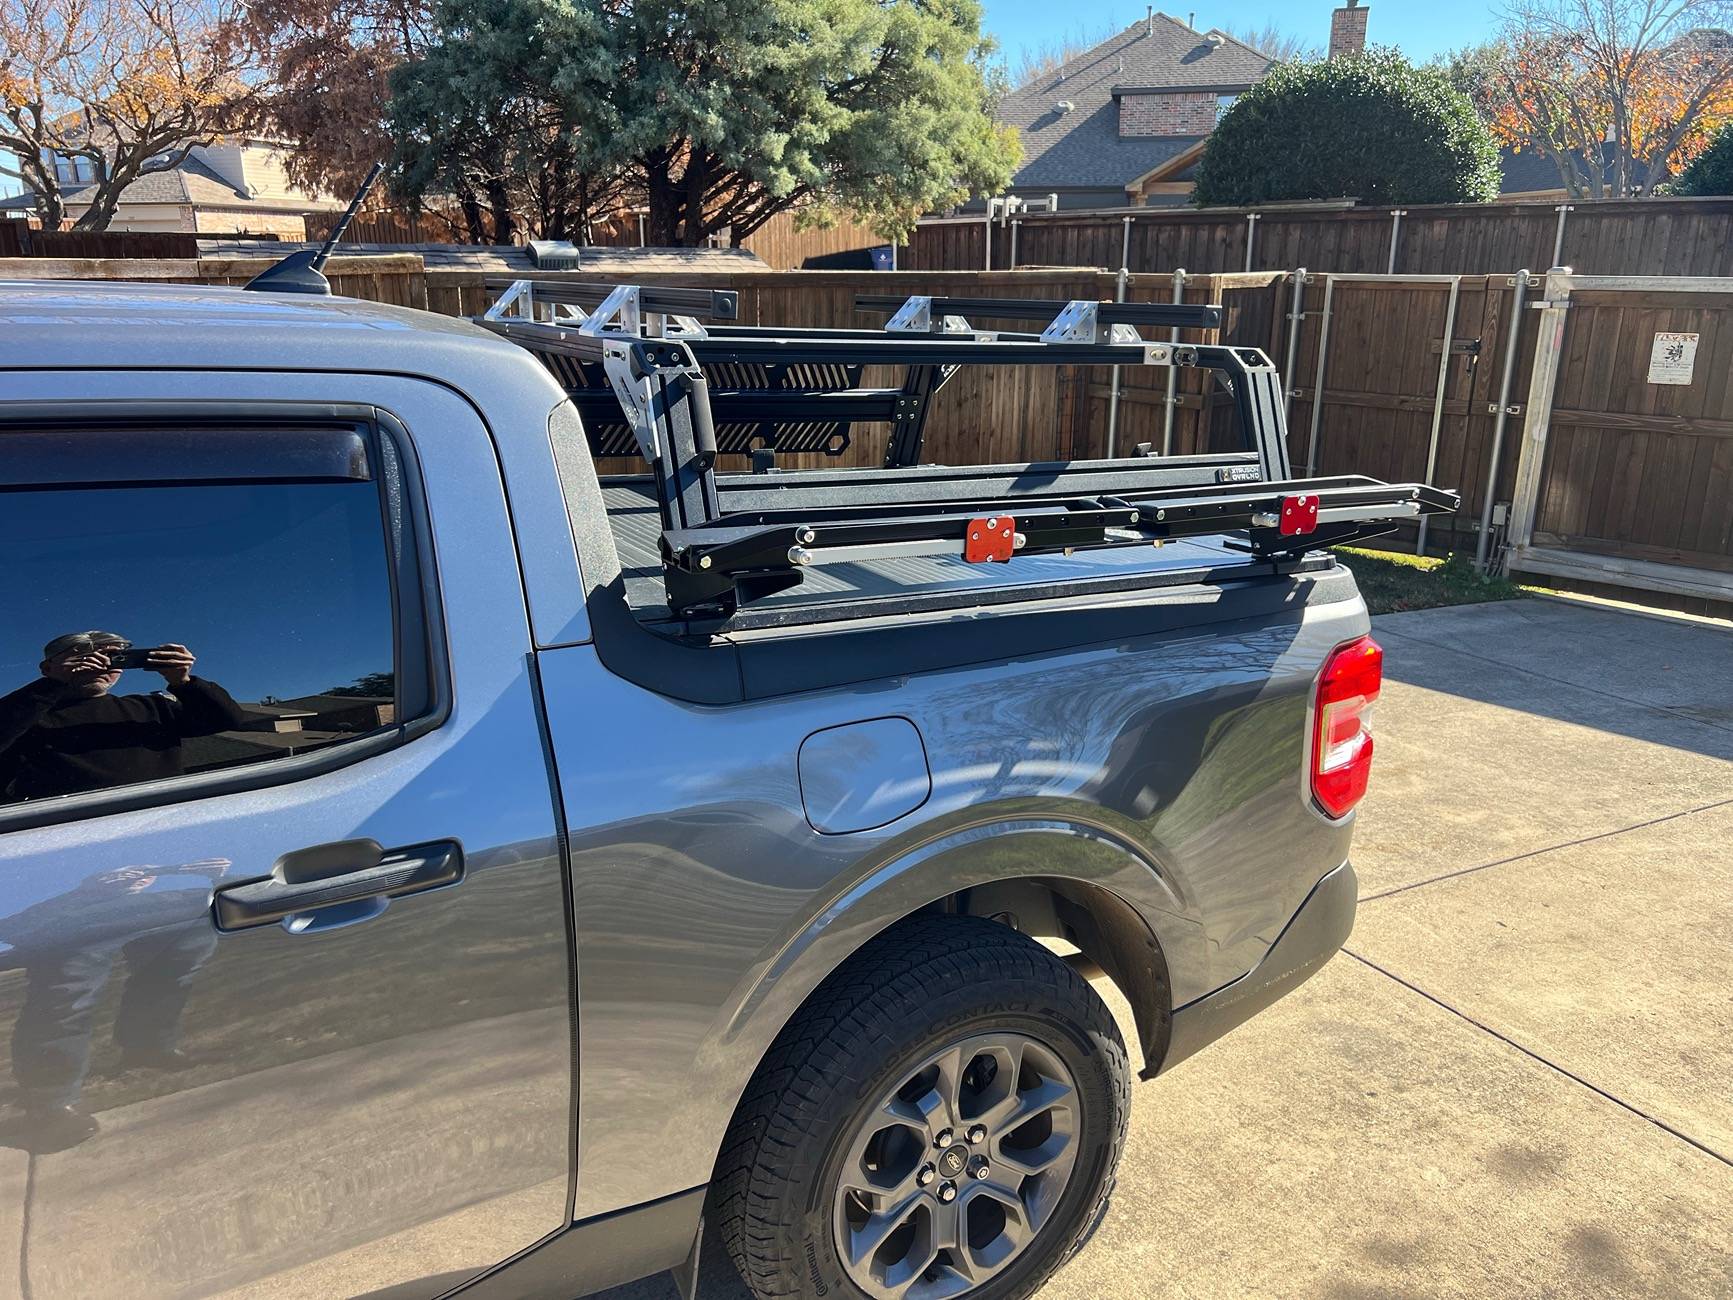
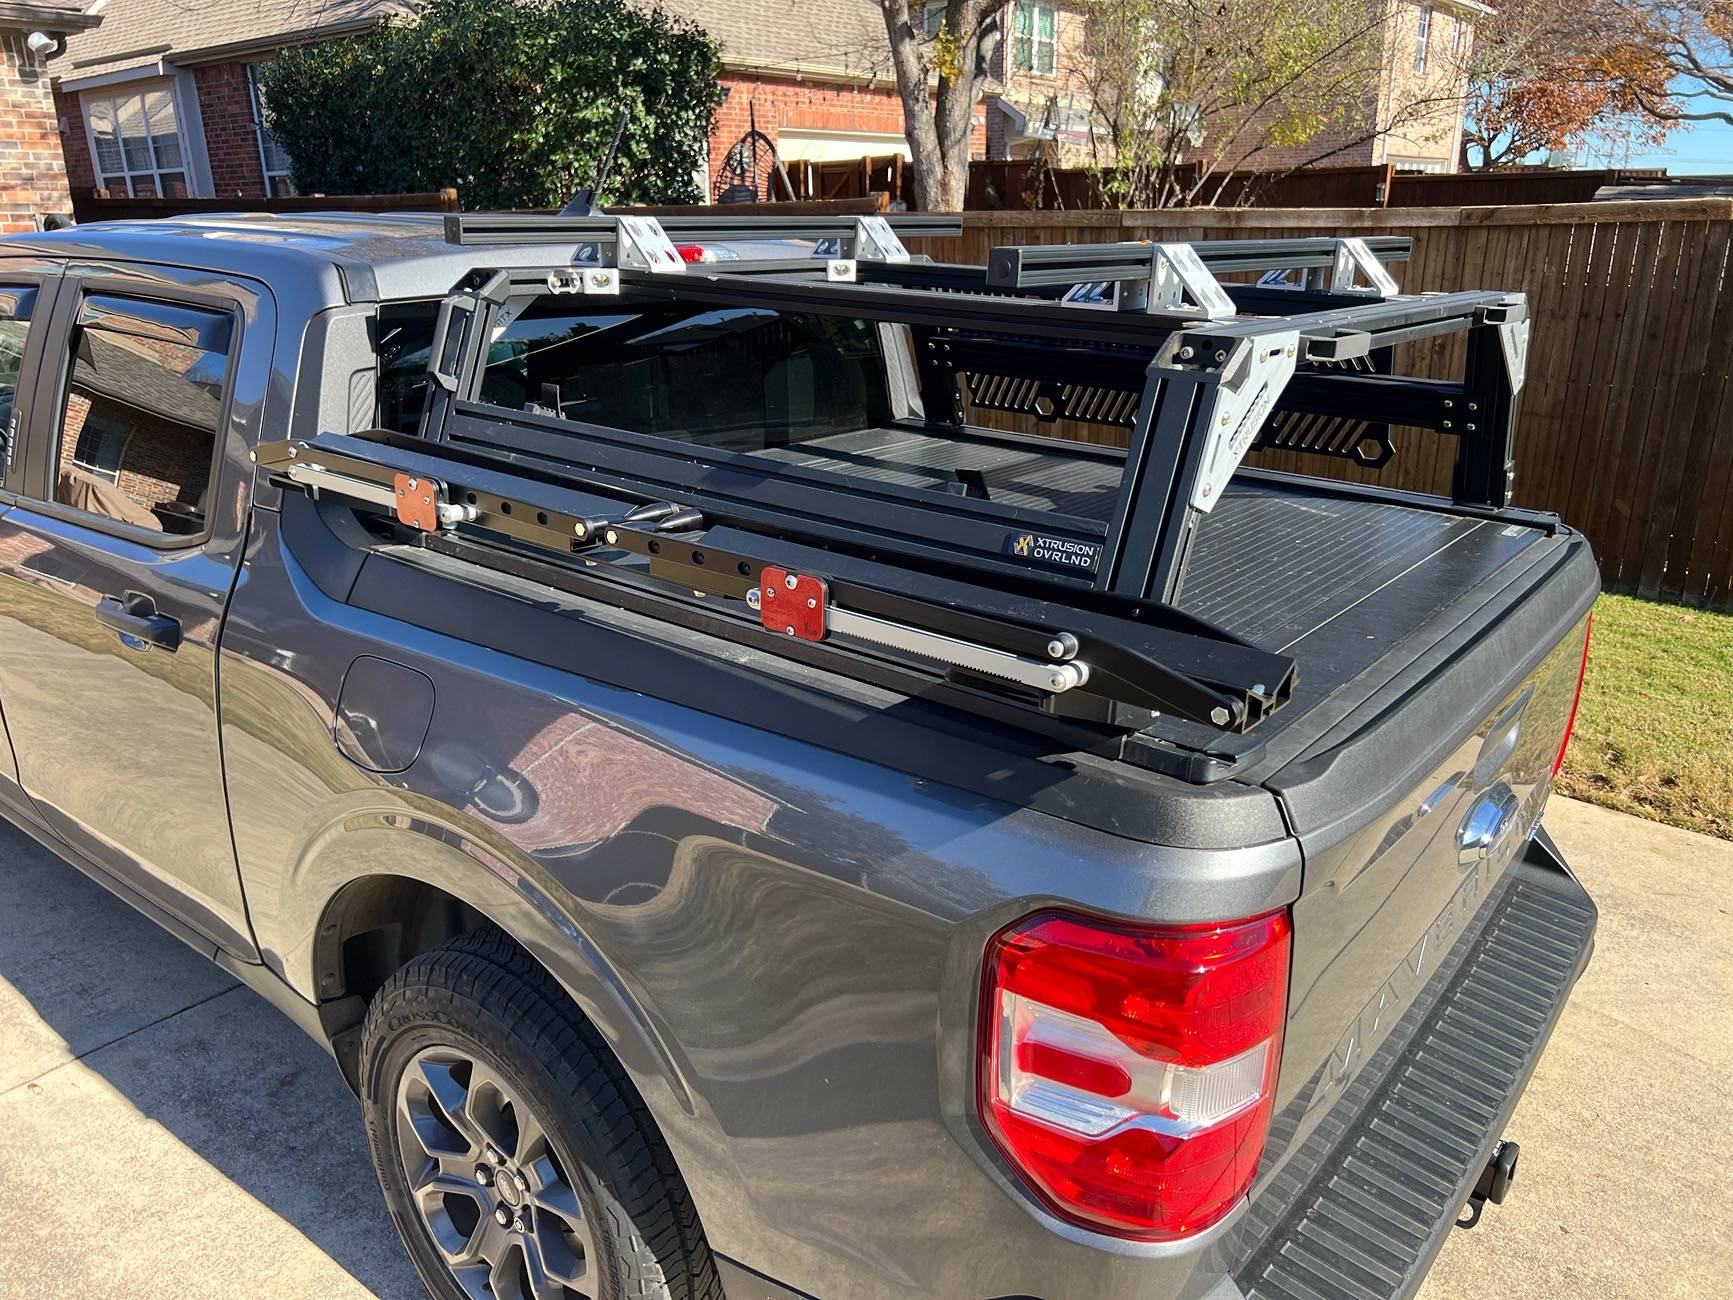
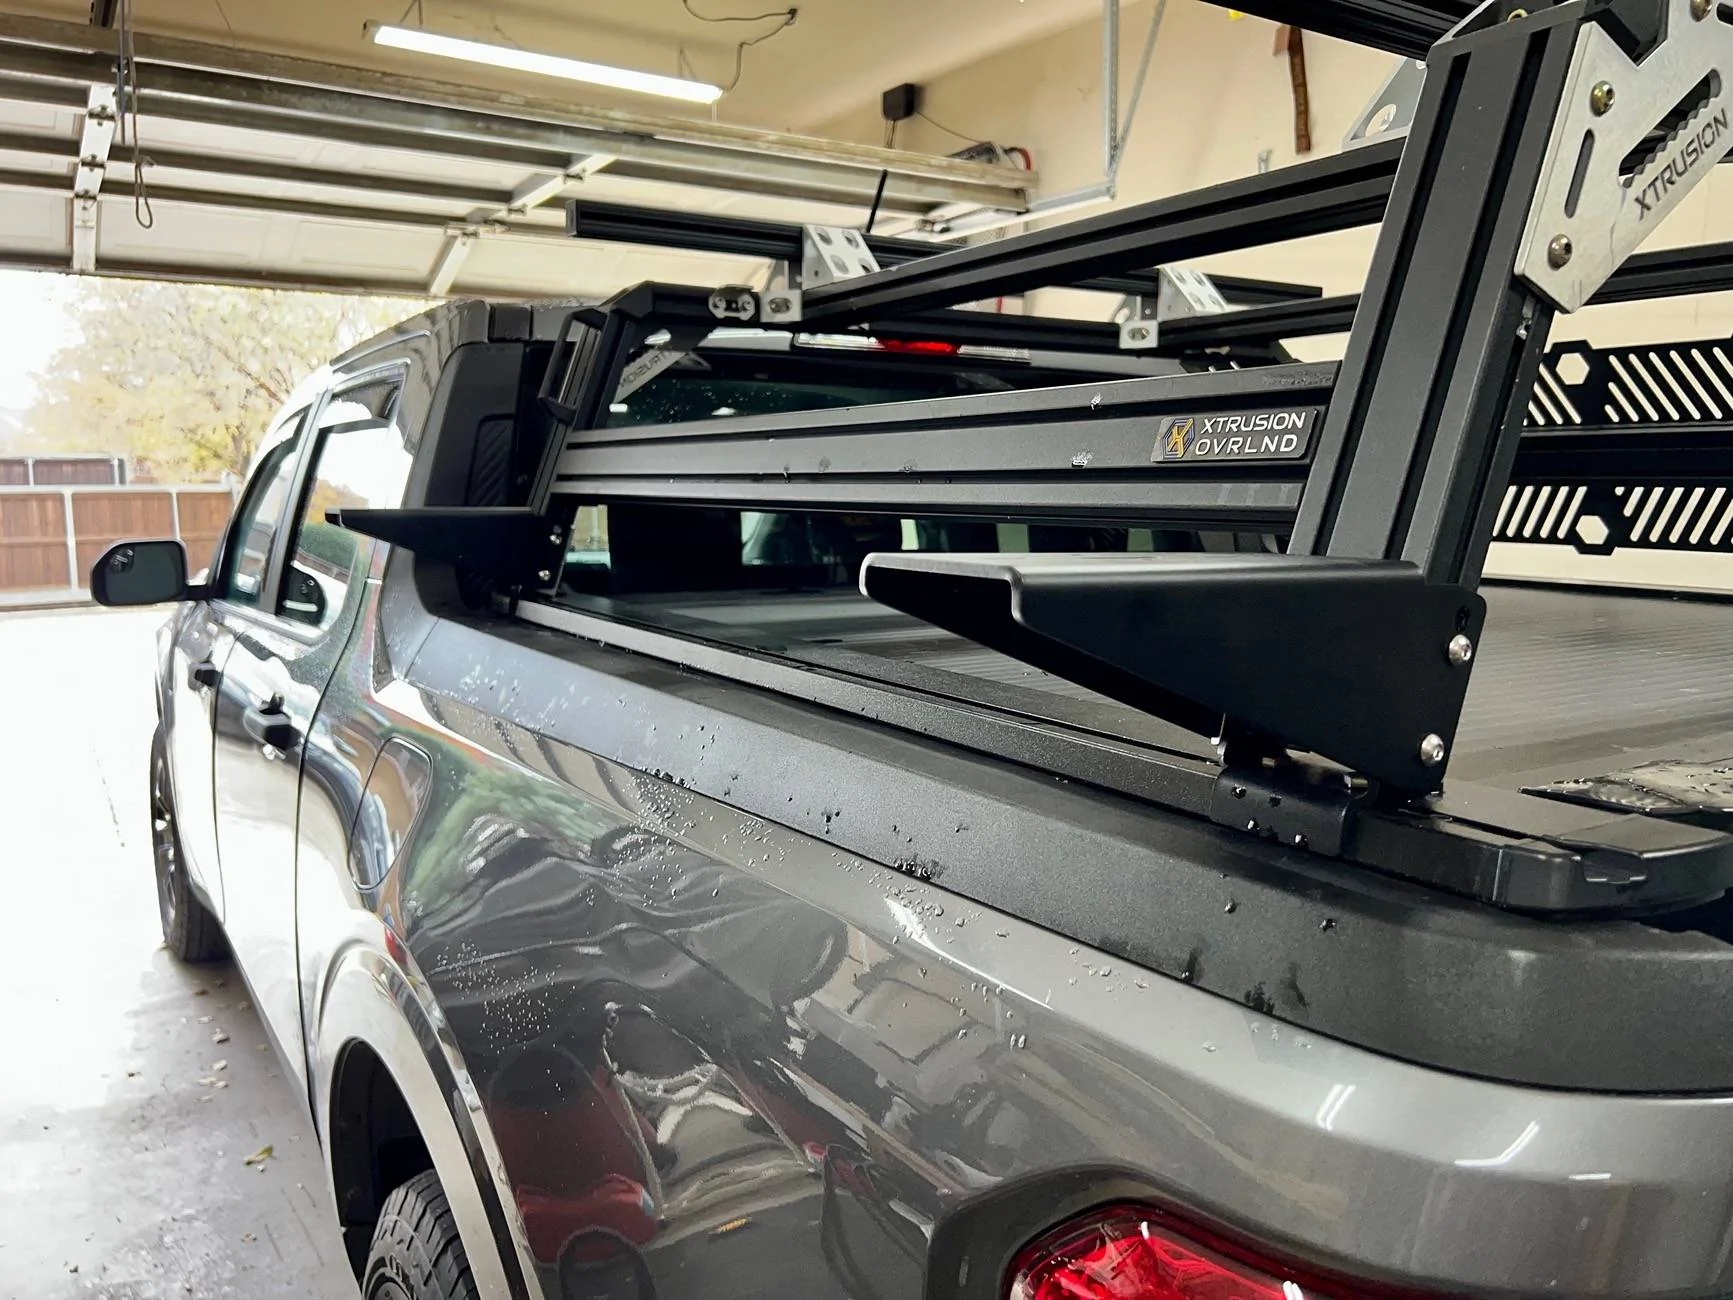
I'd like to side mount a bike rack on my Xtrusion Overland XTR1 but Xtrusion Overland doesn't currently make a mount kit. So, I purchased a Side Bike Mount Kit from BillieBars and set out to make it work.
You'll need:
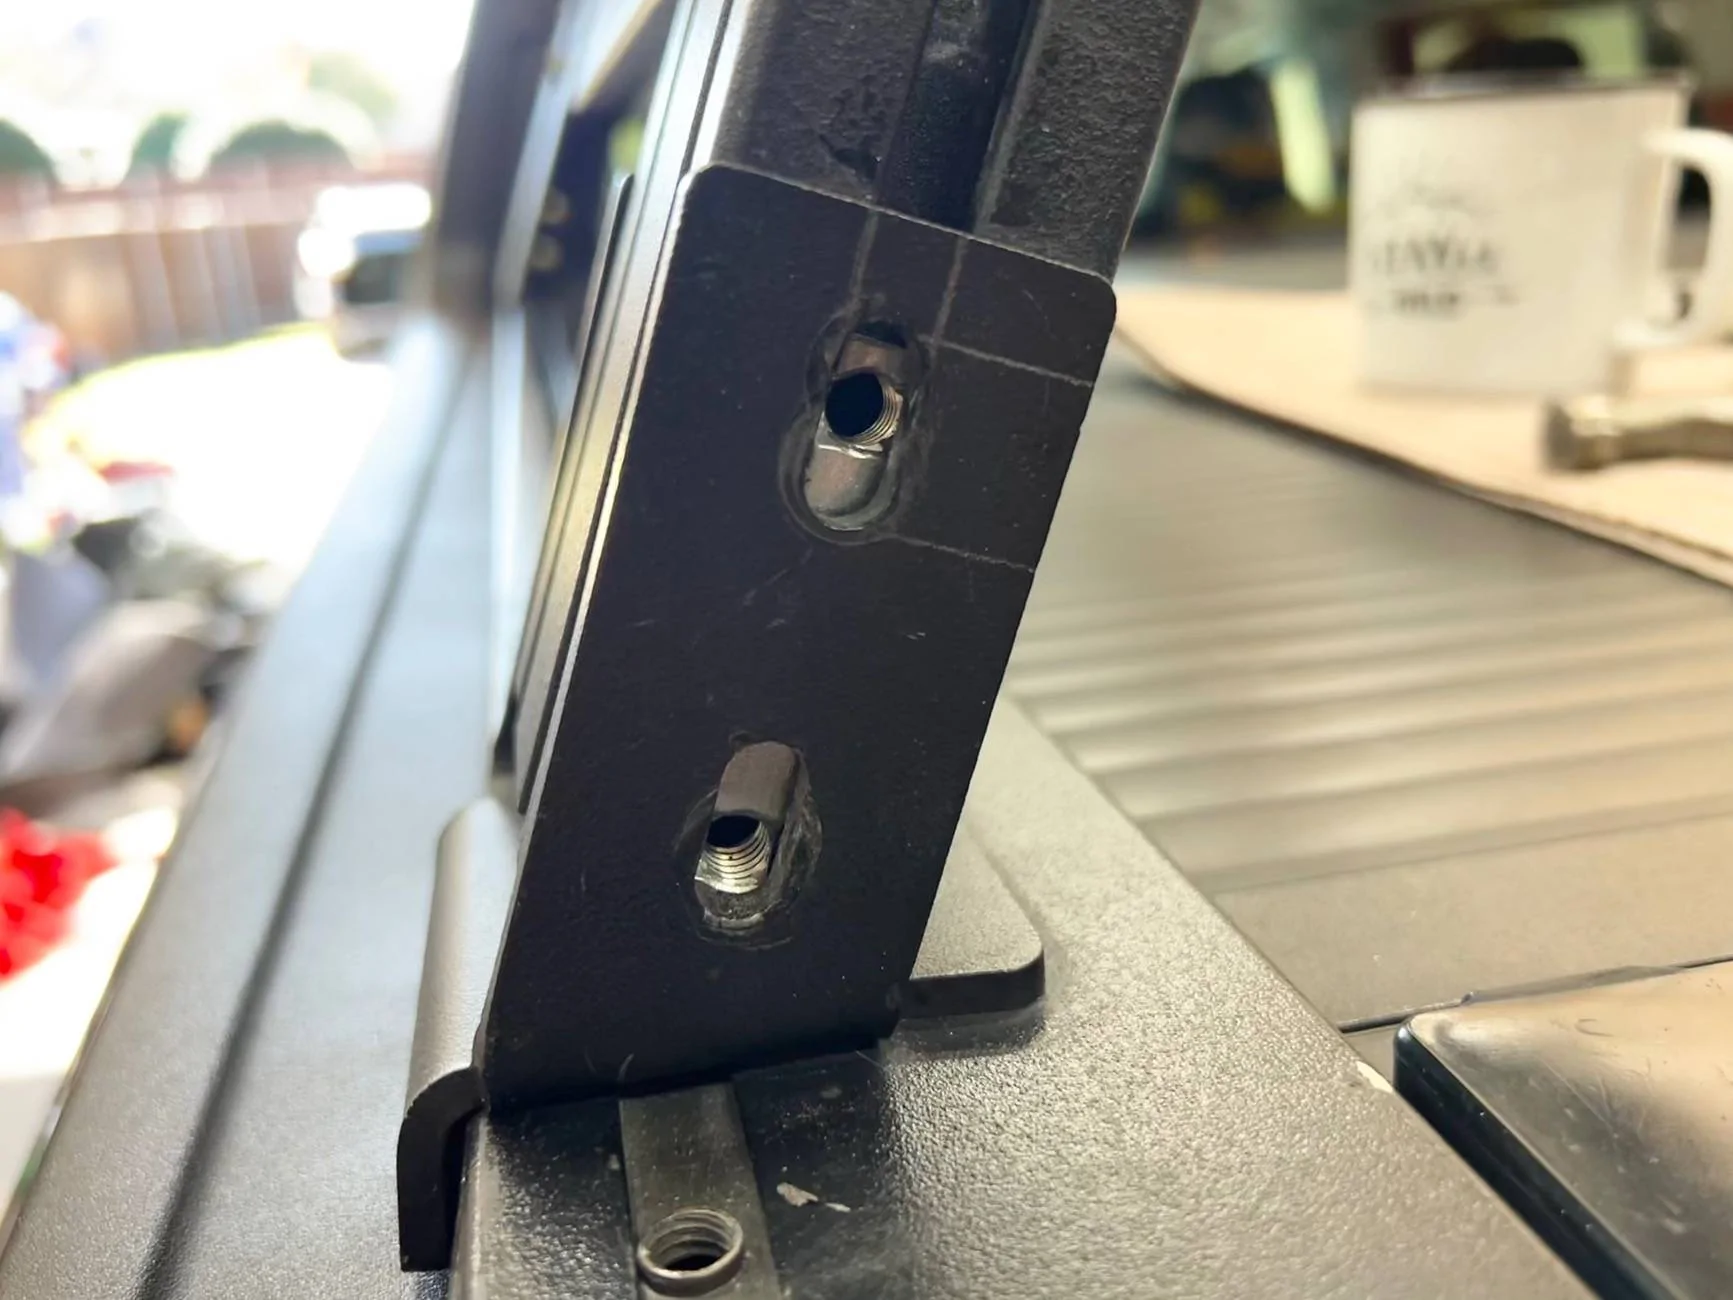
As expected, the holes on the mounts did not match the holes on the base of my rack uprights. And, luckily, the mounts were 0.25" wider than the base of my rack upright base.
The Xtrusion Overland uprights are at a 20-degree angle. So, if I want the mounts to be level to the ground I need to drill a hole allowing the mount to be at 110-degrees from the uprights.
Using some shade-tree methodology, I determined the location where I need to drill a new top hole in the mounts.
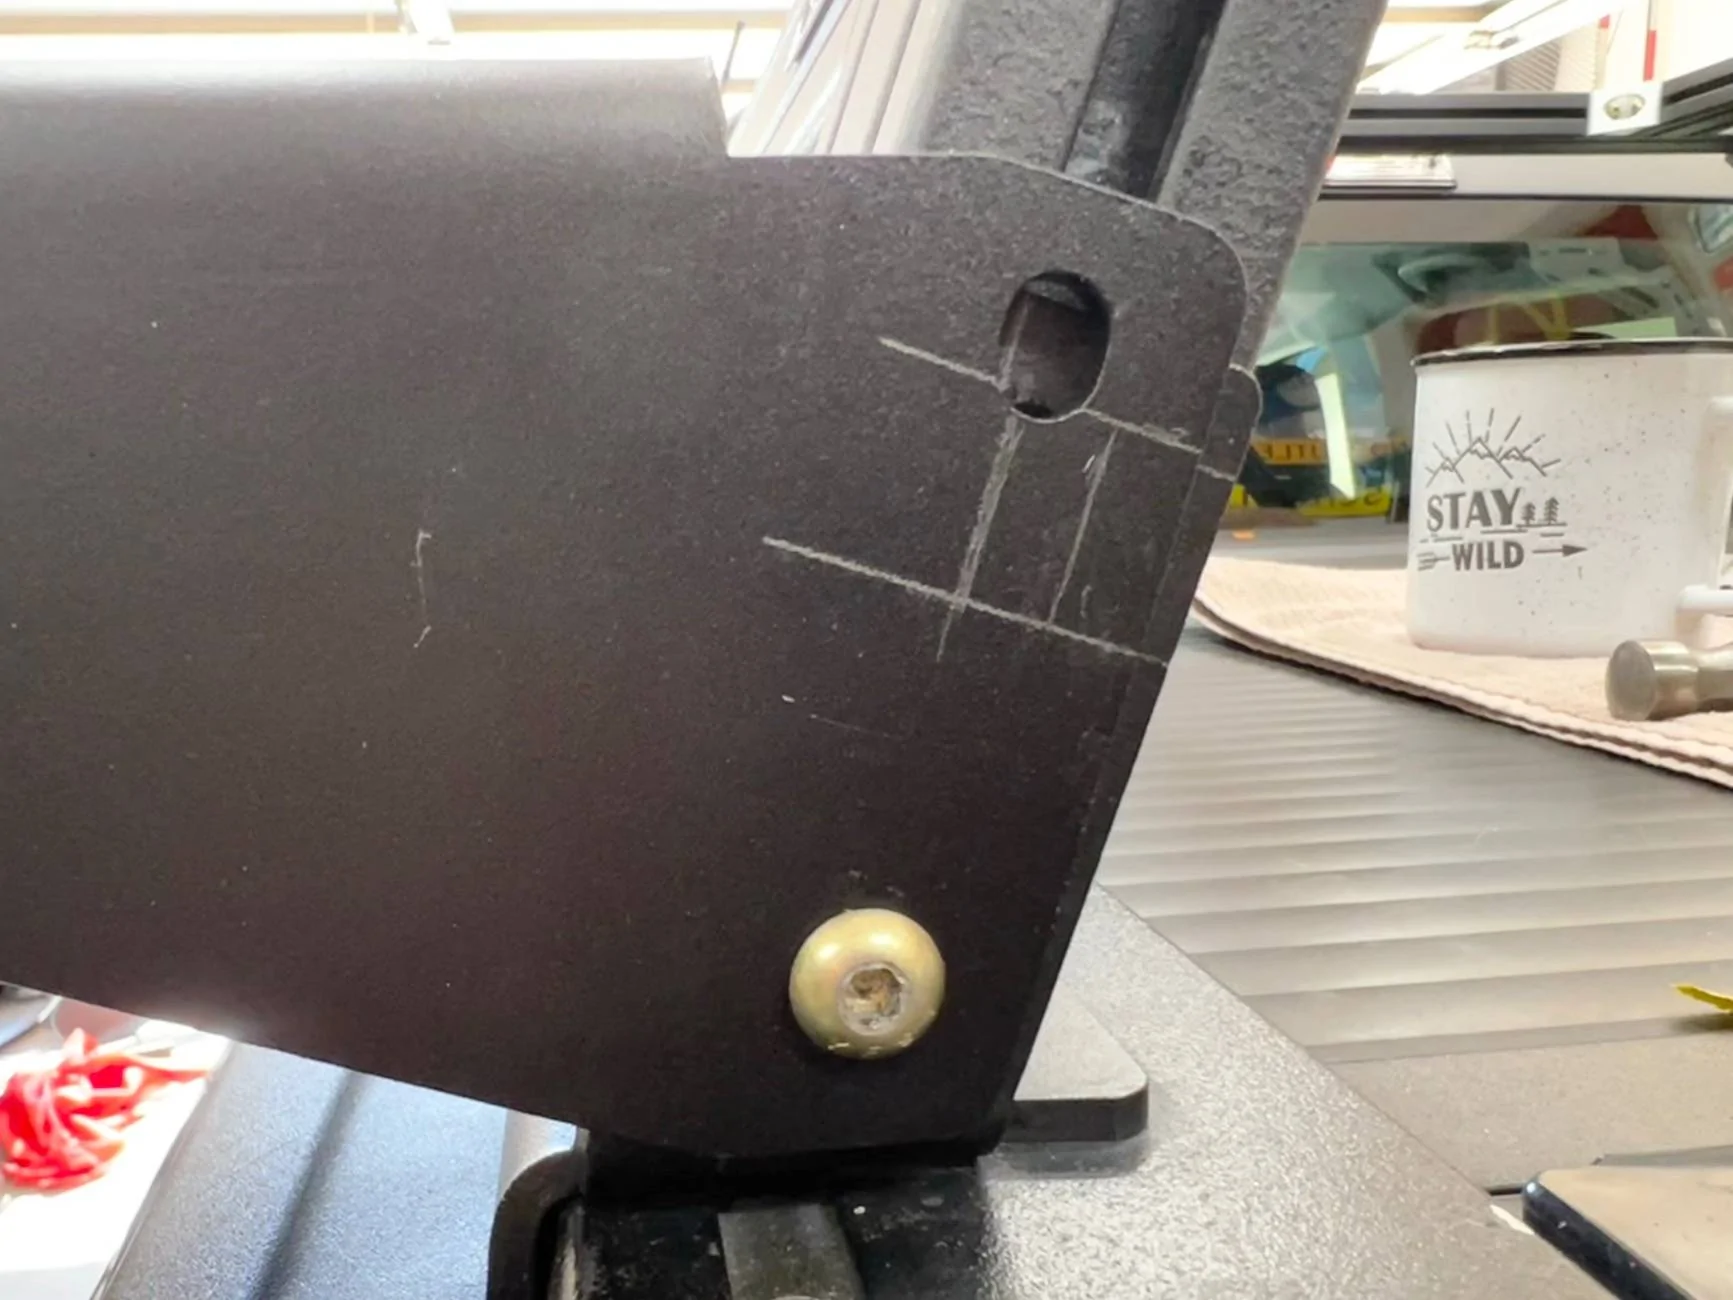

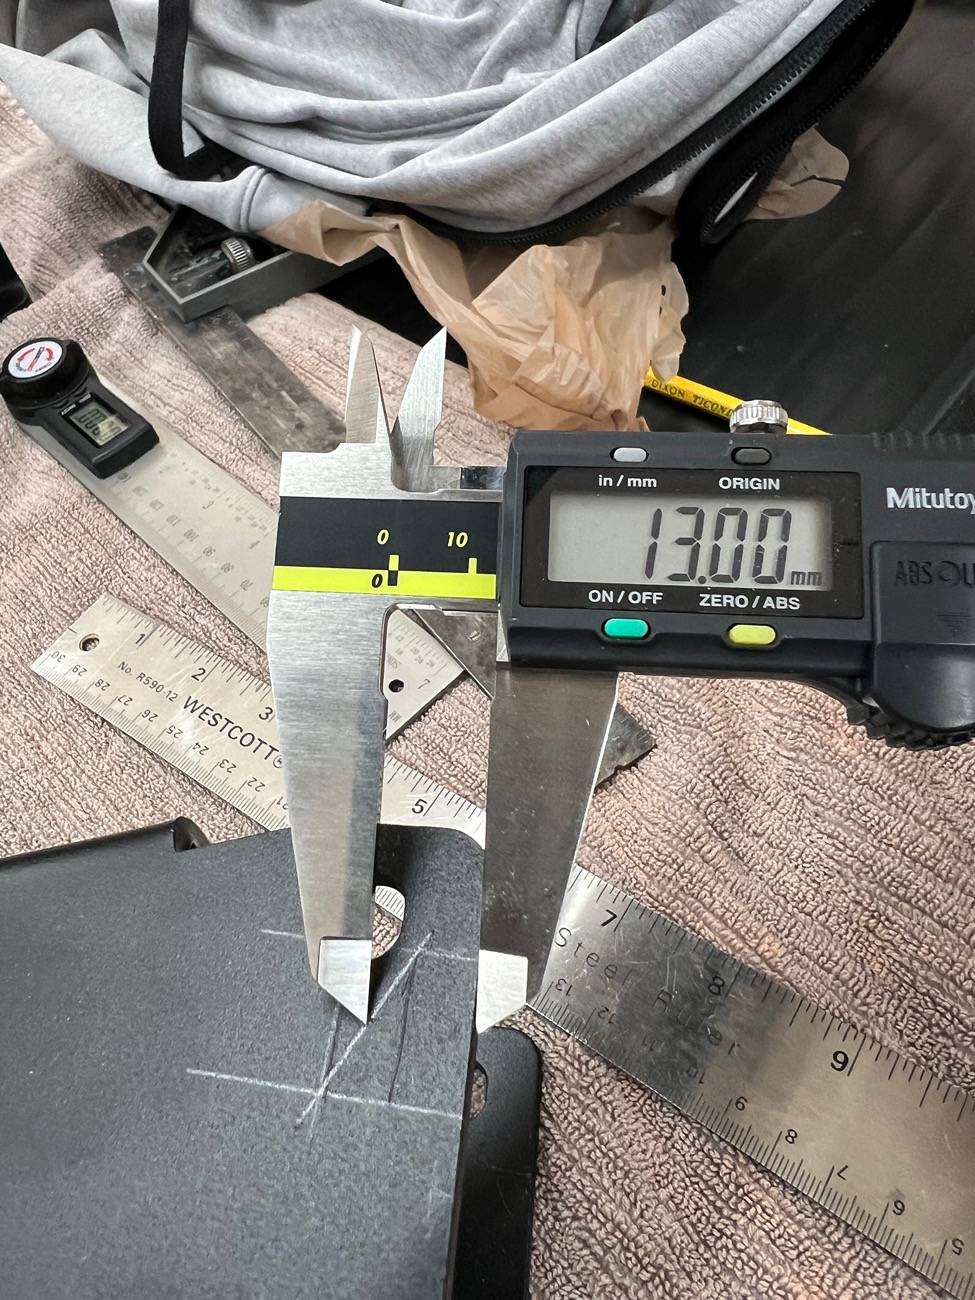
Prior to drilling, I took some measurements so I could more easily mark the hole on the opposite side of this mount and both sides of the second mount.
The new top hole needs to be 13mm from the back of the mount flange and 26mm from the top of the mount flange.

I drilled a 5/16" hole as I wanted a little bit of play in case my super duper scientific method of measuring was incorrect. Apologies in advance to any machinists reading this thread. lol
After drilling, I test fit the one side of the bike mount to the upright mount to ensure the holes were aligned and the mount was at the desired angle. Then I removed it and drilled out the other flanges.
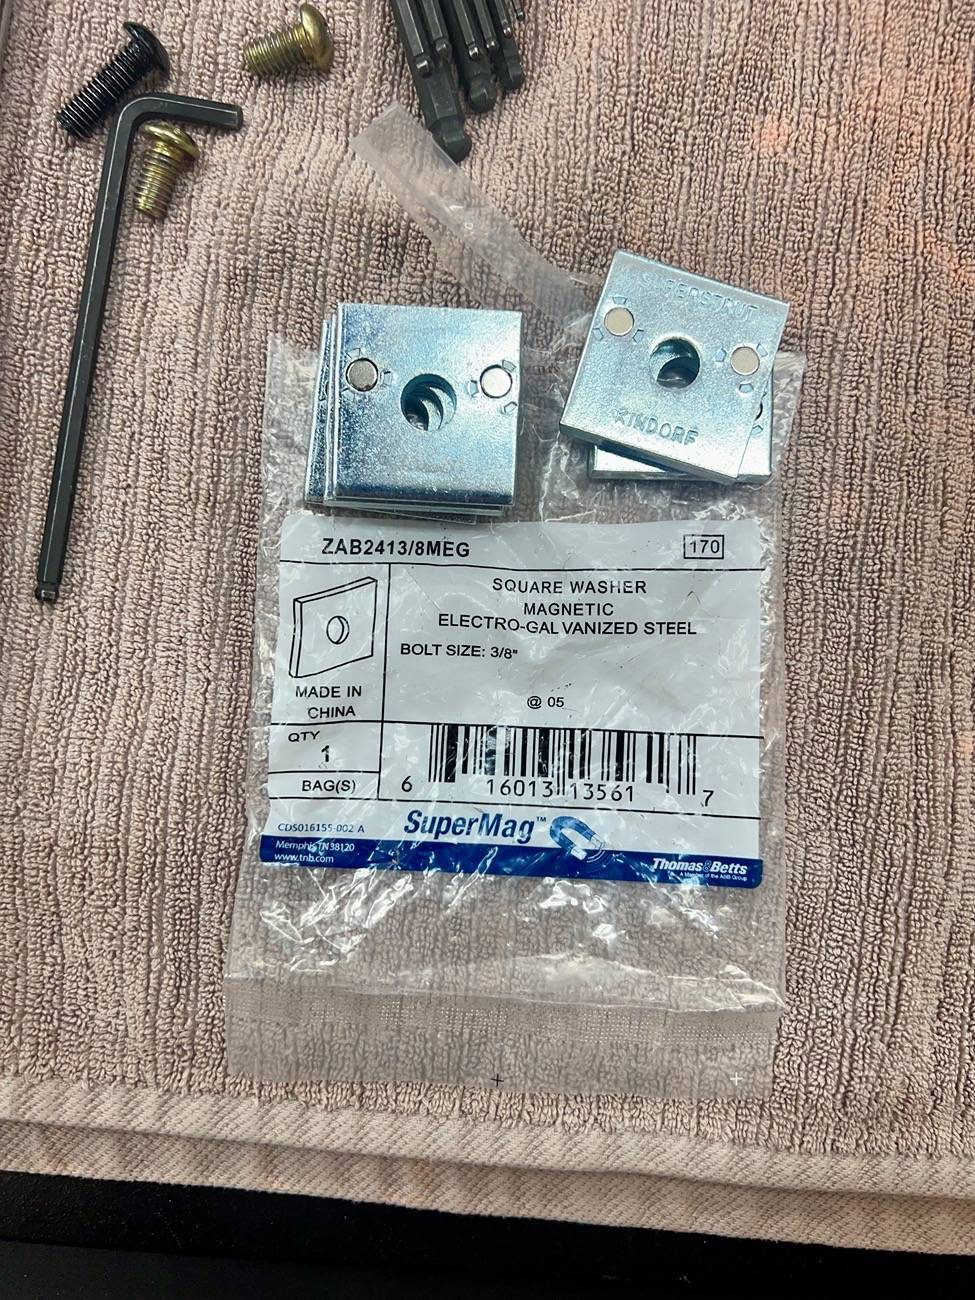
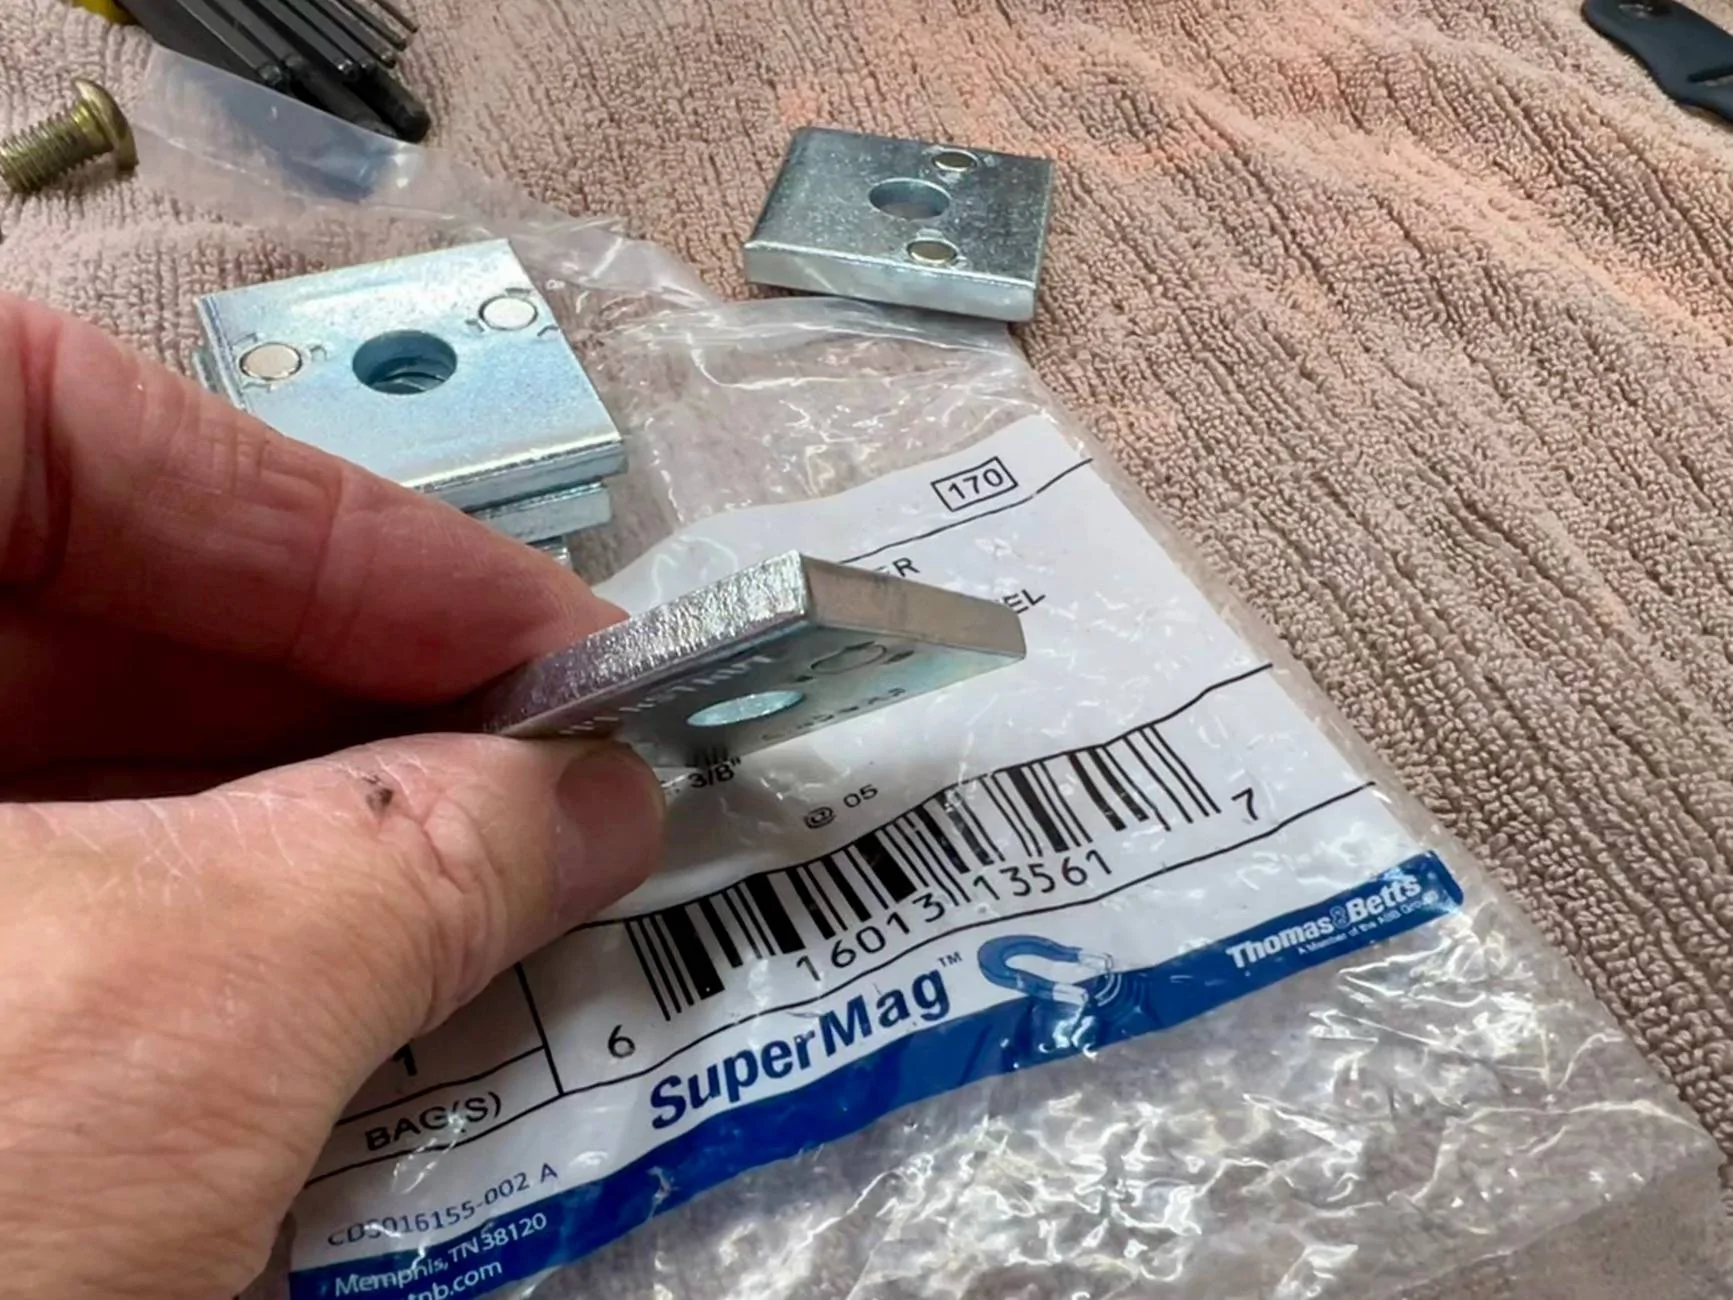
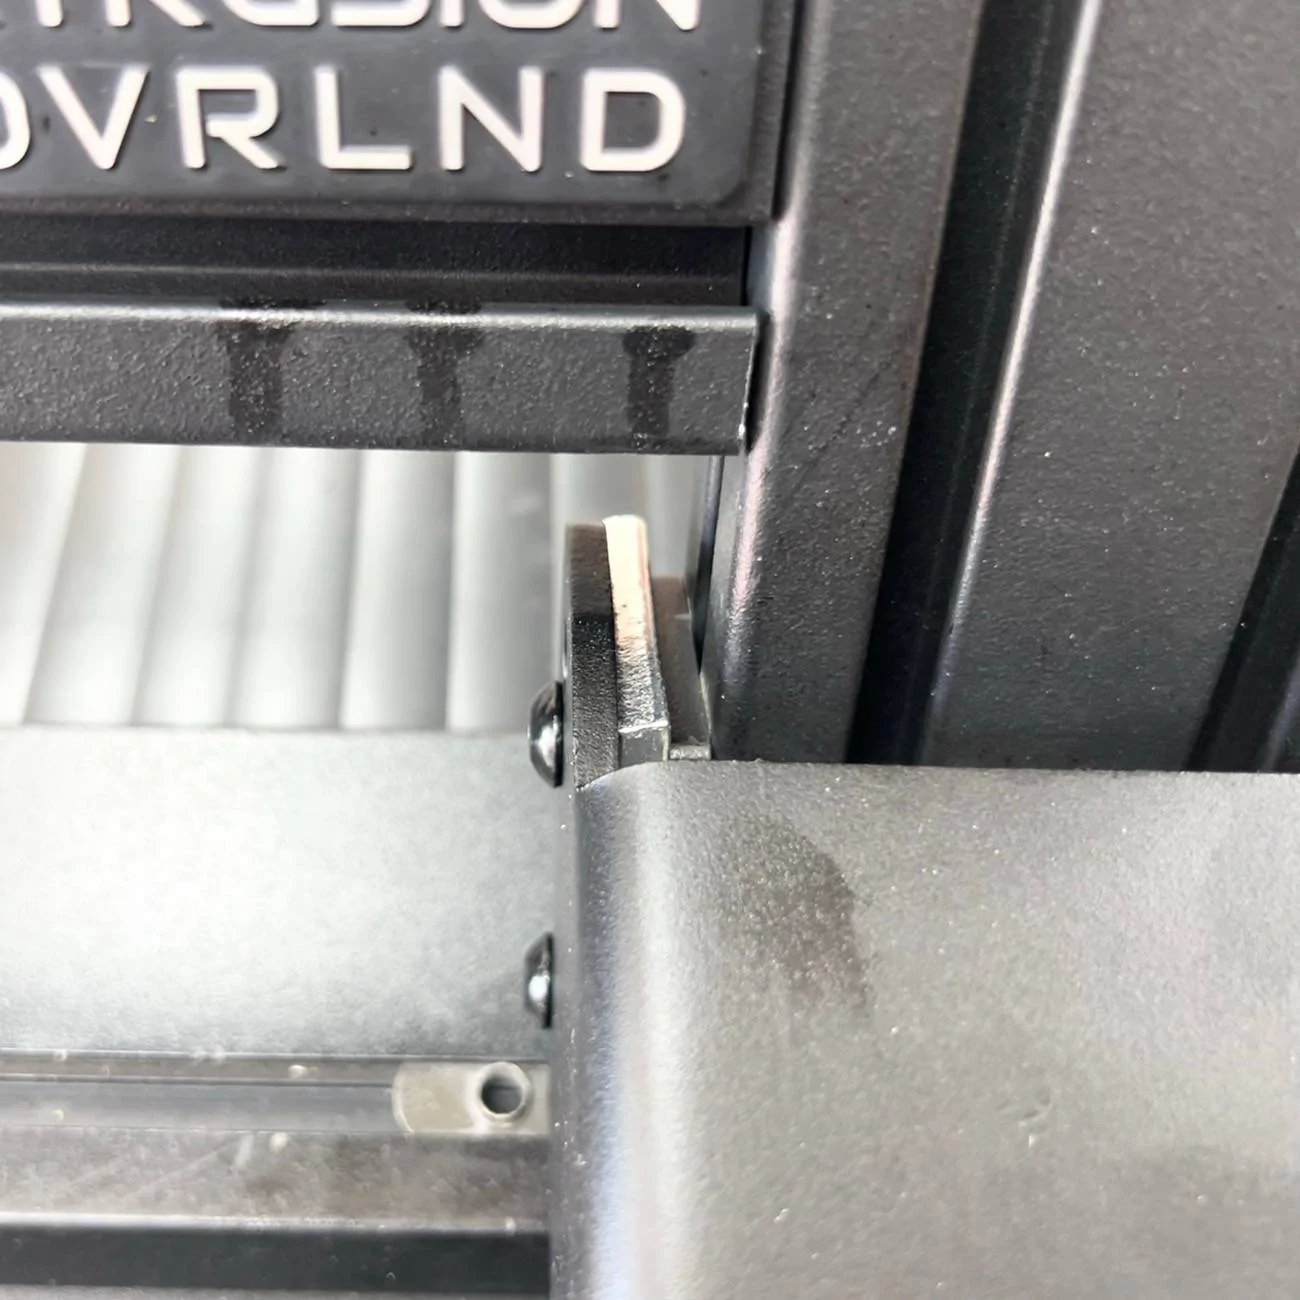
To fill in the 0.25" gap, I used some strut channel washers that I picked up from Home Depot. They were exactly 0.25".
Here's a few photos with the washers in place.
Lastly, you'll need bolts longer than the 5/16-18 x 5/8" bolts currently in place. I used 3/4" long bolts on the non-washer side and 1" bolts on the washer side.
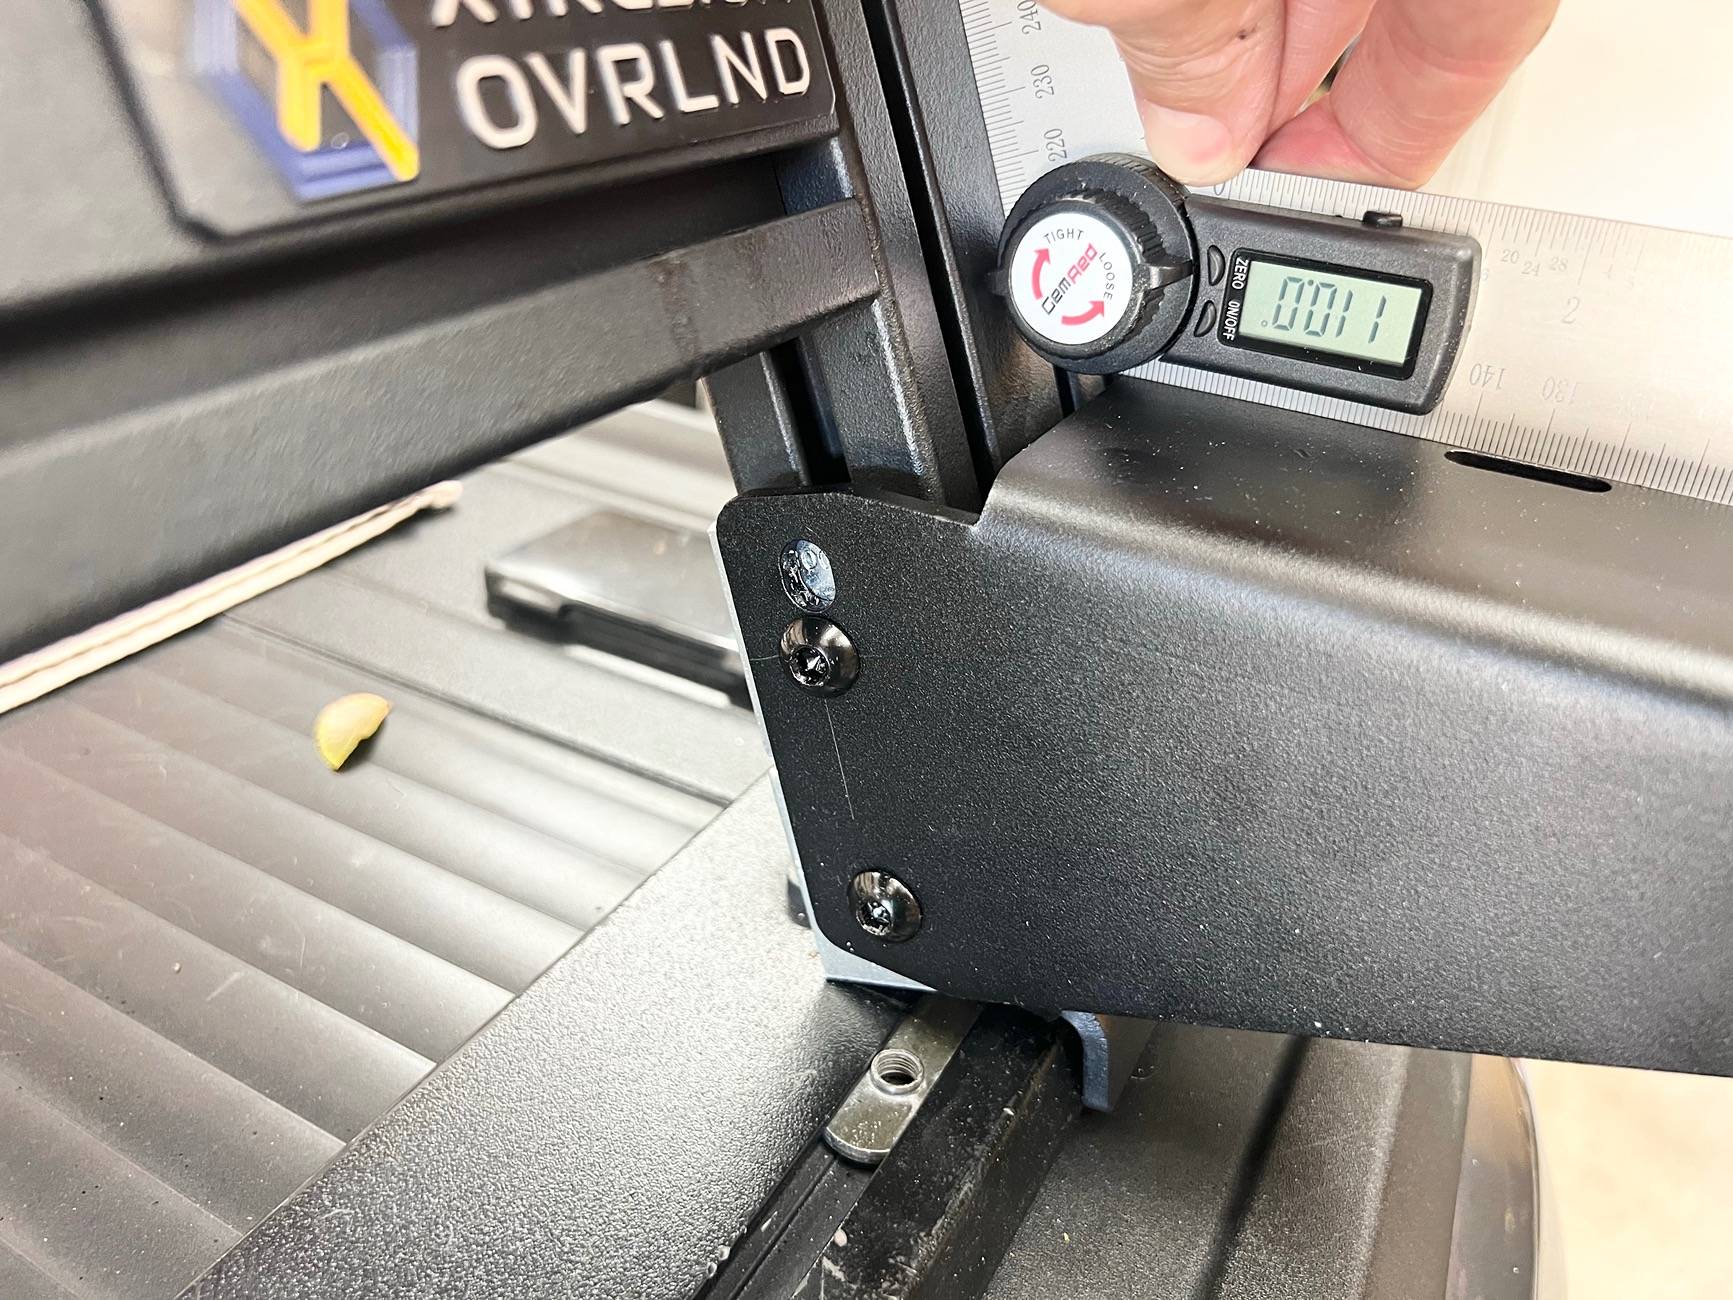
Before you tighten everything down, use some type of angle finder to ensure the surface of the bike mount is 110-degrees from the upright. The 5/16" hole allows a couple degrees of play in the mount.
Tighten the bolts to Xtrusion's specs (20 to 24 ft-lbs (found in a video)) and you should be good to go.

My 1UP roof mount tray has been ordered (actually I ordered a few different 1UP Equip'd components to DIY my own tray) and I'll add photos when it's done and mounted on the BillieBars kit.")
Please let me know if you have any questions at all and I'll do my best to answer them.
Thanks!
I'd like to side mount a bike rack on my Xtrusion Overland XTR1 but Xtrusion Overland doesn't currently make a mount kit. So, I purchased a Side Bike Mount Kit from BillieBars and set out to make it work.
You'll need:
- Xtrusion Overland XTR1 Rack
- Side Bike Mount Kit from BillieBars
- Strut Channel Washers (or any washer that's 0.25" thick)
- 5/16" Drill Bit (drill press recommended)
- 5/16-18 x 3/4" bolts (four)
- 5/16-18 x 1" bolts (four)
- Tools for measuring millimeters and angles
As expected, the holes on the mounts did not match the holes on the base of my rack uprights. And, luckily, the mounts were 0.25" wider than the base of my rack upright base.
The Xtrusion Overland uprights are at a 20-degree angle. So, if I want the mounts to be level to the ground I need to drill a hole allowing the mount to be at 110-degrees from the uprights.
Using some shade-tree methodology, I determined the location where I need to drill a new top hole in the mounts.
Prior to drilling, I took some measurements so I could more easily mark the hole on the opposite side of this mount and both sides of the second mount.
The new top hole needs to be 13mm from the back of the mount flange and 26mm from the top of the mount flange.
I drilled a 5/16" hole as I wanted a little bit of play in case my super duper scientific method of measuring was incorrect. Apologies in advance to any machinists reading this thread. lol
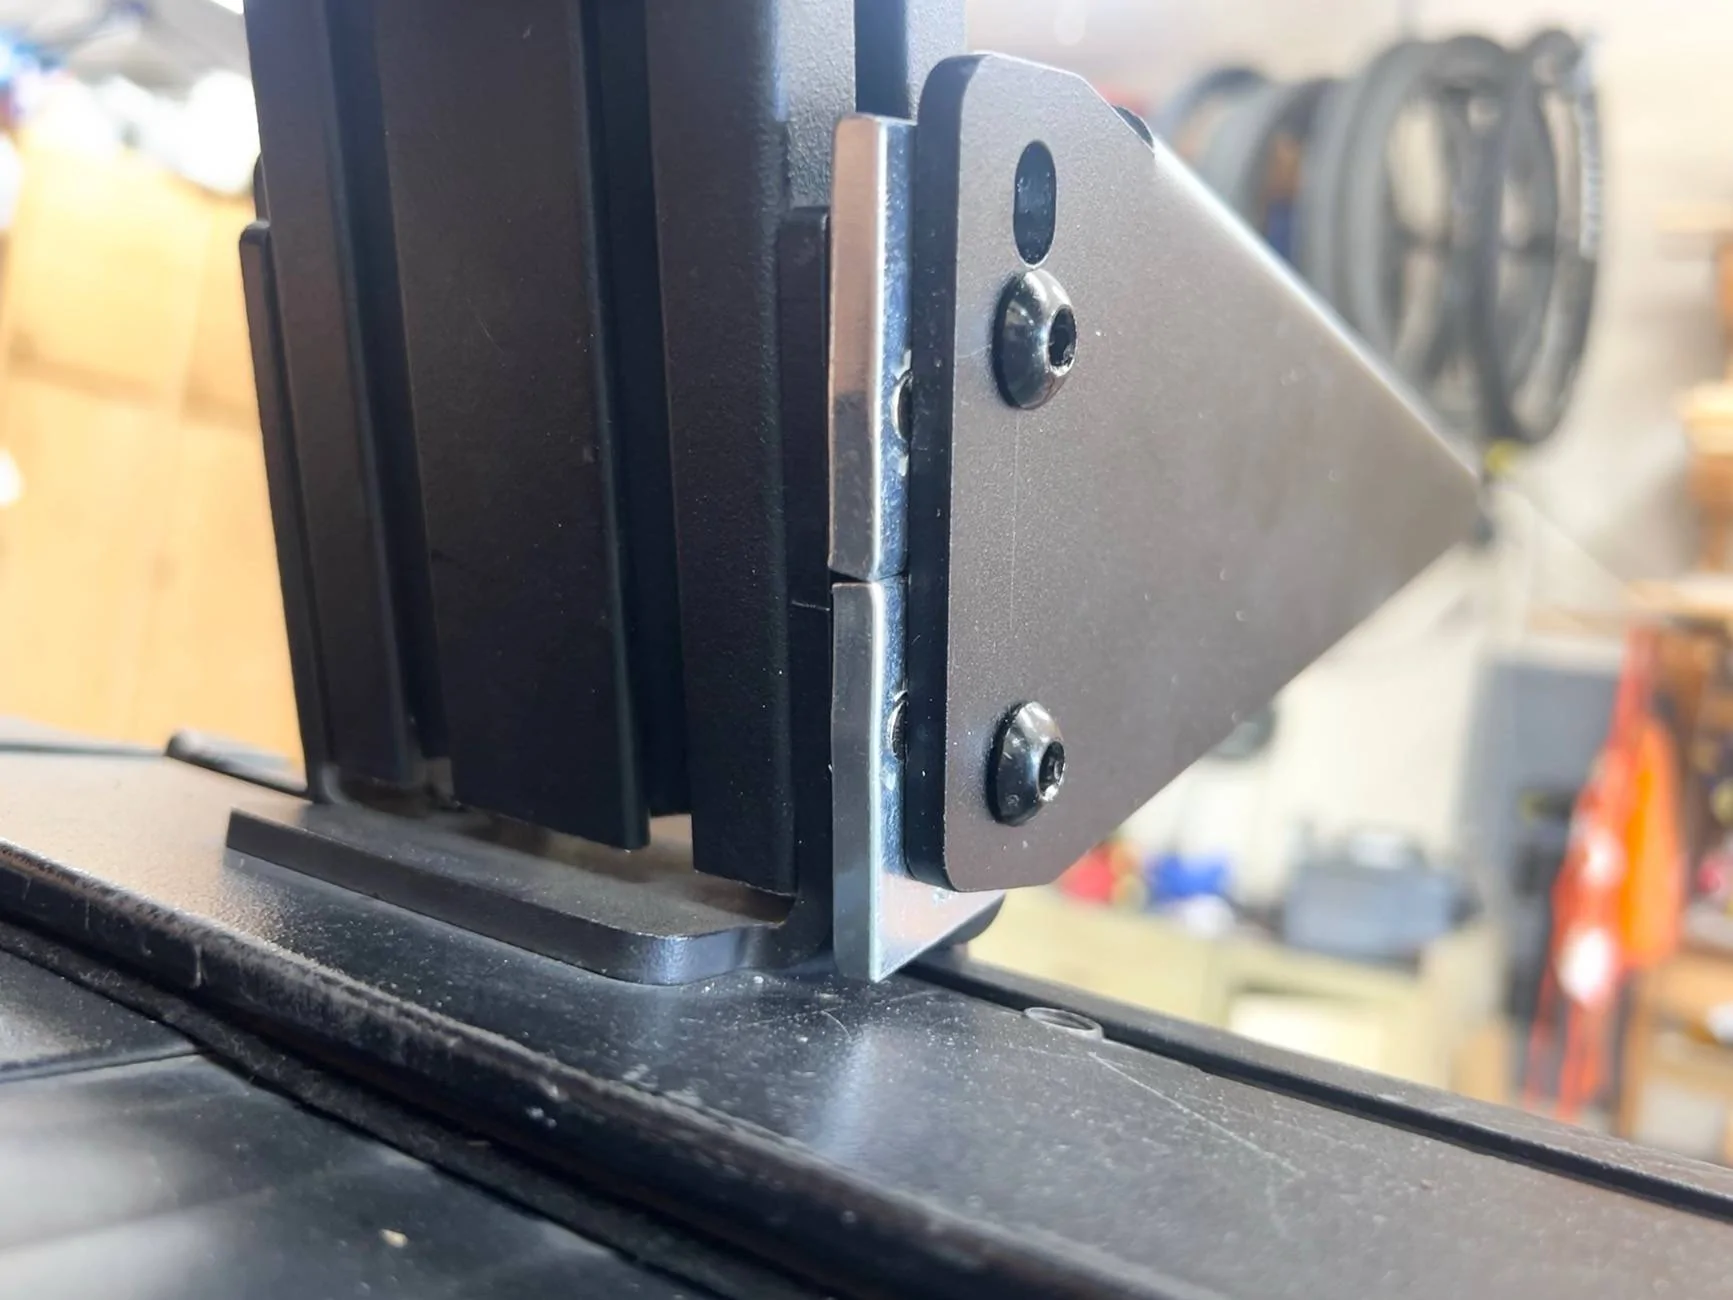
After drilling, I test fit the one side of the bike mount to the upright mount to ensure the holes were aligned and the mount was at the desired angle. Then I removed it and drilled out the other flanges.
To fill in the 0.25" gap, I used some strut channel washers that I picked up from Home Depot. They were exactly 0.25".
Here's a few photos with the washers in place.
Lastly, you'll need bolts longer than the 5/16-18 x 5/8" bolts currently in place. I used 3/4" long bolts on the non-washer side and 1" bolts on the washer side.
Before you tighten everything down, use some type of angle finder to ensure the surface of the bike mount is 110-degrees from the upright. The 5/16" hole allows a couple degrees of play in the mount.
Tighten the bolts to Xtrusion's specs (20 to 24 ft-lbs (found in a video)) and you should be good to go.
My 1UP roof mount tray has been ordered (actually I ordered a few different 1UP Equip'd components to DIY my own tray) and I'll add photos when it's done and mounted on the BillieBars kit.
Please let me know if you have any questions at all and I'll do my best to answer them.
Thanks!
Sponsored
Last edited: