
- First Name
- Glen
- Joined
- Jan 7, 2022
- Threads
- 6
- Messages
- 24
- Reaction score
- 22
- Location
- Sooner Nation
- Vehicle(s)
- '77 F150 Ranger
- Engine
- 2.5L Hybrid
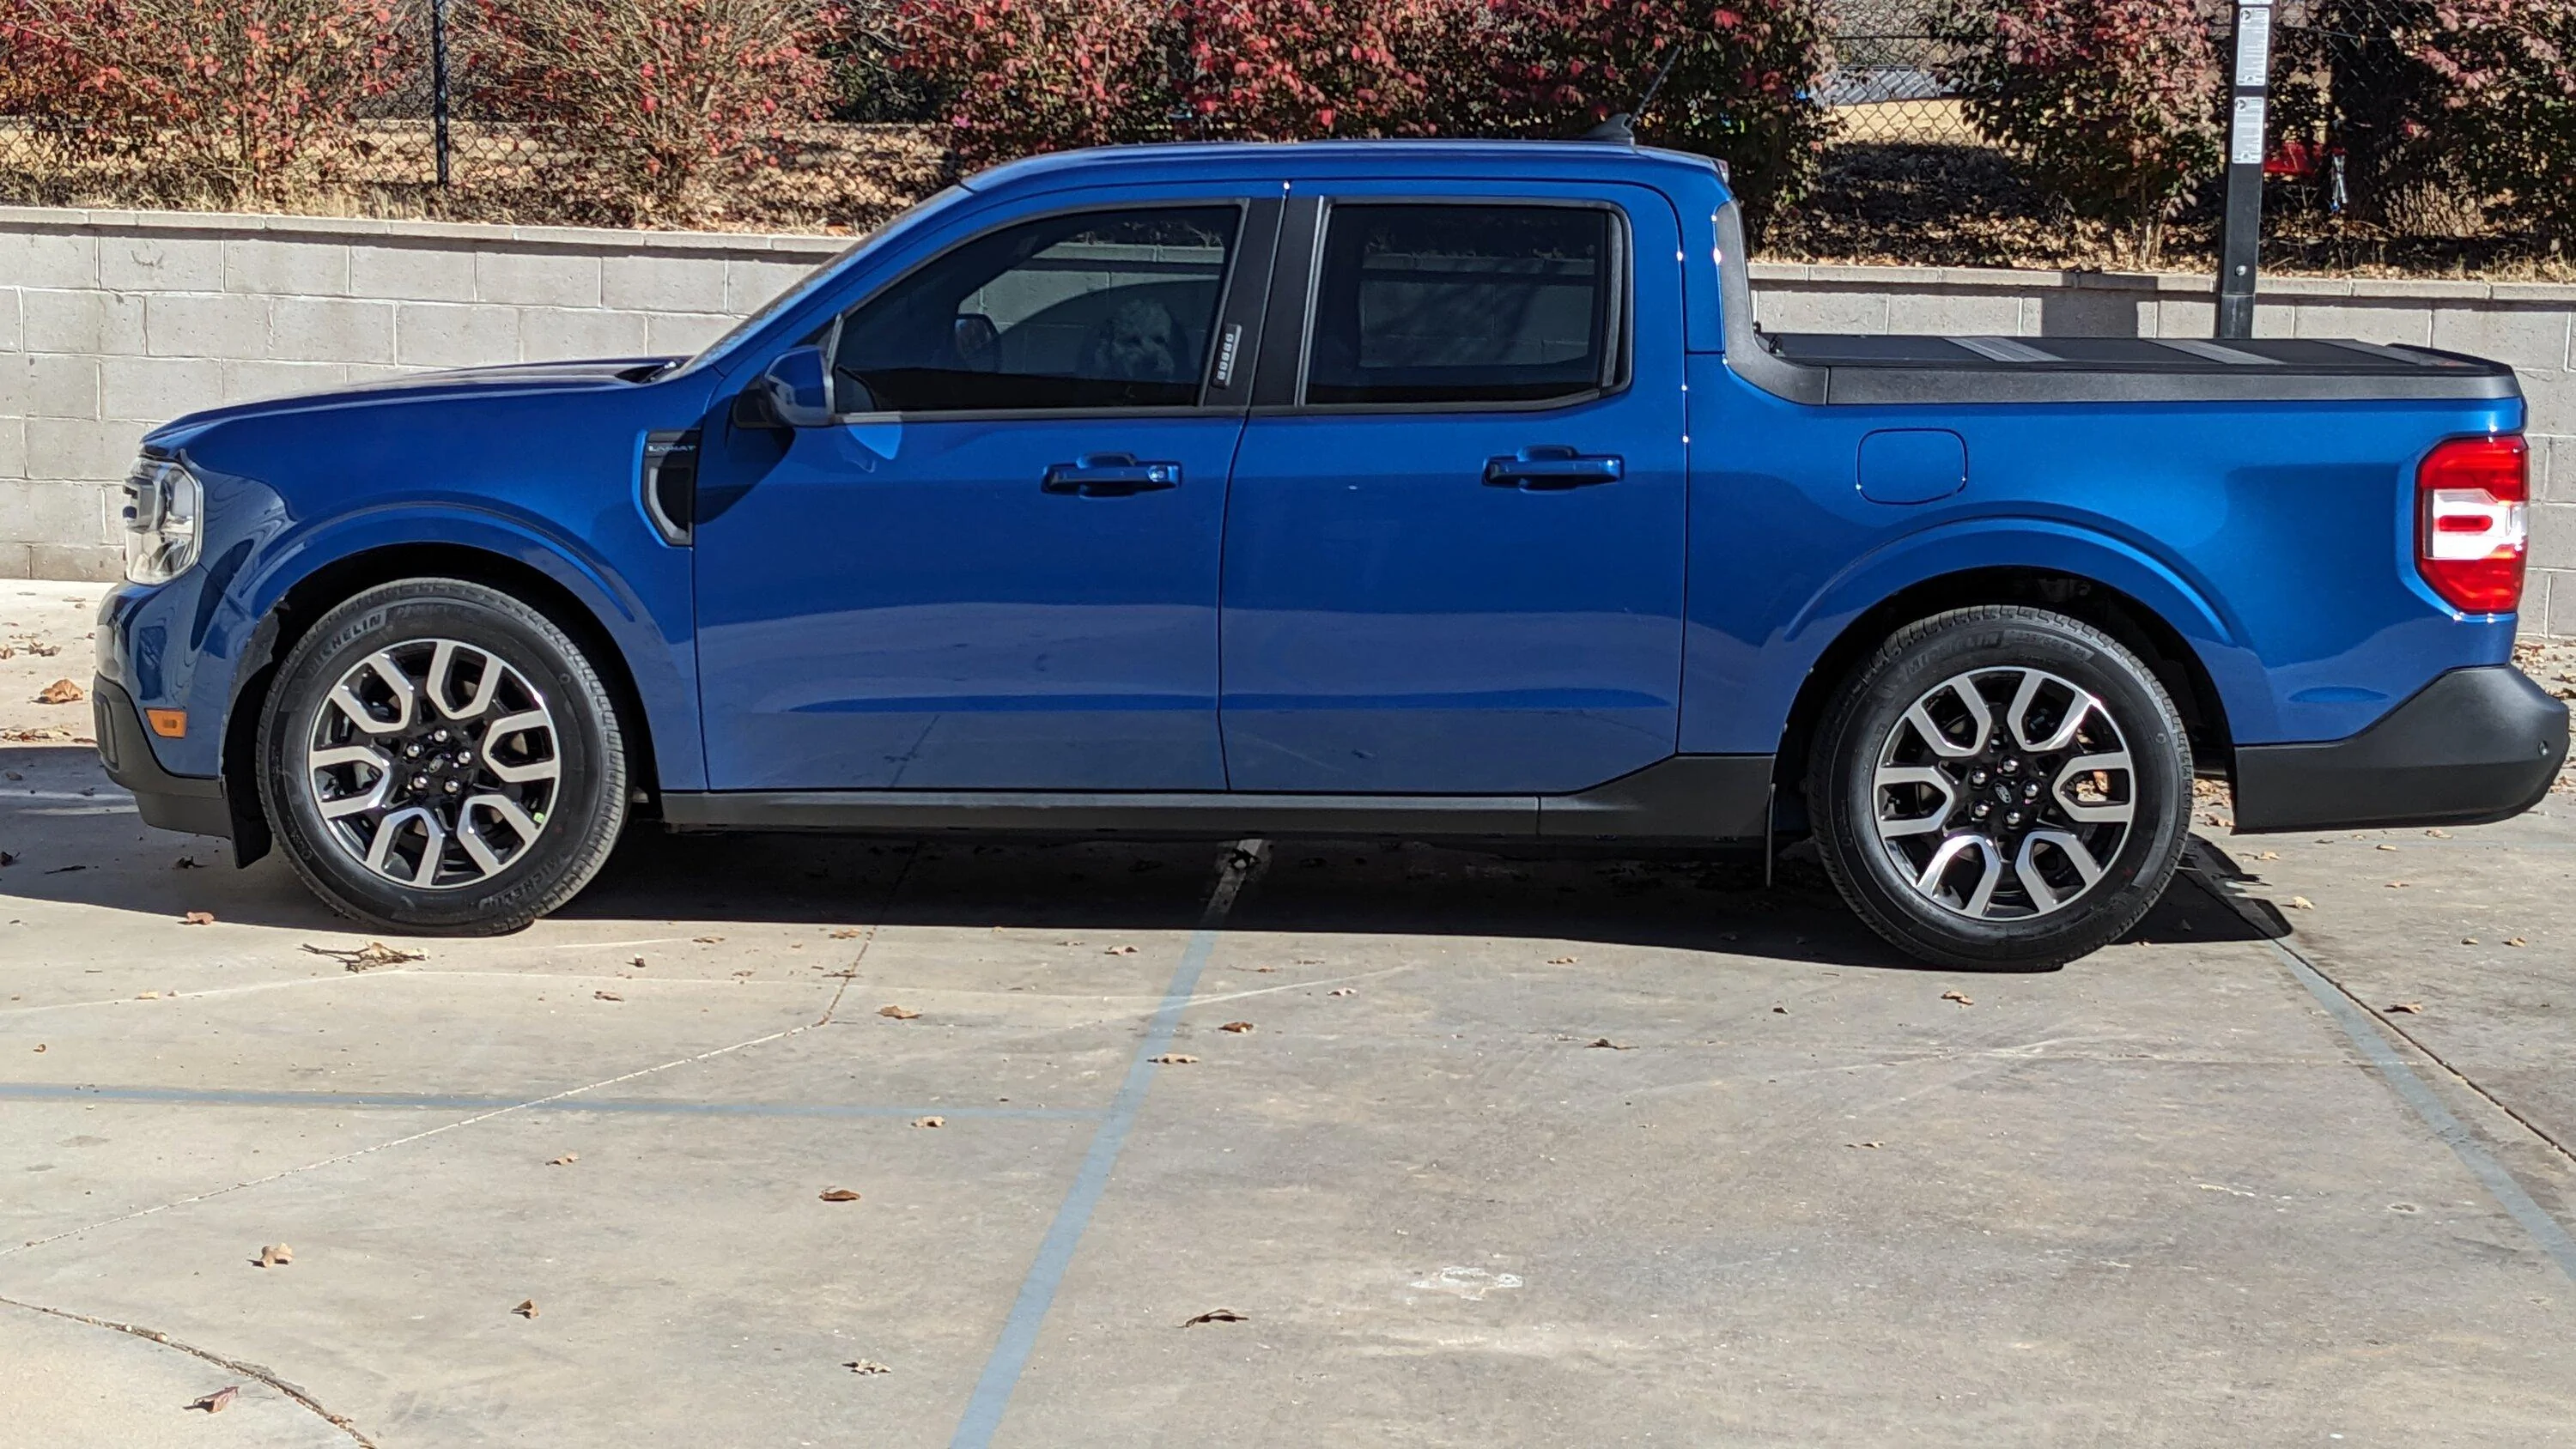
Between this tutorial and the "Lowering My New Ford Maverick!!!" youtube video by Performance on Wheels I successfully made the conversion to Eibach Springs.I had the same problem and DIY’d the install. I have mobility issues that made getting lower entry and bed height a high priority. It took a total of 2 hours for a second, final install after about a 5 hour exploratory disassembly and install. You should only need to install it once if you follow the below.
You will need a few less common items:
• Floor or bottle jack to support suspension.
• 4 Jackstands. It will make it much much easier to have additional stands. 2 minimum.
• A torx bit set that includes a t-40
• 18mm passthrough socket and wrench, or possibly an 18mm box wrench with a heavy offset.
• Spring compressors. I used the McPherson style small compressors. They fit both stock and eibach spring sets front and rear.
Loosen the lugs, and lift the truck using the trucks included jack from behind the rear seat. Its better than a floor jack in my opinion for this truck.
It is hard to find a jack point that allows you to install a jack stand otherwise.
If you do use a floor jack, use the lift pad points. They’re exposed metal and look obviously reinforced. There are arrows molded into the plastic cover to show where they start and end for the front, which also point to where to attach the truck’s jack.
Front:
1. Remove the plastic cover over your strut towers.
One bolt is visible, and the other is under your cowl. Remove the metal clips along the lip of the plastic cowl trim. Remove the exposed black screw with a 10mm and leave then screw ynder the cowl partially installed. Rotate the cover out away from the windshield to prop up the cowl trim. You can also use a plastic pry bar. For the passenger side, its easier to remove the plastic by disconnecting the coolant hose (or break the plastic cover to pieces if you’re me).
2. Loosen the 2 silver 13mm bolts that were previously hidden by the cover, and the 1 visible bolt. Don’t remove them completely yet.
3. Remove the tire, loosen the two 21mm nuts at the bottom of the strut, above your brake caliper. the bolts can stay for now. If you don’t have a 21mm, the nifty little Ford lug wrench will fit.
4. Remove the 18mm nut from the sway bar end link on BOTH ends (or you could accidentally rip your wheel speed sensor wire out…)
5. Remove the 10mm screw holding the brake hose to the strut, and move the house out of the way.
6. Disconnect the plastic wheel speed sensor plug from behind the brake disc, and detach all plastic and rubber clips holding the wire in place. Move the wire out of the way (or you might rip it in half…)
7. Support the suspension (without raising it) using your bottle jack or a floor jack. Put wood or another soft material hetween the jack and your lower control arm. You can damage the dust caps with a normal jack.
8. Test both lower strut bolts for slack with some light mallet taps. If they feel free, whack them out. They should easily pop free, and are made to take a hit on the end. I did not need to unbolt my tie rod ends for this, but if you do: 15mm nut comes off. Whack the metal boss with a mallet until the end pops out.
9. Remove the three 13mm bolts at the top of the strut while supporting the coil and strut with your hand below the fender. The strut should be free at this point, and can pull off of the sway bar link. Remove the link after the strut is removed.
10. Compress the spring and dismantle the strut by SLOWLY removing the 13mm nut atop the strut. It should move easily. Tension indicates the spring needs more compression. Again, you would ideally use a pass through socket to remove. You will certainly need one to reinstall. Disassemble while paying close attention to the orientation of the spring pads. The top can easily get misaligned. The bottom pad has a guide pin.
11. After disassembling, remove the shock’s collapsible boot, pop out the bump stop, and cut as directed.
12. Reassemble in reverse order to factory torque. I got this by going in to my local Service counter.
13. Reinstall by inserting the strut bottom first into the fender area, so that it can be tilted and raised into position. Ensure all 3 13mm top bolts screw in first before tightening any of them completely.
14. Adjust the floor jack supporting your control arm until you can easily reinstall the lower strut bolts. If you bought the camber bolts, install the bolt so the arrow on the head faces out to you, and the tab of the washer faces into the engine. That should put you at equal camber until you get aligned. Tighten to spec.
15. Install the sway bar end link on the strut first, and use the jack to compress the suspension until the lower link aligns with the bar.
Only differences for passenger side: remove upper coolant hose and plug tank side opening. Putting your finger over the end briefly will end the siphon effect if it begins leaking.
Rear:
1. raise the rear as high as you can, supporting the truck and leaving a tensioned jack under the center of your torsion beam (temporarily).
2. Unbolt shock, top and bottom, and remove.
3. unbolt 2 13mm bolts holding caliper bracket and disc to the knuckle. Disconnect the plugs for the e-brake. Rest the brakes on your extra jack stands (see???), out of the way towards the spare tire. These need to he removed to avoid stressing your brake hoses during spring removal and install.
4. Repeat on the opposite side before trying to remove the springs.
5. insert a pipe or long pry bar in the open end of the torsion beam, below the knuckle/hub.
6. Pull the beam down until the spring either falls out, or can be pulled out. I had the easiest time pulling the top of the sprint free of its rubber bearing pad, and pulling the spring back towards the bumper. Pay close attention to the orientation of the lower pads. They have painted orientation marks and 2 guide pins. There are way more than 2 holes they can go in. Repeat on the other side.
7. Install the eibach springs by pushing or pulling the beam down again, and push the spring into place. The Eibach spring was soft enough that I was able to push it down and into place while pushing the beam with my foot.
8. Pop the black cap off the top of your shocks, remove the bolt holding the top bracket to the strut and remove the dust boot containing the bump stops.
9. pull the bump stops and replace with the new Eibach pieces.
10. Reassemble and reinstall.
11. Reattach brakes and final tighten all hardware that will not be accessible after the tire is installed.
12. Reinstall the truck and put it on the ground.
13. re-check the following and tighten as necessary:
• Tie rod end jamb nuts
• 13mm silver bolts for top of struts.
• Top nut on your shock. If the suspension clunks later, its usually this.
• Sway bar end links.
Take your time and it should go smoothly.
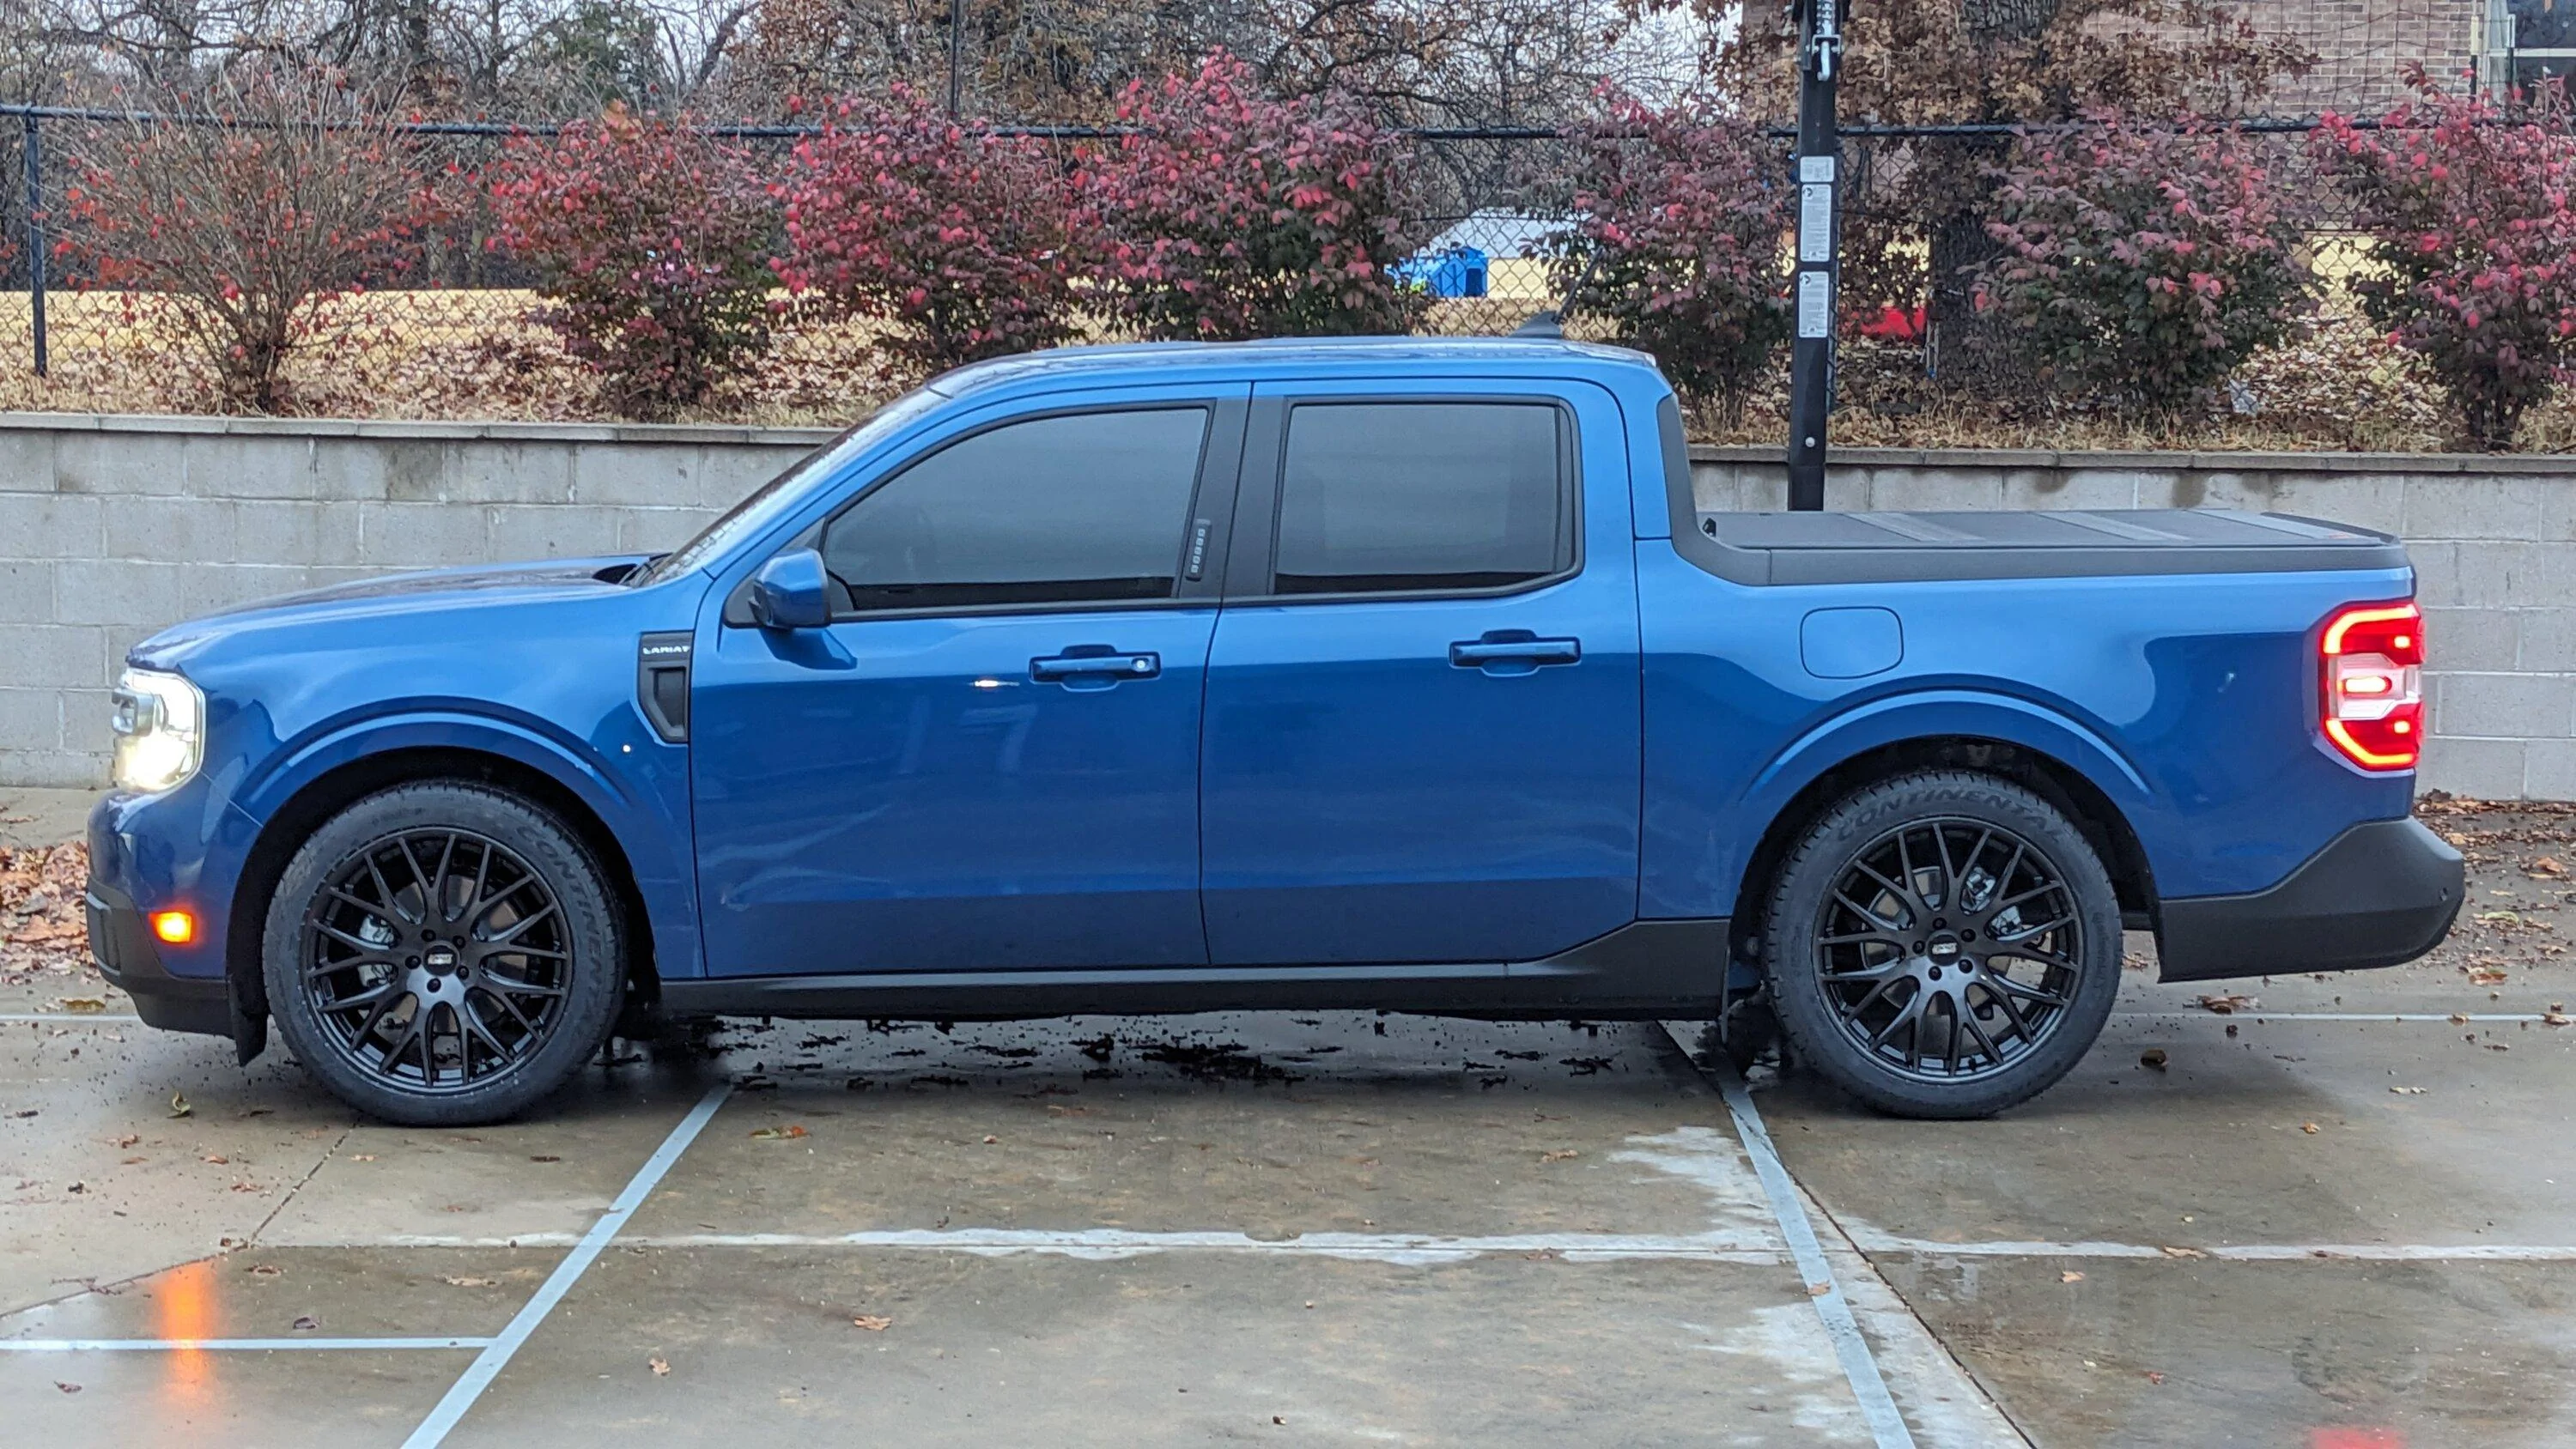
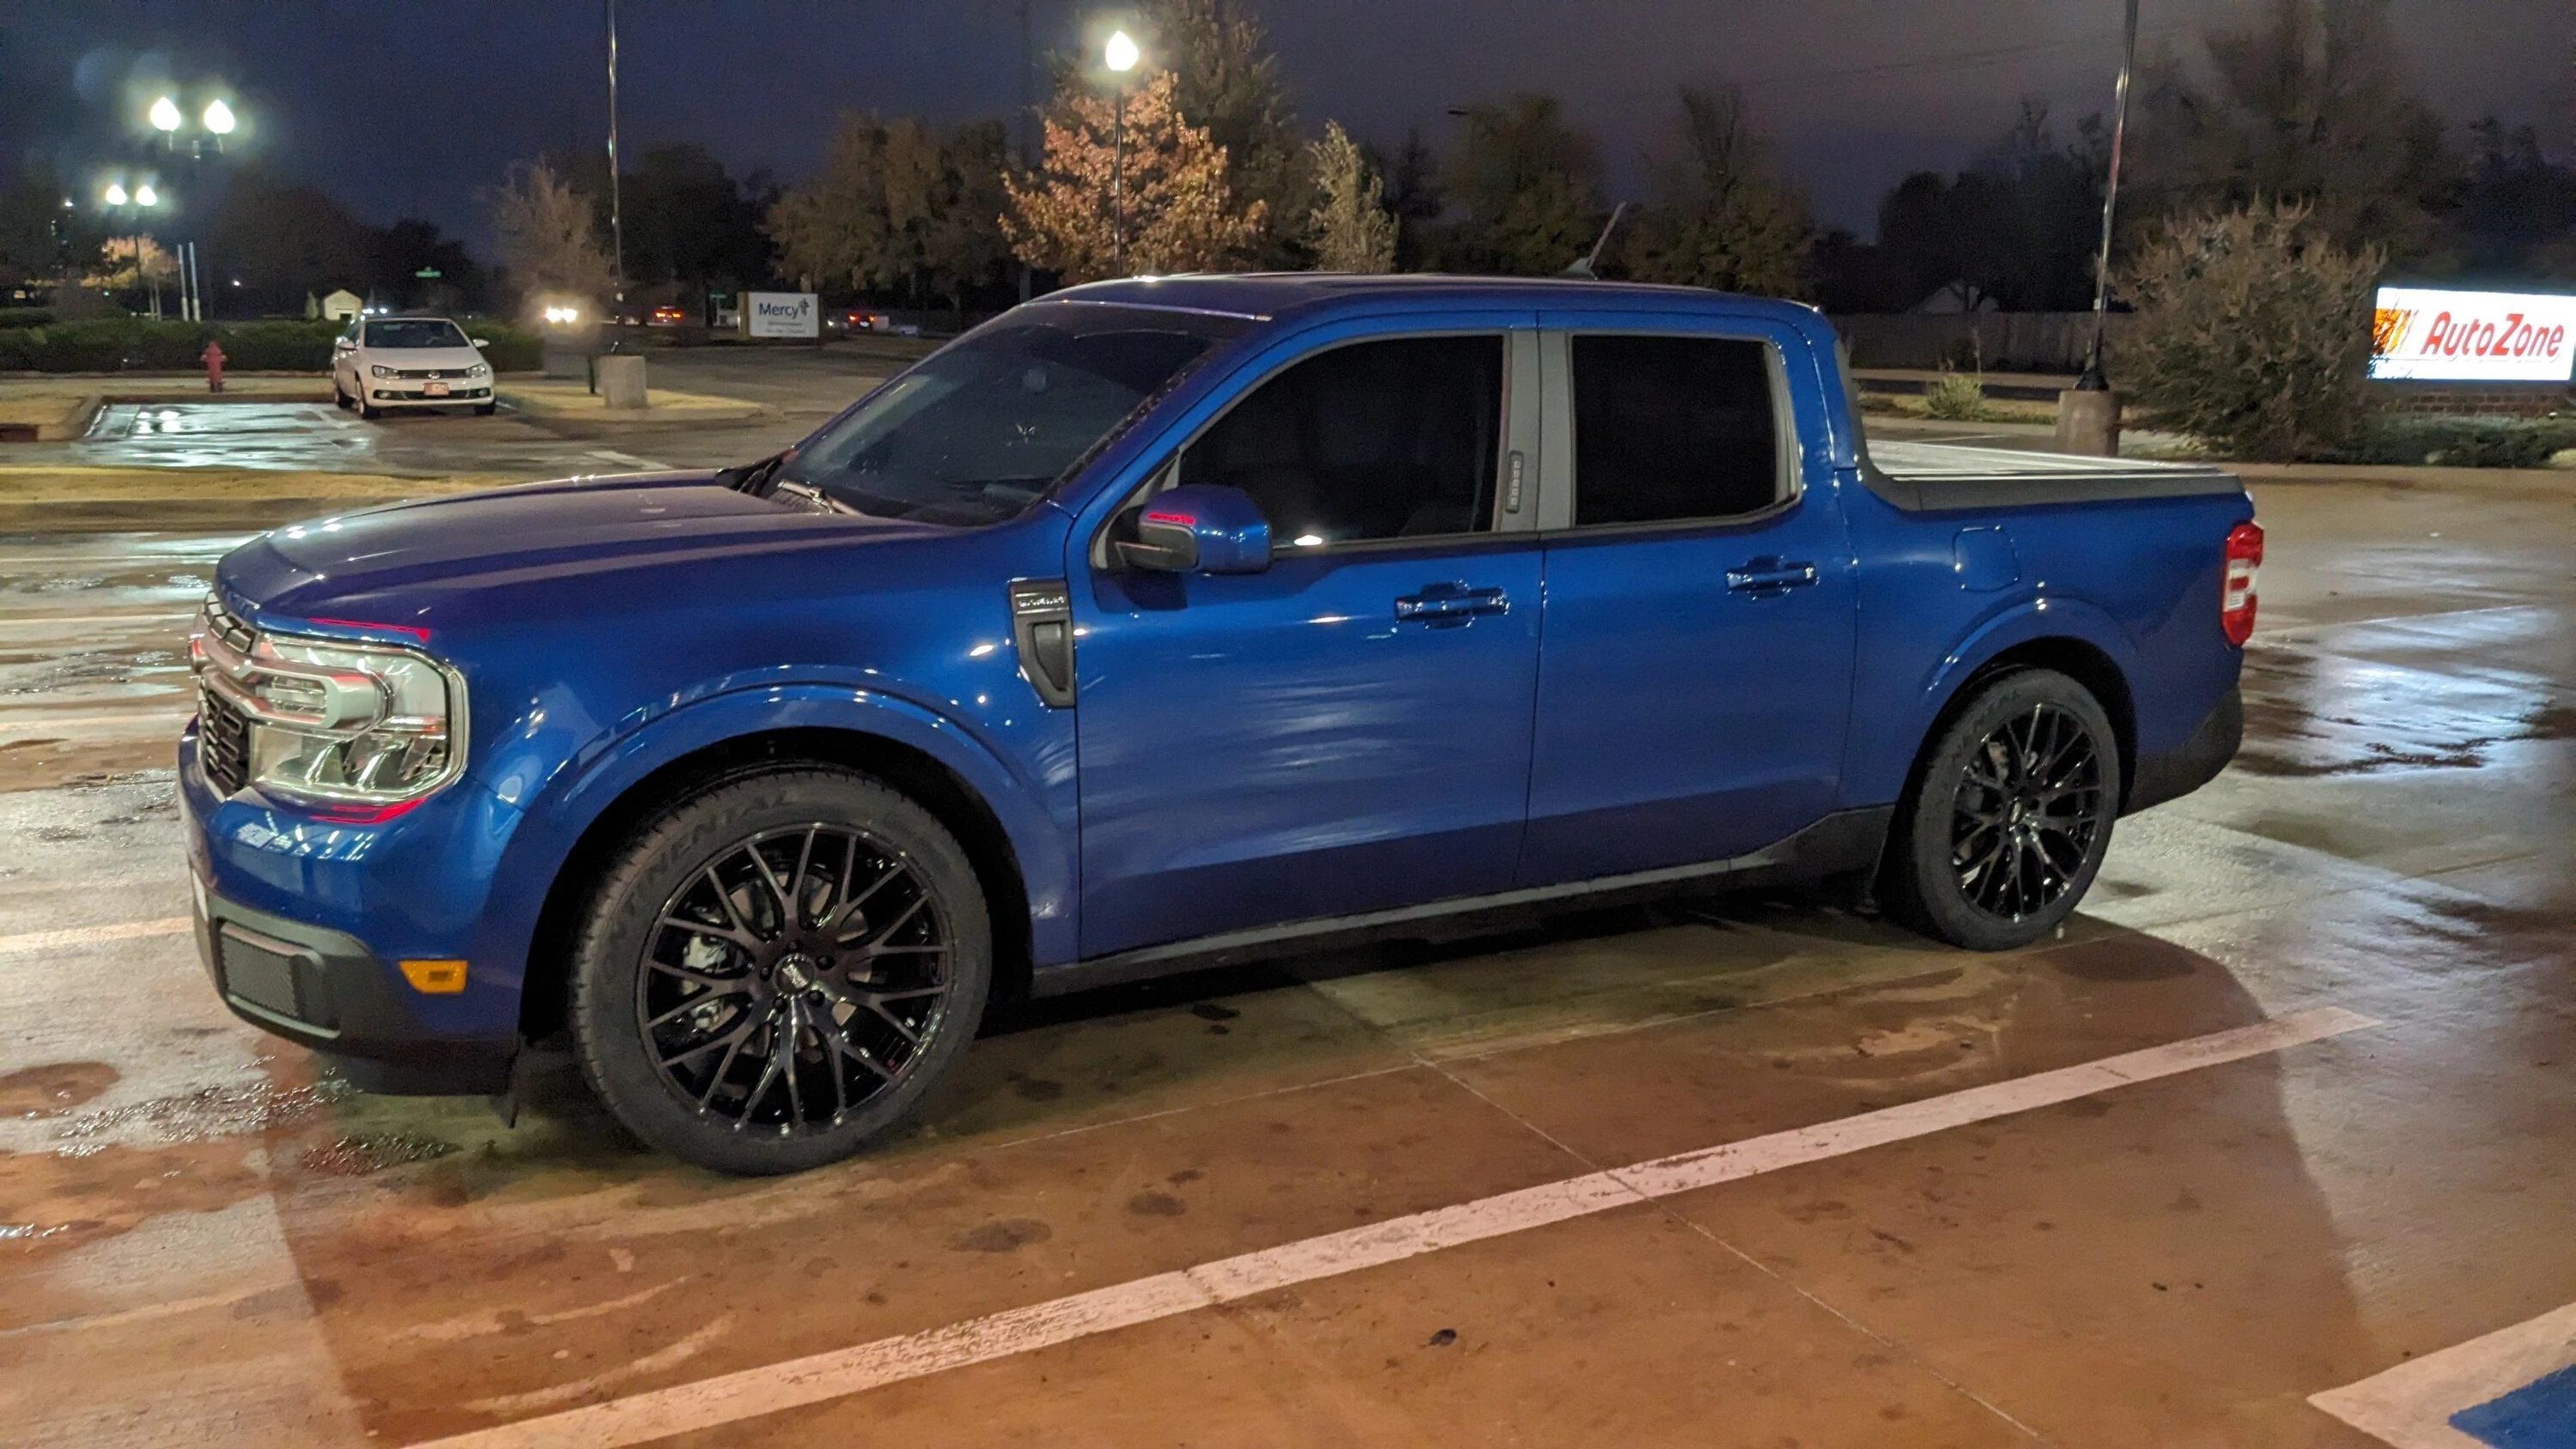
20" Wheel/Tire combo will be going on later today.
Thanks for the help!
Sponsored
Last edited:
 . I’ve had had a few loads of landscaping rock around 500 lbs in mine and that worked pretty good lol.
![IMG_3384[1].JPG](https://cdn.mavericktruckclub.com/attachments/86/86750-1462e341b5f91d72bade95858cf6d365.jpg)
![IMG_3387[1].JPG](https://cdn.mavericktruckclub.com/attachments/86/86747-e780fda6790c7ee42de0a279bbbbea53.jpg)
![IMG_3385[1].JPG](https://cdn.mavericktruckclub.com/attachments/86/86748-085df23ec30ccf9555dde66e7f0d7eb3.jpg)
![IMG_3391[1].JPG](https://cdn.mavericktruckclub.com/attachments/86/86752-48a7b7ad874bc96b698b03def9e12b4a.webp)

