
- First Name
- rslilly76
- Joined
- Apr 20, 2022
- Threads
- 27
- Messages
- 290
- Reaction score
- 405
- Location
- Corpus Christi Texas
- Vehicle(s)
- 2025 Maverick XL Hybrid Fwd
- Engine
- 2.5L Hybrid
- Thread starter
- #1
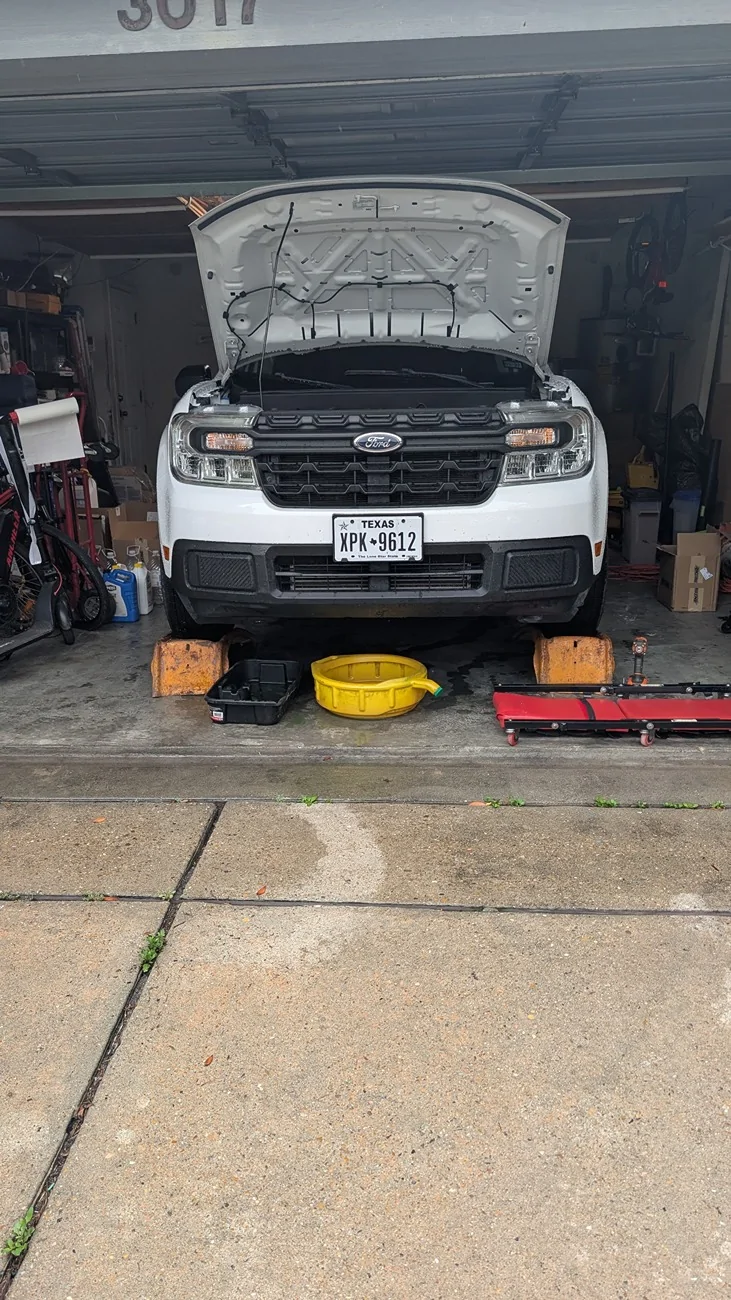
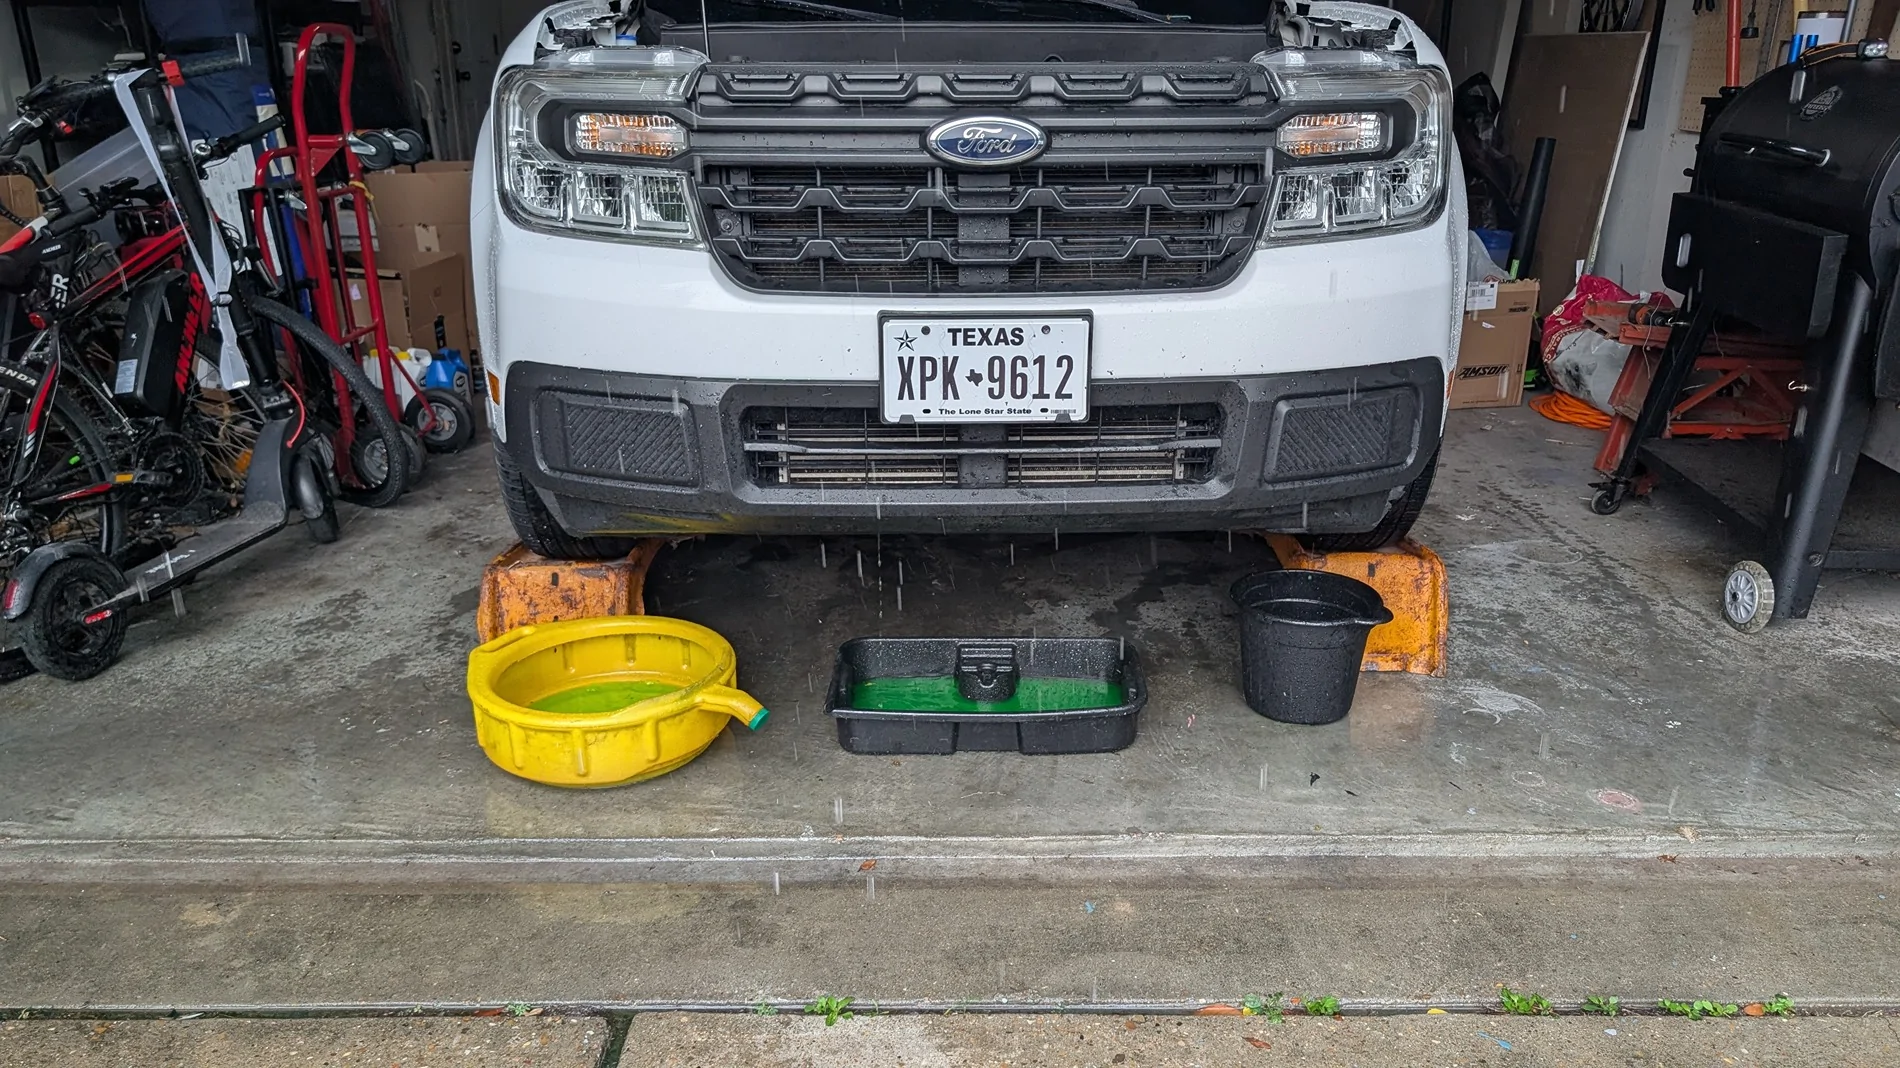
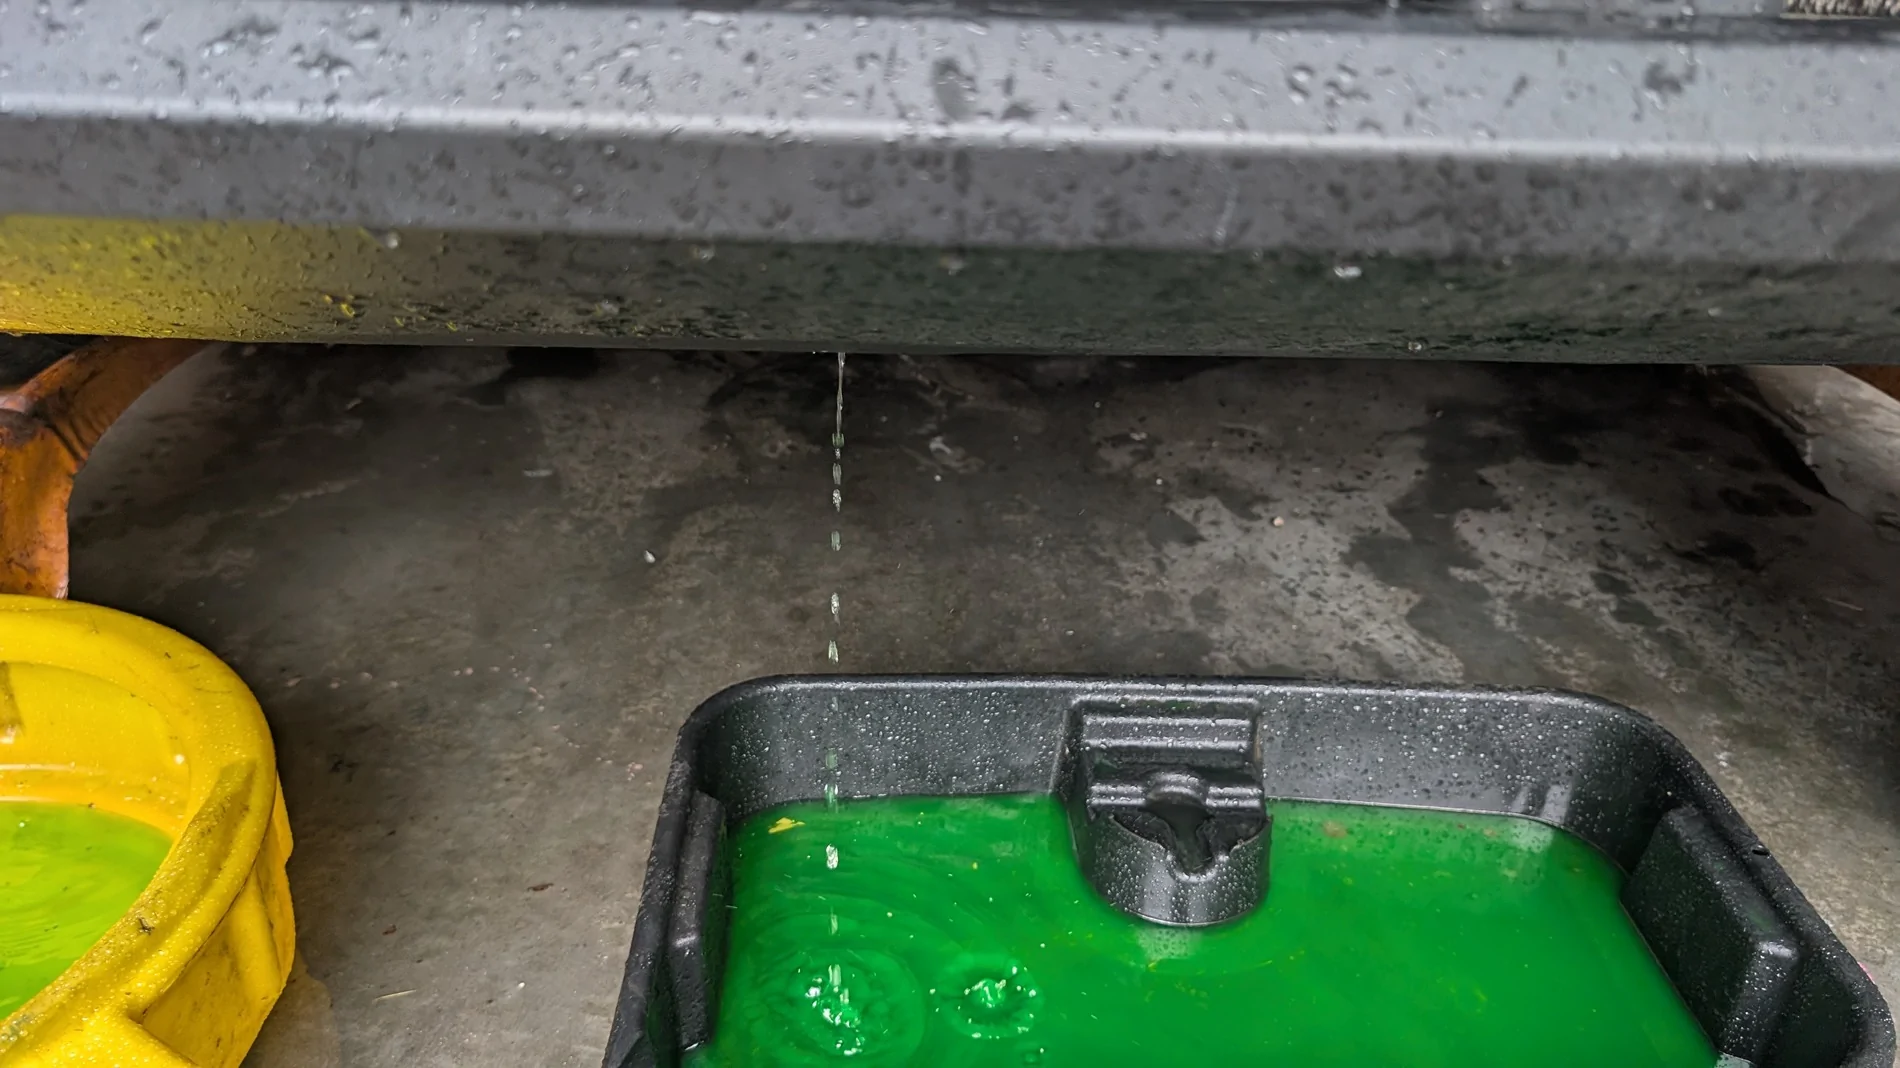
Has anyone replaced the radiator on their Ecoboost yet? If so how bad is it to do? Son's 2022 is leaking and I need to replace.
Sponsored
