
- Thread starter
- #31
Nope, just the regular XLT. Sorry I caused some confusion, I should have included a before photo of the bolts in my original post.XLT with the BAP?
Sponsored
Nope, just the regular XLT. Sorry I caused some confusion, I should have included a before photo of the bolts in my original post.XLT with the BAP?
Ok, sounds like I might need to shrink the hex post just a little. I don't know if I was imagining it or not but when I was installing some of them in my truck it seemed like they were tighter in one orientation vs turning it one hex edge to the left or right. If that doesn't help and / or others say it's too tight I'll make a small adjustment and send everyone an updated file.I printed them 6 up a couple of them seemed like they wouldn’t go in the hex opening just tried another and then they wouldn’t work, they seemed fairly tight, didn’t have any petg so used the pla will see how they hold up in the central fl heat
Len
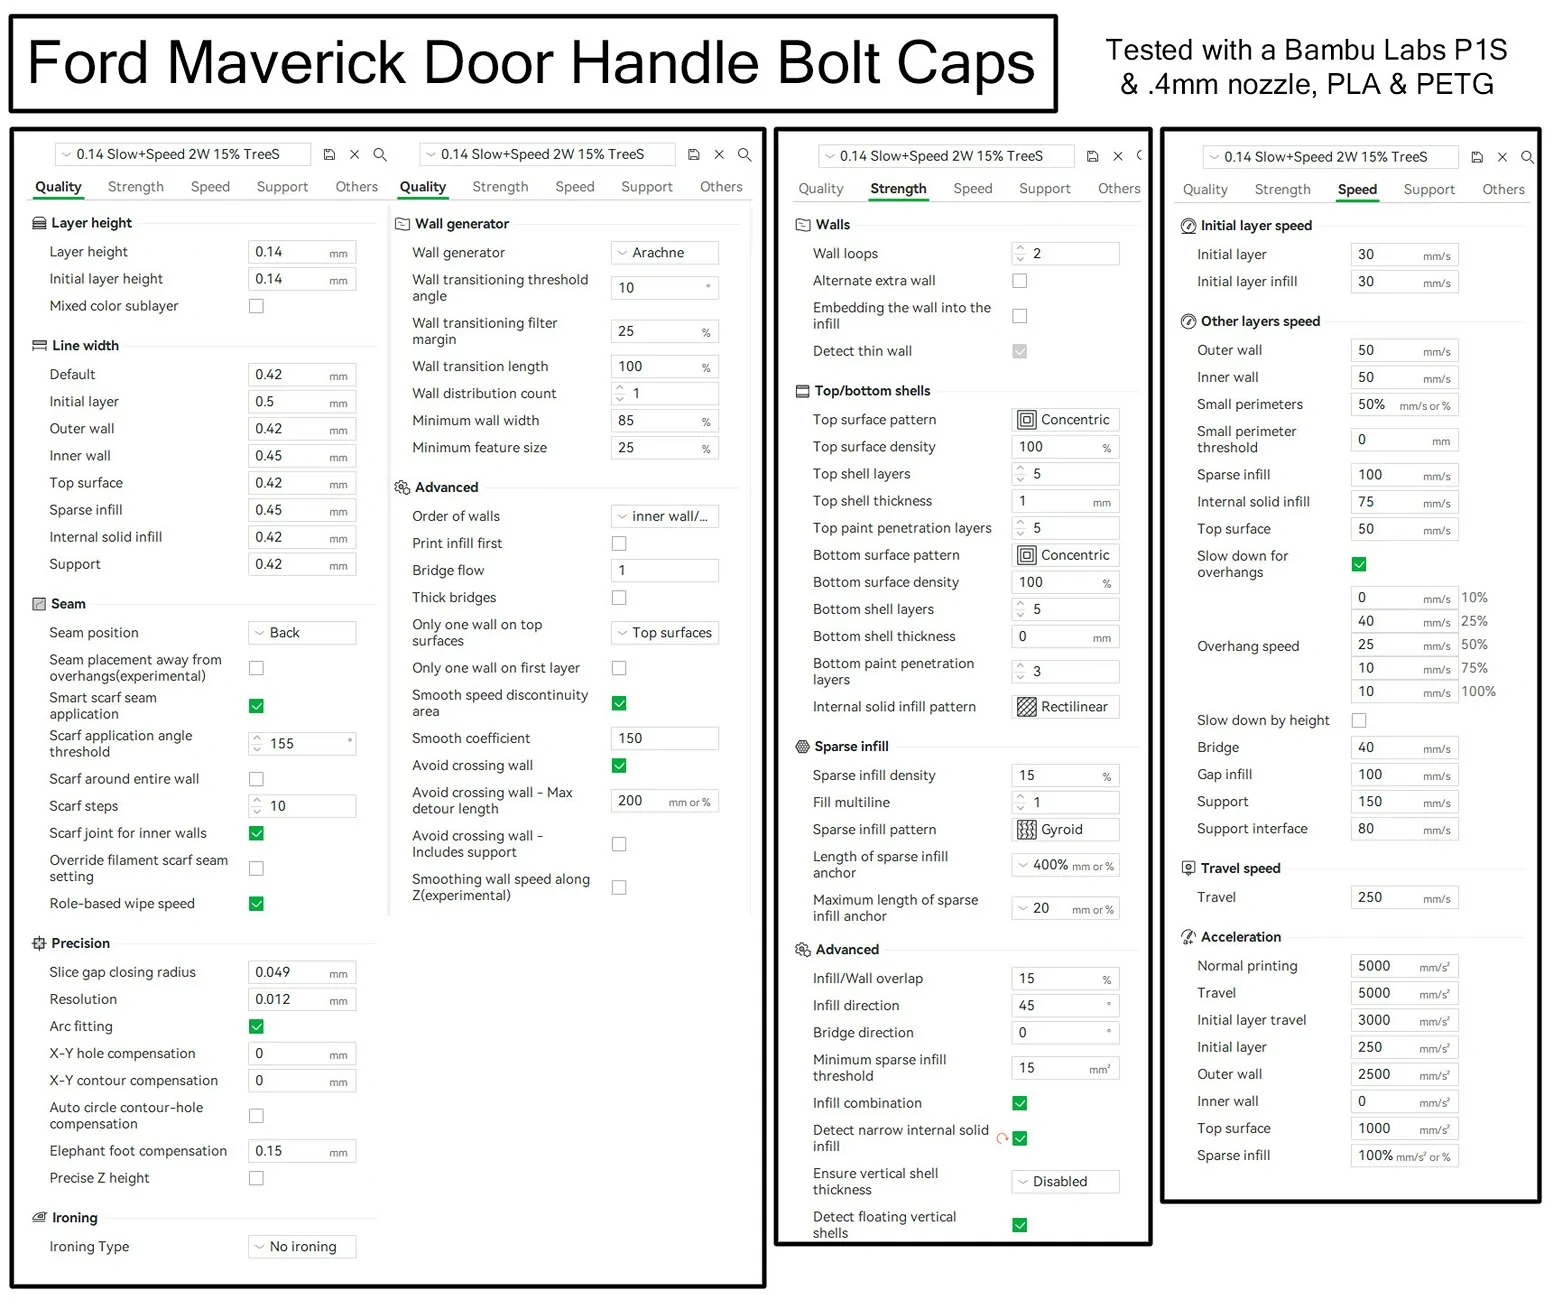
Thanks for the clarification, I thought you might have meant that only some of them were a little tight. I had the same thing happen when I printed 8 up, though even the tighter ones still went in ok. I wonder if it's minor accuracy issues with the print head travel when doing multiples on a plate? Since the caps are so small and need to be pretty accurate in size I used moderately slow (by modern standards) print speeds but I didn't use slower travel speeds. I'm going to do another 8-up print run with slightly slower print speeds and also cut all the travel speeds in half to see if that helps.Maybe it was because I printed then 6 up not sure
Len
Good to know, though that's kind of a pain doing one a time if you plan on covering all 16 bolts in the truck.Matt, printed 1 at a time and they went right into place no problems at all
Len
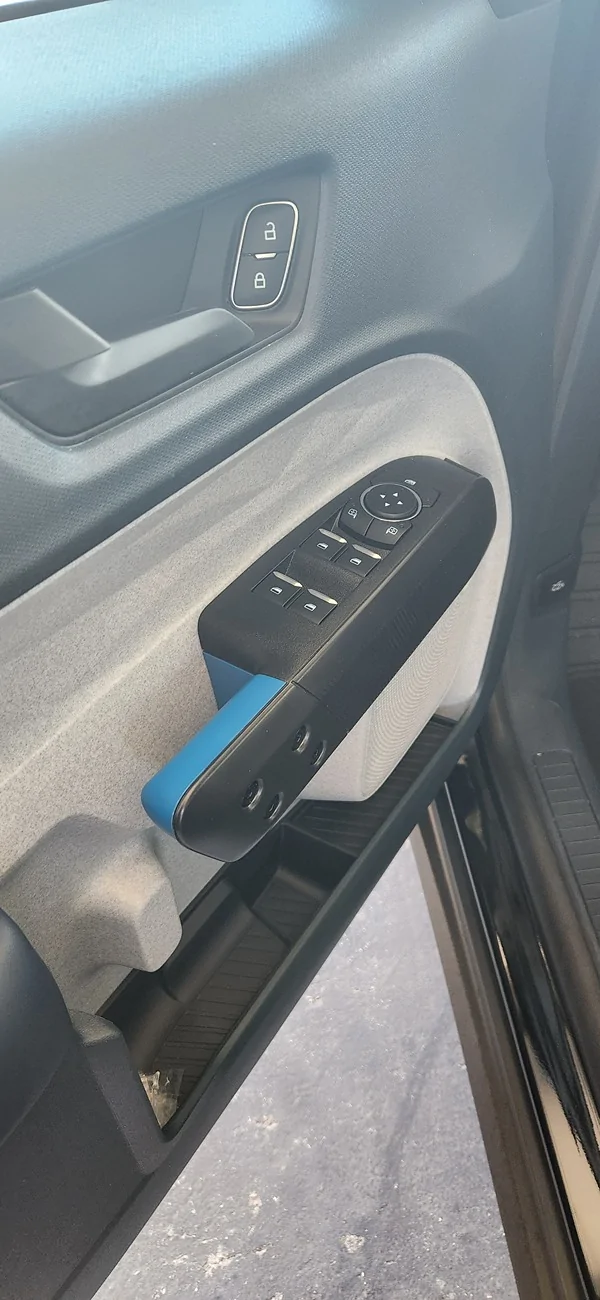
That's actually what started this project for me, I took the bolts out to see if the orange part (blue in your case) could easily be replaced. Unfortunately the bolts alone aren't what's holding that part in and I didn't go any further with trying to remove it. I know it can be done but it probably involves removing the bolts as well as the window controls (which just pops out), I replaced my speakers and remember there being some more screws in there that hold the panel to the door, so those are probably what's holding the other plastic parts of the handle. I'll give it another go at some point but not sure when, I'm going out of town for a week starting Saturday and don't know if I'll have to time work on it this week.I love the things you are doing bro...nice touch.
I wish someone could 3d print something to cover the blue within the arm rest.ni hate it.
![]()
Cool .... I investigated it a little. I know the screws are fake...and the blue area goes all up inside the door panel.That's actually what started this project for me, I took the bolts out to see if the orange part (blue in your case) could easily be replaced. Unfortunately the bolts alone aren't what's holding that part in and I didn't go any further with trying to remove it. I know it can be done but it probably involves removing the bolts as well as the window controls (which just pops out), I replaced my speakers and remember there being some more screws in there that hold the panel to the door, so those are probably what's holding the other plastic parts of the handle. I'll give it another go at some point but not sure when, I'm going out of town for a week starting Saturday and don't know if I'll have to time work on it this week.
I like them! Great job?
This may be the thing I need to nudge me to buy a 3D printer!
Can you tell me something about the printer? These look really good. Nice work.
2026 XLT Hybrid here-2000 miles
Just to add a little more to what Cancunbadlands said because it's important to know. Many (most?) engineering grade filaments release toxic fumes while being printed, with effects ranging from make you feel like crap to make you need to go to the hospital due to poisoning. So you absolutely must get rid of those fumes while printing with the best option being to vent the fumes outside and or set your printer up in a garage or other space with open ventilation and that you won't stay in while printing (still need to vent the fumes so they won't be a problem when you go back into that space). It's not enough to set it up in your rec room or office and go to another part of the house, that may reduce the hazard but it doesn't eliminate it. I've printed with flexible PLA filament (which isn't even engineering grade) that still made me feel sick even though I was two rooms away from my printer. Engineering grade filaments are also much harder to work with, so you don't want to jump right into using those unless you want to torture yourself.The Bambu Lab P2S Combo is a fully enclosed powerhouse built for advanced hobbyists who want to print engineering-grade materials safely at home.
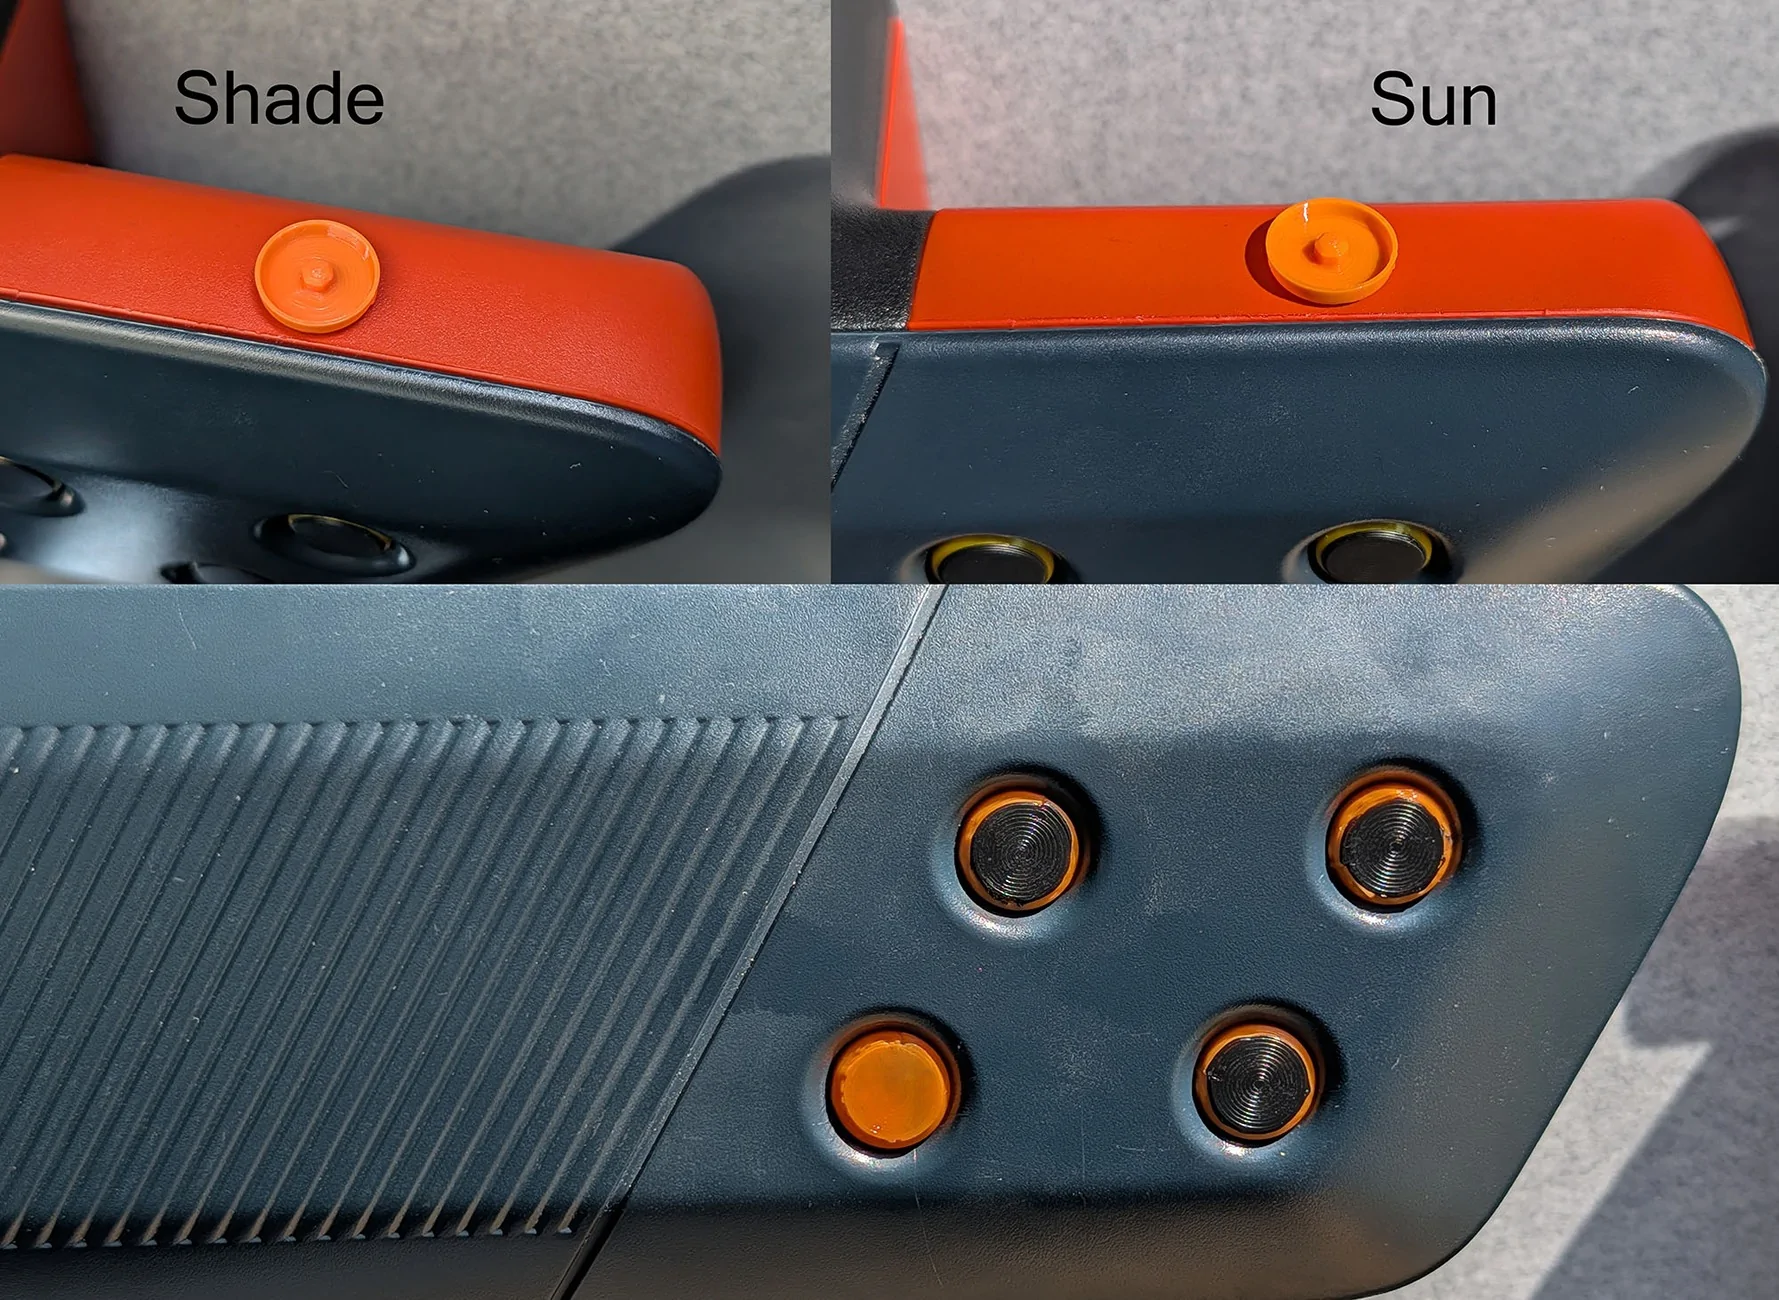
The orange filament arrived this afternoon so I made some caps with it. It's quite a bit lighter of an orange compared to the Maverick, though when the caps are on the bolts the difference doesn't jump out as much as when they are side by side. I've used two different orange filaments and both are the same color as the caps in the photos. I'll see if I can get an accurate reading of the Maverick orange so I can compare that to filament colors that are available.I don’t have their email ability to 3D print, but if you would be willing to print some that match the orange interior trim in a 23 XLT, I would pay you for your time and materials!
Were you able to get some printed? My orange is from Creality, I compared the listing photos on Amazon to the Overture and they look to be pretty close in color and brightness.I would like to print some for my truck. I also have a roll of Overture Orange PLA and would be willing to print some and post photos. I have a 2023 Lariat.