- First Name
- Sarah
- Joined
- Sep 23, 2023
- Threads
- 3
- Messages
- 10
- Reaction score
- 47
- Location
- Houston Texas
- Vehicle(s)
- 2023 Ford Maverick Lariat Hybrid
- Engine
- 2.5L Hybrid
- Thread starter
- #1
I just finished building my full extension bed drawer for my Maverick Lariat, I will post build instructions and links to supplies below but first a pic of the finished product….
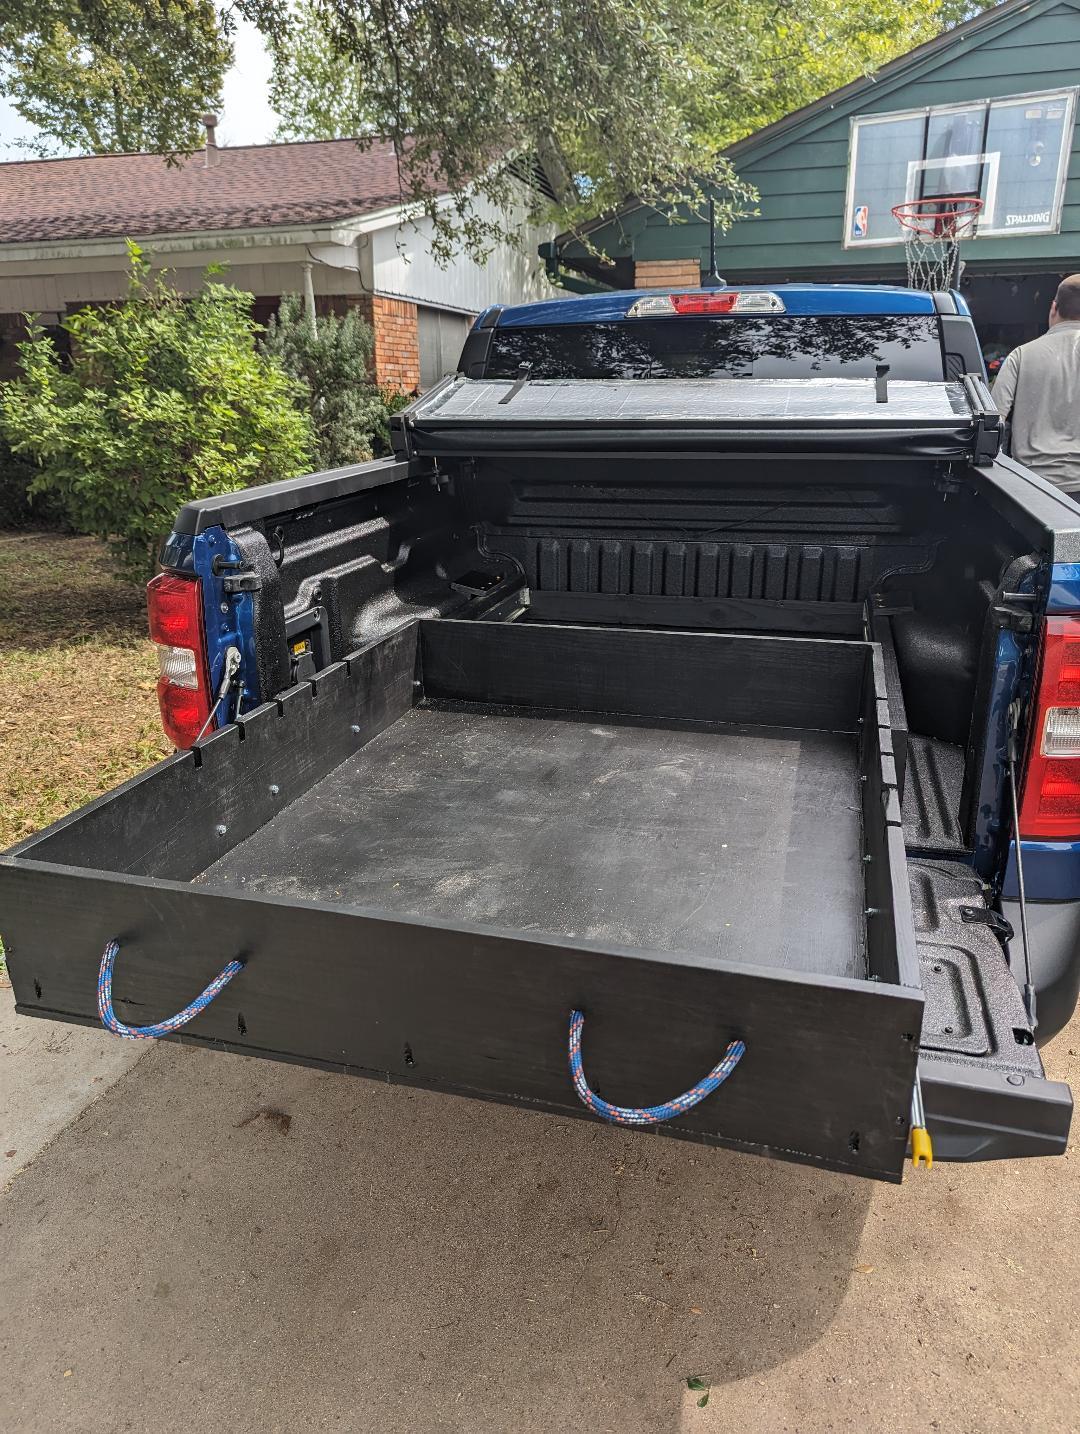
total build time about 8hrs
Supplies:
48in full extension drawer slides with 500lb limit from eBay ($97)
https://www.ebay.com/itm/403833771331?var=673724029852
1/2in sheet of plywood from local supplier ($35) I used slightly more than 1/2 a sheet
1- 2x6x8 from Lowe’s ($4.50)
5- 5/8in ball bearing rollers from Harbor Freight ($1 each)
https://www.harborfreight.com/5-8-e...l-bearing-67067.html?_br_psugg_q=ball+bearing
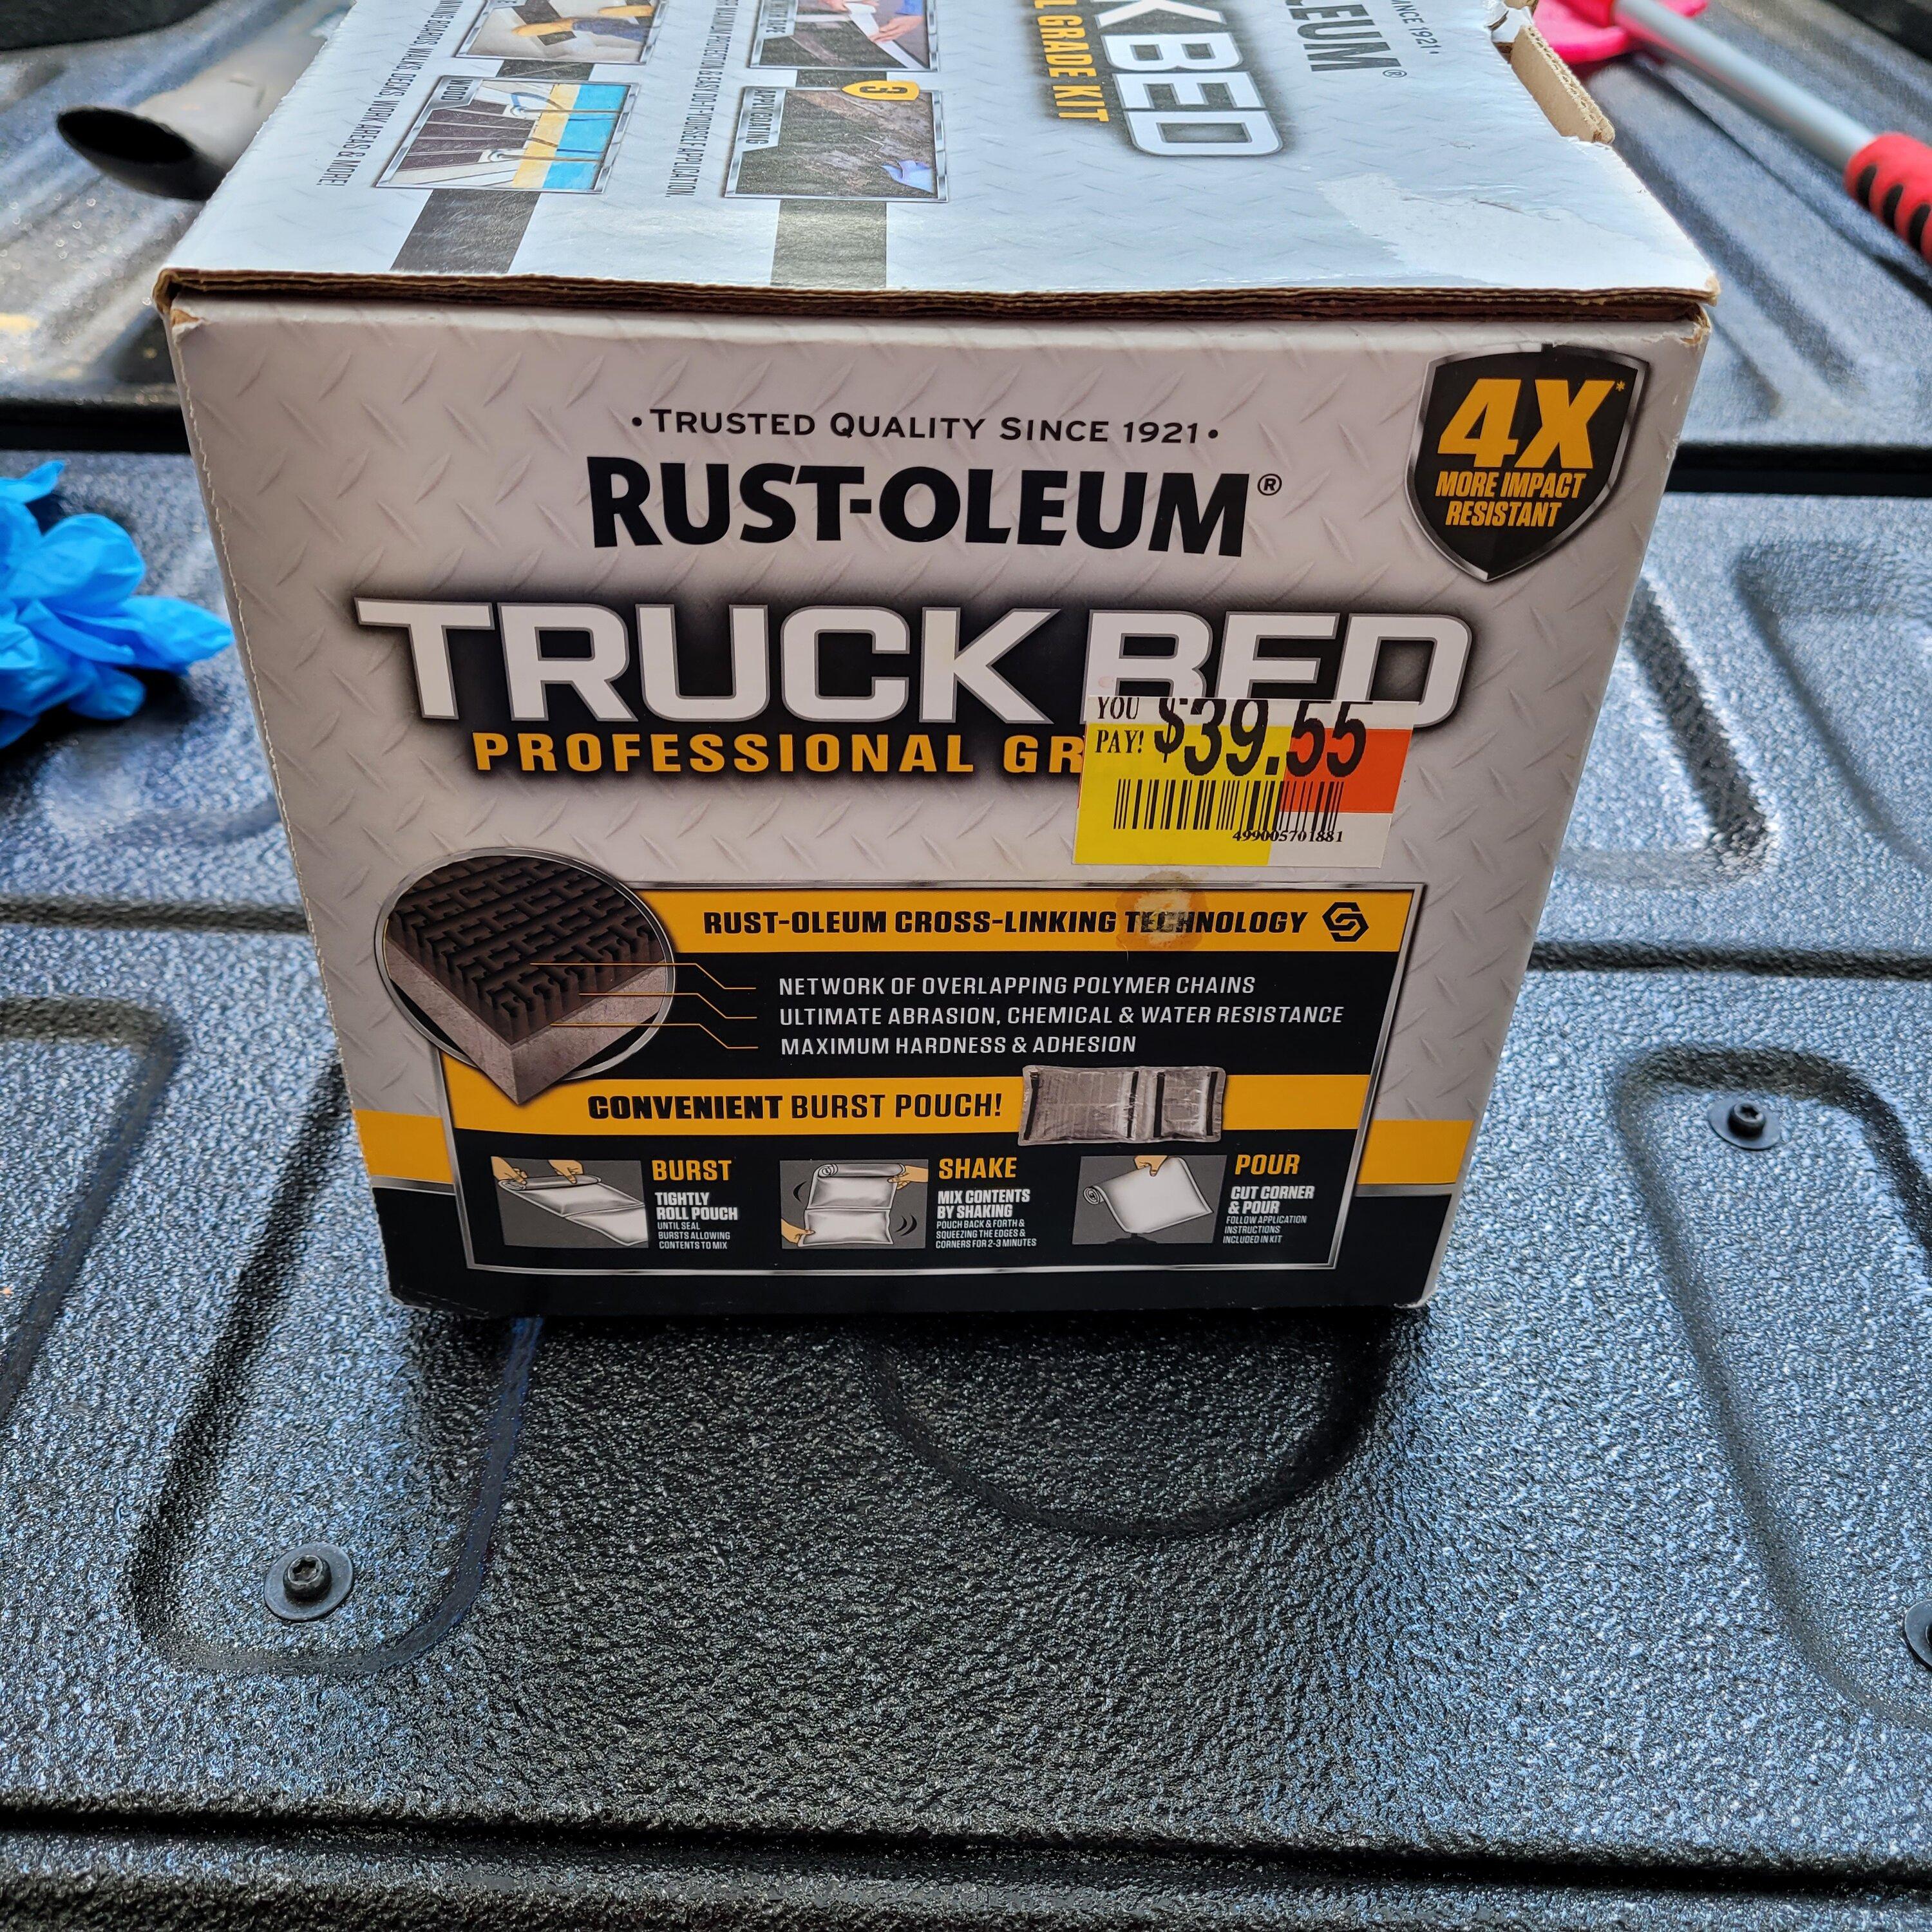
Rustoleum black indoor/outdoor paint ($15 at Home Depot)
1 pk 1/4in x 2.5in pan head machine screws ($1.28)
1 pk 1/4in t-nut for the screws ($1.28)
2- 1x6x8 boards, I had these laying around ($10.50each at HD for 5/4 6x12 pressure treated)
1- 1x4x4 board, I had this as scrap ($3.50 at HD)
Steps:
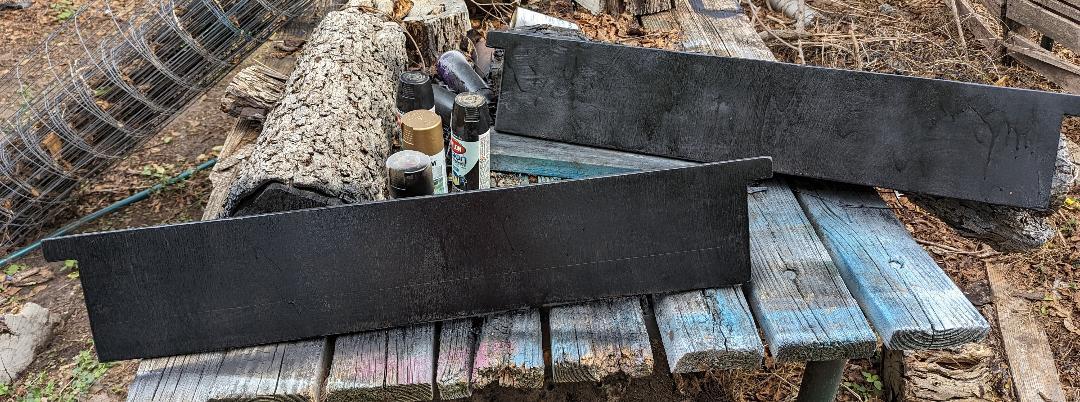
Slide runners
Router or dado out the full length of the 2x6 to inset the runners. Mine were 3in wide and 1/4in deep, 1.5in up from the bottom of the 2x6.
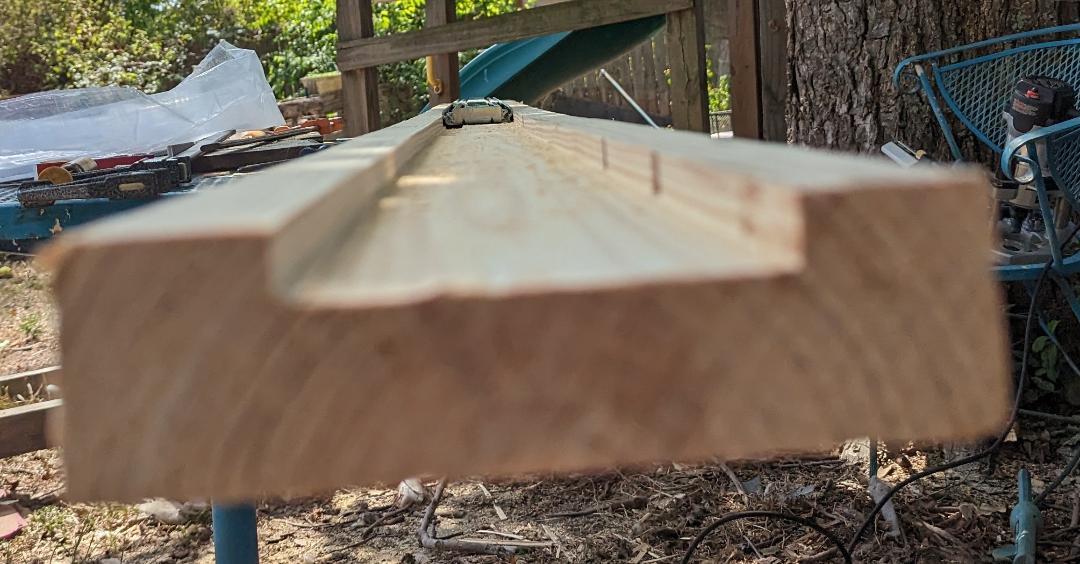
Cut the 2x6 to the length of your drawer slides, I did 48in, keep track of which side is “up”
Cut the 1x4 so it fits the width of the truck bed along the back wall (this will be used to tie the 2 runner supports together)
Base
Cut the ply wood to 38.5in x 48in
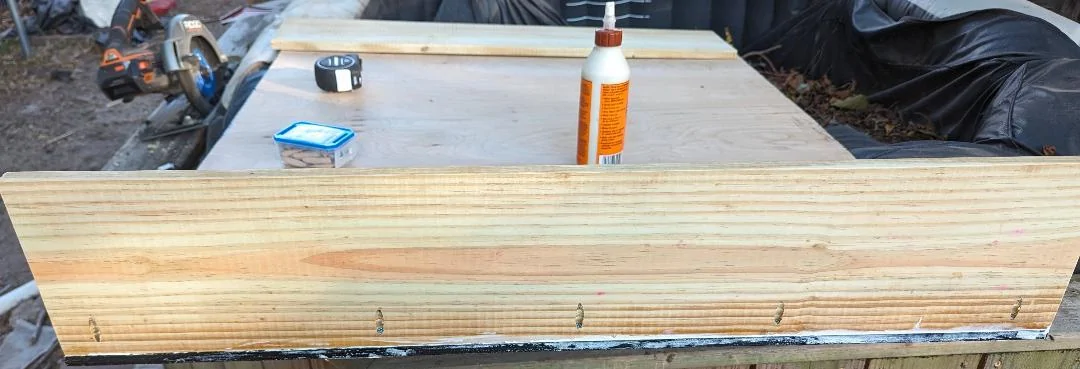
Cut one 1x6 into 2- 38.5in lengths (for front and back sides)
Cut one 1x6 into 2- approx 46.5in lengths (for the sides of the drawer, length may vary based on the thickness of the front/back wood
Attach sides to the base with wood glue and screws, I used pocket screws with screws from the bottom to strengthen the joints
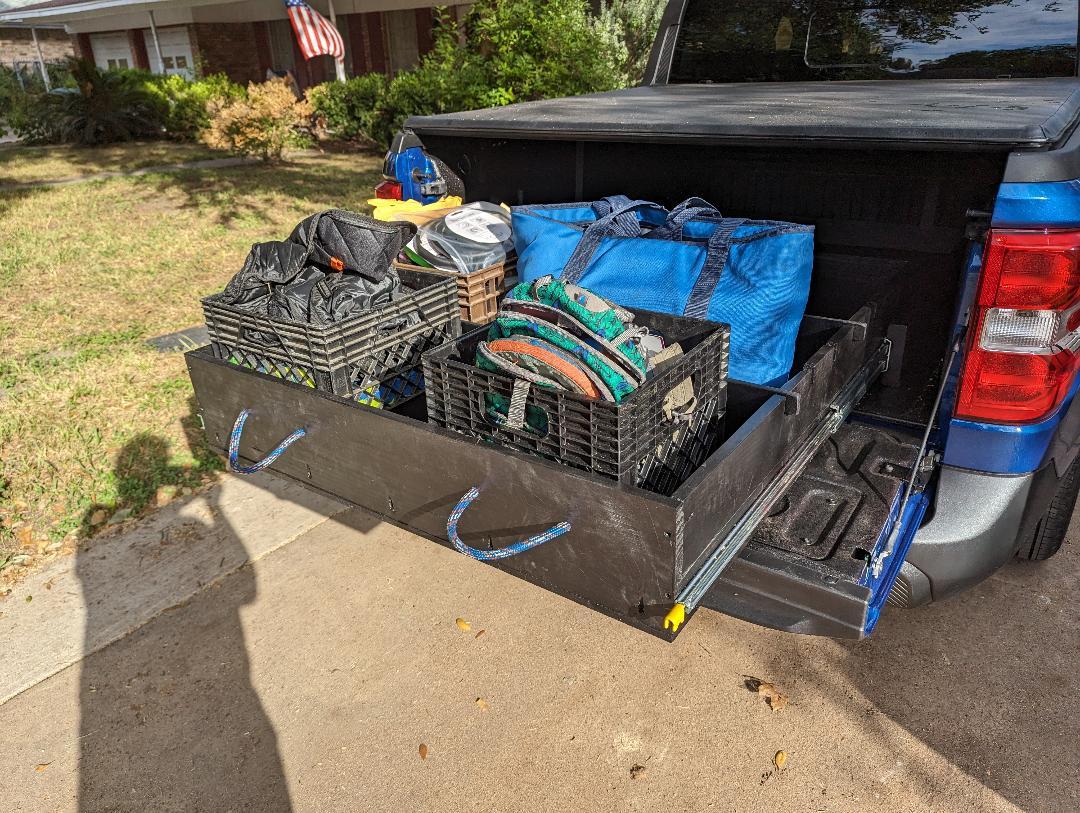
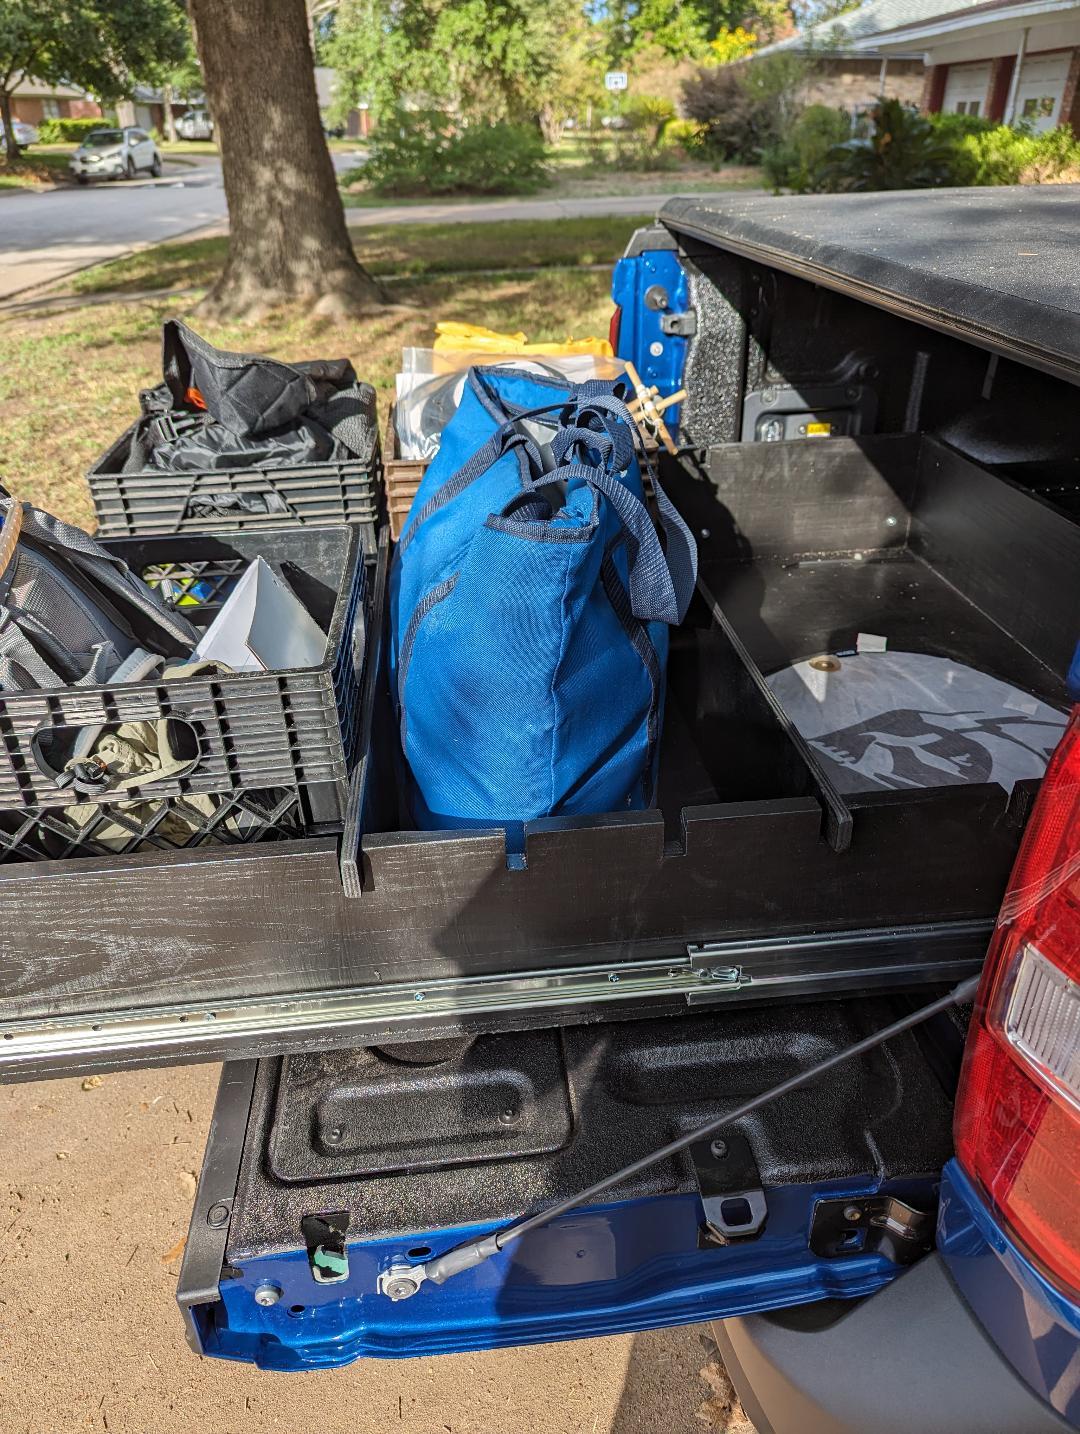
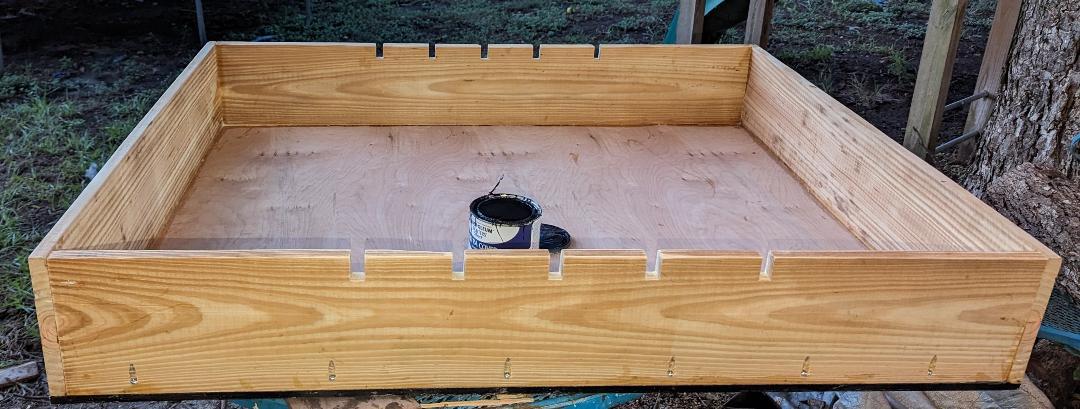
I added notches on the sides of my drawer to drop in divides cut from the same plywood as the base. I spaced the notches at the front and back to hold my standard milk crates then every 4in between.
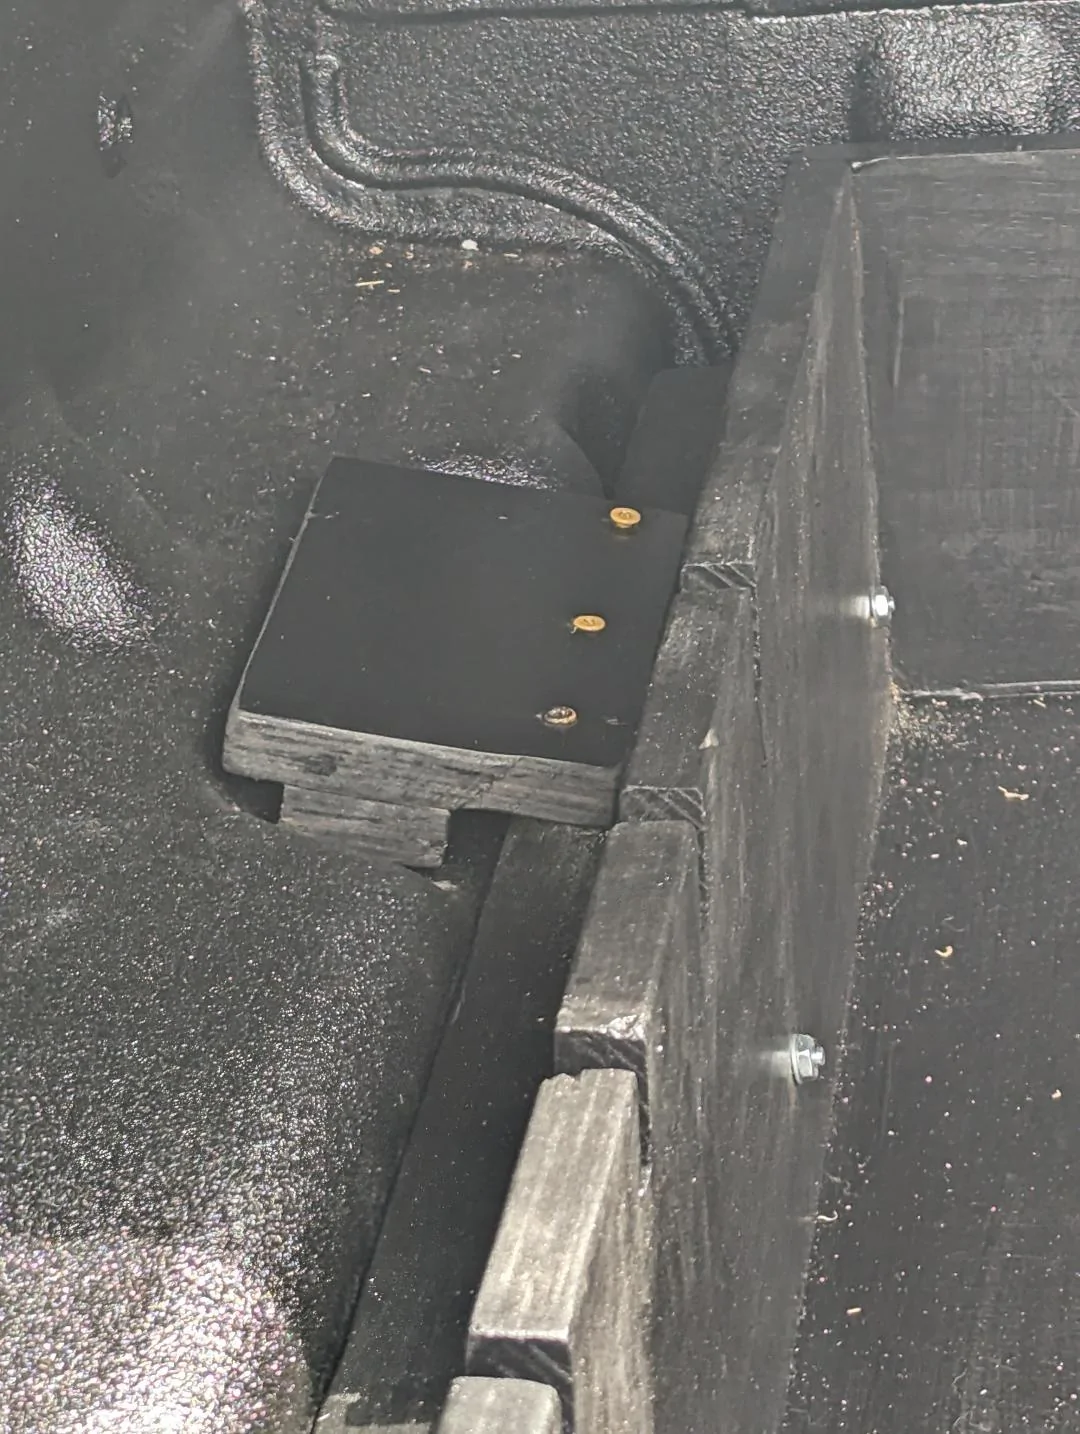
Drawer slide mount brackets
Cut the plywood so it will fit in the 2x8 insets on the wheel wells. You will need two of these, approx 5x7 and 2.5x7.
On the smaller piece, mark where the hole in the wheel well is located, drill a hole and put the t-nut on the bottom, screw 1/4in 2.5in long screw in the from the top.
Attach the small piece to the larger piece from the bottom
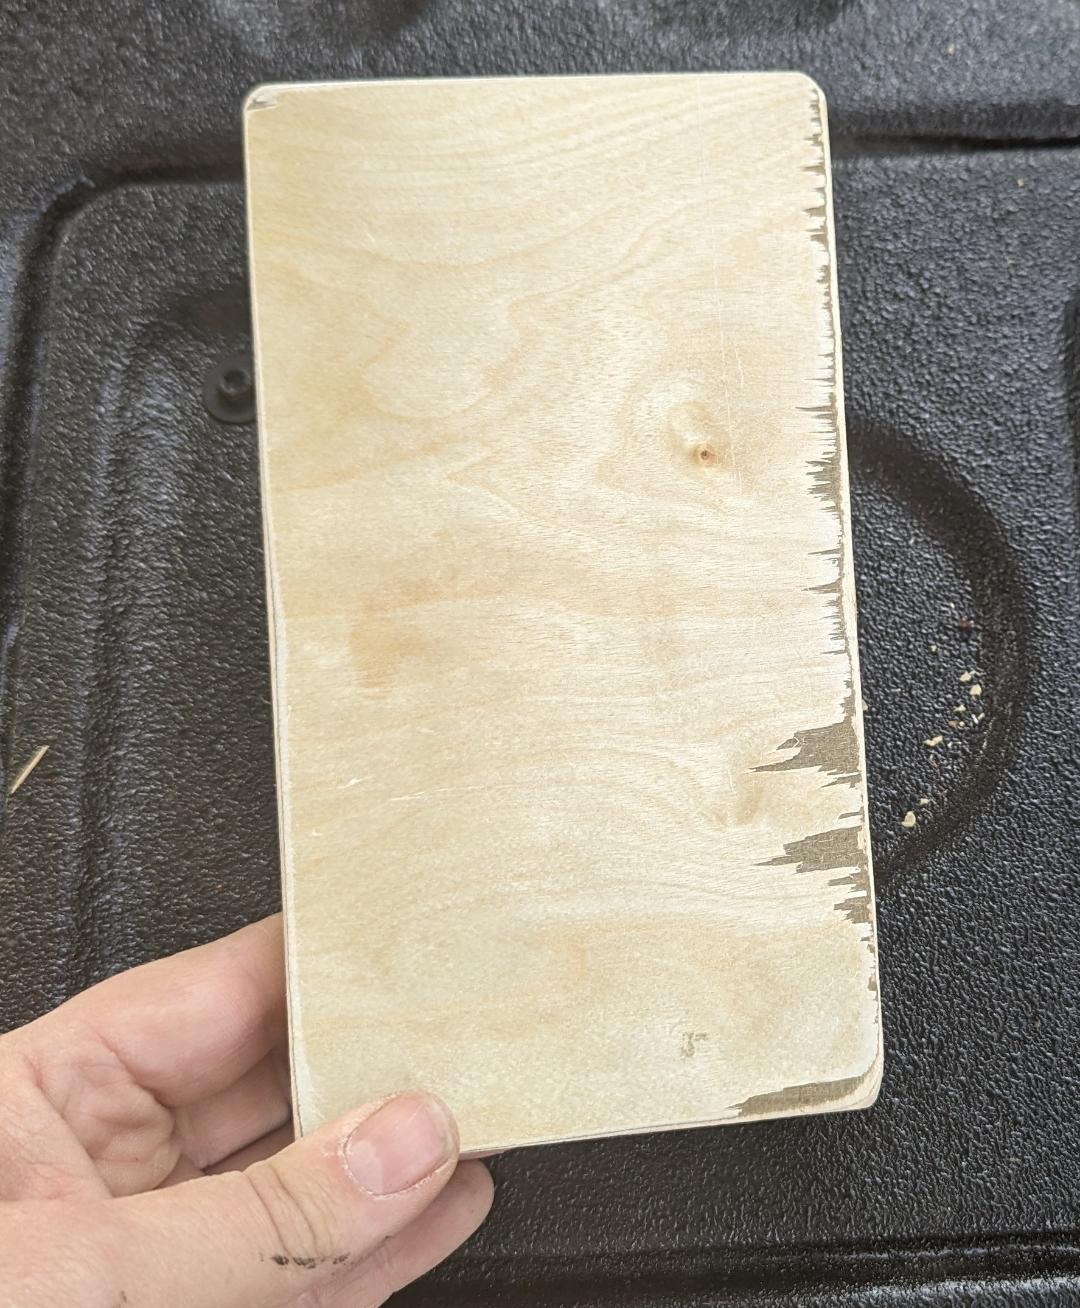
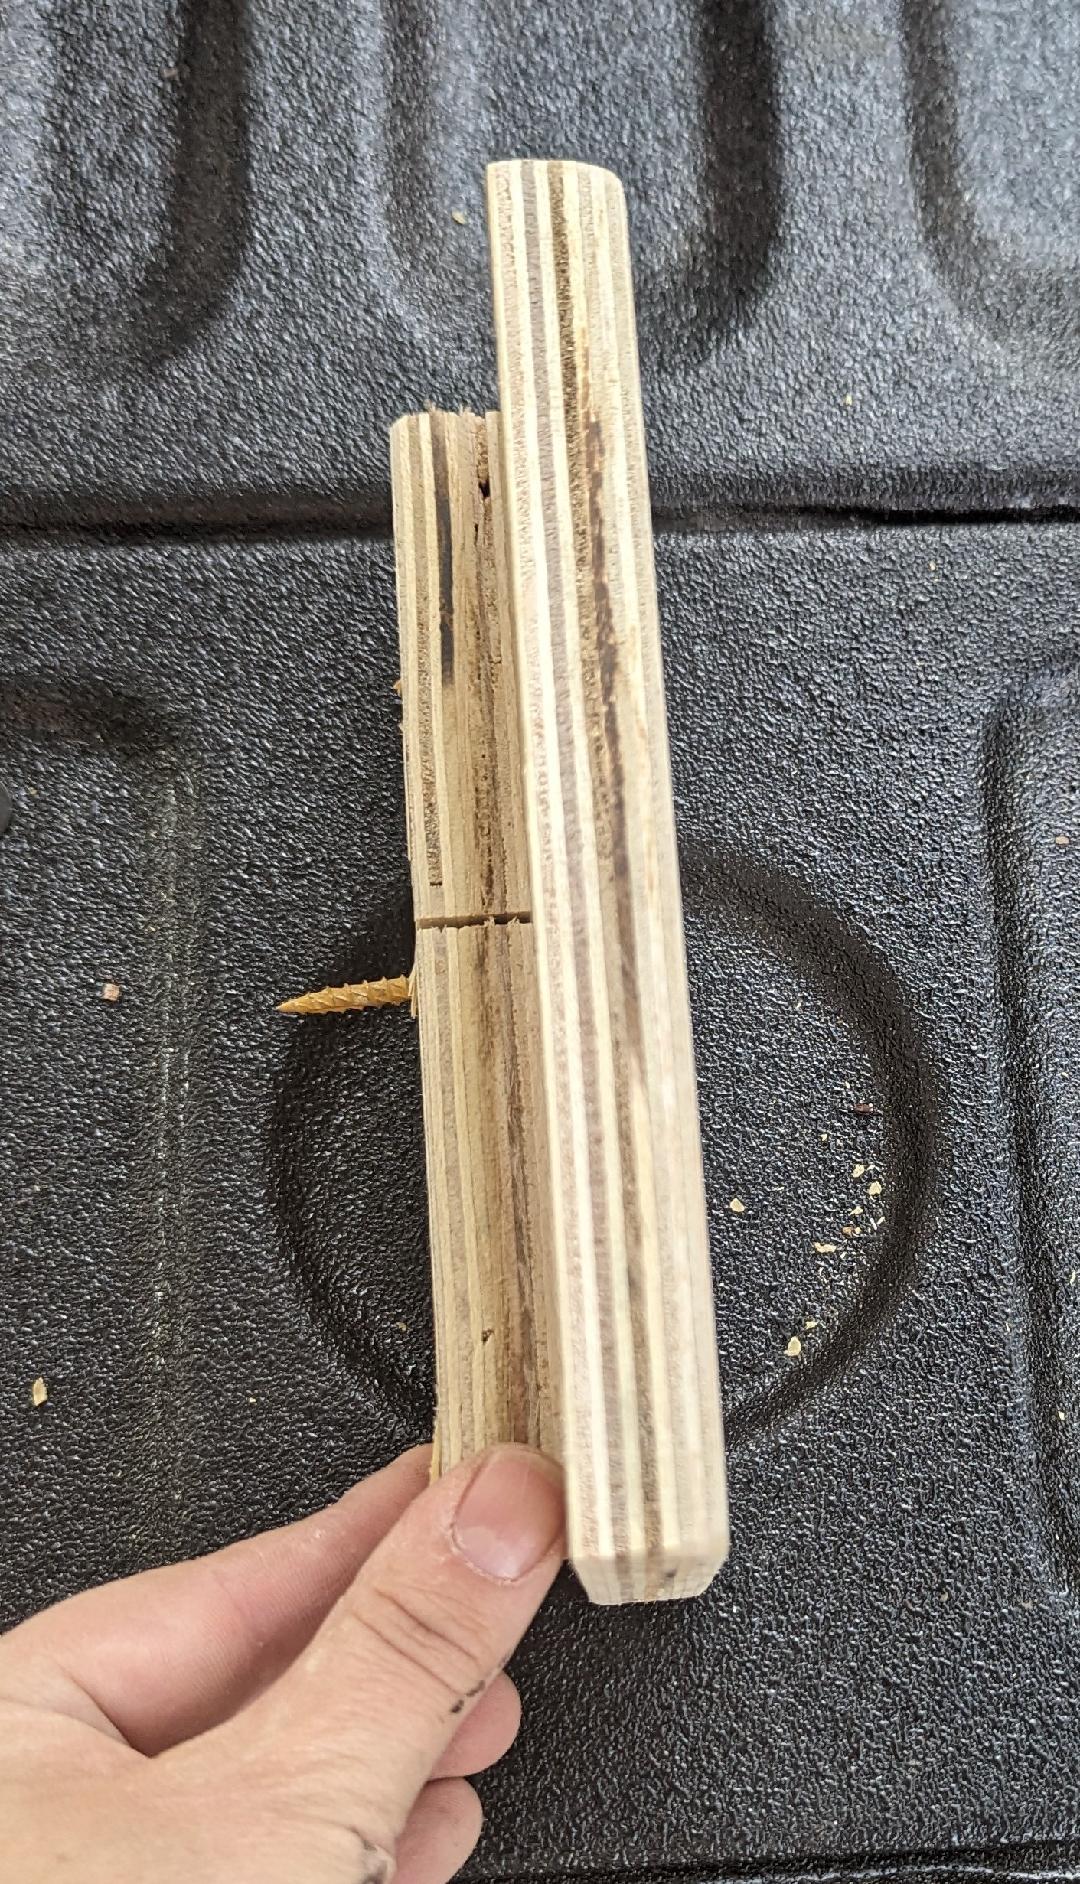
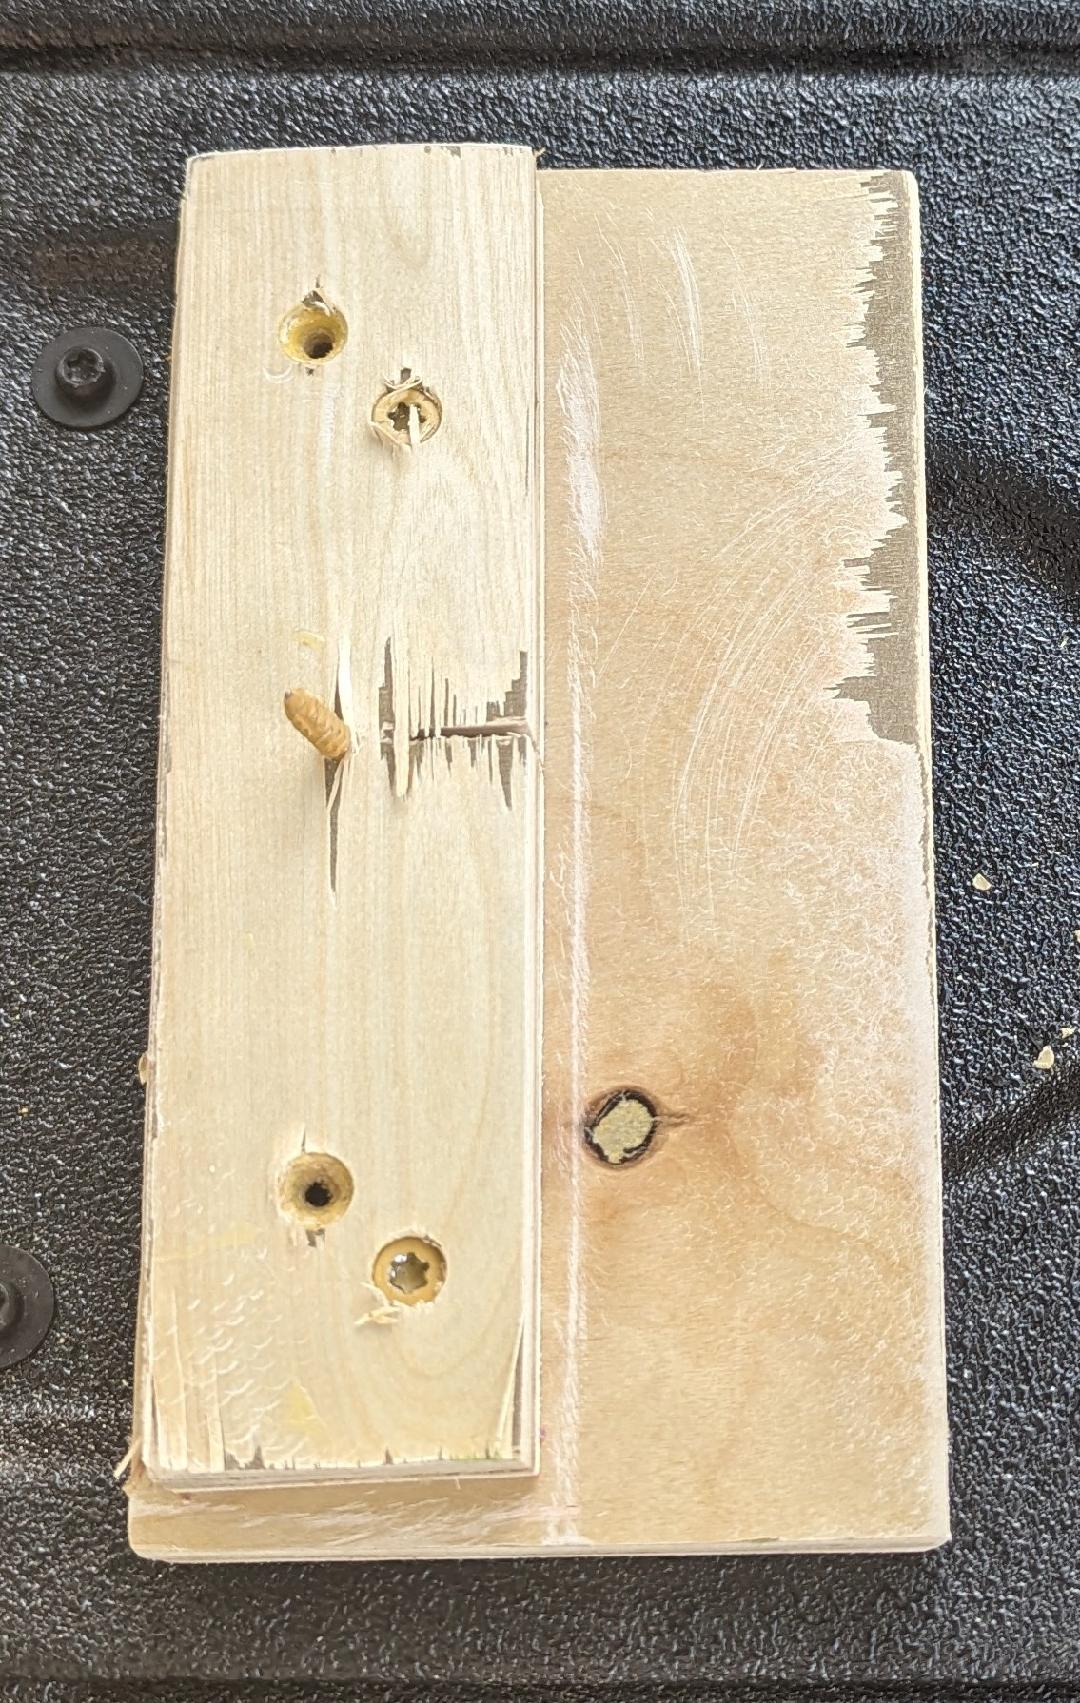
(I swapped the random screw for the t-nut and 1/4in bolt but for to get a pic)
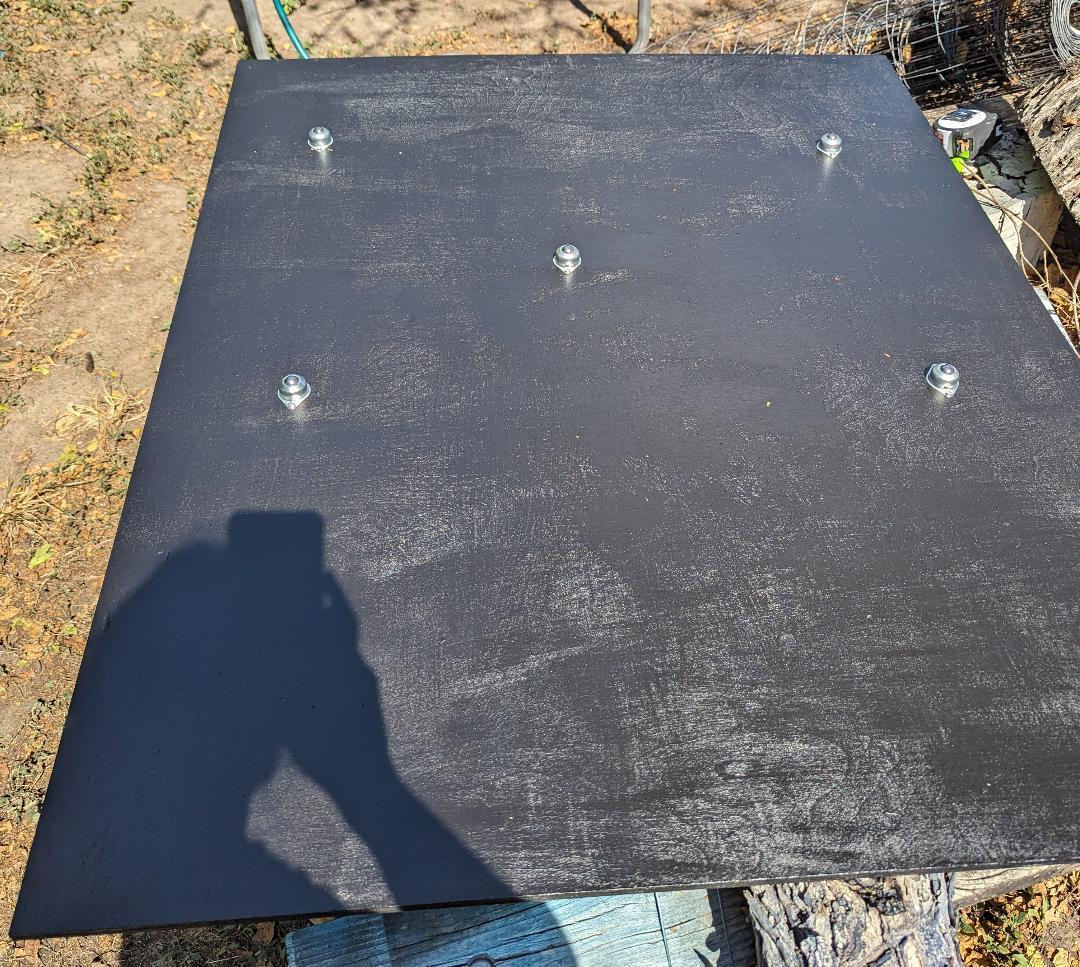
Paint all the wood to help with weather proofing
Screw the ball bearing rollers to the bottom of the base towards the back to help support the drawer. Make sure they will hit on the raised parts of the truck bed.
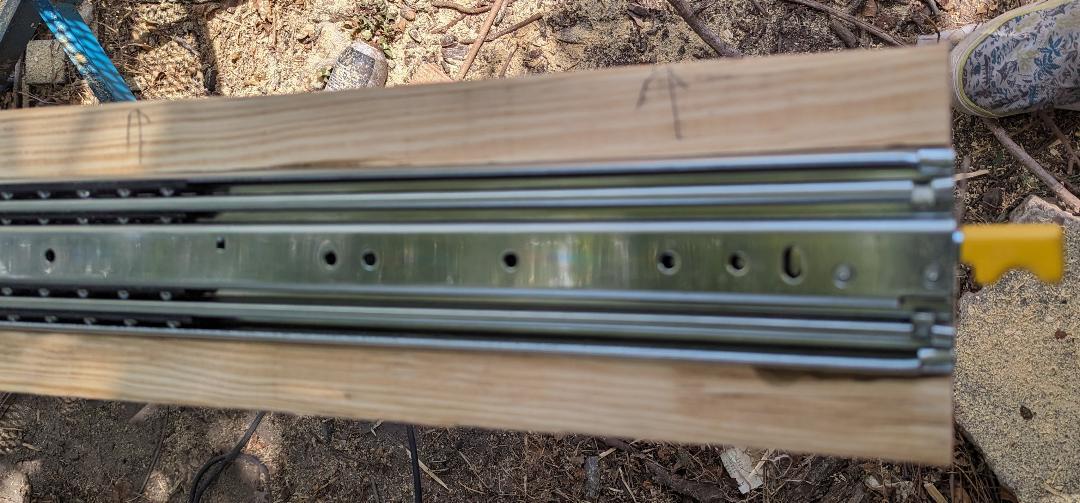
Mount the drawer slides in the 2x6 slots.
I attached the slides to the drawer in the truck bed but if you have a large level area you could probably mount them off the truck
Attach the 1x4 to the 2x6 along the back of the drawer.
Slide the drawer into the truck bed, once it is where you want it, place the mount brackets on each side with the bolt going into the hole over the wheel. Screw the mounting plate to the 2x6 runner on each side to secure the drawer. You can further secure it with a nut from the wheel well.
For the dividers, I cut 2 pieces of plywood from my original sheet into 40in x 7.25in strips then cut off a 1.5in wide by 6in tall piece on each end so they could drop into the slots.
total build time about 8hrs
Supplies:
48in full extension drawer slides with 500lb limit from eBay ($97)
https://www.ebay.com/itm/403833771331?var=673724029852
1/2in sheet of plywood from local supplier ($35) I used slightly more than 1/2 a sheet
1- 2x6x8 from Lowe’s ($4.50)
5- 5/8in ball bearing rollers from Harbor Freight ($1 each)
https://www.harborfreight.com/5-8-e...l-bearing-67067.html?_br_psugg_q=ball+bearing
Rustoleum black indoor/outdoor paint ($15 at Home Depot)
1 pk 1/4in x 2.5in pan head machine screws ($1.28)
1 pk 1/4in t-nut for the screws ($1.28)
2- 1x6x8 boards, I had these laying around ($10.50each at HD for 5/4 6x12 pressure treated)
1- 1x4x4 board, I had this as scrap ($3.50 at HD)
Steps:
Slide runners
Router or dado out the full length of the 2x6 to inset the runners. Mine were 3in wide and 1/4in deep, 1.5in up from the bottom of the 2x6.
Cut the 2x6 to the length of your drawer slides, I did 48in, keep track of which side is “up”
Cut the 1x4 so it fits the width of the truck bed along the back wall (this will be used to tie the 2 runner supports together)
Base
Cut the ply wood to 38.5in x 48in
Cut one 1x6 into 2- 38.5in lengths (for front and back sides)
Cut one 1x6 into 2- approx 46.5in lengths (for the sides of the drawer, length may vary based on the thickness of the front/back wood
Attach sides to the base with wood glue and screws, I used pocket screws with screws from the bottom to strengthen the joints
I added notches on the sides of my drawer to drop in divides cut from the same plywood as the base. I spaced the notches at the front and back to hold my standard milk crates then every 4in between.
Drawer slide mount brackets
Cut the plywood so it will fit in the 2x8 insets on the wheel wells. You will need two of these, approx 5x7 and 2.5x7.
On the smaller piece, mark where the hole in the wheel well is located, drill a hole and put the t-nut on the bottom, screw 1/4in 2.5in long screw in the from the top.
Attach the small piece to the larger piece from the bottom
(I swapped the random screw for the t-nut and 1/4in bolt but for to get a pic)
Paint all the wood to help with weather proofing
Screw the ball bearing rollers to the bottom of the base towards the back to help support the drawer. Make sure they will hit on the raised parts of the truck bed.
Mount the drawer slides in the 2x6 slots.
I attached the slides to the drawer in the truck bed but if you have a large level area you could probably mount them off the truck
Attach the 1x4 to the 2x6 along the back of the drawer.
Slide the drawer into the truck bed, once it is where you want it, place the mount brackets on each side with the bolt going into the hole over the wheel. Screw the mounting plate to the 2x6 runner on each side to secure the drawer. You can further secure it with a nut from the wheel well.
For the dividers, I cut 2 pieces of plywood from my original sheet into 40in x 7.25in strips then cut off a 1.5in wide by 6in tall piece on each end so they could drop into the slots.
Sponsored
Last edited by a moderator: