- First Name
- Greg Kaffka
- Joined
- Mar 10, 2023
- Threads
- 2
- Messages
- 20
- Reaction score
- 15
- Location
- South Carolina
- Vehicle(s)
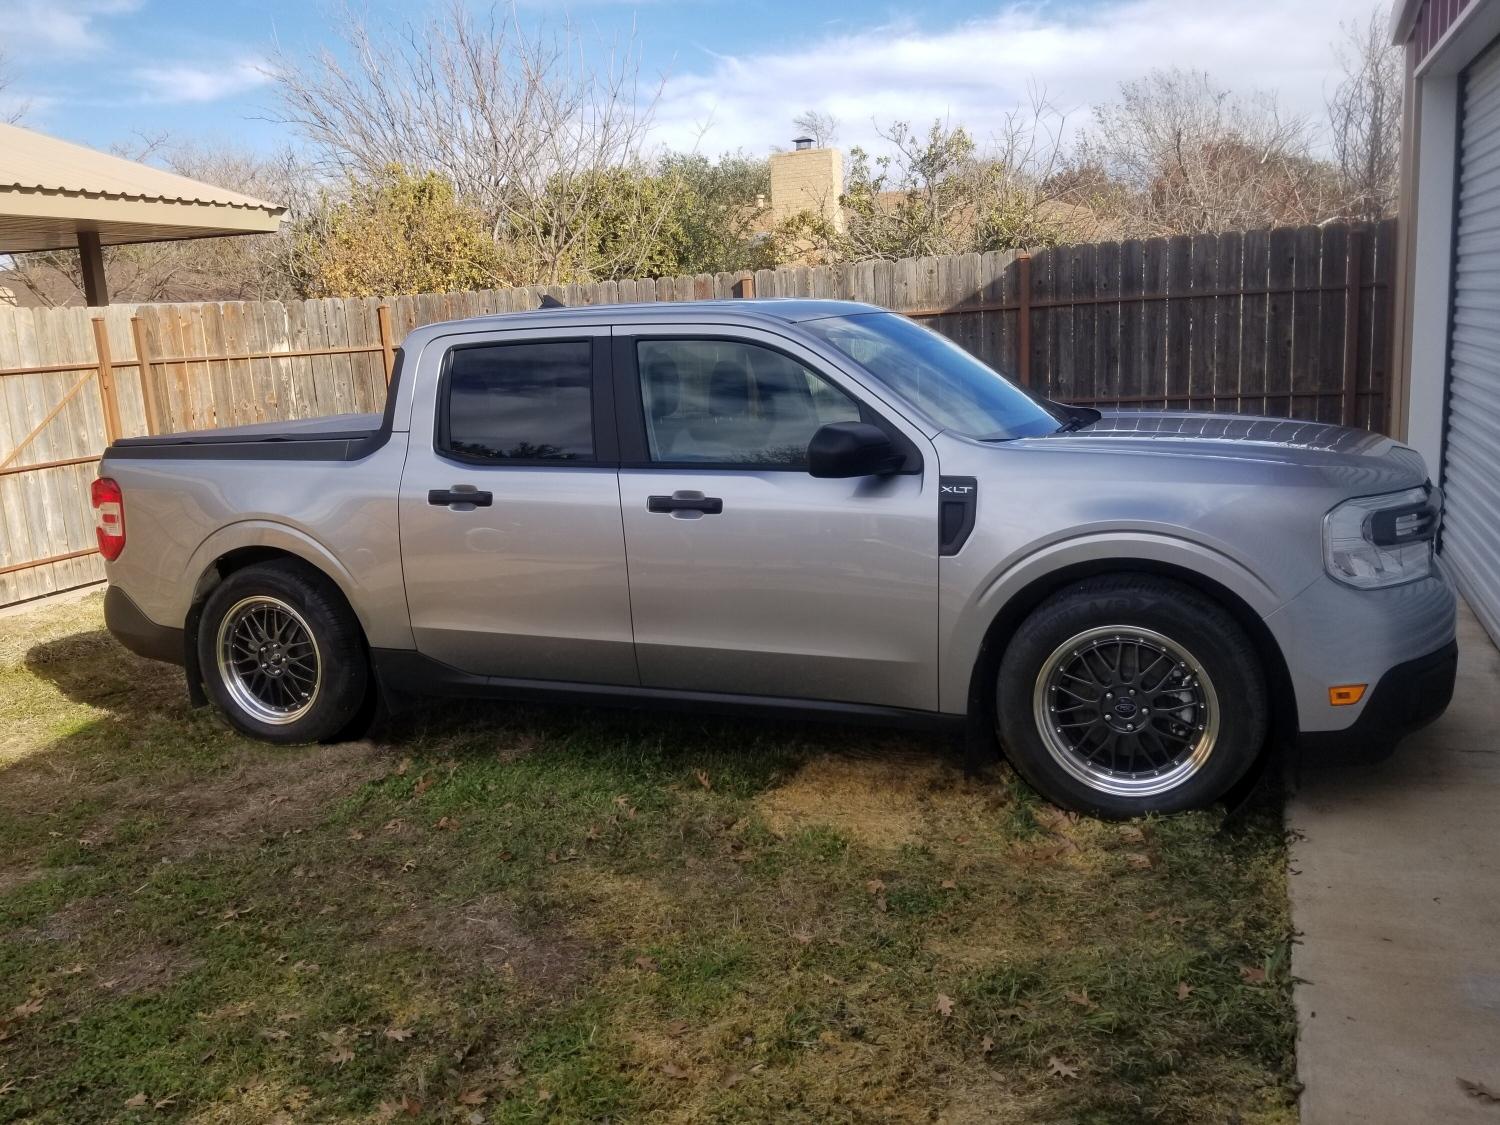
- 2022 Ford Maverick XL
- Engine
- 2.0L EcoBoost
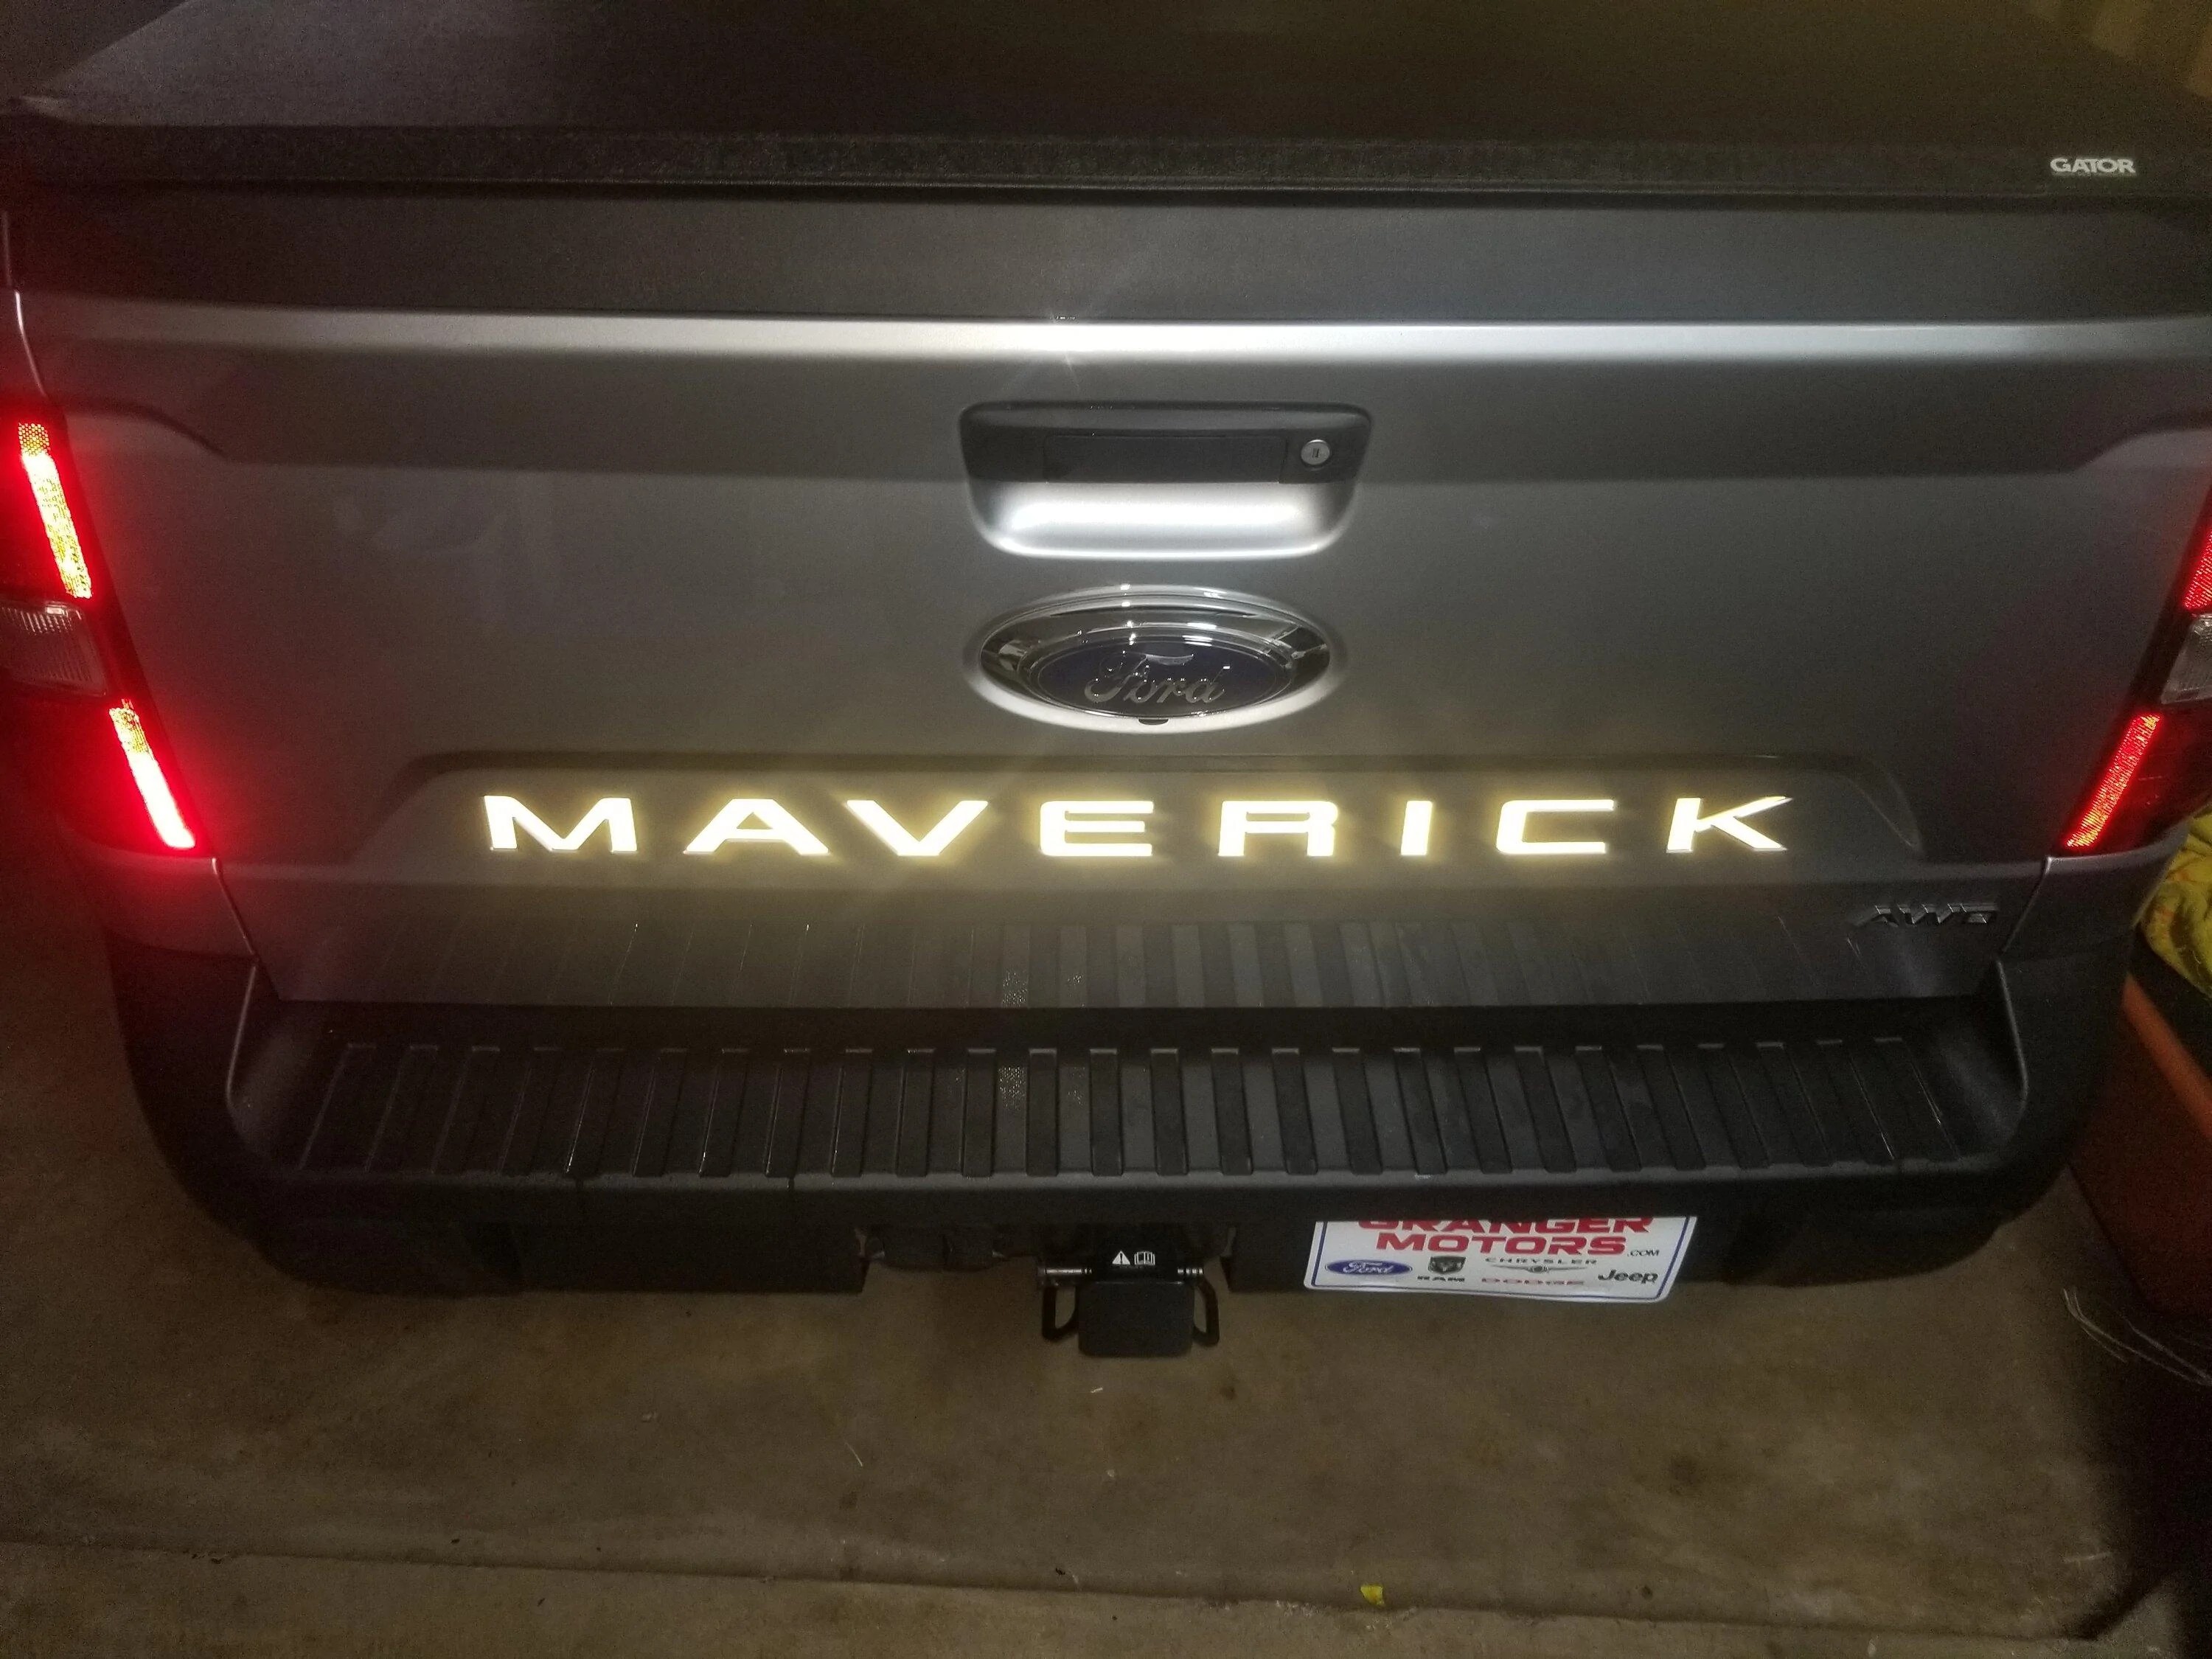
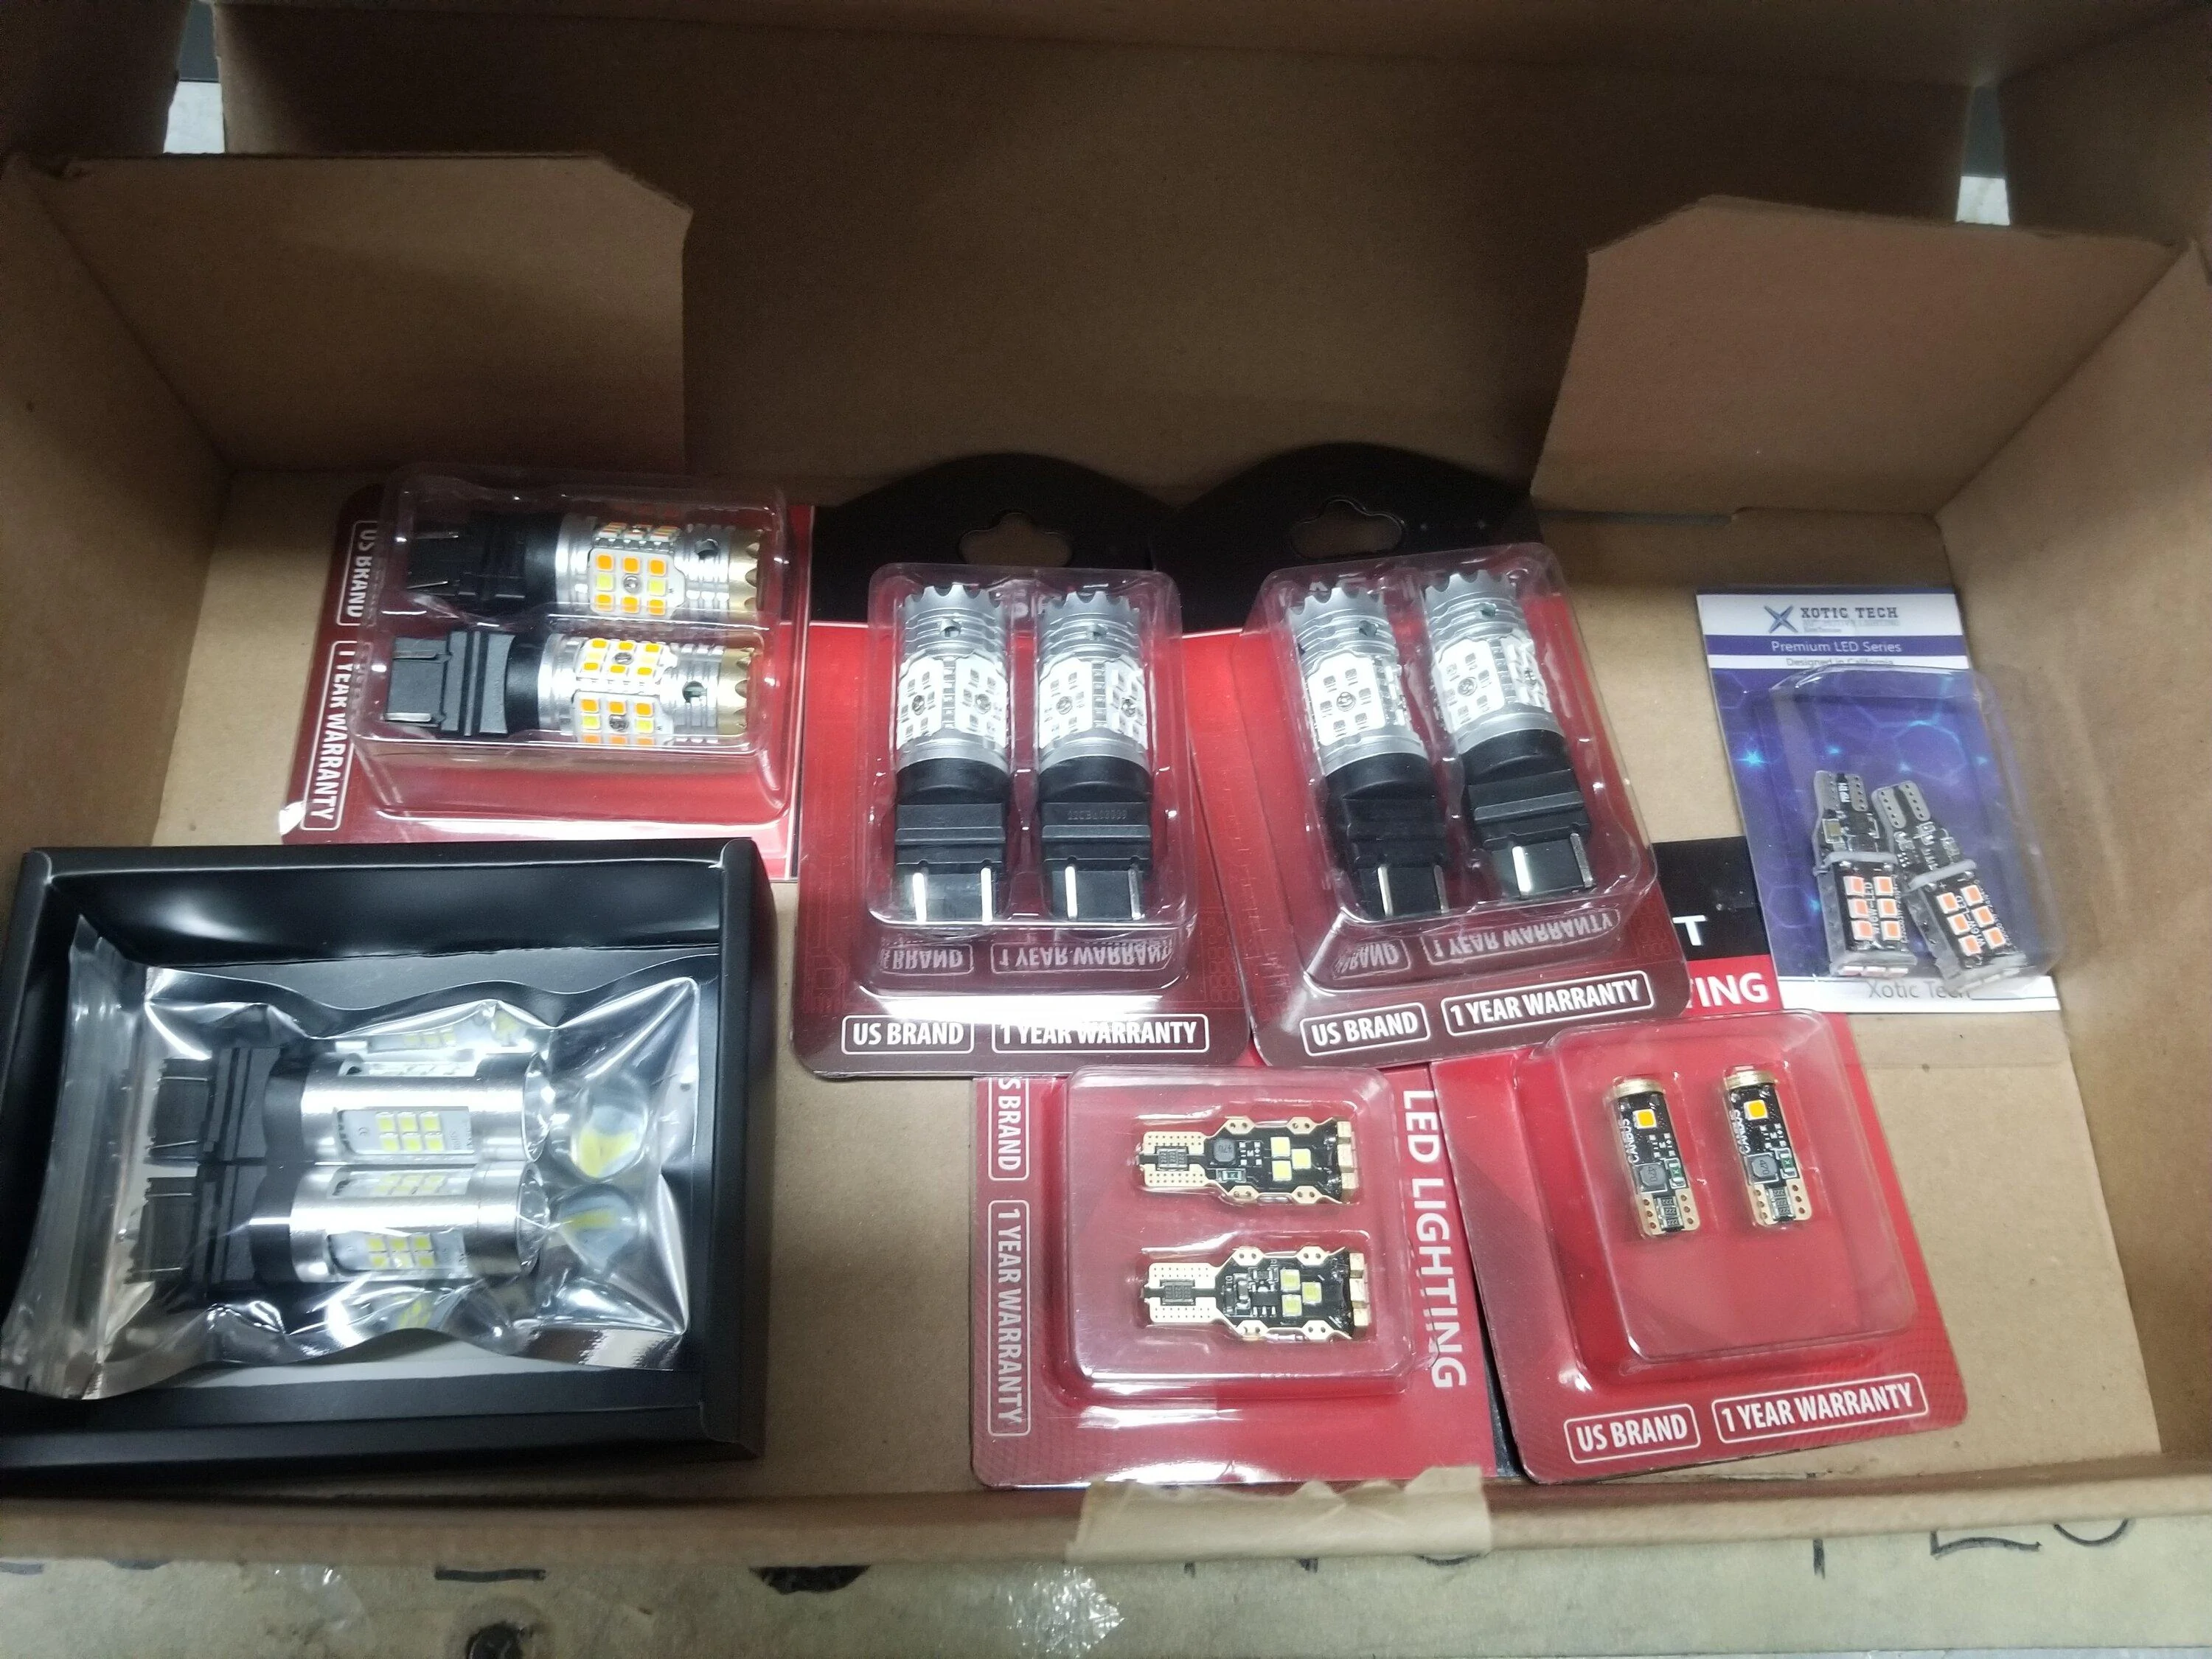
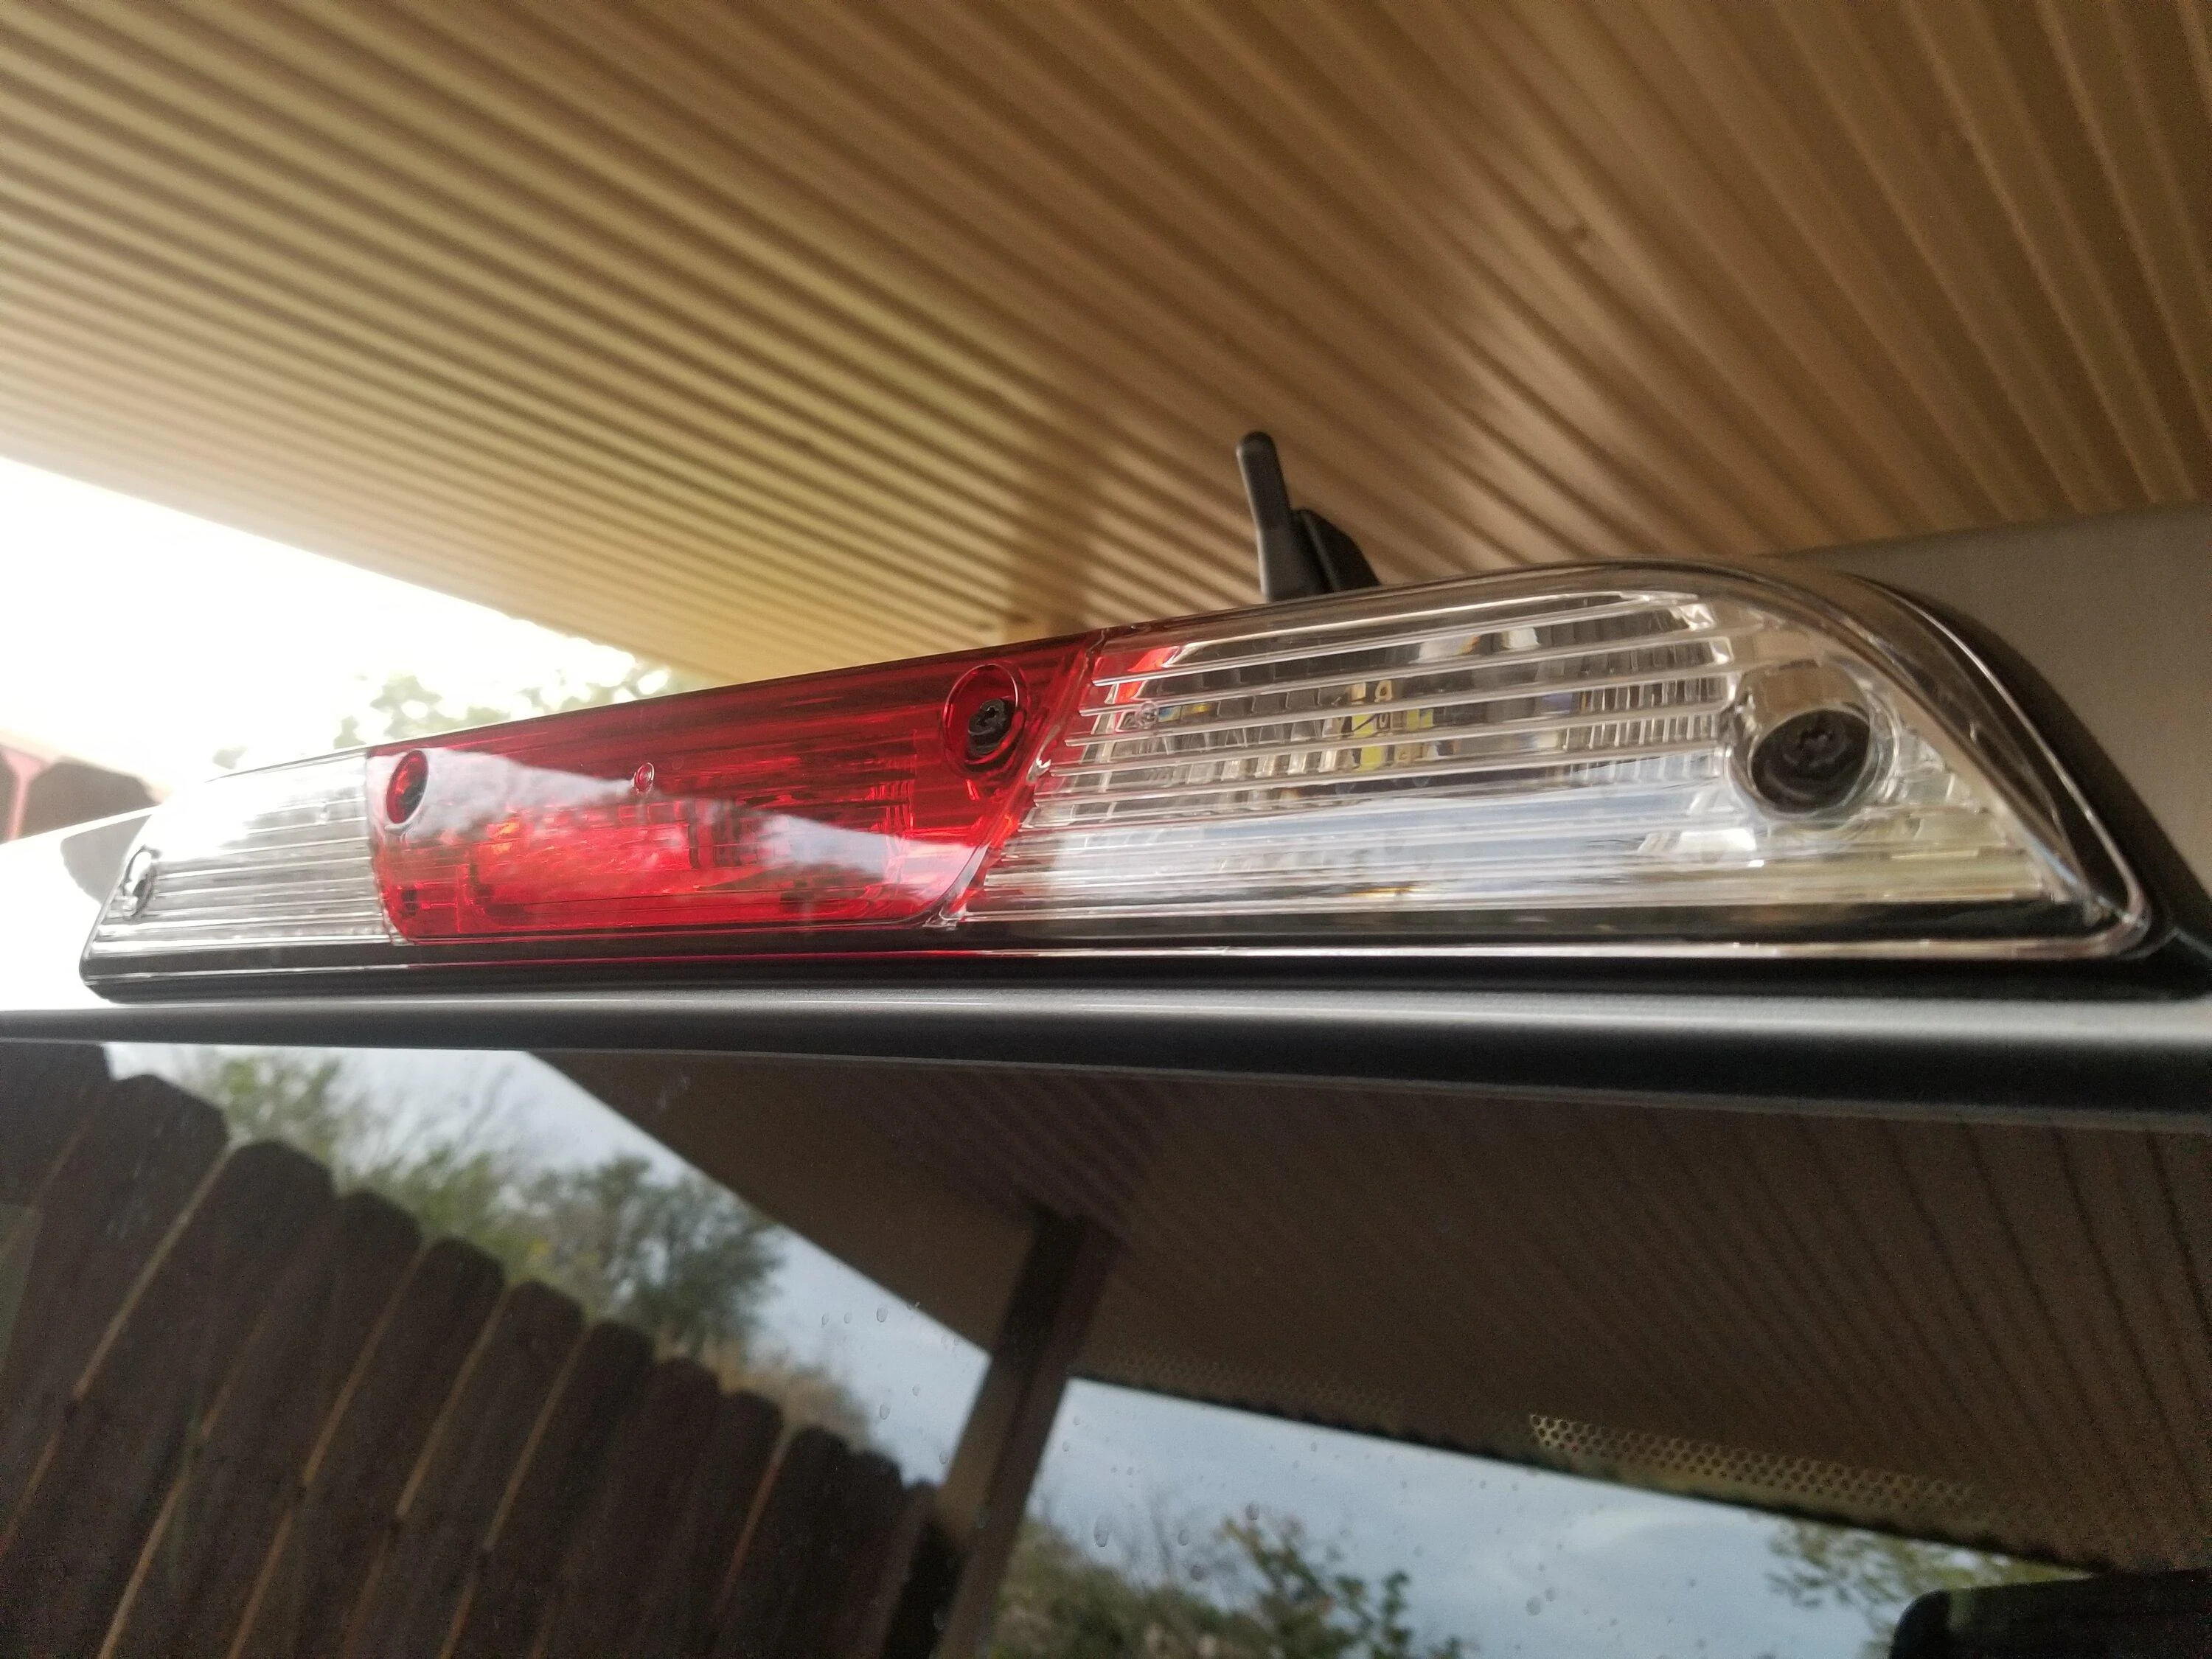
What was the part number or link for the lights on this. I only keep finding red. I wanted to replace red and the white fir better lighting.Again since this thread is supposed to help those newbies who want to do some DIY but are afraid to tackle this stuff, heres the tutorial on the LED lighting. The point of the LEDs are 2 fold. 1 they last the life of the vehicle. Swap em in now while it's new and not filthy where the sockets are, and 2 these things are effing bright. It's the usual cost stuff from Lasfit, and exotic tech. The multi flash 3rd brakelight LEDs I got from exotic tech on evilbay for $16. The rest was from from Lasfit. They have a complete maverick LED kit for a little over $200.
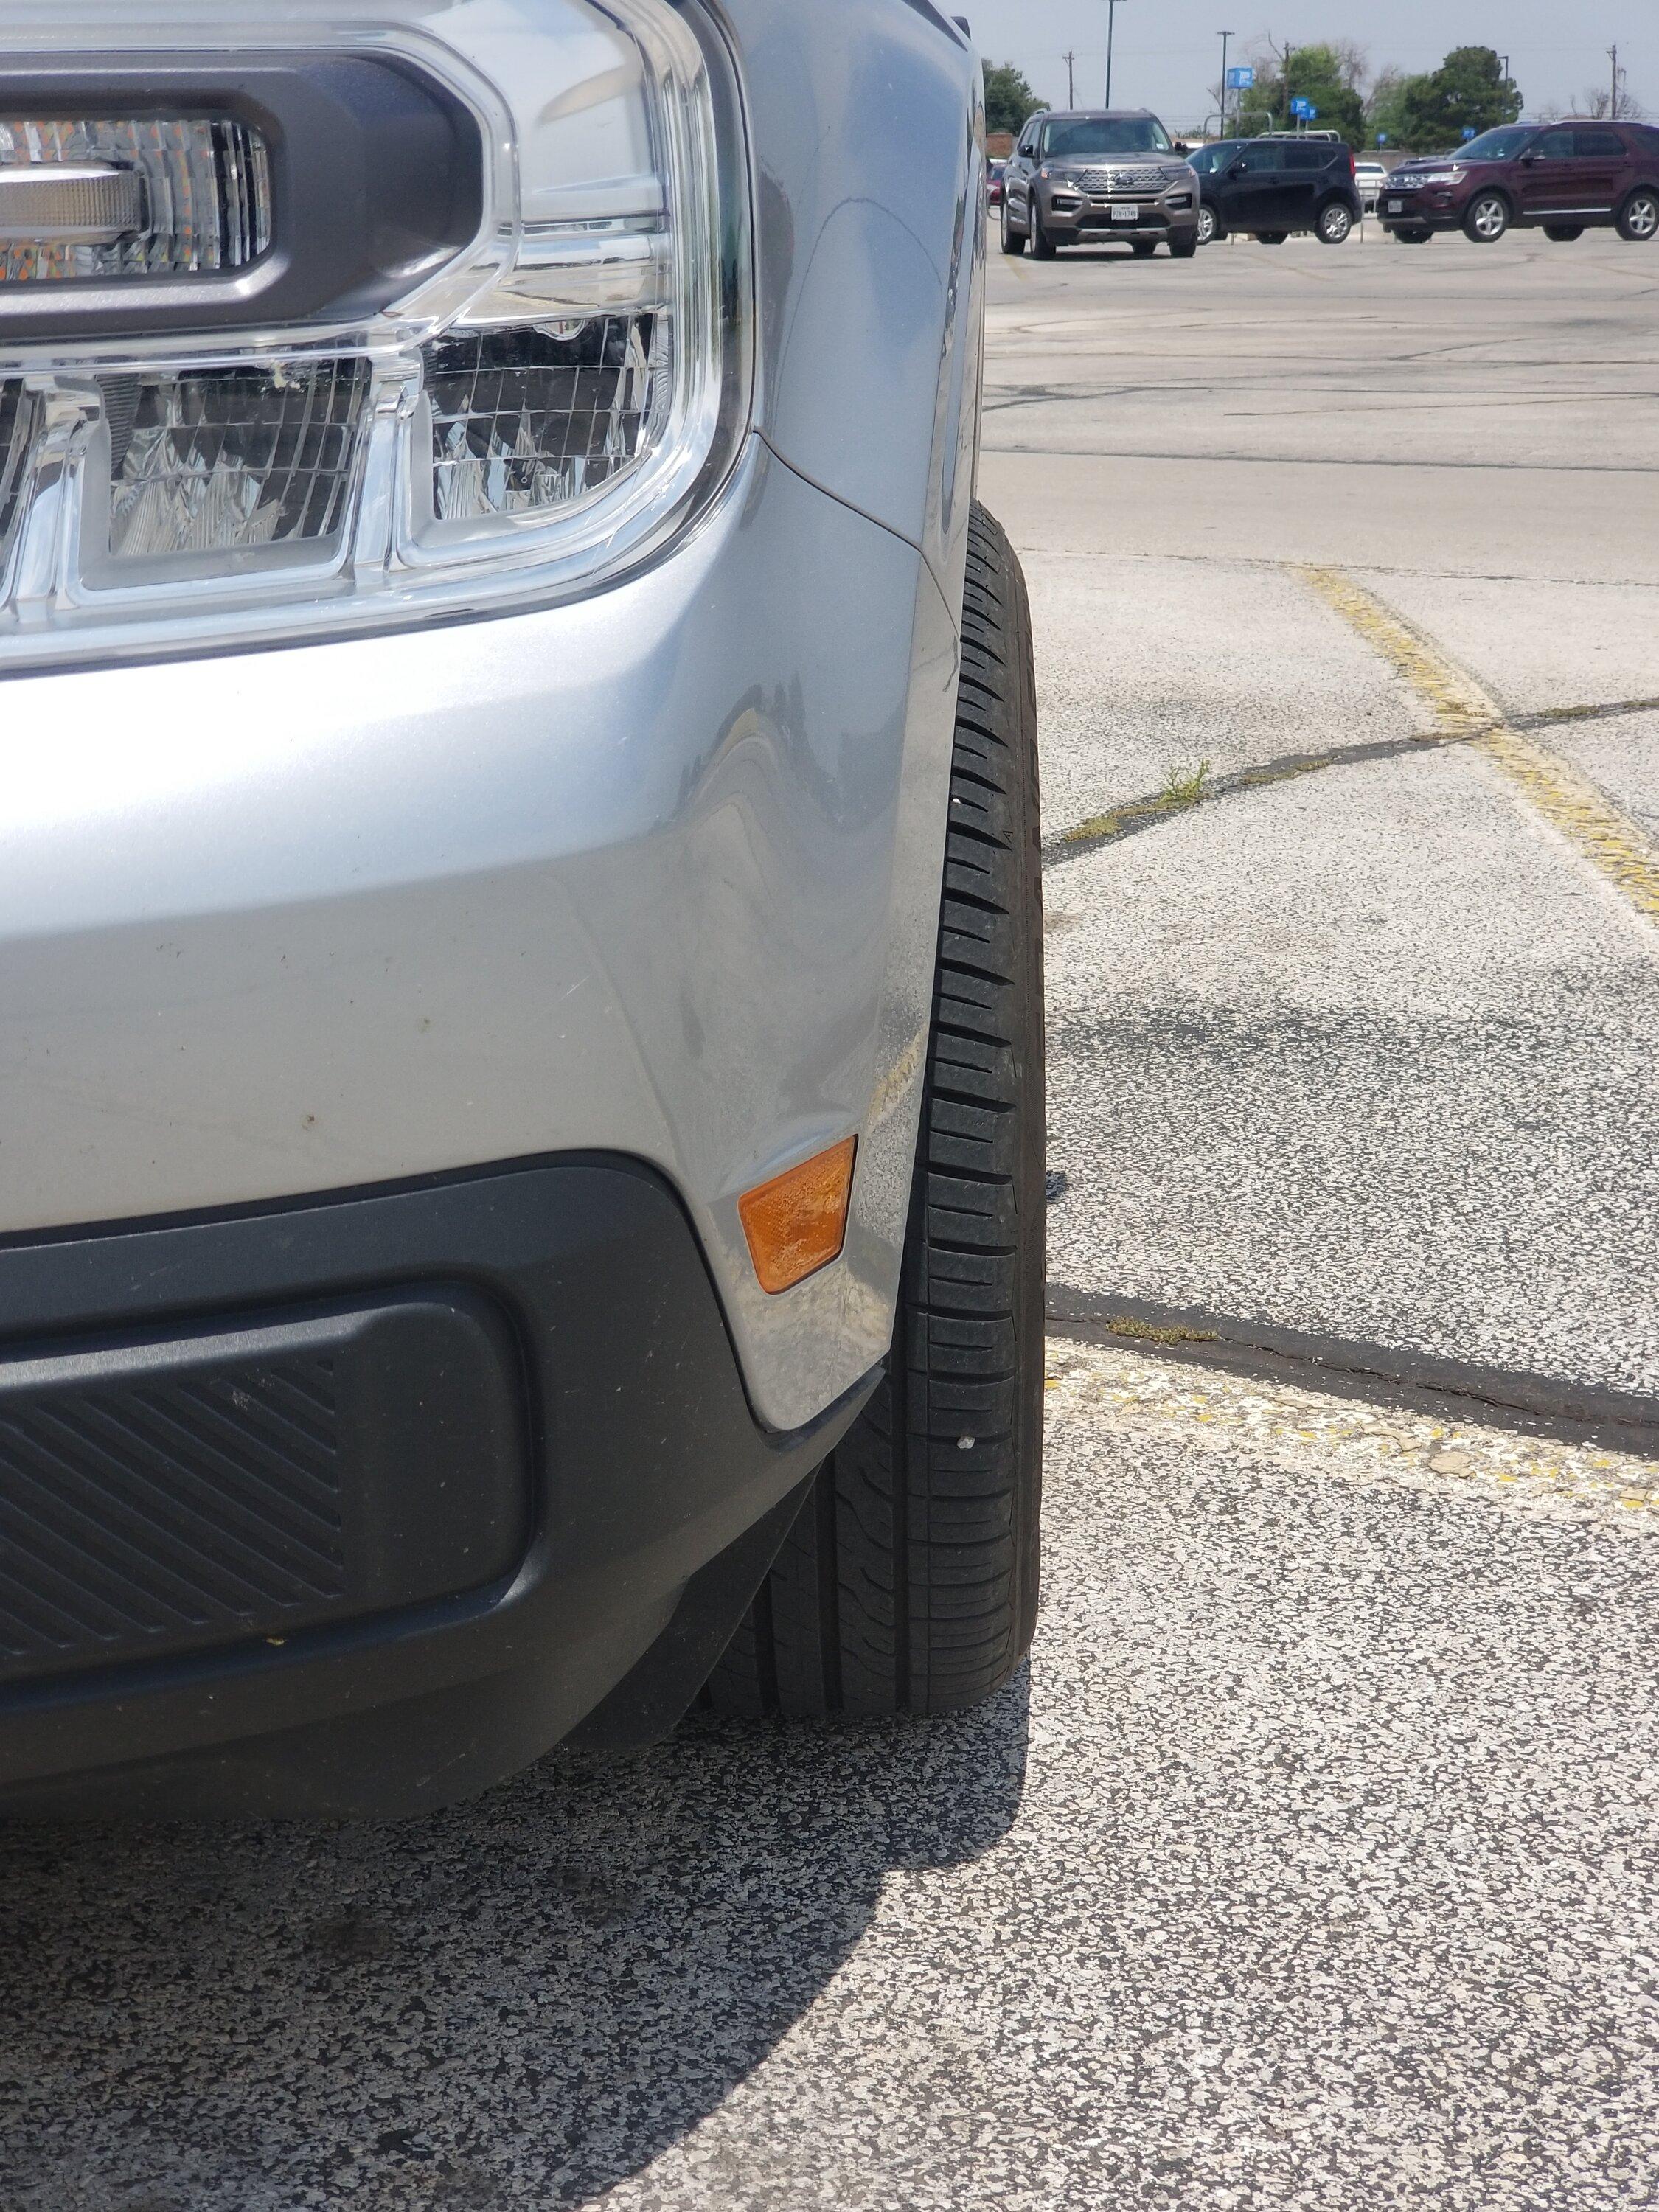
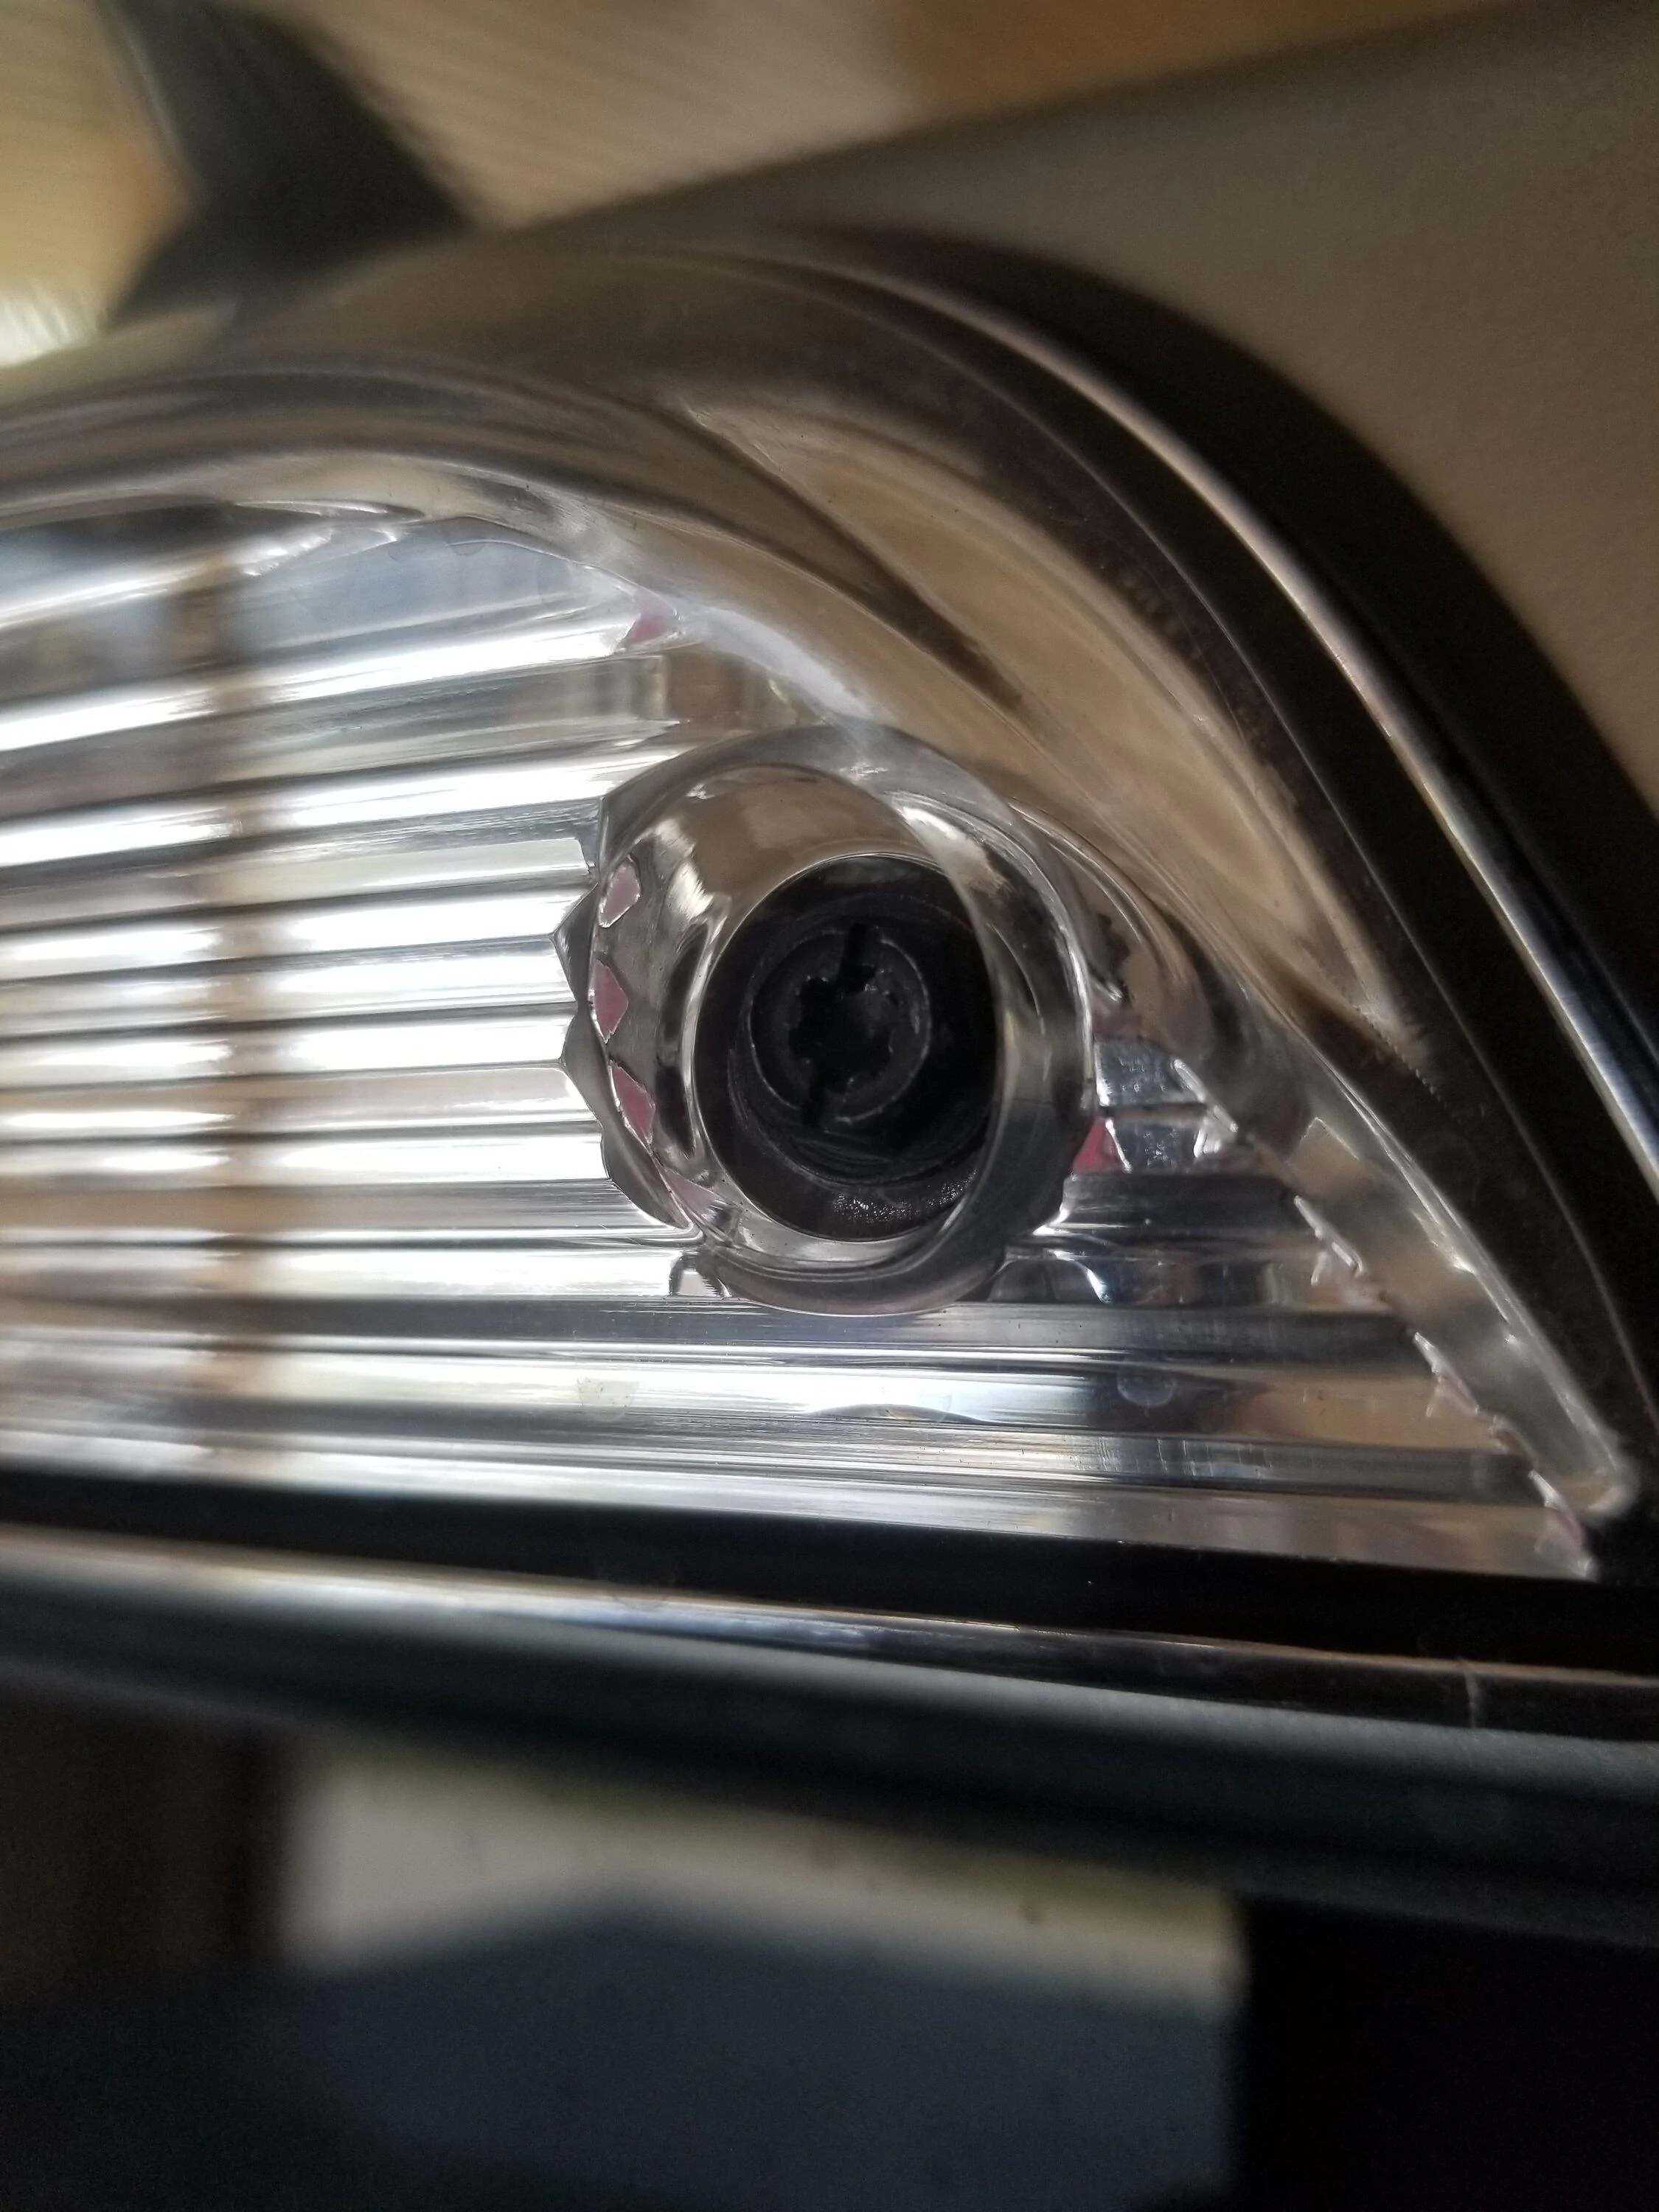
First up the lighting on the back of the cab. If you dont have torx screwdrivers, no biggie, the screws have slots for a standard blade type screwdriver. Remove all 4 screws, pull the light off the back of the cab. The light sockets are a 1/4 turn counter clockwise and pull out arrangement. Pull the bulbs straight out of the sockets, push in the LED replacements. Then reinstall the sockets to the light fixture opposite of removal, ditto for the screws. The fixture has 2 tabs that fit into holes in the cab sheetmetal. Should take no longer than 15-20 minutes. Prices for the red, and white LEDs to do this are about $18 per pair X 2 pairs. One clear, one red. All this lighting is 12V. It's not going to hurt you at all.
Sponsored