
- First Name
- Jerry
- Joined
- Jan 15, 2023
- Threads
- 10
- Messages
- 199
- Reaction score
- 188
- Location
- Bergland, MI (U.P.)
- Vehicle(s)
- 2022 Maverick Lariat
- Engine
- 2.0L EcoBoost
- Thread starter
- #1
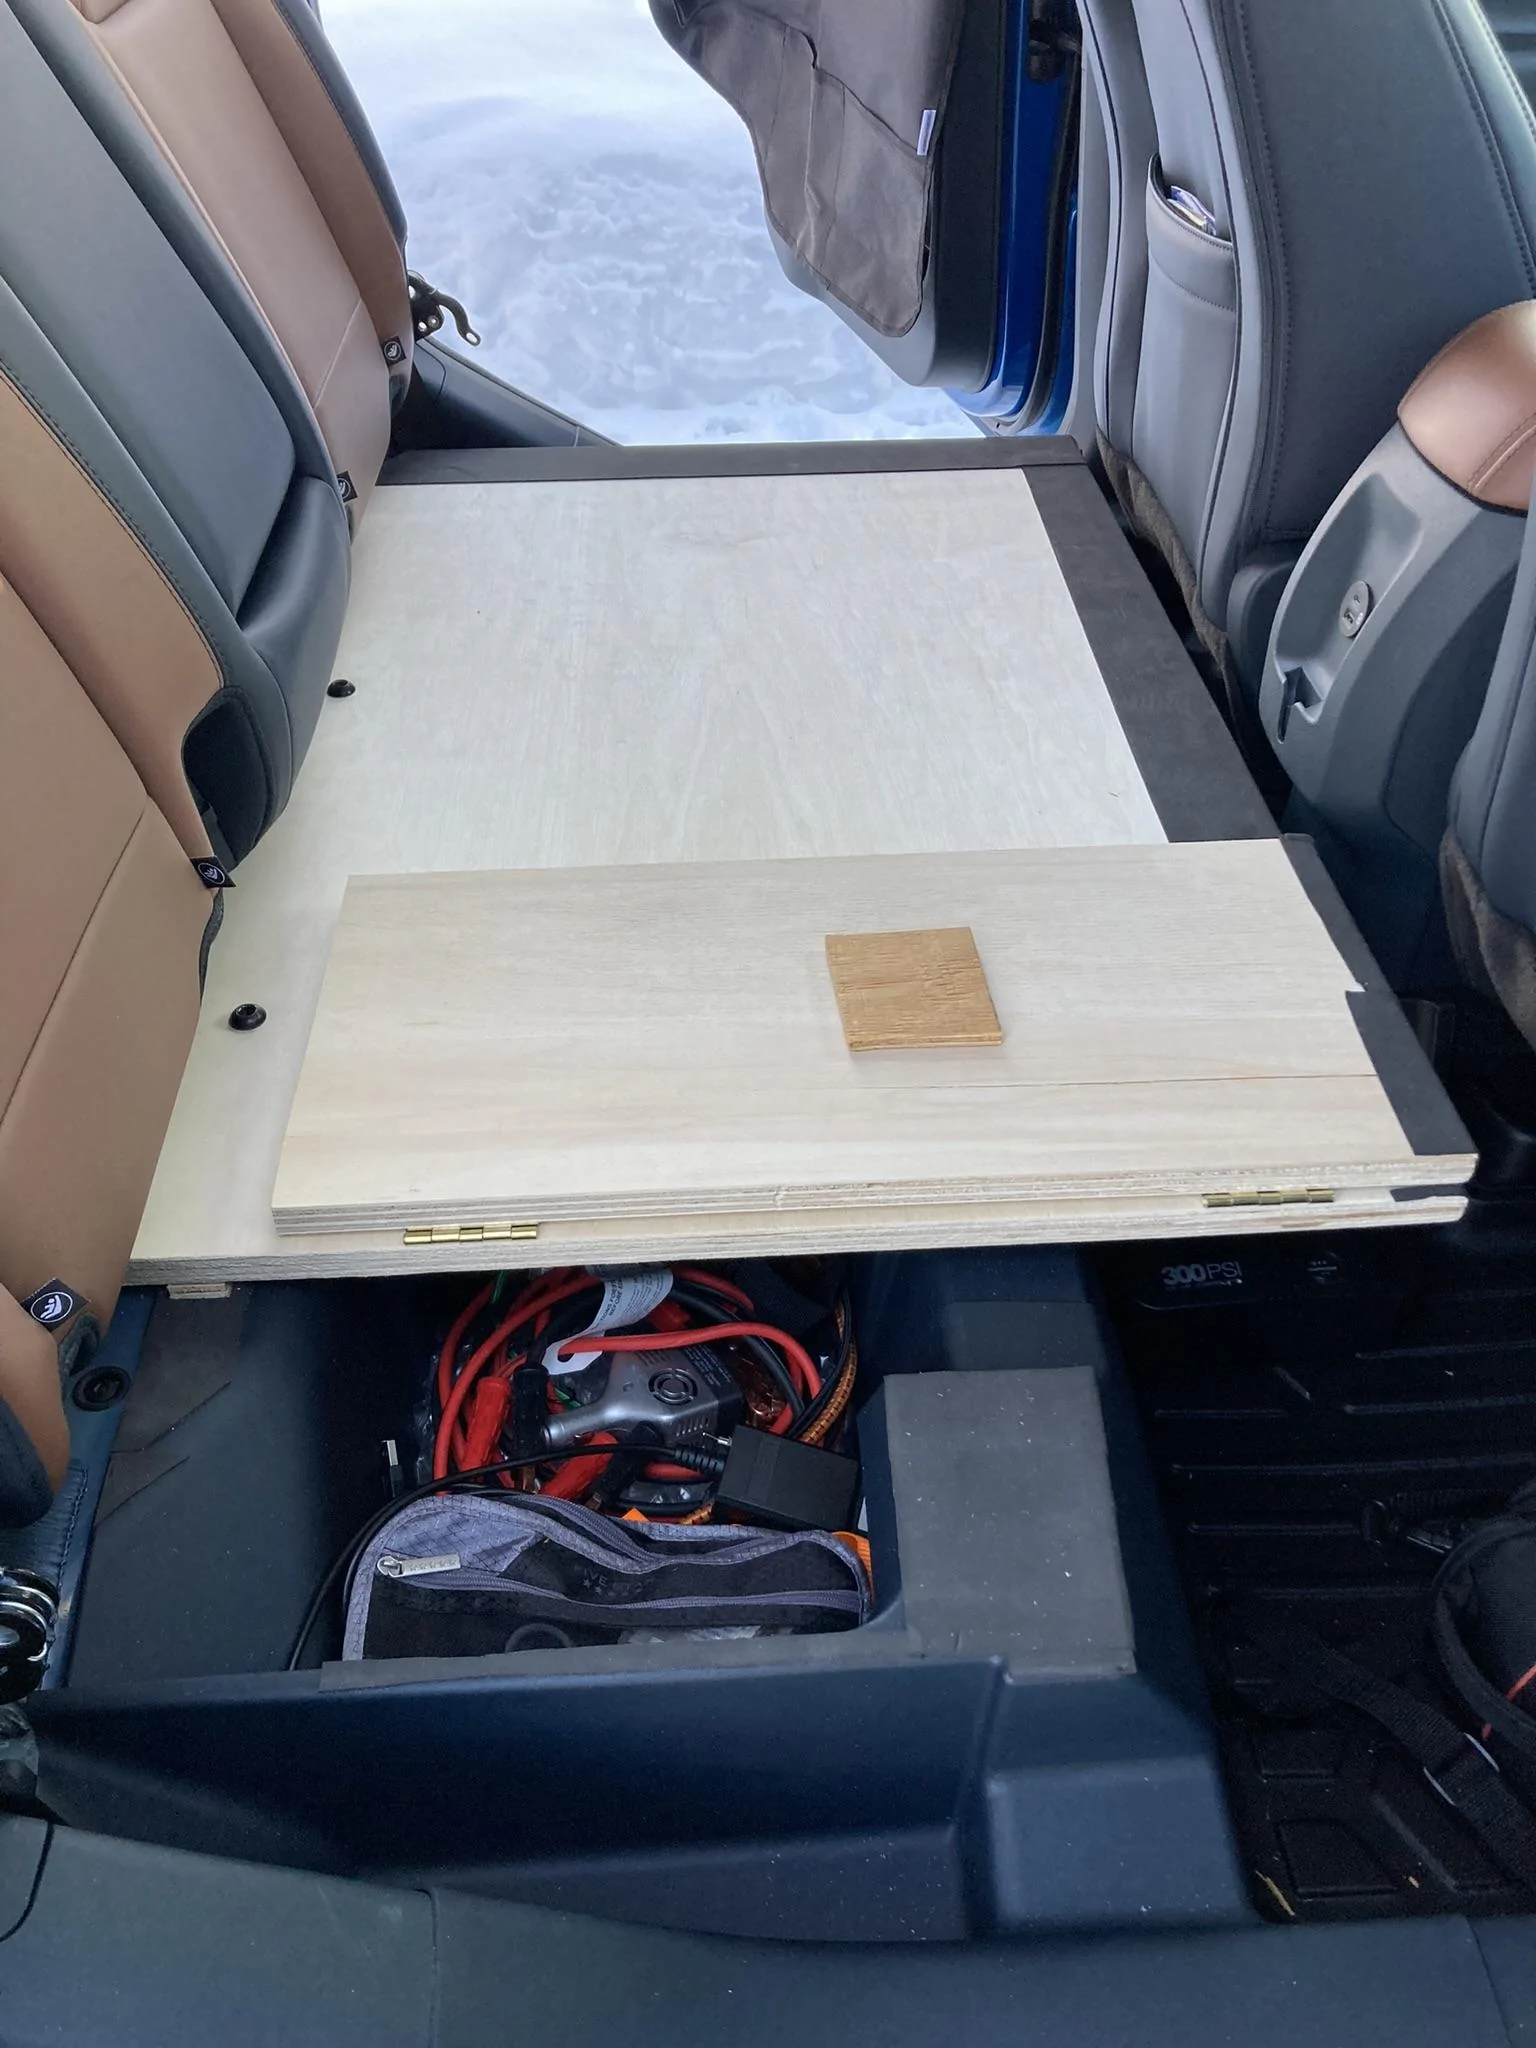
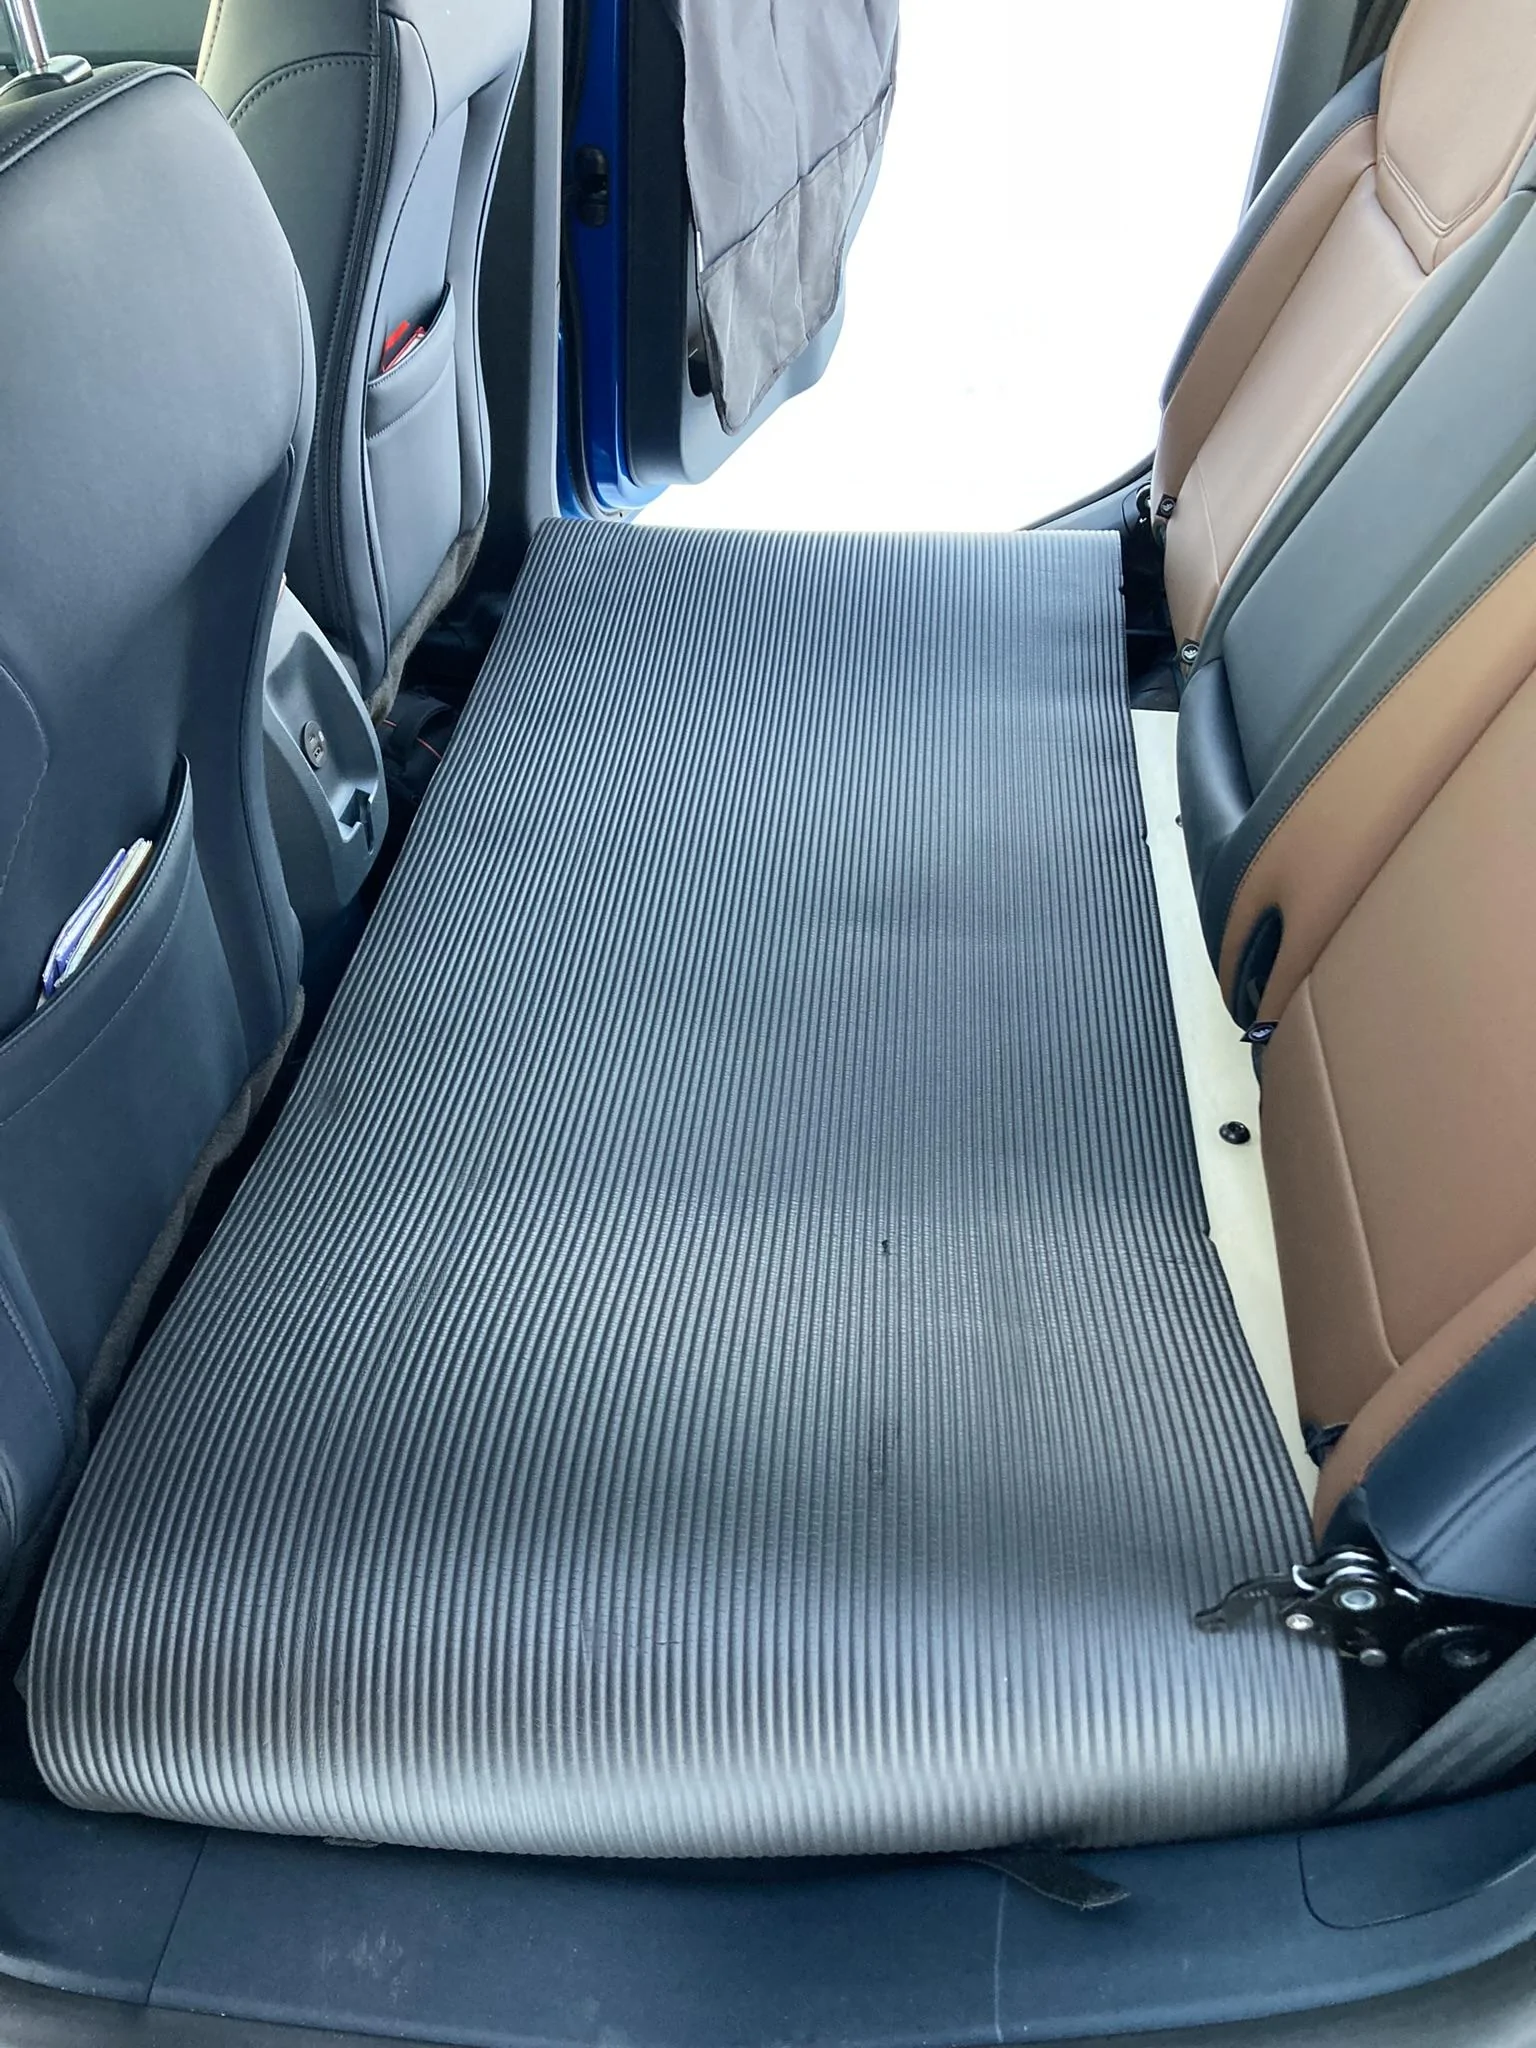
With no aftermarket rear seat "delete" kits apparently available (yet), I took it upon myself with a sheet of 3/4" plywood.
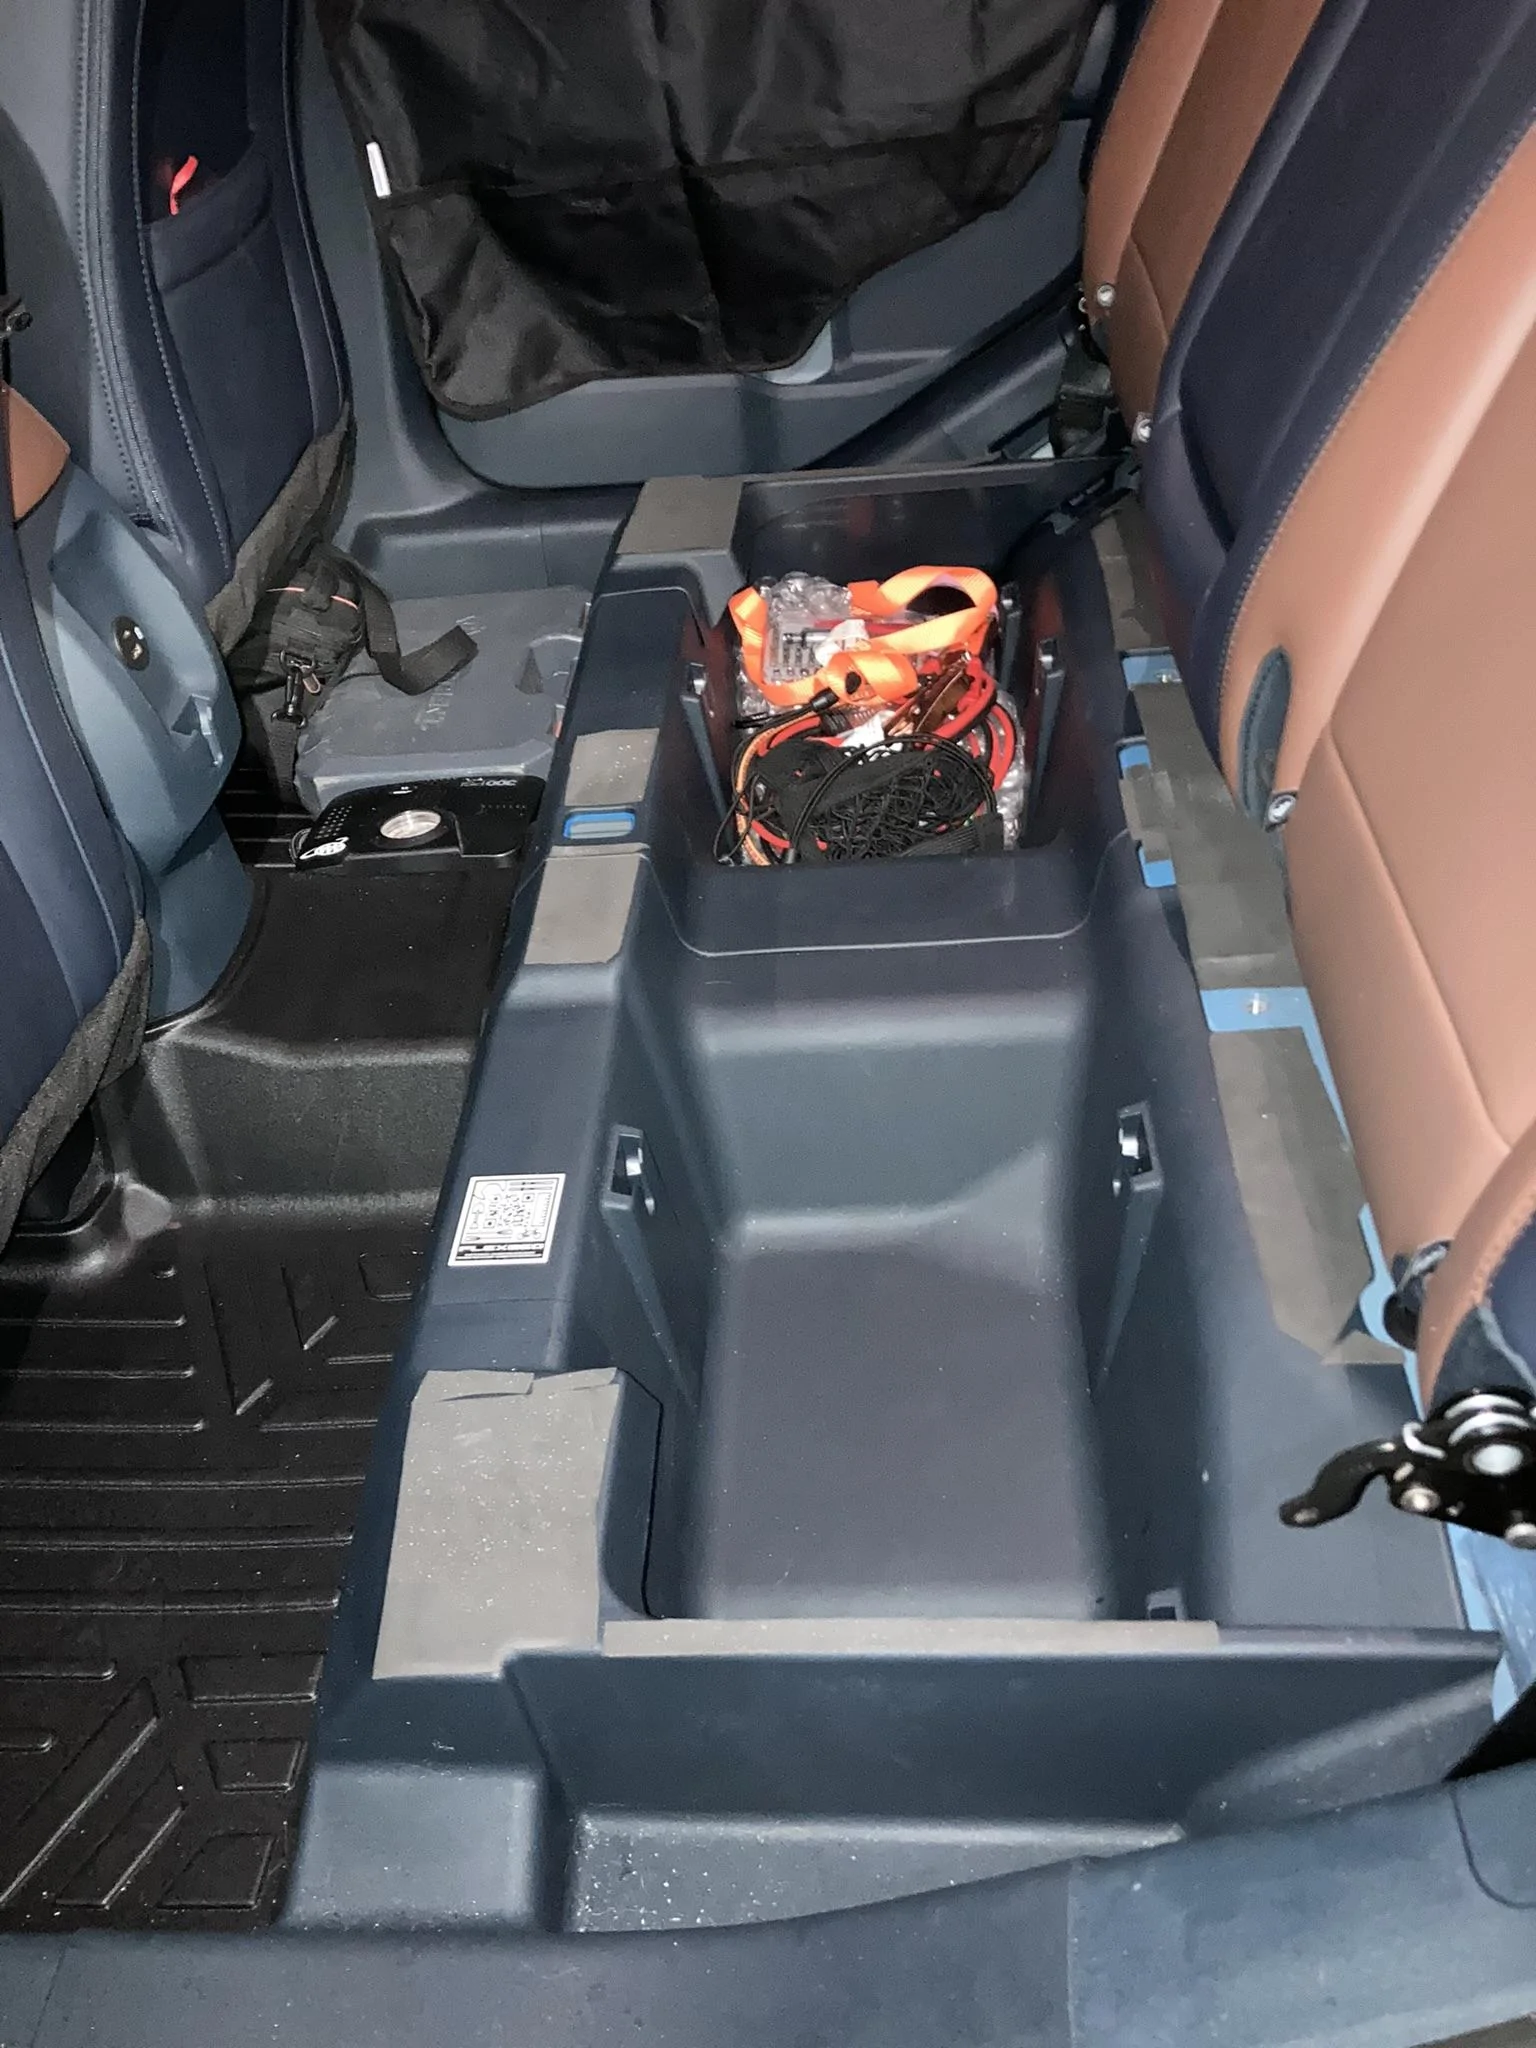
There's another thread out there from someone who used a 4'X2' sheet and just bolted it down into the seatbelt floor anchors. My solution took considerably longer because I wanted to fill a few more inches of space in each dimension. I ended up buying a 4'X4' high-quality 3/4" sheet and cutting out a 27"X40" section that I bolted in. Then I added a hinged smaller section (11" wide - I forget the length dimension offhand, but it's shorter in order to be able to clear the seatback and swing up). This allows access to (part of) one of the underseat storage areas. This configuration took up just about all of the usable width inside of the rear doors (51").
Due to a lot of little issues, this took a lot longer than it should have, but I'm pretty happy with how it turned out. Only slight regret is that I'd thought about finishing the plywood somehow for those times it gets wet. Instead I settled for attaching adhesive neoprene (which I already had) along some of the edges - I need to buy some more to finish it. I play to leave most of the platform covered with a foam mat as shown.
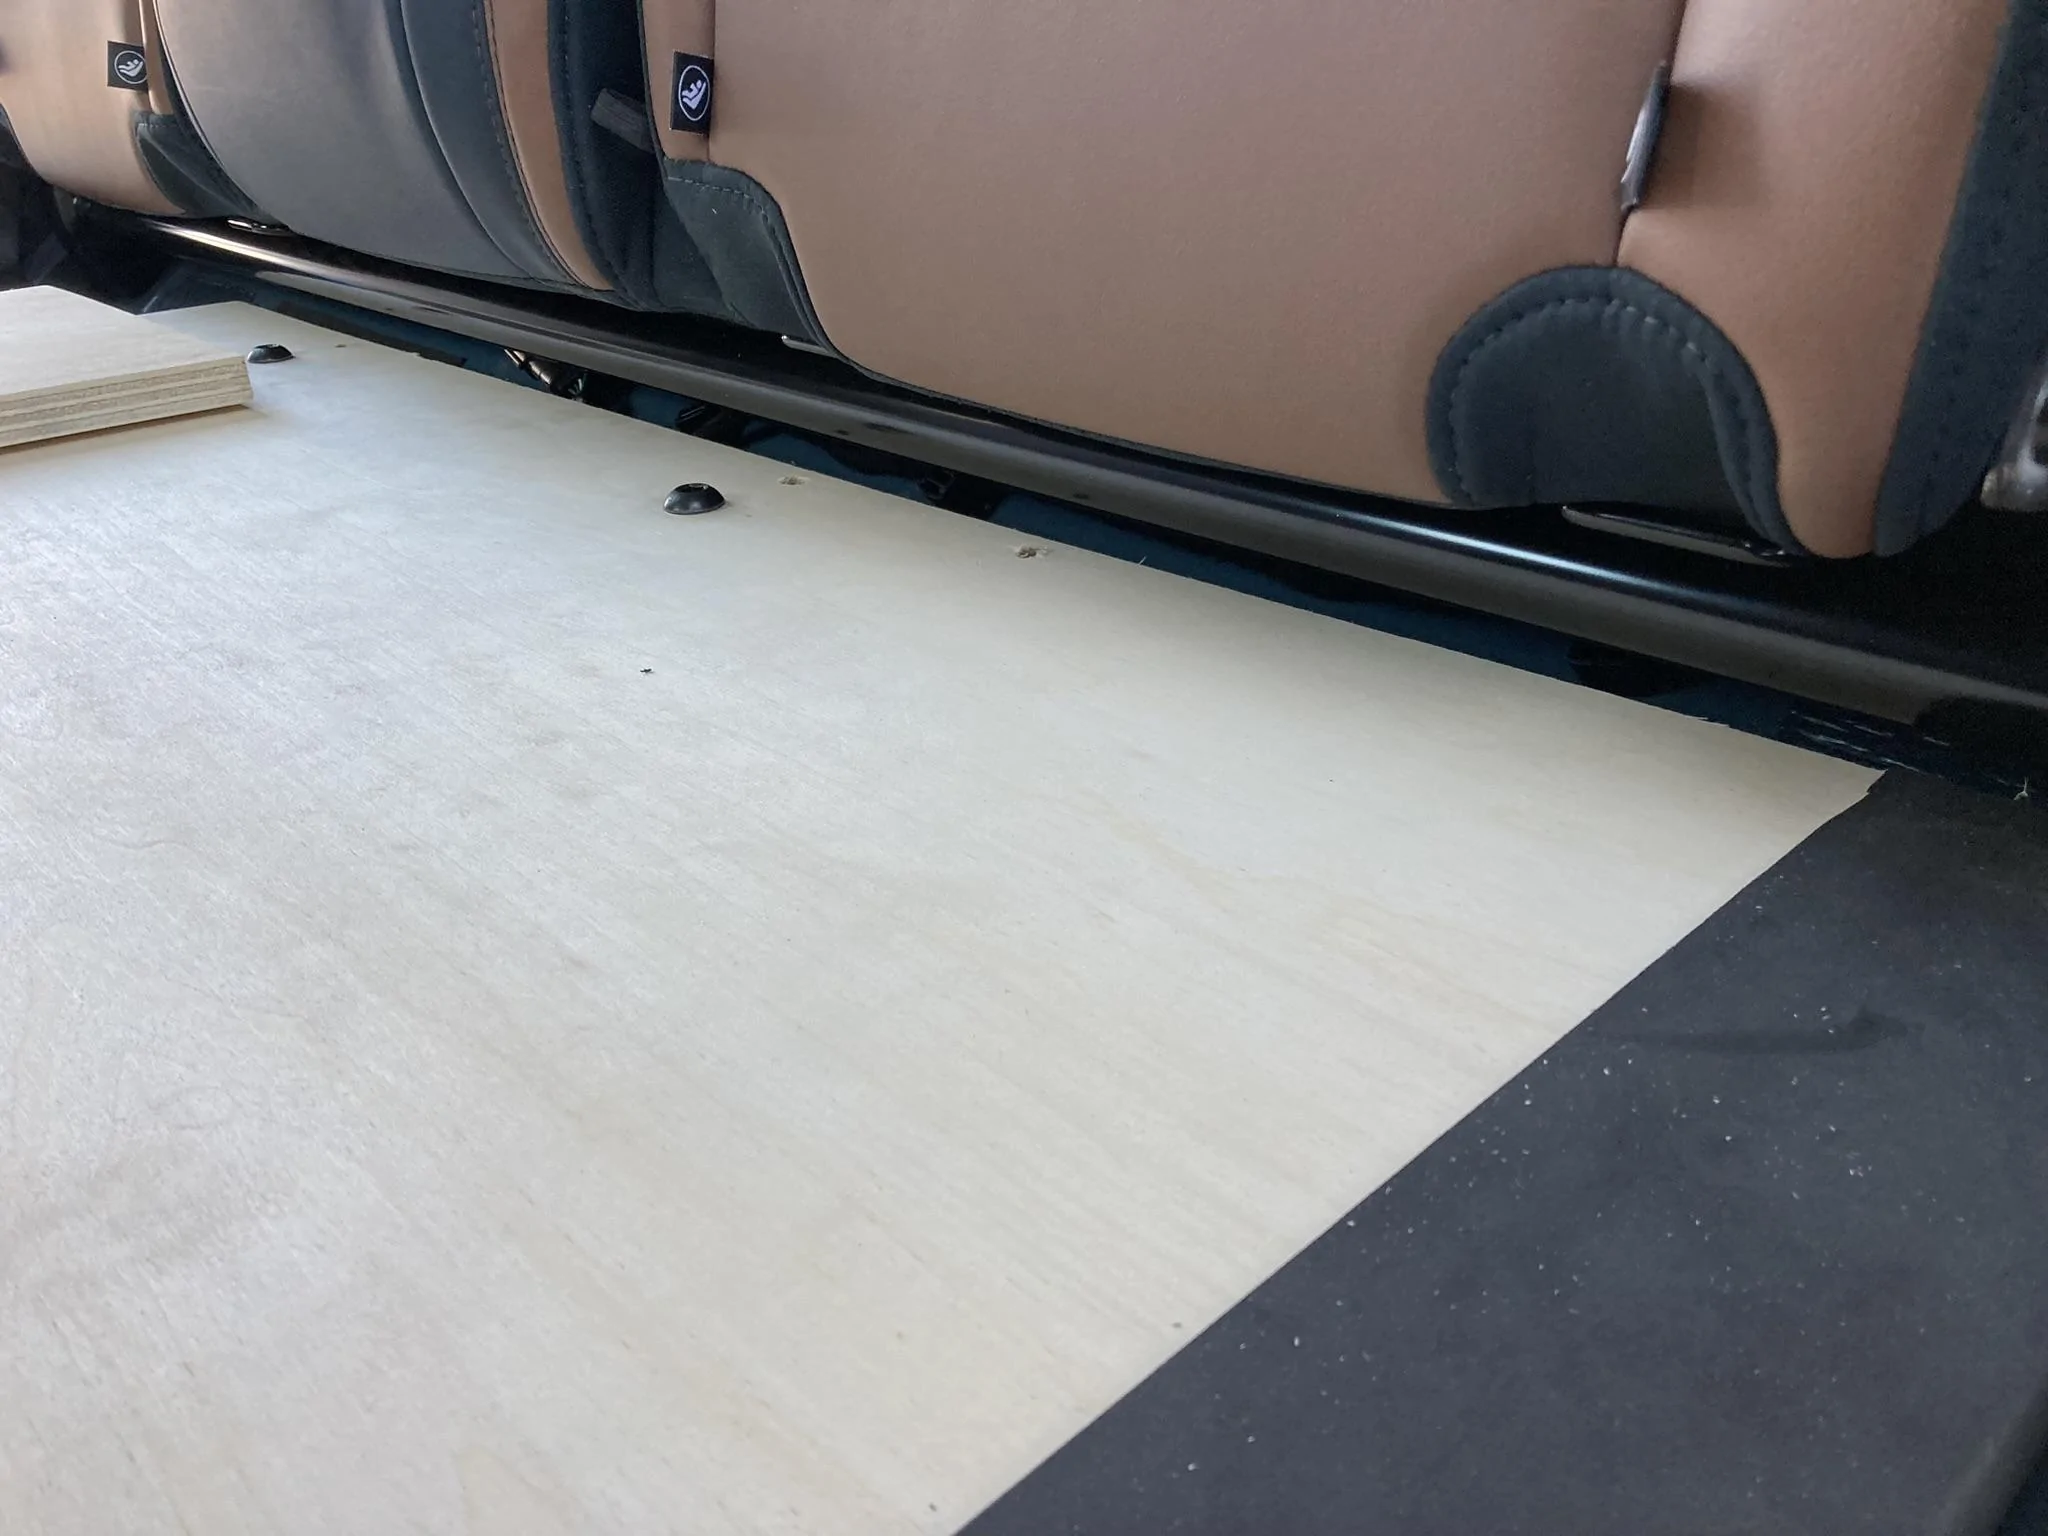
There is one problem with bolting in a pre-cut sheet and just being done with it: Although there is a mostly solid, plastic-covered metal frame around the front and back of the underseat area, the back middle of it (the crossmember) is slightly higher than everything else. So once I got the plywood fitted, I ended up sticking on small, thinner pieces of wood - shims, if you will - in several spots to make sure the sheet was level and had no noticeable curvature or "give." So it's not just supported by the higher center piece and wobbly on either side of it.
Tips:
Maybe eventually a good solution will be developed to put a cover in place of the seatback as well, but for now I'm not concerned about it. Everything looks good and I'll probably cover the seatback with a sheet for protection.
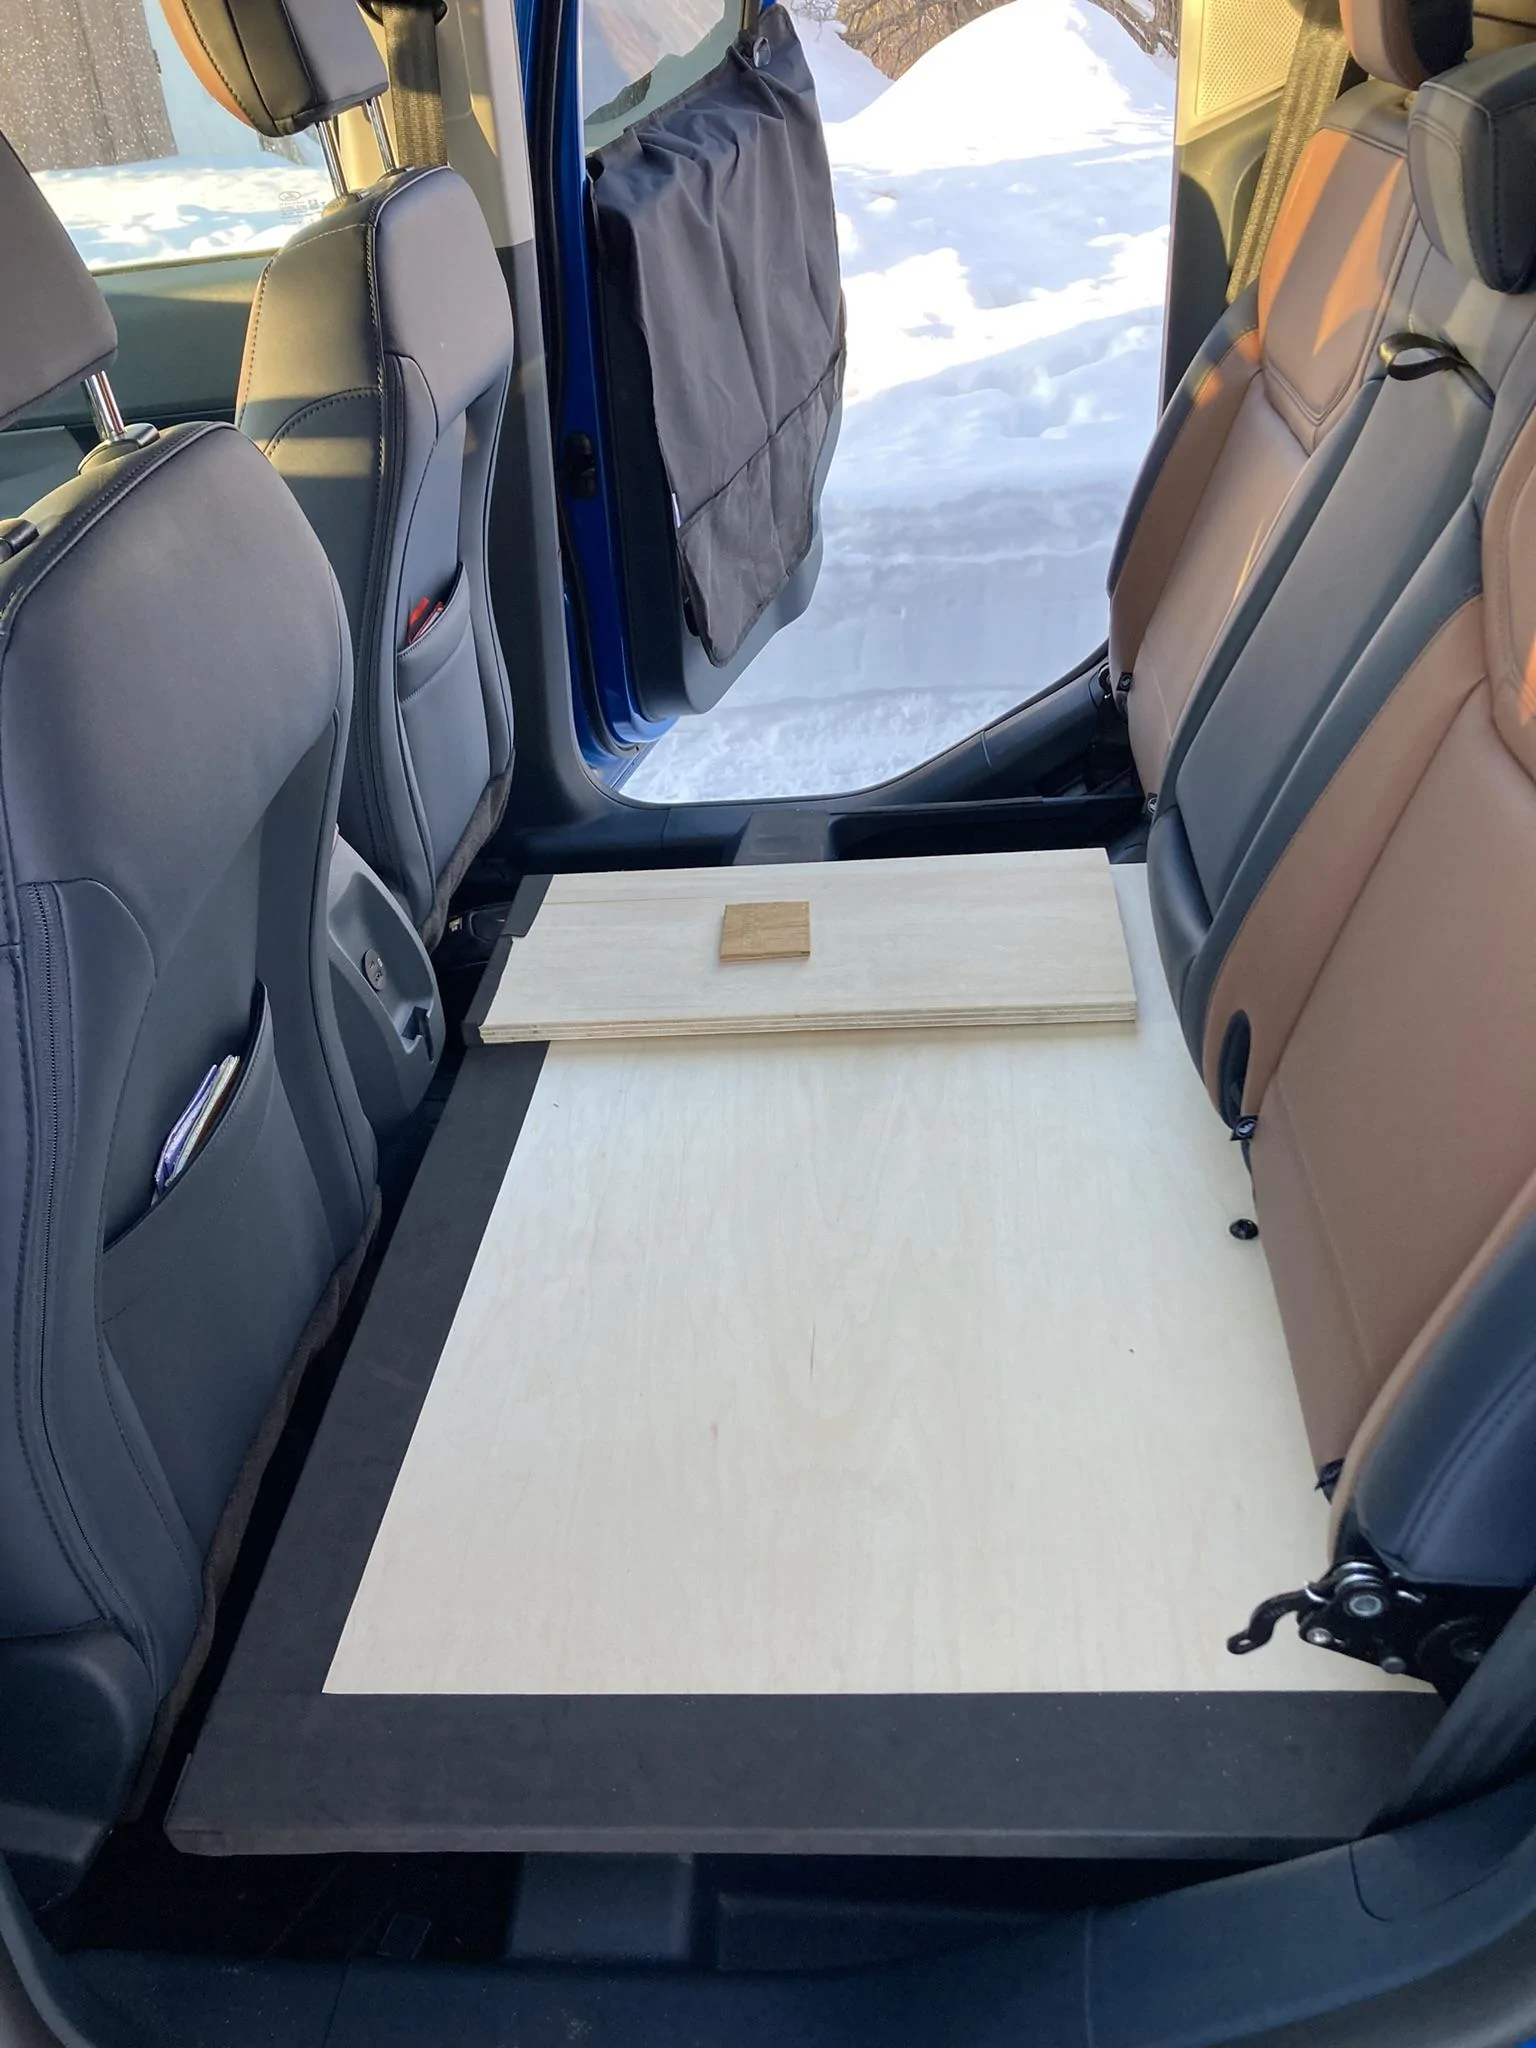
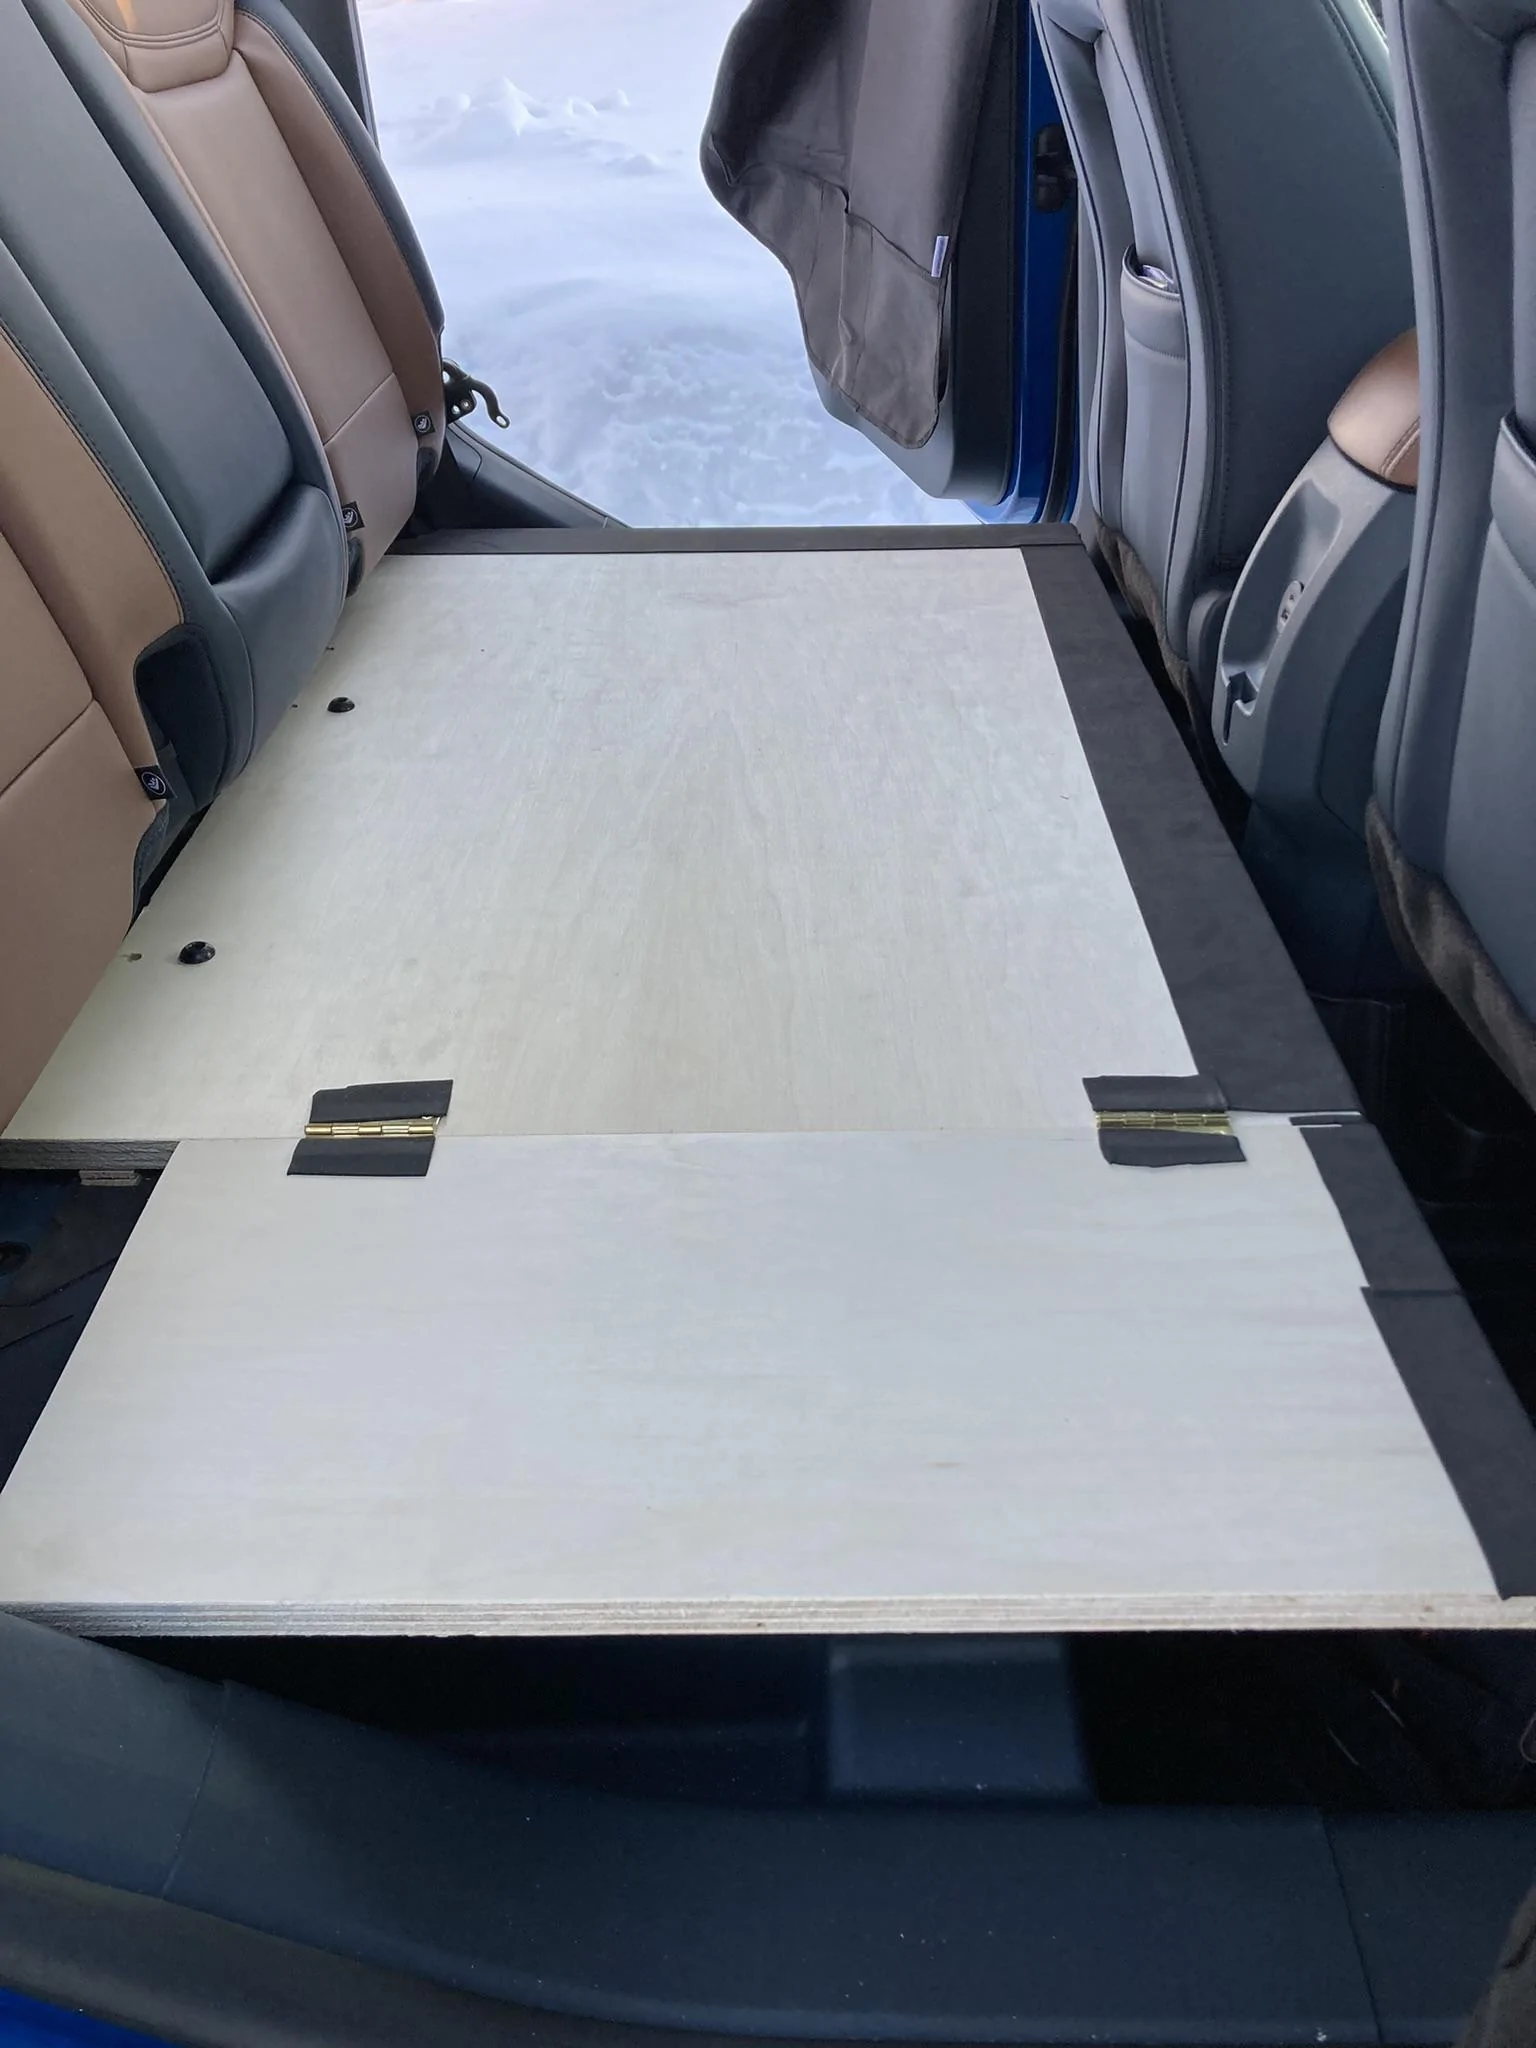
There's another thread out there from someone who used a 4'X2' sheet and just bolted it down into the seatbelt floor anchors. My solution took considerably longer because I wanted to fill a few more inches of space in each dimension. I ended up buying a 4'X4' high-quality 3/4" sheet and cutting out a 27"X40" section that I bolted in. Then I added a hinged smaller section (11" wide - I forget the length dimension offhand, but it's shorter in order to be able to clear the seatback and swing up). This allows access to (part of) one of the underseat storage areas. This configuration took up just about all of the usable width inside of the rear doors (51").
Due to a lot of little issues, this took a lot longer than it should have, but I'm pretty happy with how it turned out. Only slight regret is that I'd thought about finishing the plywood somehow for those times it gets wet. Instead I settled for attaching adhesive neoprene (which I already had) along some of the edges - I need to buy some more to finish it. I play to leave most of the platform covered with a foam mat as shown.
There is one problem with bolting in a pre-cut sheet and just being done with it: Although there is a mostly solid, plastic-covered metal frame around the front and back of the underseat area, the back middle of it (the crossmember) is slightly higher than everything else. So once I got the plywood fitted, I ended up sticking on small, thinner pieces of wood - shims, if you will - in several spots to make sure the sheet was level and had no noticeable curvature or "give." So it's not just supported by the higher center piece and wobbly on either side of it.
Tips:
- The seatbelt anchor bolts are M10 1.5 pitch. I purchased new ones with 50mm length since the original bolts were not long enough for the 3/4" plywood.
- The small holes behind the seatbelt bolt holes are for screws that protrude from the floor; I wanted them to be able to pass through the board.
- I also attached adhesive neoprene to all contact points, especially weight-bearing points, in the underseat storage/support area.
- I left the seatbelts attached behind the seat. It appeared it might be a challenge to remove at least the driver's side belt. Also, removing the wiring to the seatbelt sensors would have triggered a fault warning every time I start the truck. I found a Forscan fix for this that supposedly worked on a Ranger, but I decided it wasn't worth the experimentation. Maybe later.
Maybe eventually a good solution will be developed to put a cover in place of the seatback as well, but for now I'm not concerned about it. Everything looks good and I'll probably cover the seatback with a sheet for protection.
Sponsored
