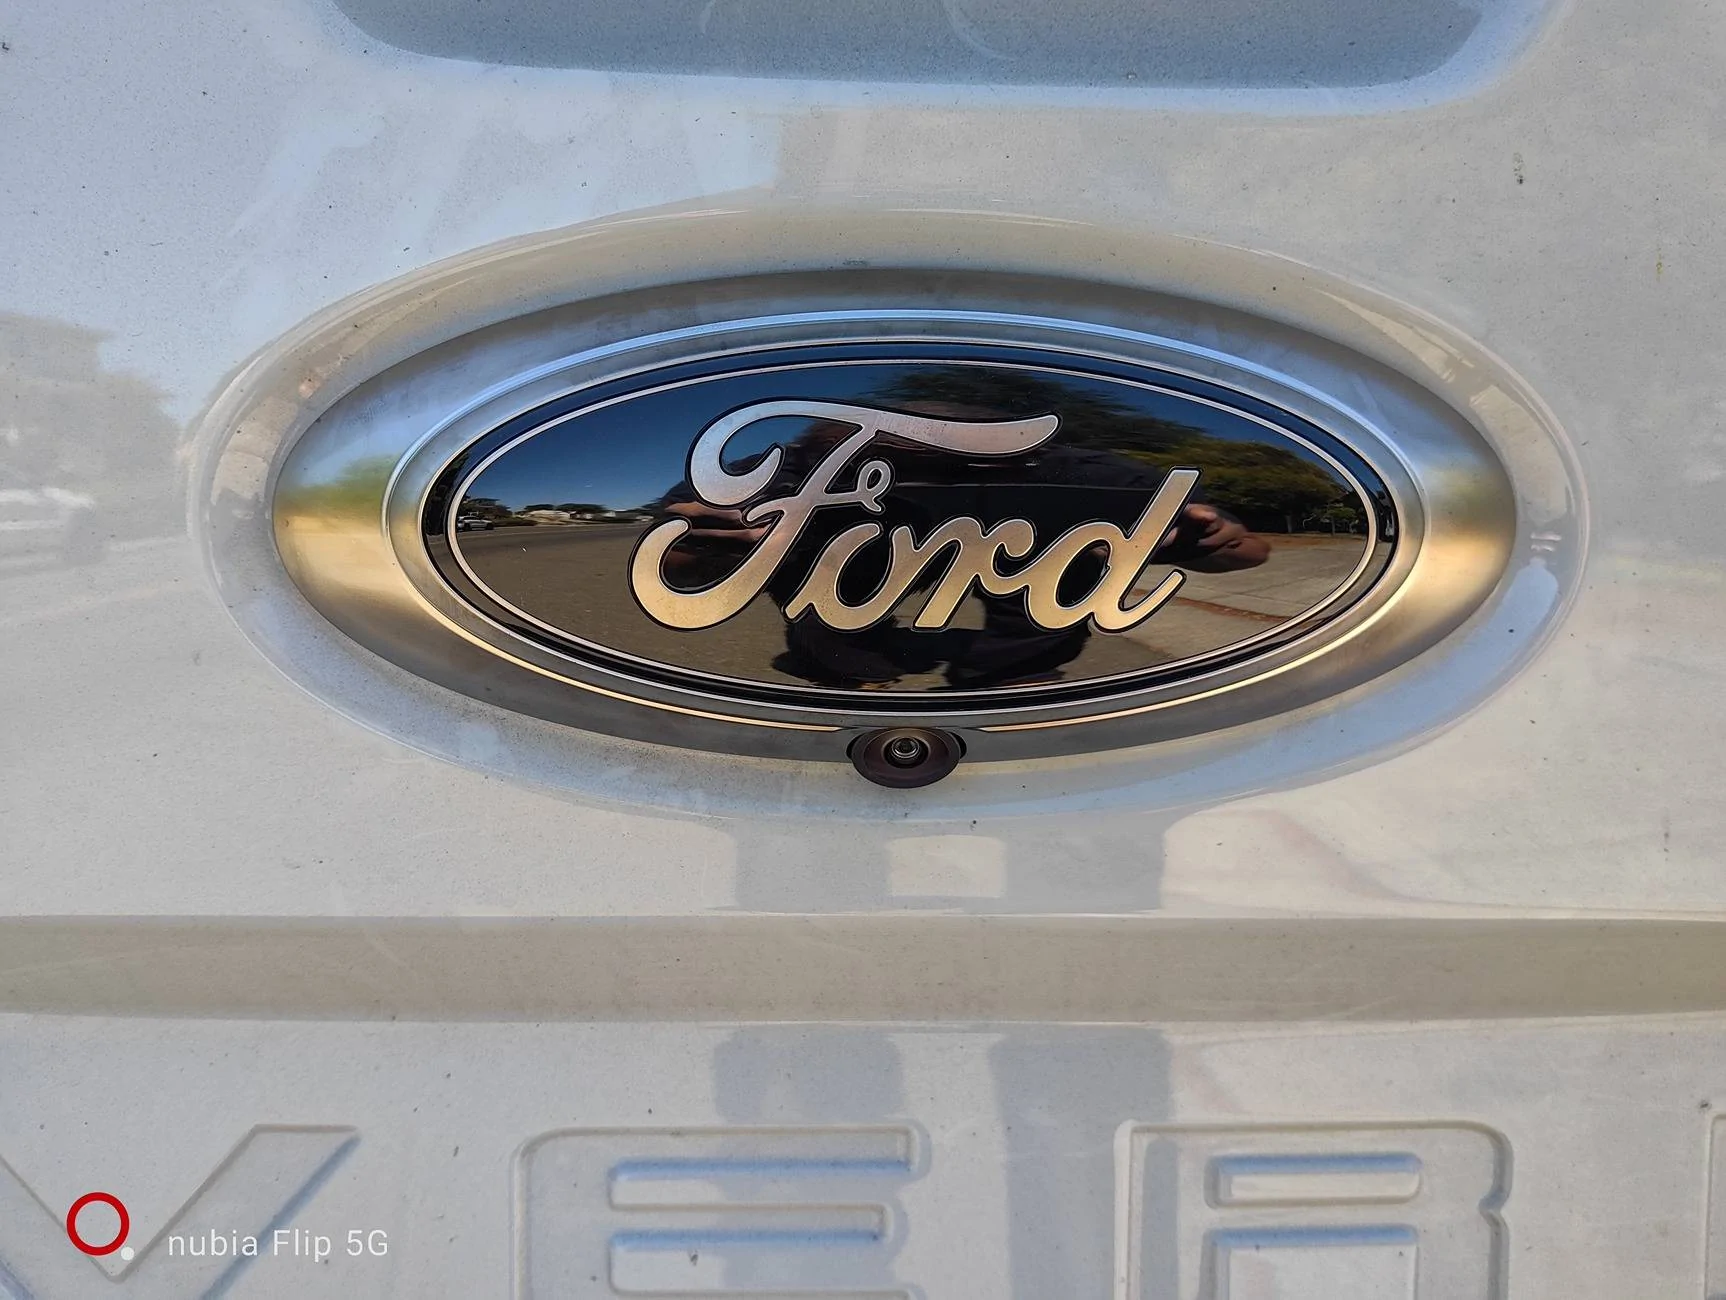
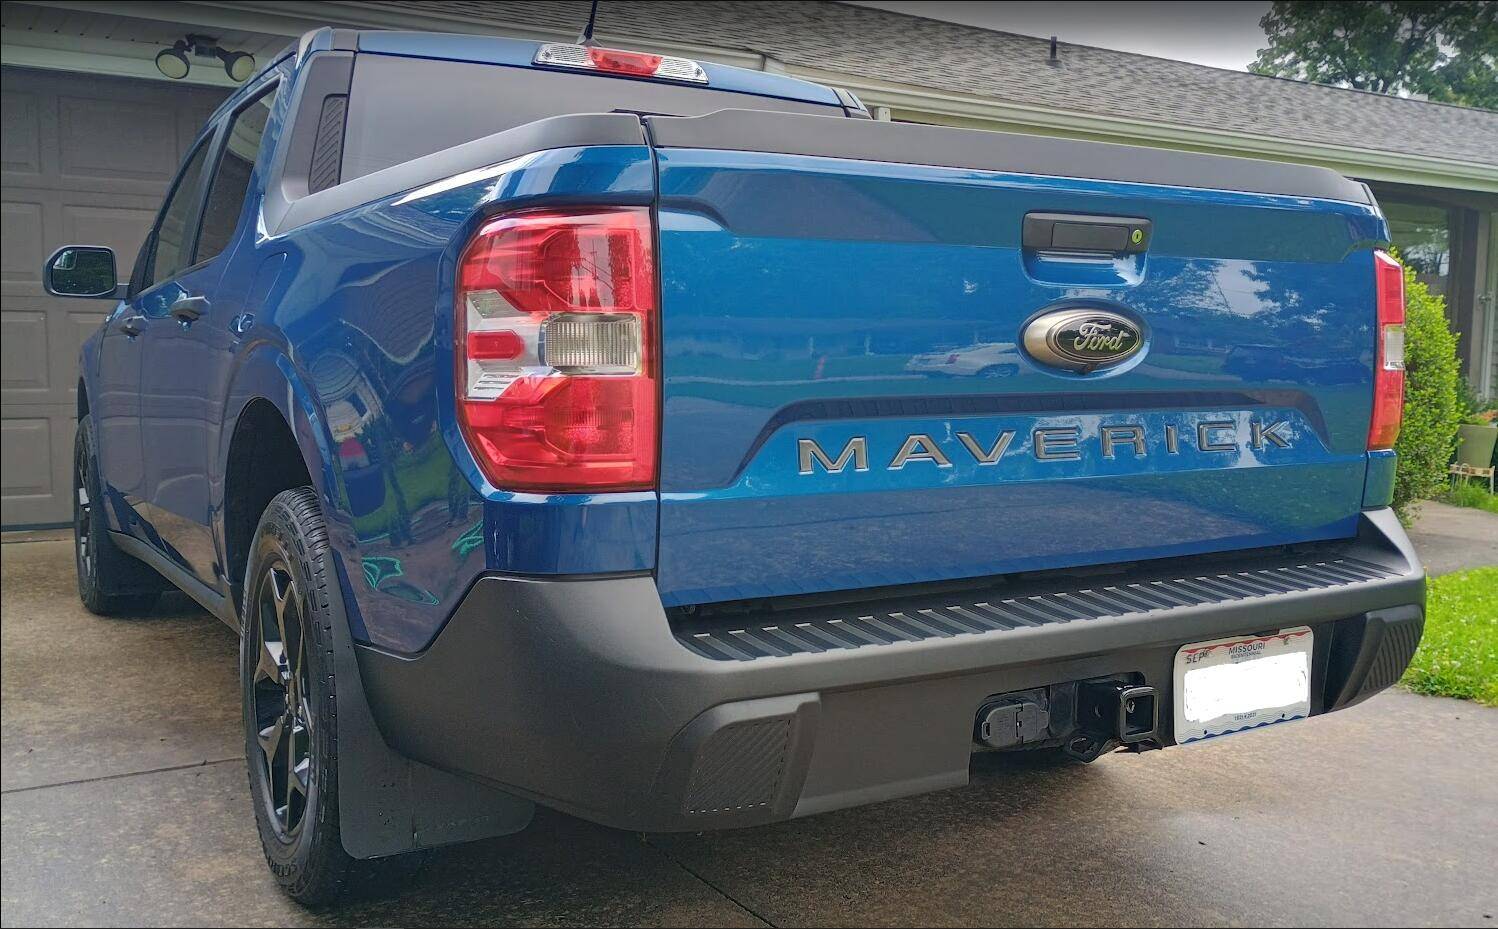
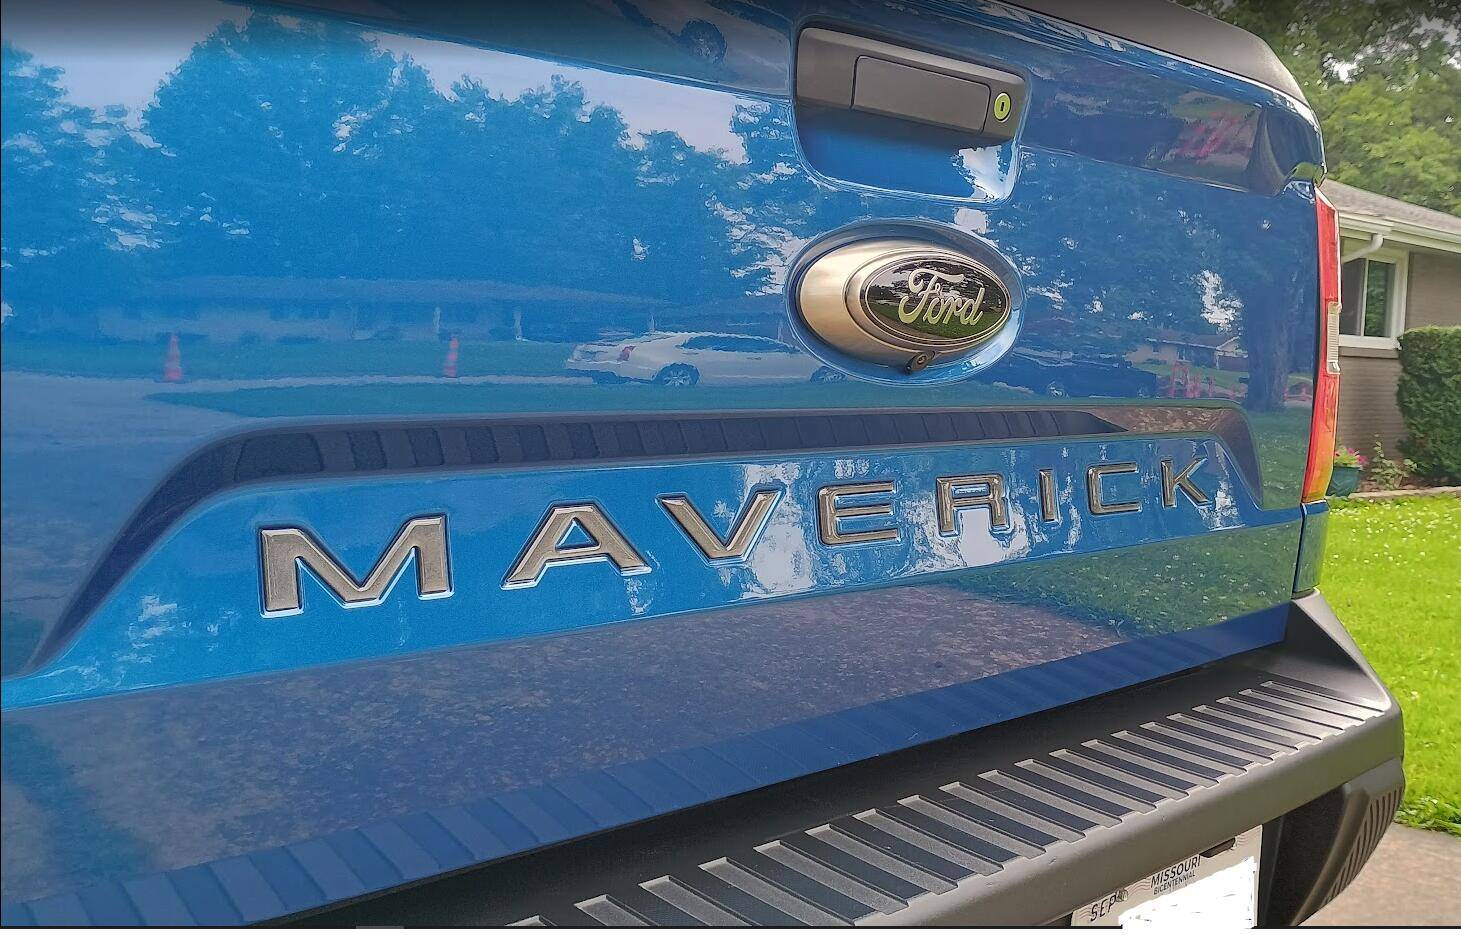
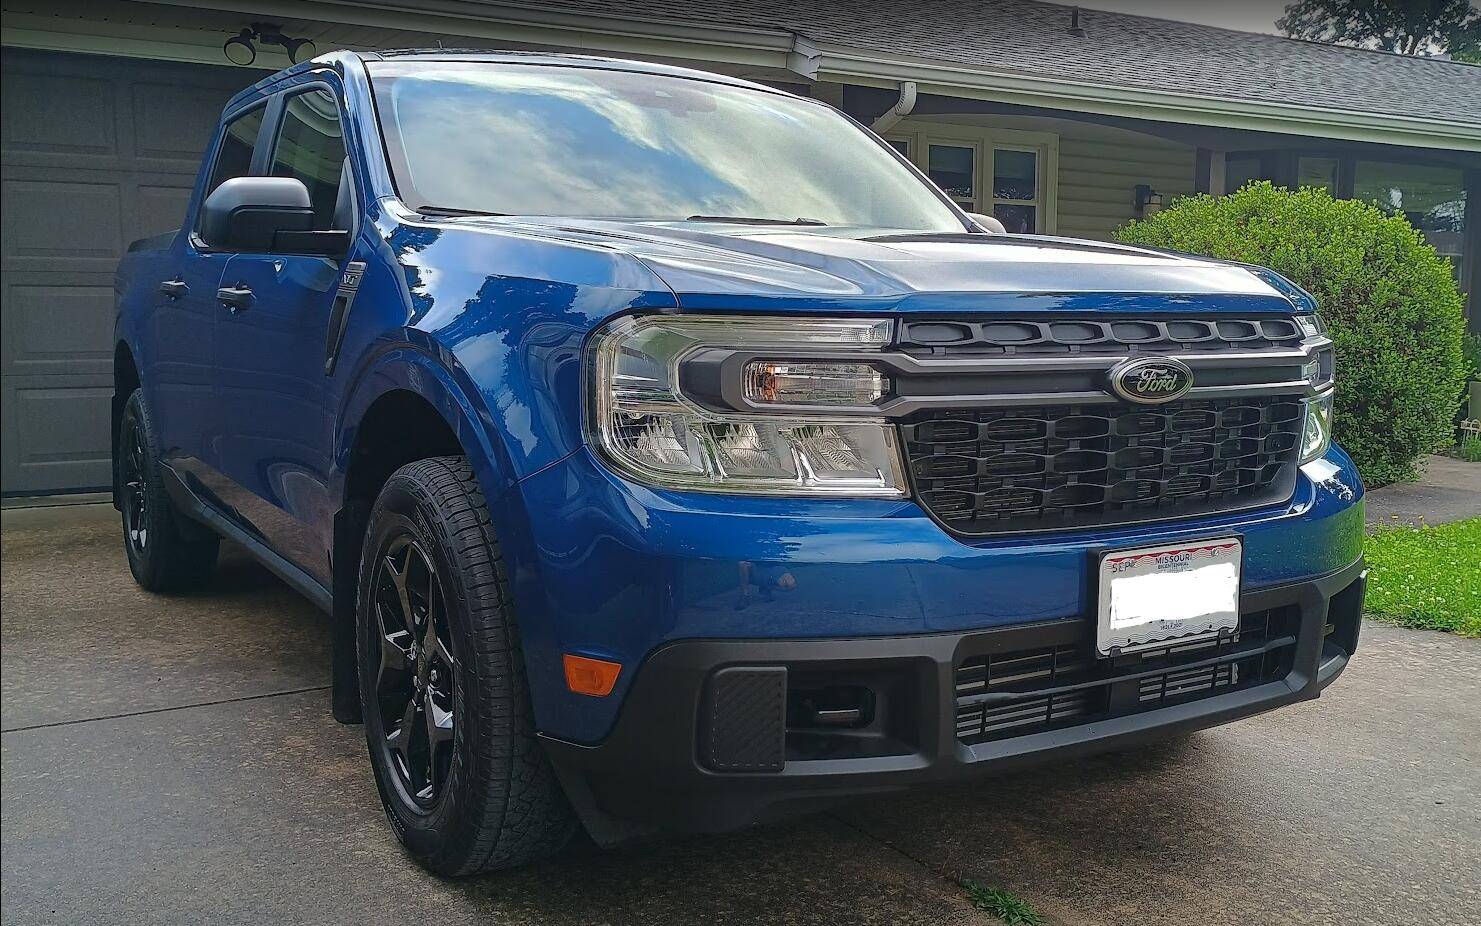
I would describe these as more of a "satin nickel" finish than "smoked chrome". They have the duller finish of stainless, with a slight bronze tint. They don't have a mirror finish at all like chrome. I think they fit in much better with the metallic gray of the XLT grill bar than the OEM chrome ovals.
It's difficult to take a picture that represents how they actually look. I think the comparison above where I'm holding the black oval next to the OEM one does that best.
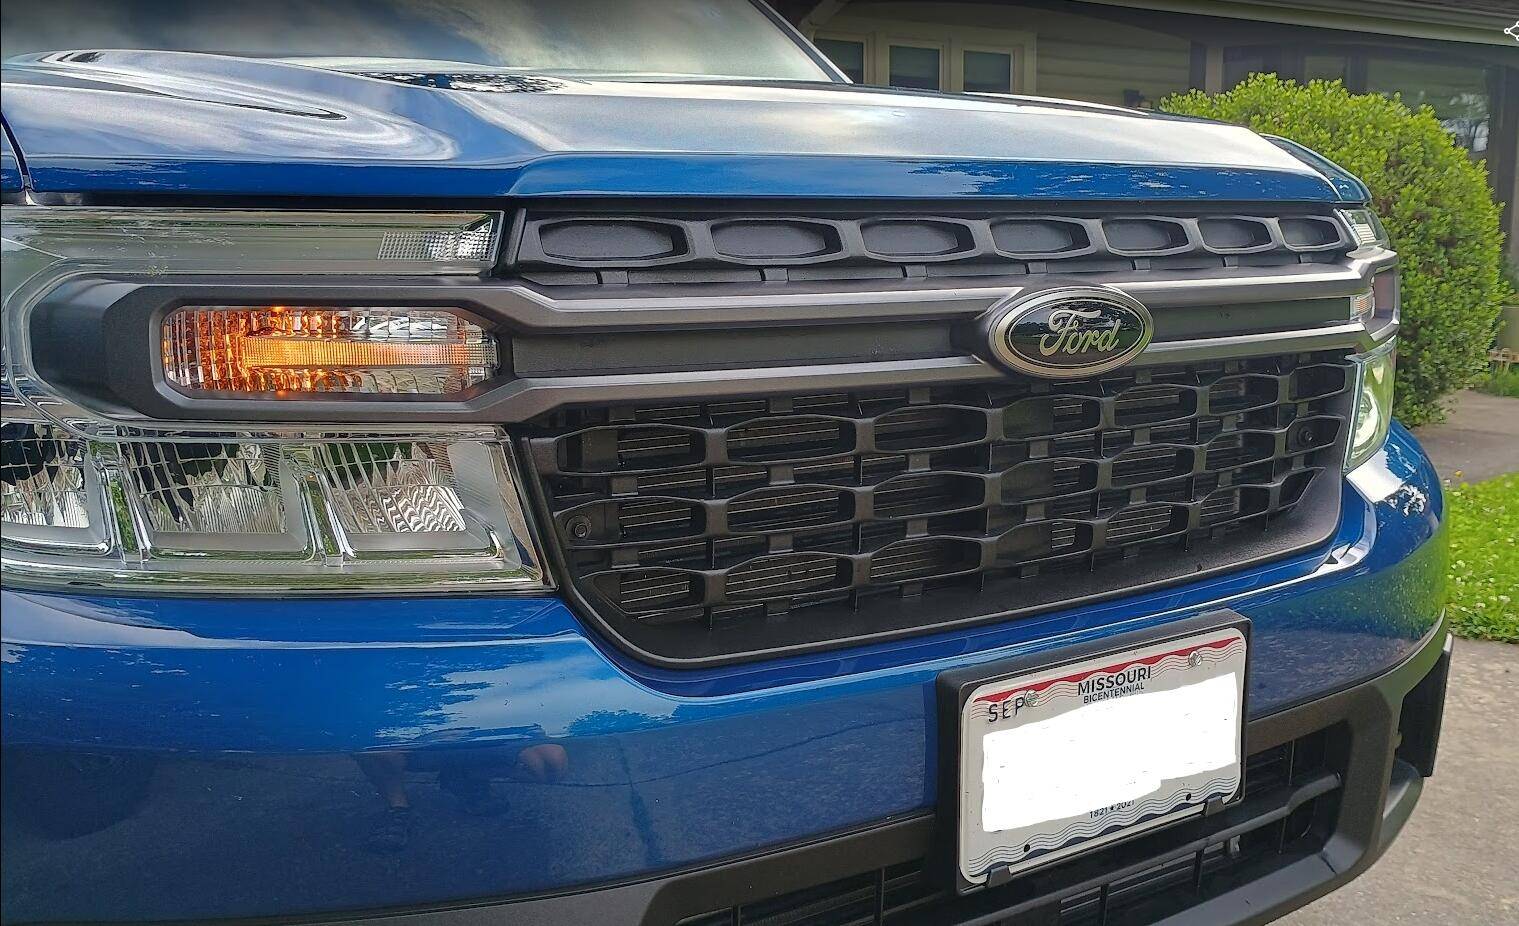
It's difficult to take a picture that represents how they actually look. I think the comparison above where I'm holding the black oval next to the OEM one does that best.
Sponsored
Last edited: