Sponsored

Badge light harness

Dmat

2.5L Hybrid
Well-known member
Joined
Oct 26, 2022
Threads
46
Messages
571
Reaction score
617
Location
Baton Rouge
Vehicle(s)
MAVERICK
Engine
2.5L Hybrid
Clubs
 
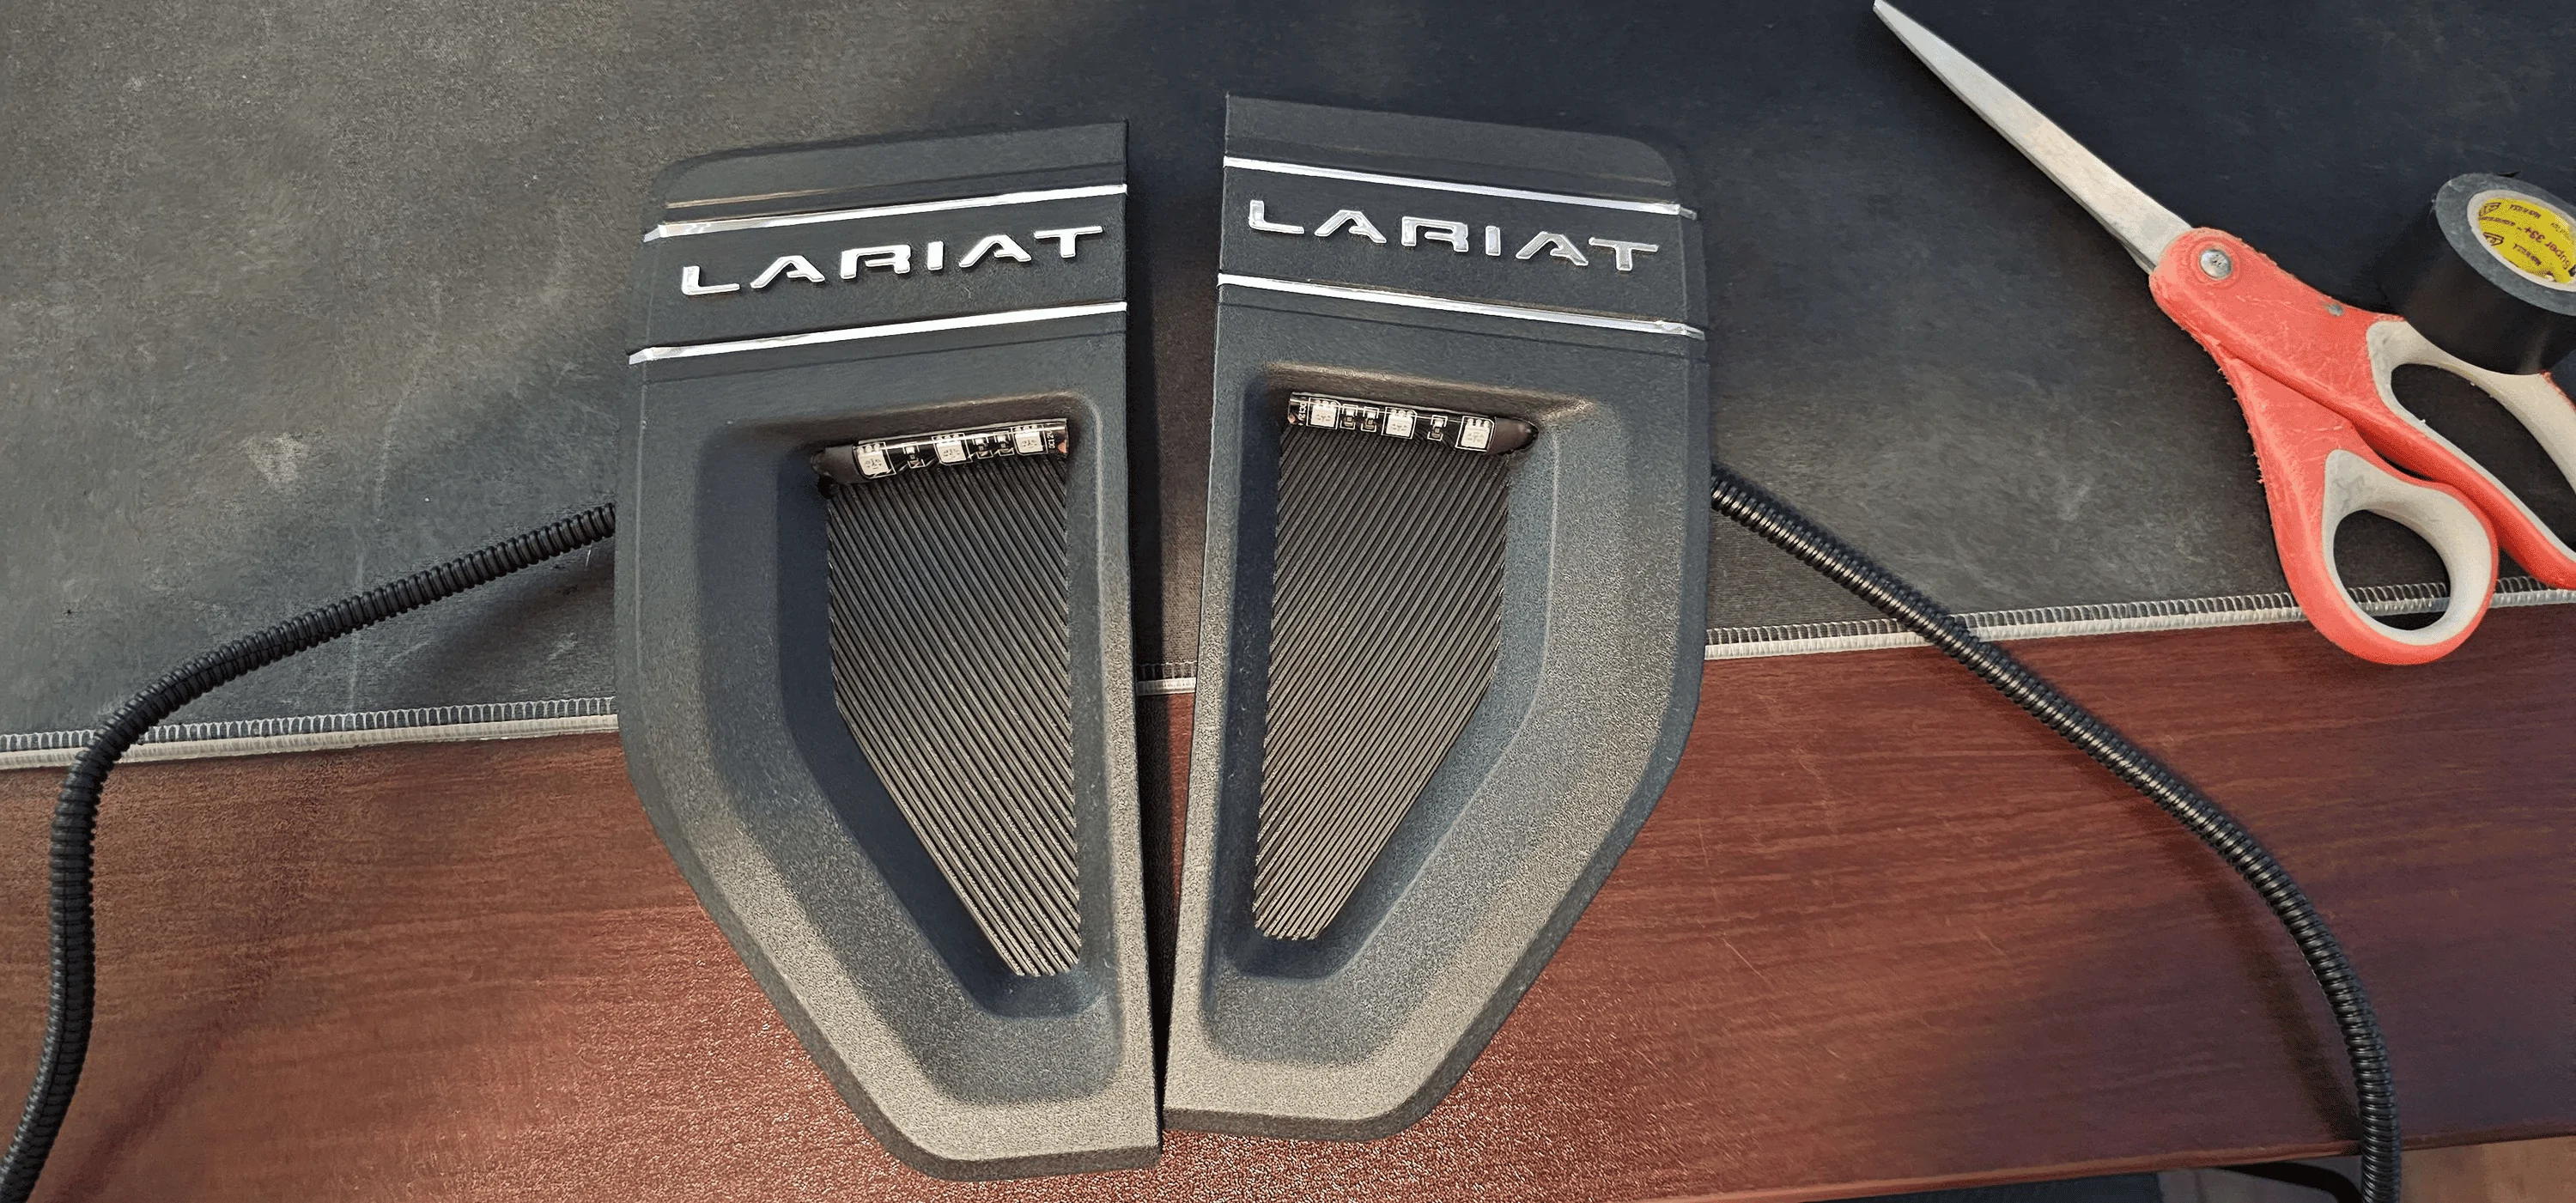
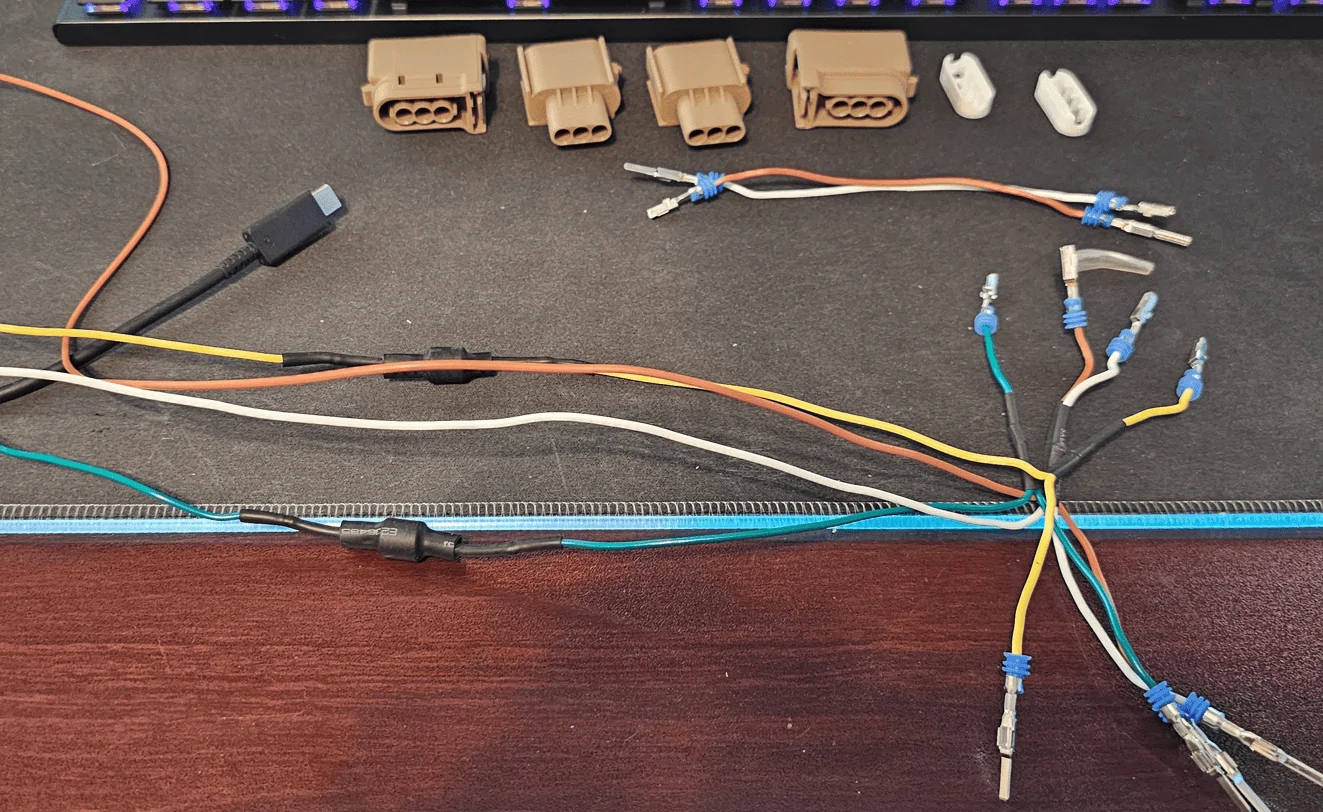
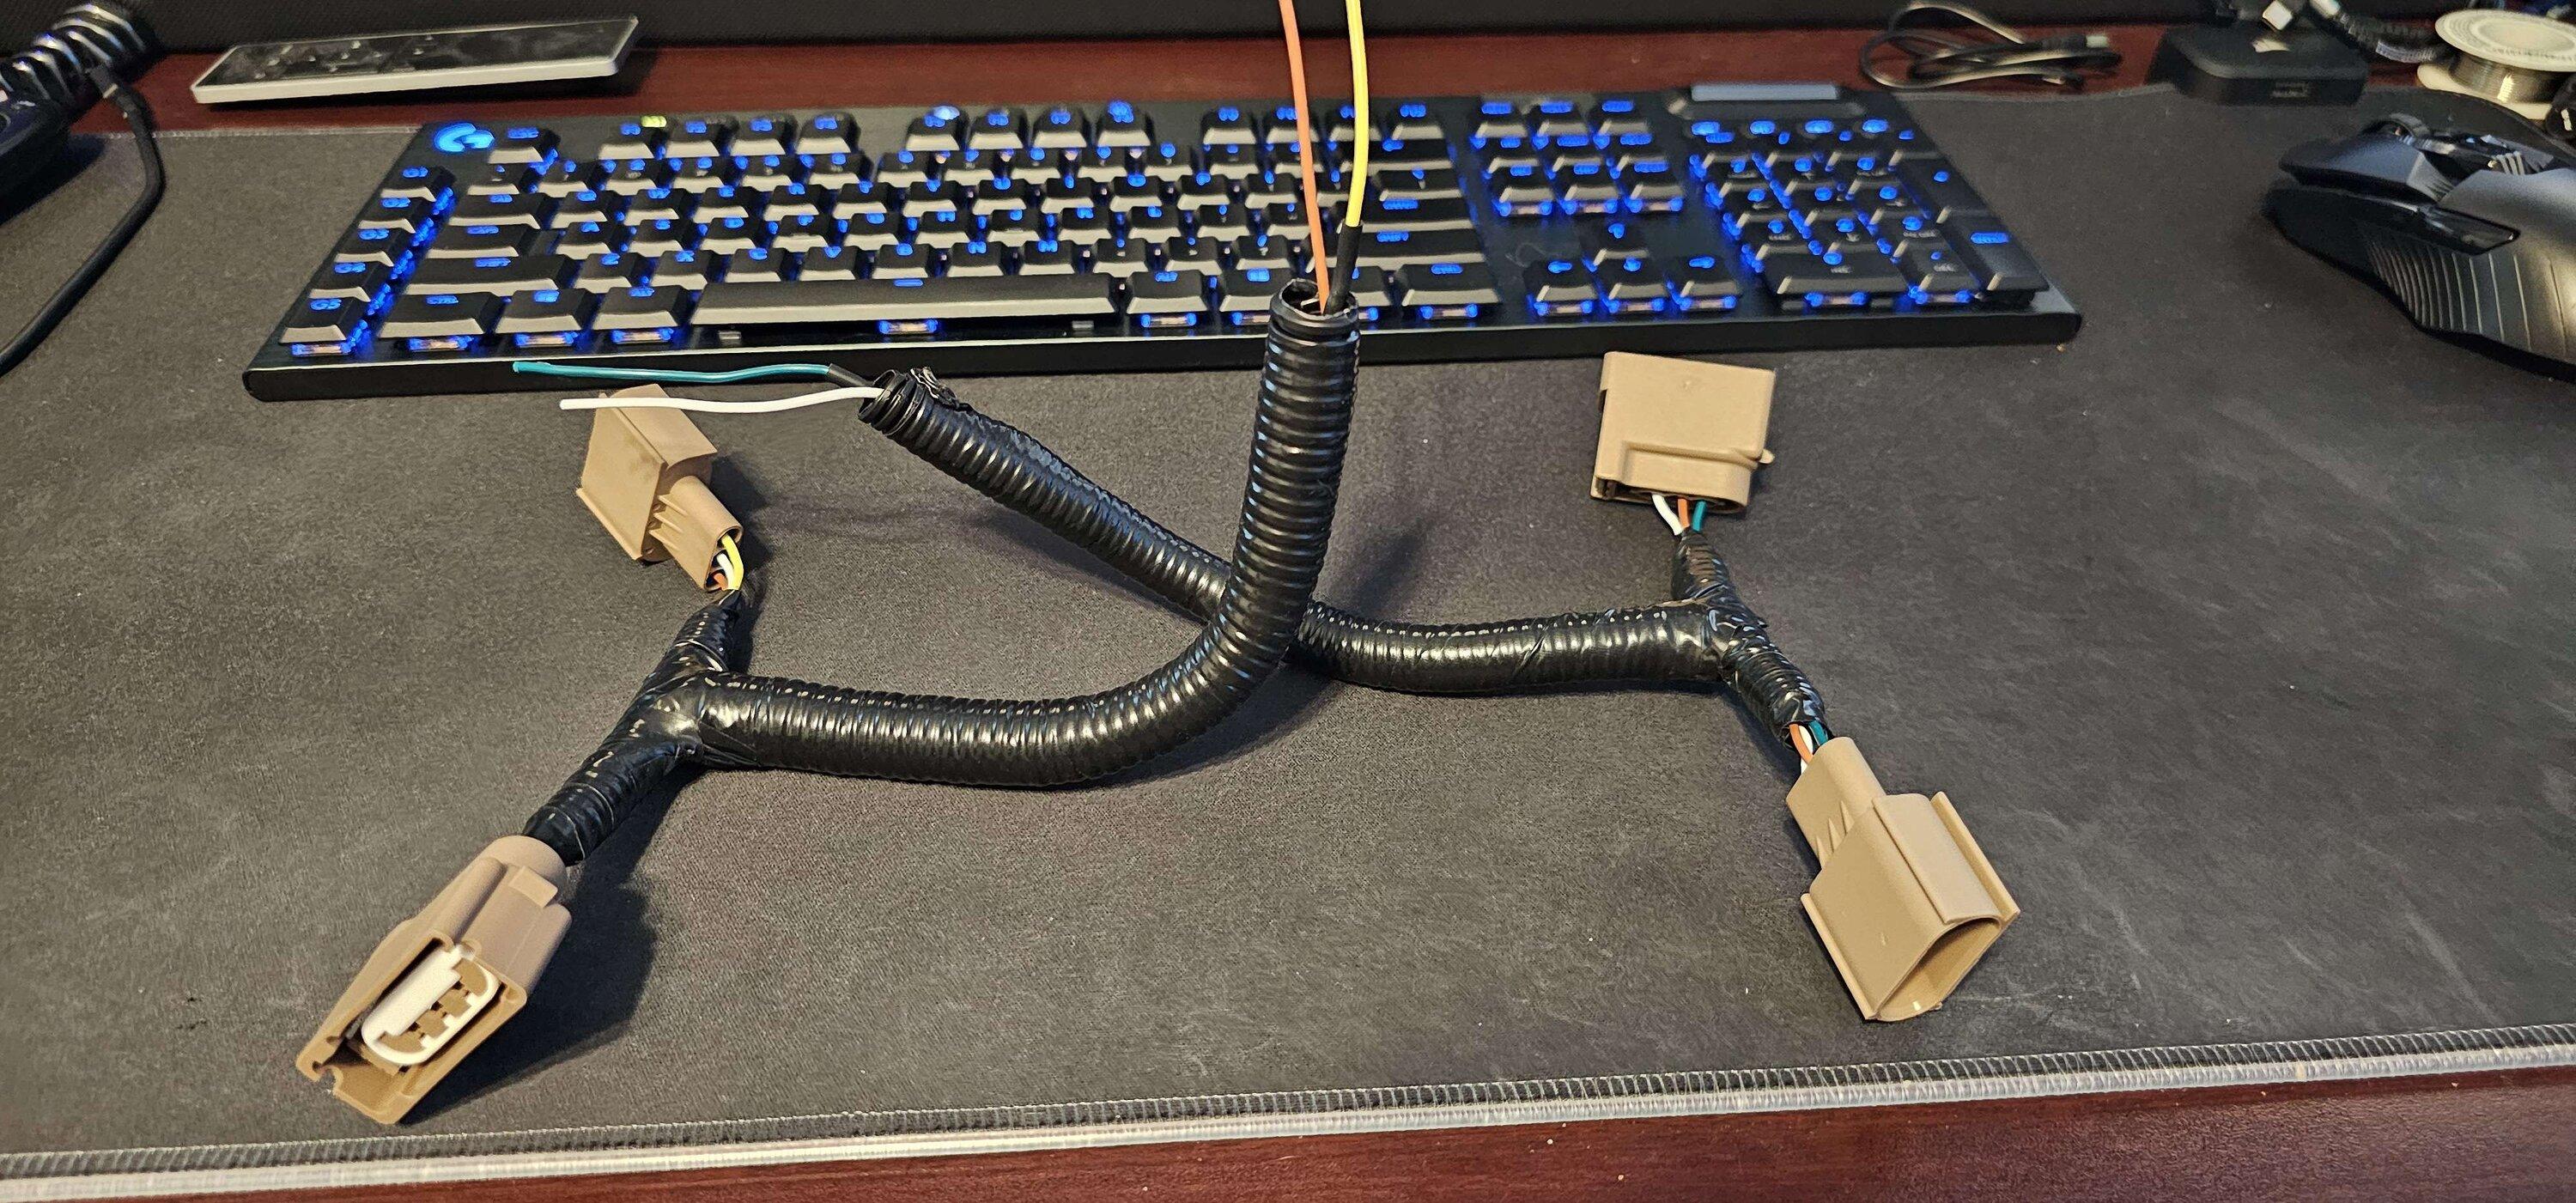
So continuing with my no cut wires modifications. I've made a harness to tie in extra lights off my blinker lights for some fender badge lights. I used another OTP7 harness and repinning and trimmed it since its the only thing ive seen with the correct connectors for this. Now to figure out what kind of lighting to put in the fender badge.

Ford Maverick Badge light harness 20231208_224634
Sponsored

 
OP
OP
Dmat

Dmat

2.5L Hybrid
Well-known member
Joined
Oct 26, 2022
Threads
46
Messages
571
Reaction score
617
Location
Baton Rouge
Vehicle(s)
MAVERICK
Engine
2.5L Hybrid
Clubs
 
well. I bought some basic LED strips off amazon and cut them down to fit. used the wire loom that came with the opt7 harness to protect the wires back to the connector. just have them taped together but its all working at moment. going to get some proper 2 pin connectors to put on the harness and the lights at some point so its easy to disconnect if i need to.

Ford Maverick Badge light harness 1702152219222
 

Craiger9131

2.5L Hybrid
Active member
Joined
Sep 23, 2023
Threads
2
Messages
43
Reaction score
21
Location
Bradenton, FL
Vehicle(s)
2023 Maverick XLT Hybrid
Engine
2.5L Hybrid
Clubs
 
Are you able to elaborate on the wiring harness? Part numbers and where to purchase.
Then send pictures once it is installed.
 
OP
OP
Dmat

Dmat

2.5L Hybrid
Well-known member
Joined
Oct 26, 2022
Threads
46
Messages
571
Reaction score
617
Location
Baton Rouge
Vehicle(s)
MAVERICK
Engine
2.5L Hybrid
Clubs
 
Are you able to elaborate on the wiring harness? Part numbers and where to purchase.
Then send pictures once it is installed.
ok, so to try and explain this. Making this requires 2 items.

the wiring harness from opt7: https://www.amazon.com/dp/B0BMFNJVCM?ref=ppx_yo2ov_dt_b_product_details&th=1

and a set of 12v led strips. usually IP65 or higher rating.

To make the harness, first you need to disassemble the opt7 harness. all of the wire looms, black tubes, are held together with electrical tape. remove that then you can remove all the looms from the wires. If you can avoid cutting them up, you can reuse them.

Next you will need to depin the connectors. you can remove the white parts by just popping them out with a screwdriver as they arent held in with any tabs. to remove the pins, all of them will have a small plastic tab that you will need to lift up to release the pin and you can pull out. The male has tabs but they have to be popped up a lot more than the female ones to release the pins. remember the orientation of how they go in to the holes.

then you should end up with this
Ford Maverick Badge light harness 1702191216736


I'm going to use this picture as reference from here forward. From here, you will need to cut some wires. The 4 wires that already have a 3rd line spliced into them and goes off the left side of the picture will be cut. They need to be cut all around the same length. I'm not sure if those are a capacitor in the heatshrink but you should cut beyond them. For the purpose of wiring, you should consider the wires with the capacitor as the positive lines, the other 2 will become grounds. Mark them as such if you need to. The other 2 wires that dont have a 3rd wire will be pass through lines.

Now to the assembly of the harness.
each side of the harness will get 1 positive line, one ground, and one pass through. Now as to wiring, you'll need to make sure each wire goes back into the proper hole. here is the current diagram for the wires.

Ford Maverick Badge light harness 1702191783138


So assembly pretty much follows this guide. Please use the notches to keep your orientation correct between the male/female plug ends.
1: is the ground wire
2: will be a pass through wire. While this isnt needed for lariat, the xl and xlt have the 3rd wire allowing you to install switchback lights.
3. will be the positive wire with the capacitor in it.

Once your put everything together, you can reuse the wire looms and tape things up if you want to do so. The end result can be like the first picture I posted.
Sponsored


Top