
agreeToss on some stainless steel beauty rings

Sponsored
agreeToss on some stainless steel beauty rings
The old "baby moon" look, in the 21st century! Not bad !That is a solid idea, I like it. For me, I was trying for that late 60s early 70s rally wheel, but that's why we make these mavericks our own.

People have different tastes, which can be a really good thing... After all, my wife married me!I don't know why so many people get bent out of shape about the steelies! Guess I am one of the few that like them.

I don't know why so many people get bent out of shape about the steelies! Guess I am one of the few that like them.
 Look over there.
That's pretty nifty.A “Transit” solution to the Mav’s steelies
I have read the other posts on options for the Mavericks’ steel wheels, and am still considering “painting’ my Mav’s it’s, Area 51 blue.
But at the time, I thought I would do something, like what I had done in the past. And l went looking for a possible stock “Ford” product as a solution.
I settled on the Ford Transit.
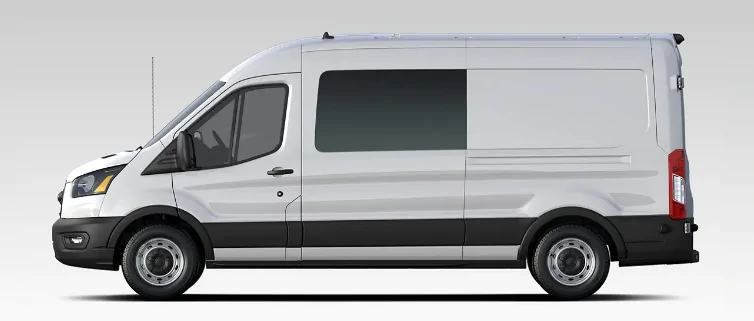
The Transit is the modern day version of Ford’s long running Econoline series of Vans (commercial vehicles). I see a lot of them at work and in the “Trades” and you may see one on your next delivery from Amazon.
The wheel caps are made from the same Thermoplastic material as our Mav’s XL trim. And I hoped it might be a “Quick N Easy” mod. (Remember this phrase for later. LOL).
In doing some R&D, I found that the lug spacing on the Transit is 5/180mm. While, the Mav’s is’ 5/108mm. Bummer dead-end?.
So, I looked for other options and in the process, I did lookup the link to a Wheel / Lug chart that was posted on this forum. To my surprise, I found that the Transit’s little brother the Ford Transit Connect, and its European cousin – Tourneo/Custom did share the same spacing. Great! More R&D.
Unfortunately, I soon found out that the Connect is only offered with “Full-Wheel” covers. But, fortunately, I found some online photos of Customs’ with the Black Caps. (The UK-style license plates gave it away). A little more R&D and found a part number! Great!
Well, the not so great news Was, that all those online were in “Used” condition. Bummer...
Until, I found a NEW set of four from an OEM seller in ... Greece. Great!
Well, for $125.00 US.(the set and shipping). I figured what could I loose..
I purchased the set the day after Christmas, got confirmation on being shipped and than waited and waited...
Being at my job for as long as I have. I have learned to have a Plan “B”; “C” and even had a “D”. After two weeks and no new info. I started to work on a “Plan B”.
With a physical Mav cap (one off “Blu”) and a printed copy of the backside of a Transit cap, complete with ruler. I started working on the optional backup plan...
The set took 35 days (this is the “Quick” part) to get from Athens to my front porch.
And when I open the box...
Plan “B”. (“Easy” part)
Having analyzed the cap and the photo. I found that with the help of a small ½ inch width piece (spacer) of 3 inch PVC drain pipe and some useful grooves, molded into the top and backside of the caps (to aid in alignment) that this might work...
With a Transit cap in my possession, I was able to confirm my theory.
Using the outer of the two grooves on the Mav cap, I bonded the spacer, a few days before assembly.
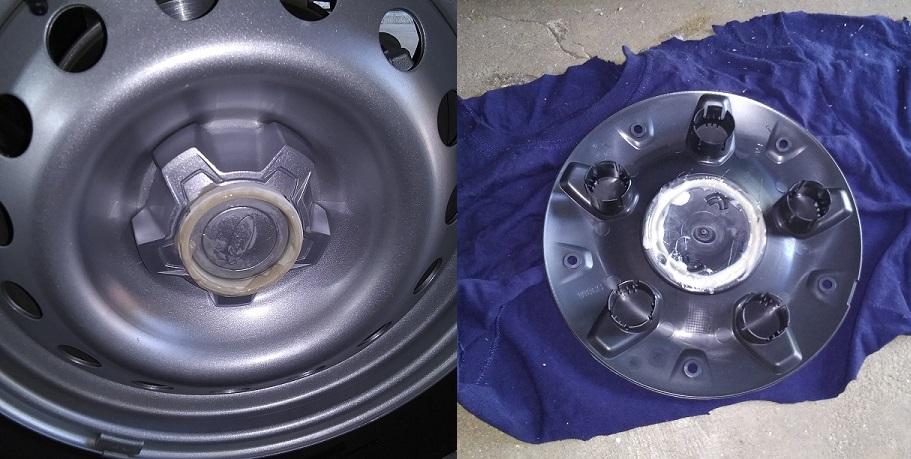
In order to be sure of a proper alignment. I had propped up the Mav’s left rear wheel to use. In assembling the new cap, I snapped on a Mav cap with the spacer already pre-bonded. And then added the adhesive to the (sanded) inside groove of the Transit cap and to the top edge of the spacer. This bonder sets up in 15 minutes, so I gave it about five minutes before setting the Cap in place. I rotated the cap left/right to help evenly spread the adhesive. And than while still applying pressure, rotated the wheel a few revolutions every few minutes to visually check for a true alignment. After 20+ minutes had past, I applied tape to hold the cap in place and left it to set for about two-three hours.
At which time, I was able to pop both caps off in one piece!
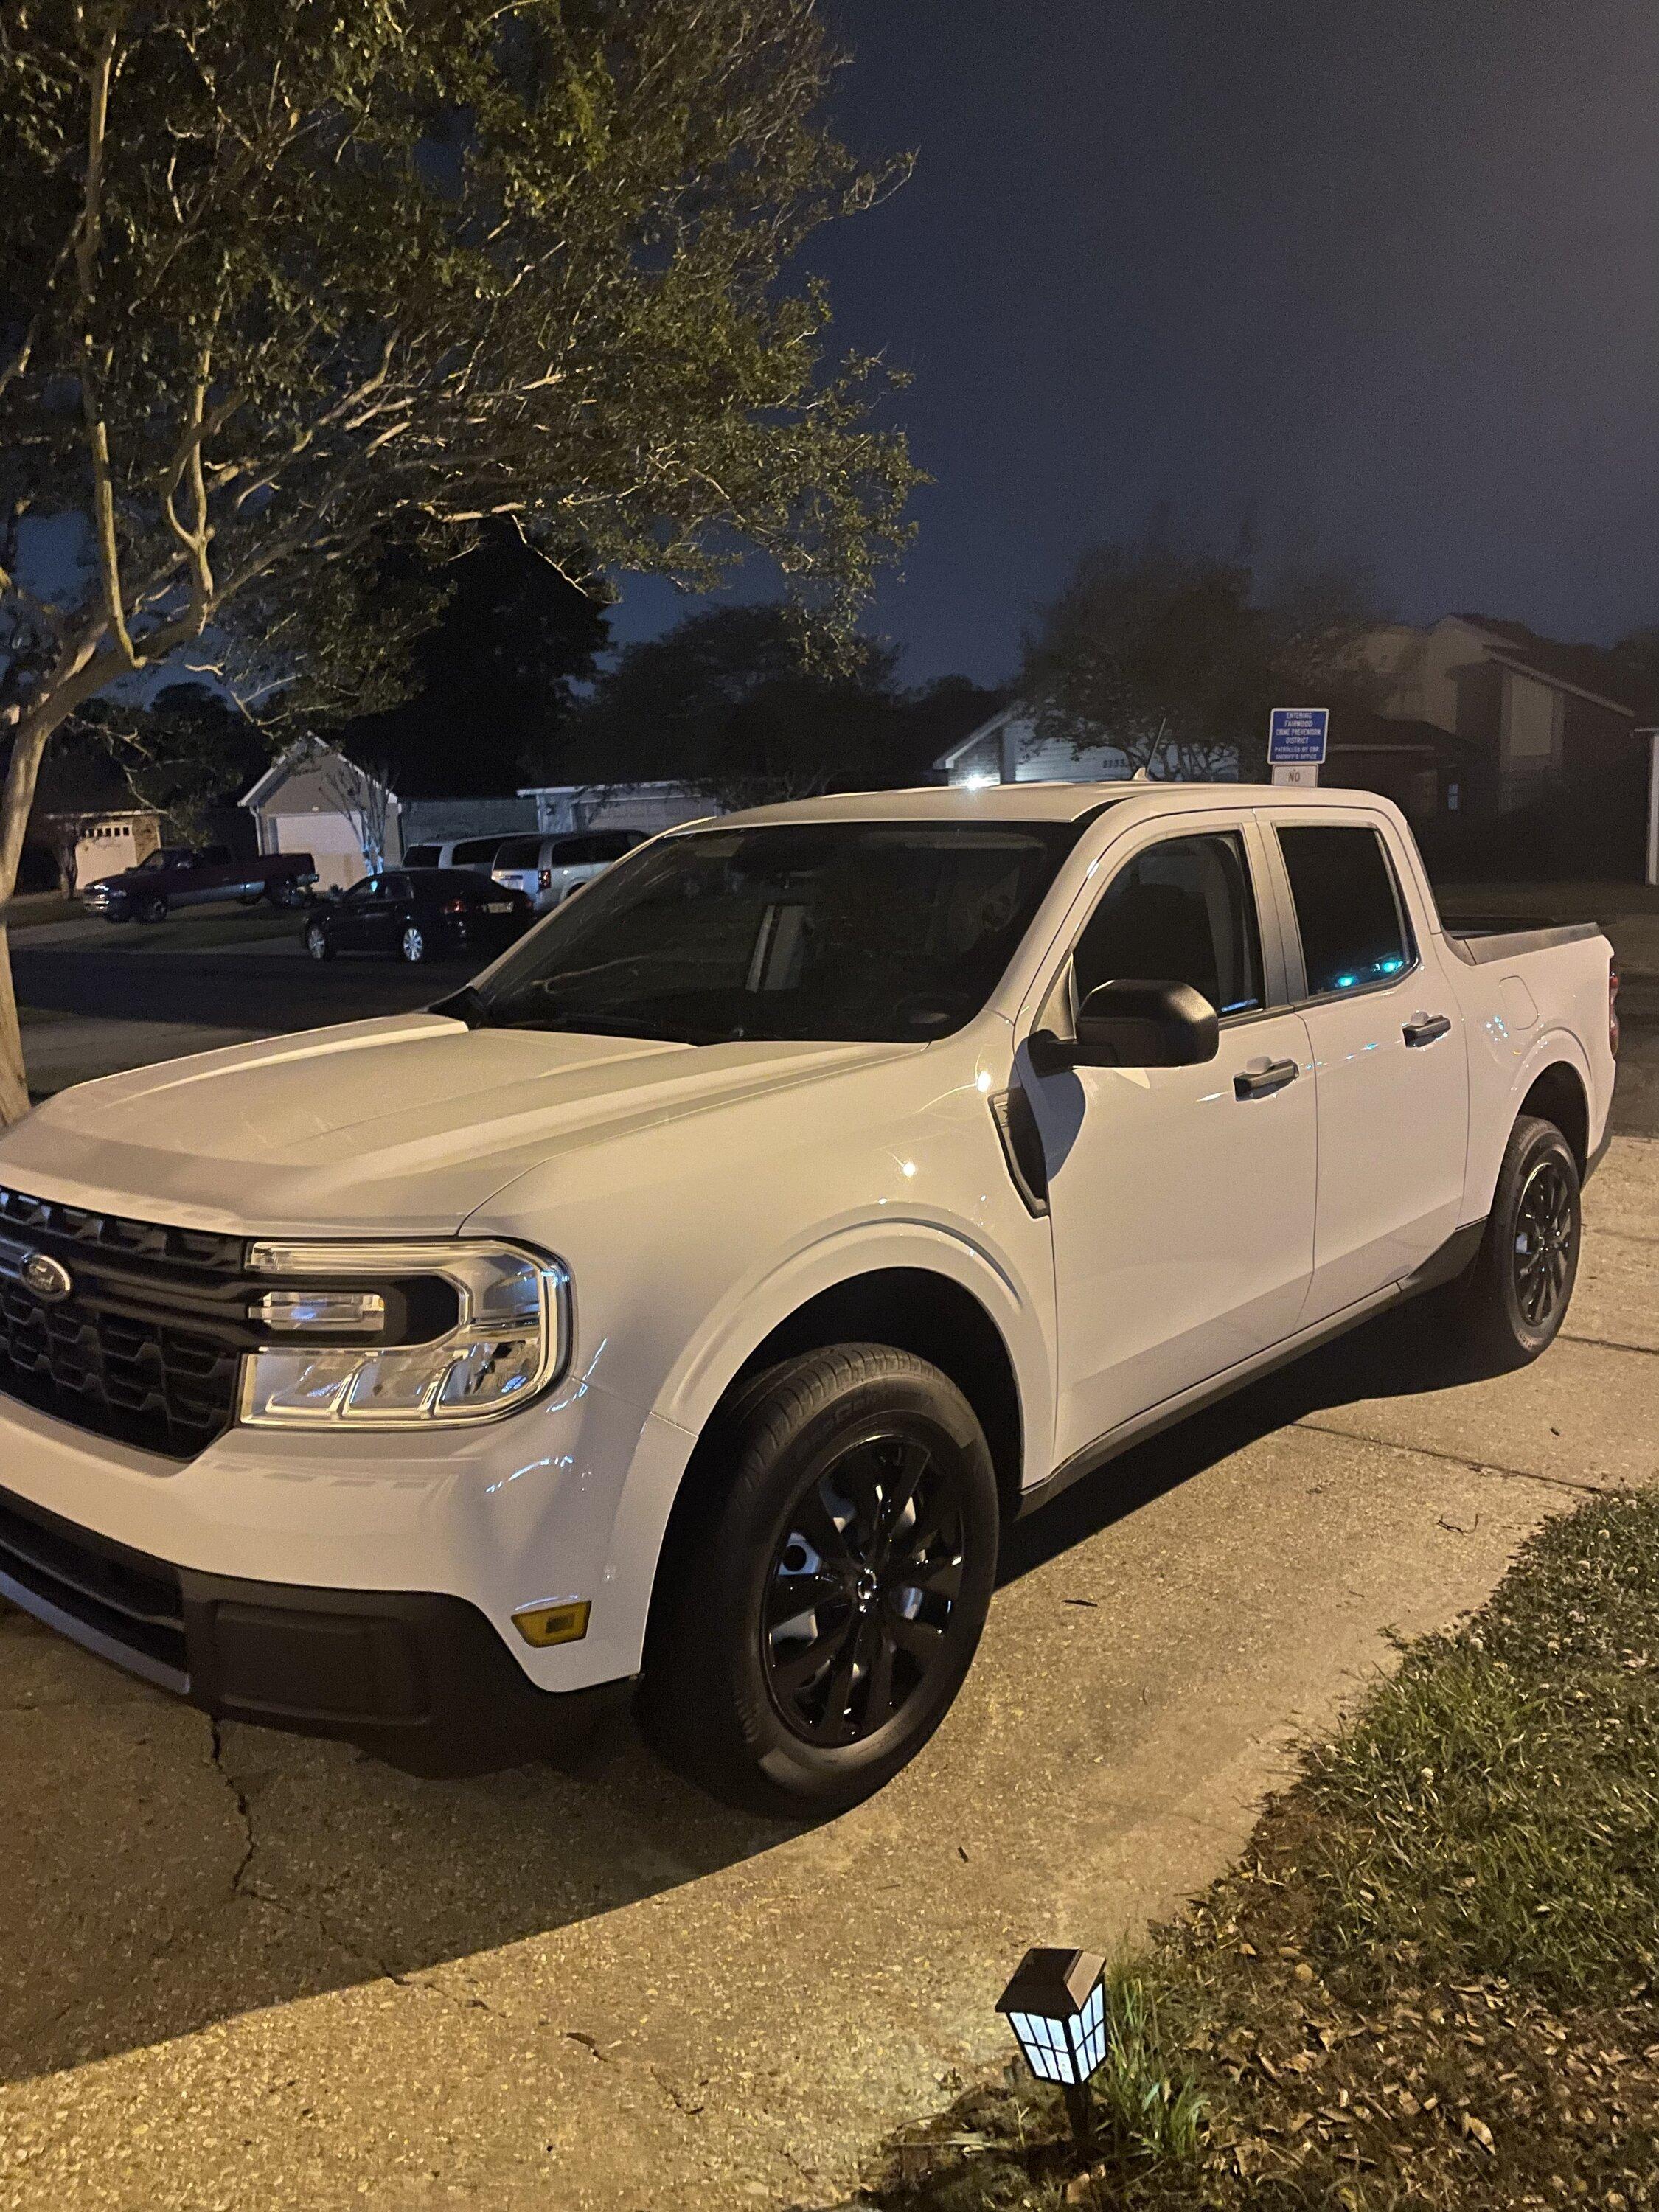
It took me two nights to do all four and the set has been on the truck for over three weeks, with no issues...
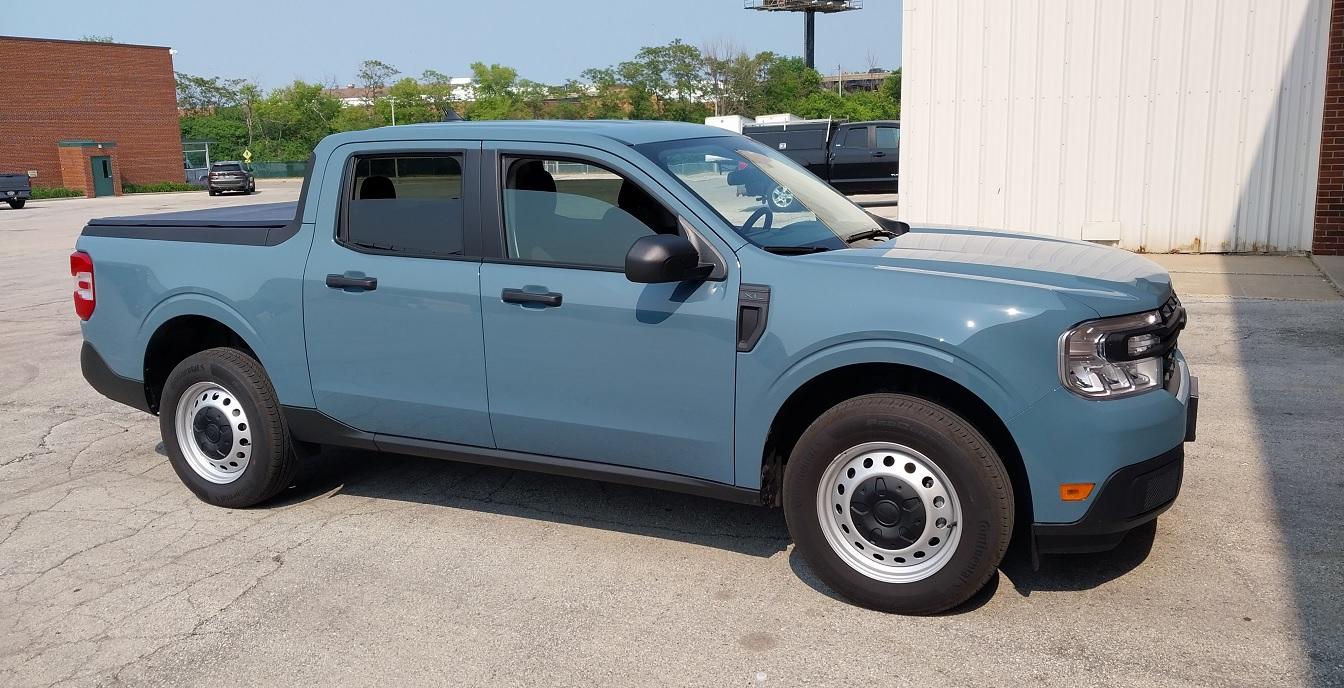
I think I am pretty well set with wheels for now...
Jerry


Toss on some stainless steel beauty rings
Been there, Done that...agree
Sorry, but that silver has gotta go too.
That's what I thought too, so I quickly ponied up to buy new rims (see my profile photo), but I kept the steelies as winter rims (a necessity up here). I found the silver jarring with CG, so I painted them with Dupli-Color Wheel Coating in Graphite. For my taste, this was now acceptable and not even half-bad. I think the problem with the steelies is mostly the sparkle silver, which only "works" IMO with iconic silver.I haven't really seen a steelie modification yet that would convince me to keep them...

"Take Off... AAhhh"Sorry, but that silver has gotta go too.
Or hear me out…
Hub caps
Looks good - can you provide details on the hubcaps you used ?

A “Transit” solution to the Mav’s steelies
I have read the other posts on options for the Mavericks’ steel wheels, and am still considering “painting’ my Mav’s it’s, Area 51 blue.
But at the time, I thought I would do something, like what I had done in the past. And l went looking for a possible stock “Ford” product as a solution.
I settled on the Ford Transit.
The Transit is the modern day version of Ford’s long running Econoline series of Vans (commercial vehicles). I see a lot of them at work and in the “Trades” and you may see one on your next delivery from Amazon.
The wheel caps are made from the same Thermoplastic material as our Mav’s XL trim. And I hoped it might be a “Quick N Easy” mod. (Remember this phrase for later. LOL).
In doing some R&D, I found that the lug spacing on the Transit is 5/180mm. While, the Mav’s is’ 5/108mm. Bummer dead-end?.
So, I looked for other options and in the process, I did lookup the link to a Wheel / Lug chart that was posted on this forum. To my surprise, I found that the Transit’s little brother the Ford Transit Connect, and its European cousin – Tourneo/Custom did share the same spacing. Great! More R&D.
Unfortunately, I soon found out that the Connect is only offered with “Full-Wheel” covers. But, fortunately, I found some online photos of Customs’ with the Black Caps. (The UK-style license plates gave it away). A little more R&D and found a part number! Great!
Well, the not so great news Was, that all those online were in “Used” condition. Bummer...
Until, I found a NEW set of four from an OEM seller in ... Greece. Great!
Well, for $125.00 US.(the set and shipping). I figured what could I loose..
I purchased the set the day after Christmas, got confirmation on being shipped and than waited and waited...
Being at my job for as long as I have. I have learned to have a Plan “B”; “C” and even had a “D”. After two weeks and no new info. I started to work on a “Plan B”.
With a physical Mav cap (one off “Blu”) and a printed copy of the backside of a Transit cap, complete with ruler. I started working on the optional backup plan...
The set took 35 days (this is the “Quick” part) to get from Athens to my front porch.
And when I open the box...
Plan “B”. (“Easy” part)
Having analyzed the cap and the photo. I found that with the help of a small ½ inch width piece (spacer) of 3 inch PVC drain pipe and some useful grooves, molded into the top and backside of the caps (to aid in alignment) that this might work...
With a Transit cap in my possession, I was able to confirm my theory.
Using the outer of the two grooves on the Mav cap, I bonded the spacer, a few days before assembly.
In order to be sure of a proper alignment. I had propped up the Mav’s left rear wheel to use. In assembling the new cap, I snapped on a Mav cap with the spacer already pre-bonded. And then added the adhesive to the (sanded) inside groove of the Transit cap and to the top edge of the spacer. This bonder sets up in 15 minutes, so I gave it about five minutes before setting the Cap in place. I rotated the cap left/right to help evenly spread the adhesive. And than while still applying pressure, rotated the wheel a few revolutions every few minutes to visually check for a true alignment. After 20+ minutes had past, I applied tape to hold the cap in place and left it to set for about two-three hours.
At which time, I was able to pop both caps off in one piece!
It took me two nights to do all four and the set has been on the truck for over three weeks, with no issues...
I think I am pretty well set with wheels for now...
Too much for most of us ! Wow !
Jerry
