Sponsored

P.S.I.Clone - The ST We Wish Ford Had Built

MM Mav

2.5L Hybrid
Well-known member
First Name
Amy
Joined
Sep 9, 2022
Threads
18
Messages
1,510
Reaction score
2,682
Location
Great Lakes Region
Vehicle(s)
2023 Hybrid Lariat Luxury w/CP360 + CP360A
Engine
2.5L Hybrid
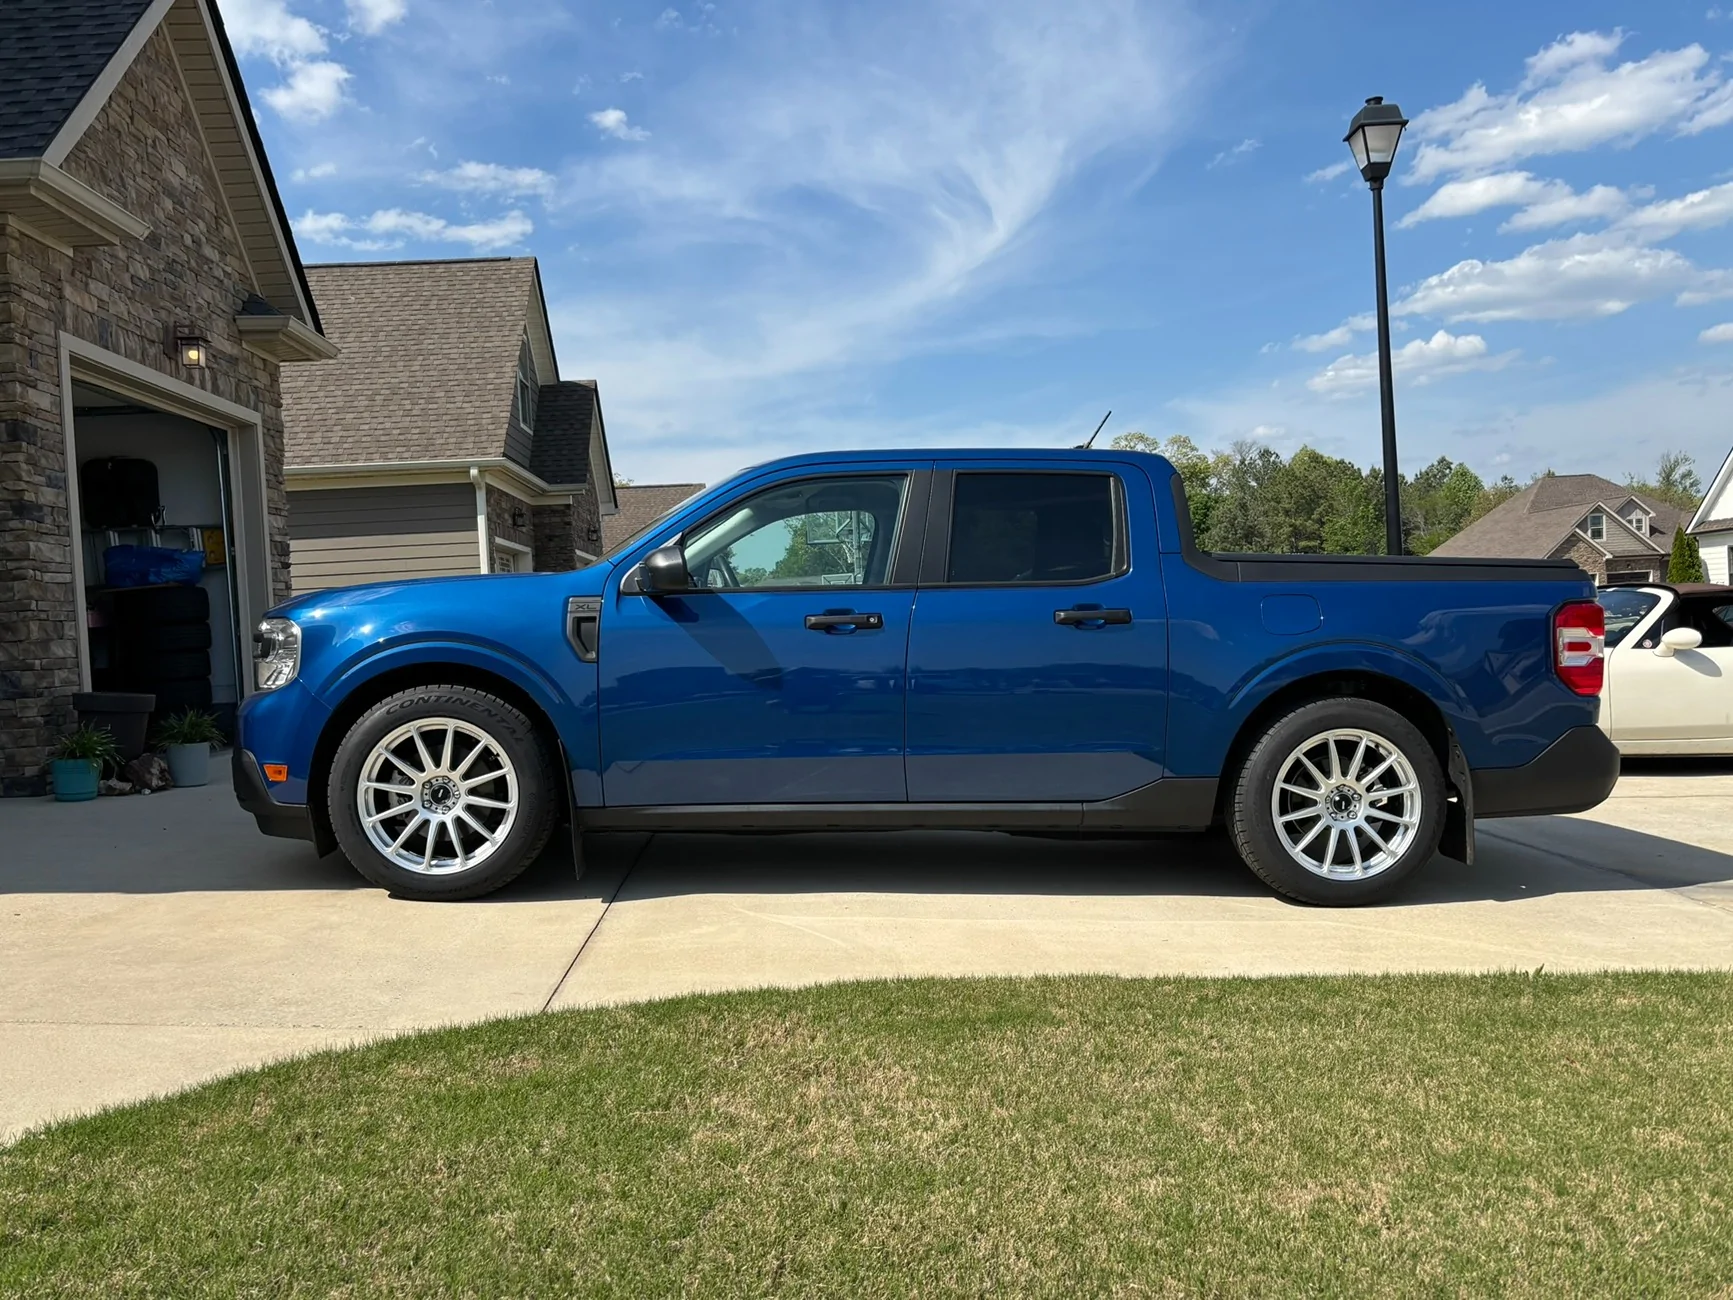
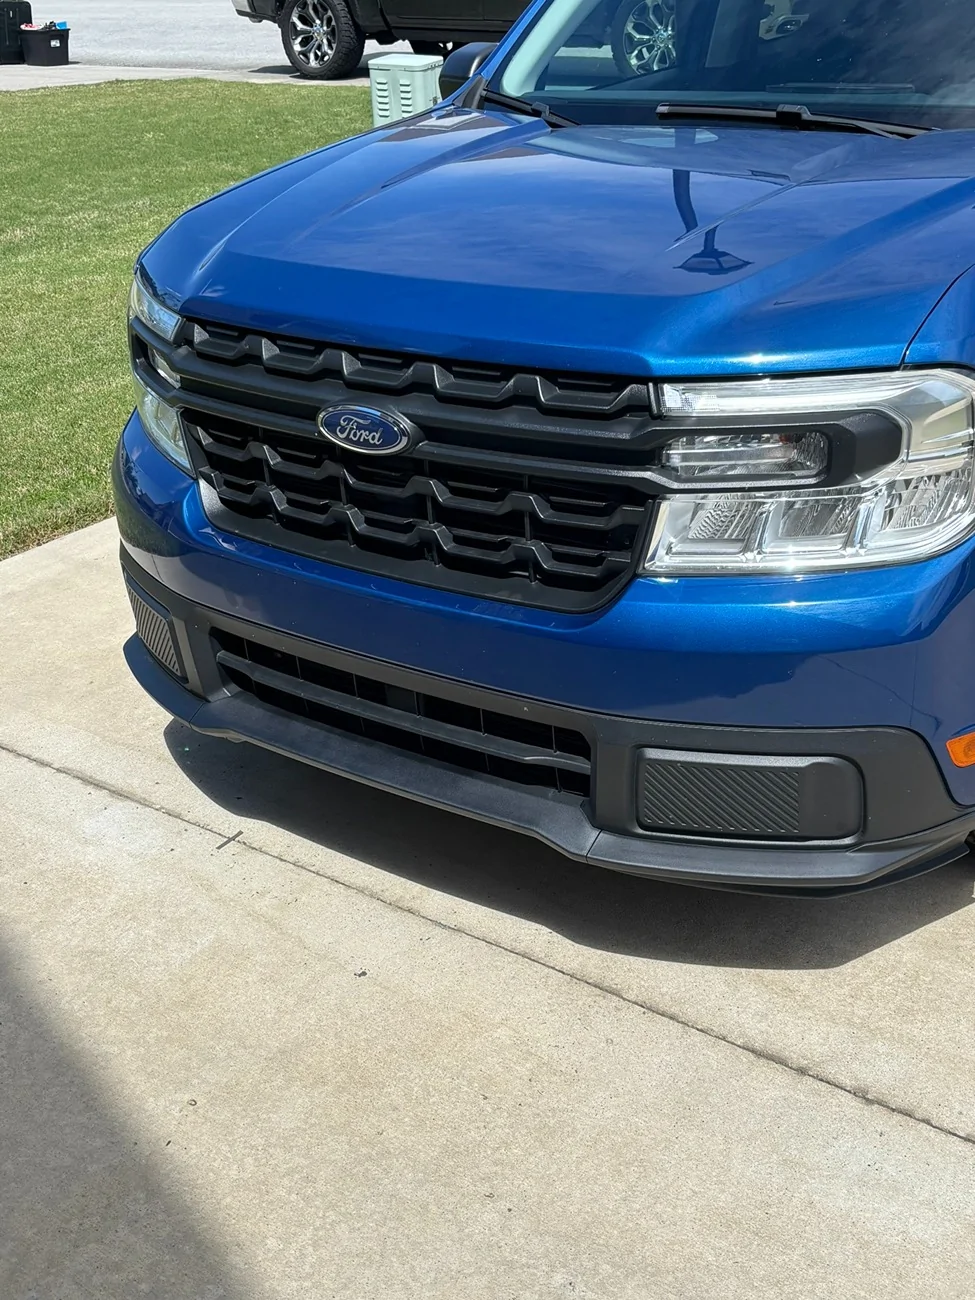
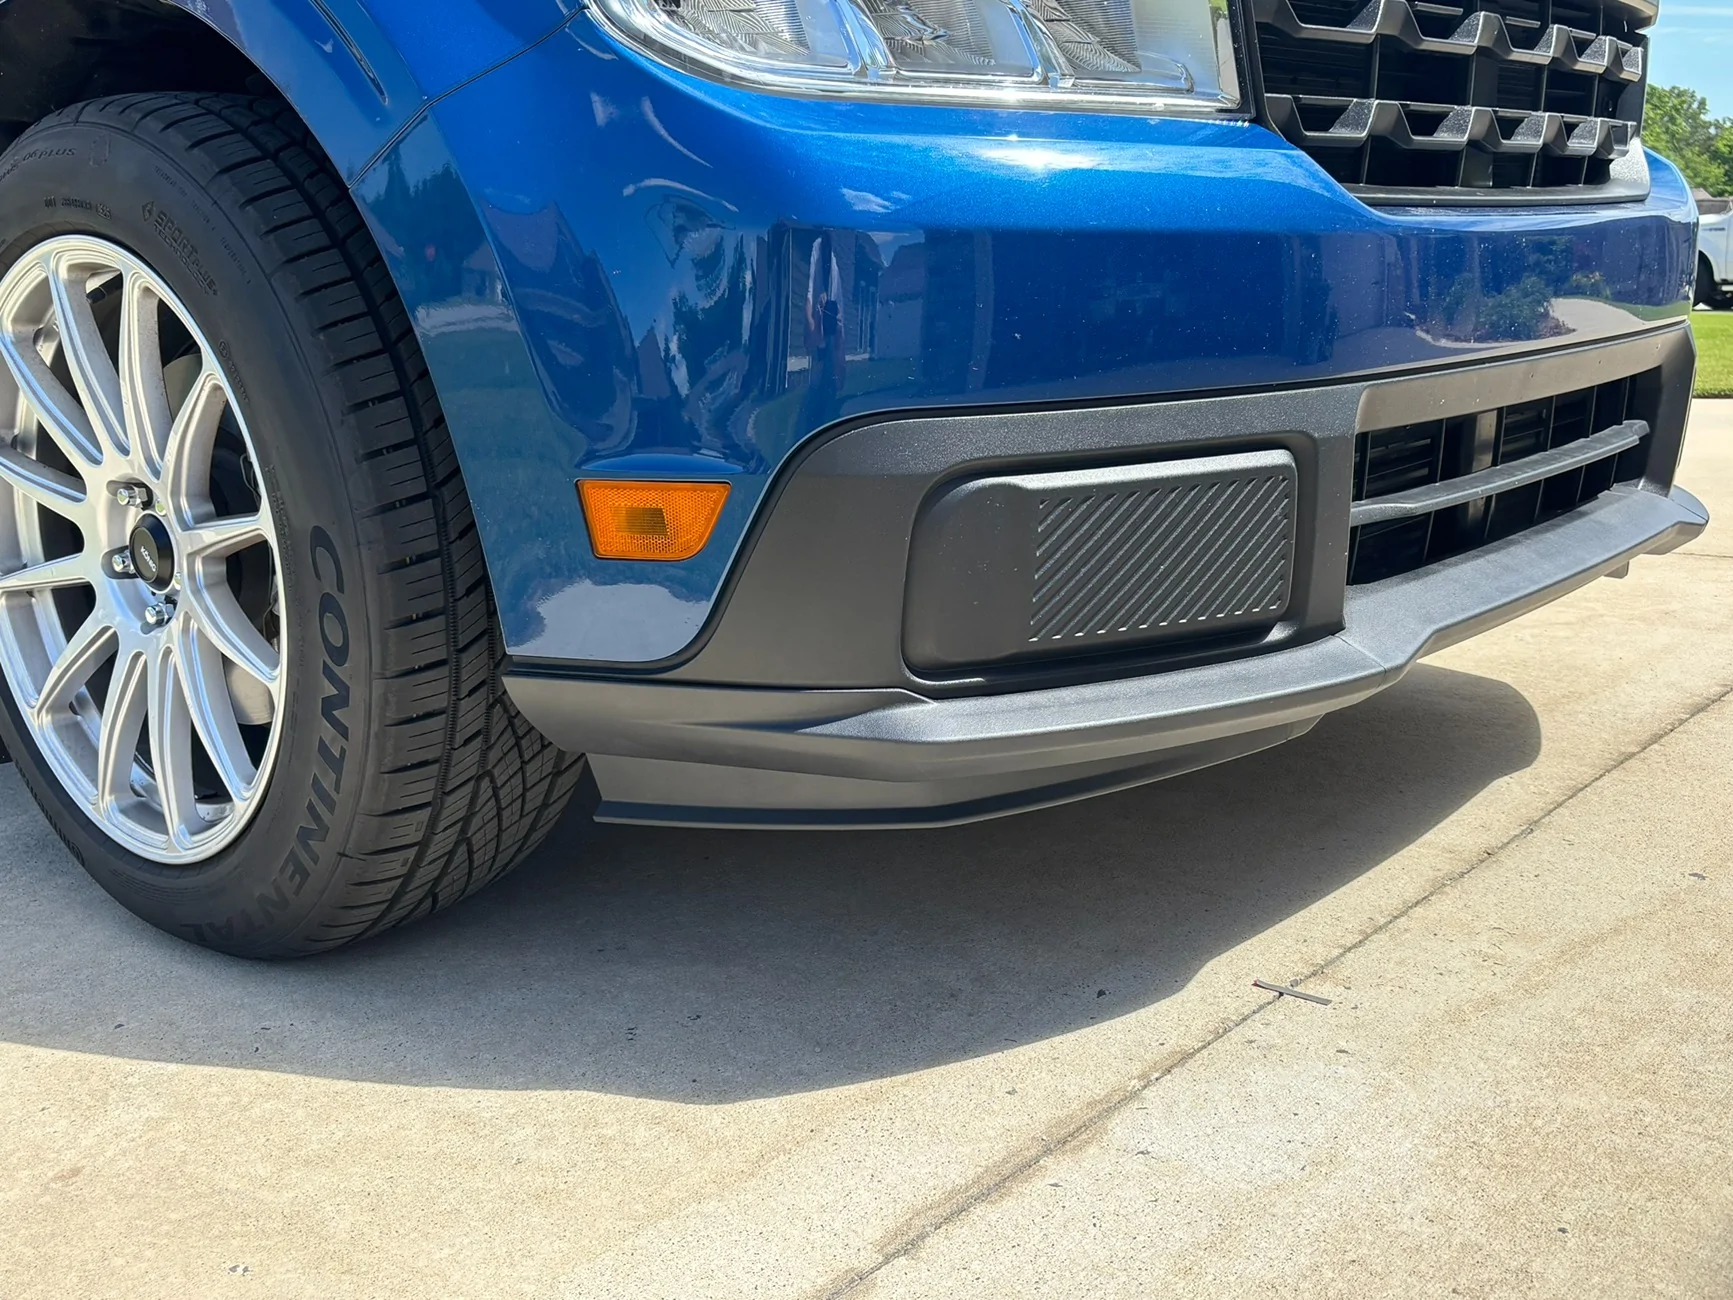
@WannabeST I like the Konig Hypergram - Polished Lip that you linked.

Good luck with your decision and improving your MPG's.
Sponsored

 
OP
OP
WannabeST

WannabeST

2.0L EcoBoost
Well-known member
First Name
Greg
Joined
Jan 9, 2024
Threads
4
Messages
58
Reaction score
131
Location
Georgia
Vehicle(s)
2024 Ford Maverick, 2006 Mazda Miata
Engine
2.0L EcoBoost
Still debating the Jag wheels; I'll post pics if I make any changes.

In the meantime, after 4 MONTHS of waiting with NEARLY ZERO COMMUNICATION from the vendor; I FINALLY received my ST steering wheel (sourced from a European Fiesta ST Mk8). I got it installed last night and definitely makes the truck feel "nicer" overall. I don't have the paddle shifters hooked up yet because the vendor failed to include the necessary ECU pins with the wheel as promised. Given the complete lack of communication to this point, I don't know that I'll ever recieve them. Guess I'll have to pony up the $90 at the dealership and move on. Anyway...

I also installed ST badges on the grille and the tailgate and ST center caps on the wheels. I'm still not 100% sure I like them and I'm definitely open to feedback. I also ordered an "Ecoboost AWD" badge for the other side of the tailgate that hasn't arrived yet.

Please excuse my extremely dirty truck. Just got back from a deep sea fishing charter at the beach and haven't had a chance to wash it yet.

Ford Maverick P.S.I.Clone - The ST We Wish Ford Had Built ST Steering Wheel


Ford Maverick P.S.I.Clone - The ST We Wish Ford Had Built Front ST Badg


Ford Maverick P.S.I.Clone - The ST We Wish Ford Had Built Rear ST Badg


Ford Maverick P.S.I.Clone - The ST We Wish Ford Had Built ST Center Caps
 
Last edited:
OP
OP
WannabeST

WannabeST

2.0L EcoBoost
Well-known member
First Name
Greg
Joined
Jan 9, 2024
Threads
4
Messages
58
Reaction score
131
Location
Georgia
Vehicle(s)
2024 Ford Maverick, 2006 Mazda Miata
Engine
2.0L EcoBoost
I relocated the front ST badge, I think it looks much better this way.

Also, I added 7mm to the rear wheels. I noticed some rub marks on the rear driver side inner fender. Not sure if this was a constant rub or just under heavy suspension compression, but either way it shouldn't happen going forward.

Ford Maverick P.S.I.Clone - The ST We Wish Ford Had Built Front ST Badge 3
 
OP
OP
WannabeST

WannabeST

2.0L EcoBoost
Well-known member
First Name
Greg
Joined
Jan 9, 2024
Threads
4
Messages
58
Reaction score
131
Location
Georgia
Vehicle(s)
2024 Ford Maverick, 2006 Mazda Miata
Engine
2.0L EcoBoost
I haven't added any mods in the last month (unless you count an ecoboost badge, LOL), but I wanted to add some comments about a my experiences on a recent road trip with the truck.

I took my family on a week-long beach vacation and drove approximately 1,175 total miles. This includes the miles to and from our destination as well as the miles driven around the destination area. I set the cruise control to 76 MPH for most of the drive down and back and usually averaged around 35-50 MPH for the "around town" driving. Cargo was comprised of a fulll bed of beach chairs, cooler, luggage, as well as my myself, my wife, and my daughter. We ran the air conditioning for the entire trip as the heat index was close to 100 degrees most days.

Given all of the above, I'm ASTONISHED to report that the truck average 31.2 MPG for the trip and was consistently hitting 32 MPG while driving "around town". I did swap back to the factory steelies for this trip as they are lighter and narrower than the Jag wheels with 255 tires that I usually run. Regardless, I'm incredibly satisified with the the fuel economy we were able to achieve.

I'm very happy with this little truck. Many more mods to come, but I'm not in a hurry to do them. I'll continue to post updates as the build progresses.

One other quick note, I did the first oil change prior to the trip. No abnormalties to note other than the green dye added to oil at the factory that I'm assuming they used to check for leaks. I will say that the belly pan is a royal pain to remove. So... many... fastners... LOL

Ford Maverick P.S.I.Clone - The ST We Wish Ford Had Built MPG
 
OP
OP
WannabeST

WannabeST

2.0L EcoBoost
Well-known member
First Name
Greg
Joined
Jan 9, 2024
Threads
4
Messages
58
Reaction score
131
Location
Georgia
Vehicle(s)
2024 Ford Maverick, 2006 Mazda Miata
Engine
2.0L EcoBoost
No significant updates, my Miata has been getting all the attention for the last few months. I'm still planning to add a Goodwin sway bar, lightweight aftermarket wheels (sold the Jag wheels), an intake, CVF intercooler, CVF downpipe, and a Livernois tune. Painted door handles, mirrors, and grille cross bar are on the list as well. I'm not in a hurry, I'll get there at some point.

Anyway, the reason for the post is that we're now a 2 Maverick family (kinda), LOL. My father in law liked my Maverick so much that he bought his own. He went with a Hybrid Lariat with the BAP.

Ford Maverick P.S.I.Clone - The ST We Wish Ford Had Built 2 Mavericks.JPEG
 
Last edited:

Sponsored

Vettereddie

2.5L Hybrid
Well-known member
Joined
Sep 15, 2022
Threads
6
Messages
264
Reaction score
490
Location
MD
Vehicle(s)
2023 Maverick XLT
Engine
2.5L Hybrid
No significant updates, my Miata has been getting all the attention for the last few months. I'm still planning to add a Goodwin sway bar, lightweight aftermarket wheels (sold the Jag wheels), an intake, CVF intercooler, CVF downpipe, and a Livernois tune. Painted door handles, mirrors, and front cross bar are on the list as well. I'm not in a hurry, I'll get there at some point.

Anyway, the reason for the post is that we're now a 2 Maverick family (kinda), LOL. My father in law liked my Maverick so much that he bought his own. He went with a Hybrid Lariat with the BAP.

2 Mavericks.JPEG
Your Father-In-Law has good taste, now just need to convince him to either lower or level it. Seeing the two side by side really accentuates the rake of the factory suspension, wish Ford had just gone ahead with slightly heavier rear springs to drop it an inch.
 

ShadowBlack XL440

2.5L Hybrid
Well-known member
First Name
Robert
Joined
Jan 21, 2022
Threads
12
Messages
1,027
Reaction score
1,308
Location
Northern Ohio
Vehicle(s)
Non-Ford, not enought room to list..........
Engine
2.5L Hybrid
Reserving this space for my build thread. Much more to come when I pick up the truck in a few weeks. :)

UPDATE: I picked up the truck on 1/27/24. Now the fun begins!

UPDATE: 2/4/24 - Installed some interior upgrades.

UPDATE: 3/3/24 - Installed Truxedo roll up tonneau cover and DIY bed rails.

UPDATE: 3/31/24 - Picked up a set of Jaguar F Pace wheels and tires; still need to install them.

UPDATE: 5/4/24 - Jaguar F Pace Wheels installed (255/55/19)

UPDATE: 5/11/24 - Goodwin Racing/Progress lowering springs installed

UPDATE: 5/23/24 -ST badges, center caps, and steering wheel

PSIClone.webp


Goodwin Springs.webp


ST Steering Wheel.webp


Rear ST Badge.webp


View attachment 162721

View attachment 163094

Front ST Badge 3.webp
Did you change your splash screen to the ST logo? Steering wheel and wheels look great.


Ford Maverick P.S.I.Clone - The ST We Wish Ford Had Built 1734461838860-a5


Ford Maverick P.S.I.Clone - The ST We Wish Ford Had Built 1734461696955-jd
 

Attachments

  • 0 bytes Views: 0
  • 0 bytes Views: 0
Last edited:
OP
OP
WannabeST

WannabeST

2.0L EcoBoost
Well-known member
First Name
Greg
Joined
Jan 9, 2024
Threads
4
Messages
58
Reaction score
131
Location
Georgia
Vehicle(s)
2024 Ford Maverick, 2006 Mazda Miata
Engine
2.0L EcoBoost
ShadowBlack XL440 - This is on the "To Do" list, still need to download Forscan first. LOL.

I sold the Jaguar wheels last week (managed to get back what I paid for them). Before I loaded them up I took a minute to weigh them. The wheel with a 255/55/19 tire and TPMS weighed a whopping 60.4 lbs! This is almost 9lbs per wheel and tire heavier than the factory steelies that come in at 51 lbs. This definitely explains the drop in fuel economy I noted when these were installed.

I think I've settled on Konig Countergrams in 18x8.5 with Continental DWS06 tires in 235/60/18. The wheels come in at 19.5 lbs each and the tires come in at 28 lbs each for a total of 47.5 lbs (3.5 lbs lighter than the OEM steelies). I should be able to get the look I'm hoping for without sacrificing any MPG performance. There may be small MPG penatly for the increased tire width and stickier compound, but it should be negilible compared to the impact of the Jaguar wheels. It'll probably be a while before I pull the trigger on these, but at least i have a plan now.
 
OP
OP
WannabeST

WannabeST

2.0L EcoBoost
Well-known member
First Name
Greg
Joined
Jan 9, 2024
Threads
4
Messages
58
Reaction score
131
Location
Georgia
Vehicle(s)
2024 Ford Maverick, 2006 Mazda Miata
Engine
2.0L EcoBoost
Just a minor update, but I finally installed a clean side catch can. After doing some research, I landed on an eBay set up that was a whopping $32, LOL. In comparing what's available these days, it appears that even the high-dollar set ups are using the same catch can as the eBay kits, with the primary difference being the hoses and fittings.

eBay Catch Can

Fitment/Installation
The kit I chose is designed for the Ecoboost F150 and was a direct bolt in. The only issue is that one of the hoses is a little too long (planning to correct this in the near future). There are two holes on the inner fender structure that line up perfectly with the holes in the mounting bracket. The only modification required was to make 2 slight bends in the bracket (and the eventual shortening of one of the hoses).

Installation was relatively easy. I pulled 3 clips out of the fender liner to gain access to the mounting points and mouted the catch can bracket with the included bolts and lock nuts. I used a 1/4" ratchet with a 10MM deep socket from the bottom (coming up through the wheel well) and 10MM wrench on top to keep the bot from spinning. I then had to make 2 small bends in the bracket to get it to clear the mounting tab for the collant resevoir. Next I mounted the can, removed the OEM hose, and then installed the hoses that came with the kit (with OEM style quick connectors).

Parts Quality
Everything appears to be of decent quality. I was worried that the 90* fittings going into the can might be plastic and therefore fragile. I'm happy to report that these fittings are metal and appear to be up to the task. The hoses are 1/2" and rated for 300PSI, they appear to be fuel line of some kind. The ends of the hoses are crimped with heat shrink tubing on both ends. This looks nicer than clamps, but we'll see if it hold up over time.

Summary
All in all, this appears to be a great buy for the price. Some say catch cans only catch money; others say they help protect the engine. For $30, I think it's worth the gamble on engine protection. I'm planning to buy a second kit for the "dirty" side along with 10 feet of extra hose. I'm pretty sure I'll have to cut the fittings off and make new lines for that side. I'm hoping to replicate the UPR set up for 30% of the price.

Ford Maverick P.S.I.Clone - The ST We Wish Ford Had Built Catch Can - Installed.JPEG


Ford Maverick P.S.I.Clone - The ST We Wish Ford Had Built Catch Can - Through the Wheel Well


Ford Maverick P.S.I.Clone - The ST We Wish Ford Had Built Catch Can Installed 2.JPEG
 
Last edited:
OP
OP
WannabeST

WannabeST

2.0L EcoBoost
Well-known member
First Name
Greg
Joined
Jan 9, 2024
Threads
4
Messages
58
Reaction score
131
Location
Georgia
Vehicle(s)
2024 Ford Maverick, 2006 Mazda Miata
Engine
2.0L EcoBoost
Added bed lights this weekend (I used the Nilight kit from Amazon). The process wasn't difficult, but I took my time to ensure an OEM-like installation. This required dropping the spare tire to route the wiring for the passenger side light over to the switch on the driver side. I used zipties with push pins on them and used the existing holes in the bed as mounting points. I also trimmed the LED strips to achieve a cleaner fit. Overall I'm pretty happy with it for $20.

I plan to redo the switch at some point because the wires came up a little short and I had to mount it in a less than desirable location. I have a 3D printed cover for the 12 volt port that is desgined to hold a switch. I'll probably make that update at some point in the future.

Nilight Bed Light Kit

Push Mount Zipties

Ford Maverick P.S.I.Clone - The ST We Wish Ford Had Built Bed Lights.JPEG
 
Sponsored
OP
OP
WannabeST

WannabeST

2.0L EcoBoost
Well-known member
First Name
Greg
Joined
Jan 9, 2024
Threads
4
Messages
58
Reaction score
131
Location
Georgia
Vehicle(s)
2024 Ford Maverick, 2006 Mazda Miata
Engine
2.0L EcoBoost
It's been a long time since my last update. I haven't forgotten about the Maverick, but the Miata continues to get the bulk of the fun" budget". That said, I've finally been able to make some addtional progress. Yesterday I installed a set of Konig Aeris wheels (19x8.5) with Continental DWS06 Tires (235/55/19) and I'm pretty happy with how they look.

I still have a pile of parts in the garage that need to be installed:
  • eBay knockoff of Air Designs front lip ($120 instead of $500/w shipping)
  • Massive Speed rear toe arms
  • SPC rear camber arms
  • Goodwin/Progress rear sway bar
  • Terminals/wiring for paddle shifters on ST steering wheel
  • "Dirty Side" catch can
  • Paint to match door handle covers (still need to paint them)
I'll try to remember to post updates as the build continues. :)

Ford Maverick P.S.I.Clone - The ST We Wish Ford Had Built Konig Aeris
 
OP
OP
WannabeST

WannabeST

2.0L EcoBoost
Well-known member
First Name
Greg
Joined
Jan 9, 2024
Threads
4
Messages
58
Reaction score
131
Location
Georgia
Vehicle(s)
2024 Ford Maverick, 2006 Mazda Miata
Engine
2.0L EcoBoost
Made some addtional progress...

I finally got my SPC camber arms, Massive Speed toe arms, and Goodwin/Progress sway bar installed. Overall the process wasn't too difficult, with the exception of removing the OEM sway bar. I had the camber and toe arms off to upgrade them and I dropped the exhaust and it was still a pain to snake that sucker out of there.

For those who may not be aware, the bushings are bonded to the rear sway bar on the the AWD models. That means you can't pull them off to get them out of the way when you remove the sway bar from the truck. They do this so the sway bar can't slide laterally in the mounts, the Goodwin bar accomplishes this by welding small rings on to the bar so the bushings can be removed. None of this is a big deal, unless you're trying to remove the thing from the truck.

Another fun part of the sway bar install is the heat shield that isolates the passenger side sway bar bushing from the muffler. Since the brackets for the Goodwin sway bar are gussetted, you need to cut two slits into the heat shield in order for it to fit over the sway bar bracket. Not huge deal, but it did add some time to the install.

One more "gotcha" moment happened when I installed the Massive Speed toe arms. With the spacers and rubber boots installed, the rod end is slightly too wide to easily fit into the opening on the knuckle. I used a "C" clamp to compress the bushing so that they just barely squeezed into the knuckle, then I tapped it home with a rubber mallet. A minor inconvience, but worth noting.

One last note, the OEM control arms are flimsy at best and the bushings are REALLY soft. While the new control arms will help, there are still some flimsy control arms (trailing arms, I'm looking at you) and soft bushings in MANY places. This is definitely a budgeted-minded truck and even with upgrades it still probably won't tolerate track days or autocross without damaging some the bushings or even bending the trailing arms. Since this is my daily, it'll probably never go to the track; but I do plan to take it autocross a few times. :)

I did a quick test drive lat night before dropping the truck off for an alignment this morning. The Goodwin sway bar (on the middle setting) makes a HUGE difference. The truck handles so much better; less body roll, no more pushing the front end in tight corners, and improved turn in. I LOVE IT!

I'm planning to keep the alignment mild since this is my daily, but I still want to have some fun with it. For that reason I'm going with the OEM caster settings, no toe all around, and -1.5* of camber on all four corners. I only live a couple hours (via back roads) from the Cherohala Skyway and the Tail of the Dragon. Hoping to head up there for some "spirited testing" in the next few weeks.

Ford Maverick P.S.I.Clone - The ST We Wish Ford Had Built Control Arms & Sway Bar Upgrade1


Ford Maverick P.S.I.Clone - The ST We Wish Ford Had Built Control Arms & Sway Bar Upgrade2


Ford Maverick P.S.I.Clone - The ST We Wish Ford Had Built Control Arms & Sway Bar Upgrade3
 
OP
OP
WannabeST

WannabeST

2.0L EcoBoost
Well-known member
First Name
Greg
Joined
Jan 9, 2024
Threads
4
Messages
58
Reaction score
131
Location
Georgia
Vehicle(s)
2024 Ford Maverick, 2006 Mazda Miata
Engine
2.0L EcoBoost
I got the truck aligned on Thursday. The combination of a proper alignment and the Goodwin sway bar make the truck handle better than I thought was possible. WOW!

Today I installed the eBay "AD Style" from lip; ablatant copy of the Air Designs unit that is 3 pieces instead of one. I'm not proud of this purchase, but it was $120 to my door instead of the nearly $500 (with shipping) that Air Designs wants.

I accidentally ordered a gloss back unit instead of matte back one, so I sprayed it with some texture spray prior to installation so it would more closely match the factory black trim. I think it came out pretty good.

I also finally wired up the paddle shifters on my euro focus ST steering wheel. I'm happy to say that they actually work! The bad news is that my Forscan cable appears to be hot garbage so I need to remedy that so I can make the necessary software changes to the truck to see what gear I'm in while using the paddle shifters. I posted a thread in the Forscan section of the forum hoping to get some guidance.

One VERY impotant thing that I learned while wiring up the paddles is that it's almost impossible to insert the pins into the ECU connector unless you first release the gray block on the face of the connector where it goes into the truck. I used to straight pins to disengage the tabs on the sides and pick tool to lift up on the face of the connector. After you put the pins, push the gray block (face of the connector) back down to lock them in place. Took me longer than I's like to admit to figure this out. LOL

Next up, I'll be color matching my door handles.

Ford Maverick P.S.I.Clone - The ST We Wish Ford Had Built eBay Lip1


Ford Maverick P.S.I.Clone - The ST We Wish Ford Had Built ebay Lip2


Ford Maverick P.S.I.Clone - The ST We Wish Ford Had Built eBay Lip3


Ford Maverick P.S.I.Clone - The ST We Wish Ford Had Built ebay Lip4
 
OP
OP
WannabeST

WannabeST

2.0L EcoBoost
Well-known member
First Name
Greg
Joined
Jan 9, 2024
Threads
4
Messages
58
Reaction score
131
Location
Georgia
Vehicle(s)
2024 Ford Maverick, 2006 Mazda Miata
Engine
2.0L EcoBoost
Finally got the correct Forscan cable and was able to make some ECU changes. I now have the Ford Performance speedo, ST splash screen, and gear indicator enabled. Looking forward to making more changes in the future.

I also found a YouTube video that explains how to the use Forscan to the bleed the brakes via the ABS pump. That's going to come in handy in the future.

Last but not least, I discovered Forscan can also be used on Mazdas. I'll finally be able to program another key for my 2006 Miata without having to pay the dealership a ridiculous amount of money (about $400).
Sponsored


Top