
- First Name
- Mark
- Joined
- Oct 7, 2021
- Threads
- 17
- Messages
- 179
- Reaction score
- 492
- Location
- Carthage NC
- Vehicle(s)
- 2025 XLT Maverick hybrid AWD, 4K tow, 2019 Ranger
- Engine
- 2.5L Hybrid
- Thread starter
- #1
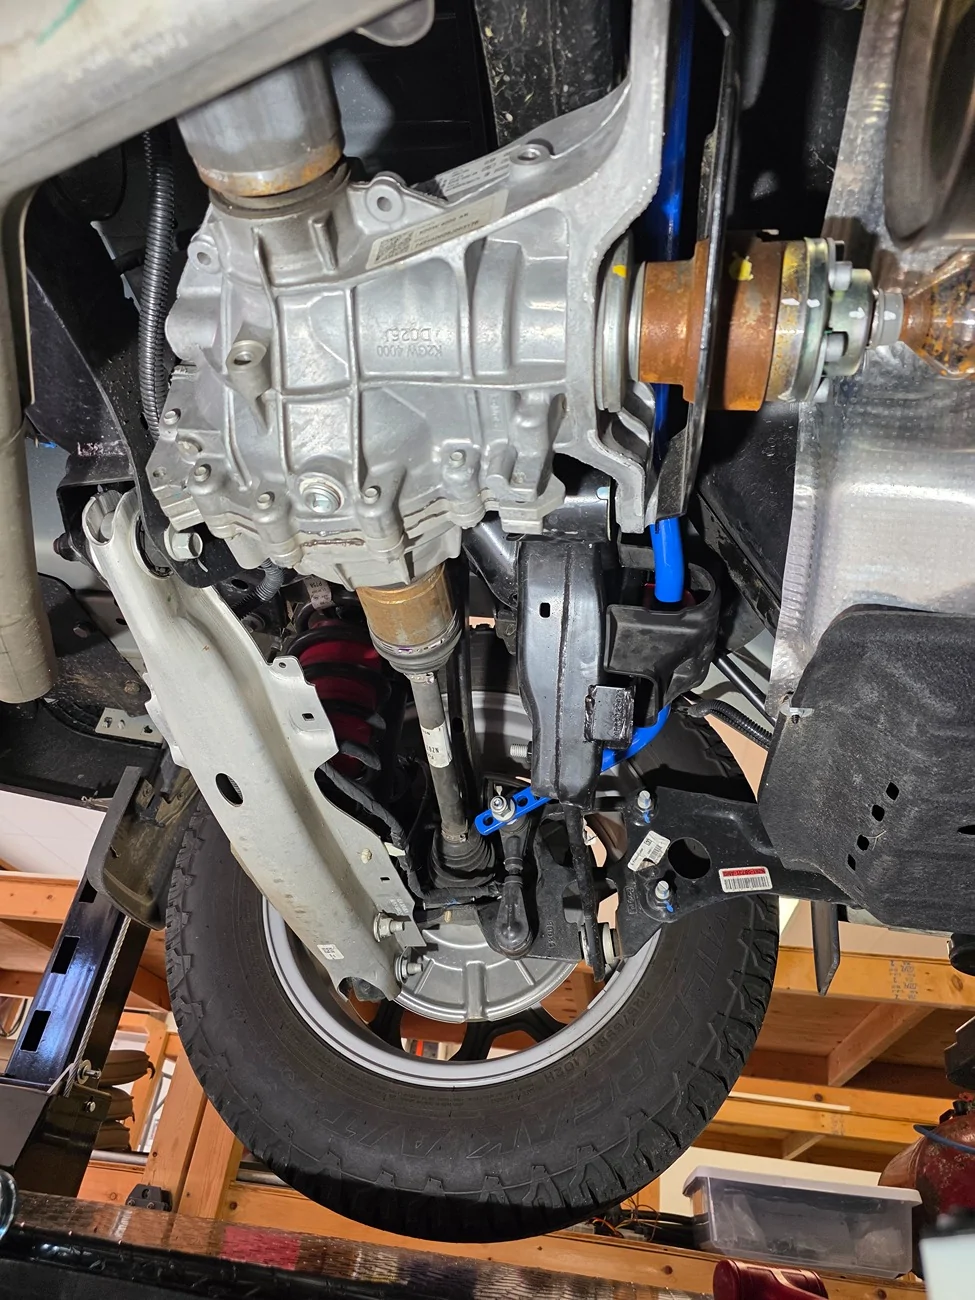
So I got my Steeda sway bar for an early Christmas gift from my wife. The Steeda site says this sway bar only applies to 2.0L AWD mavericks, as they haven't got their hands on a 25 AWD Maverick yet. Here is proof that it does fit the Hybrid AWD's also.
Even though this Steeda bar is almost 1mm smaller than the stock sway bar, it is substantially stiffer. The stock hybrid AWD sway bar has the same Ford part # as the Lobo sway bar BTW.
It's been posted that the stock sway bar can be removed by dropping the exhaust system, suspending the rear suspension and removing a tire. I found that not to be the case. It may have been possible if I was willing to scratch the hell out of the underside or possibly bending some heat shields (I was not), so I ended up cutting the stock sway bar to get it out. The problem is that the stock sway bar has the bushings and mounting bracket bounded to the sway bar. I first tried cutting it with a Sawzall, but the blade just bounced off the metal and barely left a scratch. I ended up cutting it with a plasma cutter.
The new Steeda sway bar slid into place without much issue, as the bushings and bracket are separate parts.
It's VERY important to lube the inside of the bushings with the included pre lube, or it will squeak like hell (ask me how I know).
I first installed the end links in the outer most holes, as I had a brain fart and was thinking that was the stiffer setting. Even at that setting, it is still stiffer than the stock bar, as I realized after my first test drive. After I came to my senses and then moved the links to the center holes, I found the setting to be PERFECT for my liking.
At this setting, the truck is about as close to neutral in handling as one can get with stock sized tires. 270 deg off ramps and traffic circles (round abouts) are actually fun now. In my test, I pushed it until I got tire squill, and it was hard to tell for sure, but I think the rear tire squalled first, this is just how I want it.
As a note, I carry hundreds of pounds of tools and equipment in my bed all the time, much of the weight is back near the tail gate. A empty bed may or may not have a different result.
Also note that you really should keep a selection of those plastic push pins on hand when you are working on these things, as I promise you that you will NOT be reusing the push pins that hold on the rubber guard over the drivers side bushing bracket. My guess is that this is a crash guard, helping to control impact damage to the fuel tank during a rear end collision.
Sponsored
Last edited:

")