- First Name
- Josh
- Joined
- Feb 6, 2024
- Threads
- 0
- Messages
- 20
- Reaction score
- 9
- Location
- Pittsburgh
- Vehicle(s)
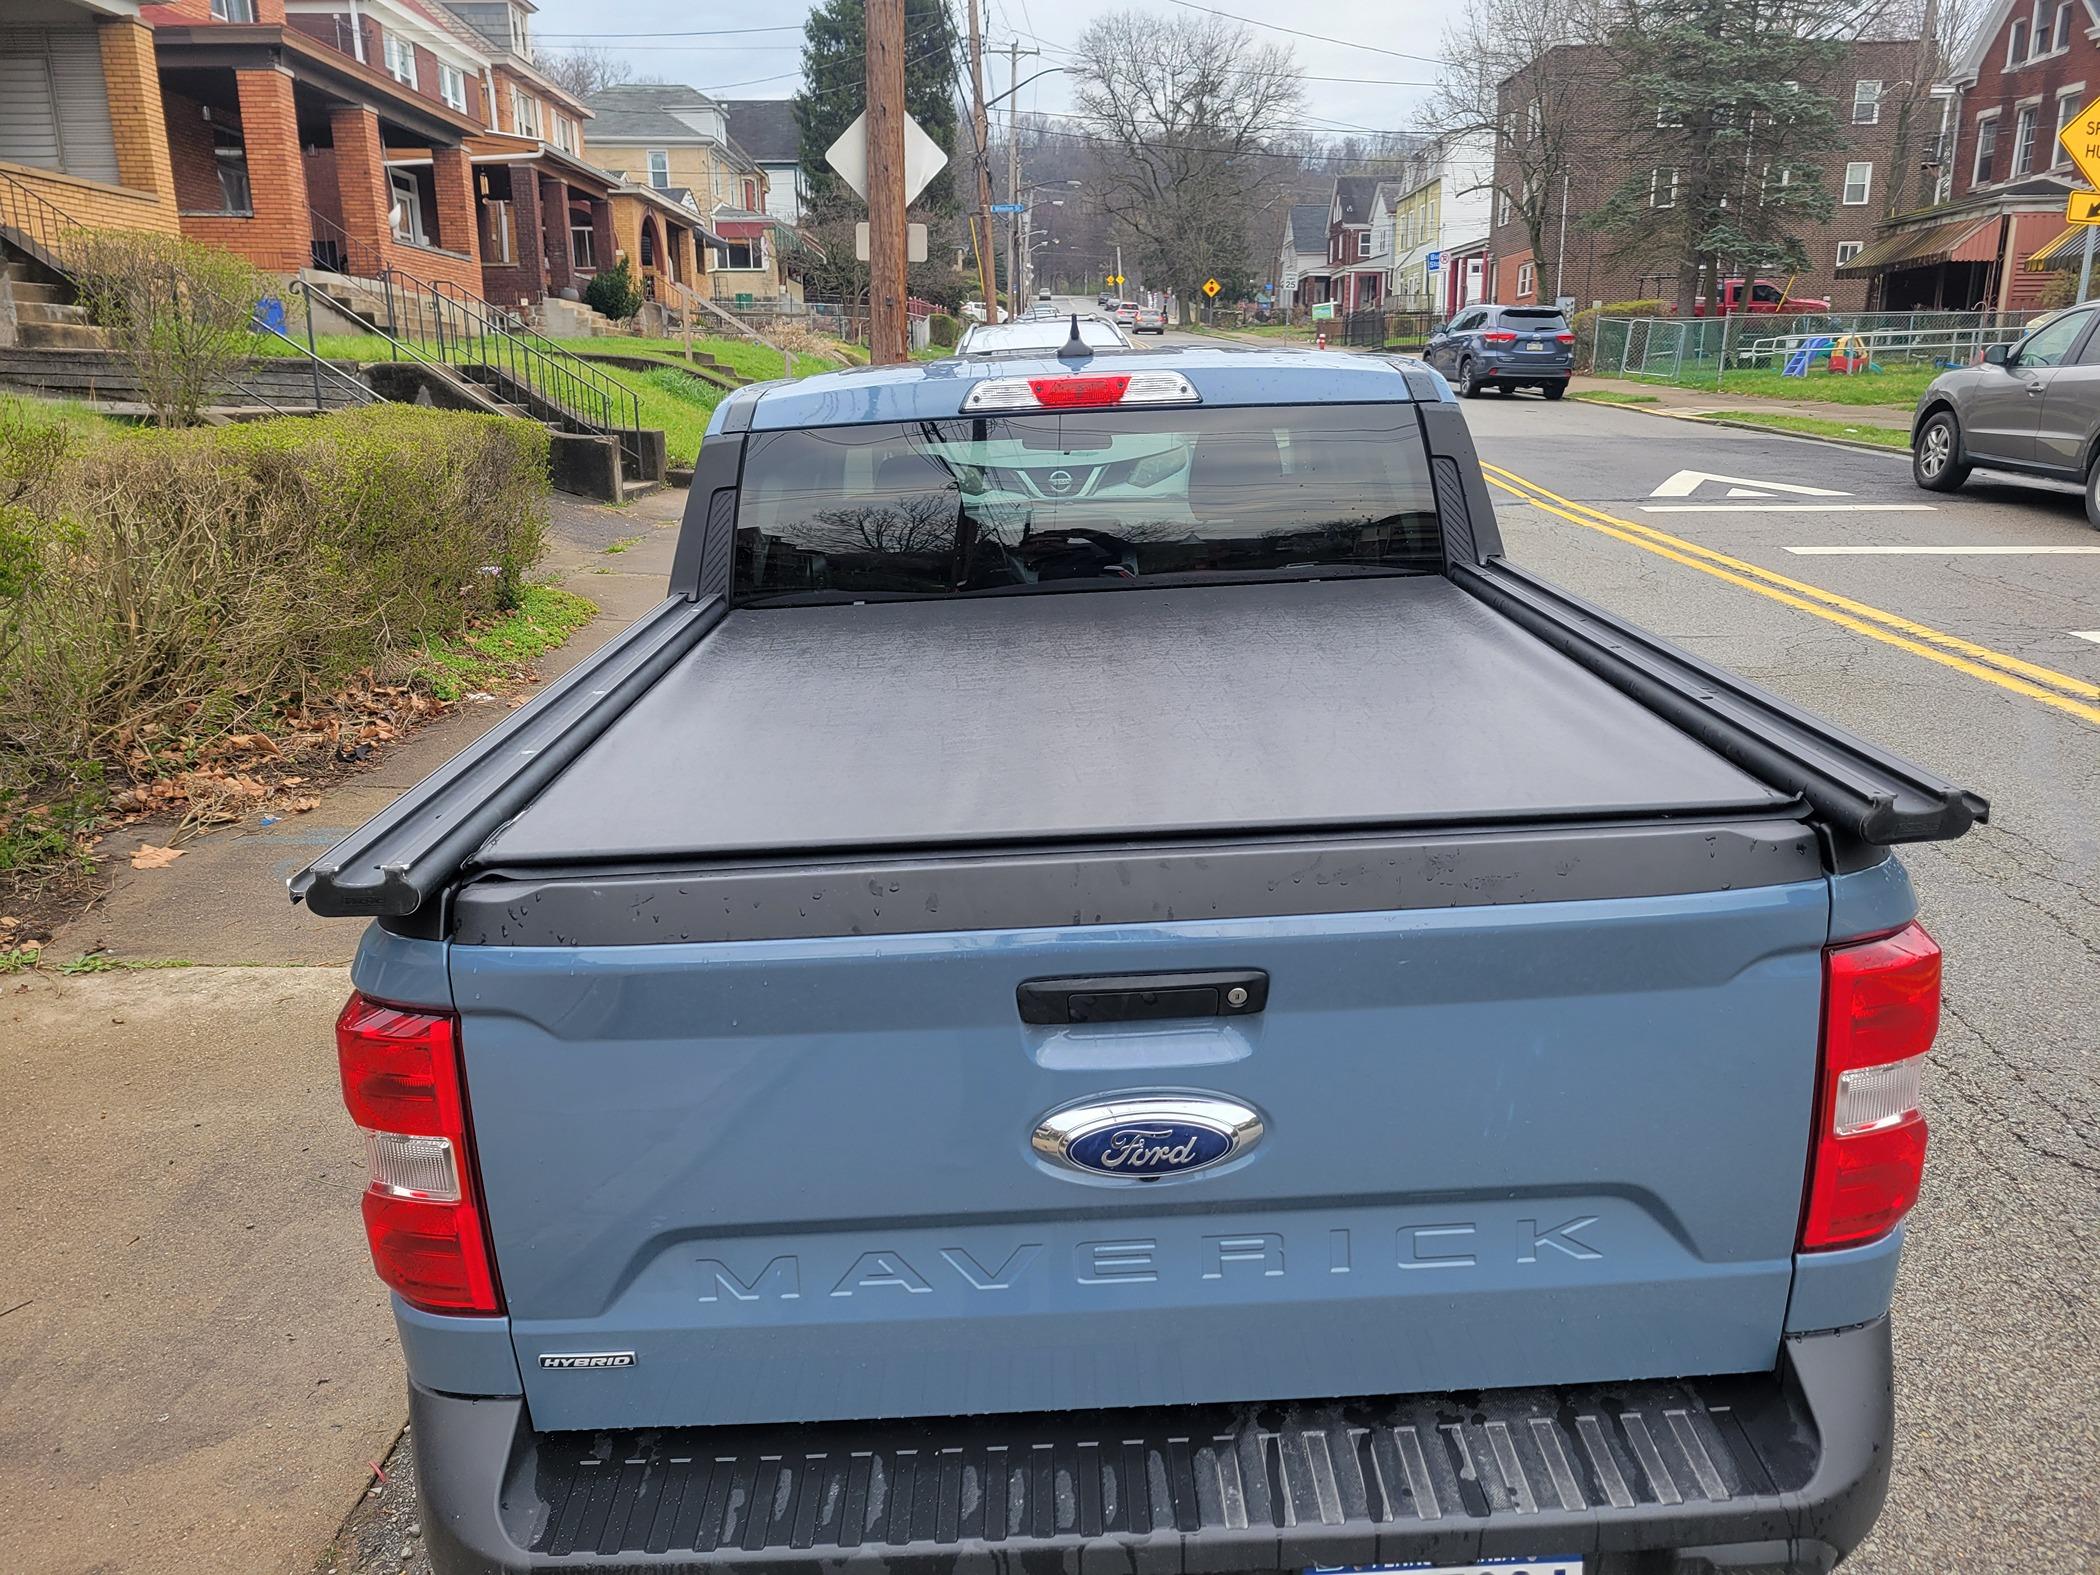
- 2024 Maverick XLT
- Engine
- 2.5L Hybrid
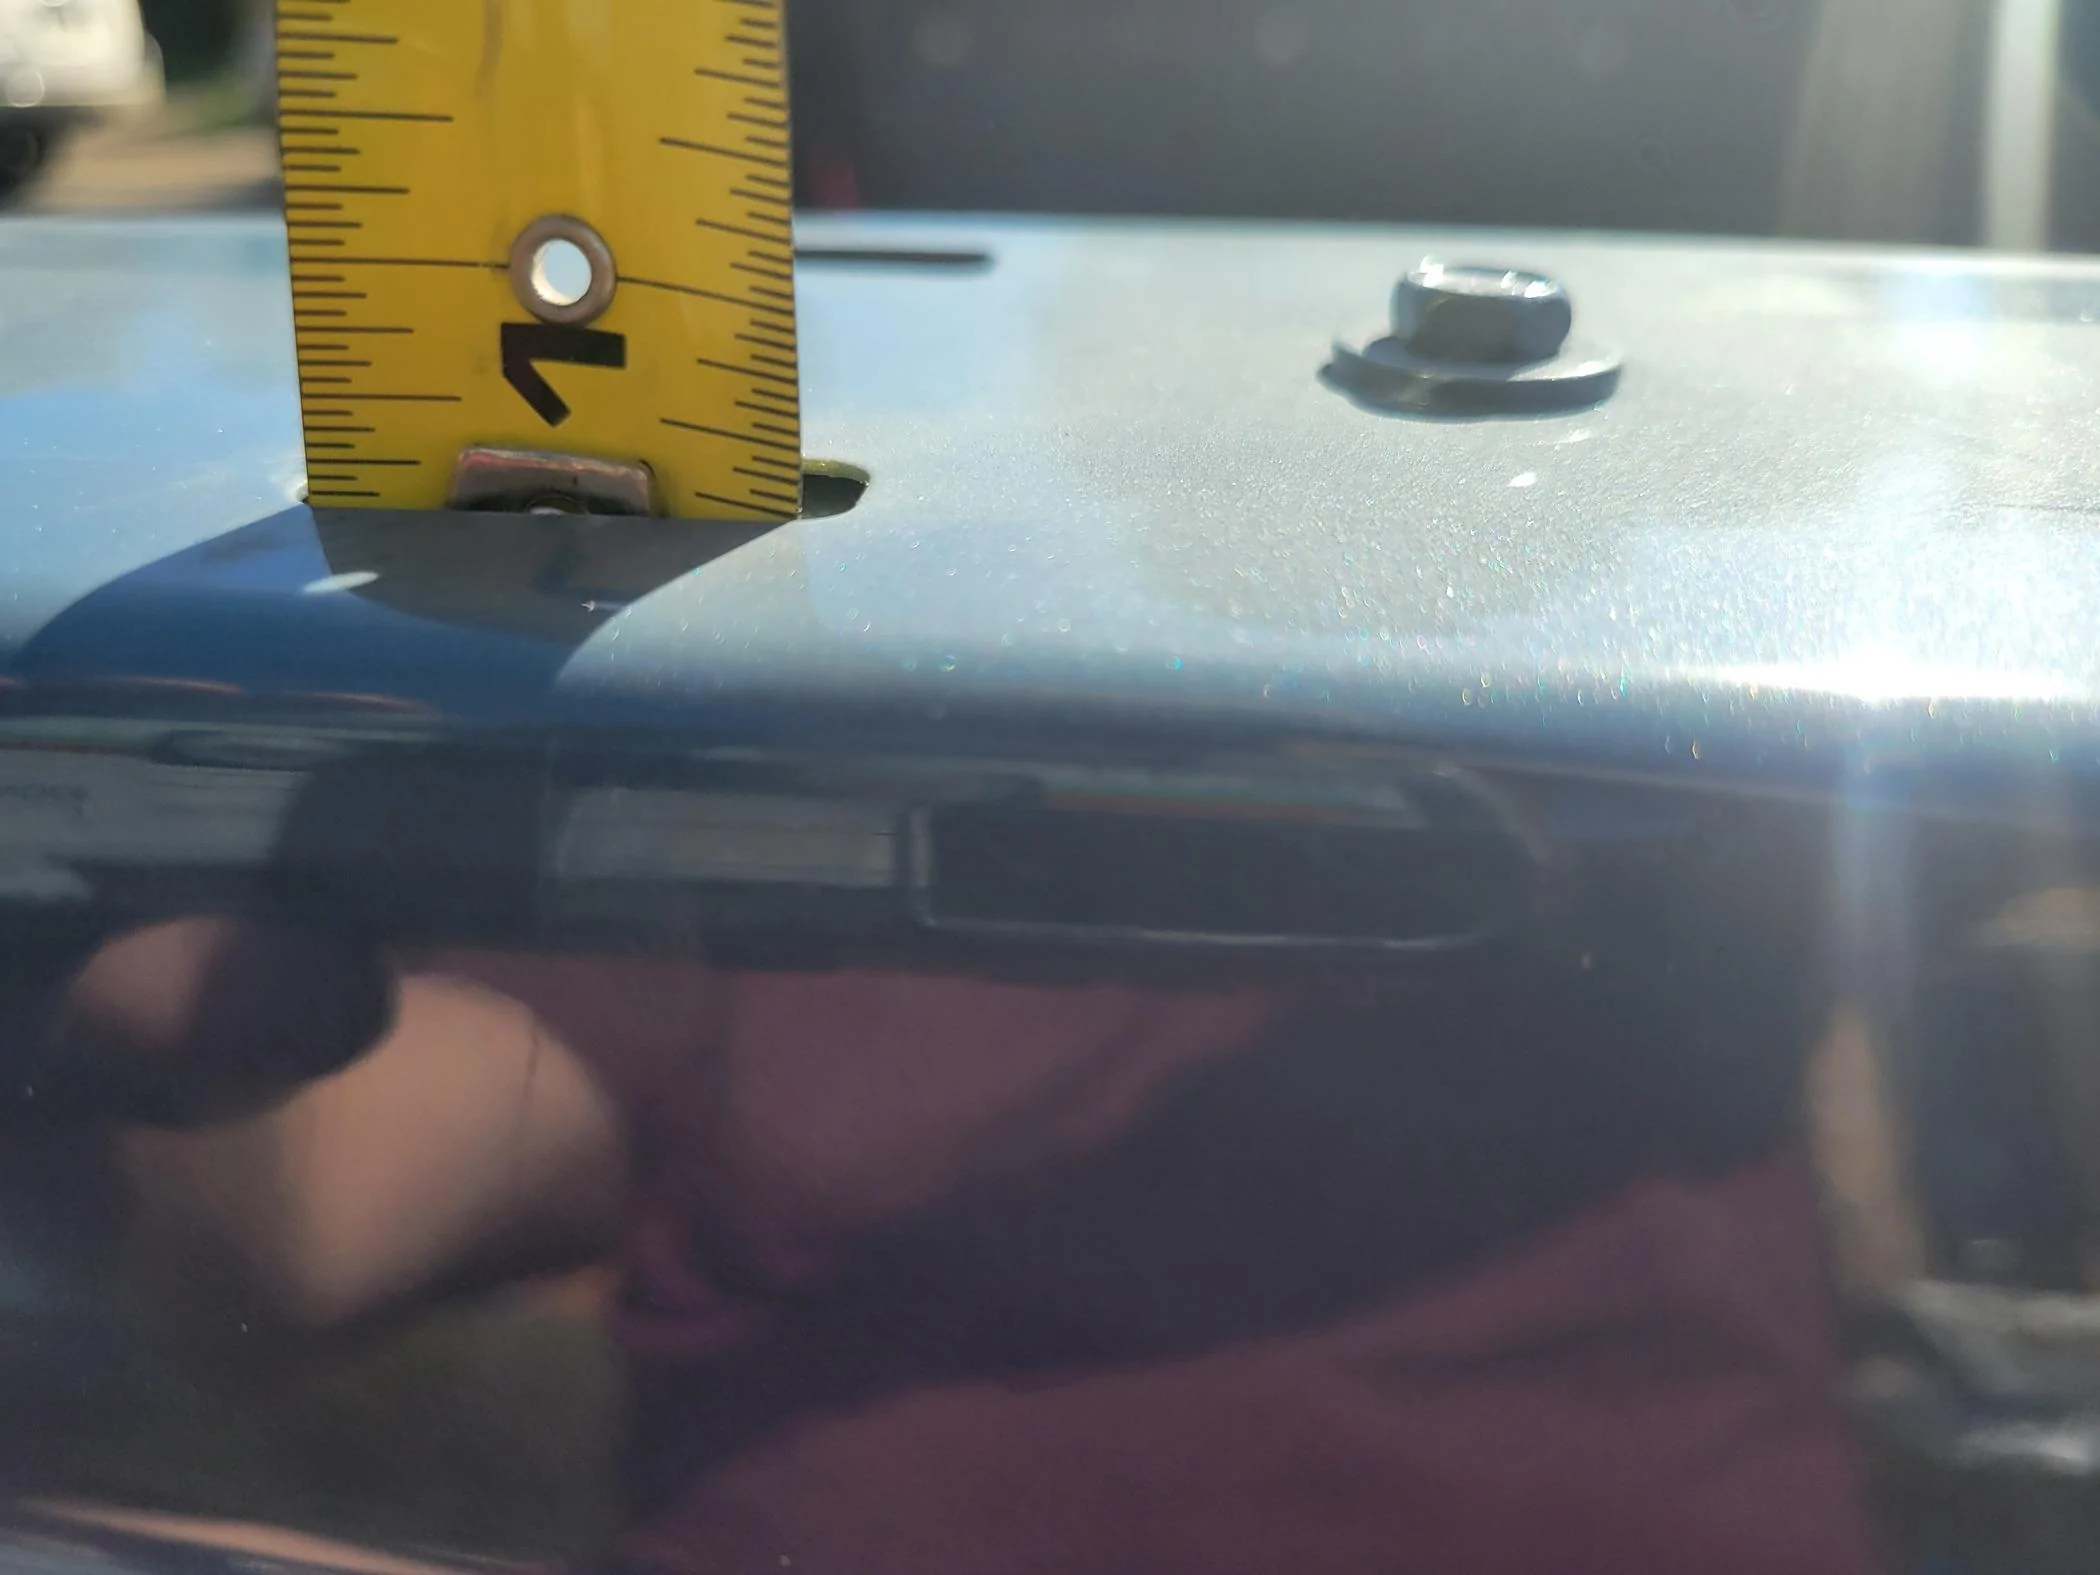
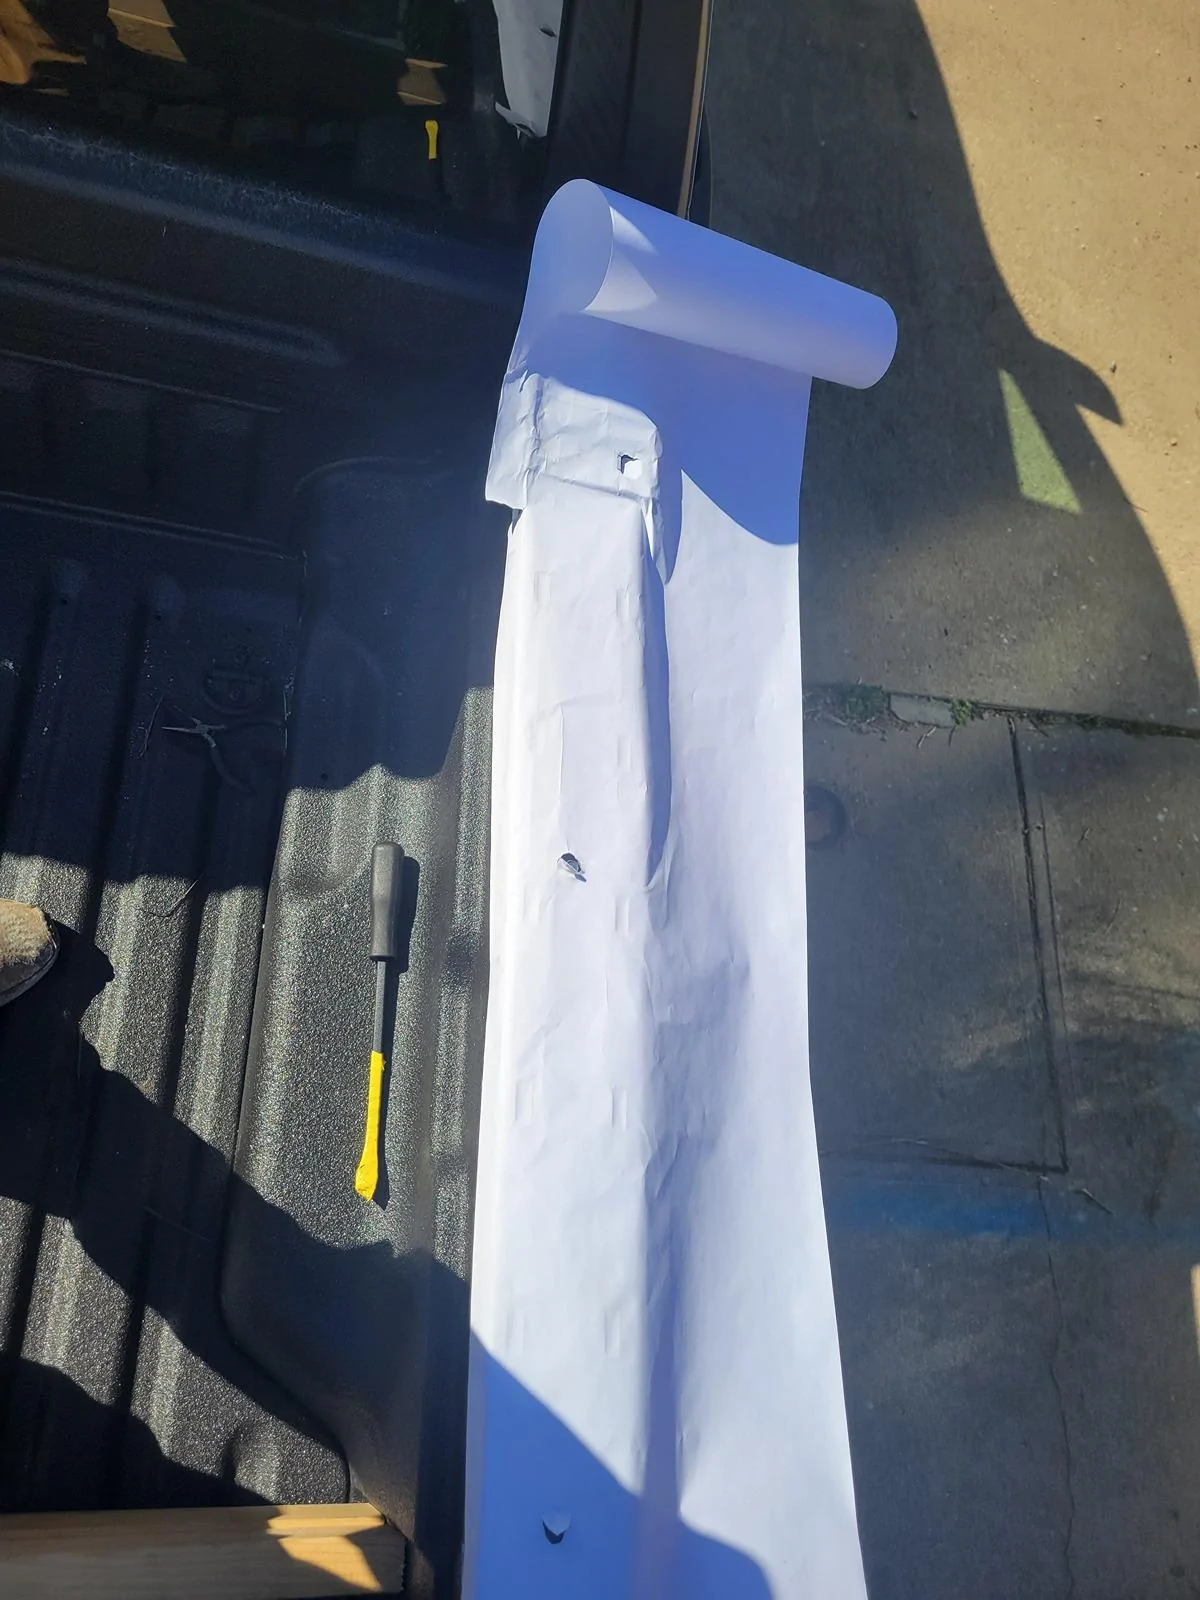
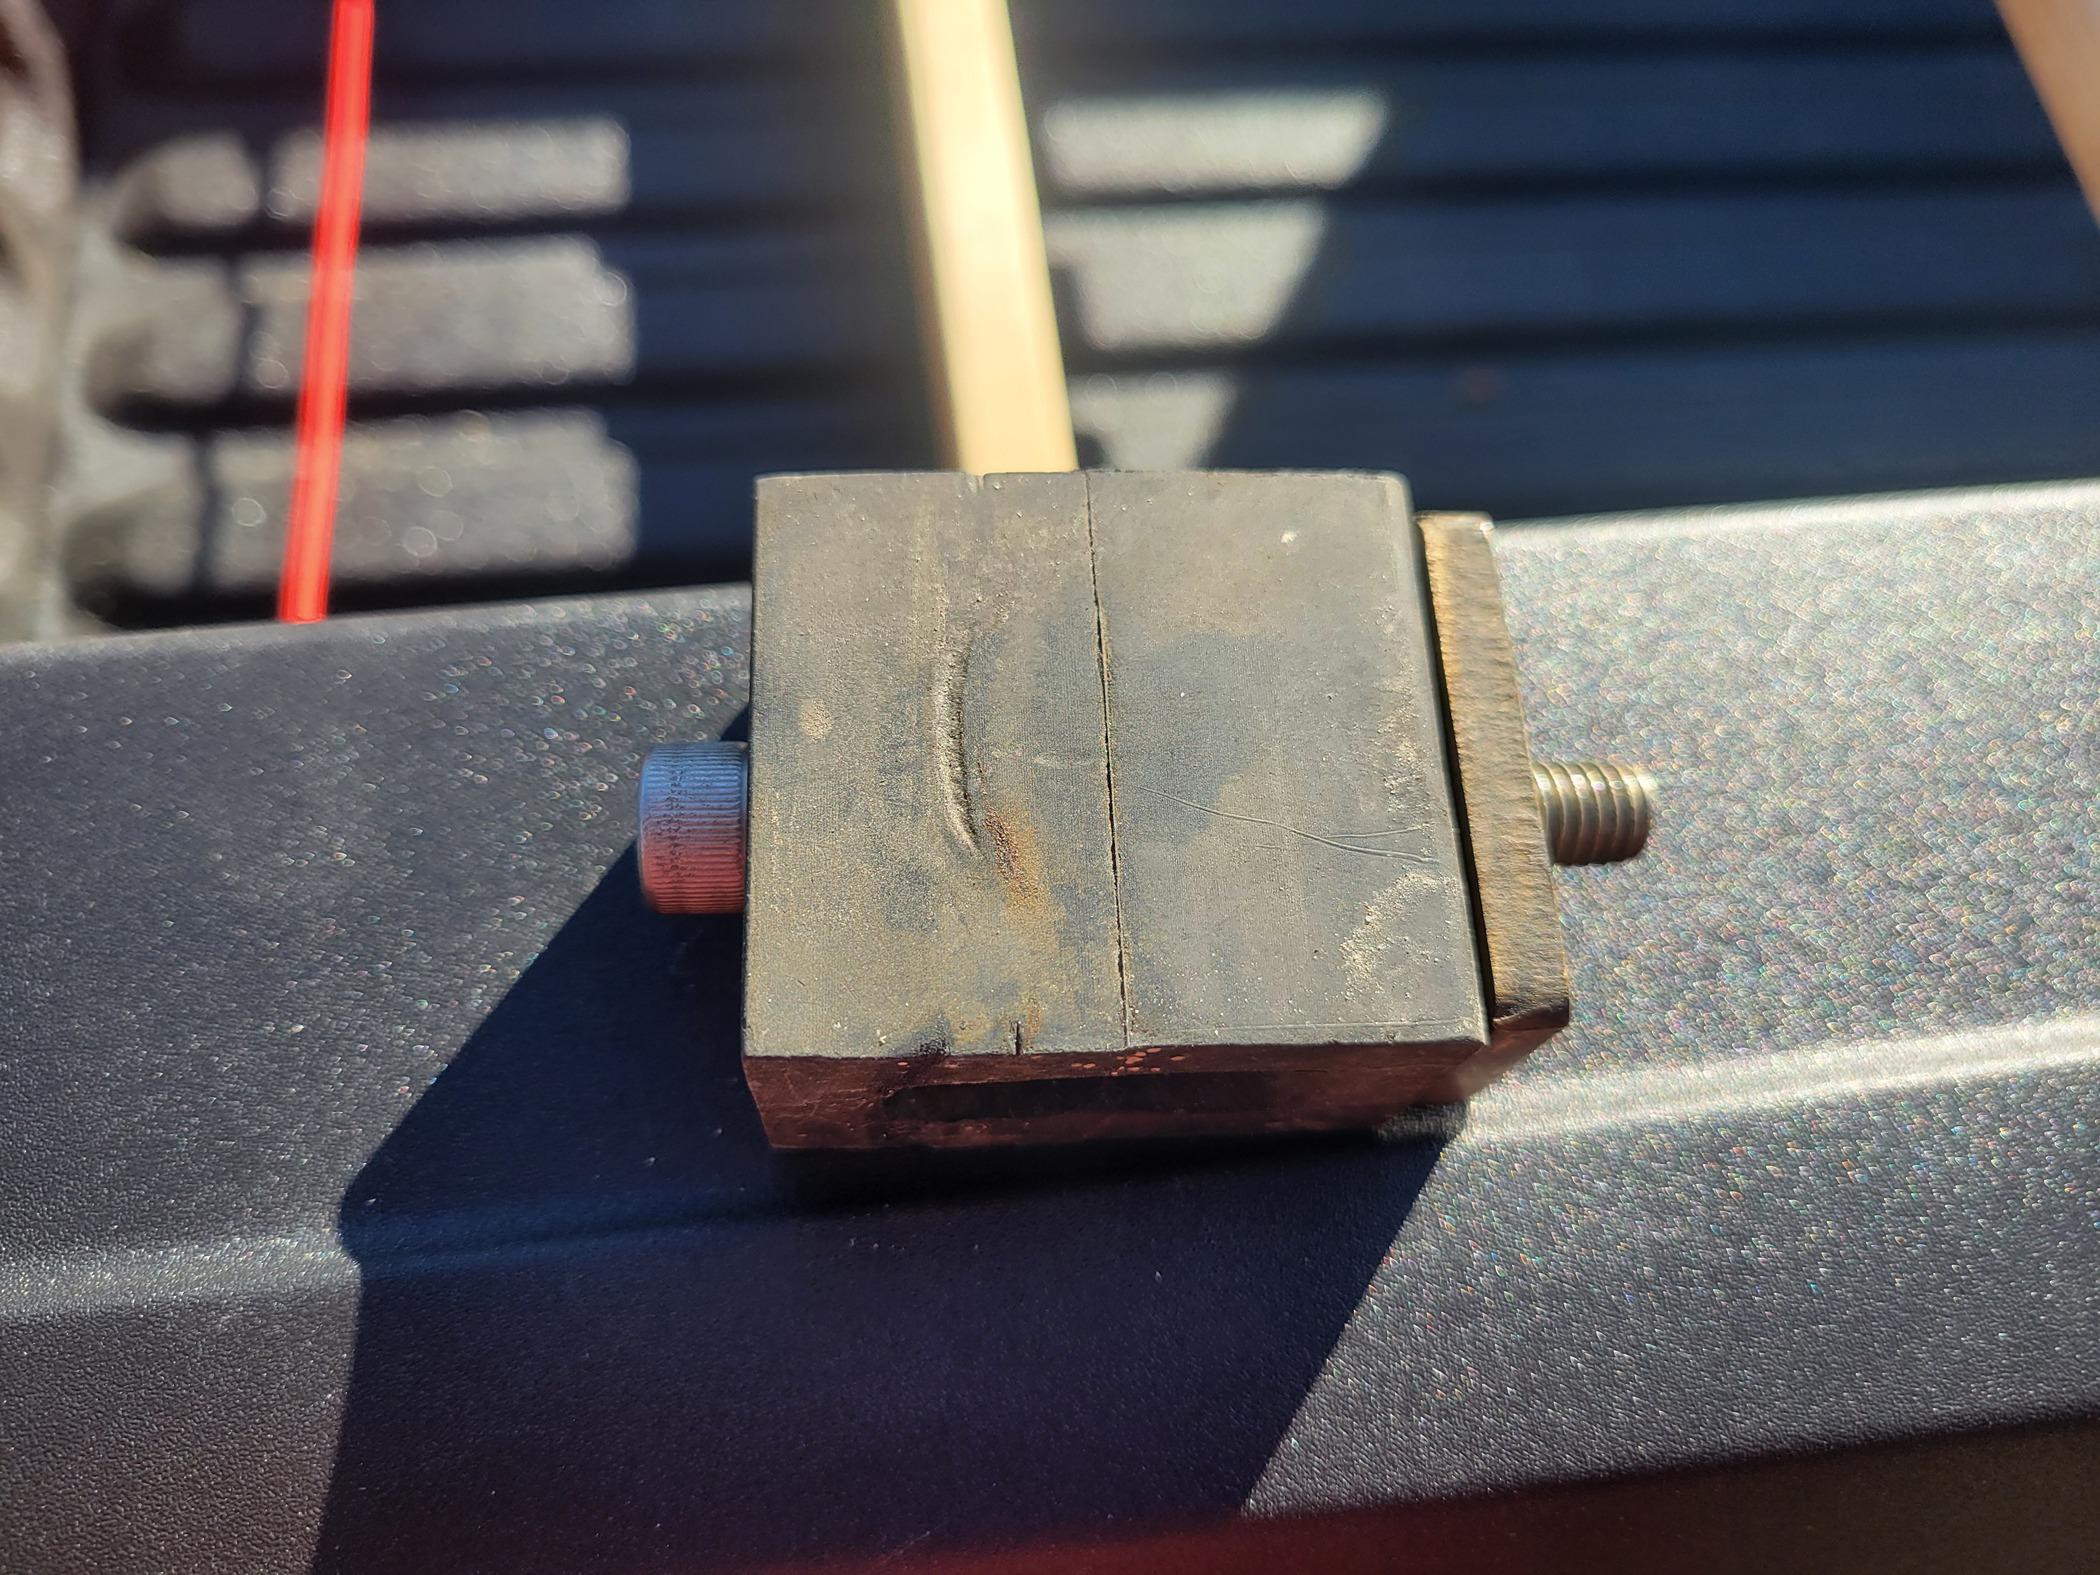
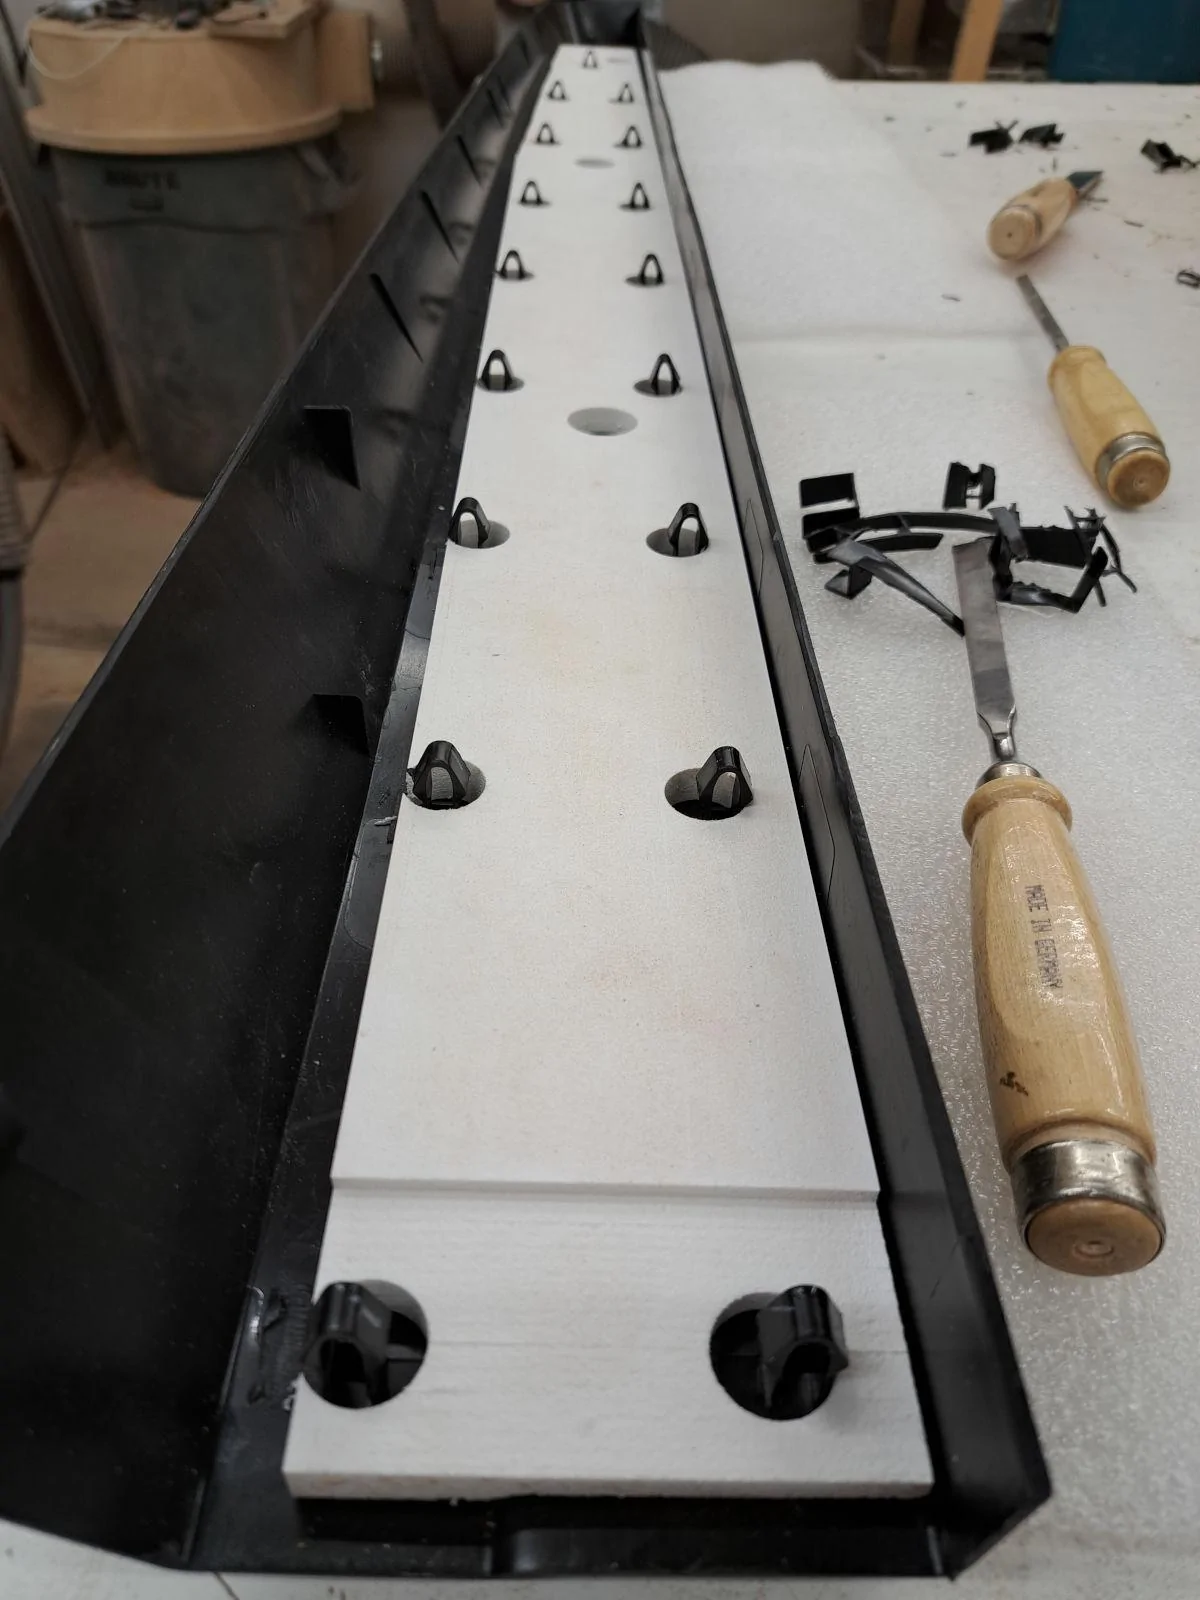
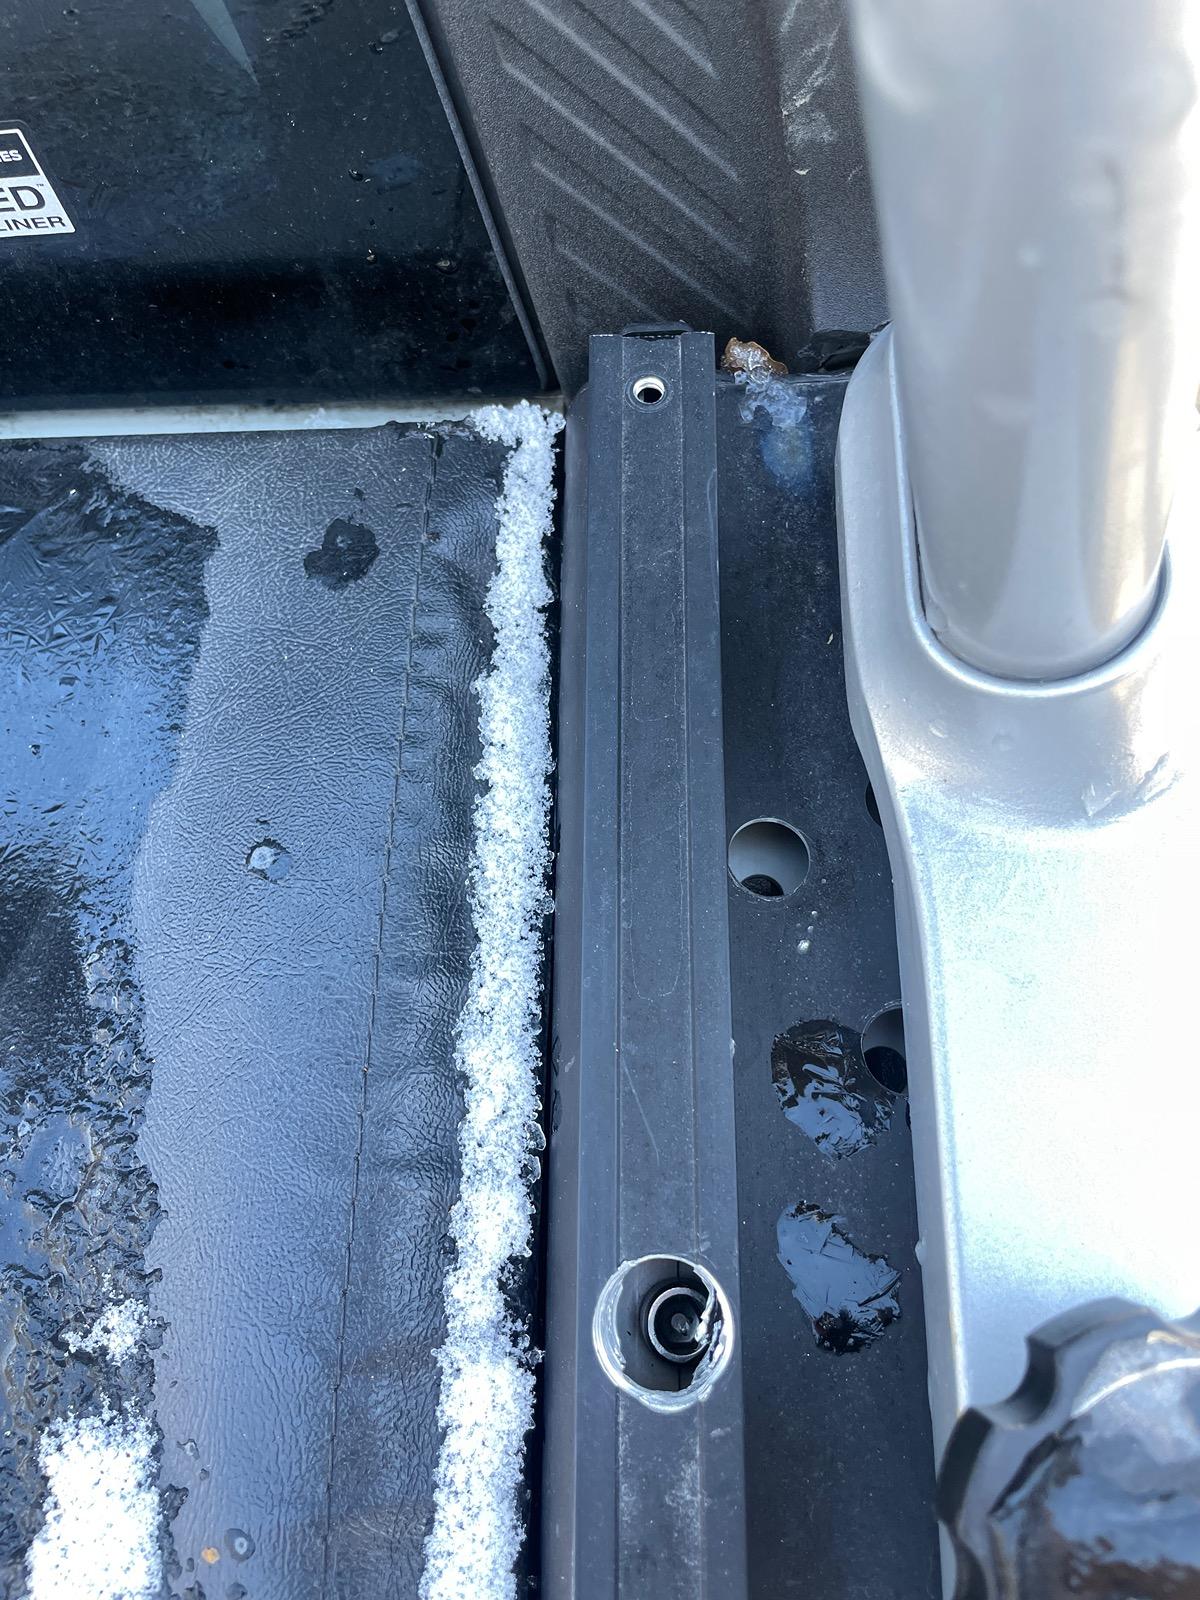
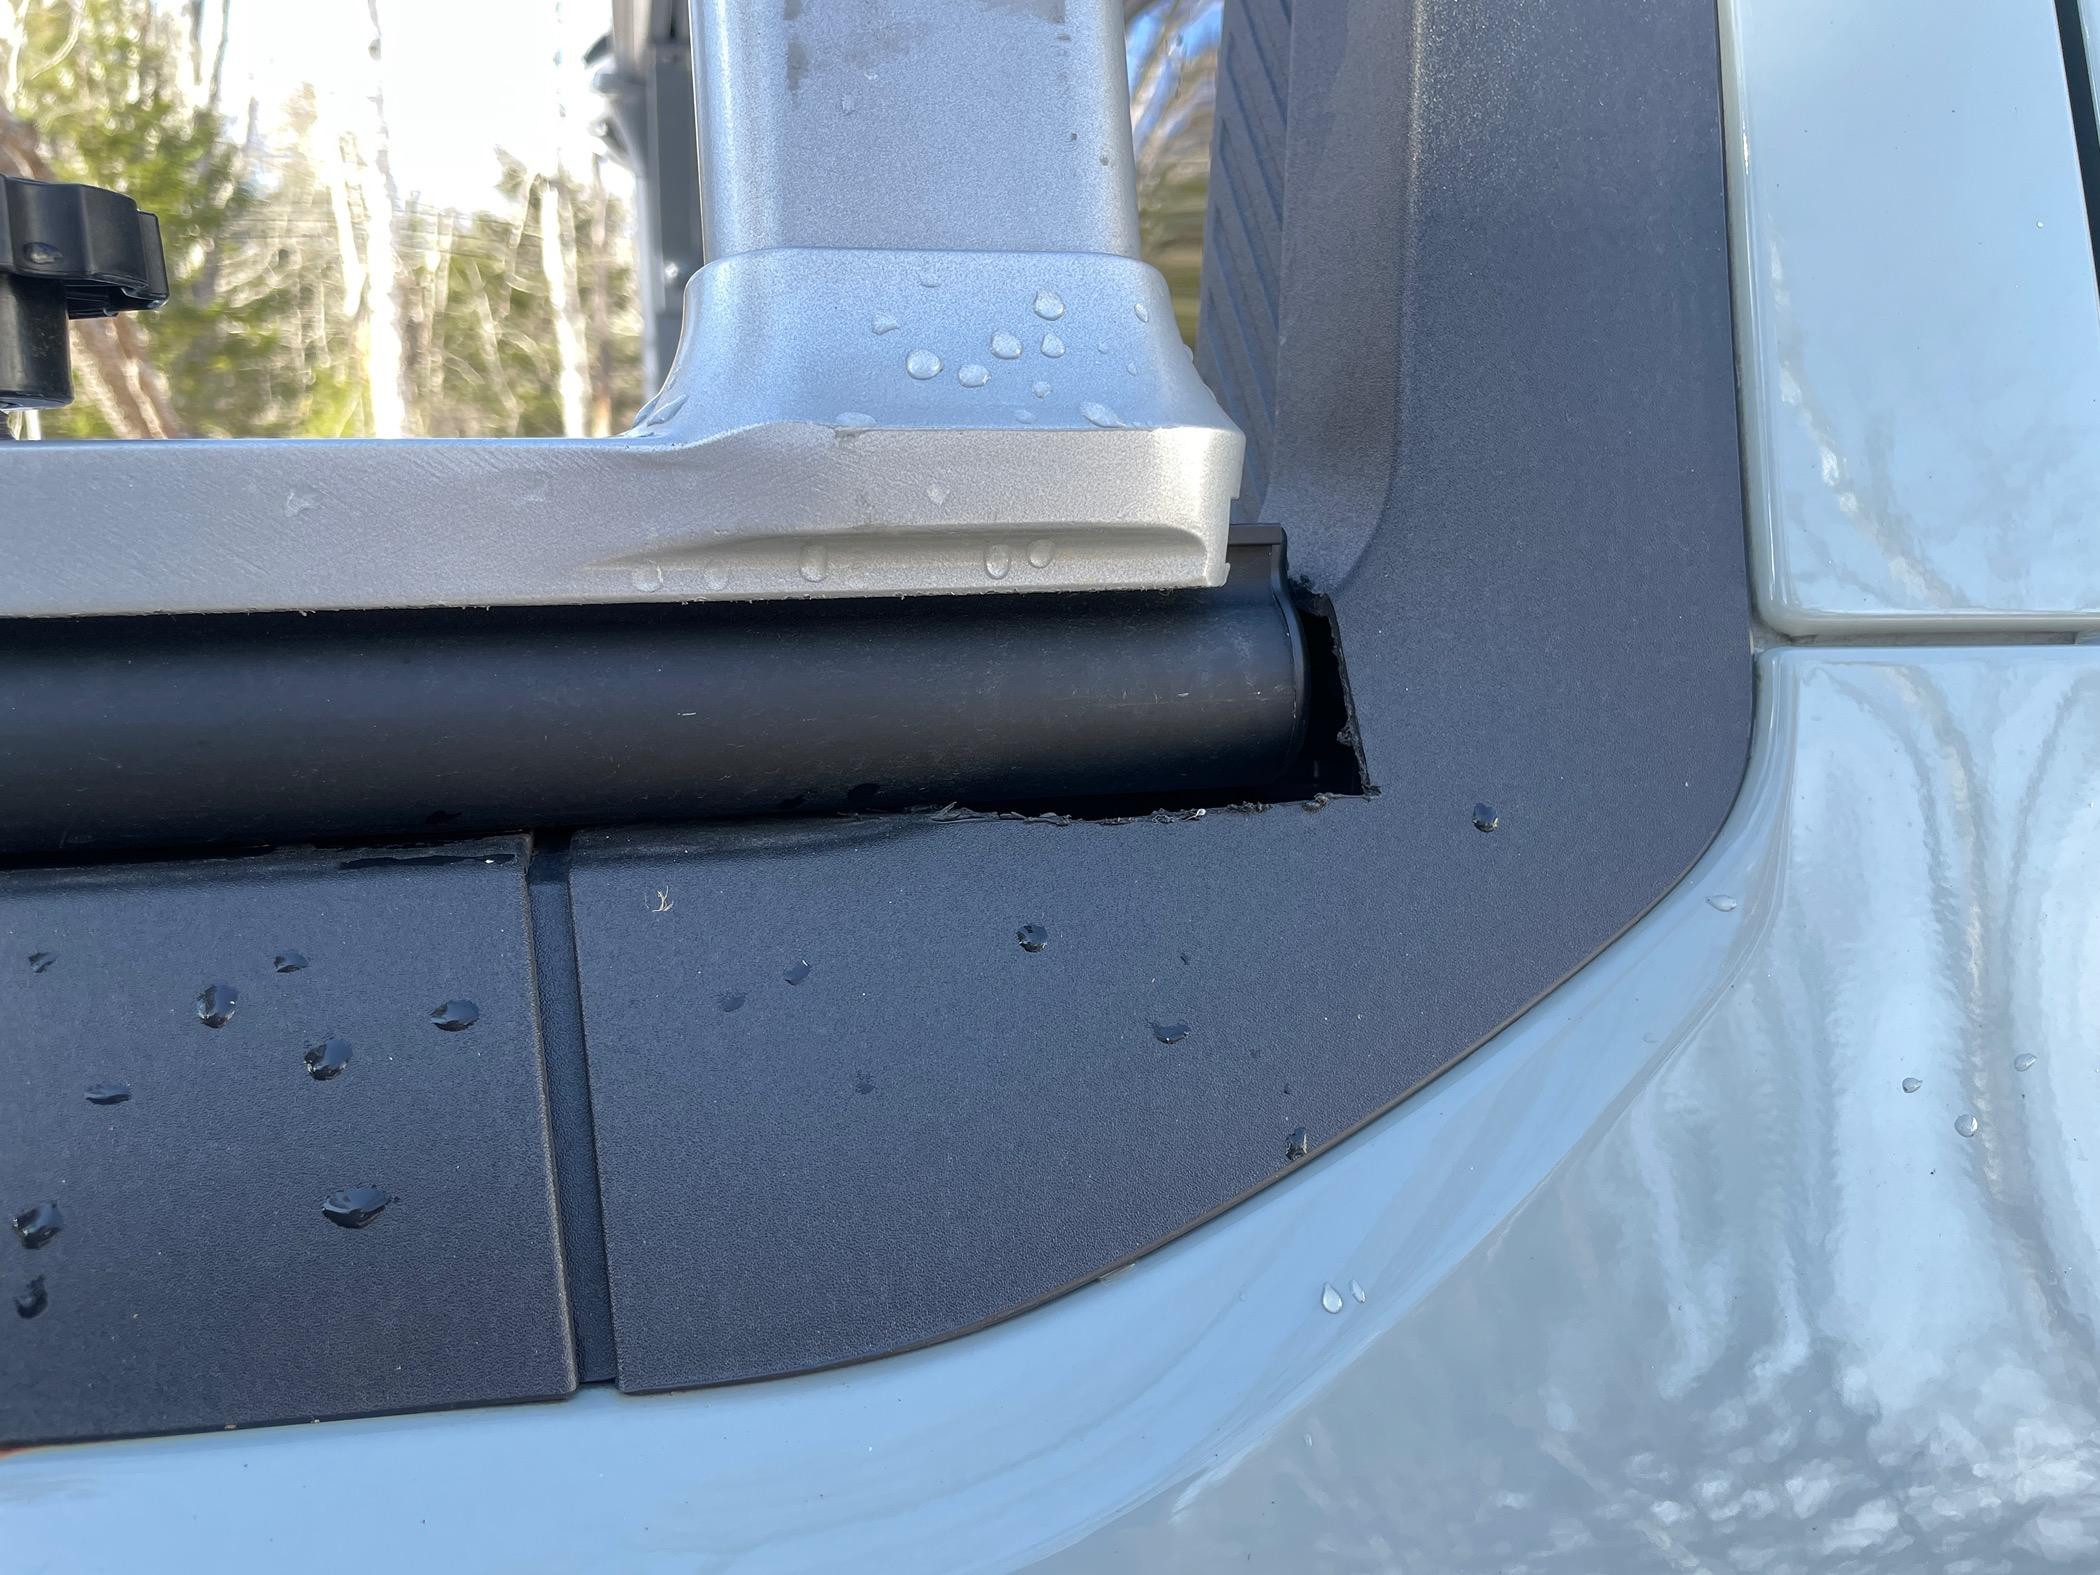
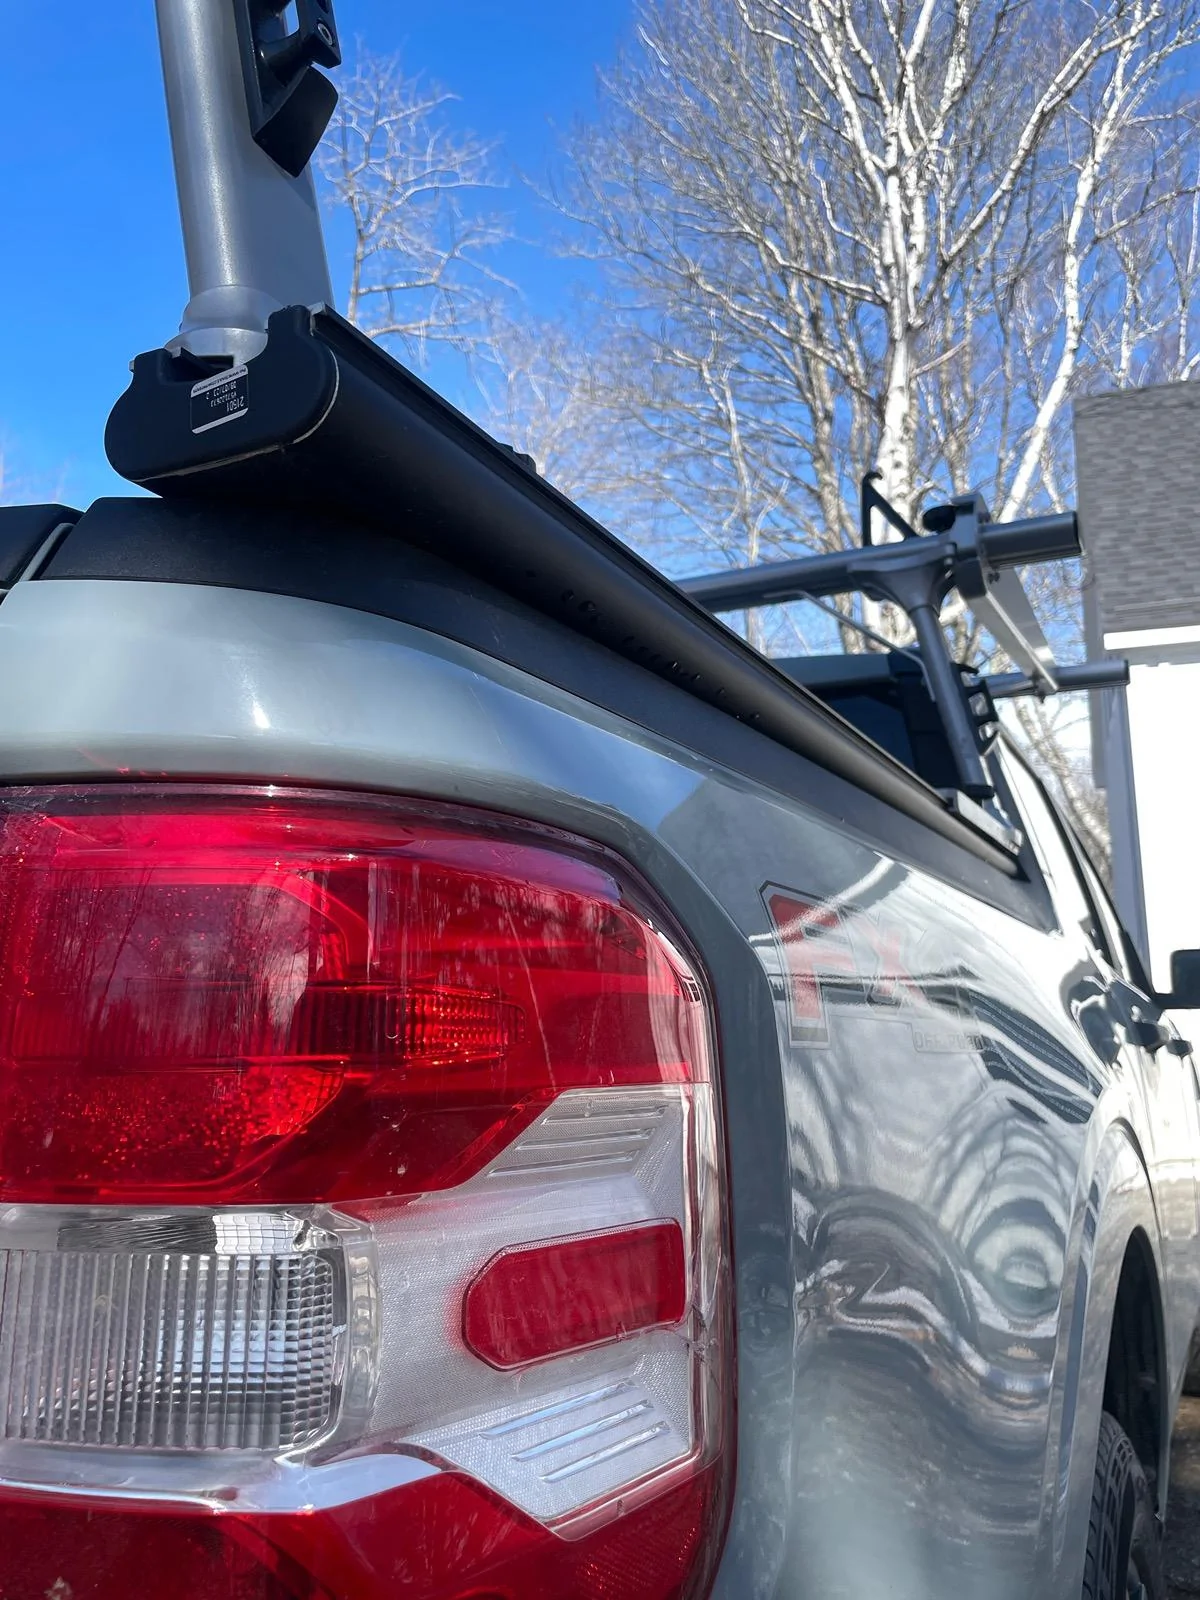
I know this thread has been sitting a while, but I am very interested in more details on attaching the rails if you can provide.
Have a shot at one of these systems used for about half pirce. Having trouble getting my head around what you drilled and what plastic you trimmed on the Mav, and want to evaluate that before dropping the cash if possible. Thanks!
Have a shot at one of these systems used for about half pirce. Having trouble getting my head around what you drilled and what plastic you trimmed on the Mav, and want to evaluate that before dropping the cash if possible. Thanks!
Sponsored

")