
- First Name
- Greg
- Joined
- Oct 12, 2023
- Threads
- 1
- Messages
- 27
- Reaction score
- 69
- Location
- Driftless Area - Beautiful Wisconsin
- Vehicle(s)
- 2023 Mav XLT LUX Blackout Cactus 2.0L AWD Tow Pack
- Engine
- 2.0L EcoBoost
- Thread starter
- #1
Here is a simple, easy little idea that I tried and found helpful on my Maverick, and maybe someone else could use as well. This of course is not my idea, but an adaptation of something done years ago.
When I finally got my Maverick, it took time getting used to all the information on the screens and dash vying for attention, and many controls and their locations.
My daily driver has been a Focus, and has control buttons in the steering wheel for cruise, etc, that are not lighted, so Ford molded tactile "braille" like bumps on the central buttons on the wheel so they can be found without being able to see them. My wife and I often drive distances in the dark, and I frequently use the up and down volume controls on my Maverick wheel as we go and talk. They are lit, but you pretty much have to look down from the road every time to find them - at least I did. So I got the idea to try adding some small bumps on the commonly used switches so I could find them just by touch and keep eyes on the road, day or night.
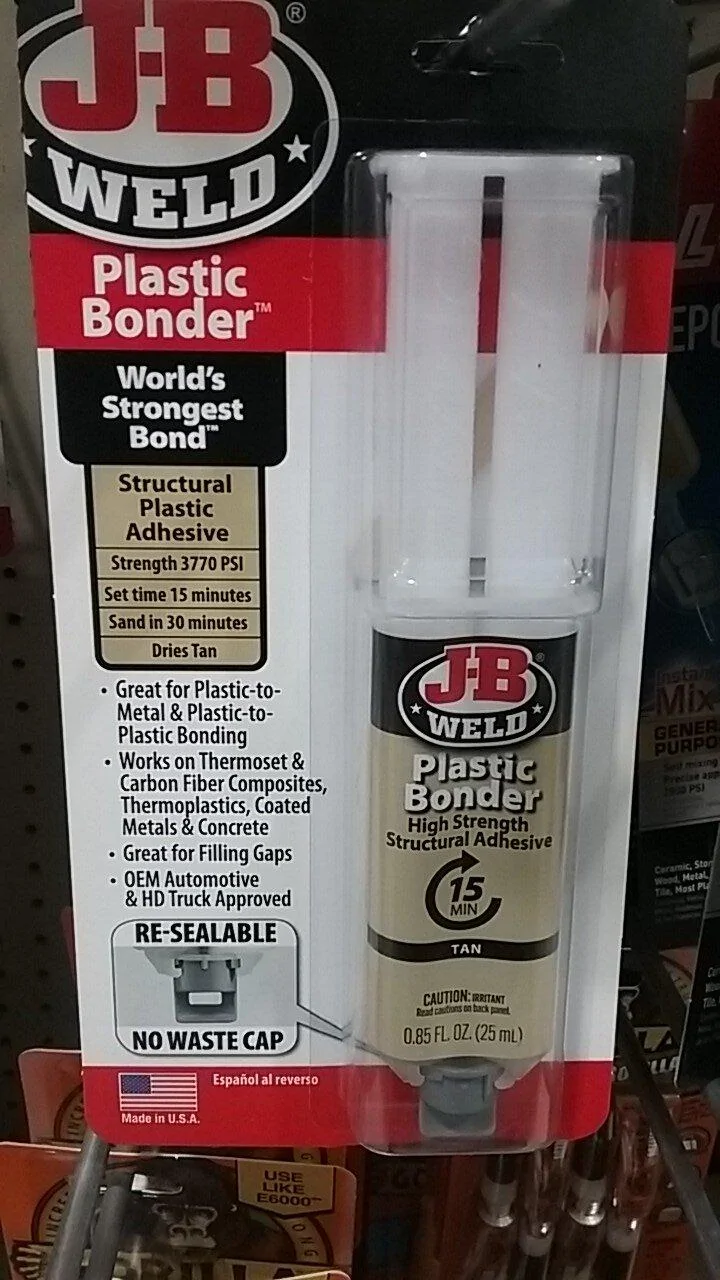
I had a partial tube of JB Weld plastic bonder epoxy on hand, so I mixed some and used a toothpick to add a couple of small bumps about the size of a pin head on the volume controls (see photo below). I didn't even take the switches off the wheel to do it - I just dabbed some on the wheel switches right in the truck until it looked about the right size and let it sit overnight. It didn't sag, and formed a perfect bead. Keep a piece of paper towel handy in case you don't like how they are going on, and just wipe them off and try again.
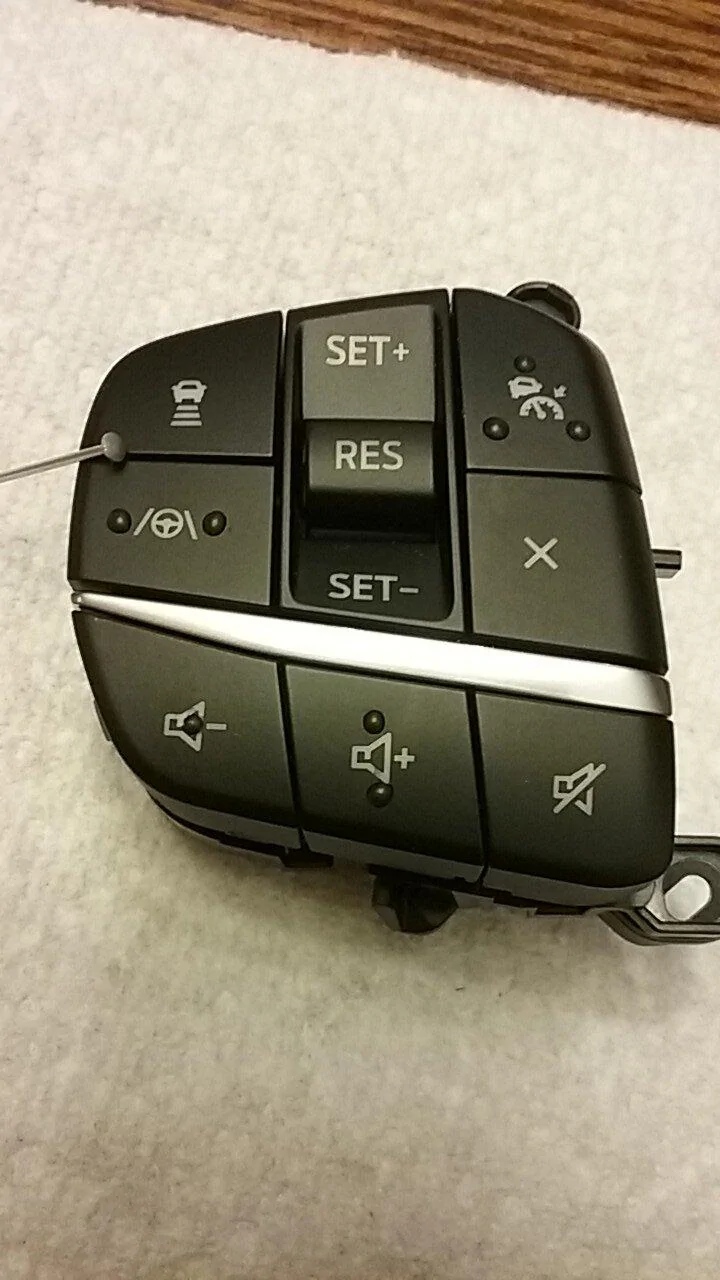
I put one dot on the volume down, and two dots on the volume up. I worked perfectly for me to find the buttons with my thumb and keep watching the road. I found that keeping around 1/4" spacing on the beads let me easily feel the difference and find the one I want. I didn't find the size of the bumps to be critical, just so they are large enough to feel easily. I also tried to avoid the lit volume icons on the switches.
It worked well, so when I upgraded the left wheel switch assembly, I took the idea farther and added some new patterns to mark more controls. I didn't have any of the JB Weld product left, so I went to the hardware store (they didn't carry the JB Weld) and bought some Permatex equivalent product, and it didn't have the same viscosity or surface tension to form beads. I went back and got the Loctite equivalent, and it didn't make decent beads either. So stick to the JB Weld product and you will have good results. There is nothing wrong with either alternate product to bond plastic, just not for beads!
I'm a bit surprised that Ford engineers that just do controls for a living don't think about little things like this. The control button faces should be simple open-and-shut molds that can pull these bumps without any additional cost to the molded button faces. Hmmm.
When I finally got my Maverick, it took time getting used to all the information on the screens and dash vying for attention, and many controls and their locations.
My daily driver has been a Focus, and has control buttons in the steering wheel for cruise, etc, that are not lighted, so Ford molded tactile "braille" like bumps on the central buttons on the wheel so they can be found without being able to see them. My wife and I often drive distances in the dark, and I frequently use the up and down volume controls on my Maverick wheel as we go and talk. They are lit, but you pretty much have to look down from the road every time to find them - at least I did. So I got the idea to try adding some small bumps on the commonly used switches so I could find them just by touch and keep eyes on the road, day or night.
I had a partial tube of JB Weld plastic bonder epoxy on hand, so I mixed some and used a toothpick to add a couple of small bumps about the size of a pin head on the volume controls (see photo below). I didn't even take the switches off the wheel to do it - I just dabbed some on the wheel switches right in the truck until it looked about the right size and let it sit overnight. It didn't sag, and formed a perfect bead. Keep a piece of paper towel handy in case you don't like how they are going on, and just wipe them off and try again.
I put one dot on the volume down, and two dots on the volume up. I worked perfectly for me to find the buttons with my thumb and keep watching the road. I found that keeping around 1/4" spacing on the beads let me easily feel the difference and find the one I want. I didn't find the size of the bumps to be critical, just so they are large enough to feel easily. I also tried to avoid the lit volume icons on the switches.
It worked well, so when I upgraded the left wheel switch assembly, I took the idea farther and added some new patterns to mark more controls. I didn't have any of the JB Weld product left, so I went to the hardware store (they didn't carry the JB Weld) and bought some Permatex equivalent product, and it didn't have the same viscosity or surface tension to form beads. I went back and got the Loctite equivalent, and it didn't make decent beads either. So stick to the JB Weld product and you will have good results. There is nothing wrong with either alternate product to bond plastic, just not for beads!
I'm a bit surprised that Ford engineers that just do controls for a living don't think about little things like this. The control button faces should be simple open-and-shut molds that can pull these bumps without any additional cost to the molded button faces. Hmmm.
Sponsored

")