- Thread starter
- #1
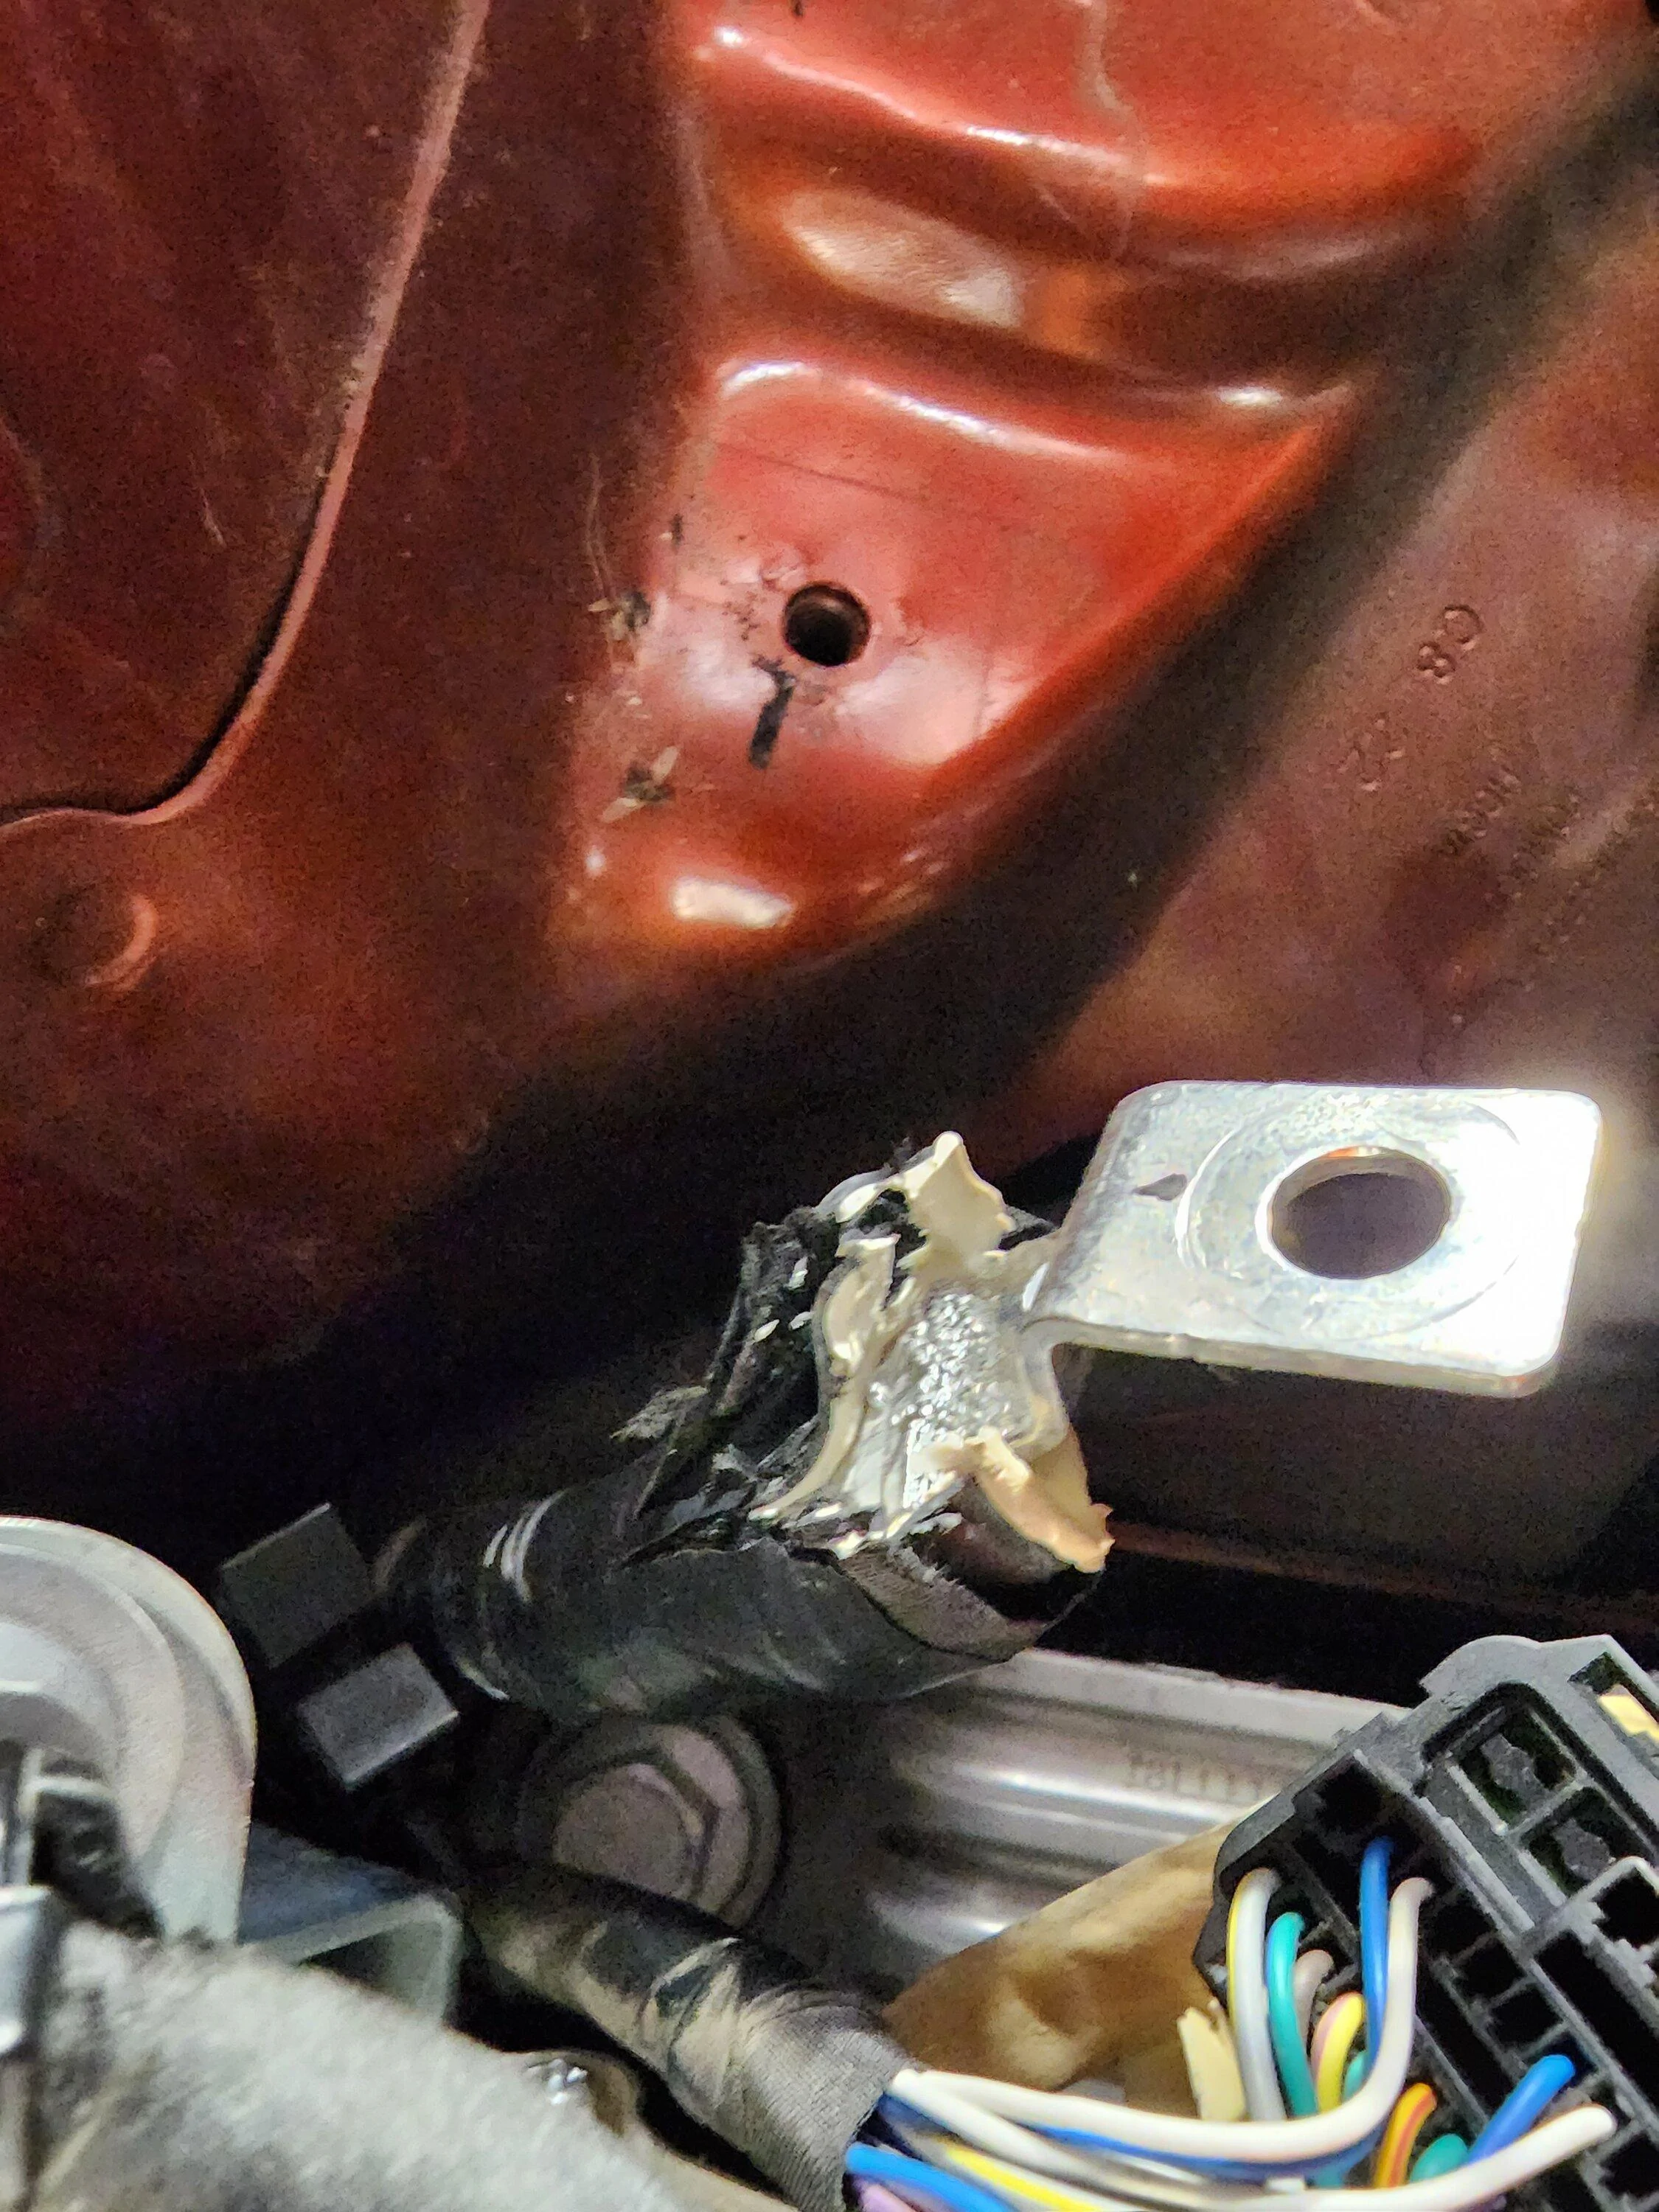
If you have been waiting to inspect/repair the famed hybrid battery cable lug detachment defect, wait no longer.
There is no reason to sit on the fence, the inspection/repair was not that bad. I was just piddling around looking at the area and getting some ideas on how to approach and repair the lug. Before i knew it i had torn apart the fuse box, disconnected the battery cables, and was on my way to inspect.
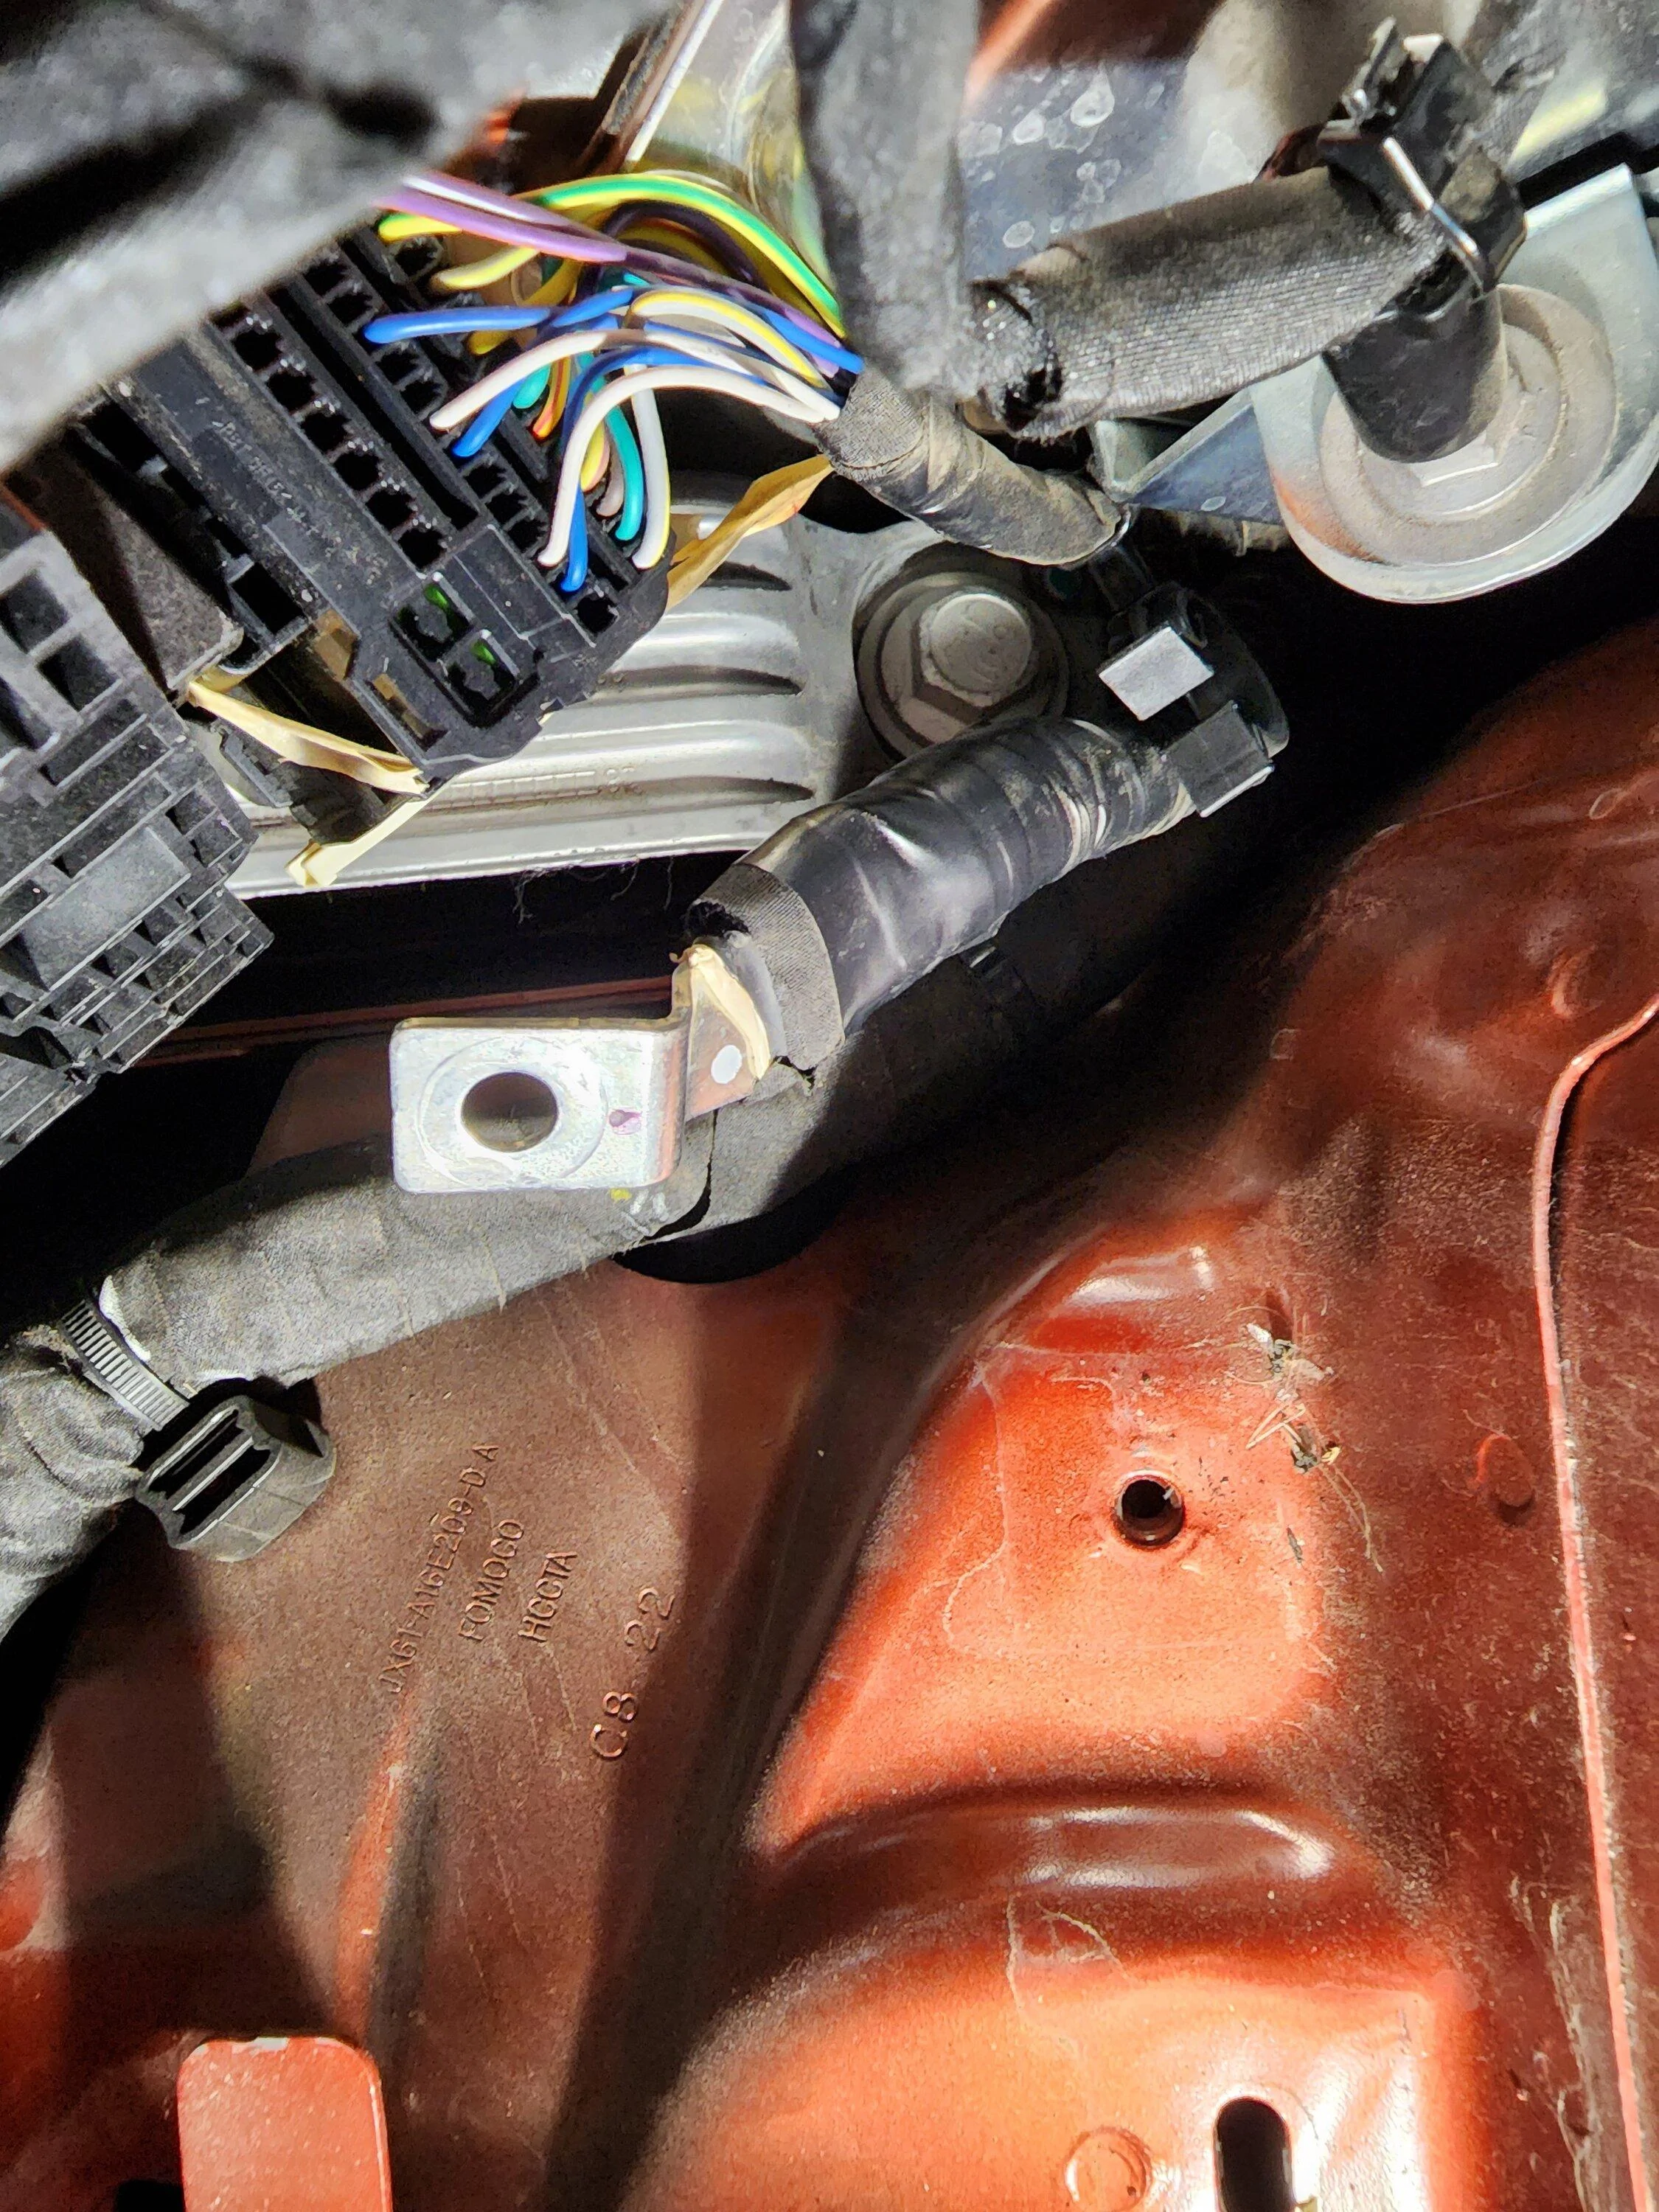
Heck i was on it that deep that i asked myself, why dont i just finish the job? So before i knew it, i was slicing the insulation on the cable, with intentions of repairing the solder joint/connection.
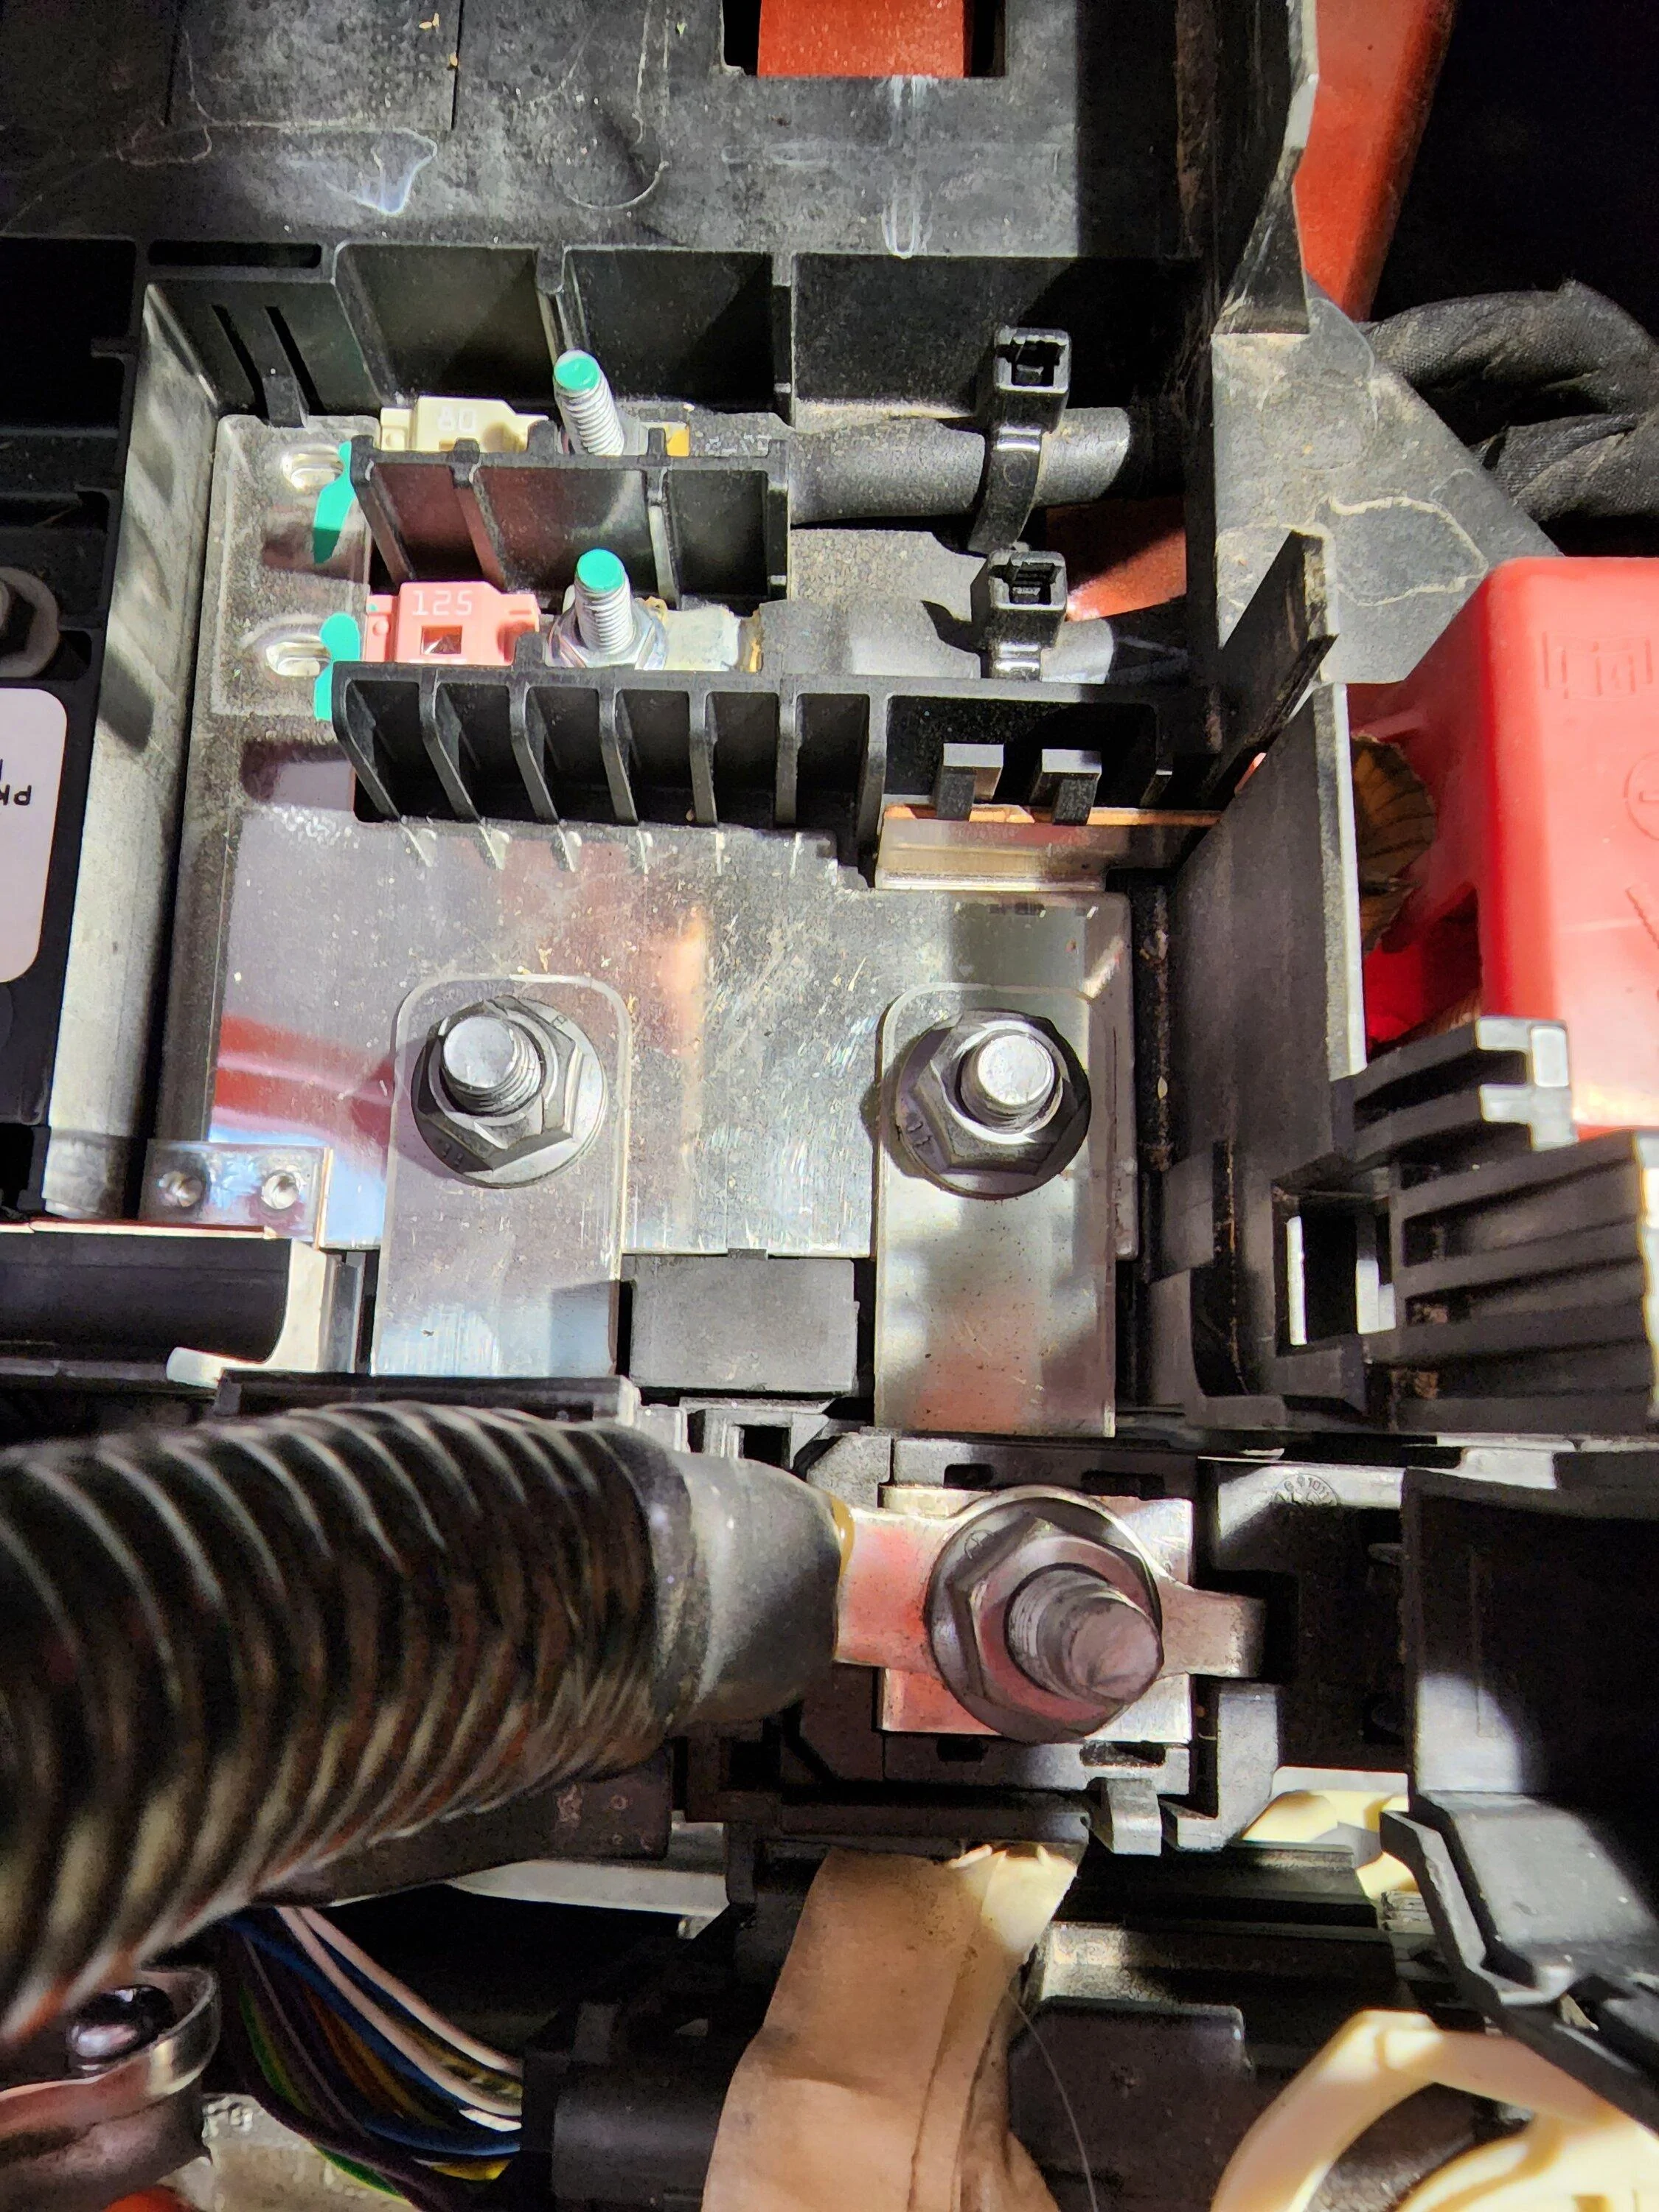
This is the back one towards the firewall.
View attachment 66396
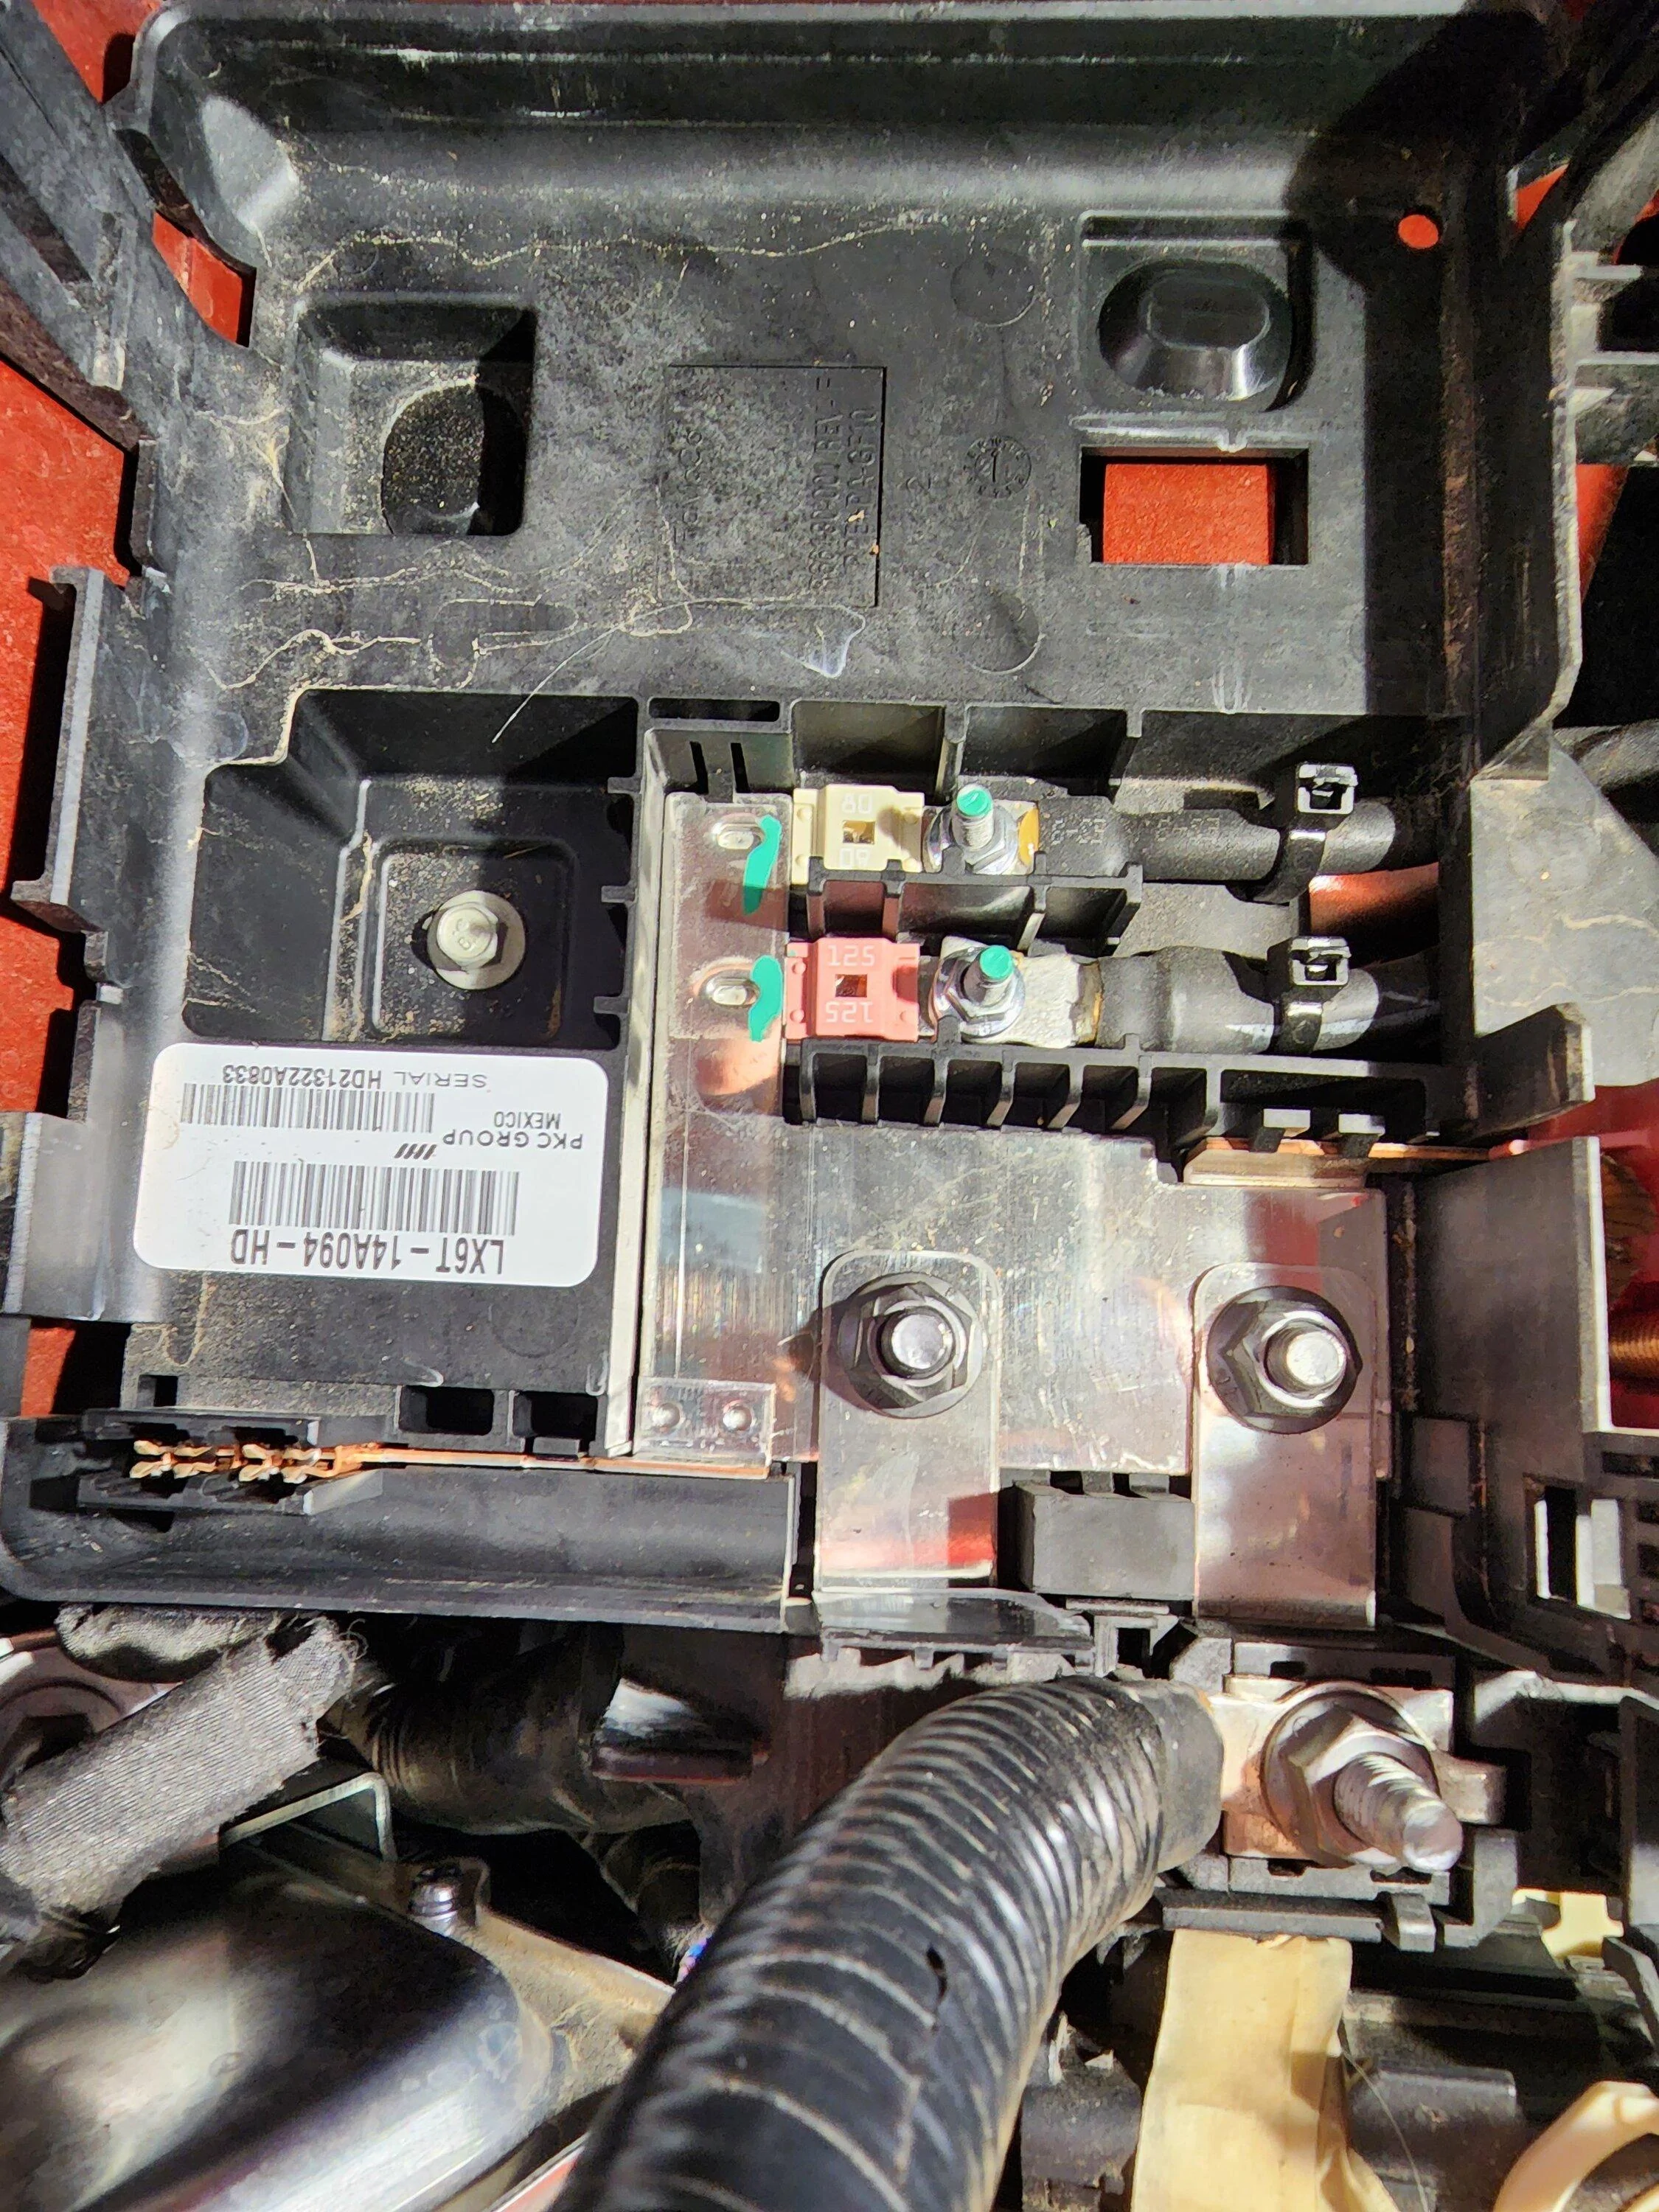
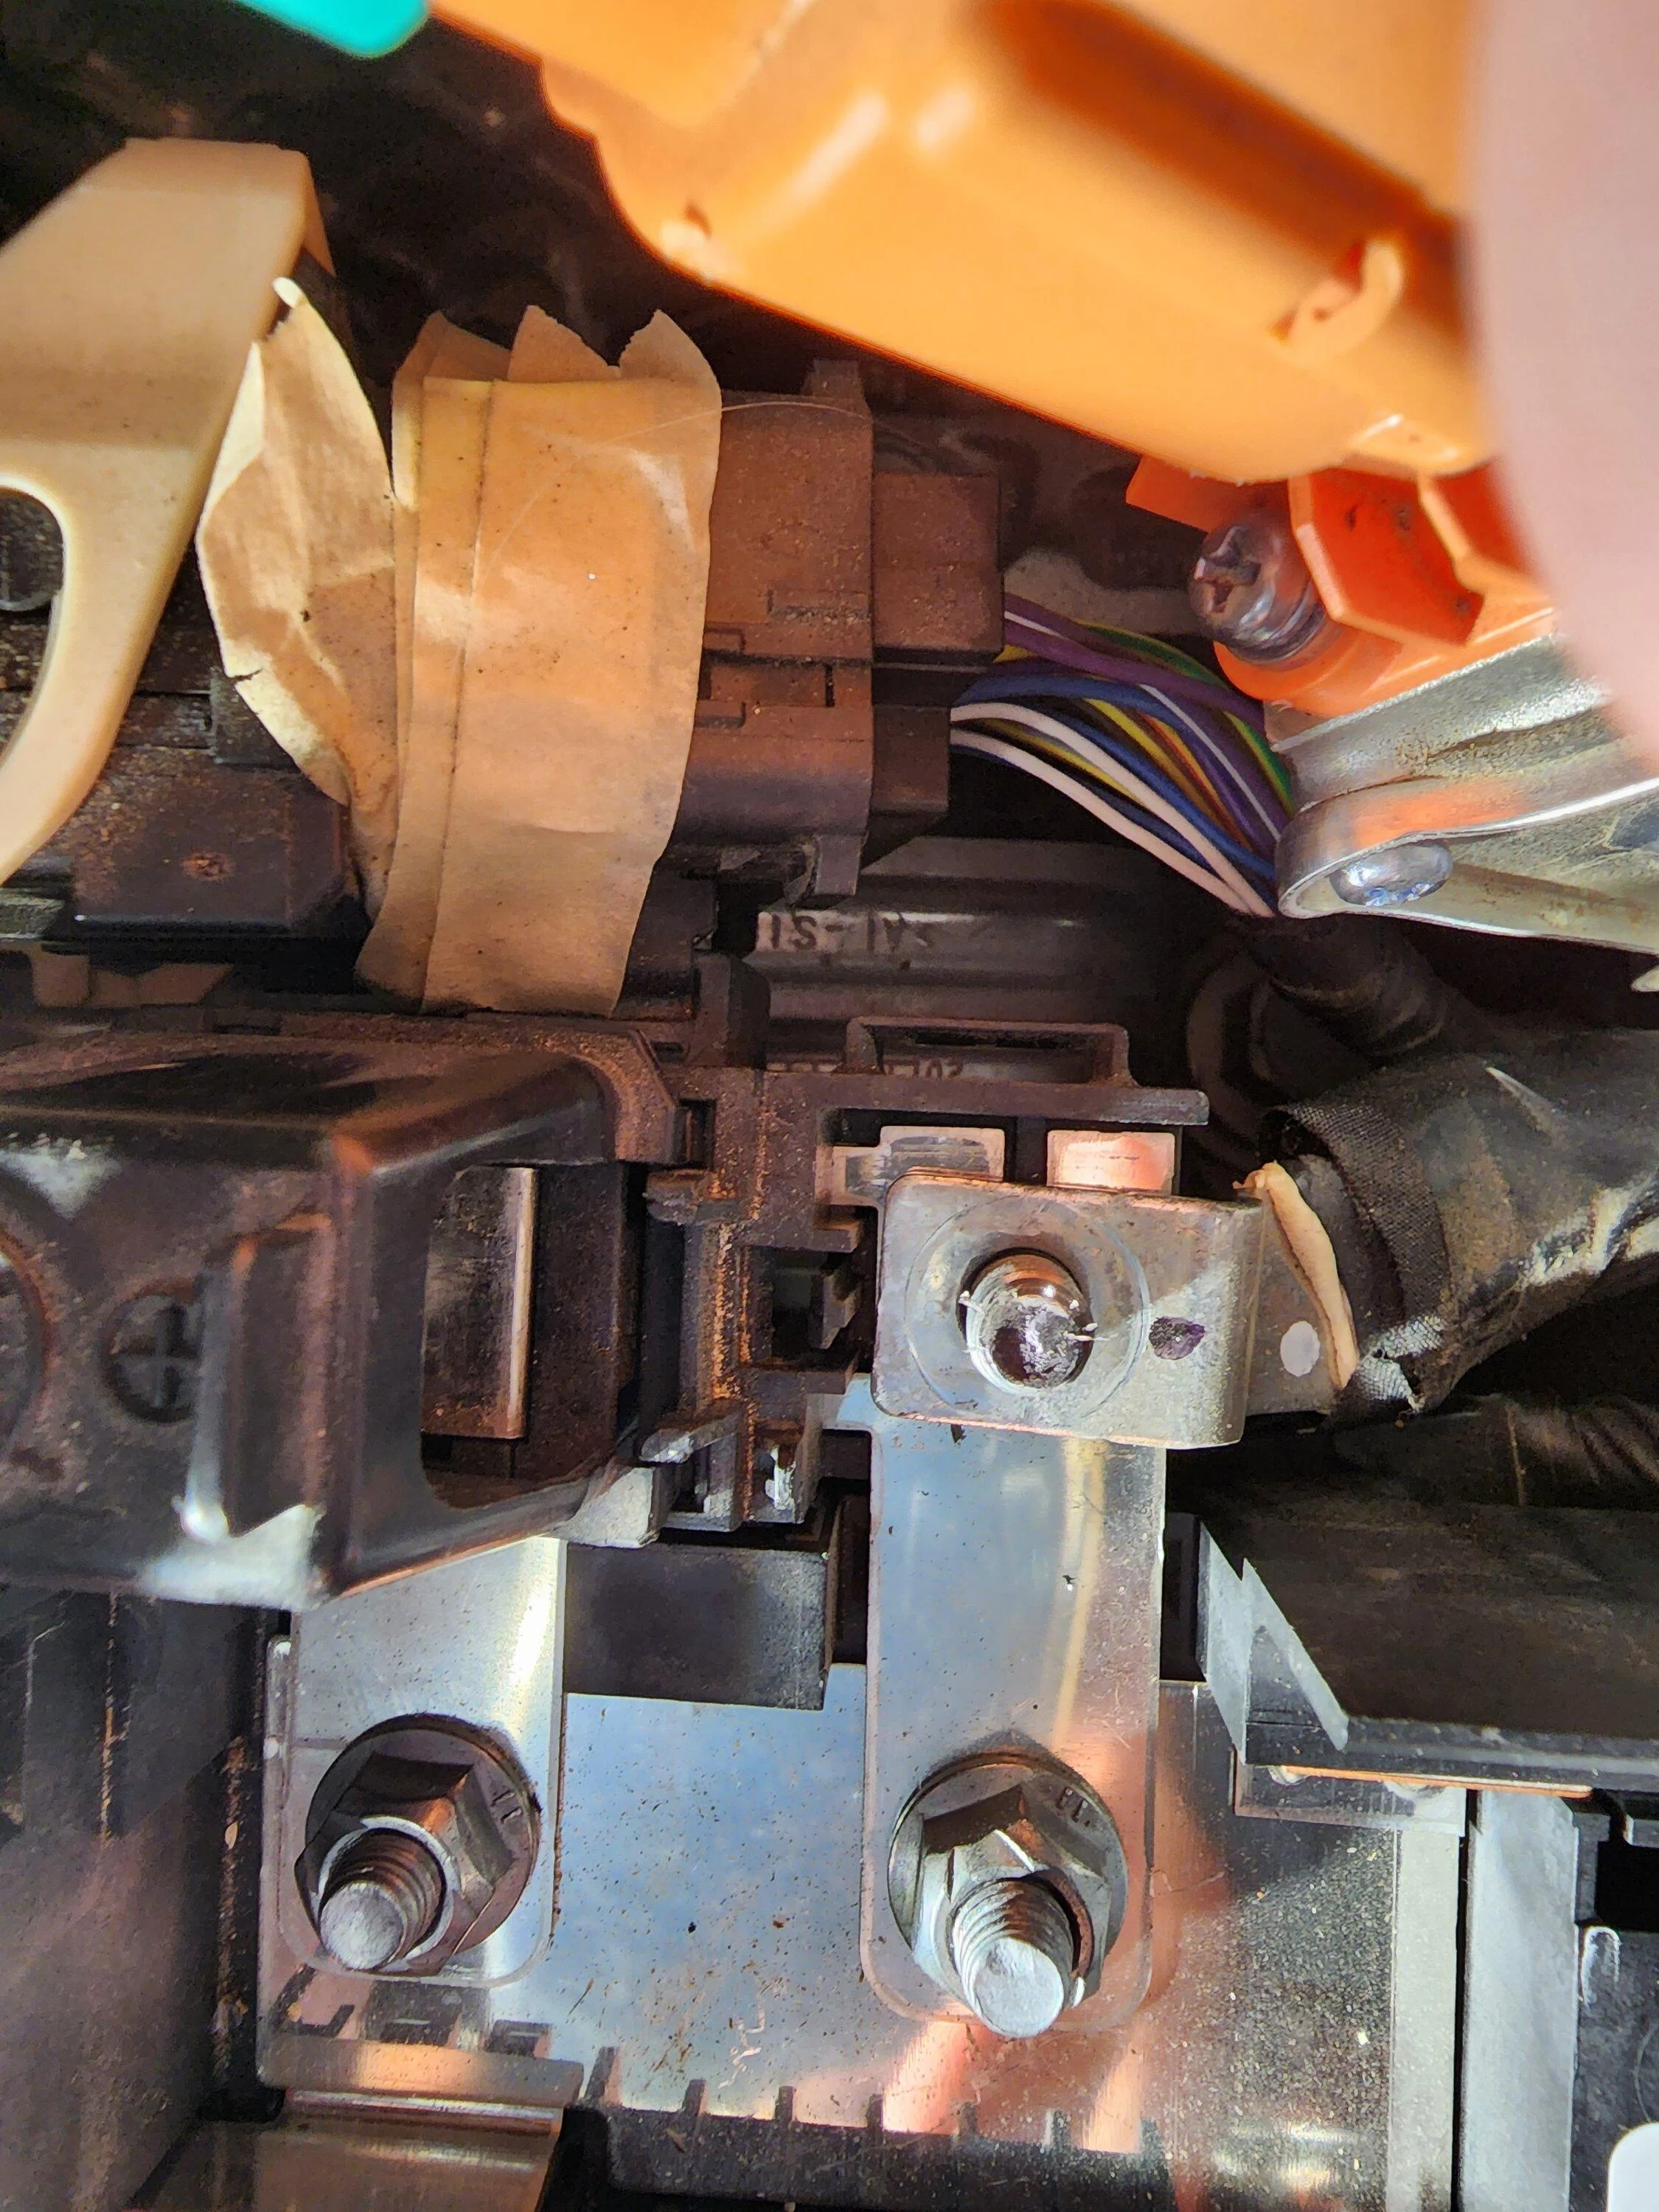
So to get to the back battery cable you have to dissconnect 12v battery under seat with 10mm socket, remove the negative cable. Now under hood check 12v connection to ensure its not hot. Next remove 12v battery cable from fuse box, 13mm deep socket.
View attachment 66398
There is no reason to sit on the fence, the inspection/repair was not that bad. I was just piddling around looking at the area and getting some ideas on how to approach and repair the lug. Before i knew it i had torn apart the fuse box, disconnected the battery cables, and was on my way to inspect.
Heck i was on it that deep that i asked myself, why dont i just finish the job? So before i knew it, i was slicing the insulation on the cable, with intentions of repairing the solder joint/connection.
This is the back one towards the firewall.
View attachment 66396
So to get to the back battery cable you have to dissconnect 12v battery under seat with 10mm socket, remove the negative cable. Now under hood check 12v connection to ensure its not hot. Next remove 12v battery cable from fuse box, 13mm deep socket.
View attachment 66398
Sponsored
Last edited: